How to grout tiles – a step-by-step guide for kitchens and bathrooms
All the tips you'll need to give your bathroom or kitchen a fresh update - without calling in a professional

Holly Cockburn
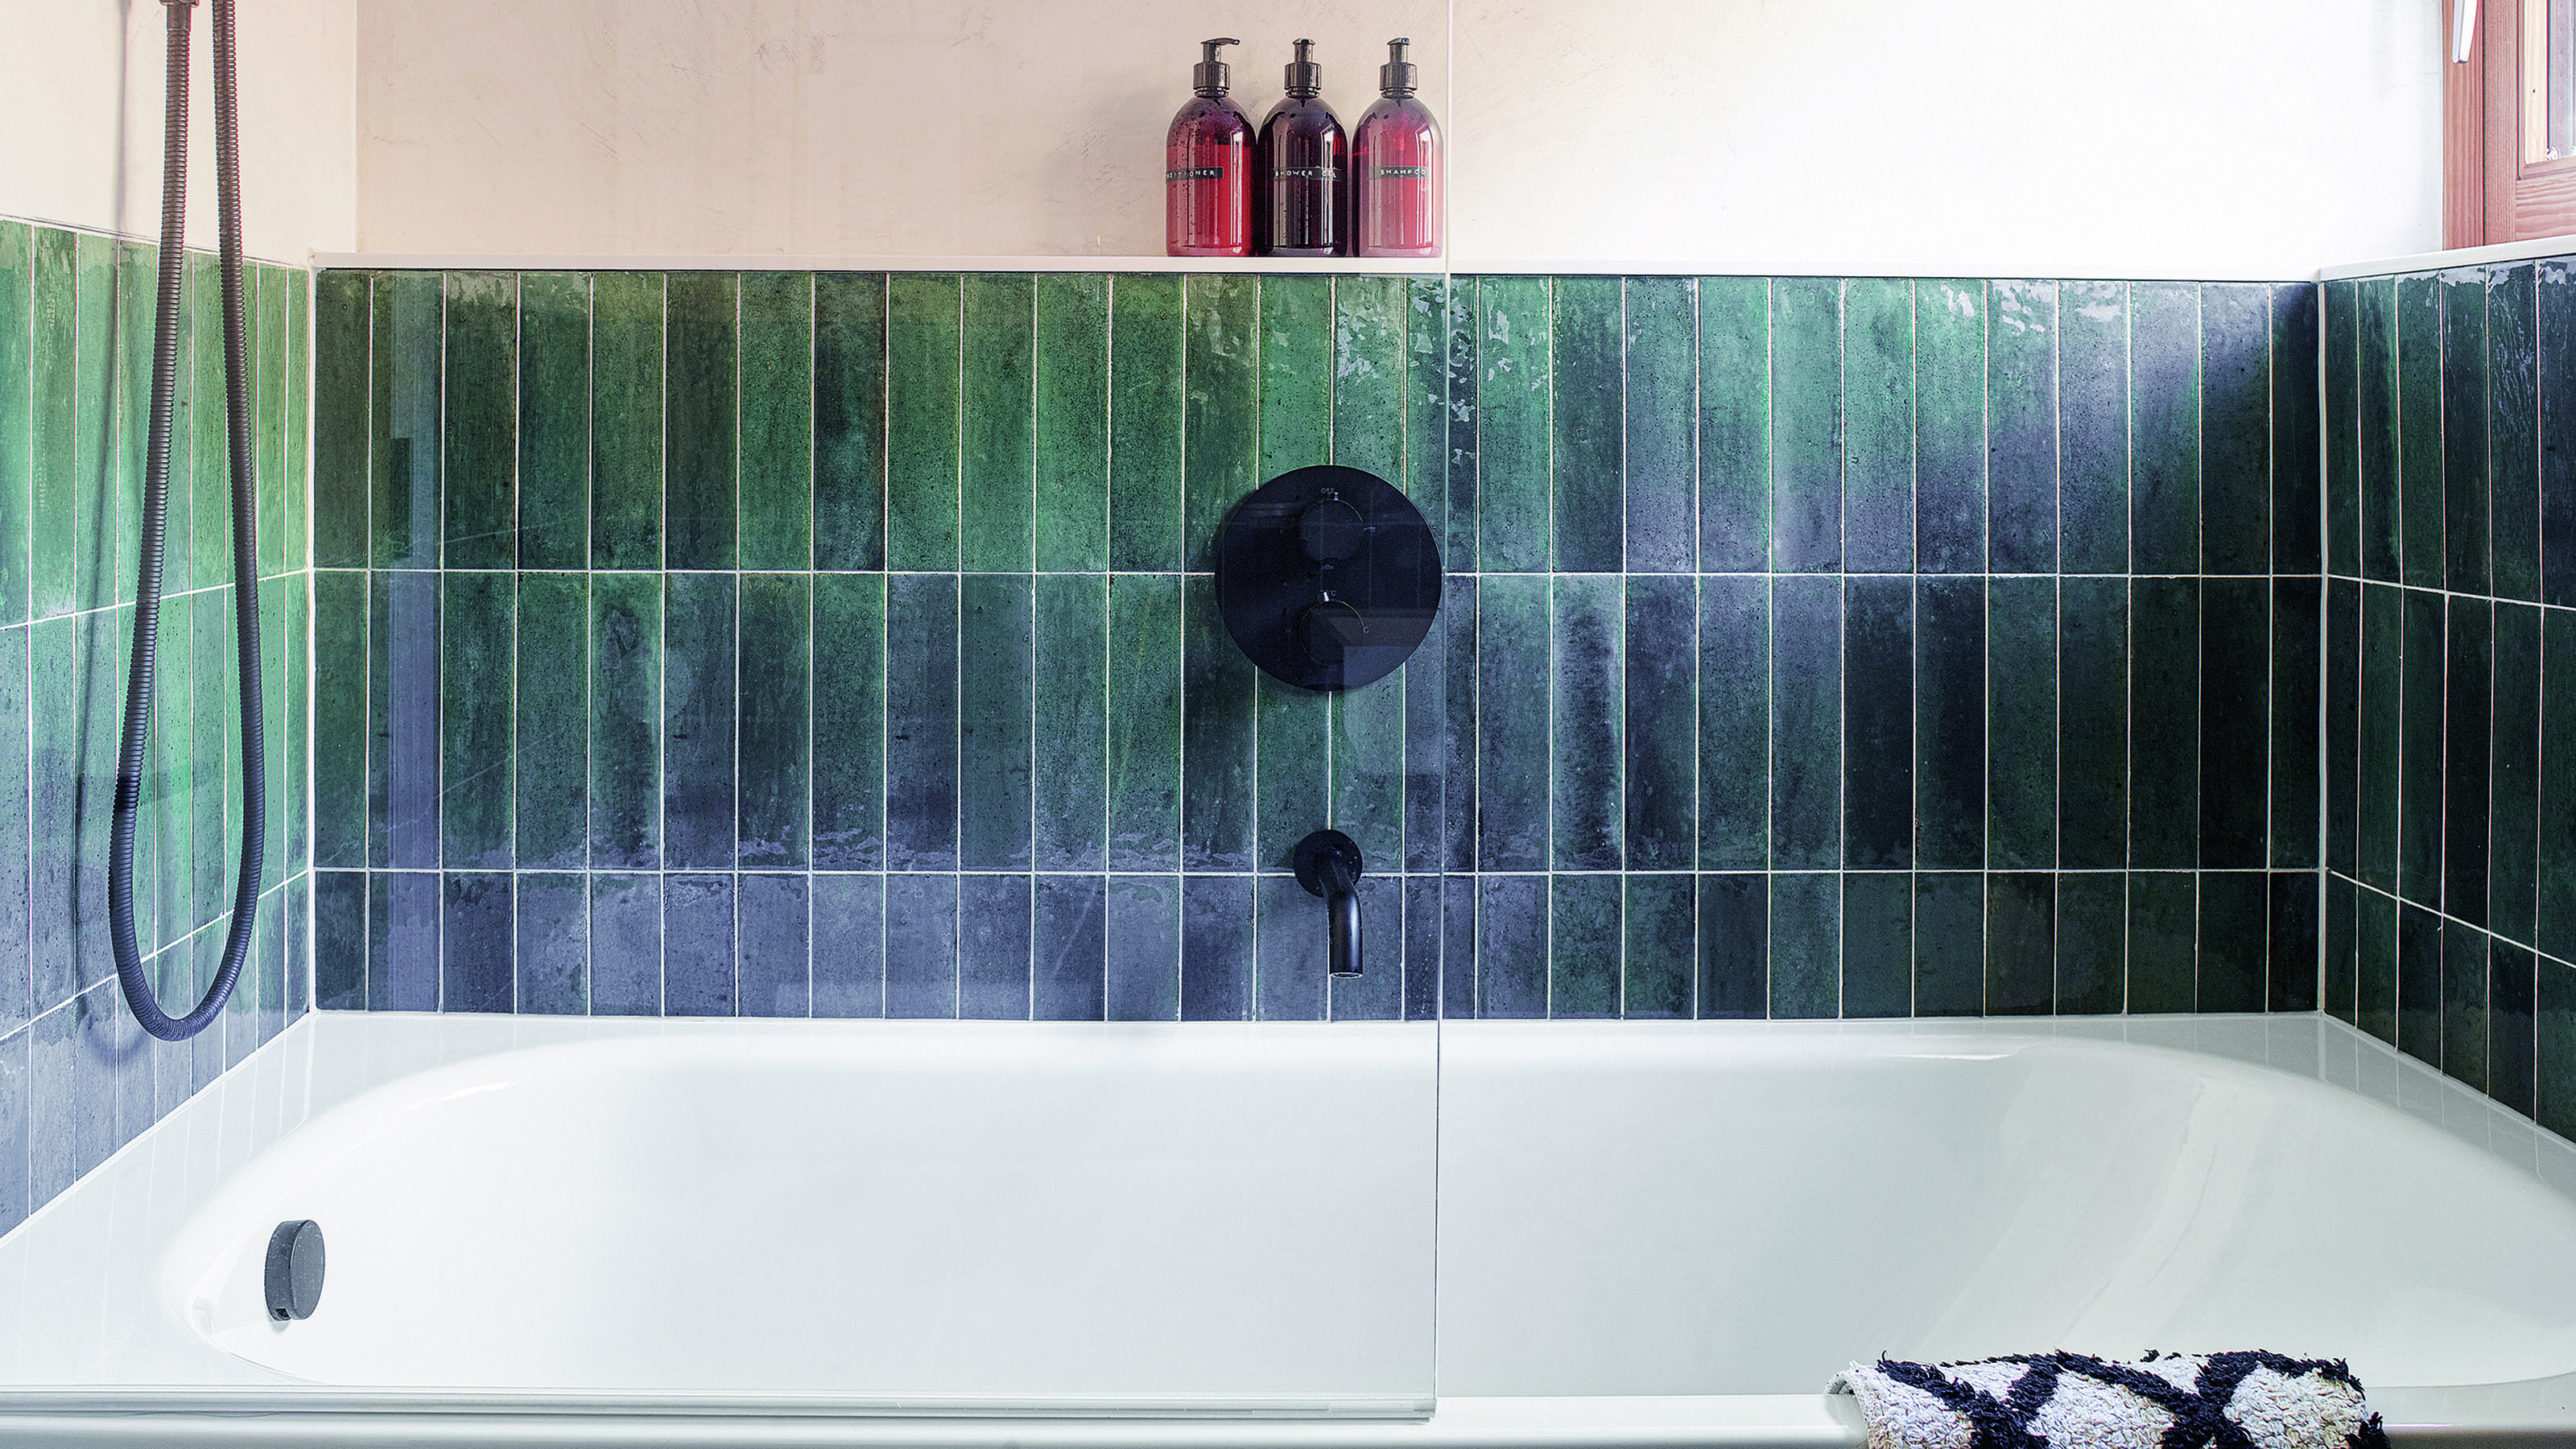
The tiling in your bathroom and kitchen can quickly look tired and become in need of a refresh, and learning how to grout tiles yourself will speed up the process (and save you money). From wall tiles to floor tiles, follow our easy DIY guide and your bathroom or kitchen will be given an instant update without needing to enlist a professional.
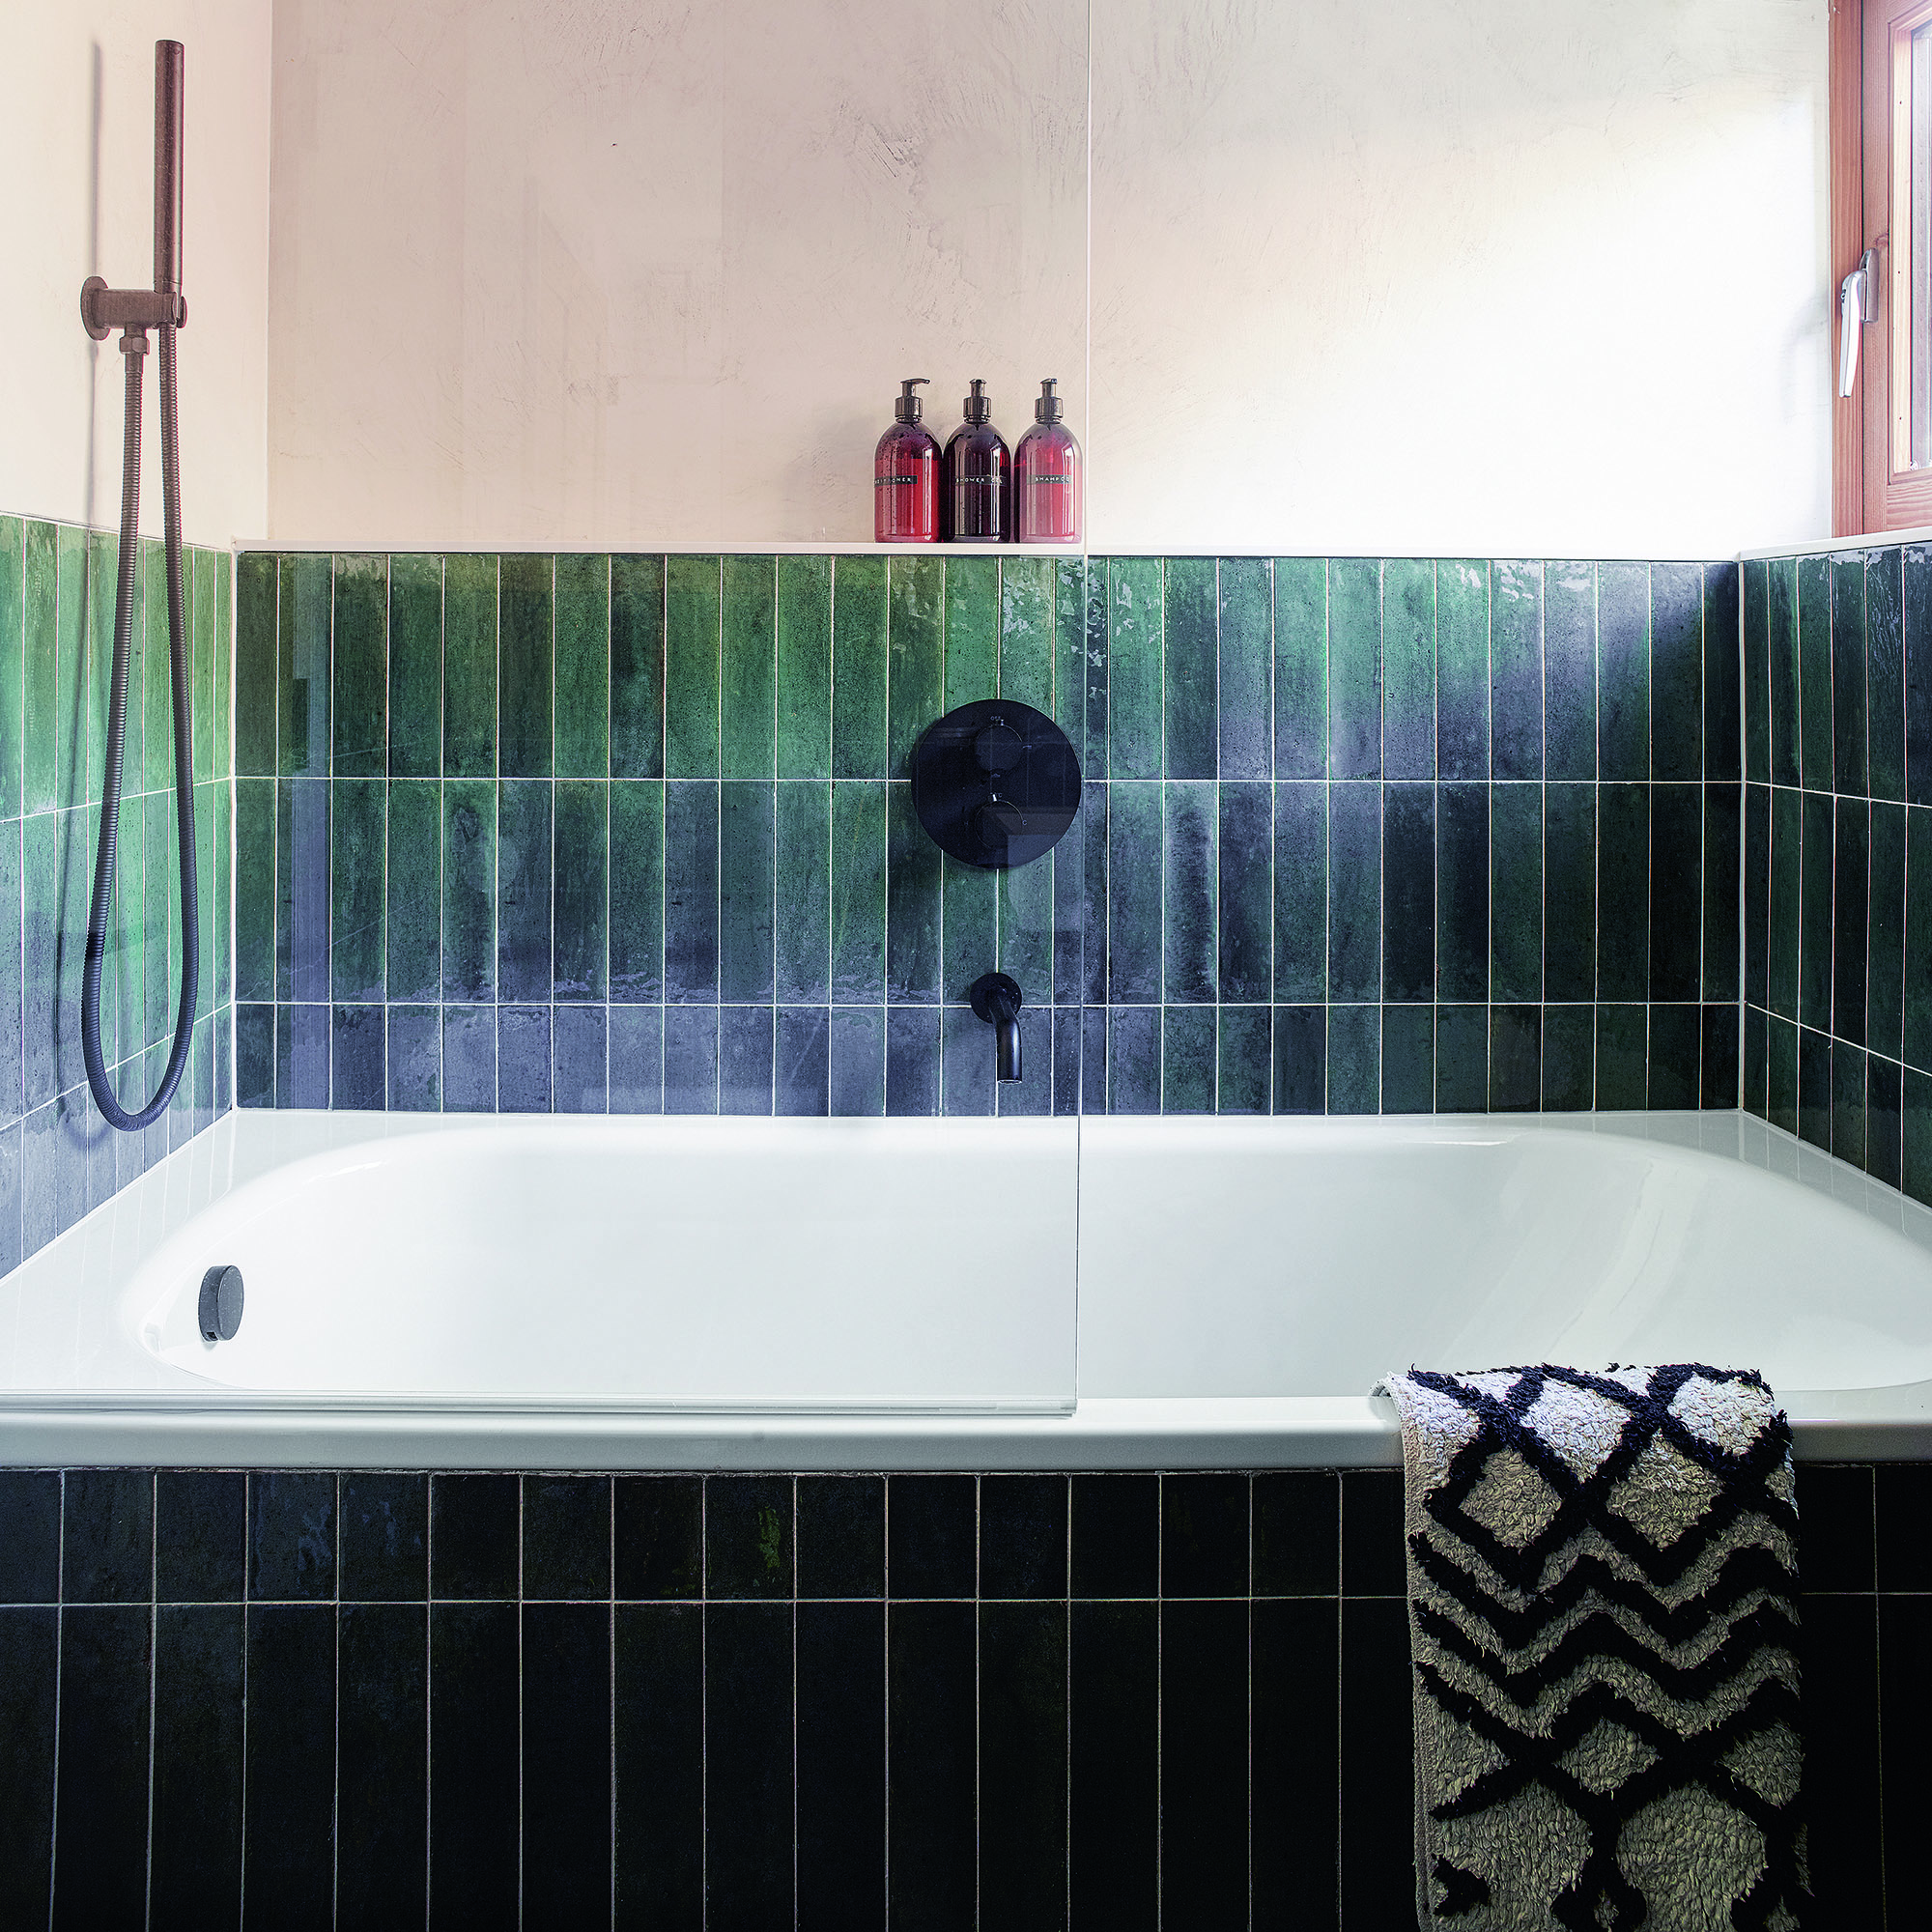
As bathroom tile ideas become more adventurous with so many different colour and pattern combinations, it's good to know how to grout them yourself so that when the time comes for an update, you can get the job done. The same applies to a kitchen - it's an easy way to save a small cost when planning a kitchen renovation.
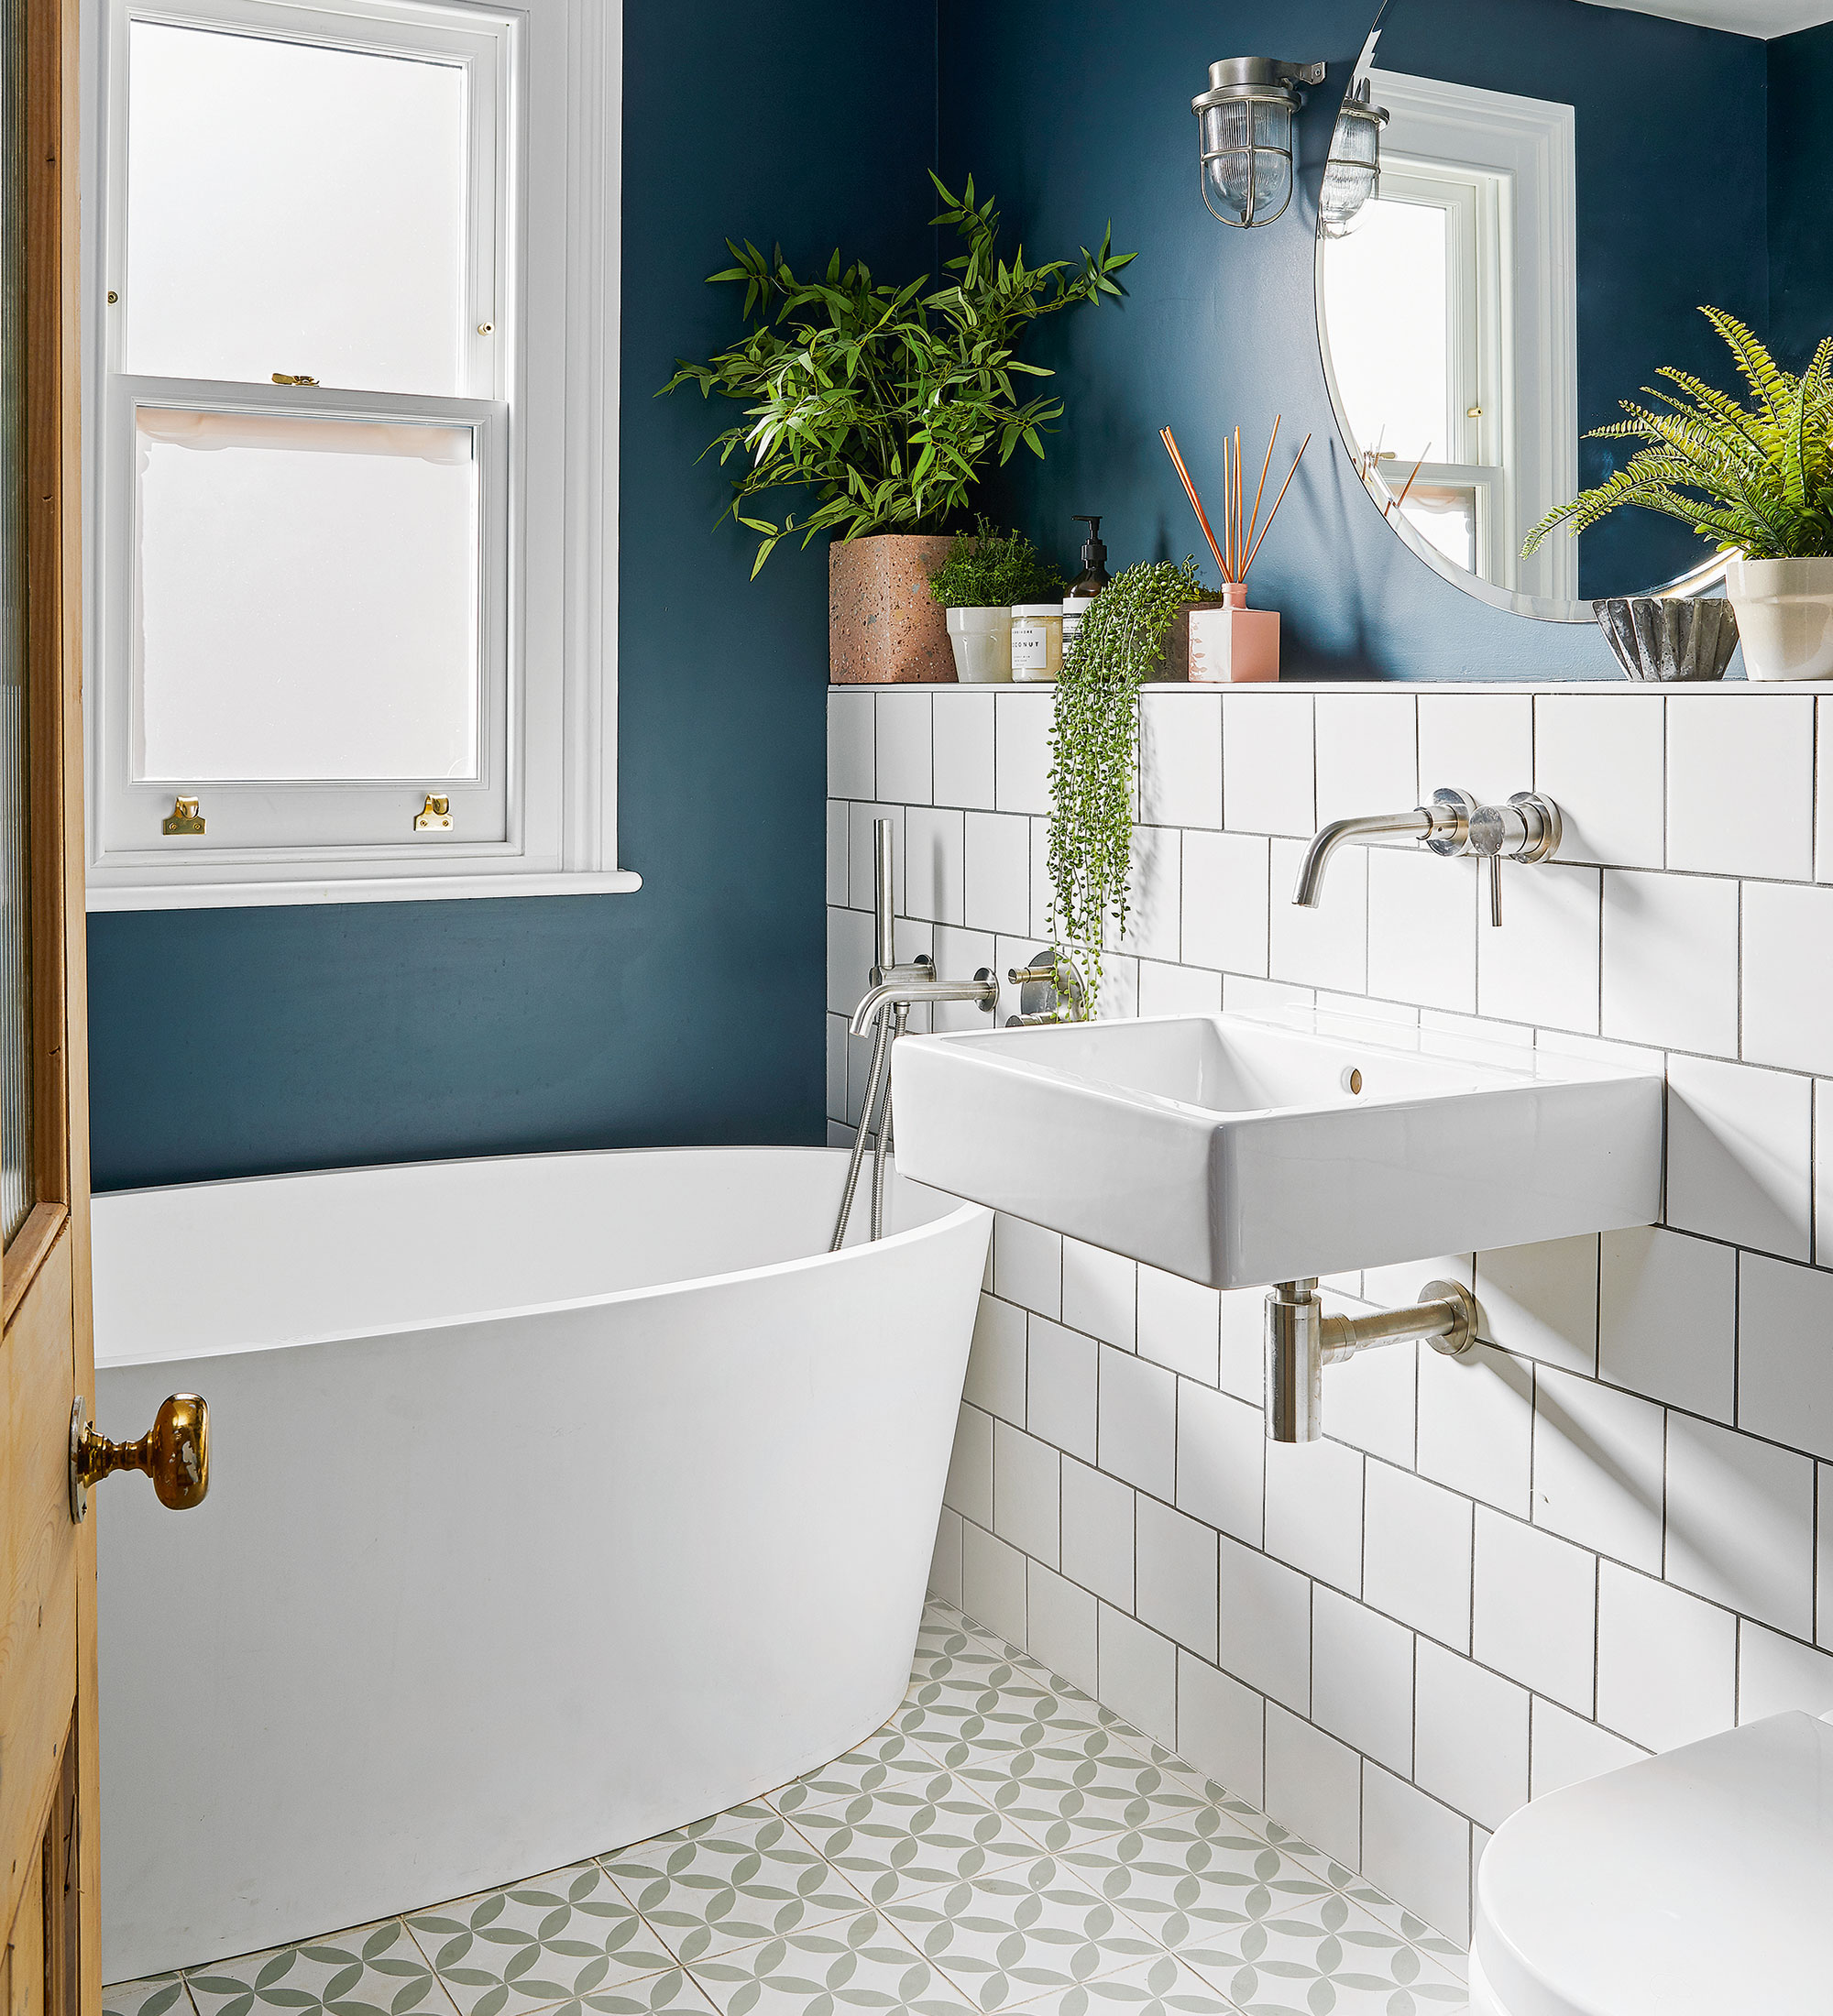
And if you're figuring out how to tile a bathroom floor, we'd recommend concentrating on this crucial step. Because if your tiles are properly protected, they will be easier to clean, more resistant to staining and will have more resistance against bacteria and mould.
How to grout tiles
'Make sure the tile joint in clear of any dust, adhesive, spacer pegs, moisture or other debris before commencing grouting,' advises David Talbot, head of specification at Craven Dunnill Jackfield.
'If your chosen tiles are porous faced, crackle glaze, metallic glaze or similar, check to see if they need to be sealed before grouting.'
What you'll need
- Grout/adhesive, this B&Q option is a good choice to work across various surfaces
- Grout spreader, this budget buy from Amazon does the trick
- Sponge
- Bucket
- Cloth
Most DIY stores and online retailers will sell different types of grout and all the products you need.
What to use to grout tiles
There are four main types of grout:
• Cement-based grout: Often used for DIY tile projects. It's weaker than epoxy grout, but easier to work with.
• Epoxy grout: Slightly more expensive than other types but it's effective for tiles that require a high degree of water resistance, such as bathroom tiles.
• Latex-modified sanded cement grout: Similar to cement grout, but with an added degree of water resistance and bonding characteristics which make it great for bathrooms and countertops.
• Caulking grout: Squeezed from a tube by hand or from a caulking gun, and great for filling tough-to-reach corners.
1. Prepare your grout
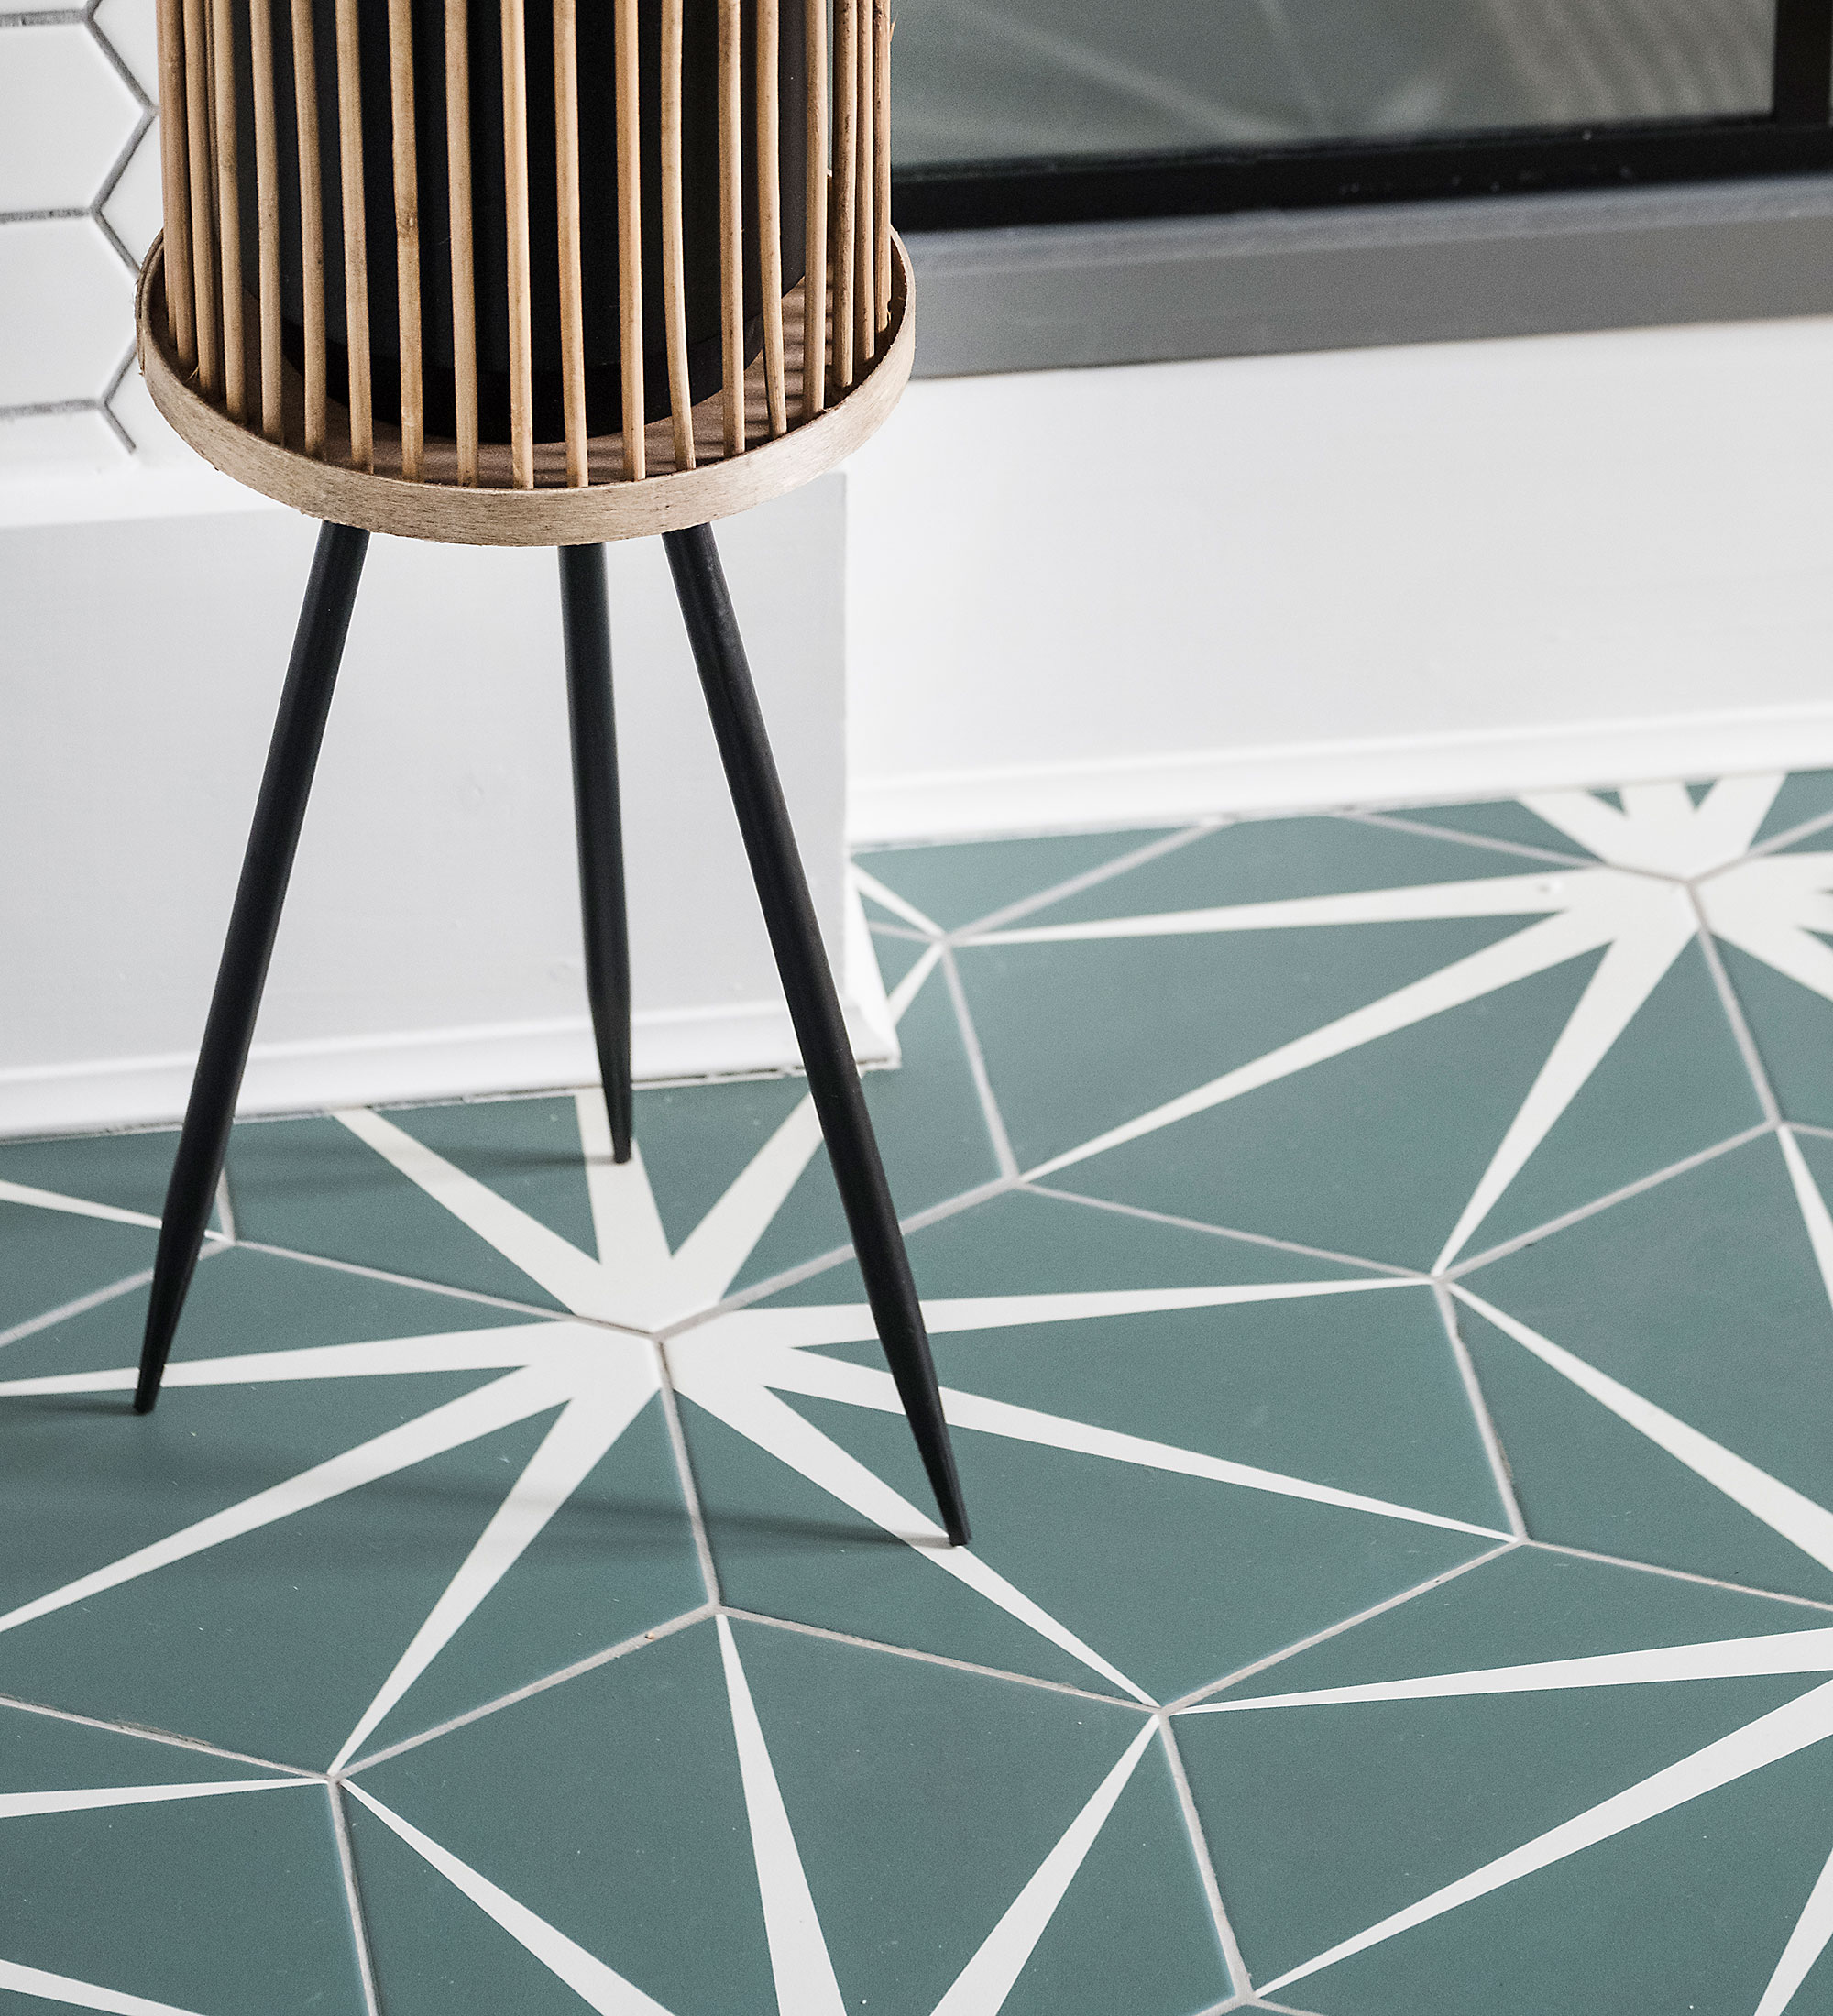
If you are using a powdered grout, pour a little water into a bucket, then add the grout. Using a stick to stir it, keep adding the grout and stirring until you get the consistency of whipped up ice cream.
'The grout needs to be thick enough to hold its shape, but not so thick that it's difficult to spread,' explains Brenna Ryan, senior marketing executive at Victorian Plumbing.
2. Apply the grout
Apply the grout to the tile using a squeegee or grout spreader. Pick up some grout and force it into the gaps between the tiles. It helps to work diagonally across at a 45-degree angle.
Work across small areas at a time to avoid the possibility of it drying before it's in place.

3. Work the grout into the gaps
The grout cures once it is applied, so while it is still workable, tool it into the joints. Remember to check the drying times on the packaging and wipe off all the excess with a damp sponge. Wait 10 minutes then go over with a wet sponge again.
Never add water to make the grout spread easily as it weakens the grouting.
4. Seal the grout
You will need to seal the joints to make it waterproof. Make sure you are using the proper grout sealer for the project - always read the instructions before applying. Seal the joints with two applications.
'After applying the first coat of sealer, wipe away any drips from the tiles, as some tiles are sensitive to grout sealer,' advises Brenna.
5. Leave the grout to dry
Let the tile sit for the recommended time. When dry, polish with a cloth.

How to regrout tiles
Lovely white grout never takes long to become mouldy and dirty-looking, does it? Spend a weekend replacing yours – and while you’re at it, why not try something different from white this time, with a colour or even glitter grout?
Regrouting your tiles is easier than you think! Do-it-yourself with elbow grease and a grout rake, or with one of these off-the-shelf products.
1. Protect the area
Cover the floor with a dust sheet to make cleaning up quicker, and if you’re working over a bath, sink or basin, put the plug in to stop grout blocking the waste. Open windows and doors to ventilate the room as there will be a lot of dust in the air. If you can’t, wear a safety mask. Put goggles on, so you don’t get bits of flying grout in your eyes.
2. Remove the old grout
You can remove grout with a nail, but it’s very fiddly! It’s better to buy or borrow a grout rake, or better yet, an electric grout remover. It’s far less labour intensive, especially if you’re doing a whole room rather than just a splashback.
Fit the rake into a line of grout, starting in the middle of a tile. Apply pressure and draw it along the line in a slow, steady movement. If you’re using an electric tool, there’s no need to apply pressure, but be sure to choose the correct size head and be careful not to damage the tile edges as you go. Do the vertical lines first, then the horizontals. Wipe over the tiles to remove the dust.
3. Mix and apply the new grout
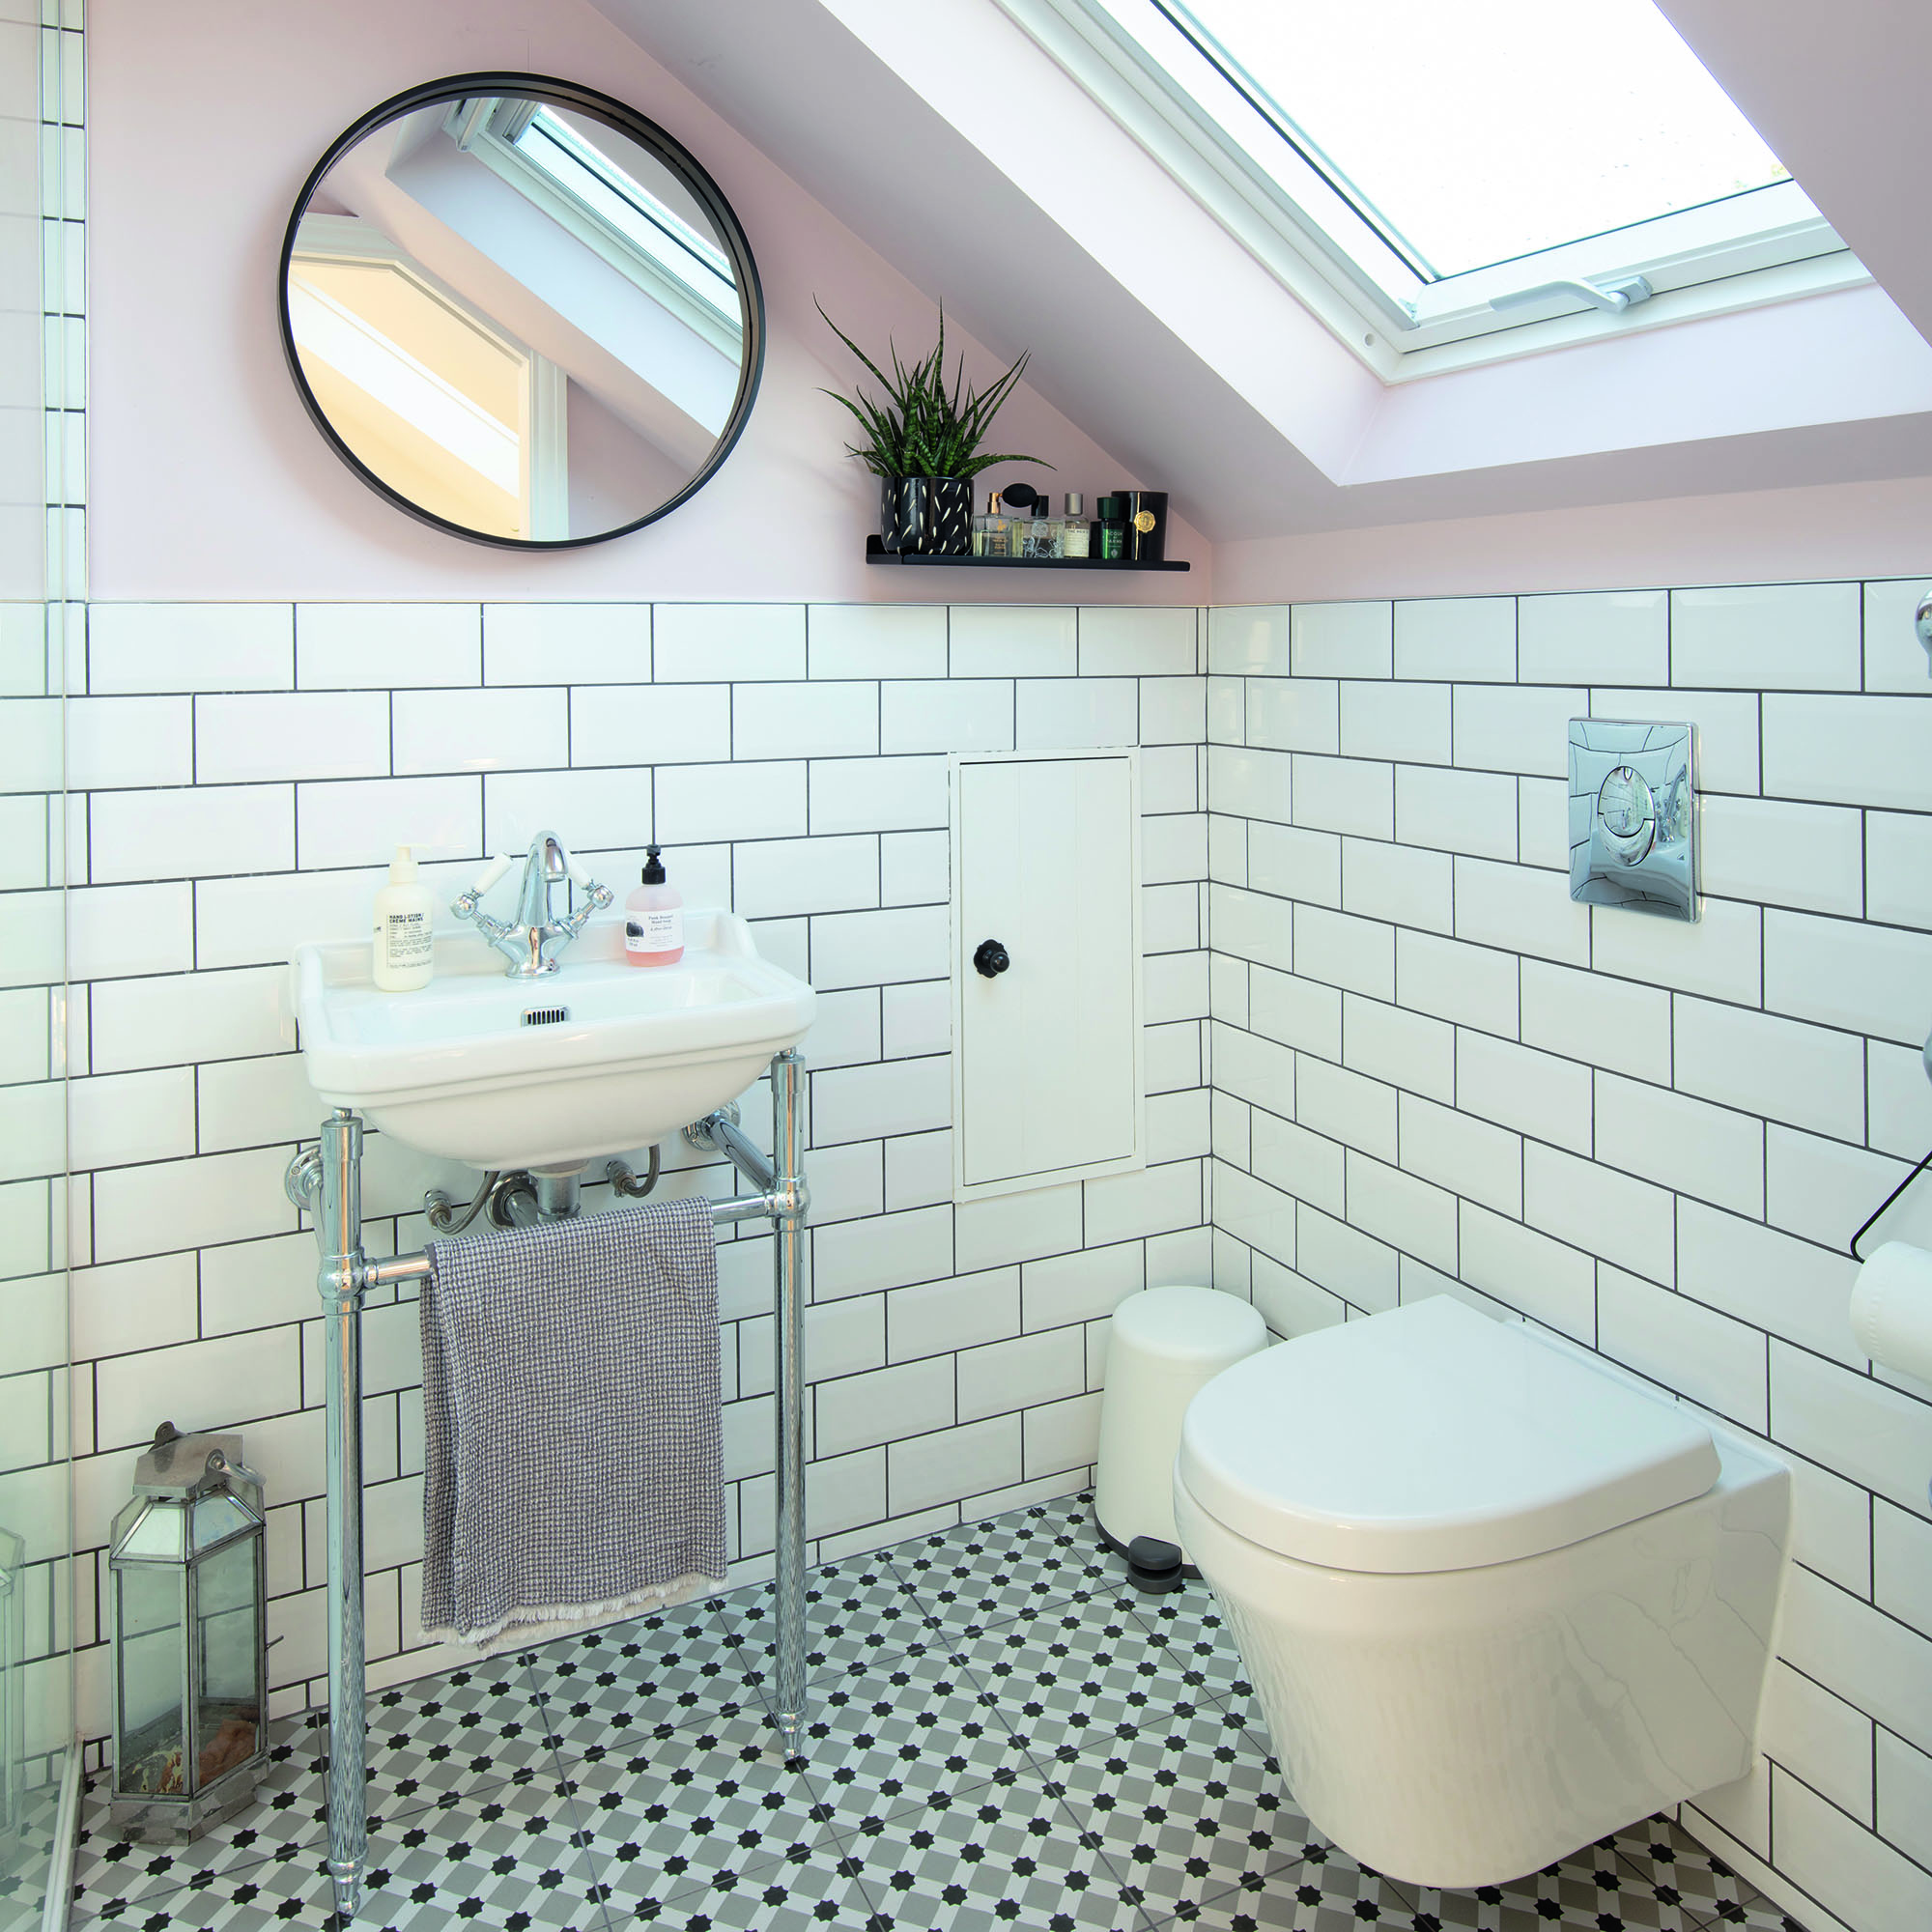
If using powdered grout, mix up just as much as you’ll be able to use in 20 minutes (it’ll start to harden after that). Apply a blob of your mixed powder or ready-mixed grout to a grout spreader (using a scraper or grout trowel). Use the spreader to work the grout into the lines, going over the tiles with the edge to clean off excess.
4. Clean and leave to dry
Use a well-squeezed damp tile sponge to clean off the excess. If any grout falls out when you do, just push a little back in with your finger. Let it harden for about half an hour, then use a grout finisher to give tidy, indented lines – you simply run the rounded end along the line gently. Leave it to dry for a few hours, then use a soft, clean cloth to polish away the powdery residue on the surface of the tiles.
Now your bathroom will look as good as new – and you didn't have to splash out on a new suite! Just don't forget to keep it looking its best with our handy guide to how to clean grout.
How do you apply grout to tiles?
As mentioned above, it's best to use a squeegee or grout spreader as this will give the best finish. 'Apply grout with a suitable grout float, working in all directions across the tile joints to ensure that the grout completely fills the joints,' advises tile expert David Talbot.
He goes on to offer these top tips:
- Ensure you have enough grout from a single batch for the whole area.
- Correctly mix enough grout to be used within the grout open time (check correct mixing and open time on the grout packaging).
- Never retemper grout
How long do you leave grout before wiping?
It's best to check the packaging of your choosen grout for this, but David suggests, 'After a few minutes (check packaging for details) wipe over the area with a damp (but not sodden) sponge which has been wetted with clean tap water ensuring that all tile joints are flush. Keep cleaning the sponge in clean water at regular time intervals – the cleaner the sponge the more tile surface grout is removed.'
'Check to make sure that all grout lines are completely filled with grouting material, if not add additional grout and after a few minutes wipe over the re-filled area with a clean damp sponge again.'
'Once the grout begins to “bloom” on the surface, wipe the face of the tiles with a circular motion using a clean dry cloth (check manufacturer’s instructions on the correct time to 'buff' the tiles). Any excess grout will turn to dust and simply come off the tiles and into the cloth so it is important to use plenty of clean cloths.'
'Note: the time intervals for applying grout, wiping off excess grout and polishing/buffing tiles during the grouting process can vary dramatically dependent upon the temperature, humidity, type of tile being grouted, type of grout being used, width of tile joint and other factors so it is important to start on a small inconspicuous area to assess the likely curing times for each process.'
Can you put tile grout over old grout?
Sadly, no. For the best results that will last, you'll need to remove any old grout first. If you just add new grout, you'll find as soon as you walk over floor tiles, or get wall tiles and splashbacks wet, the grout will begin to crack and become lose, so it's best to do the job properly.
Get the Ideal Home Newsletter
Sign up to our newsletter for style and decor inspiration, house makeovers, project advice and more.

Holly Walsh is a freelance Interiors Writer and Shopping Editor, but worked in-house here at Ideal Home for nearly 10 years. With a background of studies in Interior Design, her career in interior journalism was a no-brainer and her passion for decorating homes is still as strong now 15 years after she started, as it ever was. While Holly has written for most of the home titles at Future, including Livingetc, Country Homes & Interiors, Homes and Gardens, Woman & Home and Style at Home, Ideal Home has always been her ideal home, and she can still be found sharing her expertise and advice across both the printed magazine and the website, while also raising her two young children.
- Holly CockburnContent Editor
-
 5 signs you’ve taken decluttering too far — and how you can pull yourself back, according to organisation experts
You might have to start resisting the urge to purge
By Lauren Bradbury
-
 What is the Party Wall Act 3m rule and is it something you should be worried about? This is what the experts say
Don't get caught off-guard by the Party Wall Act 3m rule — our expert guide is a must-read
By Natasha Brinsmead
-
 Shoppers can’t get enough of The Range’s lemon tree, but I’ve found an even cheaper bestseller at B&Q - it’s perfect for a Mediterranean look
Welcome the summer with this glorious fruit tree
By Kezia Reynolds