How to paint a fence – treat and protect fences to keep your garden looking fresh
Smarten up your plot and shield your garden fences with a protective coat of paint

Katie Sims
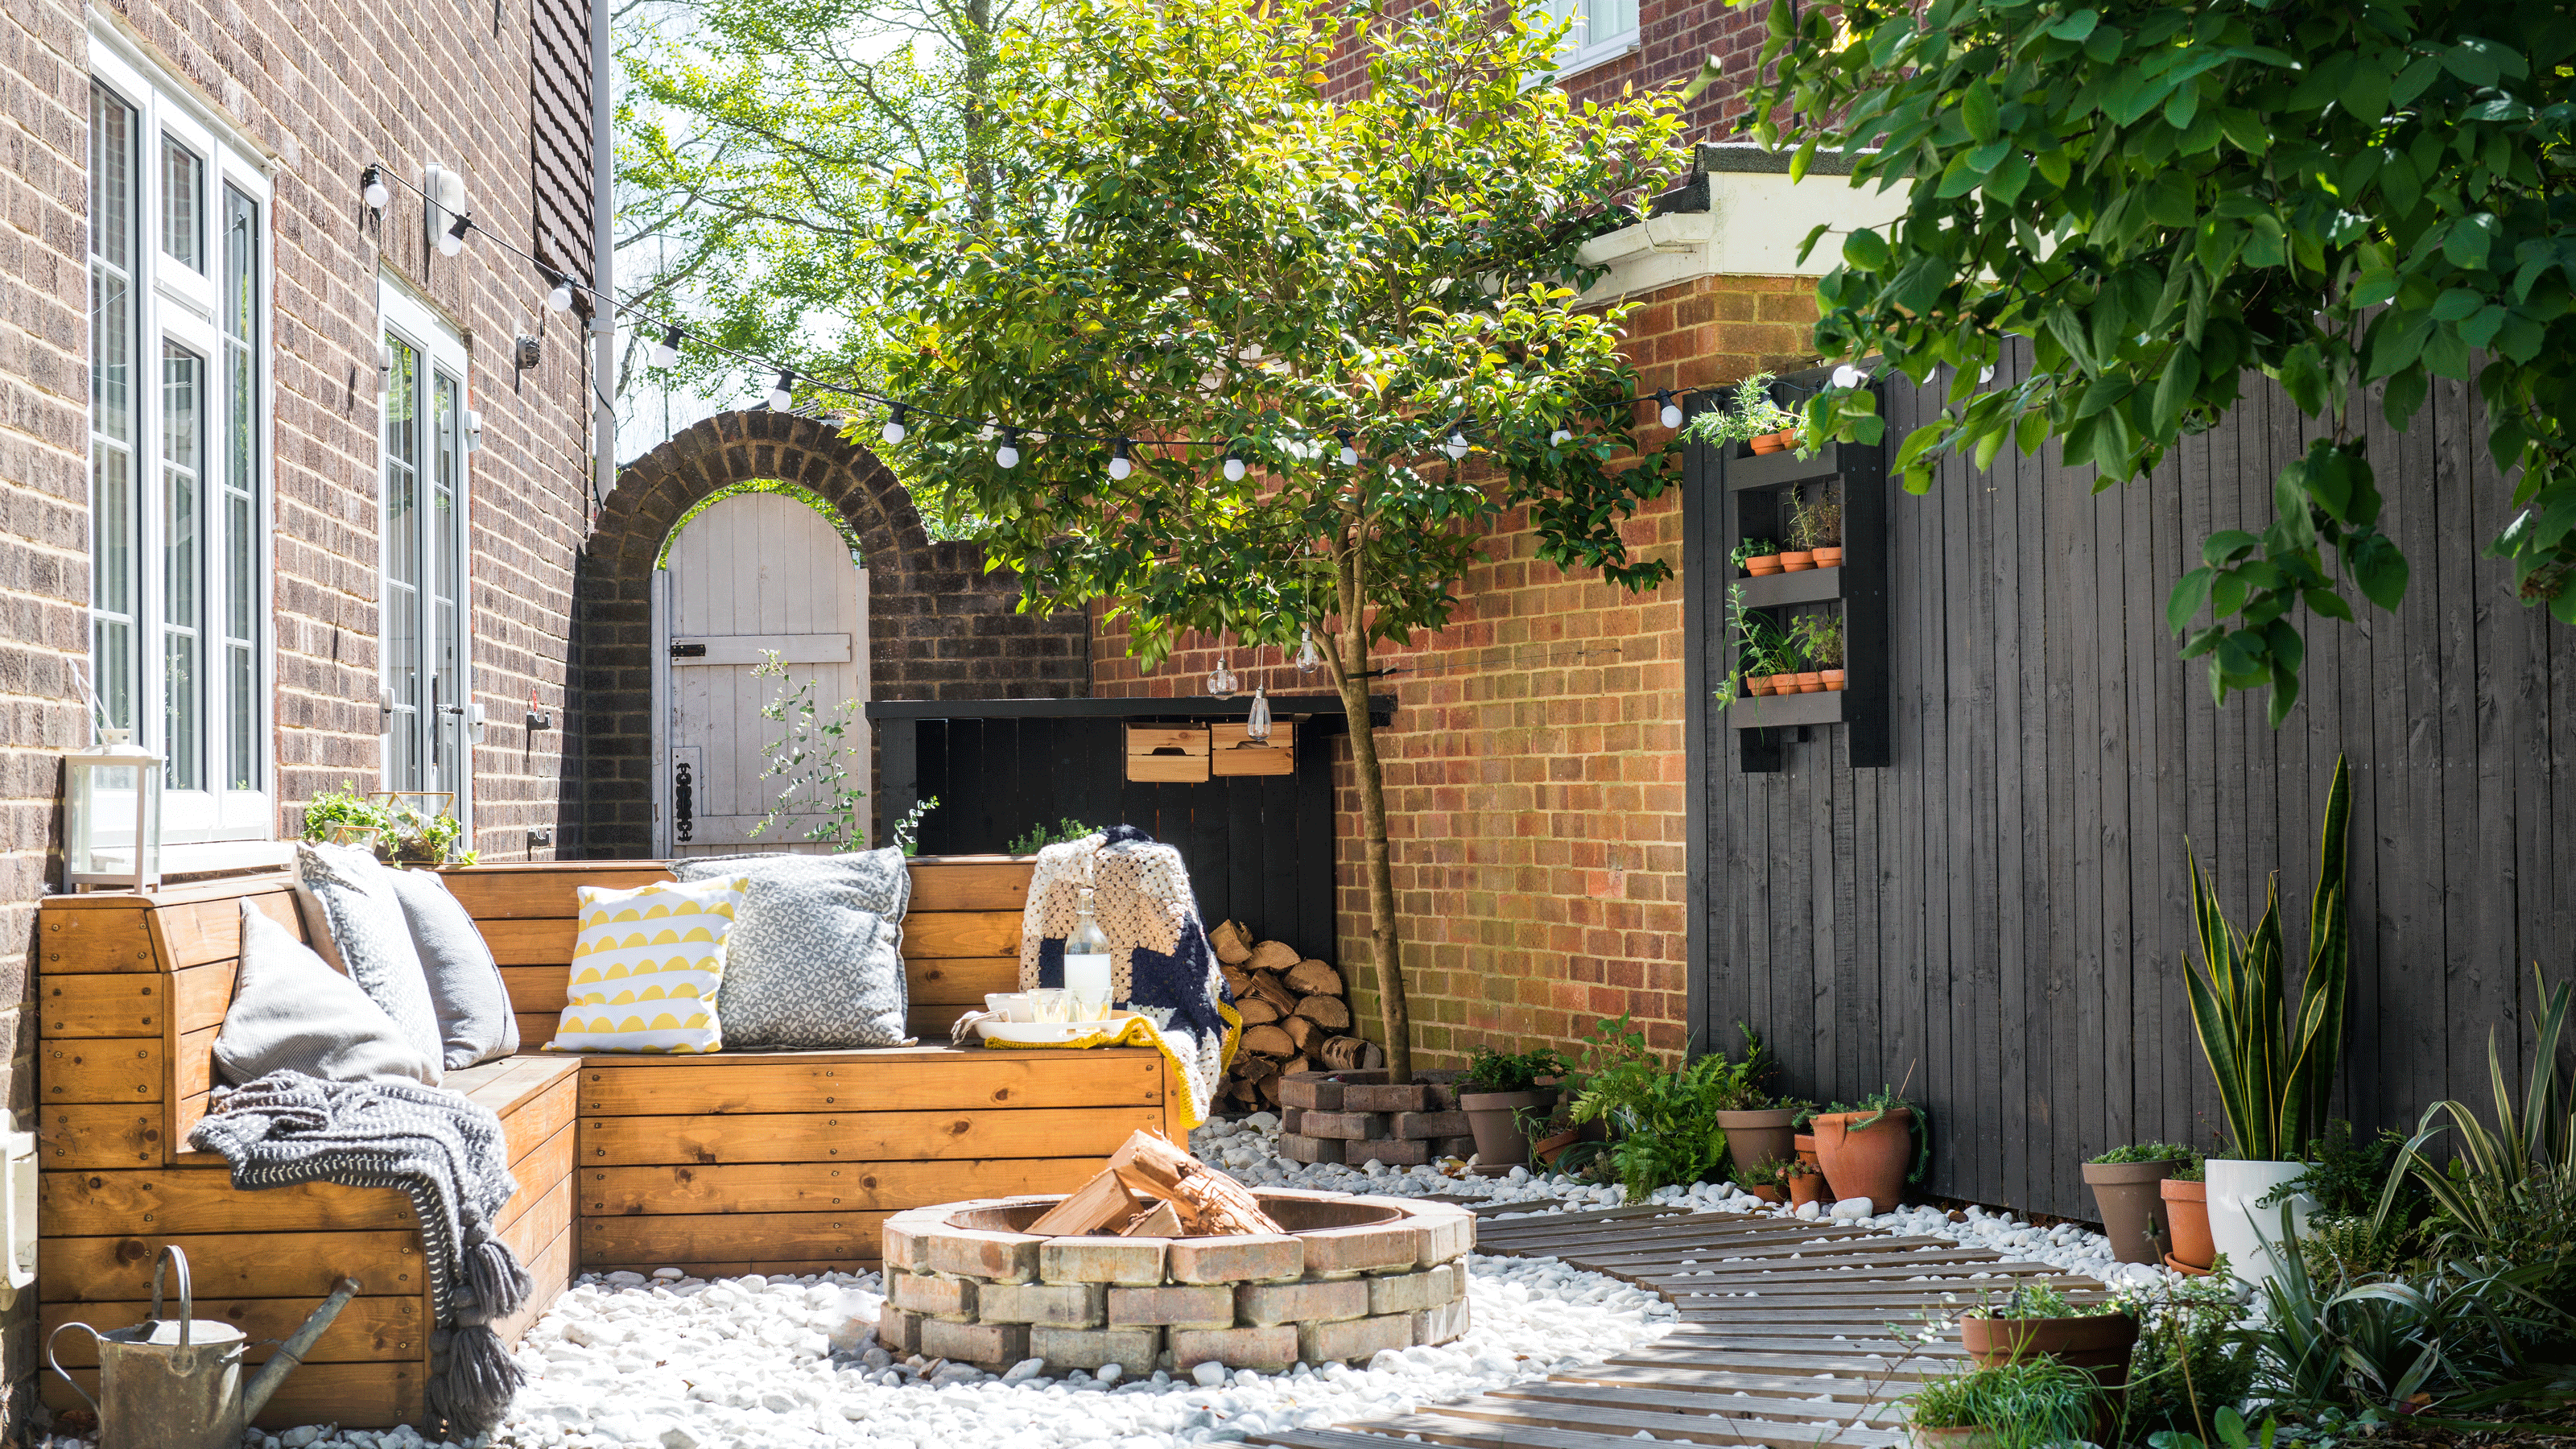
Painting the garden fence can instantly refresh your outdoor space and transform your garden from drab to dazzling. And now is the perfect time to learn how to paint a fence so that you can spruce up your garden up in time for spring and summer.
The fence makes up one of the larger elements of our garden landscaping, and yet we often neglect it until it's cracked and peeled its way to a state we can no longer ignore. The best way to make the most of our garden fence ideas is to give it some TLC and a fresh coat of paint, so that we can go back to admiring it every time we look out the kitchen window.
'To keep your fence in prime condition you need to treat and paint it every couple of years,' says Michael Rolland, DIY Expert, The Paint Shed. 'Over time the wood can fade and deteriorate, so a fresh coat of paint will protect your fence from the elements and keep it looking good.'
It might have been a job you've been putting off for a while, but we promise that you'll feel great once it's done. It's time to get your paintbrush and learn how to paint a fence the proper way, with the help of our easy how-to.
How to paint a garden fence
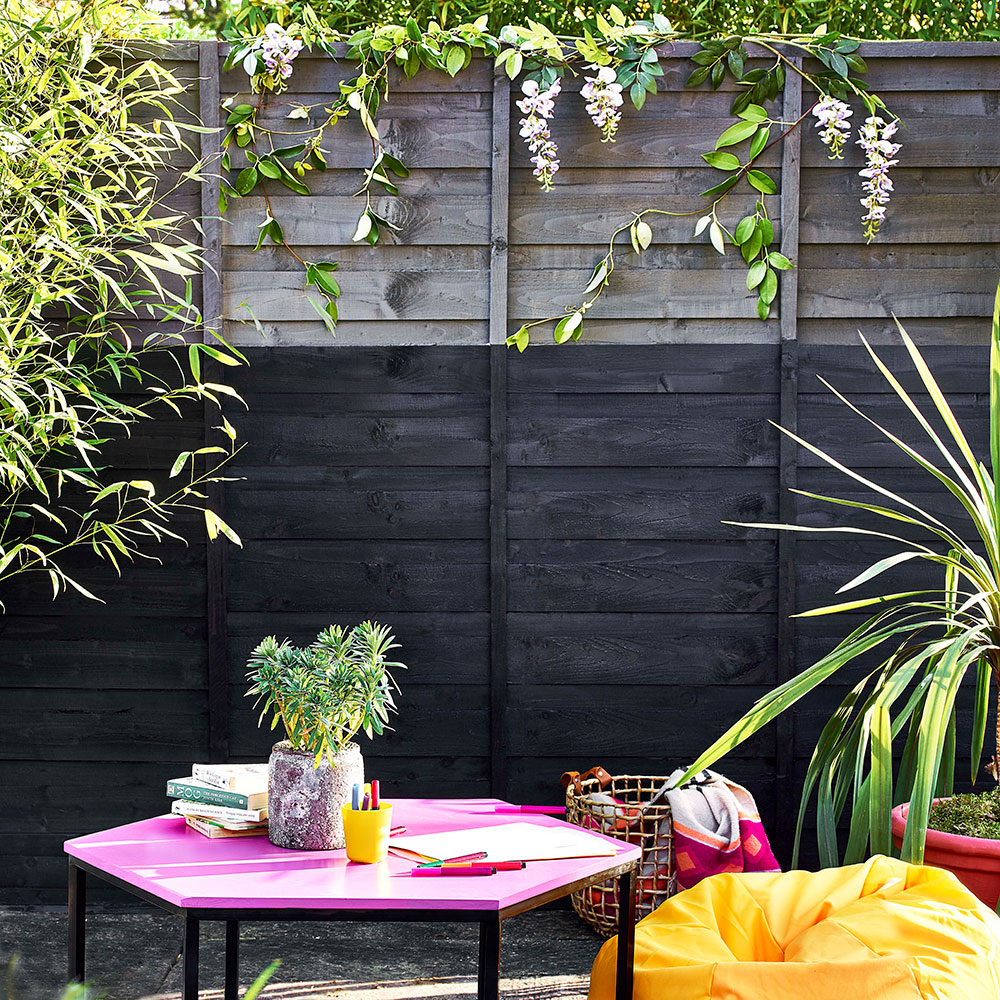
First up, you'll need to grab yourself the essentials from the list below. There's a vast array of paint colours to choose from that would look wonderful on the garden fence, so take your time to browse all the options before settling on your pick. Then you can get cracking with how to paint a fence.
What you'll need
- Stiff bristle brush
- General purpose cleaner
- Bucket
- Wood filler
- Sandpaper
- Dust sheets
- Masking tape
- Woodcare paint – such as Cuprinol Garden Shades or Sadolin Superdec
- Paint kettle
- 3in paintbrush
1. Considerate planning – choose the right day
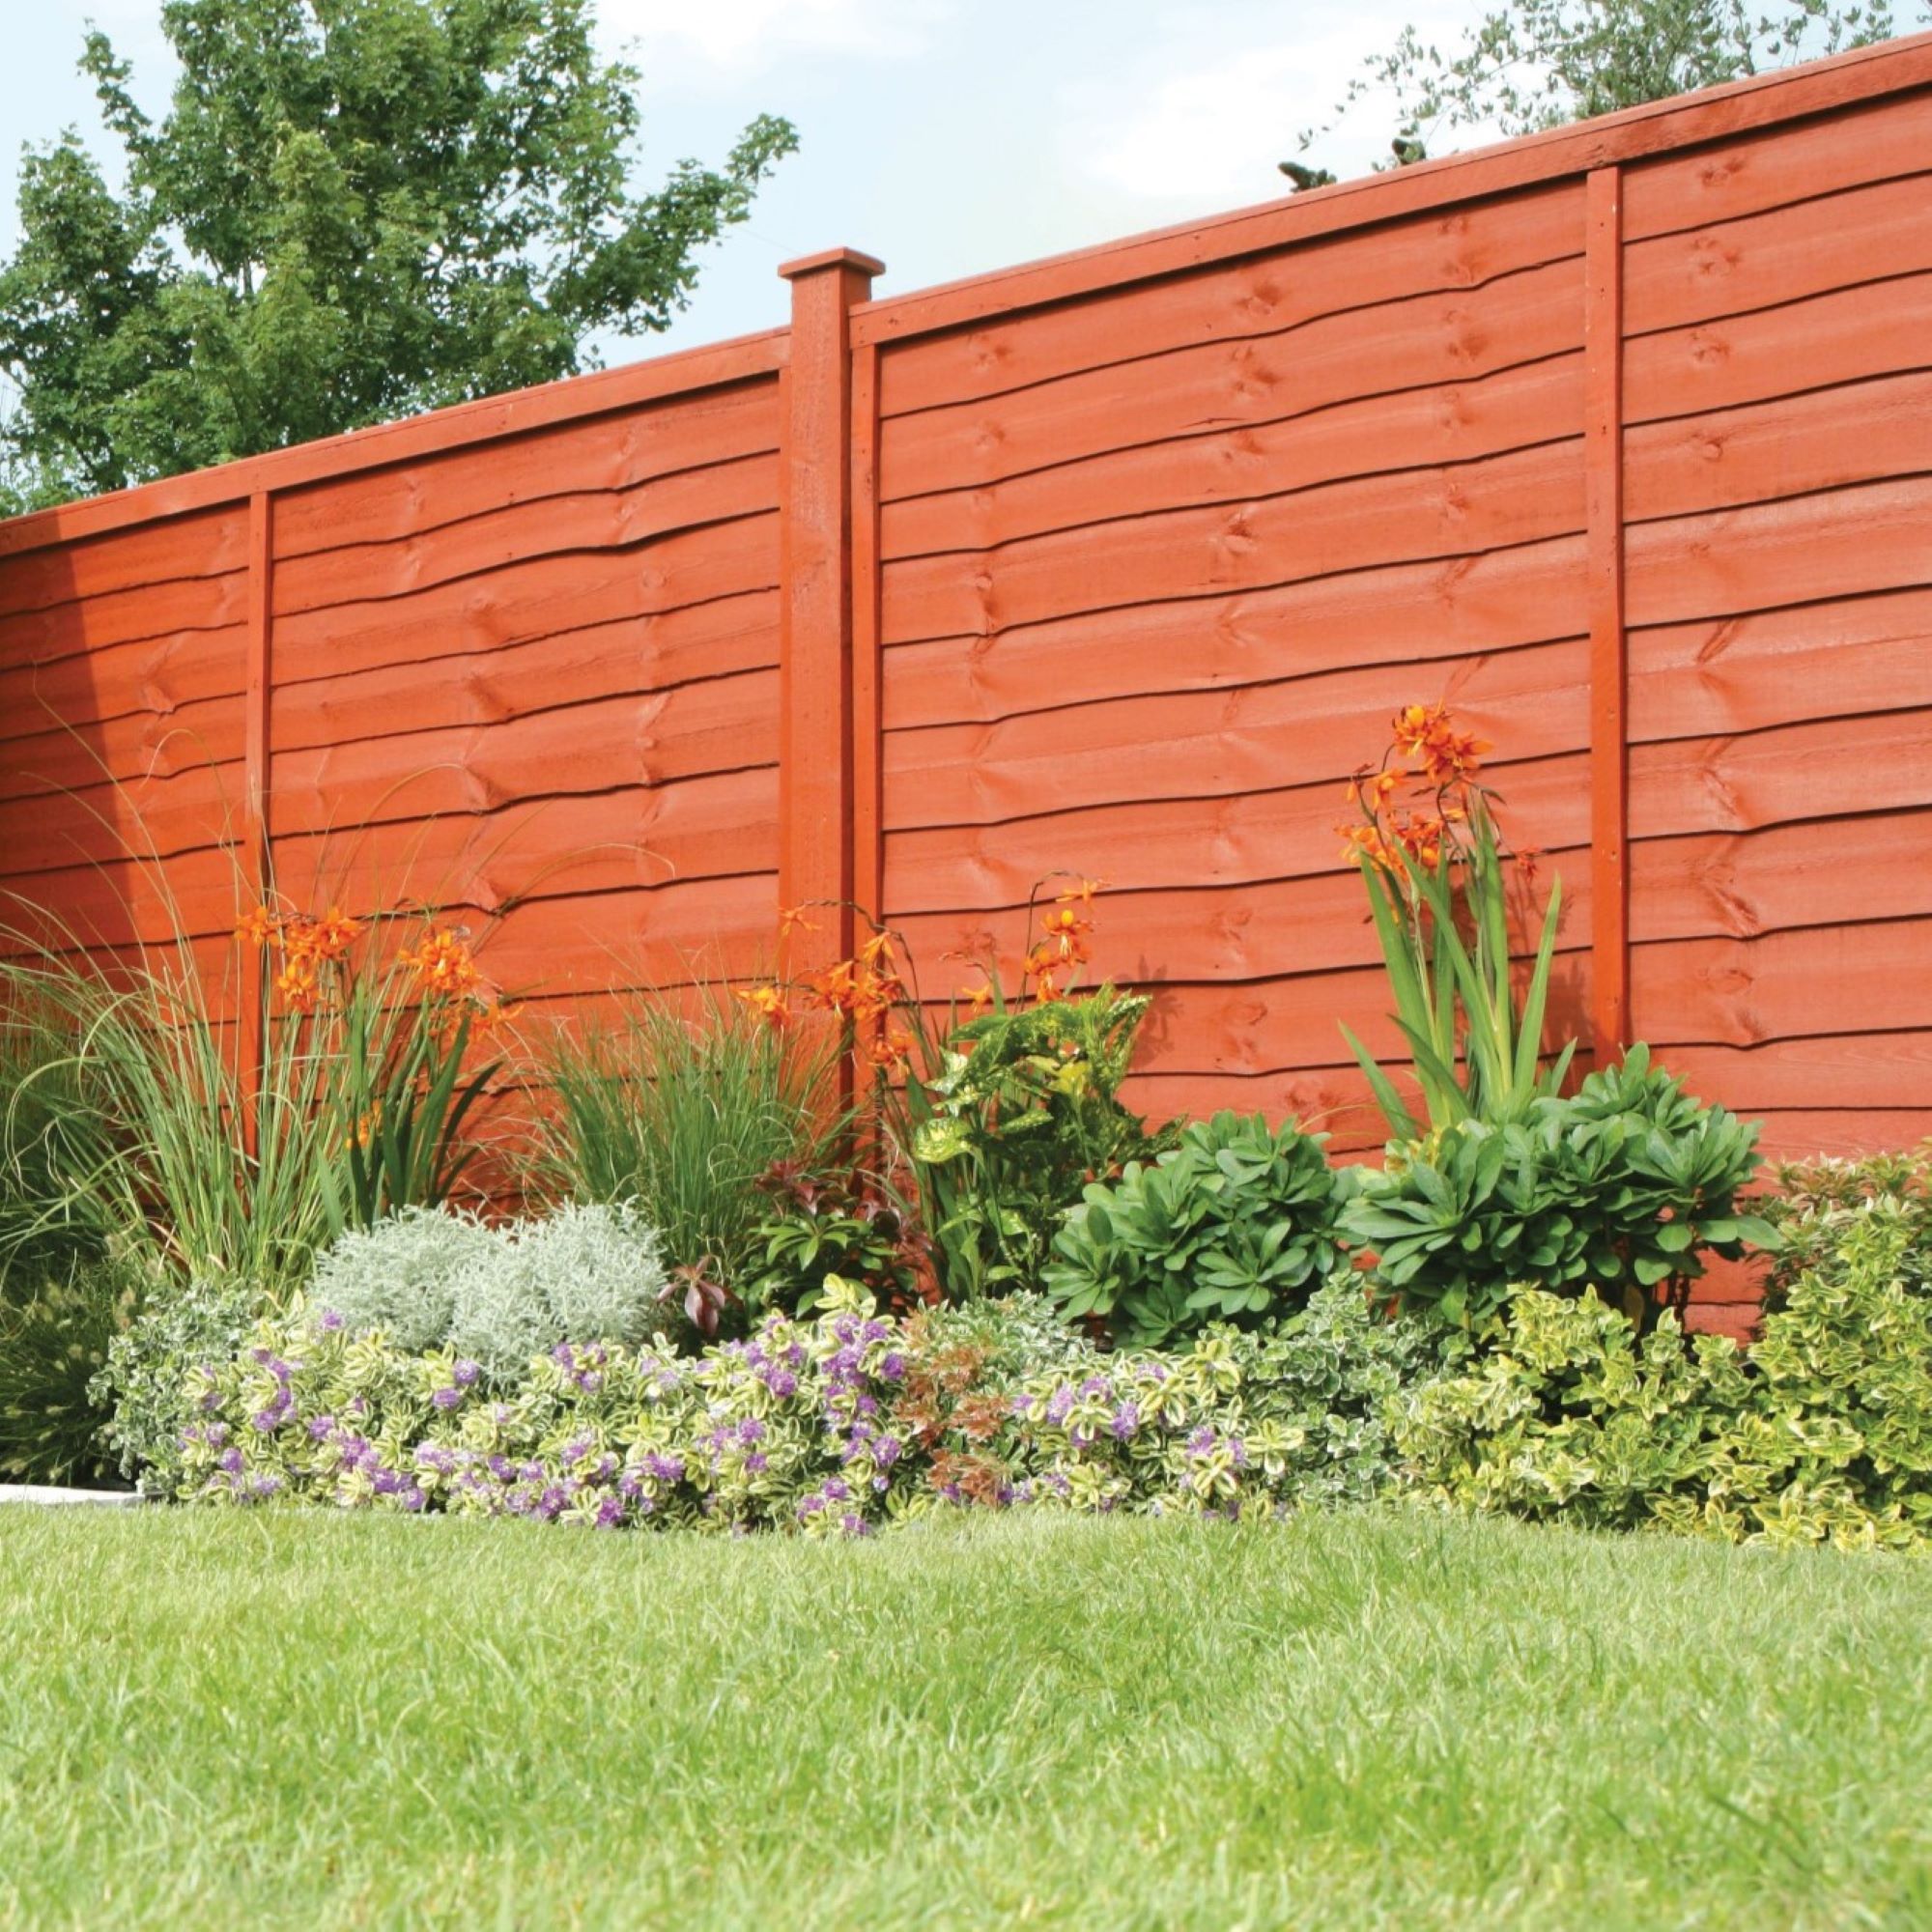
'First, plan your project for a warm day when the weather is forecast to be dry for the whole time you’re planning to paint,' says Jimmy Englezos, Senior Product Expert, Ronseal. 'If it has been raining, allow the fence to thoroughly dry out before starting.'
Planning ahead is key, more so thanks to the unpredictable British weather. The wood has to be dry otherwise the paint won't stick and your efforts will be wasted. Avoid very hot days though, as the sun will dry out the paint before it's had time to penetrate the wood properly.
2. Prepare the surface
Start by lightly sanding the surface to remove any previous paint. Then use a stiff brush to remove dirt, flaky bits and dried garden debris. You want the fence to be in as good a condition as possible before you start painting, so go in with a diluted general-purpose cleaner to scrub away any algae, moss or paint debris next.
'Once dry, apply a coat of wood preserver to prevent wood rot,' says Michael from The Paint Shed. 'The stronger and cleaner your fence is the more receptive it will be to any treatment or paint you apply later.' Again, wait for the fence to fully dry before moving on to the next step.
3. Protect the surrounding area
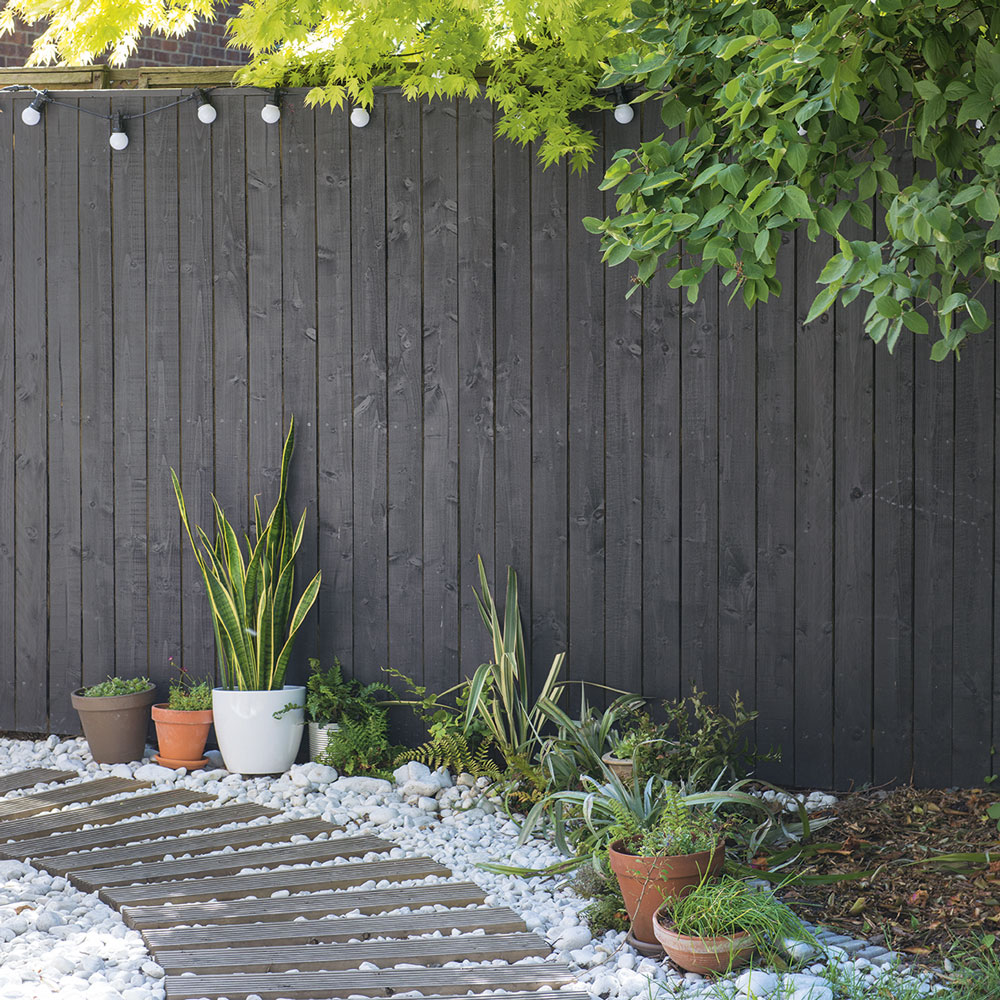
'When painting new fence panels, simply wipe down and mask off any areas that you don’t want to treat (posts, locks),' says Michael. 'Use painter's tape or old newspaper.'
Lay out a dry cloth to protect the ground or any decking ideas, then use dust sheets to cover plants that might be splashed. Trim back any foliage that's getting in your way and gently detach and pull back any climbers.
4. Decide whether to prime
Just like with painting a wall, using a primer will increase the lifespan of the paint and help it apply more seamlessly to the wood. We recommend this step for helping your painted fence to stay in good condition for at least a couple of years, but you can also find paints that already have a primer mixed in.
'Some new paint formulas like that of Cuprinol and Sadolin Superdec combine a fencing primer and a top coat to cut down the cost and time spent painting,' Michael says. 'Applying a primer with these paints may stop the paint from sinking into the wood so it is not advised.'
5. Do a patch test
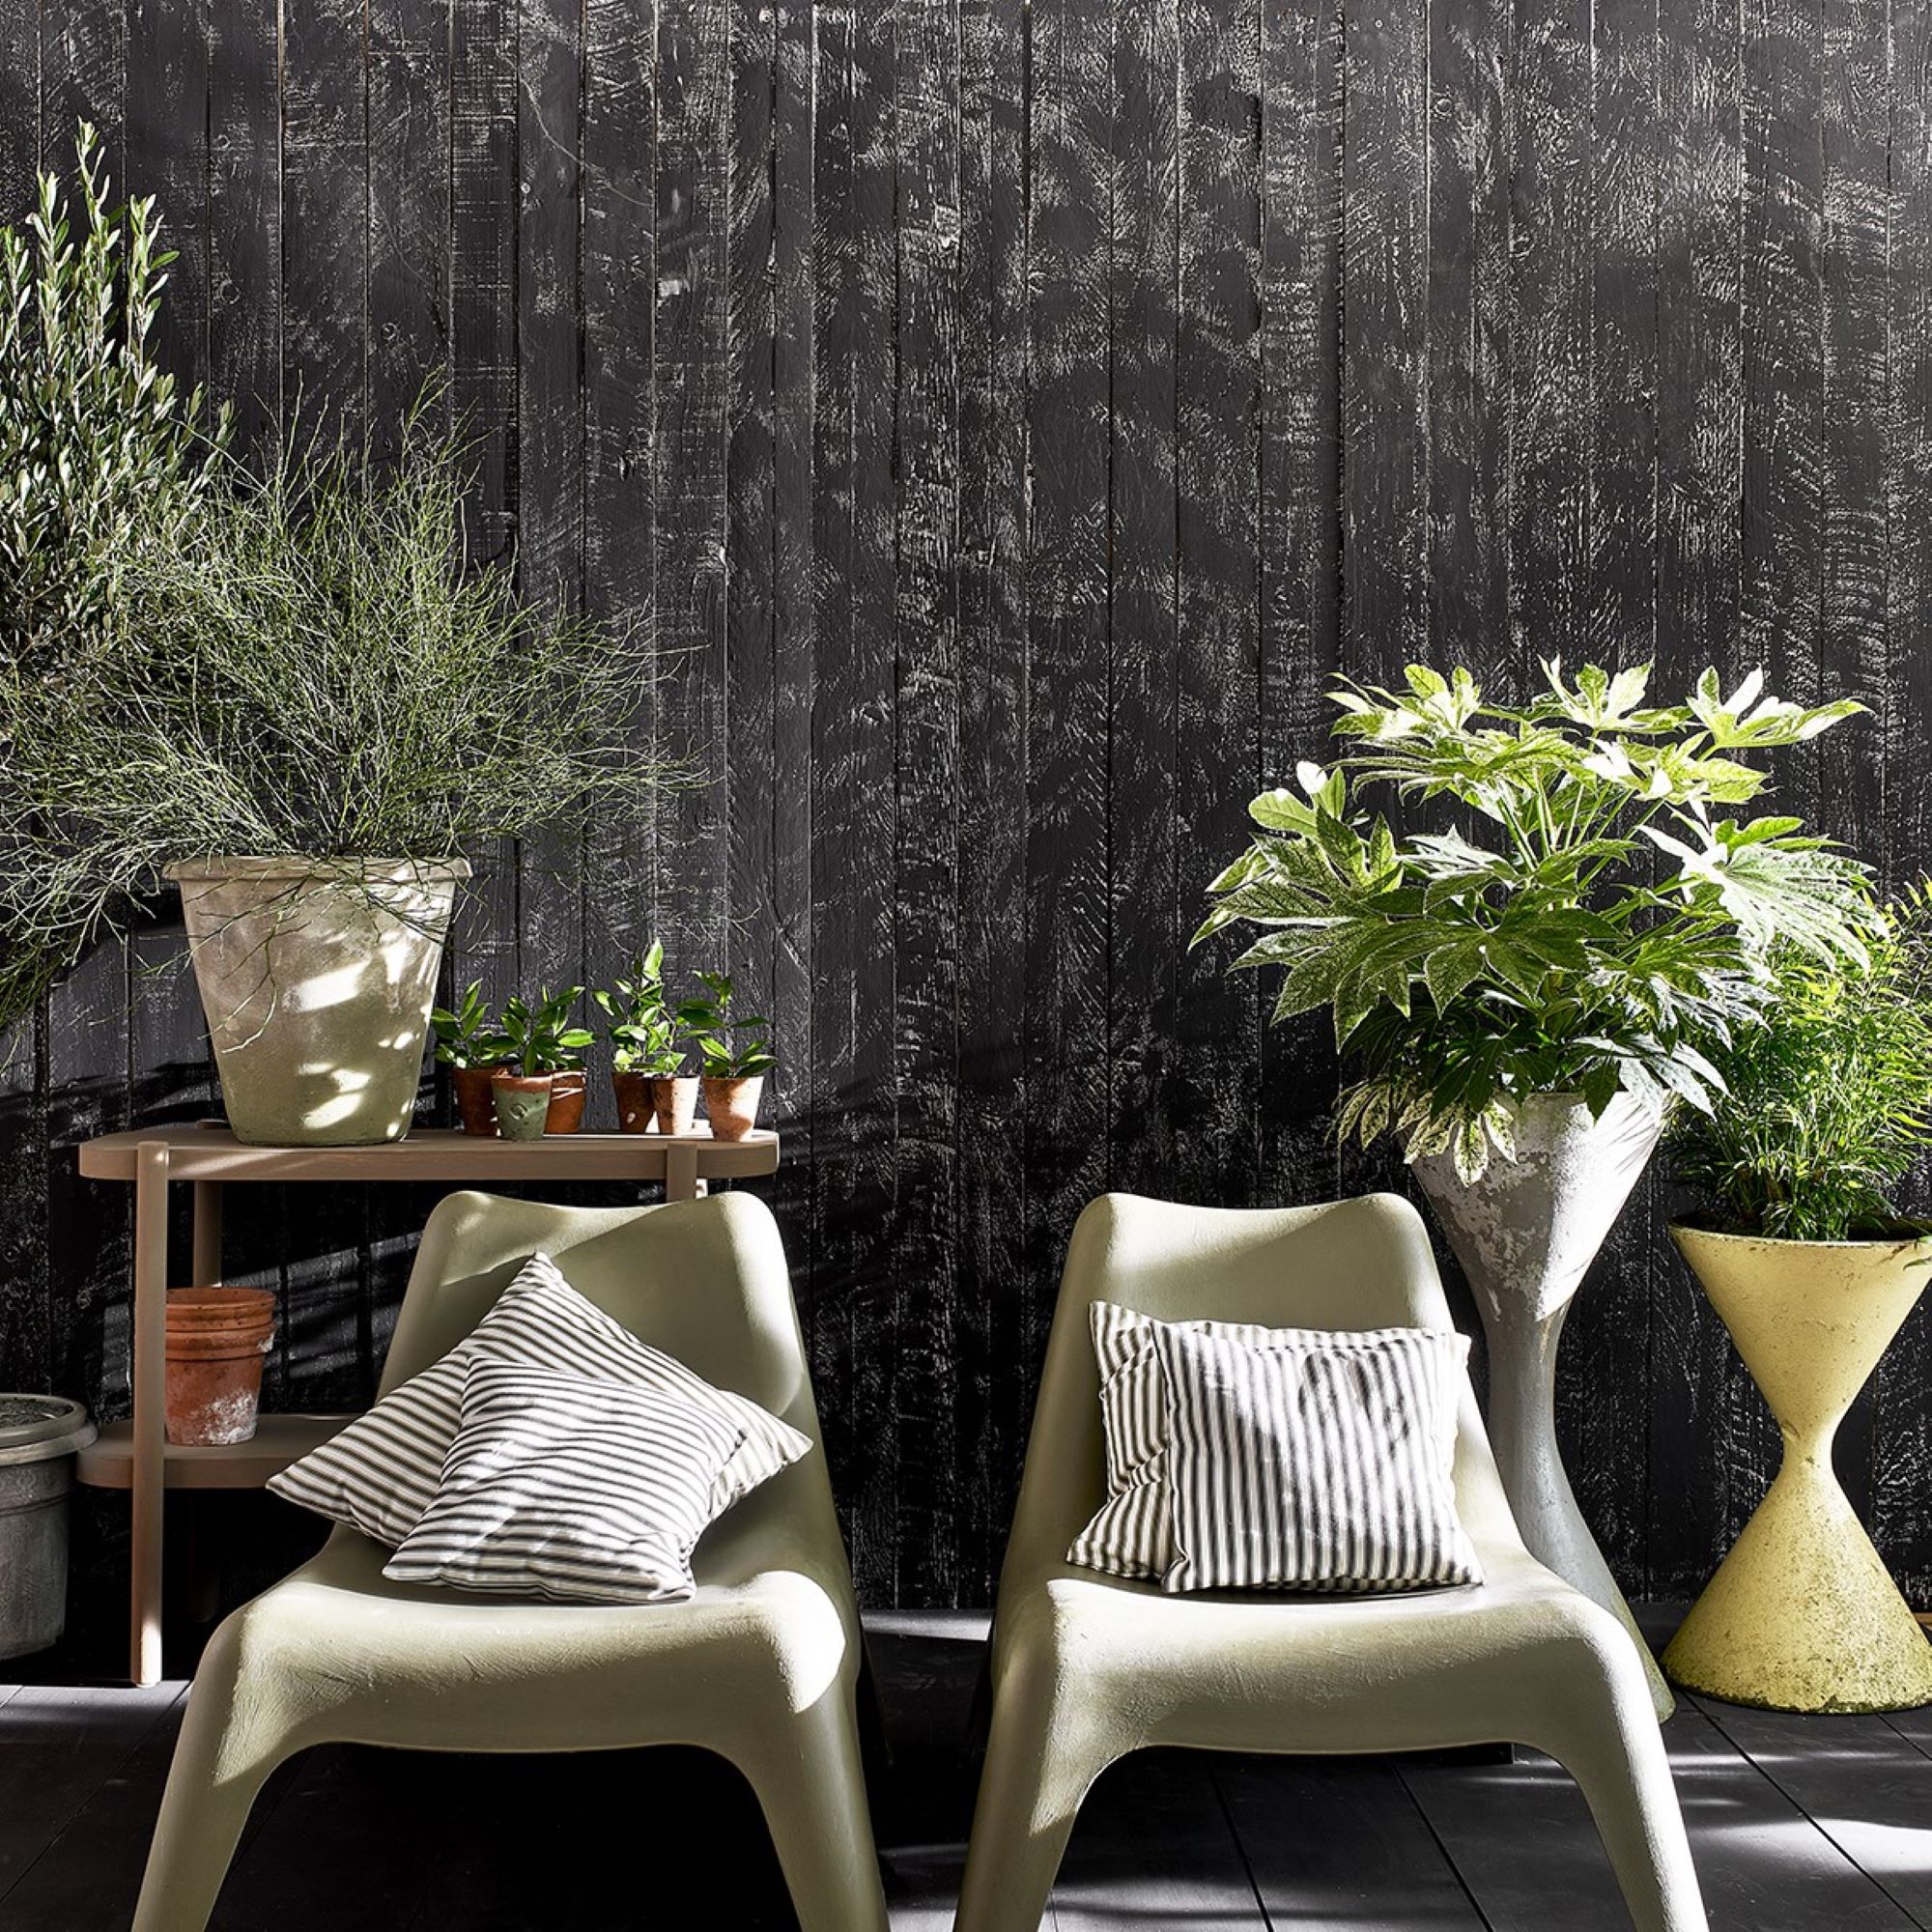
'Before painting, thoroughly stir the paint you’re using until the colour is consistent throughout,' says Jimmy from Ronseal. 'Then check you are happy with the colour by testing it out on a small area of the fence – remember that if the fence is previously painted in a dark or bold colour, it may take more coats to get the desired colour with the new paint.'
Do the patch test in an inconspicuous place before you do the entire fence – same as you would with an interior decorating task. It's important to see the colour once it's dried to gage how it will look once it's done.
6. Get painting
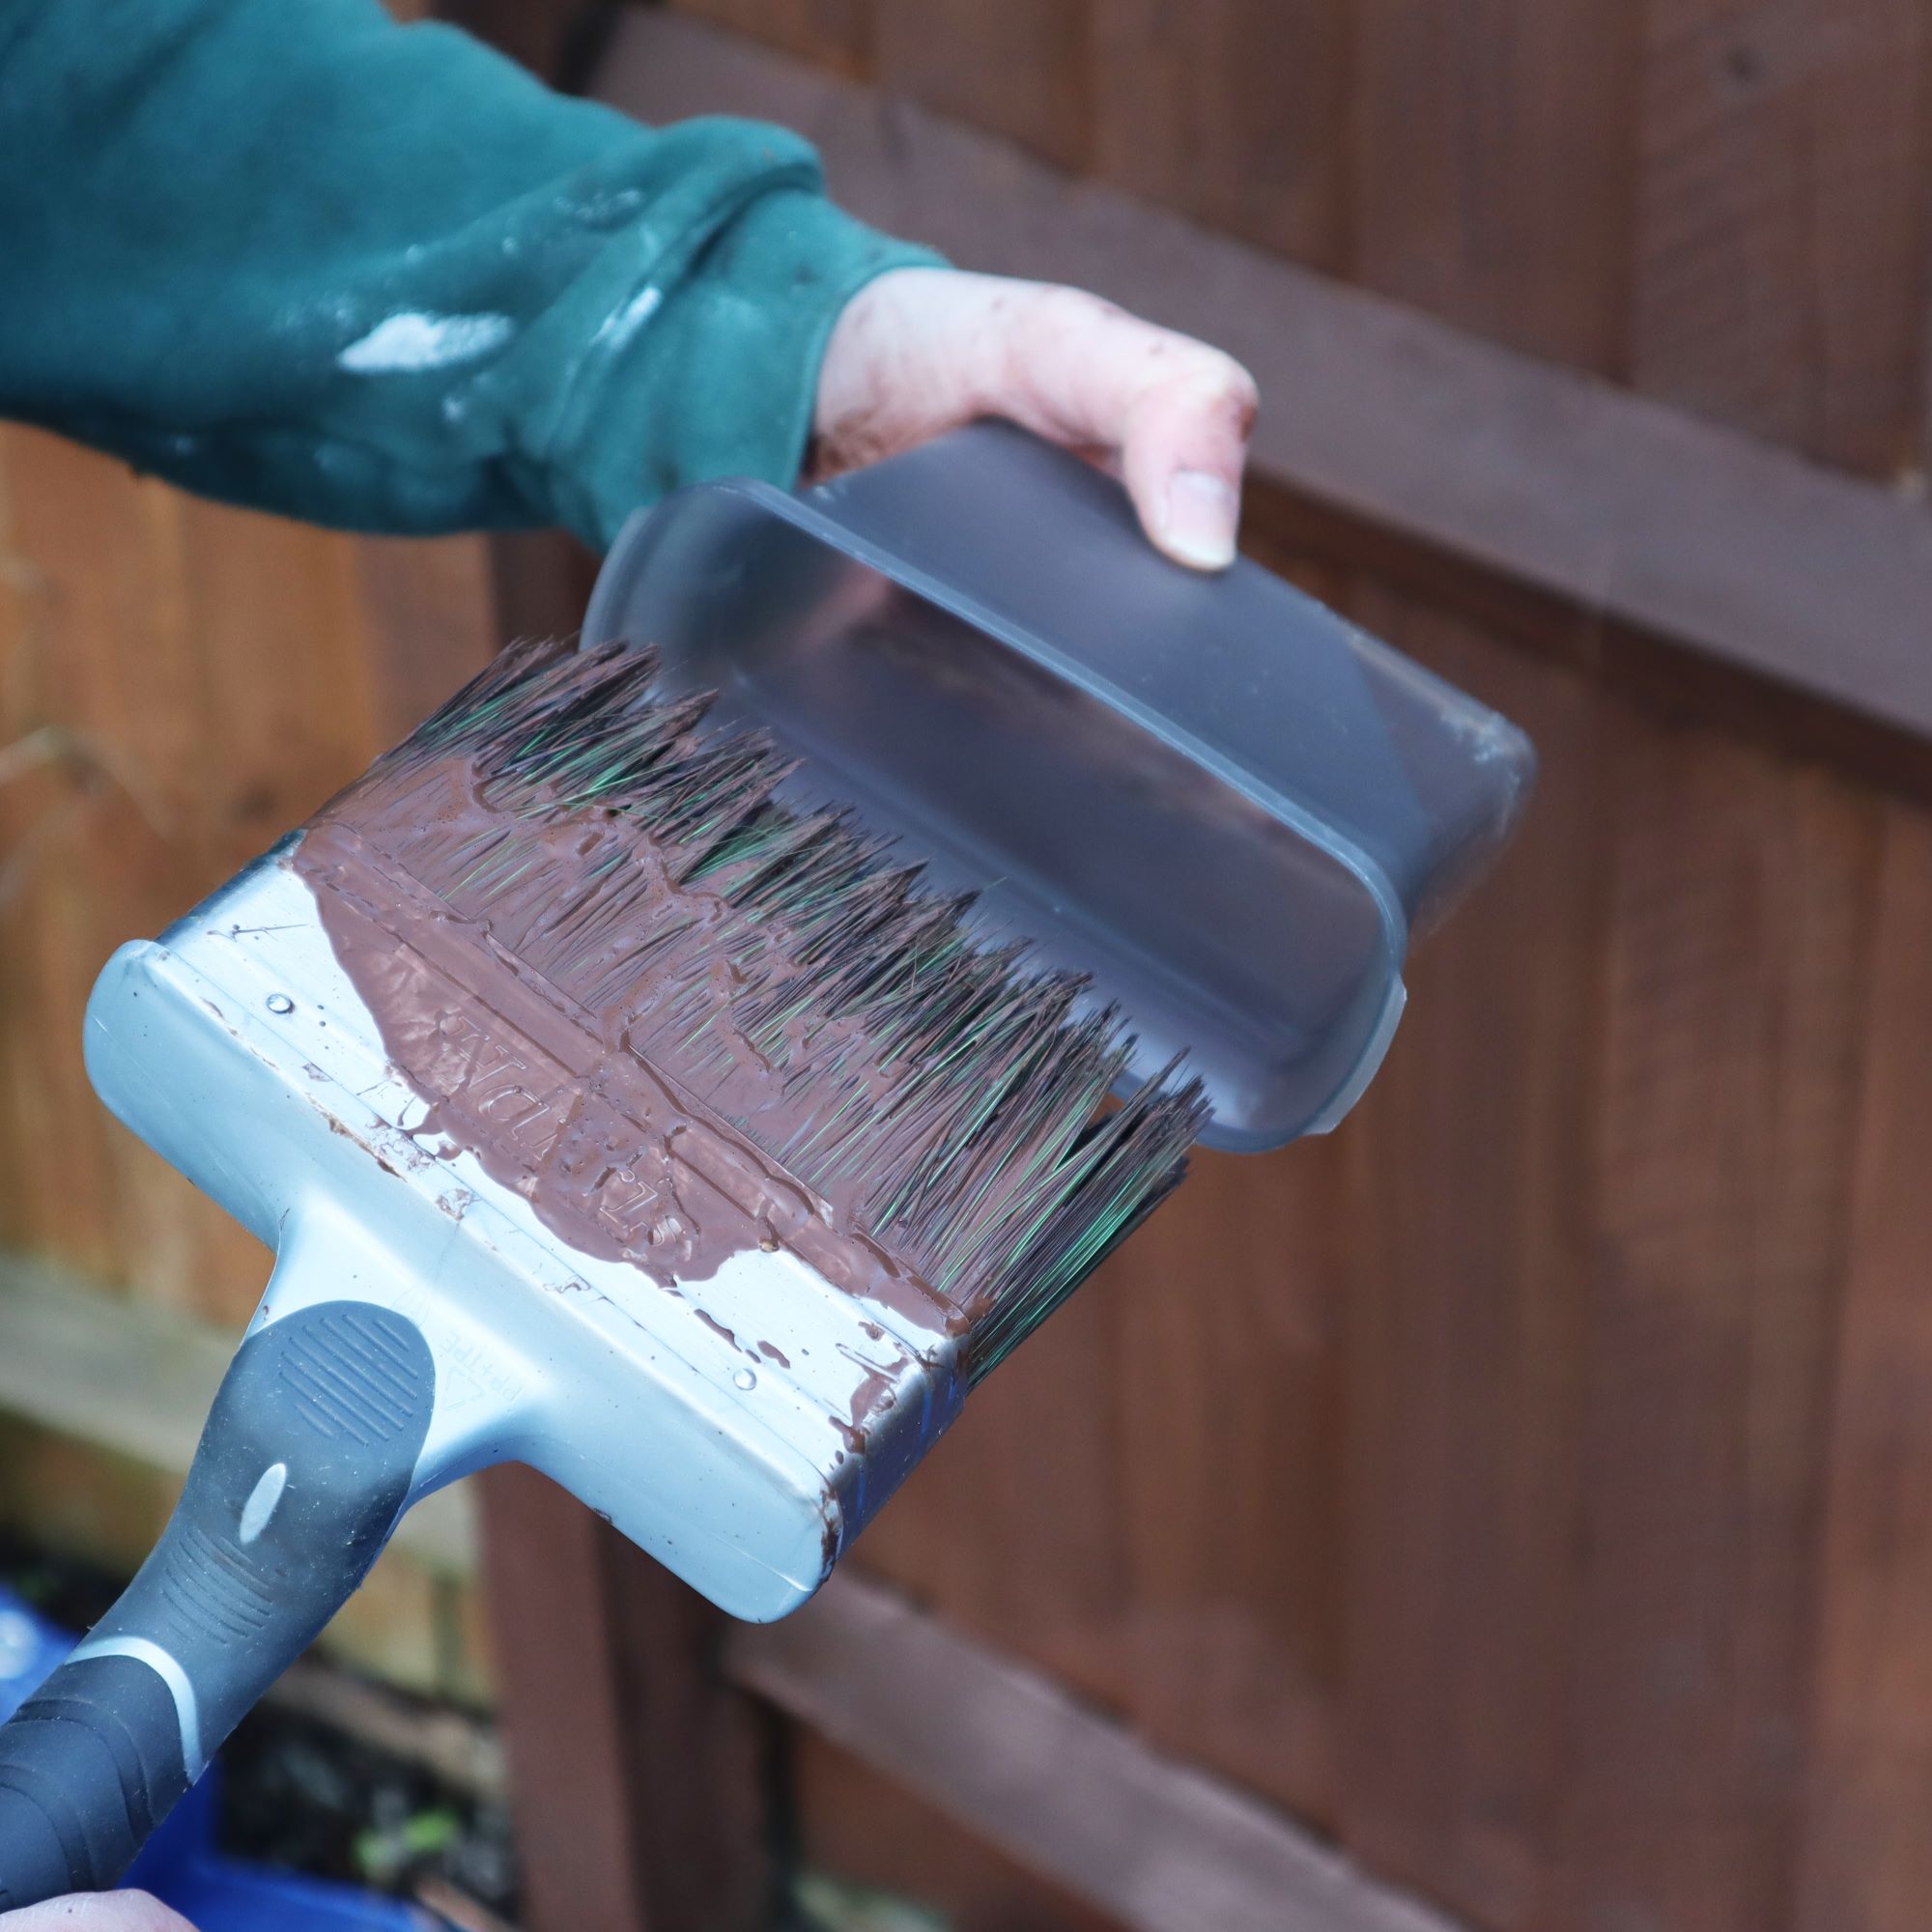
All the above steps involve the necessary preparation for learning how to paint a fence. It will now be ready to receive your paintbrush.
'Get a load of paint on your brush (dip the brush so that the paint is no more than halfway up the bristles) and paint one panel at a time, going with the woodgrain,' advises Jimmy. 'Don’t spread the paint too thinly and if you see any drips running down the fence then brush through them to prevent them streaking down the fence.'
For end grains (such as the top of fence posts), dab the brush in a stippling motion to really get the product into the wood. Leave the paint to dry completely before going back to do another coat.
'Most fence paints will require two coats with an average waiting time of 4-12 hours between each coat,' explains DIY expert Michael. 'Some trade quality paint, however, is specially formulated to provide long-lasting colour and protection in just one coat.'
In most cases, two thin coats will give a much better result than one thick coat. Read the advice given for best results with the paint you're using.
Is it better to paint a fence with a brush or roller?
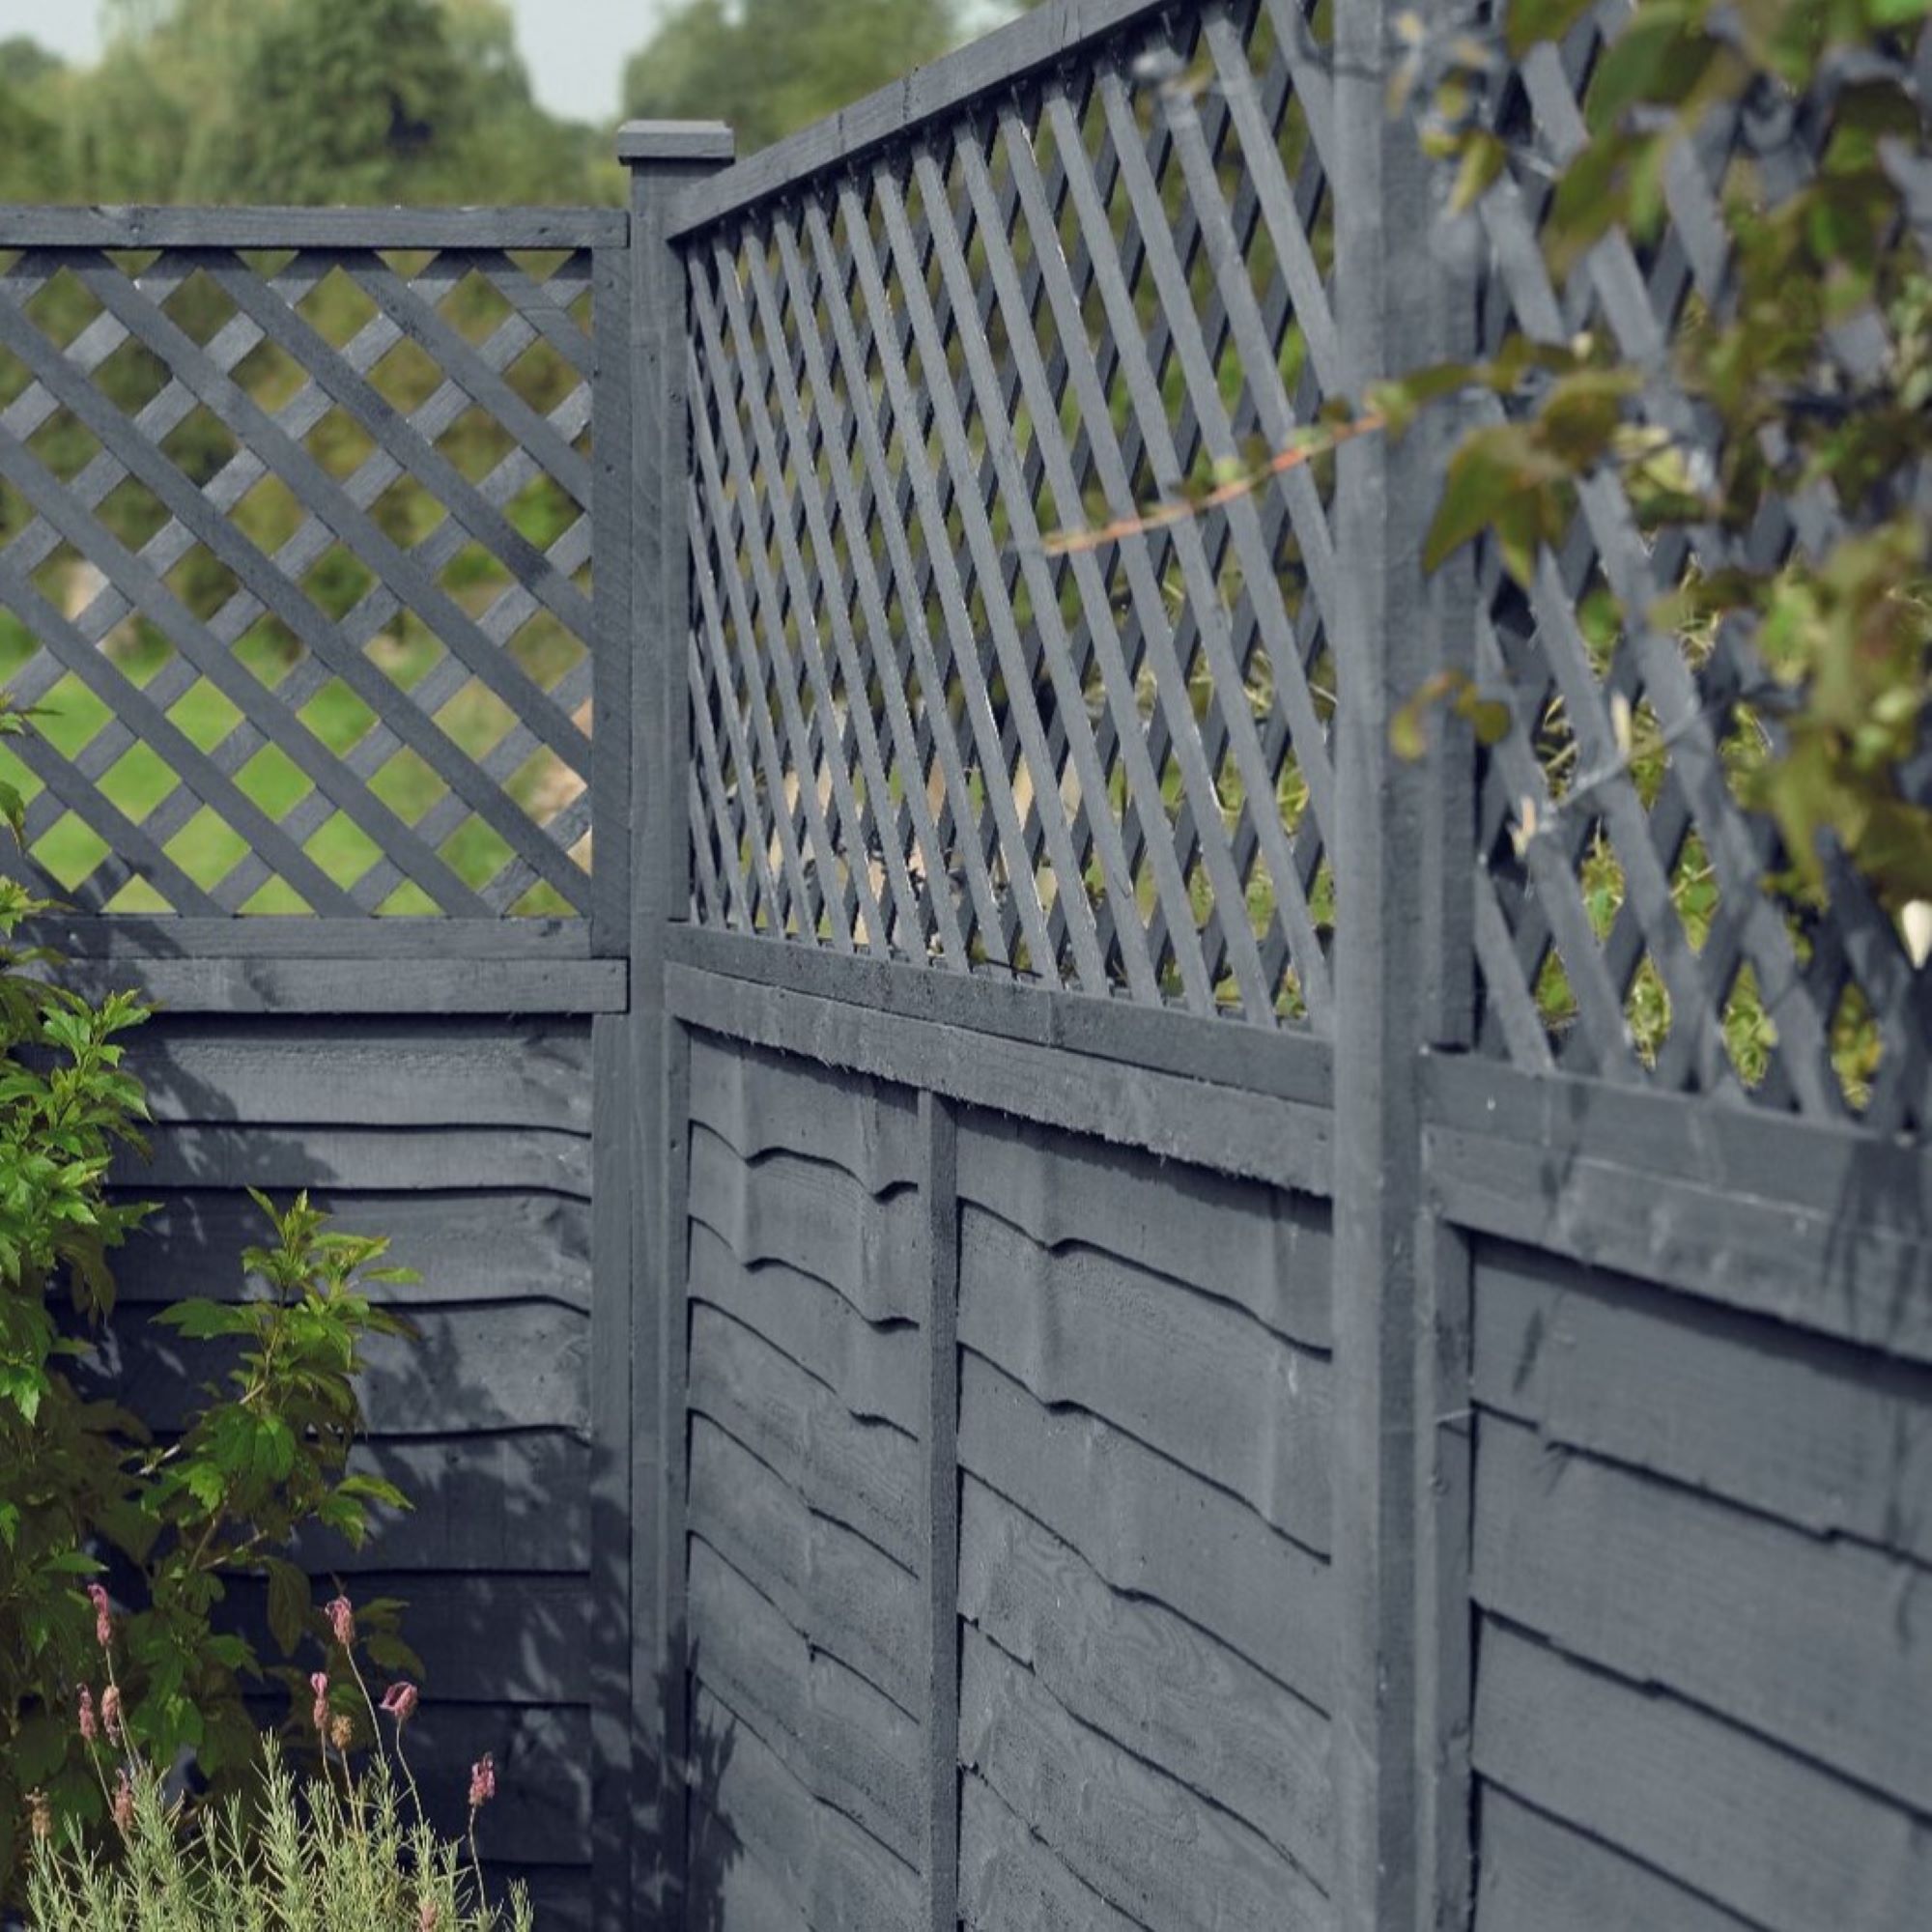
You can learn how to paint a fence with a brush, roller, or even a sprayer but which is better will depend on how much paint you have, the surface area you are painting and what tool you work best with.
'For larger fences, a spray gun will help you work quickly and efficiently. For painting a picket fence a paintbrush is recommended to give you more control,' says DIY expert Michael. 'To paint garden fences, however, we recommend using both a roller and a paintbrush. This will help you paint the fence quickly without wasting a lot of paint.'
A combination of a roller and a brush will help you do the effectively but efficiently. Go in with the roller first on the flat surfaces, then use the brush to paint the edges.
What is the best colour for a garden fence?
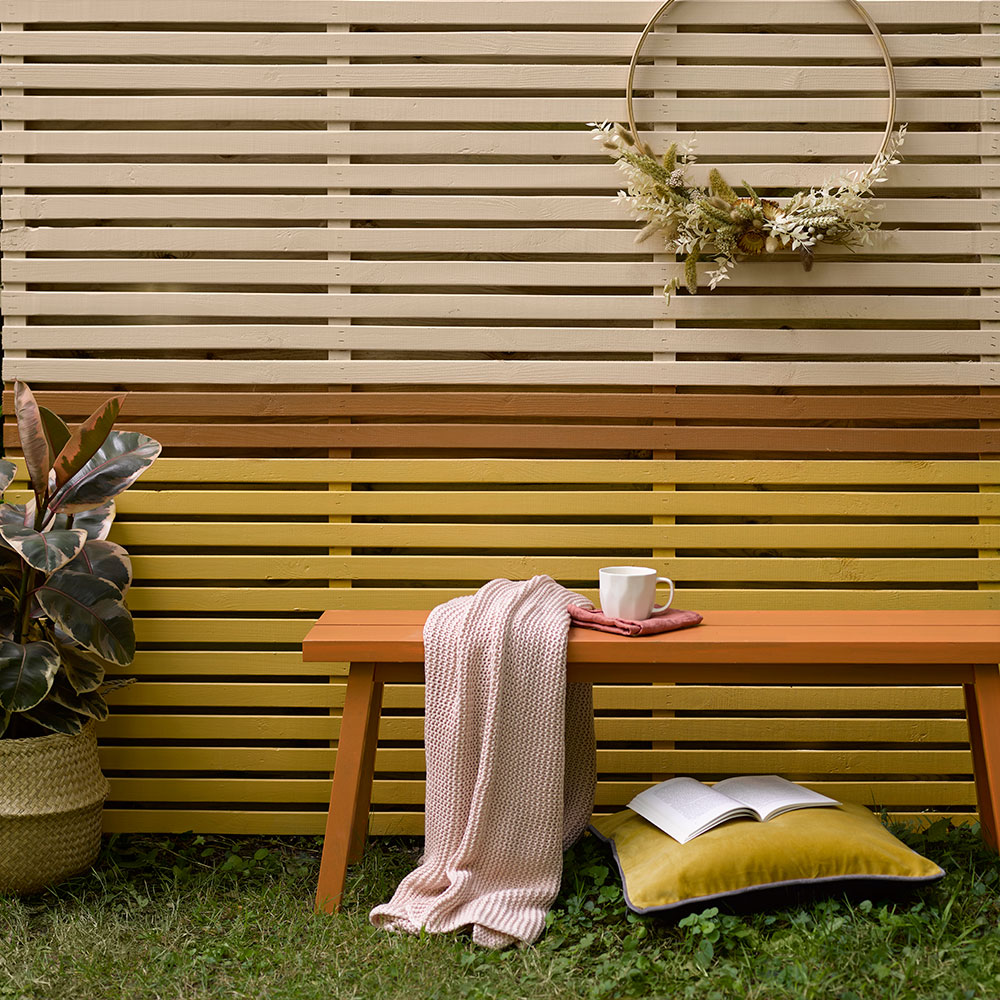
'When picking a garden fence paint it’s important that the colour ties in with the look and feel of your home,' says Michael. 'Use your rooftop or other wooden surfaces in your garden (shed ideas, decking, garden furniture) as a reference point. Pick a colour that will match, complement or blend into the landscape of your home for a cohesive colour scheme.'
The colour of paint you choose for your garden fence ultimately comes down to personal preference. Earthy browns are popular because they enhance the natural colour of the timber, and tie in with the outdoors.
'Consider blue-grey or even contemporary green shades, as these are ideal for making a refreshing statement with your garden fence,' says Leigh Barnes, Retail Sales Manager, Jacksons Fencing. 'These colours look particularly good set off against darker-coloured plants and foliage to act as a standout feature.'
Or you could be even more adventurous and paint your garden fence pink, which has become a surprisingly popular choice in recent years.
'If you are willing to be a bit more daring with your fence colour, then a soft pink is the perfect colour, especially in the sunshine and when the sun sets,' says Kelly Friel at Zoro . 'Lighter colours can often blur the boundaries of your garden and can make it feel bigger.'
Garden fences will look amazing with a fresh coat of paint, whether you love brights or neutrals.
Get the Ideal Home Newsletter
Sign up to our newsletter for style and decor inspiration, house makeovers, project advice and more.

Ginevra Benedetti has been the Deputy Editor of Ideal Home magazine since 2021. With a career in magazines spanning nearly twenty years, she has worked for the majority of the UK’s interiors magazines, both as staff and as a freelancer. She first joined the Ideal Home team in 2011, initially as the Deputy Decorating Editor and has never left! She currently oversees the publication of the brand’s magazine each month, from planning through to publication, editing, writing or commissioning the majority of the content.
- Katie SimsContributor
-
 I unboxed the Ninja Slushi – here's what happened
The Ninja Slushi is the stuff of dreams for summer entertaining
By Molly Cleary
-
 Should you invest in a pot filler or are they just a high-end kitchen fad? I asked kitchen experts whether they're set to be a trend beyond 2025
A high-low approach to kitchen design is the key to creating a stylish space in your budget
By Holly Cockburn
-
 Are conservatories going to be banned in the UK?
Conservatory pros reveal the truth behind the rumours
By Rebecca Foster