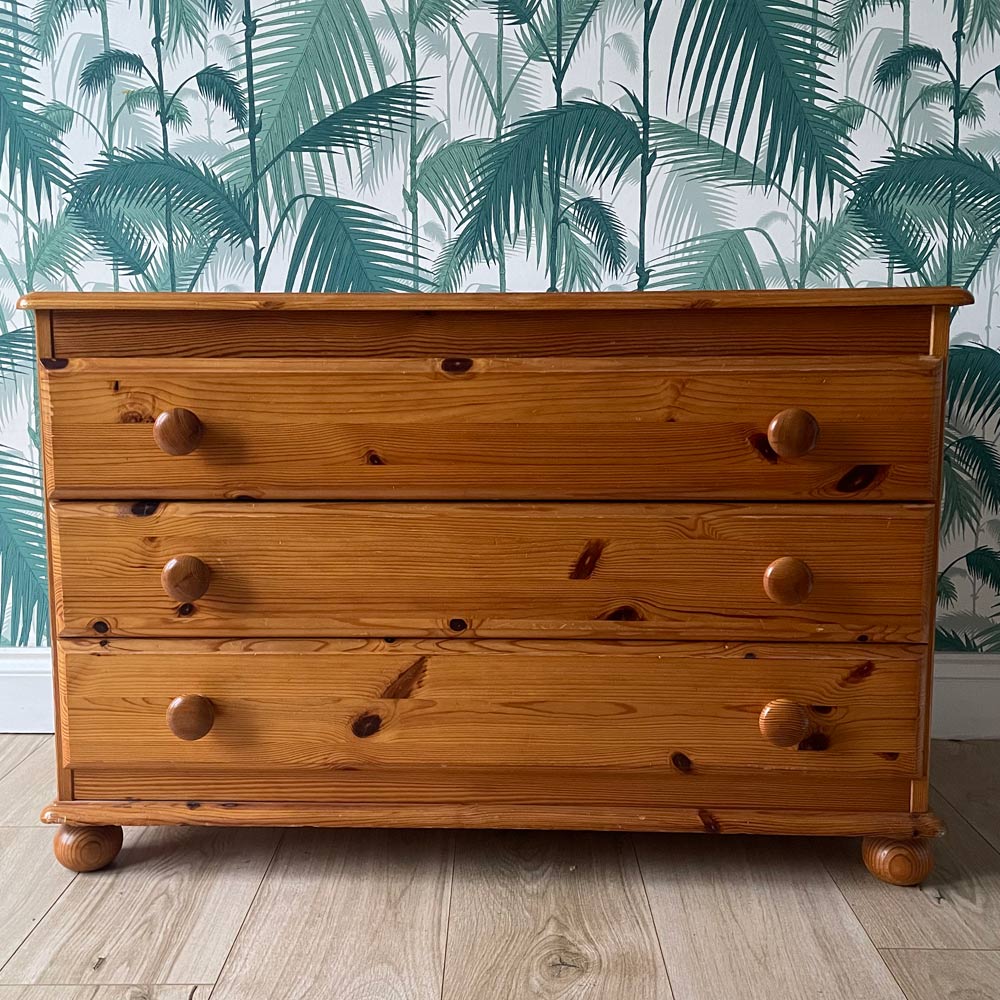
You'd never know this retro inspired sideboard used to be an old pine chest of drawers
It's amazing what a bit of paint and new legs can do
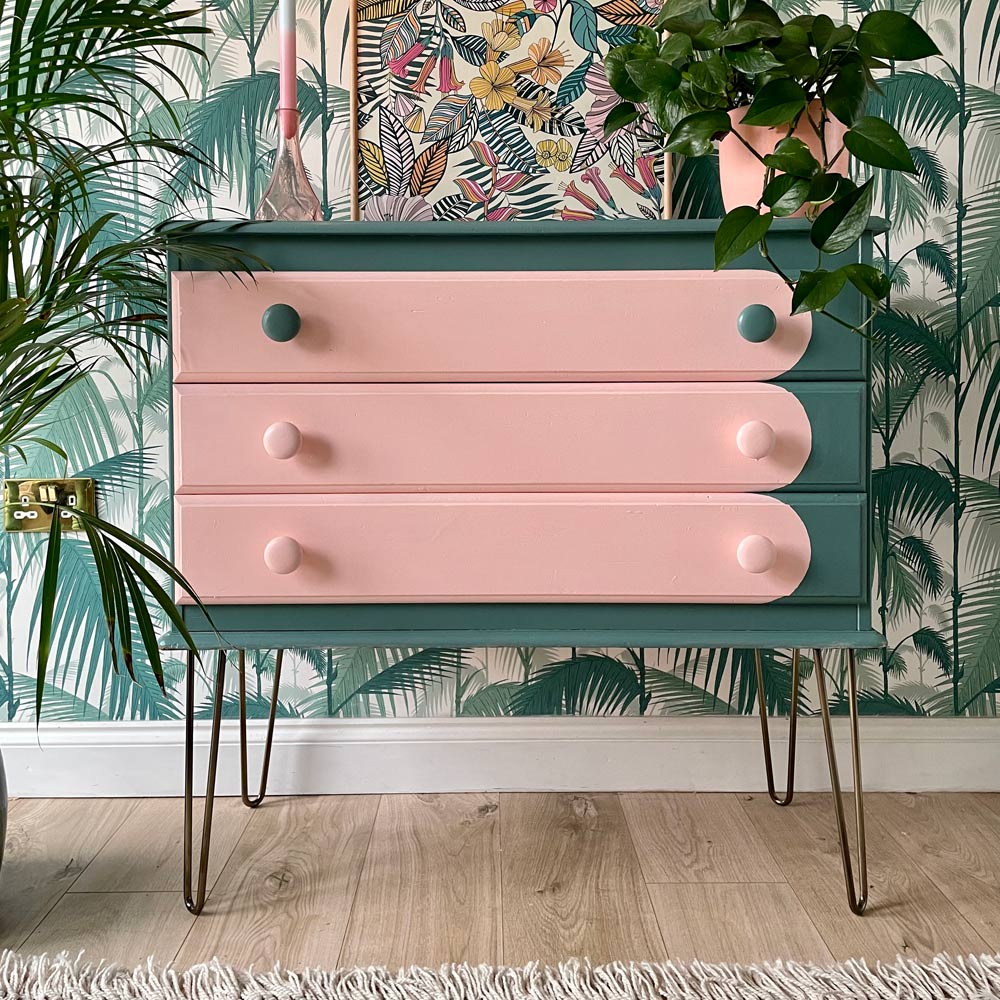
This beautiful chest of drawers on legs may look like a colourful retro furniture piece but is, in fact, a gorgeous and bright upcycled furniture idea that cost very little to achieve.
Interiors Influencer, Rachel Verney, @the_shoestring_home, used her DIY skills and love of bold colour to revolutionise this cabinet.
Scalloped painted chest drawers makeover
Before Rachel worked her magic, the colourful cabinet was an old pine chest of drawers. But Rachel, who describes herself as 'upcycling and interiors mad' transformed the tired and orange-toned storage into stylish drawers with a striking painted scalloped design.
Before
To take the makeover to the next level she attached some Rothley Ltd antique brass look Hairpin legs. 'I was super happy how this one turned out... Alongside some scallop painted draws they [Rothley's Hairpin legs] instantly gave the unit a modern look,' says Rachel
After
If you're keen to give your old chest of drawers a glow-up here's how Rachel transformed here's using paint, masking tape and Hairpin legs.
You will need:
- A wooden chest of drawers
- Four individual Rothley Hairpin Legs - Rachel used 350mm in Antique Brass, £17.40 each, from IronmongeryDirect.
- Screwdriver
- Sander / Sandpaper
- Wood Filler (if needed)
- Wood Paint Primer
- Lacquer
- Paint
- Paint Roller / Paint Brushes
- Masking Tape
- Paper, Pencil and Scissors
1. Remove the original legs
It may be a case of unscrewing if that’s how the legs were originally attached, or sawing off if they were glued. Rachel needed to saw the legs off, she then sanded down the area thoroughly afterwards.
2. Prepare the unit - prep is key to having a good finish to your upcycle.
Rachel then filled in any marks or chips fill with wood filler, before sanding down the whole cabinet. Rachel's dresser onlyneeded a very fine grade sandpaper to lightly sand, so the paint sticks nicely.
Get the Ideal Home Newsletter
Sign up to our newsletter for style and decor inspiration, house makeovers, project advice and more.
The next step is to prime the unit. Most of the best paints for furniture have built-in primer, it’s always good idea to use a primer to get the best finish possible.
Make sure to use the correct primer, for the green tone of this project upcycle, Rachel used a grey primer as the base. She used a mini foam roller for even coverage, and left it to dry for at least 4 hours.
3. Create paper template to draw on the scallop design.
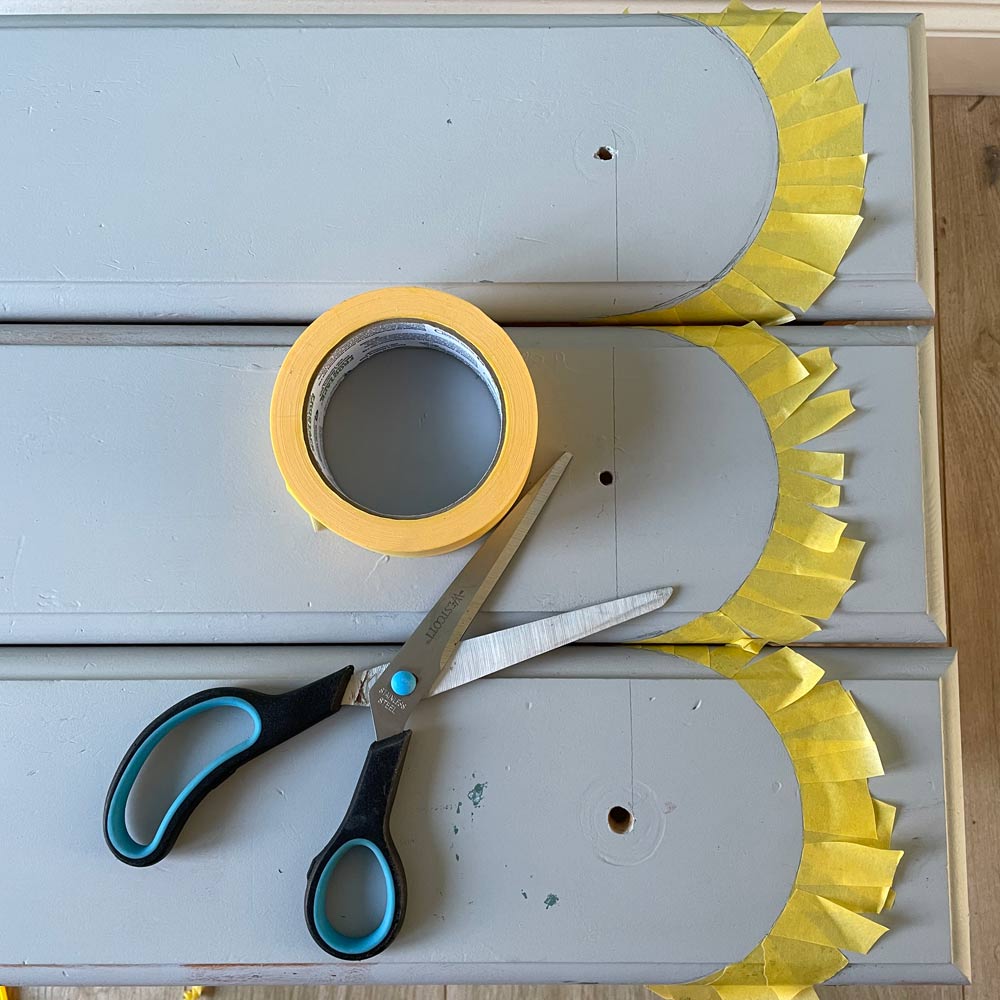
For this scallop design, Rachel created a template by drawing a circle on a piece of card, three times. She cut these out neatly to use as a guide for the scallop-shaped template. Using a ruler and pencil, she lined up the template in relation to where the handles would go.
She them traced around the outside of the templact and marked of with masking tape so it was ready to paint.
4. Time to paint
Rachel then painted with her chosen colours using the same mini foam roller to achieve a smooth finish. She let the paint dry fully before adding two more coats of paint and painting the handles.
5. Attach the hairpin legs
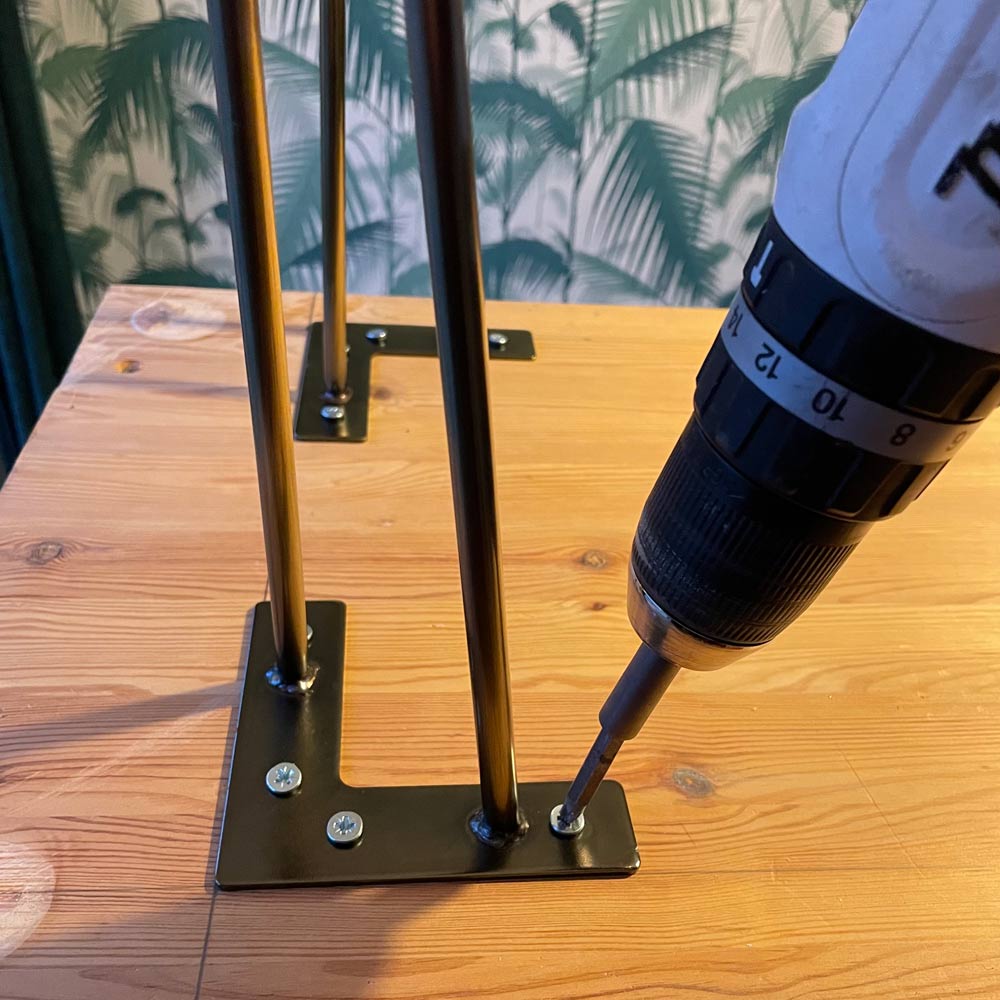
Rachel, then attached those stylish hairpin legs as a finishing touch. She used a ruler to make sure the legs are equally positioned and marked the position with a pencil. She then screwed the new legs in place with a screwdriver.
Finally, she re-attach all the hardware and added a coat of lacquer the unit to protect her finished project.
Rachel's top upcycling tips:
- Planning and preparation are key. Try and make a plan for your design, winging it tends to end in disaster. Don’t cut corners on prep either, if you make sure that everything is well sanded/filled you will end up with a professional finish.
- Before you start, make certain that you have all the tools you need. I've lost count of the amount of times I’ve been caught out mid-project when I couldn’t find something. Always best to check you have everything you need first.
- Don’t be afraid to try bold colours or quirky designs. The beauty of up-cycling is that you can really stamp your own style onto a pre-loved item. Go wild!
The quirky paint colour combination in bubblegum pink and rich sea green looks incredible set against a wallpapered palm print back-drop. Will you be giving this project a go?
Rachel Homer has been in the interiors publishing industry for over 15 years. Starting as a Style Assistant on Inspirations Magazine, she has since worked for some of the UK’s leading interiors magazines and websites. After starting a family, she moved from being a content editor at Idealhome.co.uk to be a digital freelancer and hasn’t looked back.
-
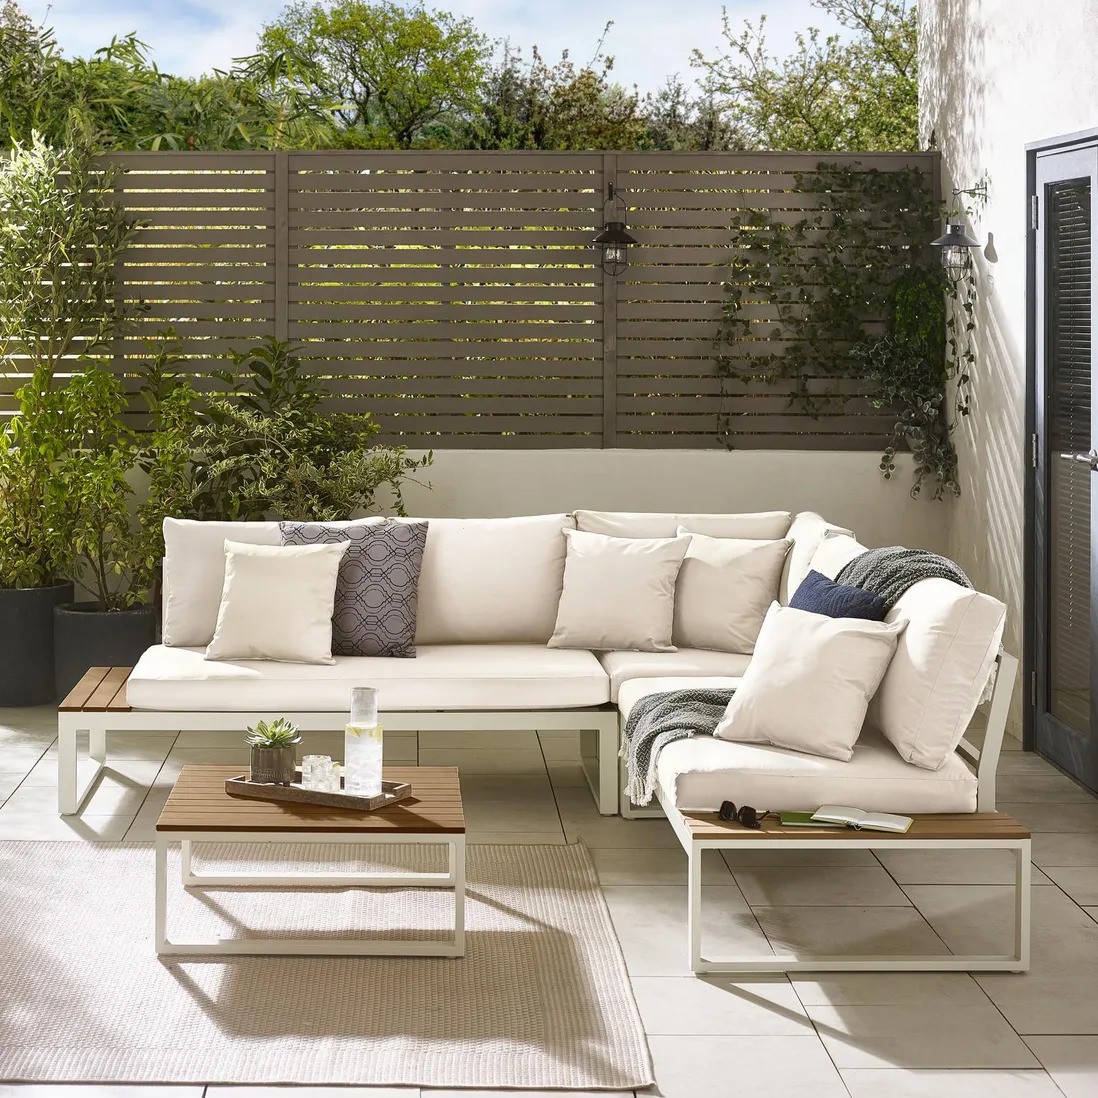 I'm a Homes Editor with expensive taste, but Debenhams just made me do a double-take with this bargain designer-look outdoor sofa
This is the last place I thought I'd find my dream outdoor sofa
By Rebecca Knight
-
 15 ways to add kerb appeal to your home – experts share what really works for a stylish first impression
Make your home's exterior pop with these ideas
By Jenny McFarlane
-
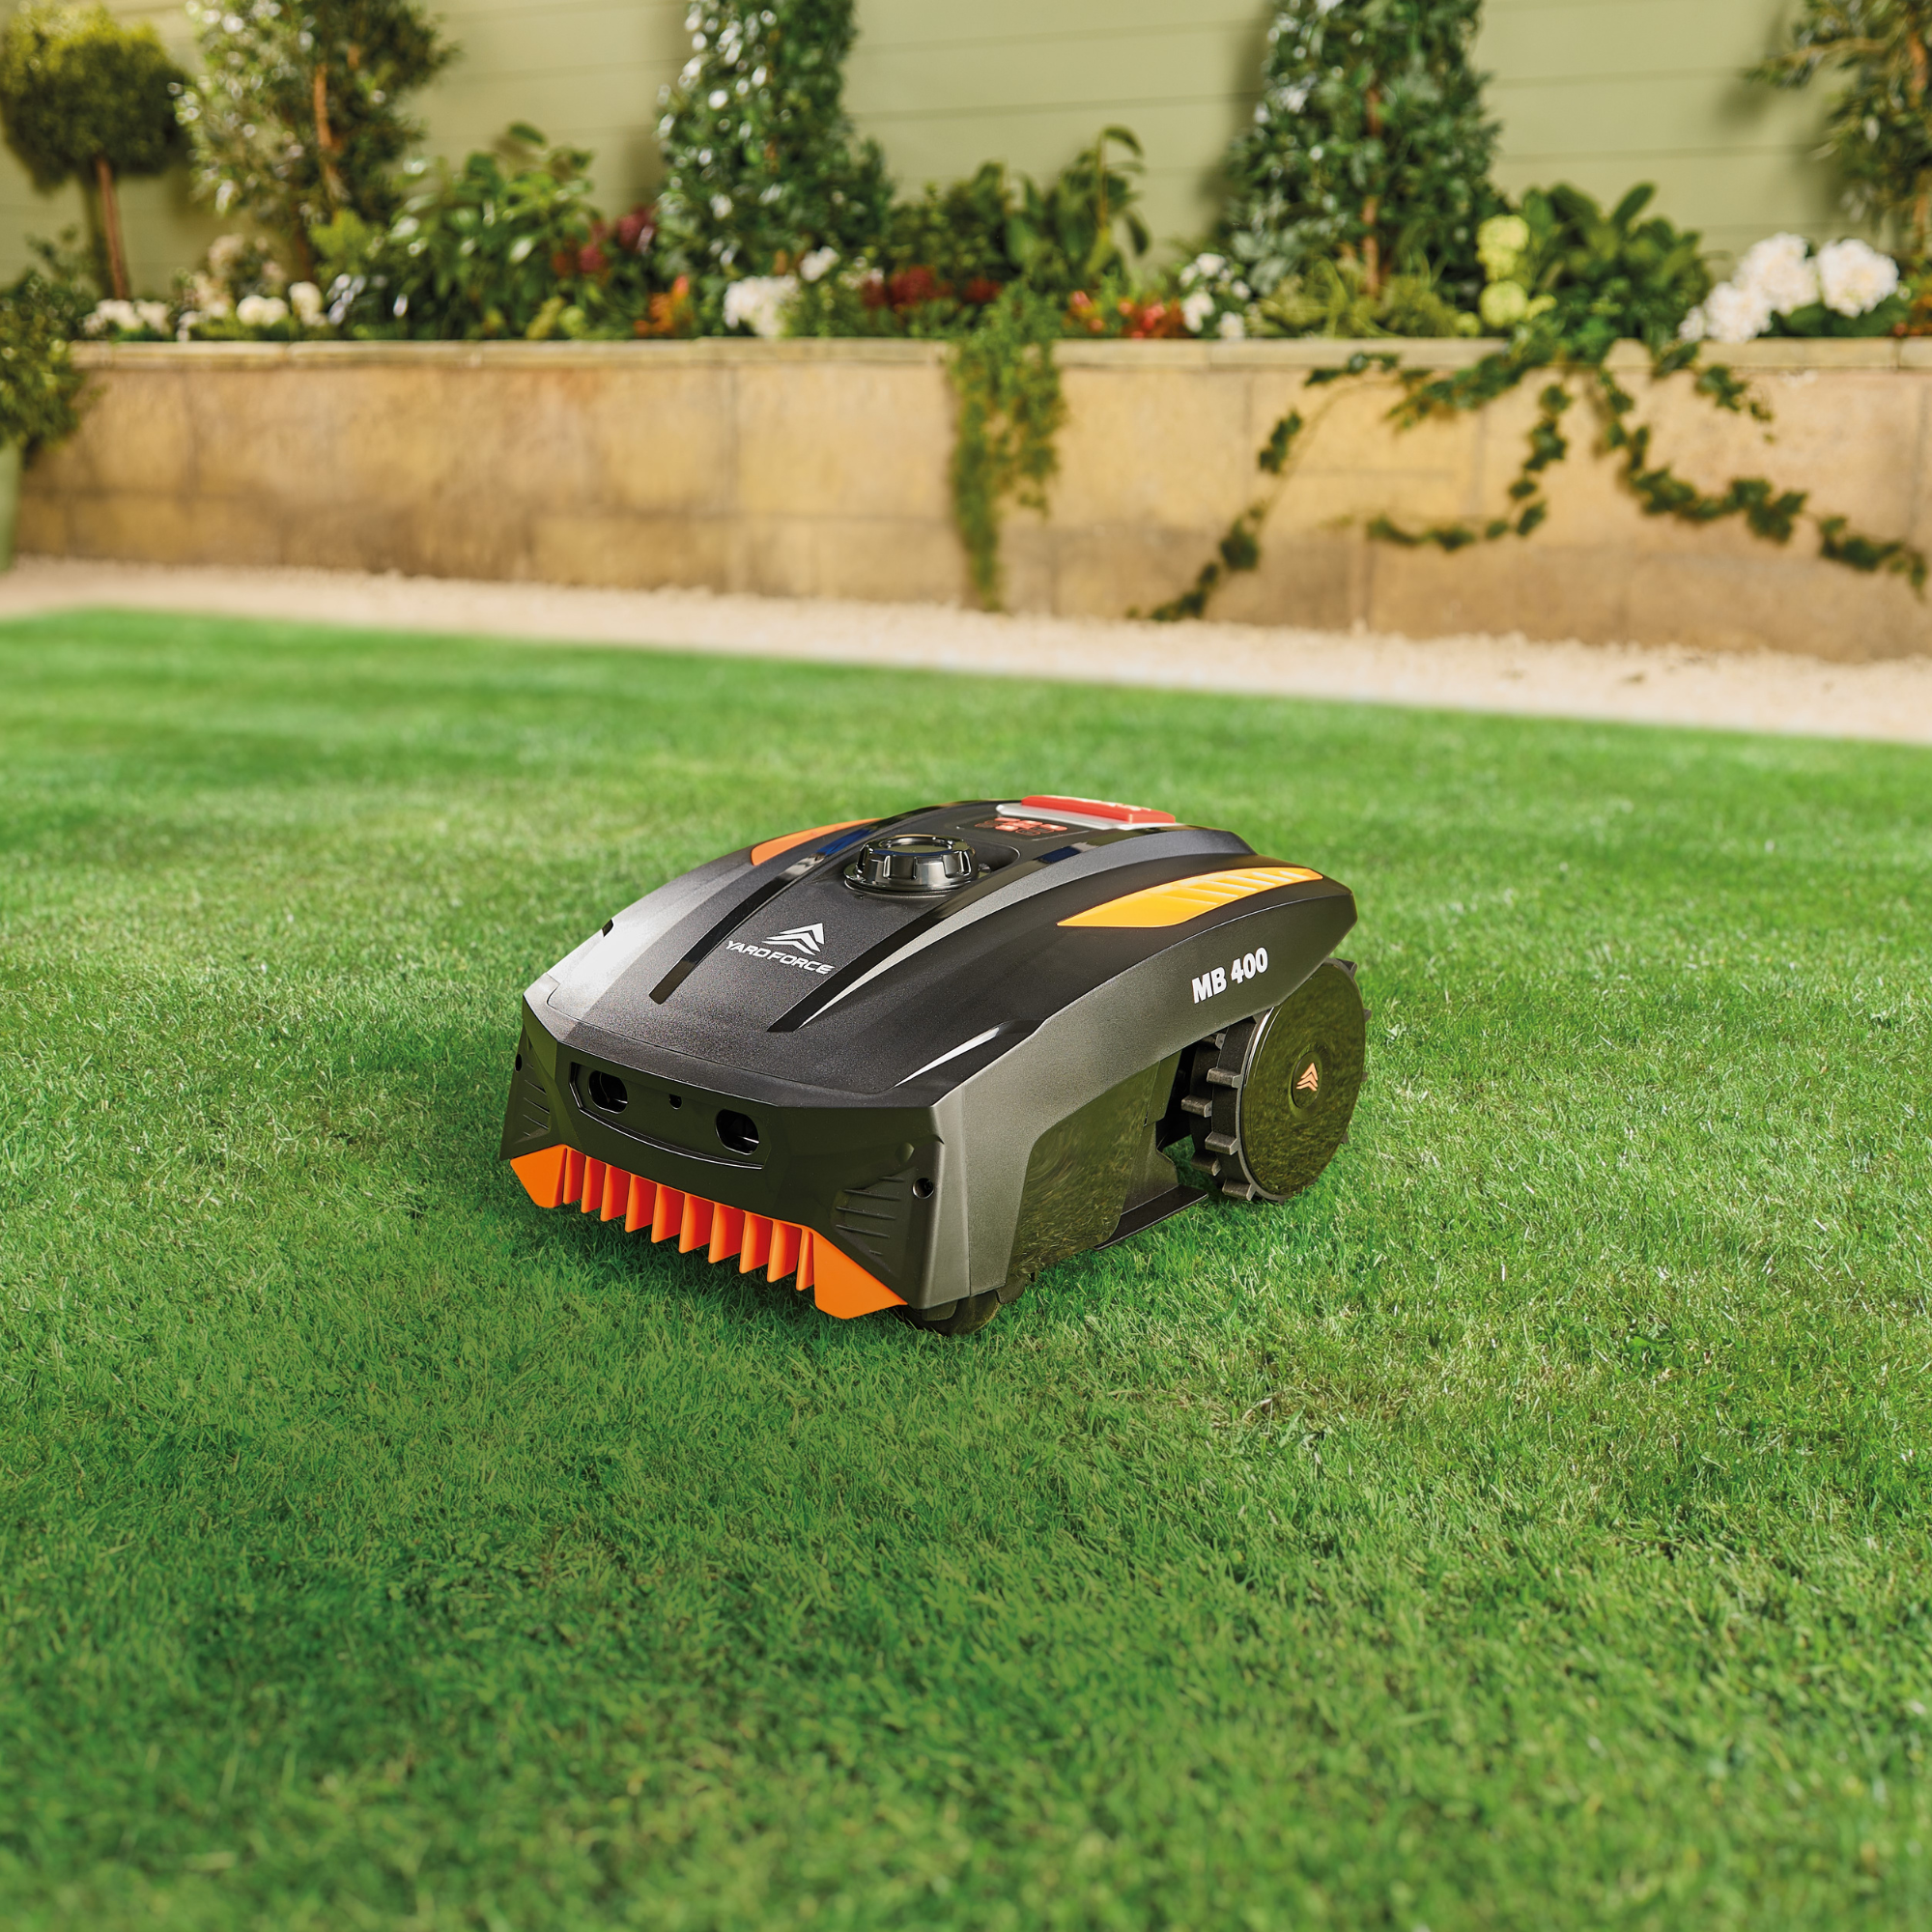 Aldi is selling a robot lawn mower for under £200 - it's one of the cheapest on the market
I never thought I'd see 'Aldi' and 'robot mower' in the same sentence...
By Kezia Reynolds