8 ways to keep your pumpkin looking good for longer so you can nail this autumnal decoration trend
Nobody wants a squash that looks, well, squashed!
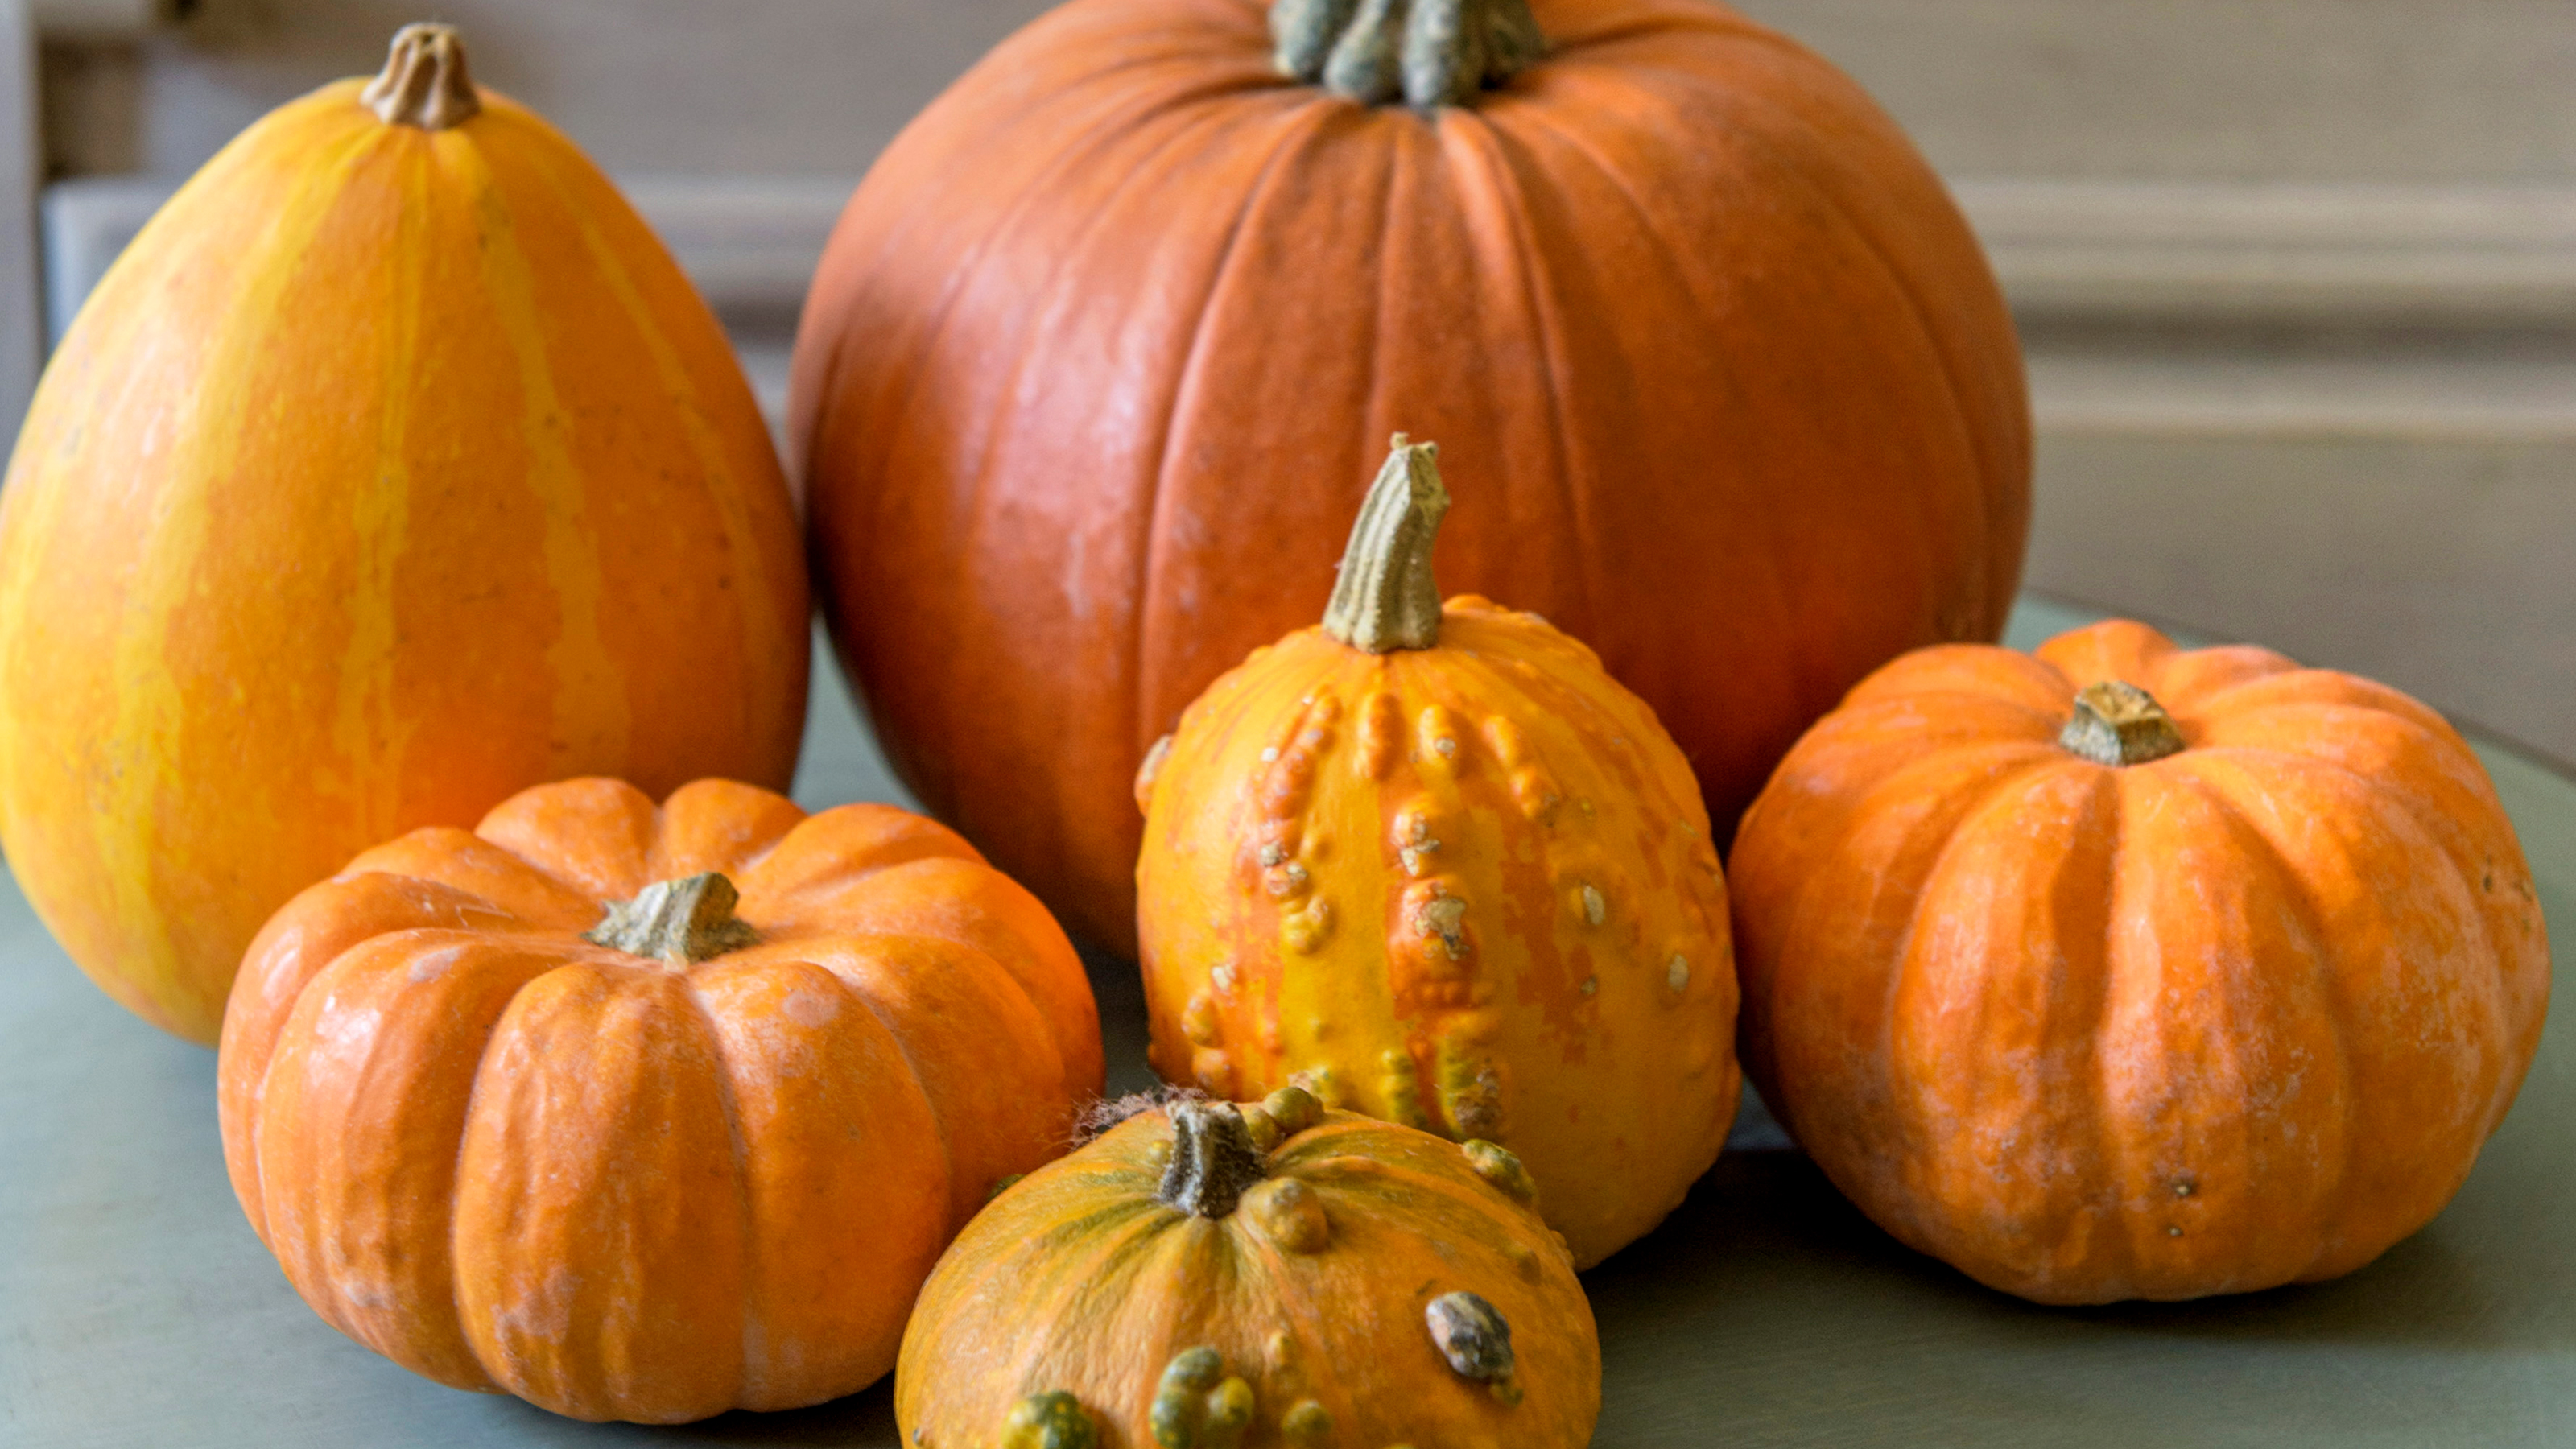

With more and more people using pumpkins both inside and outside the home, it seems as though this home decor trend is here to stay. And do you know what? We’re not mad about it.
Yes, autumn is (finally) in full swing, which means that homeowners across the land are giving their homes an autumn makeover. And while pumpkins have previously been reserved for Halloween, they’ve since become a popular autumnal motif we can’t get enough of.
From no-carve pumpkin ideas to DIY floral pumpkins, decorative pumpkins can offer your home a sense of natural warmth you often miss when using plastic or ceramic decor. And while the organic nature of real pumpkins helps to enhance the cosy vibe many people are after, it’s important to remember that pumpkins are, well, real!
As soon as pumpkins are picked, they automatically enter decomposition mode. And if you want to stop your pumpkin from turning into a shrivelled, soggy, and smelly mess within the week, you’ll be happy to know that there are ways to keep your pumpkin looking good for longer.
How to keep pumpkins looking good for longer
‘As a home decor enthusiast, I see pumpkins as more than seasonal fruits,’ says Ivo Iv, founder of Decor Home Ideas. ‘They're versatile, brimming with character, and can seamlessly transform a space. But there's a trick to ensuring they stay put before their time, dampening the festive mood.’ And this is how you can keep pumpkins looking good for longer.
1. Use peppermint oil
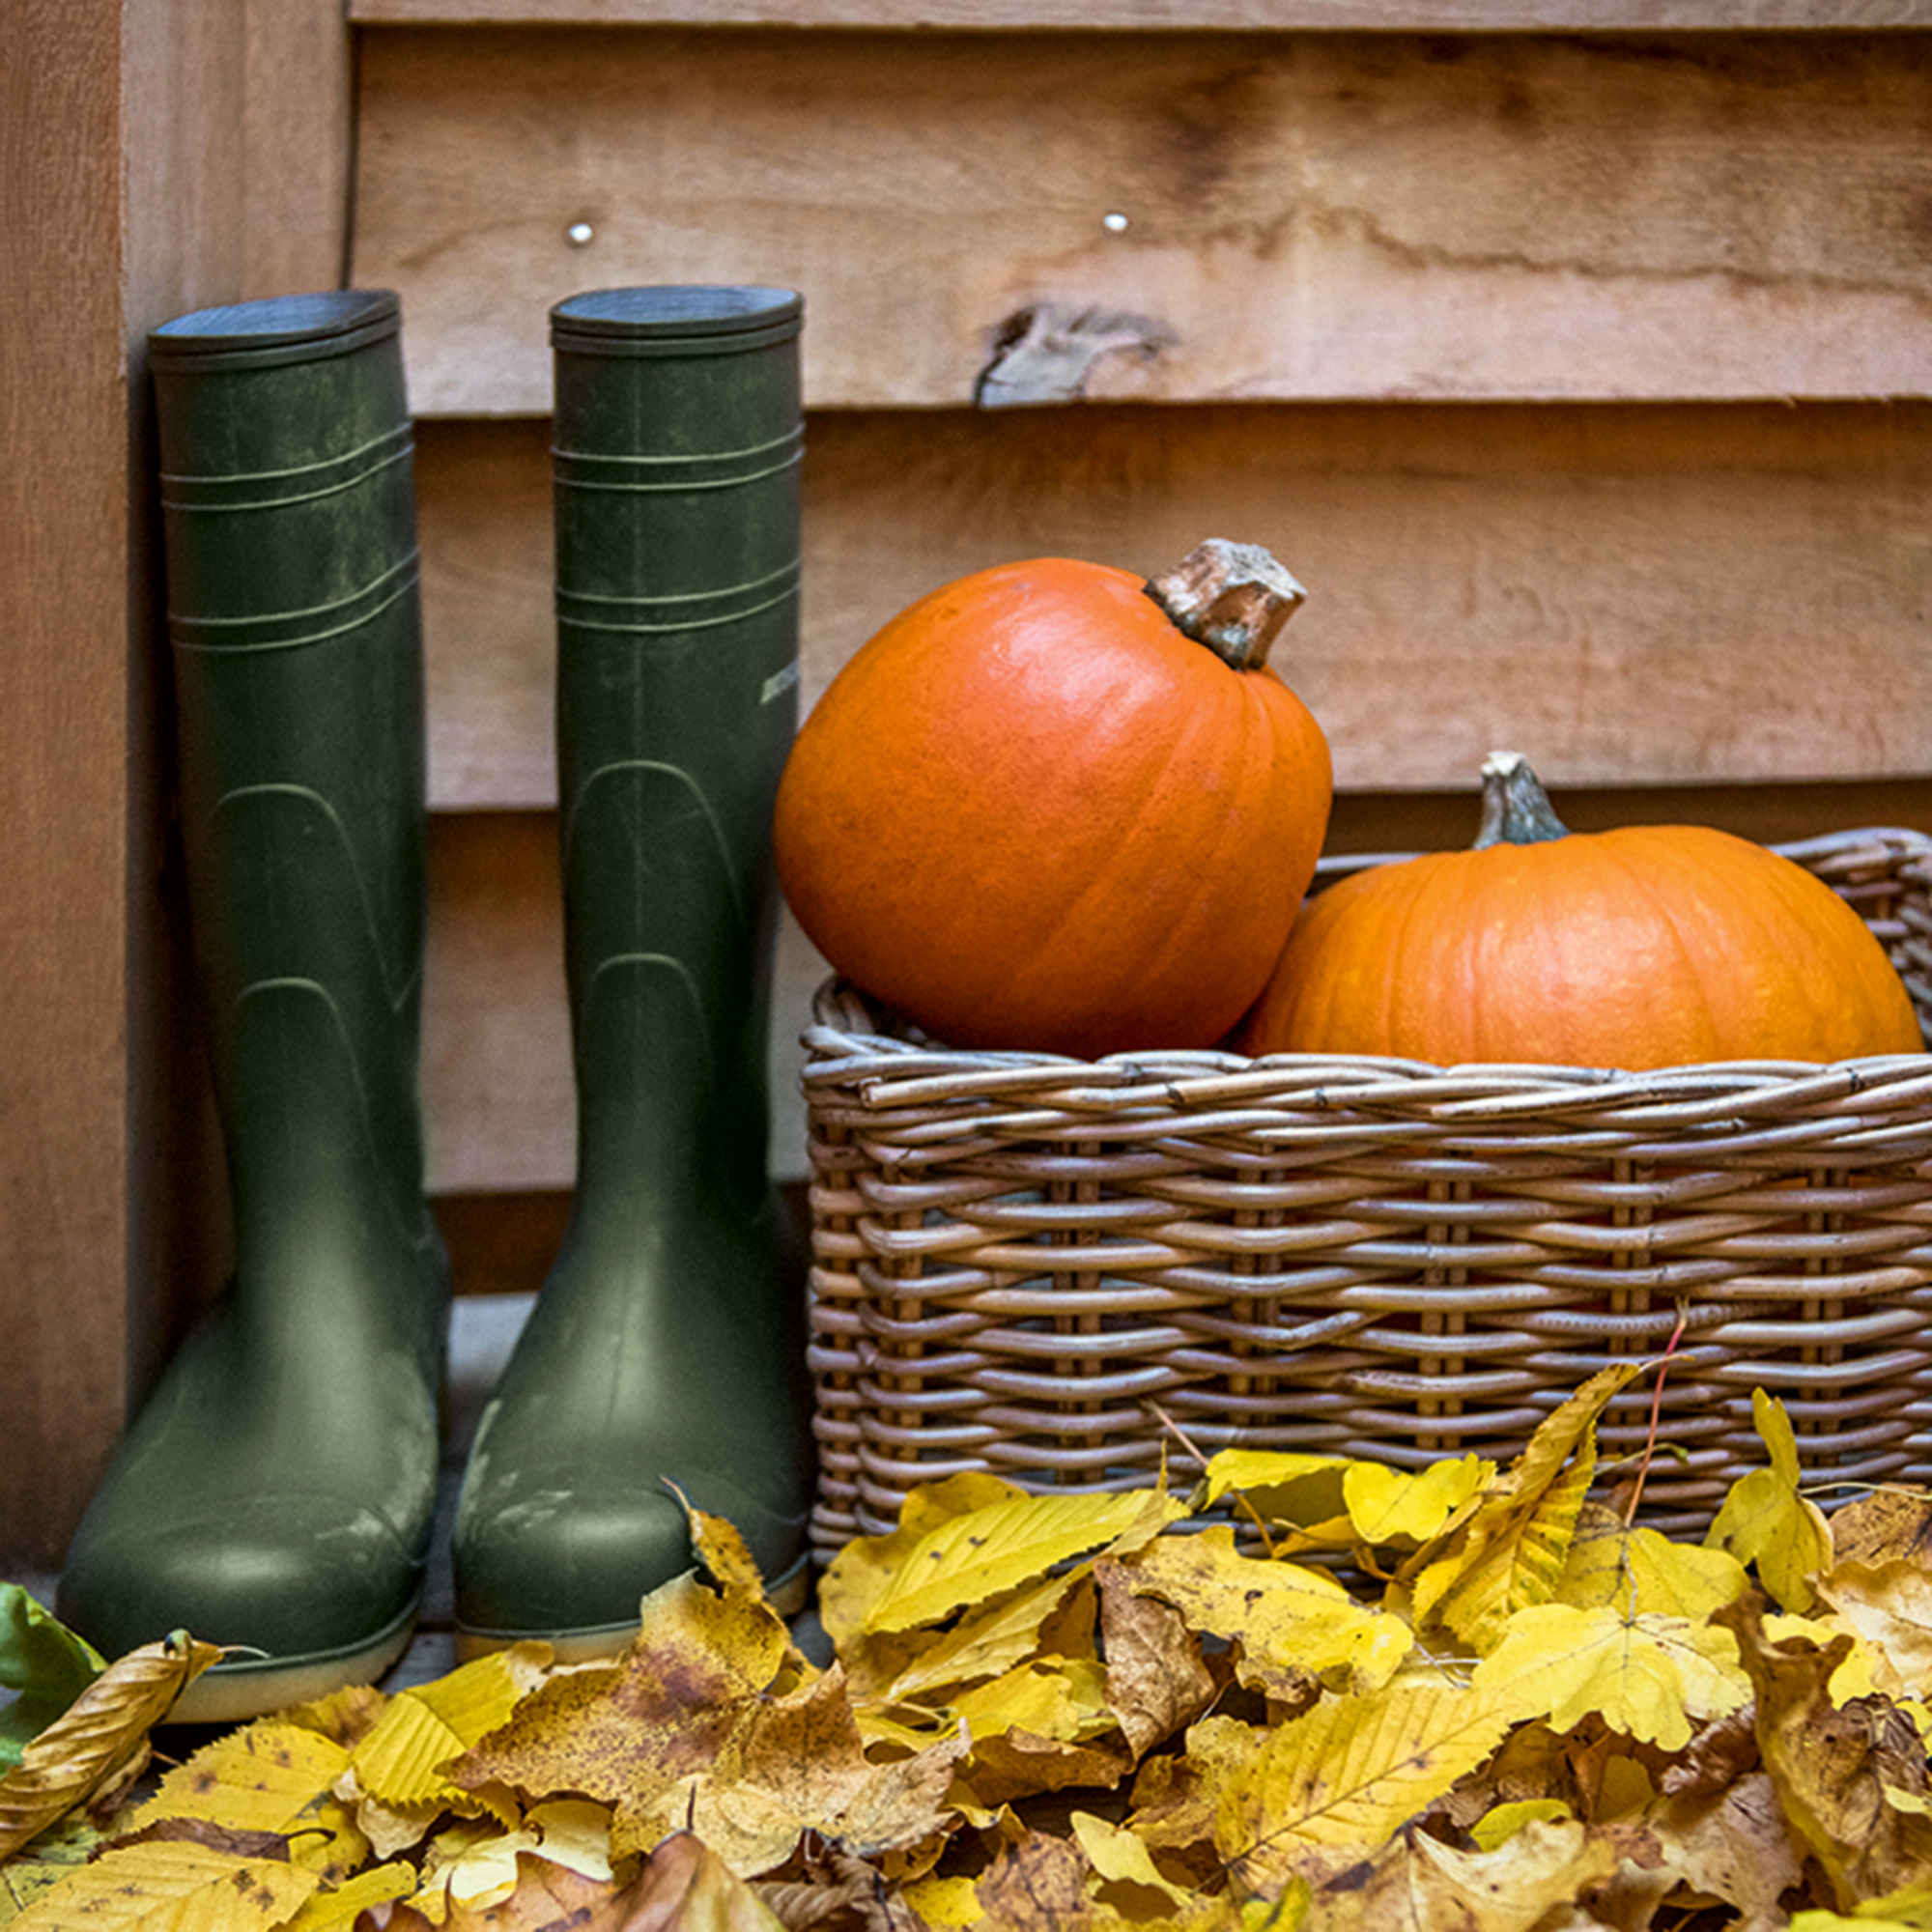
If you’ve not jumped on the peppermint oil train just yet, let us be the ones to offer you a one-way ticket. Not only can peppermint oil get rid of spiders, but it can also keep wasps at bay - and that’s before we mention how good it smells.
But did you know that peppermint oil can make a carved pumpkin look good for longer? That's because peppermint oil is a natural preservative, allowing you to slow down the decomposition of the pumpkin’s innards.
Get the Ideal Home Newsletter
Sign up to our newsletter for style and decor inspiration, house makeovers, project advice and more.
To do this, simply fill a spray bottle with a mixture of two pints of water and one tablespoon of peppermint oil. Then, spray it into the pumpkin, making sure you cover the whole of the inside as you do.
Of course, this will only work if you carve your pumpkin and open it up to the elements, but carved pumpkins tend to last longer, anyway.
2. Use vinegar
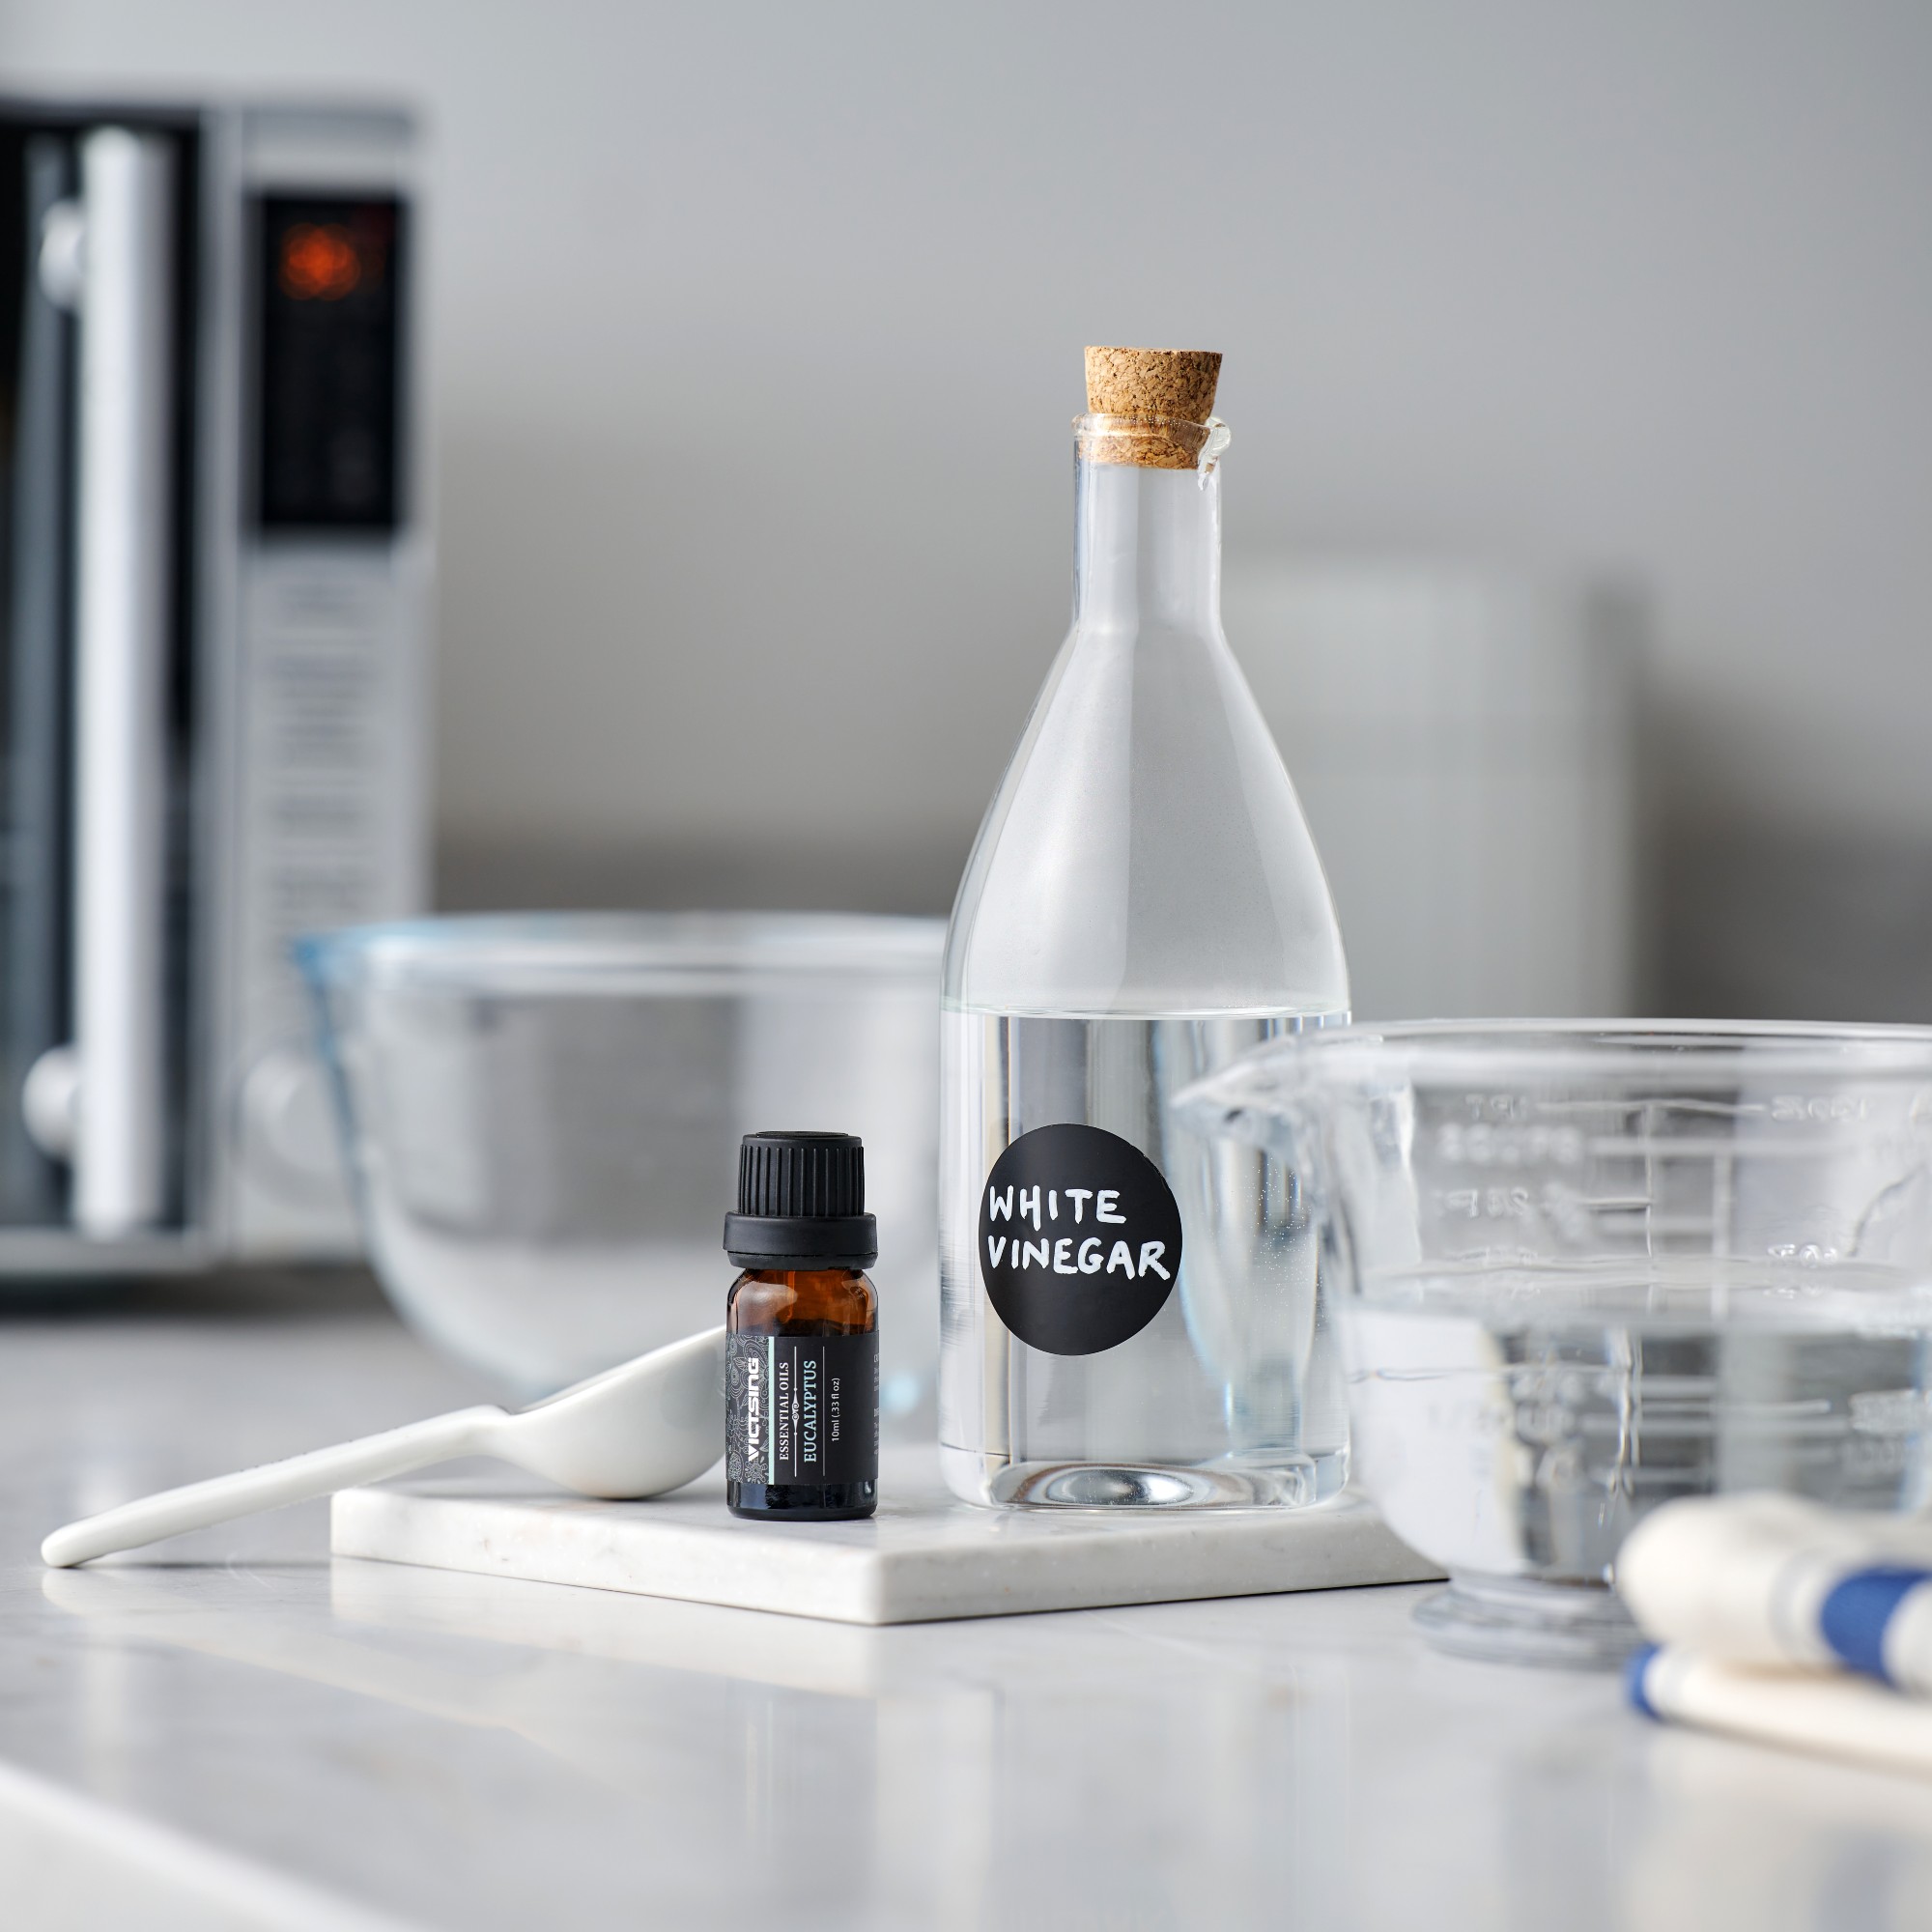
If you’ve been reading Ideal Home for a while now (hey again, and welcome back), you’ll know that vinegar has quickly become our go-to cleaning product. But it’s safe to say that we’ve fallen even harder in love now, as vinegar can also help to preserve a carved and uncarved pumpkin.
If you want to keep your decorative pumpkins looking good for weeks on end, all you need to do is give them a vinegar bath! Yes, carefully place your pumpkins in the bath, fill the tub with a 10:1 ratio of water and vinegar, and let the squashes soak for half an hour. If you're wondering what vinegar to use, it's simply out go-to white vinegar.
After 30 minutes, your pumpkin should have absorbed some of the water and vinegar mix. At that point, you can pull it out of the tub and let it air dry.
Just remember that this won’t make your pumpkin invincible. There will still come a time when it needs to be shoved on your compost heap, but the vinegar method should help it last a few weeks at least.
3. Use Vaseline
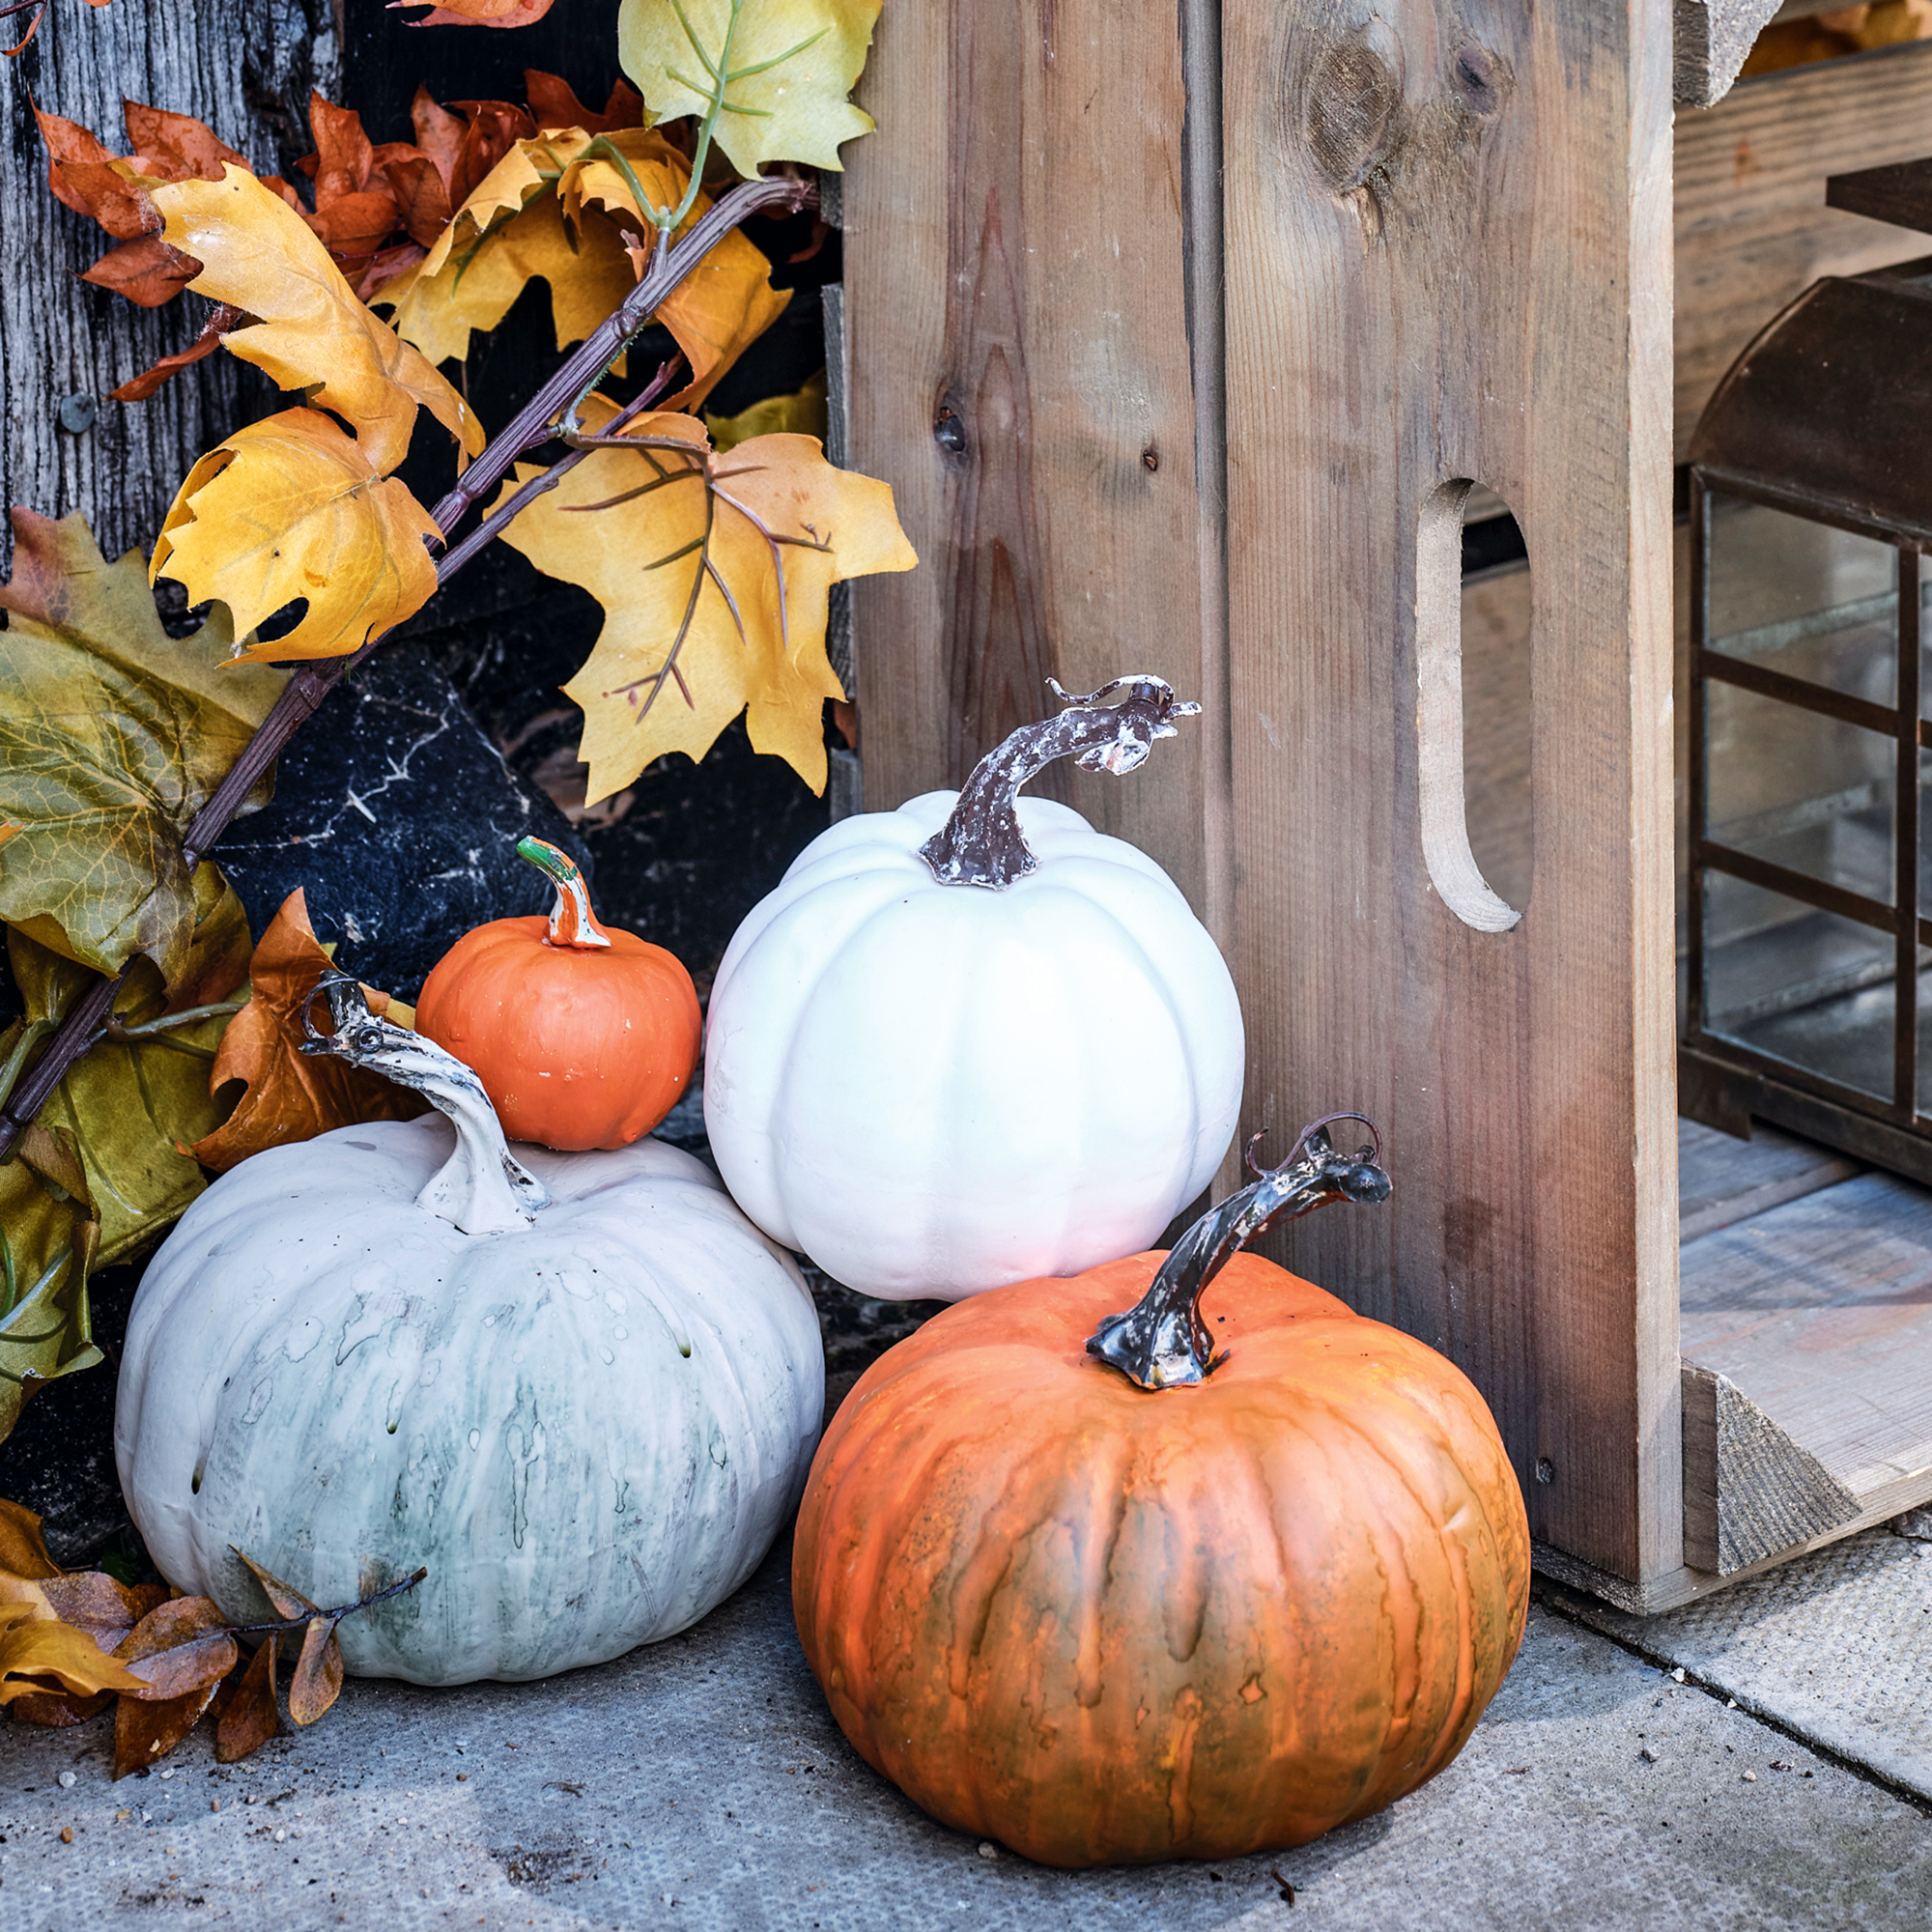
When you think of preserving a pumpkin, you probably don’t think of the product you use to soothe chapped lips or clean a TV screen (yes, Vaseline can leave it sparkling clean). However, the main reason pumpkins decompose extremely quickly is because they dry out - and petroleum jelly is all about hydration, right?
Ivo swears by this trick when preserving his pumpkins. ‘My secret ingredient? Vaseline. A thin layer of petroleum jelly on the cut areas can lock in the moisture. It acts like that much-needed moisturiser we apply to our skin,’ he says.
If you want to lock in even more moisture, though, you could just cover the whole inside and outside of the pumpkin in Vaseline. This has the added bonus of making it shine, too.
4. Use hairspray
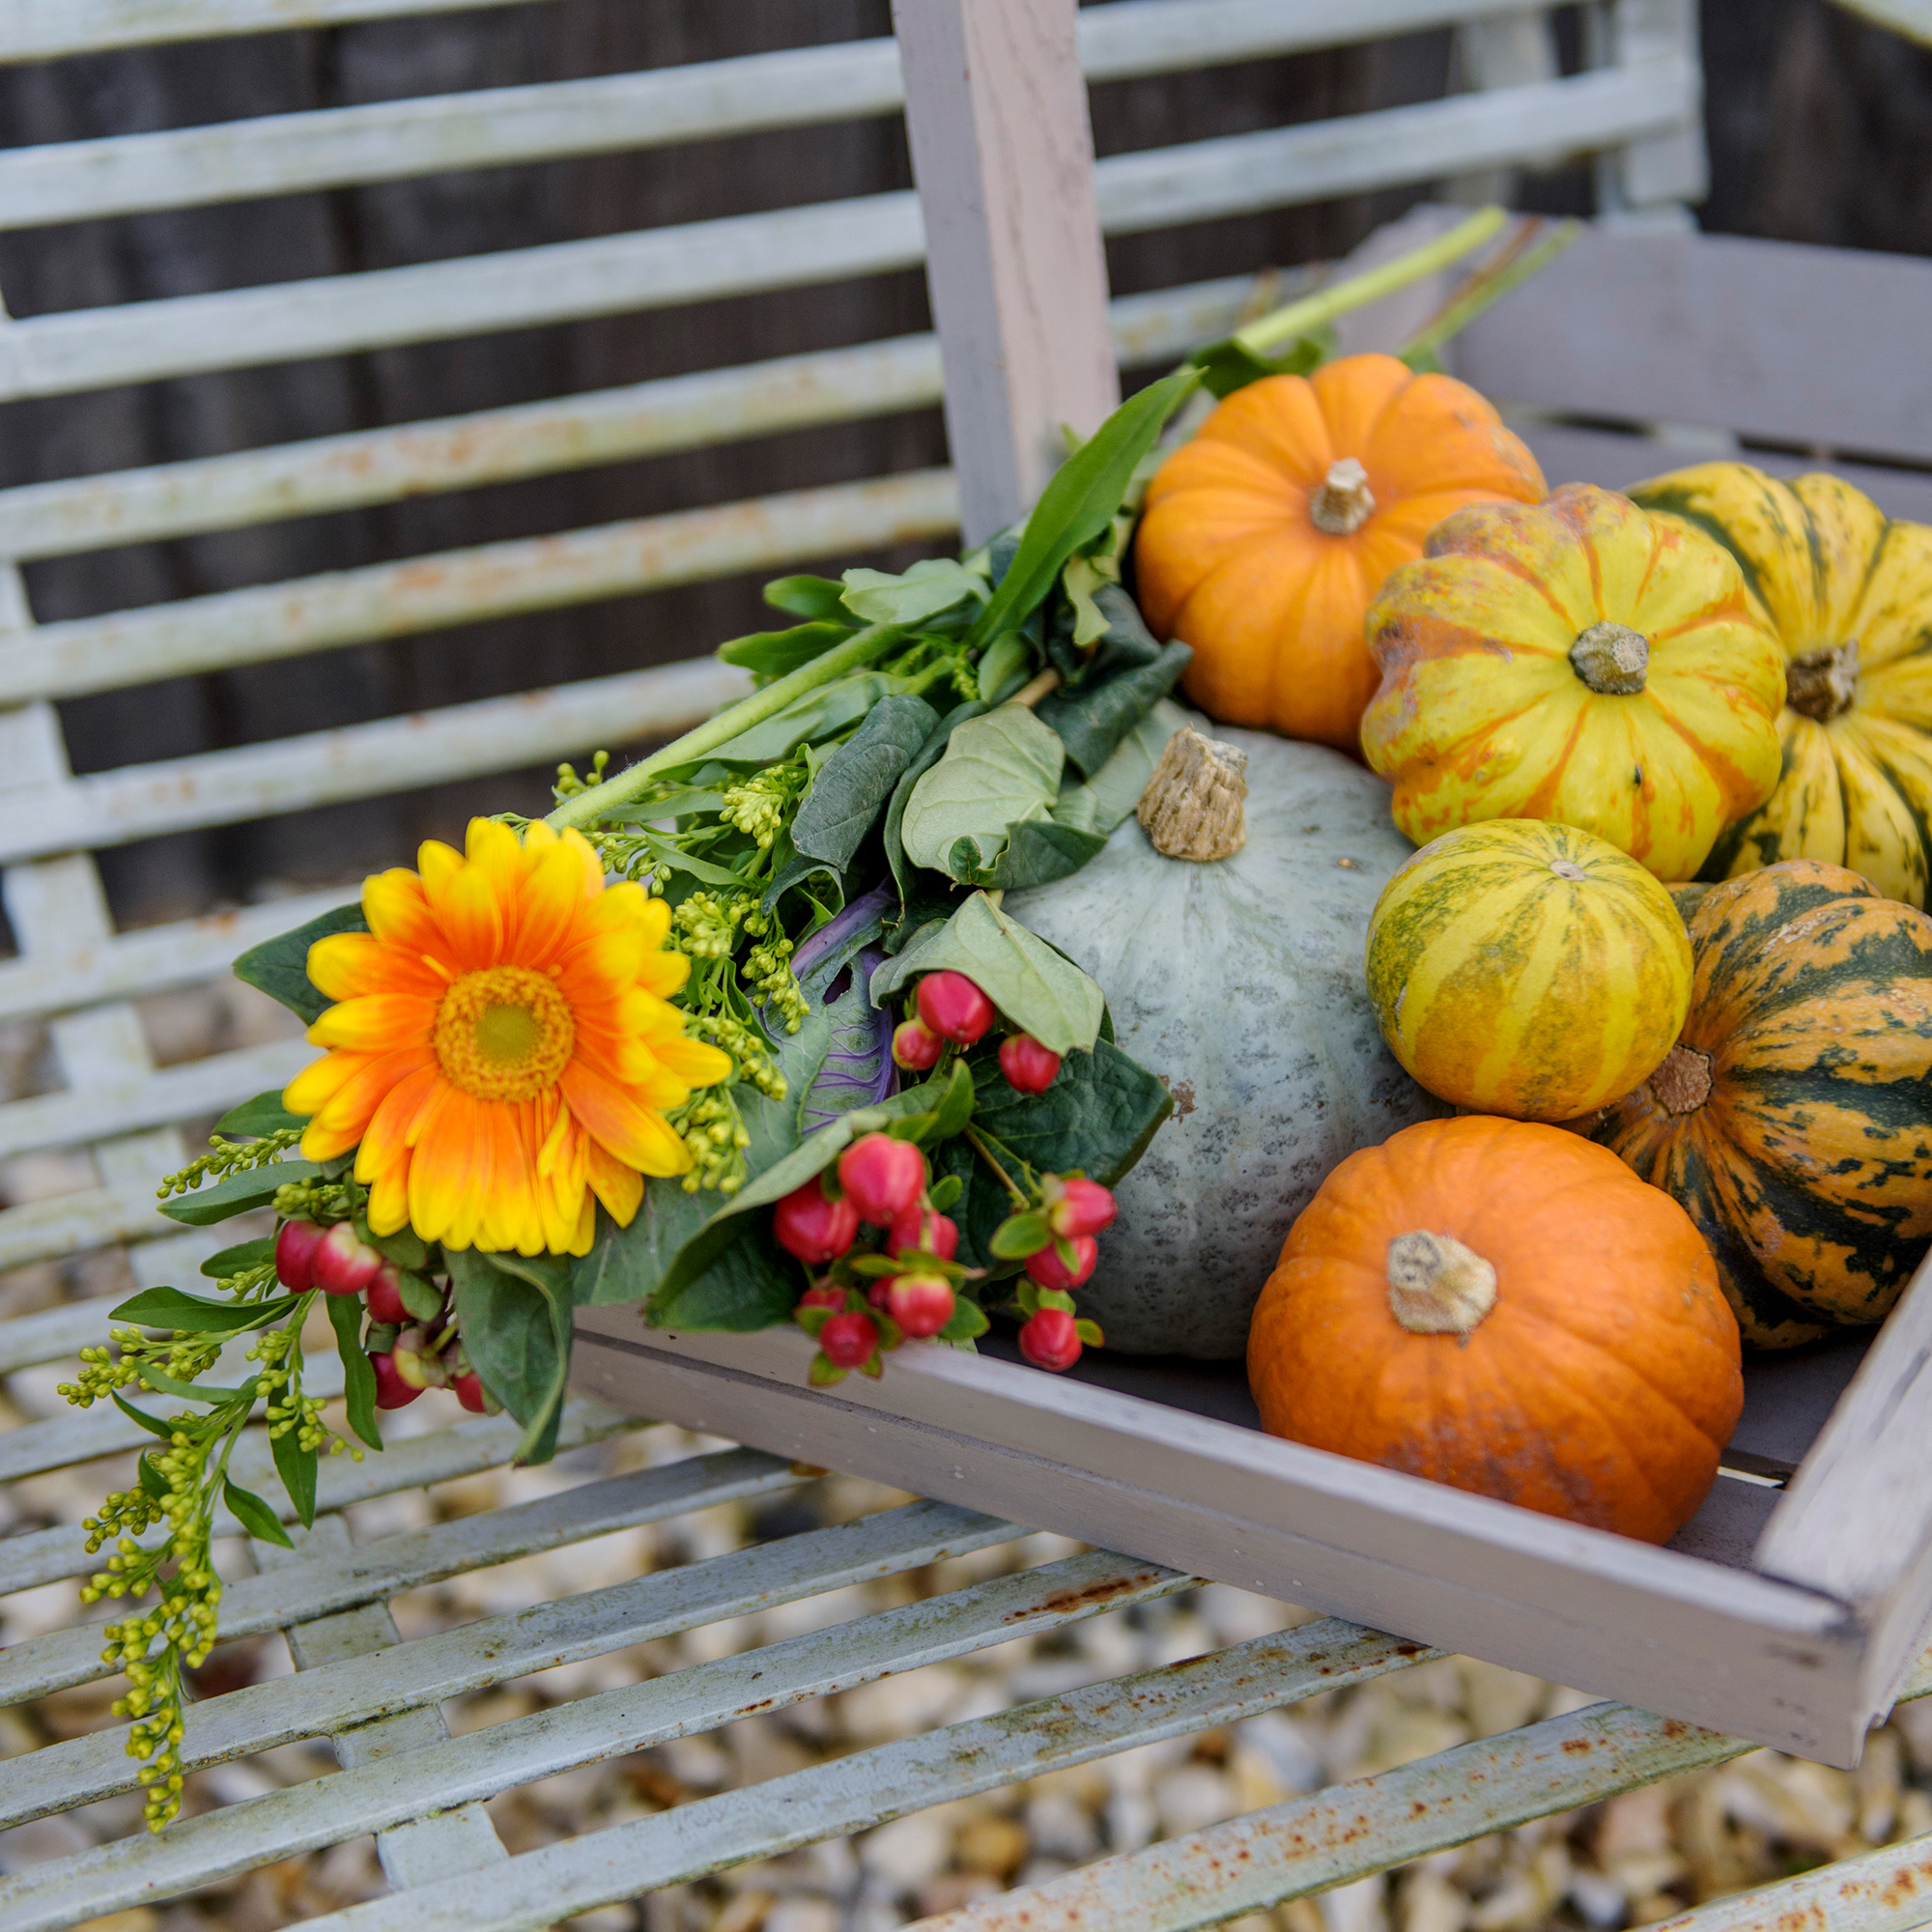
If you’re planning on filling your home and your porch with pumpkins this autumn, it might be time to head to your nearest supermarket and stock up on some hairspray. Yes, just as hairspray will stick down those wispy bits of hair, it’ll also keep your pumpkin looking fresher for longer.
Not only will hairspray keep any bugs or pests at bay, but it will also help to preserve the outside and the innards as it will lock in moisture and slow down the decomposition process. Just give each pumpkin a good spray in and around the skin for the best results.
Of course, we probably don’t need to tell you this… but we’ll tell you anyway. If you do intend to use hairspray to preserve your pumpkin, DON’T use real candles. Hairspray and open flames don’t mix, people.
5. Use bleach
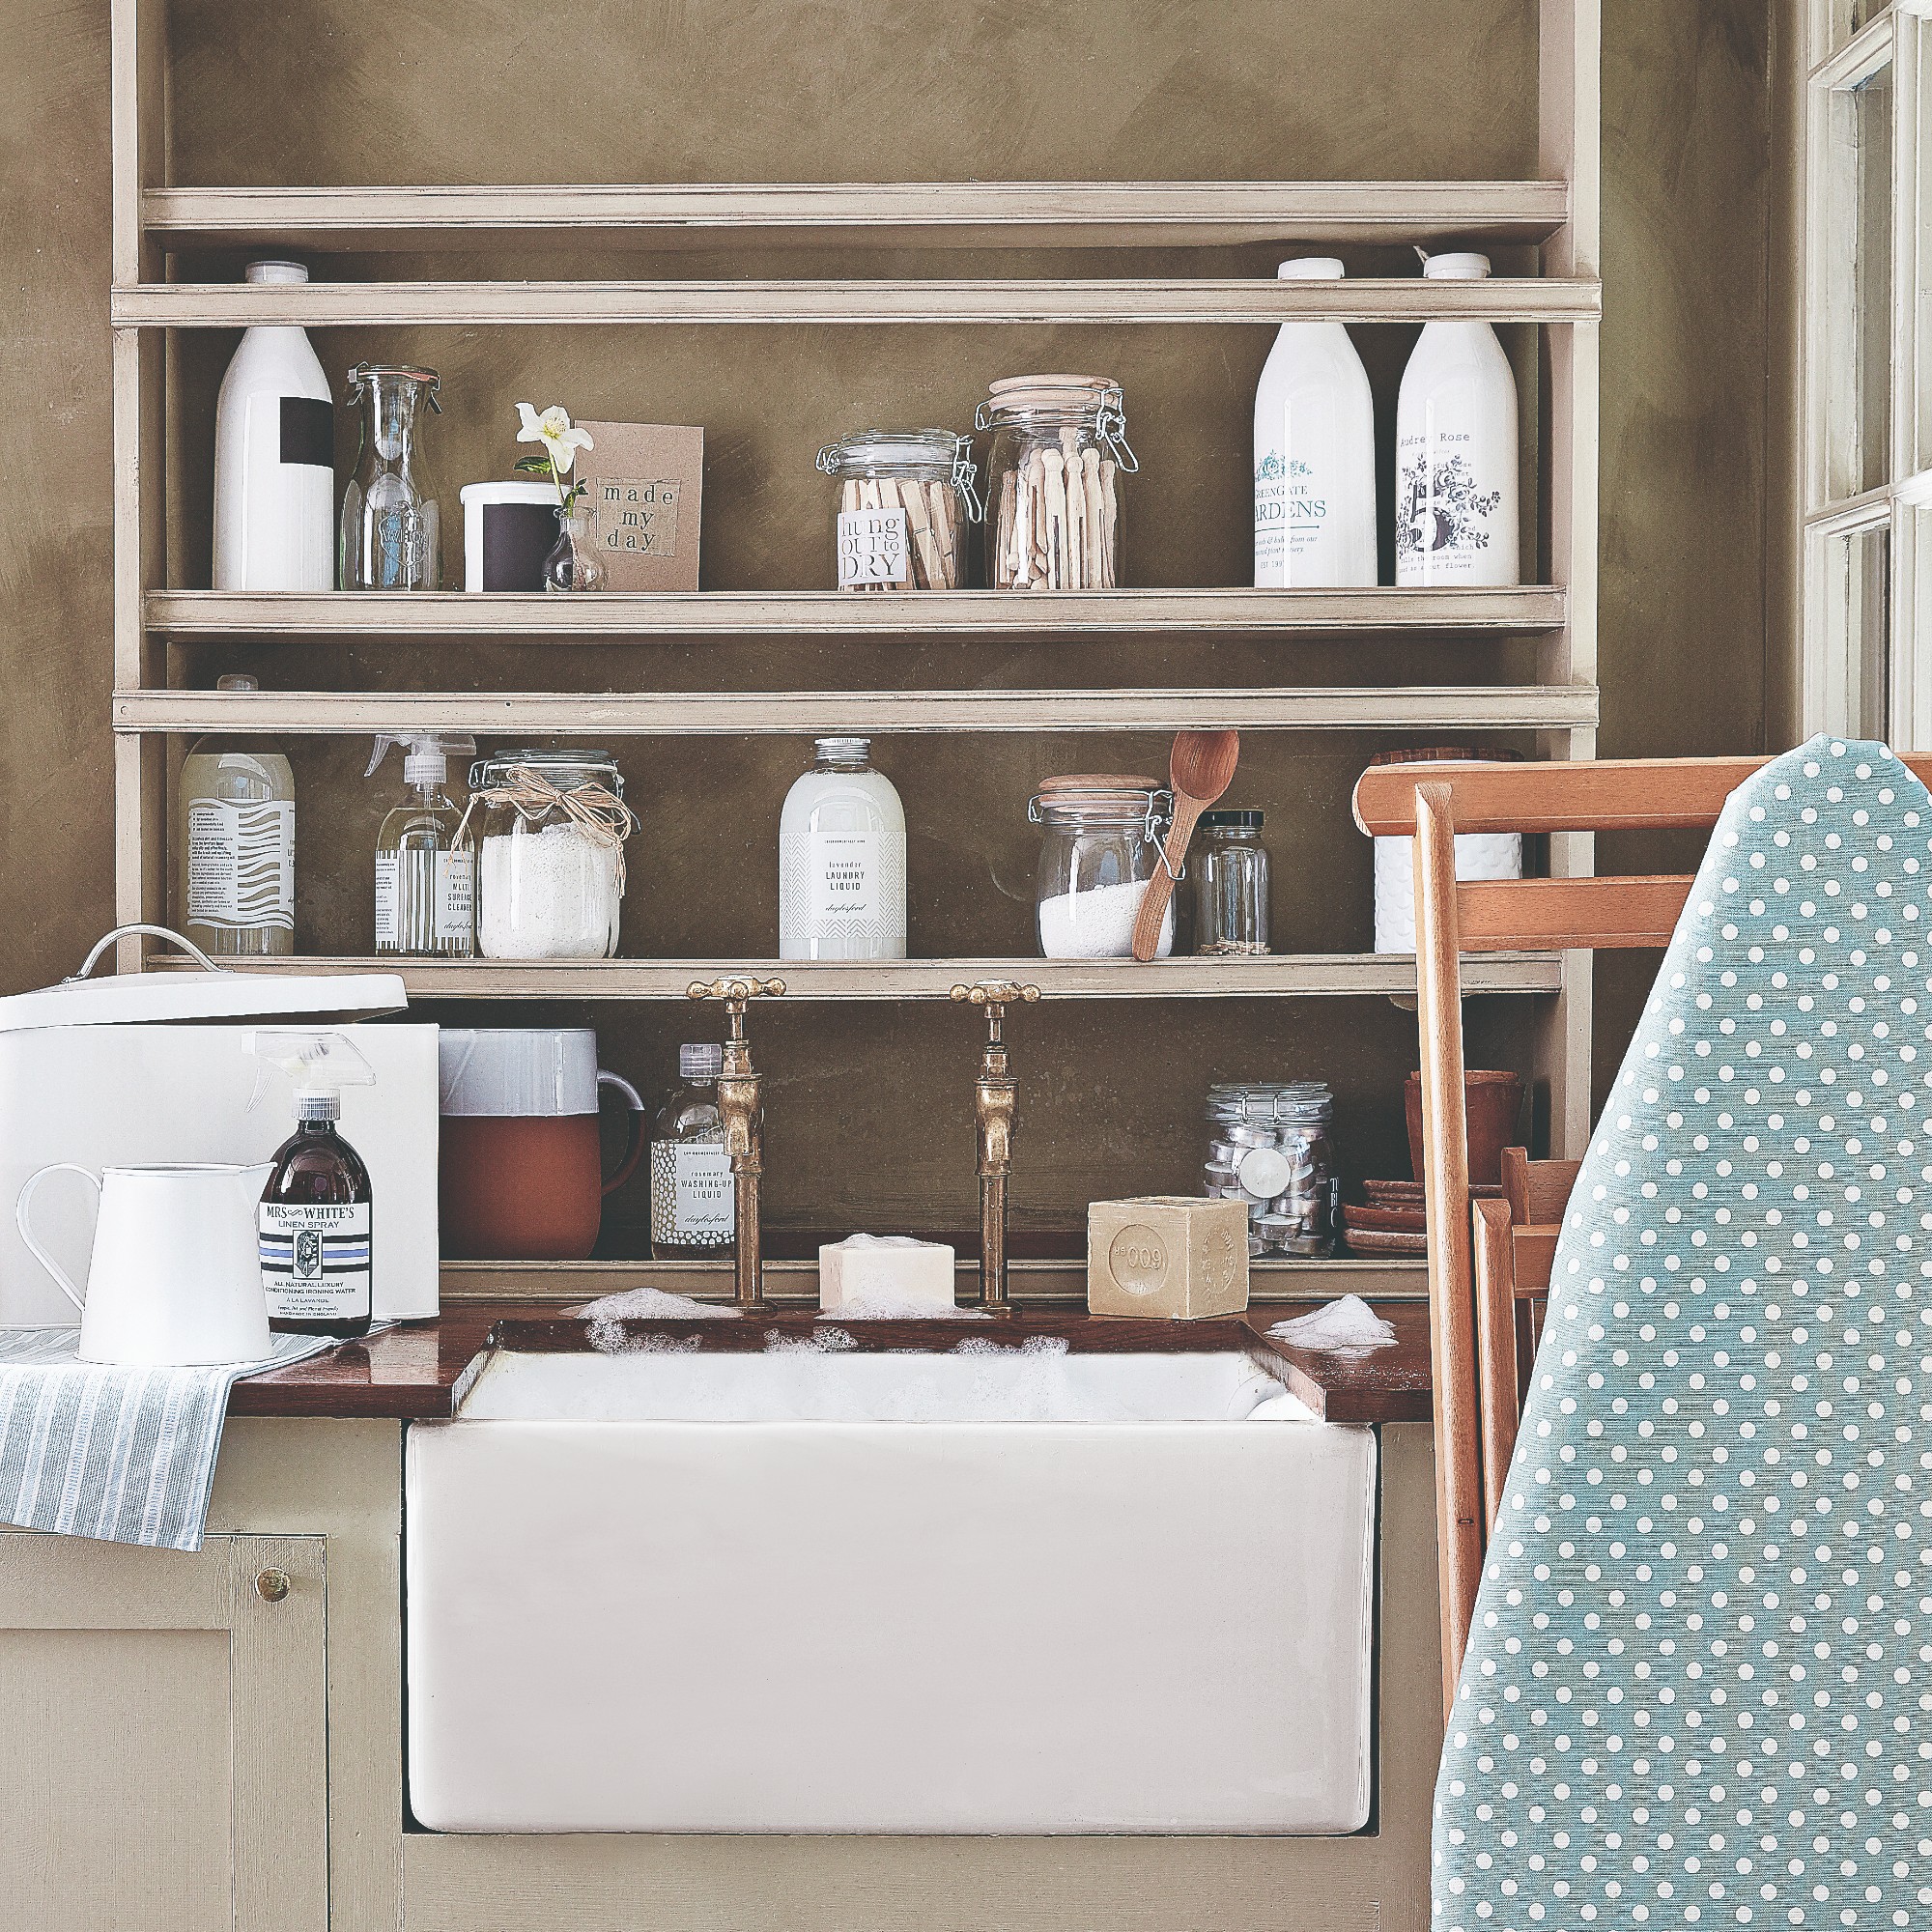
It’s no secret that bleach isn’t our favourite cleaning product, mostly because it’s so easy to make mistakes when using bleach. But when used correctly, it can be used for a multitude of uses in and around the house - especially if you’re planning to make the most of decorative pumpkins.
Bleach is arguably the most popular method to make a pumpkin look good for longer, but it’s important to remember that you need to be careful, and you need to make sure that you do this properly.
To do this, ‘submerge your pumpkin in a bucket with around 150ml of bleach,’ says gardening expert Calum Maddock at HomeHow.co.uk. ‘Then, leave the pumpkin for around 24 hours. This will kill any bacteria present on the pumpkin, ultimately preserving it and preventing it from degrading quickly.'
6. Stop using candles
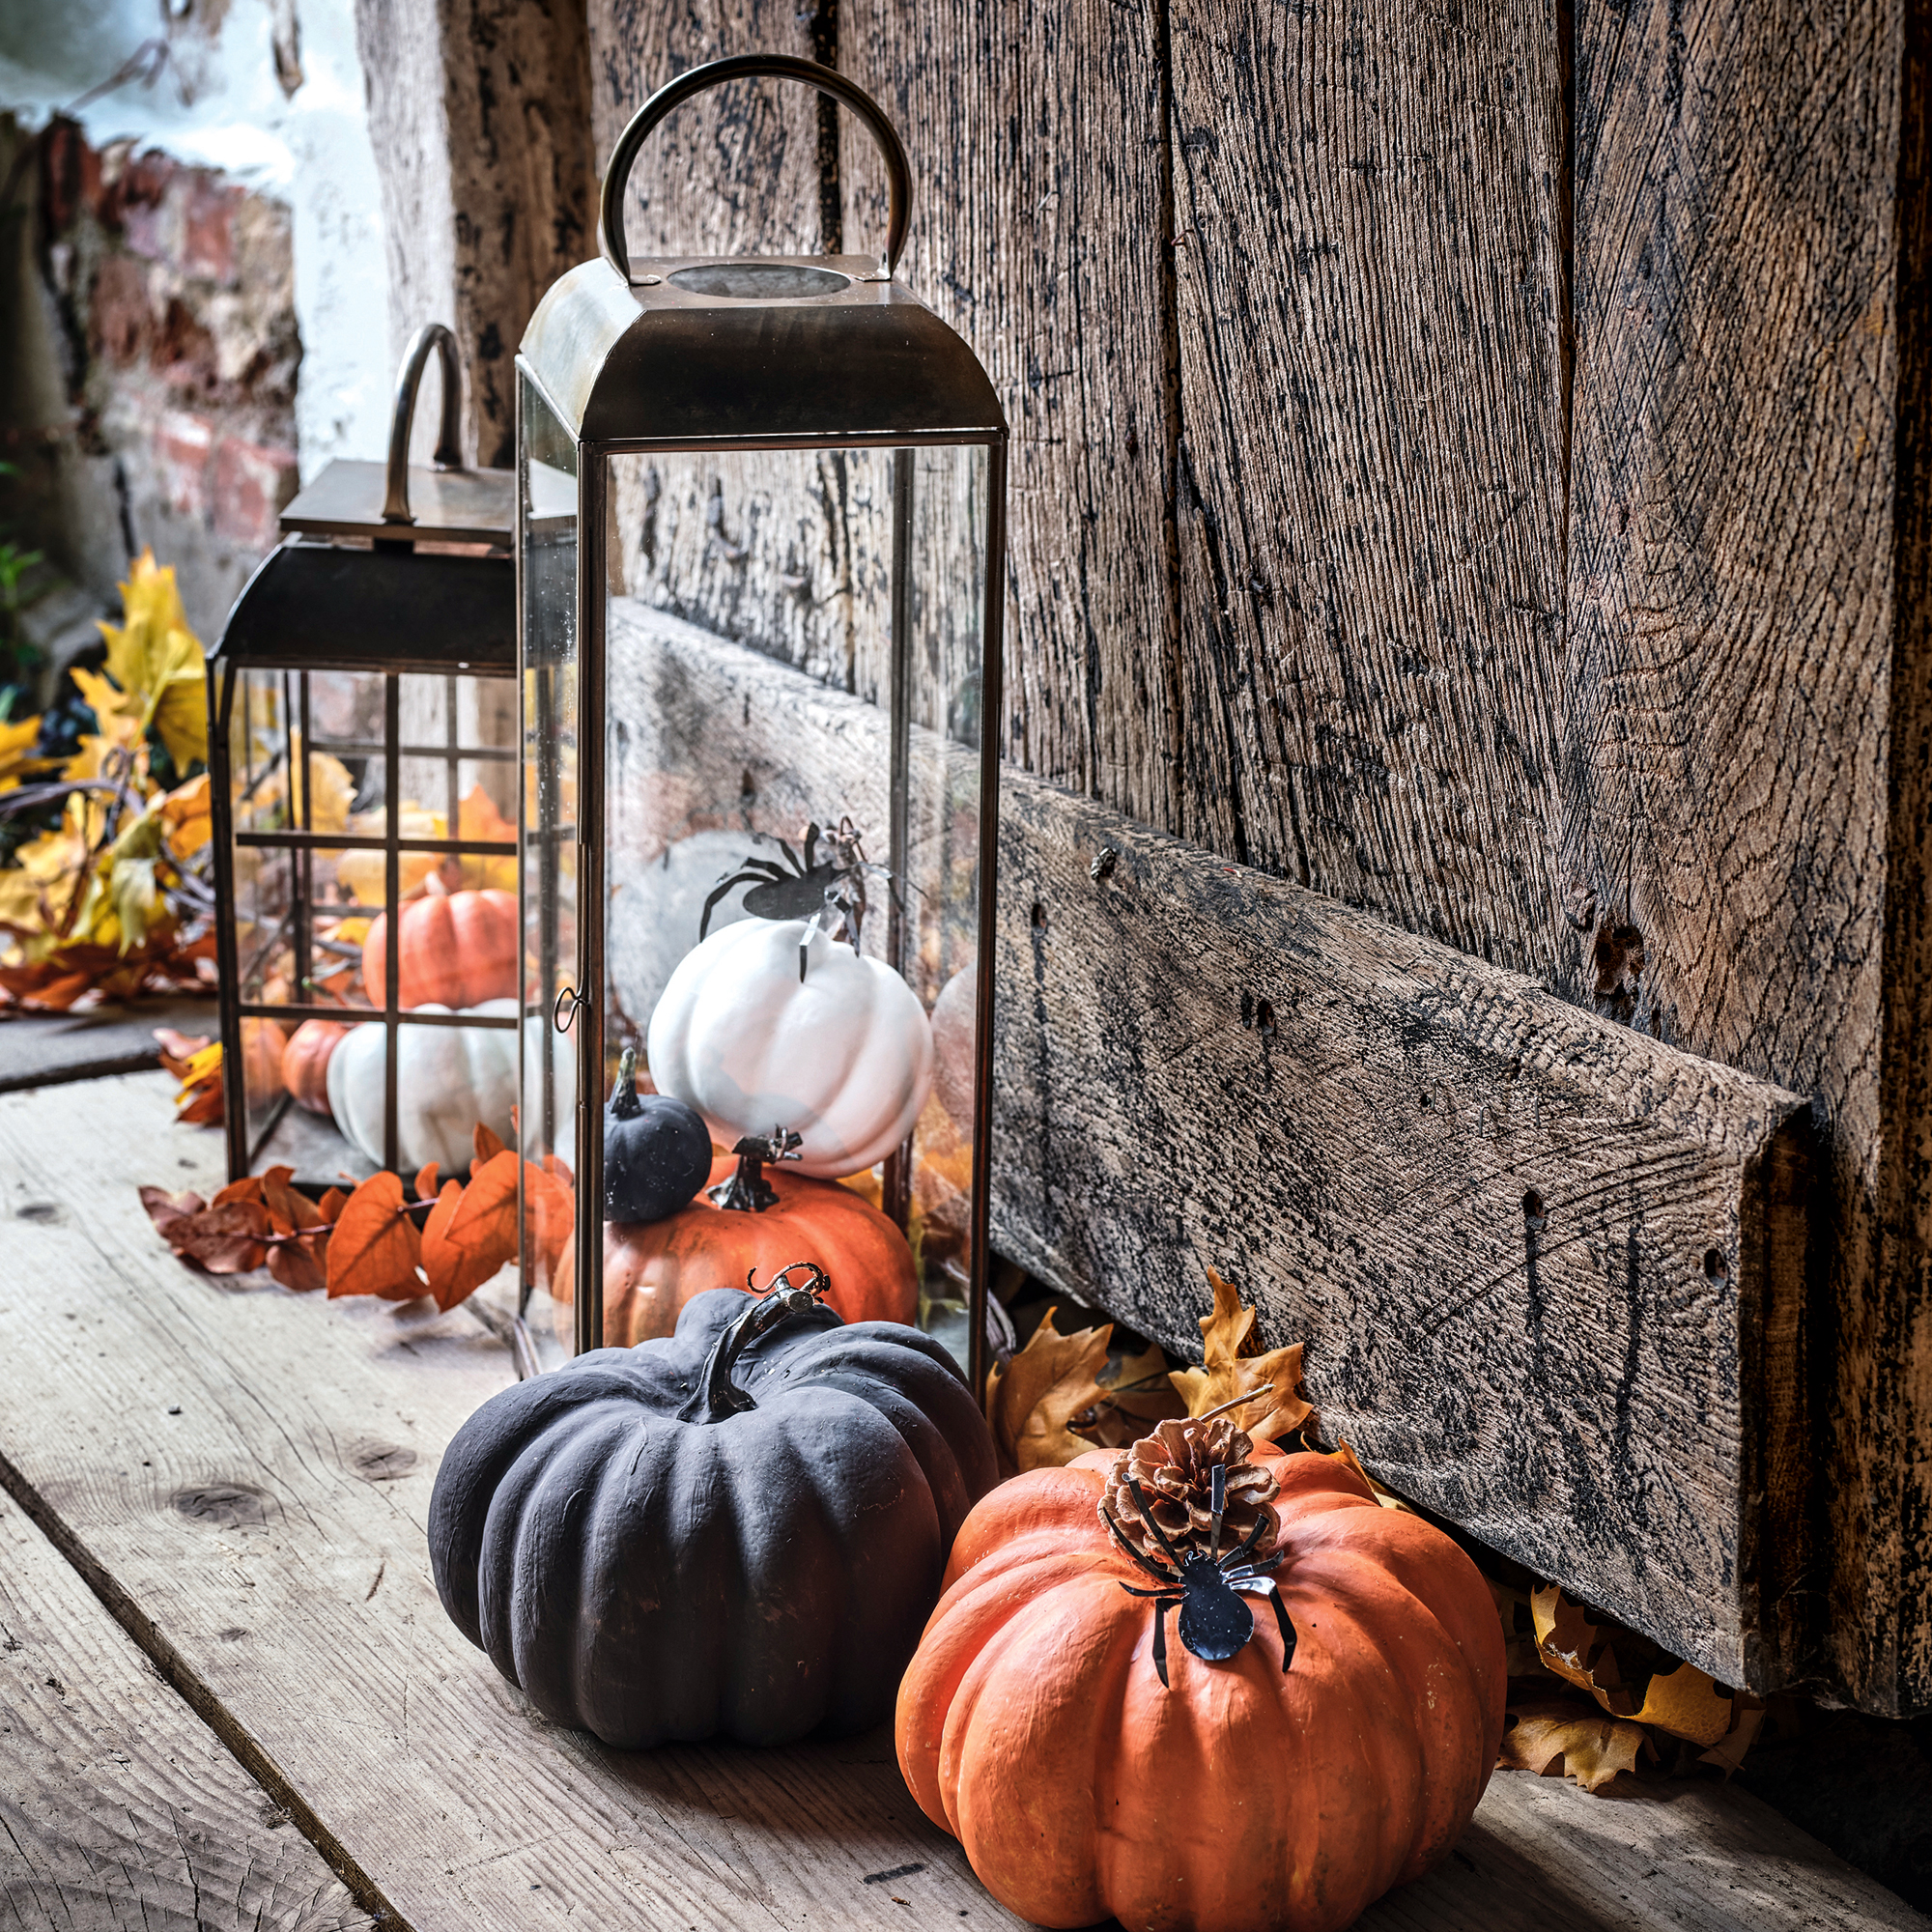
Carved pumpkins aren’t as effective without the flickering lights that show off the spooky faces, but if you want your pumpkin to last longer, you might want to stop using real candles.
And when you think about it, avoiding candles makes sense. By placing a small fire inside the pumpkin, you’re essentially cooking the squash. Doing so will not only make it more desirable to animals, but it will also speed up the decomposition process. And before you know it, you could be heading to the supermarket to buy another pumpkin before autumn is over.
You can still create that creepy curb appeal without candles, though. You could place a few glow sticks inside the pumpkin or buy some battery-powered candles instead.
7. Put it in the fridge
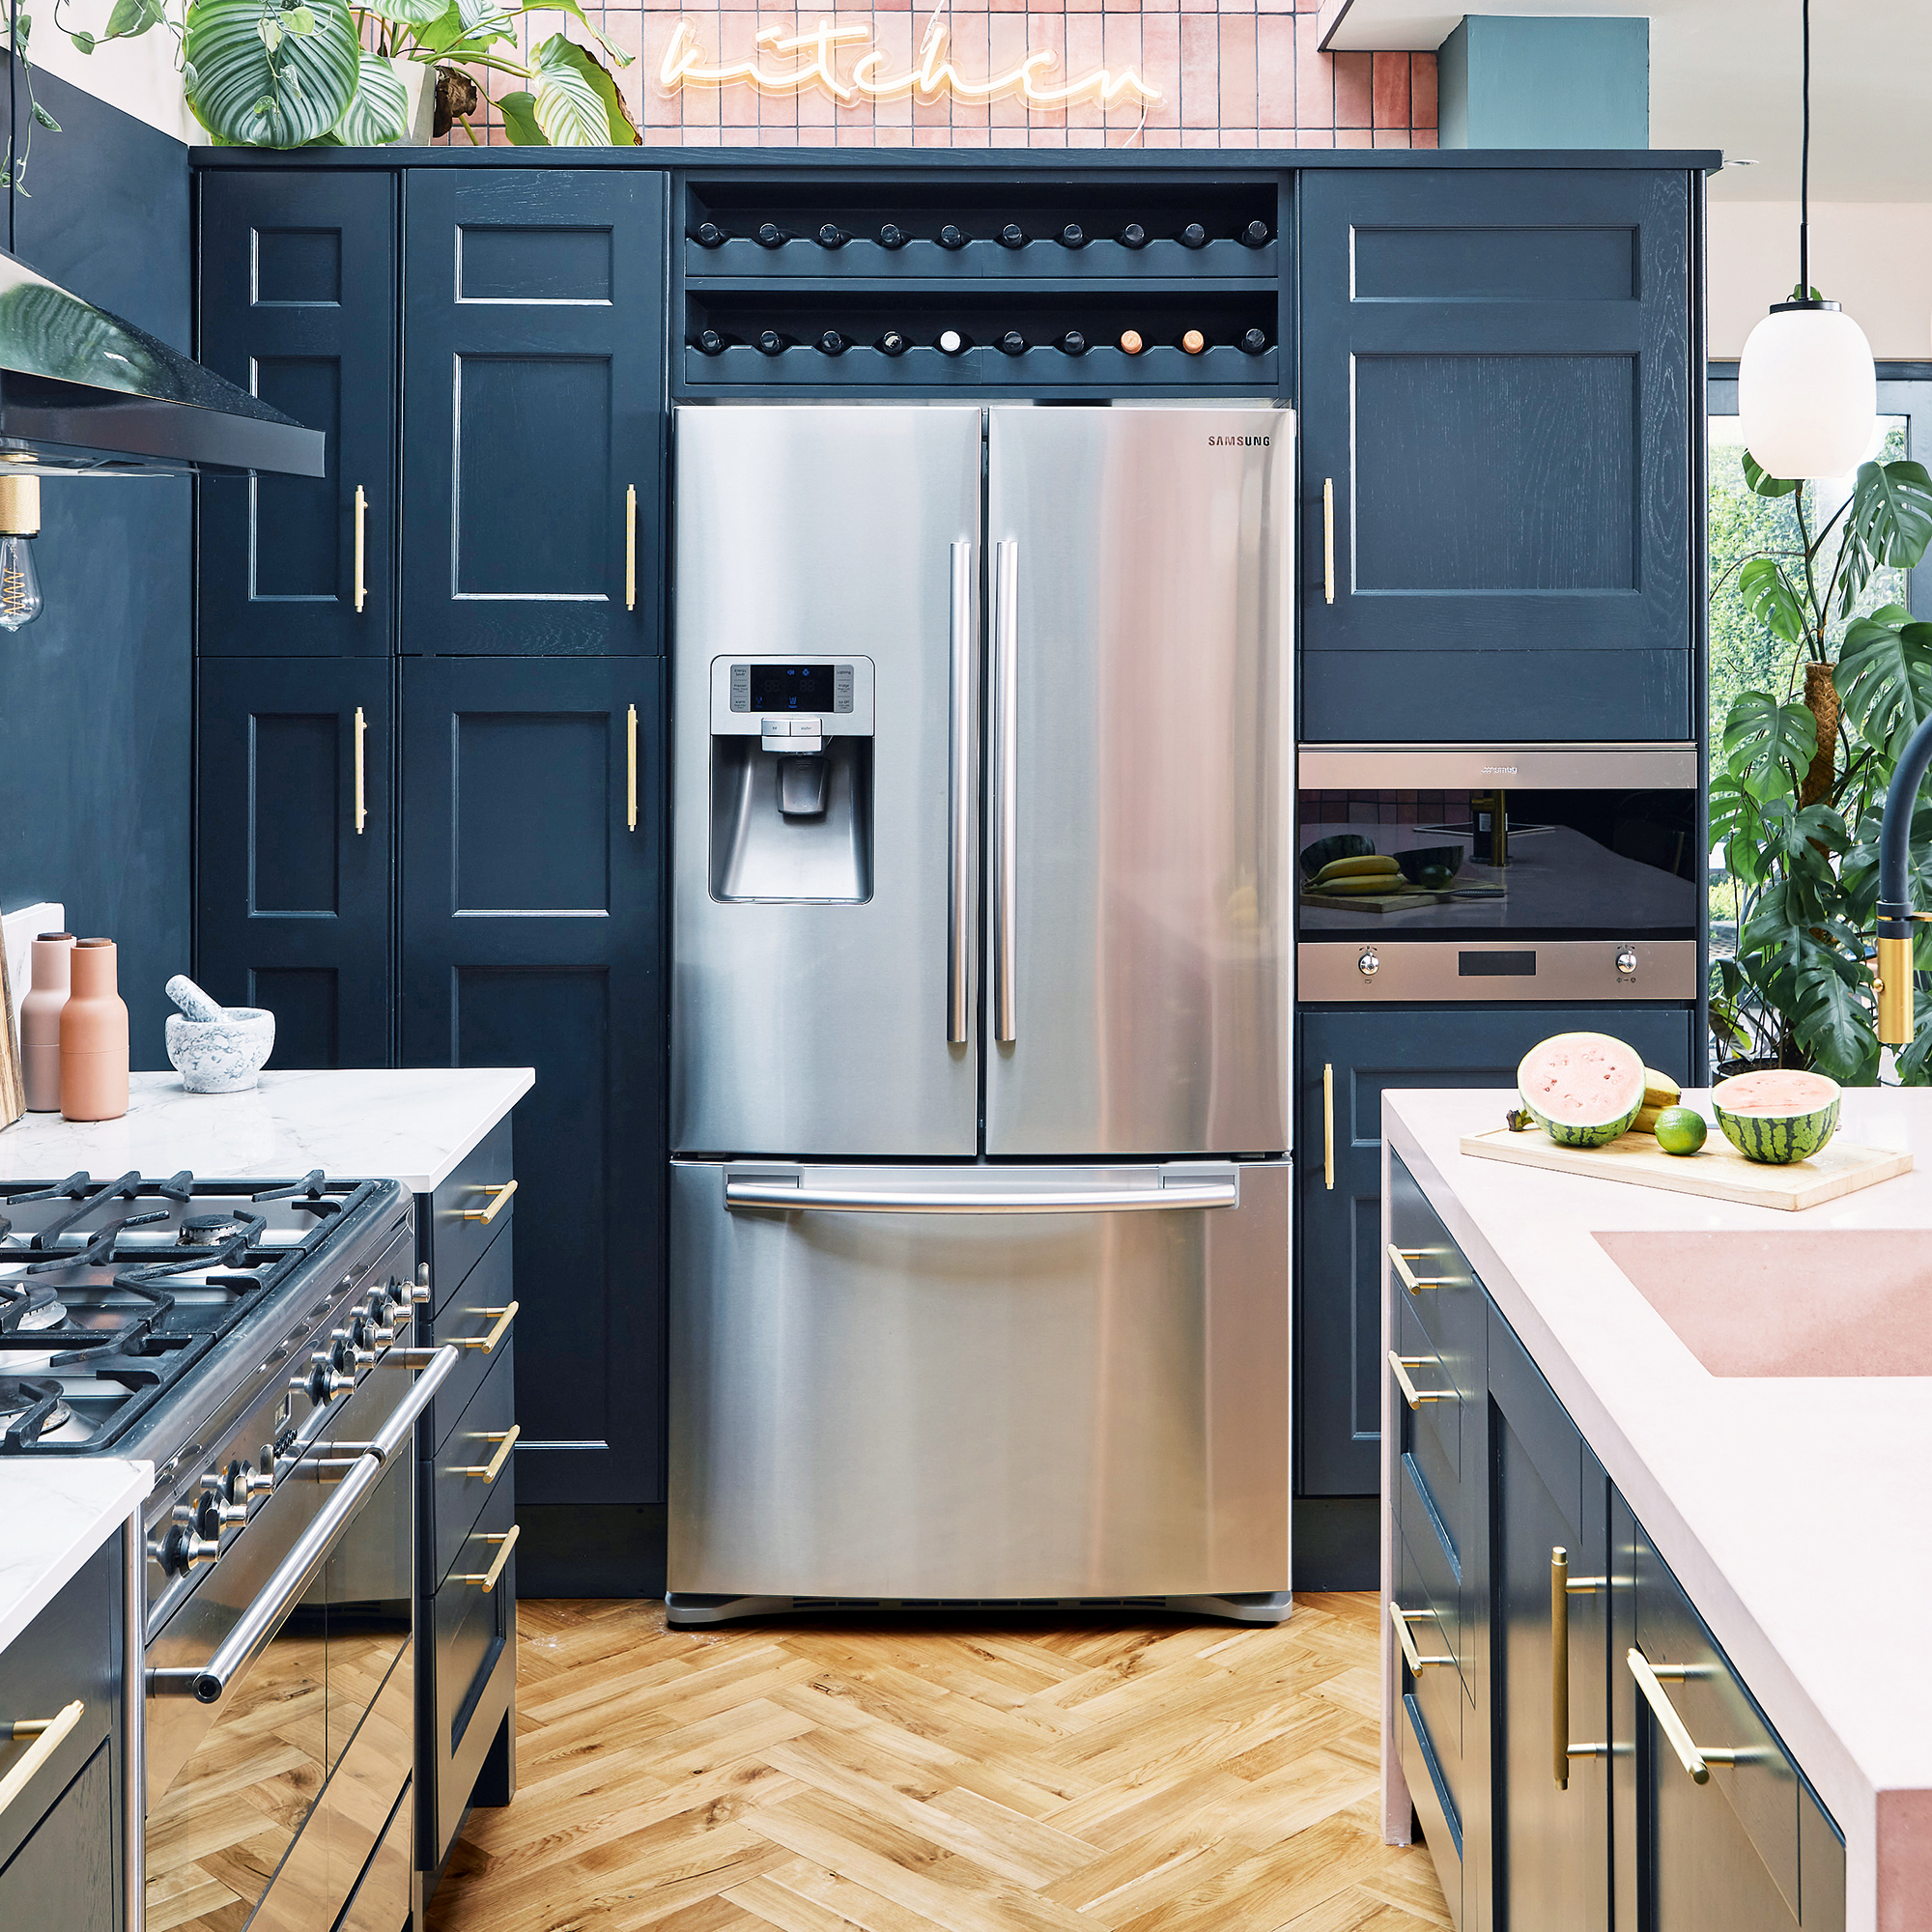
When decorating with organic materials, you need to be careful. These things go through natural processes, and a pumpkin naturally wants to start decomposing as soon as it's picked. This could spell disaster if you want to use them as decoration, but your fridge could help you with this.
Just as you pop your supermarket vegetables into the fridge when you get home, you should try and do the same with your pumpkins when you can. This will slow down the decomposition process and increase its lifespan by at least a week or so.
However, we understand that keeping your pumpkin in the fridge defeats the purpose of using it as decoration. So, aim to keep your pumpkin in the fridge overnight, and then bring it out when you want to appreciate its beauty all over again.
8. Choose the right location
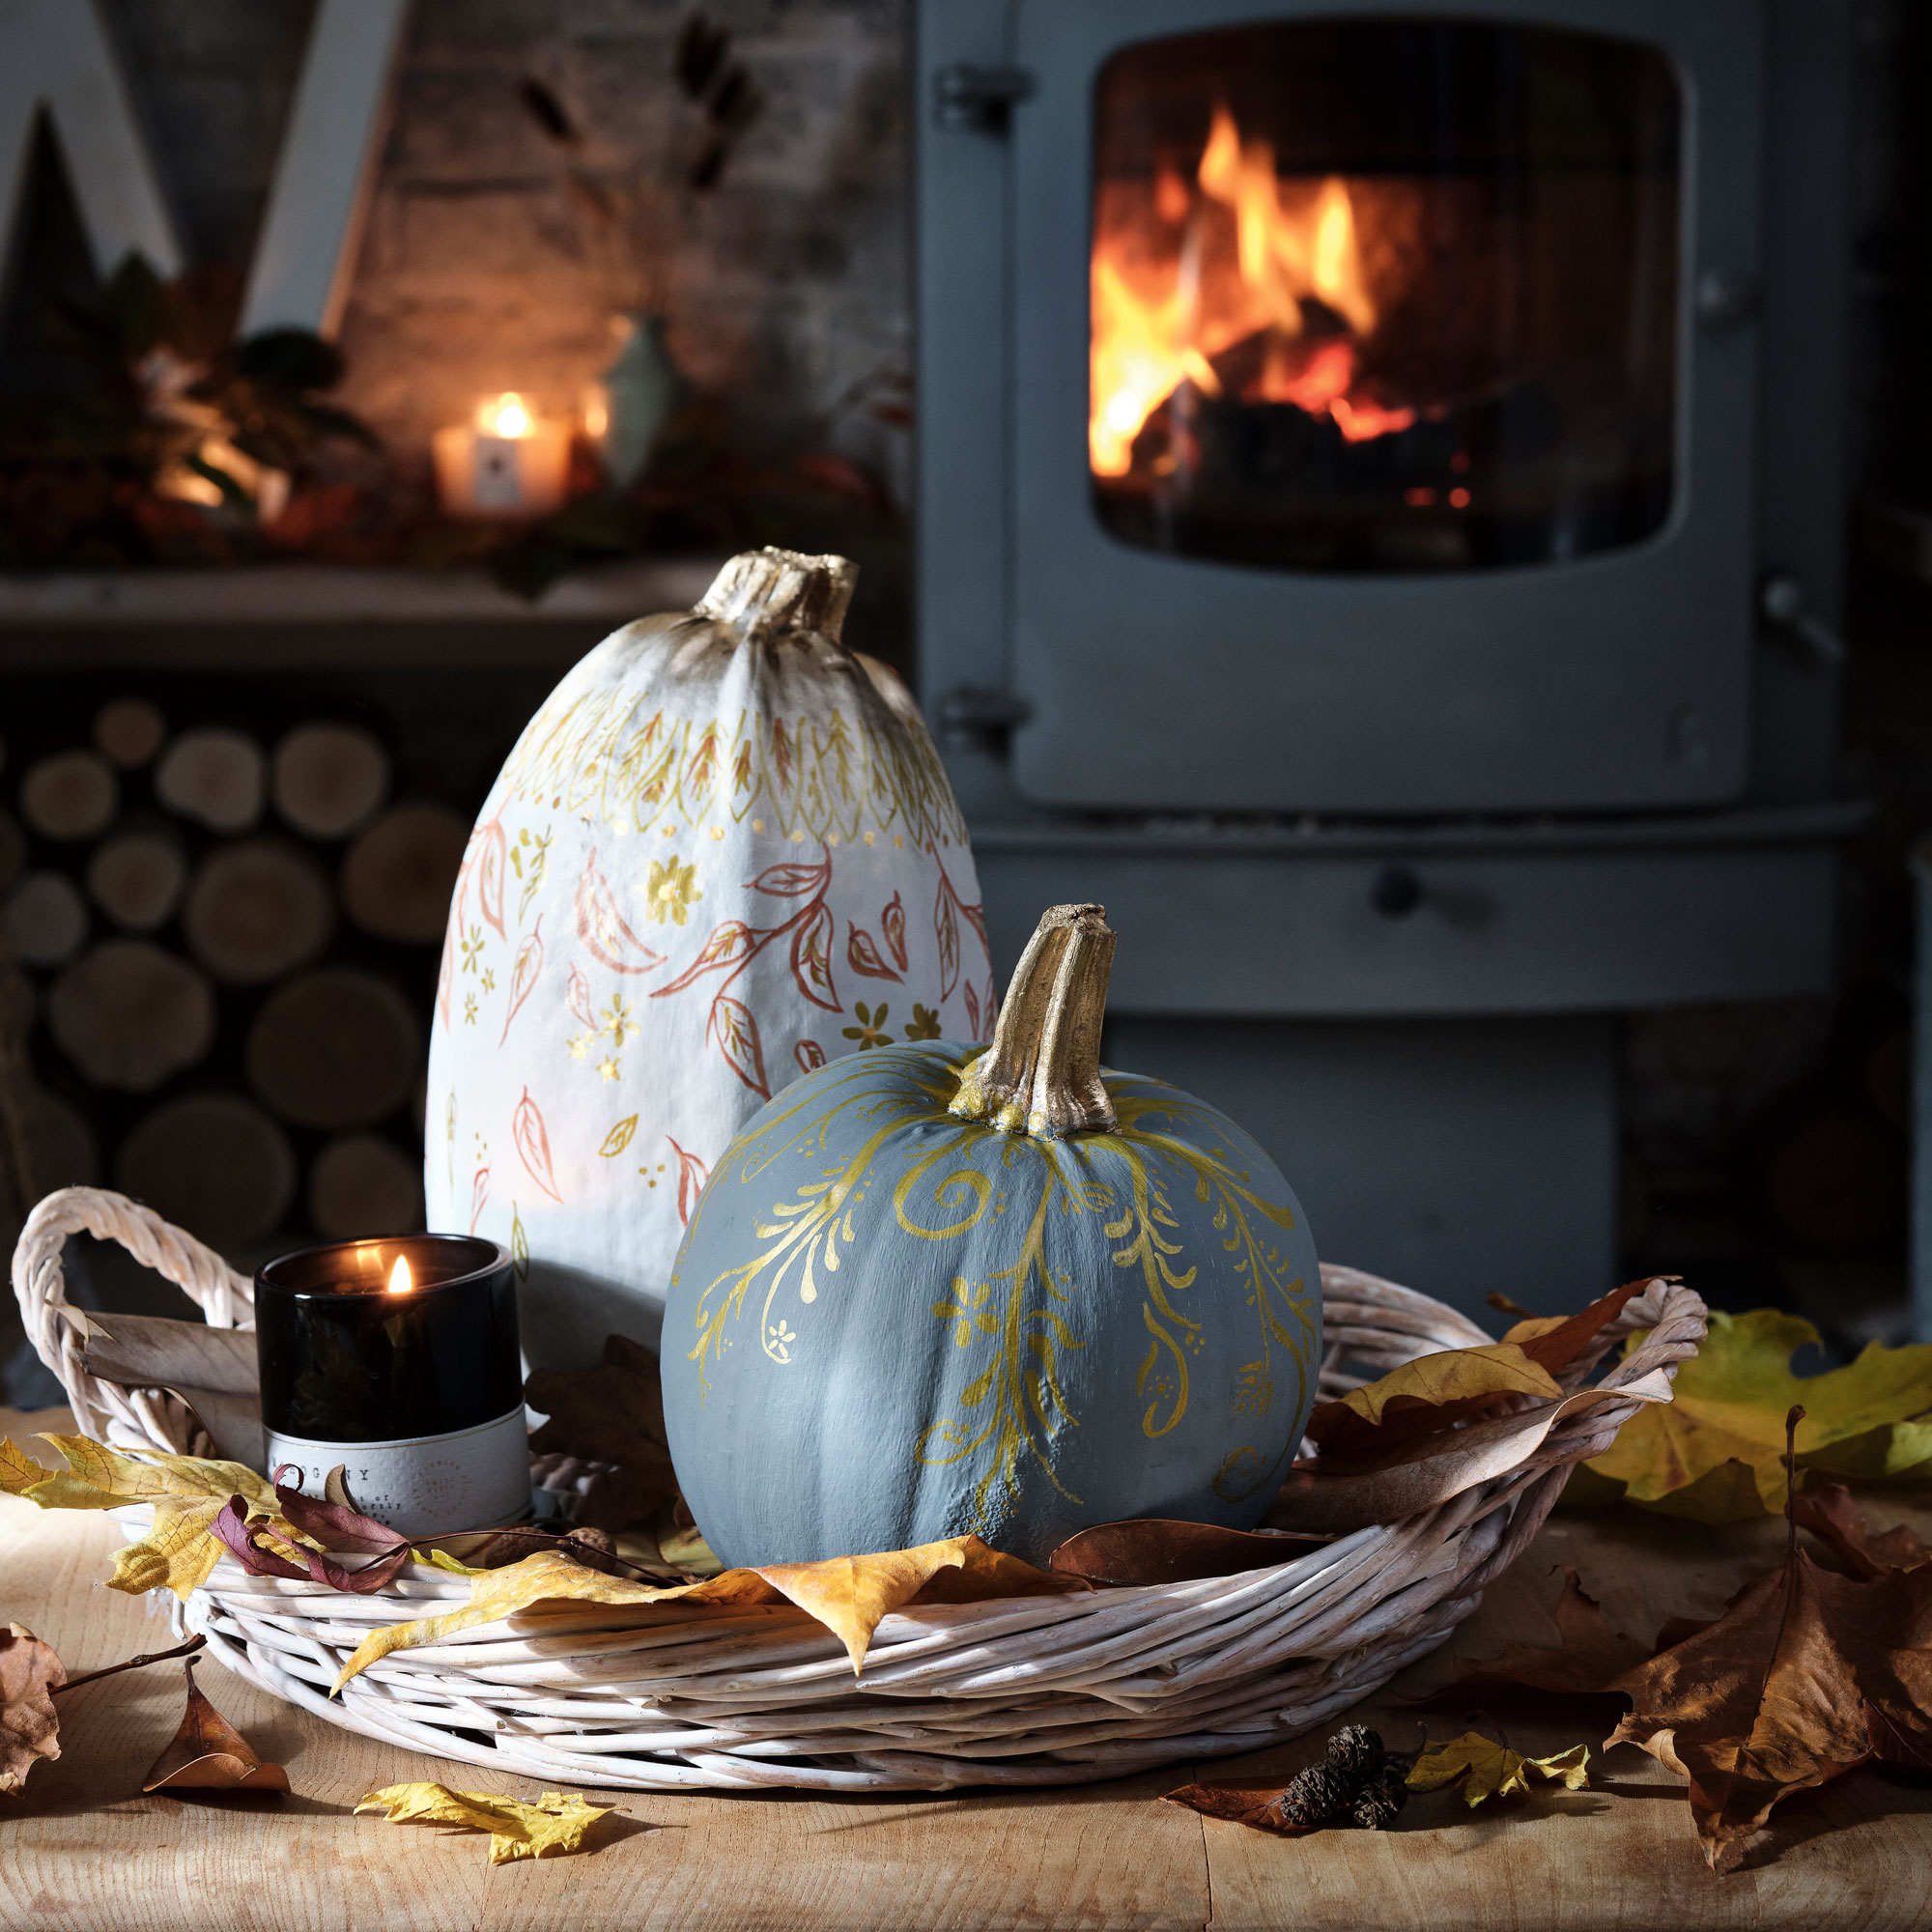
When you decide to add pumpkins to your autumnal or Halloween decor, there’s a high chance that you already have an idea of where you want to put them. You might want to reconsider these options, though.
‘Where you place your pumpkin matters,’ says Ivo. ‘Keeping it out of direct sunlight and avoiding extreme temperatures can add days to its decorative life.’
Because of this, it’s to avoid placing pumpkins near radiators and open fireplaces, or on a front porch that offers little-to-no protection from the elements. Instead, opt for covered porches, interior shelves or coffee tables.
How do you preserve an uncarved pumpkin?
There are so many ways to preserve an uncarved pumpkin, and most of them revolve around hydration. By keeping an uncarved pumpkin hydrated, you’ll be able to expand its lifespan - sometimes by a few weeks.
The most popular method is to soak your pumpkin in a mixture of water and bleach. But if you’re not fond of bleach, you could also do the same with vinegar, or you could wipe a layer of Vaseline over the pumpkin.
How you place and care for this pumpkin will also help with its preservation. Keep it away from direct heat or harsh weather, and, if possible, keep your pumpkin in the fridge overnight to slow down the decomposition process even more.
How long will an uncut pumpkin last?
Uncarved pumpkins last so much longer than carved pumpkins, making uncut pumpkins the perfect decorations for autumn. In fact, they should last a few weeks if you take care of them in the meantime.
However, it’s important to understand that uncut pumpkins won’t last as long if they are exposed to heat, as this will simply speed up the decomposition process. So, make sure you keep them in a cool location where a constant temperature can be guaranteed.

Lauren Bradbury has been the Content Editor for the House Manual section since January 2025 but worked with the team as a freelancer for a year and a half before that. She graduated with a Bachelor’s degree in English and Creative Writing from the University of Chichester in 2016. Then, she dipped her toe into the world of content writing, primarily focusing on home content. After years of agency work, she decided to take the plunge and become a full-time freelancer for online publications, including Real Homes and Ideal Home, before taking on this permanent role. Now, she spends her days searching for the best decluttering and cleaning hacks and creating handy how-to guides for homeowners and renters alike, as well as testing vacuums as part of her role as the Ideal Home Certified Expert in Training on Vacuums, having spent over 110 hours testing different vacuum models to date!
-
 I finally got my hands on the sellout Morris & Co armchair from Habitat, and it looks even better in person
It's back in stock, and well worth the wait
By Rebecca Knight
-
 How to stratify seeds – gardening pros swear by this secret to a thriving garden
This little-known secret is a must for a lush garden this year
By Kayleigh Dray
-
 Cinema sofas are this year's breakout furniture trend, but are you a fan of this controversial sofa style?
Let us know in the comments
By Rebecca Knight