How to clean a non-stick frying pan – the tricks for removing burnt-on food and greasy residue
Keep your non-stick pans in top condition without relying on the dishwasher
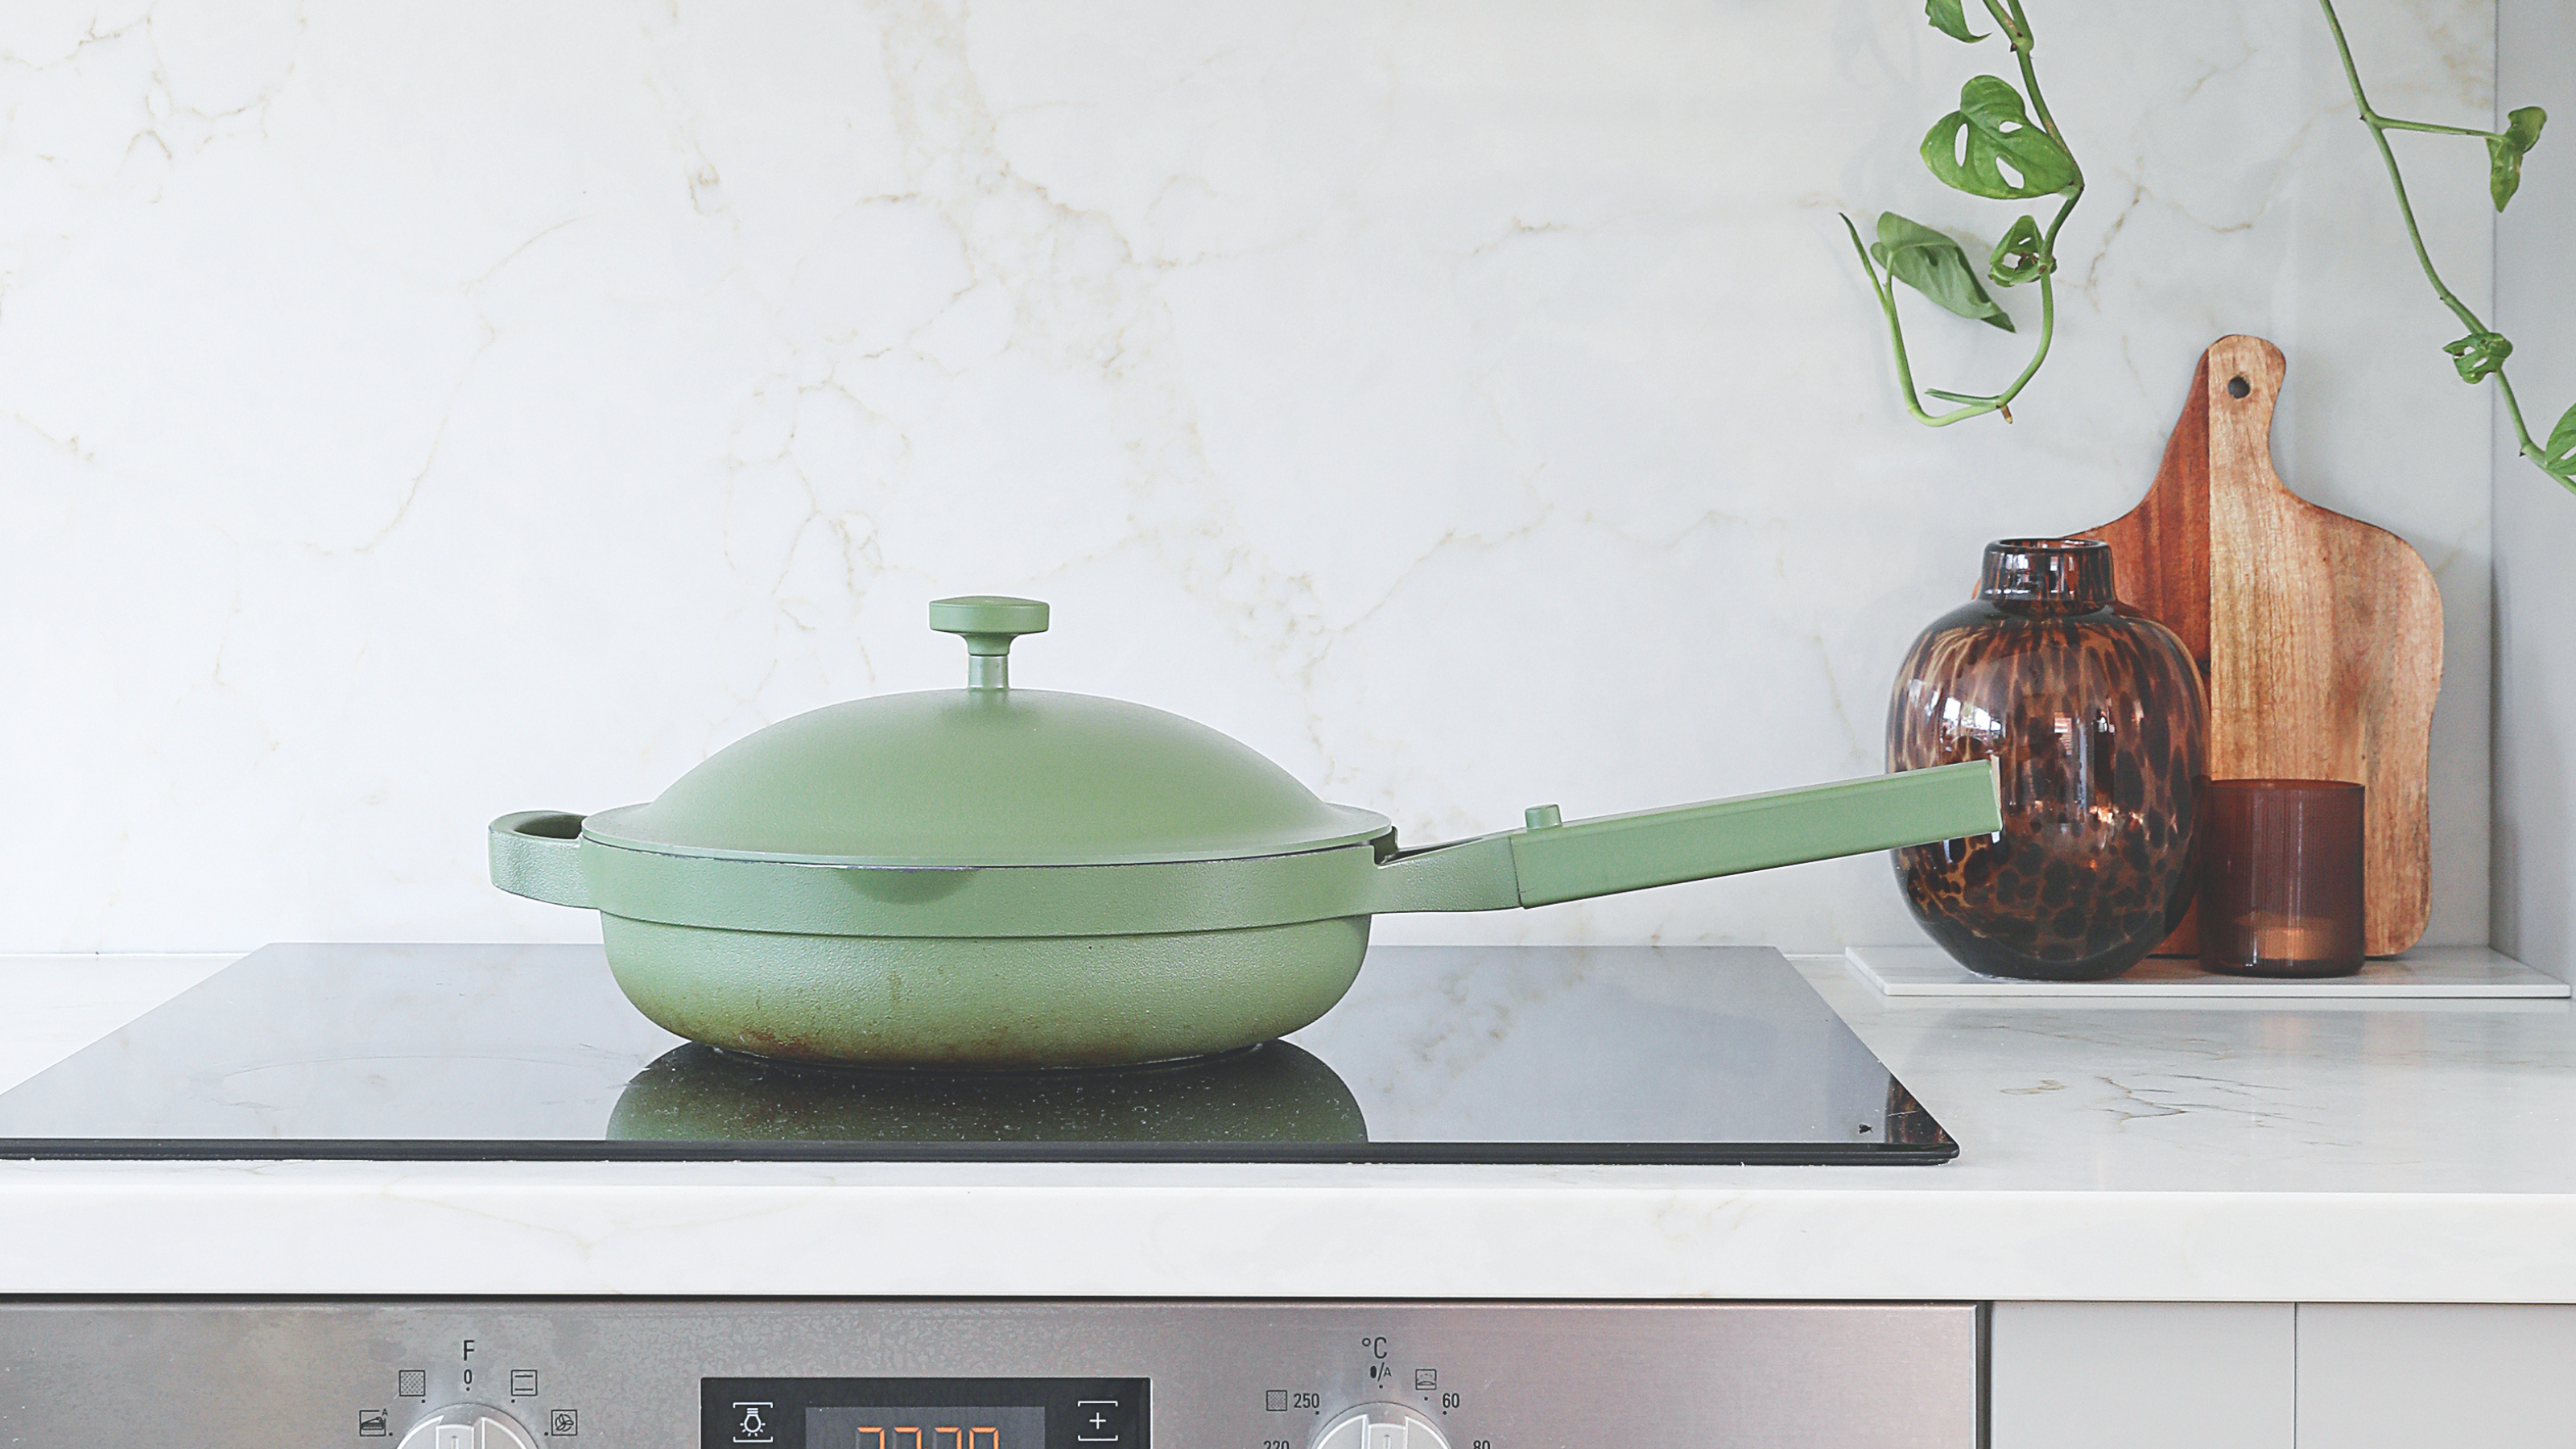

Daily use can leave non-stick pans damaged if you don't take care of them properly. Considering how to clean a non-stick frying pan and using the right cleaning products are the best way to keep your non-stick pans in top condition.
The best non-stick frying pans need careful care and cleaning to help them last through years of dinners. Using the right utensils to protect the non-stick coating will also help with its longevity, as Paul McFadyen, metals expert and chairman at Metals4U explains: 'It’s best to only use silicone and wooden utensils on non-stick pans to avoid scratching the surfaces and damaging the non-stick coating. Similarly, extreme temperature changes can damage the surface, so try to ensure that your pan has completely cooled after cooking before using cold water on it.'
The temperature your pan heats to can also affect it. 'Avoid overheating your non-stick pan as this can put a lot of stress on the coating, especially if it is empty,' advises Paul.
With a few simple tips and tricks on how to clean a non-stick frying pan, you can ensure yours lasts for years to come. We've got the lowdown from our favourite cleaning experts to help you.
The rules to follow when cleaning a non-stick frying pan
1. Look after them
If you take the time to care for your non-stick pans properly, they will be easier to clean. 'Remember that taking good care of your non-stick pans can extend their lifespan significantly, plus it’ll keep your cooking experience hassle-free,' advises Catherine Green, sustainable cleaning expert at smol.
If you have any burnt-on residue, leave pans to soak and use utensils that won't scratch the non-stick coating.

Catherine Green has worked for challenger brand, smol, for over 5 years and is an advocate for making more sustainable living accessible to all with a strong focus in planet-friendly cleaning.
2. Hand wash
It can be tempting to put non-stick pans in the dishwasher to make cleaning quicker and easier but it can make pans deteriorate faster.
'Hand wash your non-stick frying pan as much as possible and avoid putting it in the dishwasher,' explains Sarah Dempsey, cleaning expert at Myjobquote.co.uk. 'Even when the product is labelled as dishwasher safe, the combination of very high temperatures and harsh detergents can wear down the surface of your non-stick cookware over time.'
3. Clean up quickly (after it's cooled down)
After dinner it can be tempting to leave the washing up until the morning, but it can make pans harder to clean as Sarah explains: 'Always wash your non-stick cookware as soon as you’ve finished using it and it has cooled down. Leaving it till later or the next day can make it harder to remove residue and burnt pieces of food.'
But do note you need to wait for it to cool down, putting cold water straight into a hot non-stick pan can damage it.

What is the best thing to clean a non-stick frying pan with?
Luckily, cleaning non-stick pans is simple and a mild detergent is all you need.
'You can do a great job with a quality gentle dish soap (such as smol’s plant-powered washing up liquid) when it comes to non-stick pan maintenance,' explains Catherine. 'But there are definitely some products to avoid, to prevent the non-stick coating being damaged.'
Catherine recommends using mild dish soap, warm water and soft sponges (avoiding the scratchy side) for cleaning and for any stuck on food, a wooden or silicone tool can help to prise it off. Equally important, Catherine advises against using steel wool as it will scratch the non-stick coating, and it's best to avoid using harsh abrasive products or those that are bleach based.
Laura Marsden, cleaning expert at Marigold has these recommendations: 'Always use a non-scratch scourer, such as the Marigold Cleaning Me Softly Non Scratch Scourer – unlike traditional non-scratch scourers, the special scouring surface on these scourers quickly breaks down and lifts away burnt-on food, without damaging more delicate surfaces. It’s also tested and approved by Teflon for non-stick coatings. No harsh cleaning solutions are needed, just use washing up liquid and warm water.'
How do you remove oily residue from a non-stick frying pan?
1. Use hot water
Hot and soapy water is the best way to get rid of any oily residue on non-stick pans. Run the hot tap for a minute or two, so it's warm enough (but be careful you don't burn yourself, using rubber gloves can help).
2. Choose a good-quality cloth
Gently scrub the area with a non-abrasive cloth until the residue starts to lift. 'To remove any oily residue, I recommend using a microfibre cloth such as the Marigold Let It Shine! Microfibre Cloths,' advises Laura. 'These cloths are made of thousands of tiny fibres, which greatly increase the contact points of the cloth with the surface, for a deep and effective clean.'
Rinse your pan to remove any residue and soap, before drying with a tea towel.
3. Avoid cooking sprays
Also, be mindful of the type of cooking oils used in non-stick pans as they can affect the coating, as Steven Carter-Bailey, ProCook's food expert explains. 'Always hand-wash non-stick pans with warm, soapy water using a soft sponge - avoid abrasive scourers. Never use cooking sprays, as they can build up a sticky residue.'
What is the best way to remove brown bits from a non-stick frying pan?
Using a non-stick frying pan on a high heat or cooking certain foods can leave a food residue on pans, making them more difficult to clean. 'Washing your pan up as soon as it’s cooled down after cooking will also help to prevent food from sticking too much, making it easier to clean,' advises Laura.
How do you clean a burnt non-stick frying pan?
If you're struggling with how to clean a burnt pan, don't be tempted to use harsh, steel wool scourers or metal utensils to scrape it clean. It can easily be removed by following a few simple steps.
'You can deglaze a non-stick frying pan by adding some boiling water and a couple of tablespoons of baking soda,' explains Sarah. 'Boil the mixture, stirring with a wooden spoon to dissolve the baking soda. Depending on how burnt the pan is, this might take about five minutes or more. You should see the burnt pieces loosening and lifting off the pan’s cooking surface.
'Once it’s all come off, turn off the heat and let the pan and mixture cool down. Discard the mixture and rinse the pan with some clean water. Dry it thoroughly.'
What are the signs you need to replace your non-stick frying pan?
Regularly check your non-stick frying pans, as any deterioration can mean they need to be replaced.
'It’s a good idea to think about replacing your non-stick pans if there are visible signs that the coating is damaged, such as peeling, flaking or scratches, or if your food is consistently sticking to the pan surface, as this is a sign that the non-stick surface is no longer effective,' advises Laura.
Sarah recommends replacing your non-stick frying pan if it has deep scratches, the coating is beginning to peel off, if there's a residue that can't be removed despite cleaning, food is sticking to the pan or if the pan begins to warp.
Hopefully now with these handy tips you know how to clean a non-stick frying pan and you can keep your cookware in top condition.
Get the Ideal Home Newsletter
Sign up to our newsletter for style and decor inspiration, house makeovers, project advice and more.

Amy Hodge has been working on interiors magazines for over 11 years. She's a freelance writer and sub editor who has worked for some of the UK's leading interiors magazines including Ideal Home, Style at Home and Country Homes & Interiors. She started at Style at Home just after it launched as food editor and is now chief sub editor for Ideal Home, Style at Home and Country Homes & Interiors.
You must confirm your public display name before commenting
Please logout and then login again, you will then be prompted to enter your display name.
-
 Should an air fryer be on display in a kitchen or hidden away? This is why I always keep my small appliances on the worktop
Are you on team display or neatly hidden away? Share your opinion in the comments
By Rebecca Knight
-
 Experts warn that these 5 mopping mistakes are making your floors dirtier — and damaging your floors in the process
This is how to keep them clean and avoid costly damage
By Lauren Bradbury
-
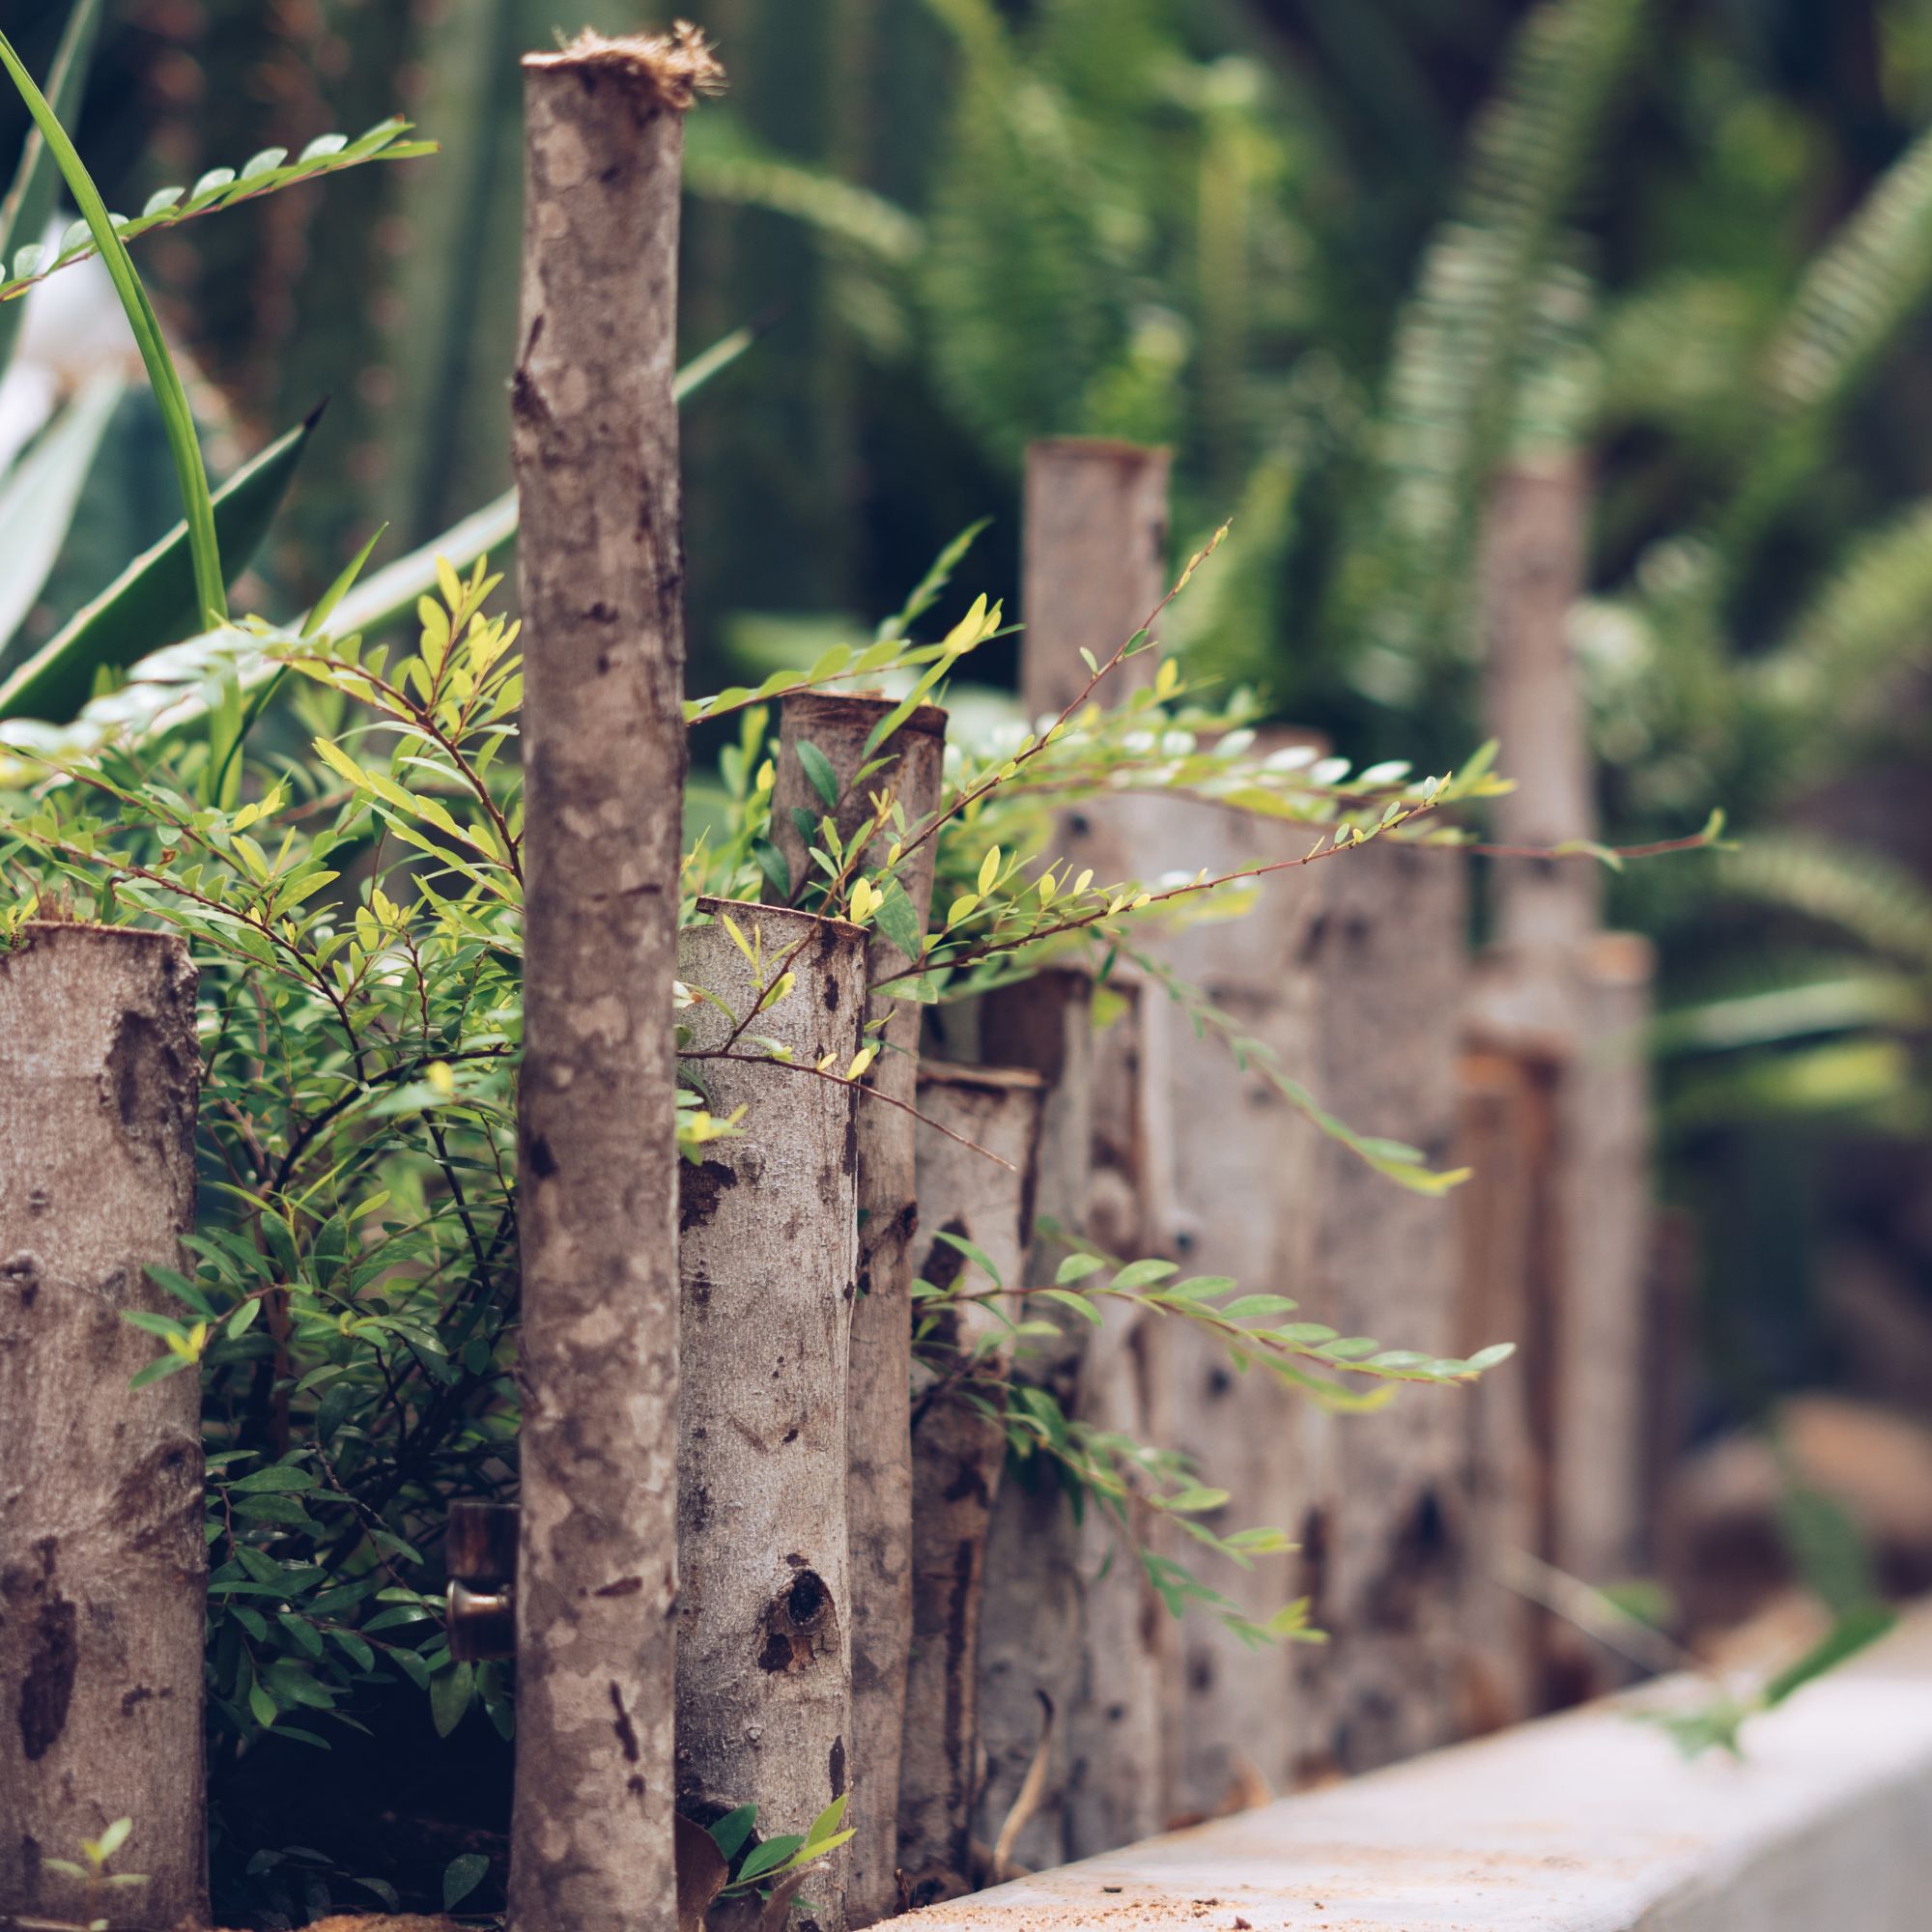 Move over, fences – dead hedges are the wild and wonderful alternative your garden will love and they're easier to build than you'd think
The perfect eco-friendly solution for small gardens
By Kayleigh Dray