How to lay floor tiles
Use our handy guide to lay the perfect floor
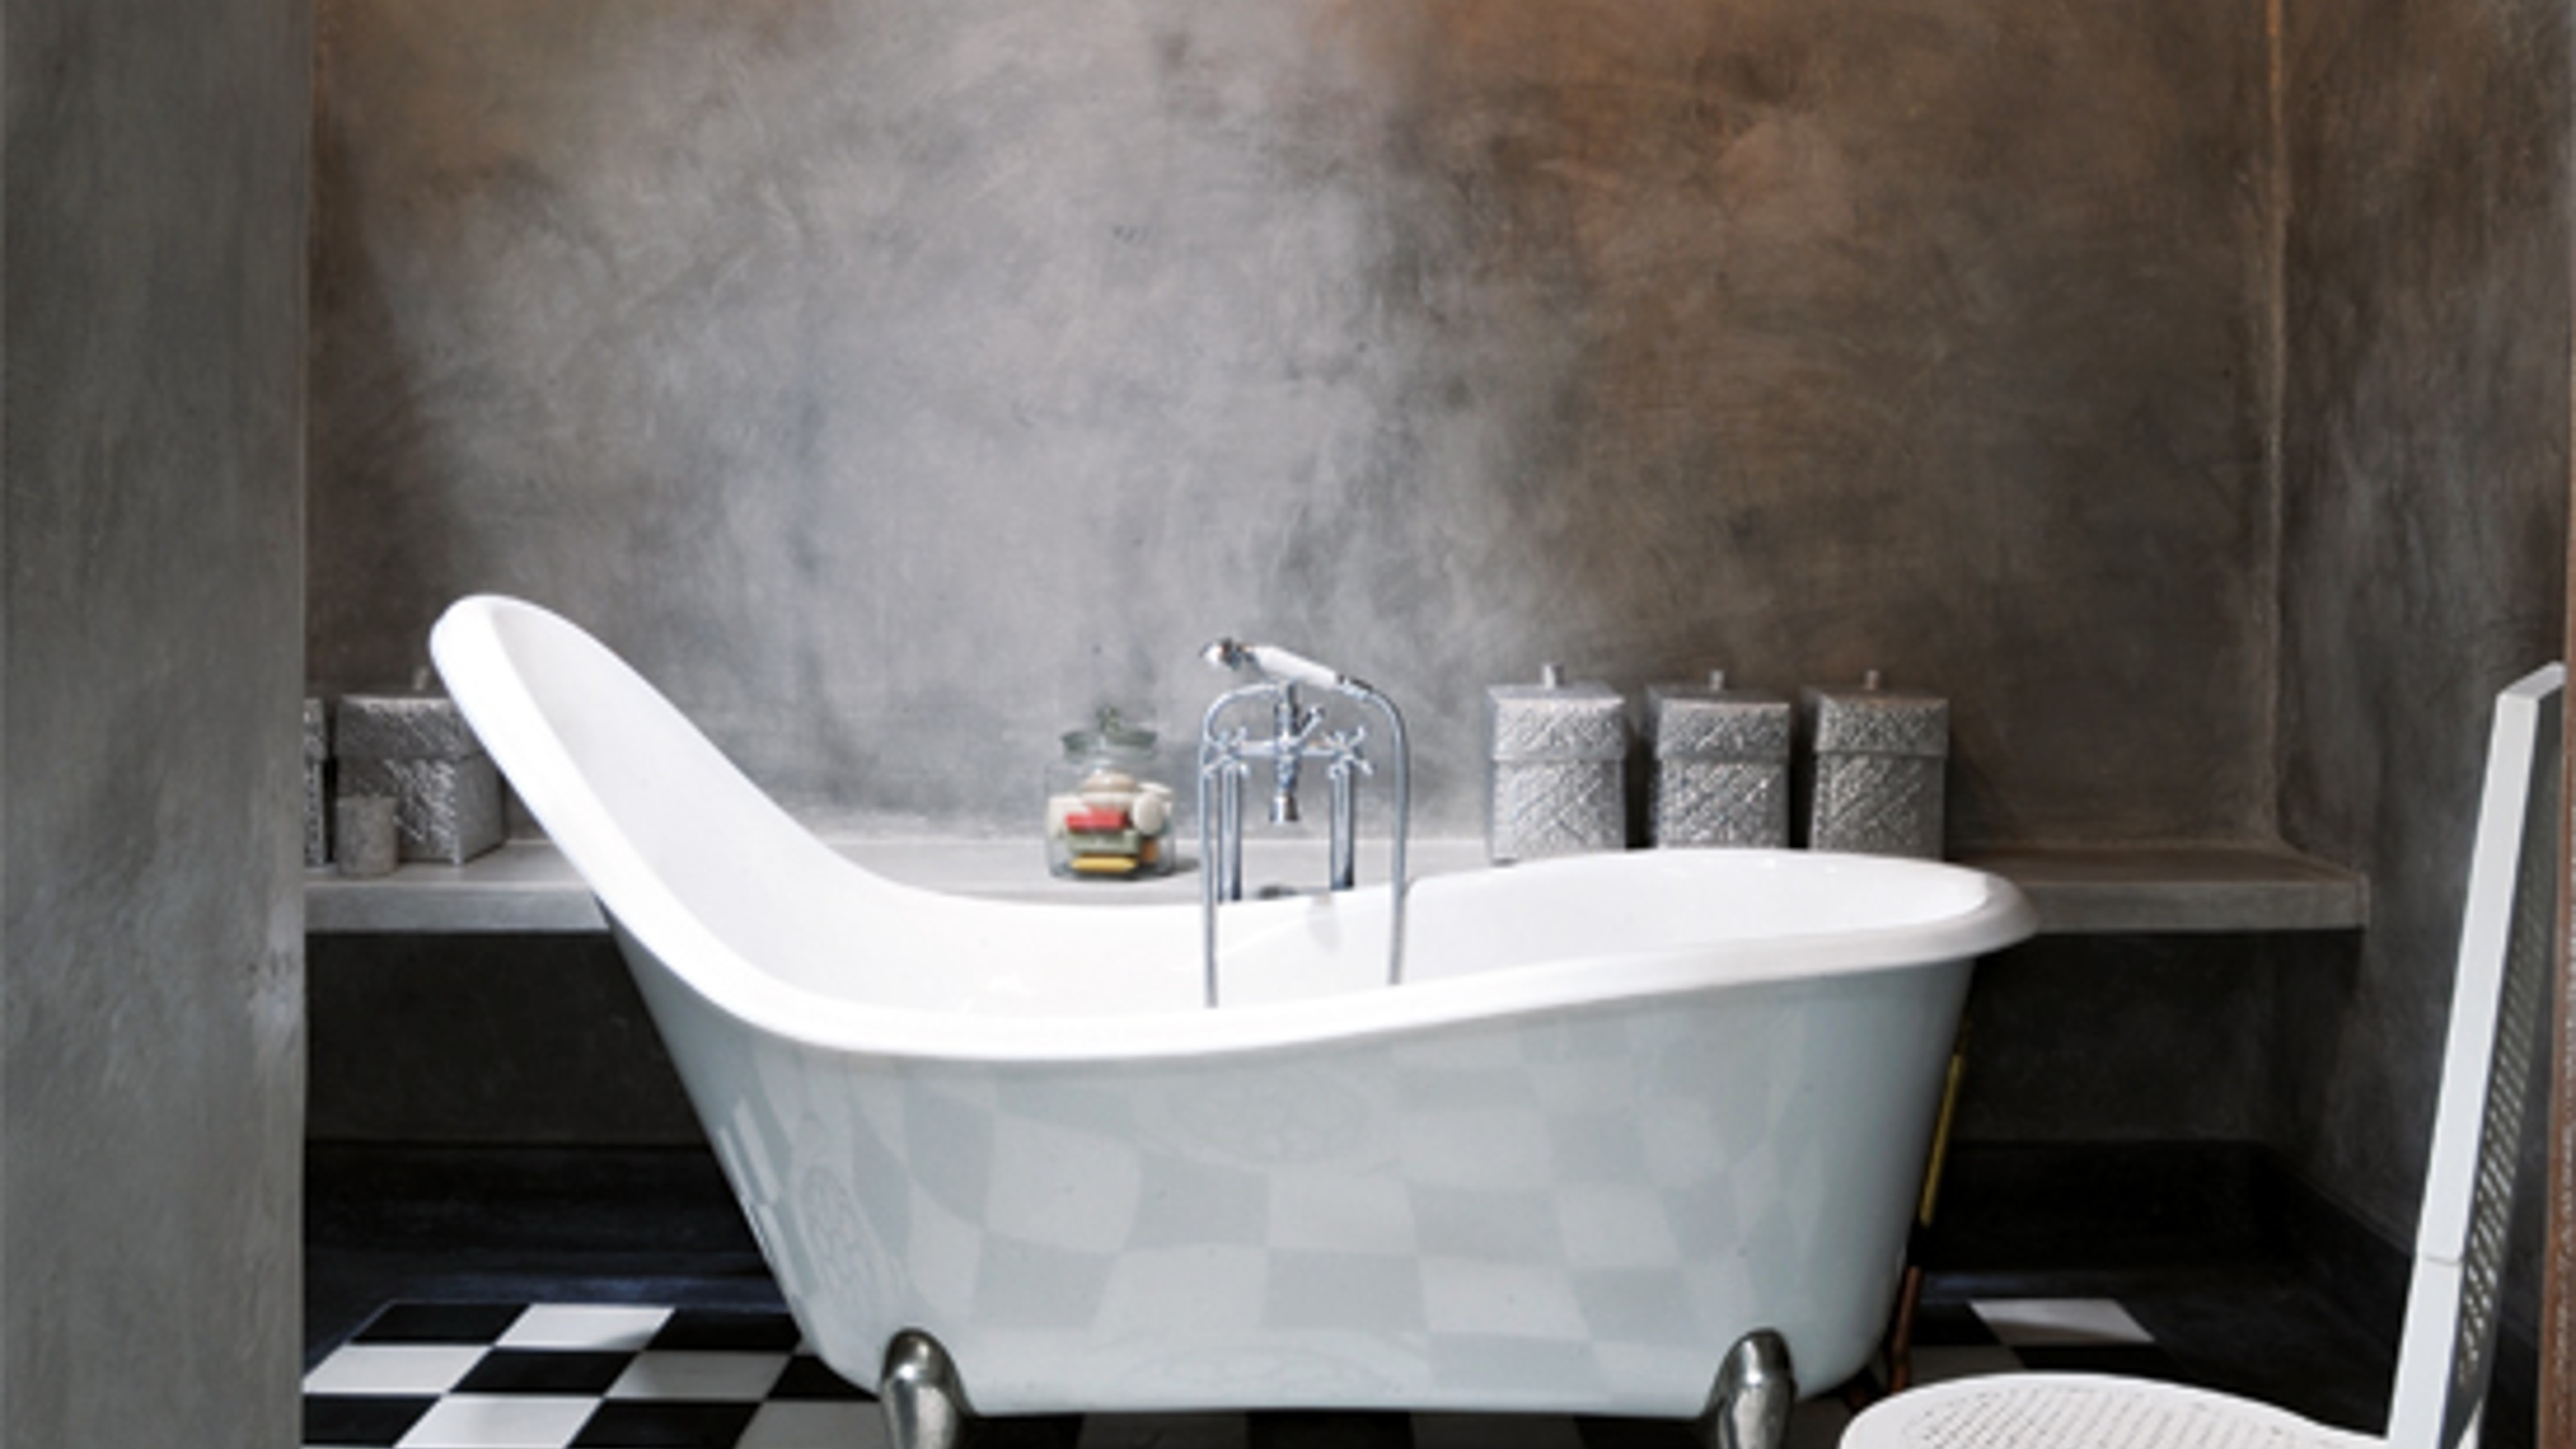
Learn how to lay floor tiles with our simple and easy step-by-step guide to creating the perfect tiled floor in your home.
Tiles are the perfect flooring solution for many different rooms - especially kitchens and bathrooms - and if you're happy undertaking a spot of DIY, there's no reason why you can't lay your own tiled floor.
Before you begin, you'll need:
- tiles
- grout
- tile cutter
- chalk
- spirit level
- tile spacers
- pencil
- spreader
- floor sealer
- damp cloth
- tape measure
If the tiles you are using are natural stone or particularly expensive, it might be worth getting an expert in if you're not a confident DIYer.
Step 1: find the mid-points
As with most DIY projects, preparation is key. Make sure the surface you are laying the tiles on
is even, clean and dry. Next, you need to mark out the position of the tiles. Find the middle points of the two longest walls, and draw a chalk line across the floor joining them. Then do the same with the shorter walls, so that they cross.
Step 2: position the tiles
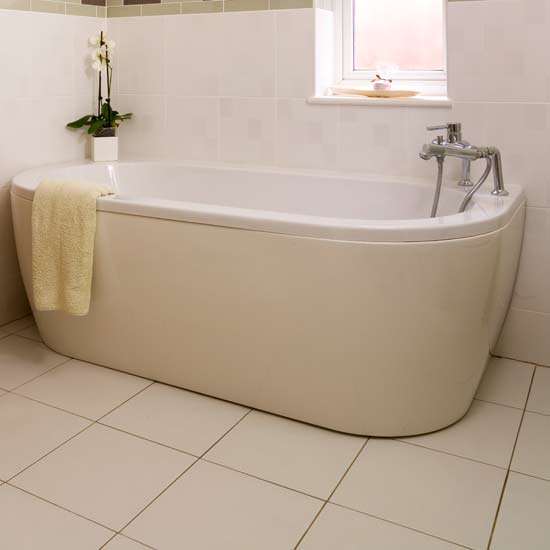
Lay tiles along the two lines, making sure you work out the best position as you go. It's good to use as many whole tiles as possible - so adjust the layout accordingly. When you're positioning tiles around a fireplace or similar, keep them symmetrical, and avoid having cut tiles along the wall that faces you as you enter the room.
Step 3: apply the adhesive
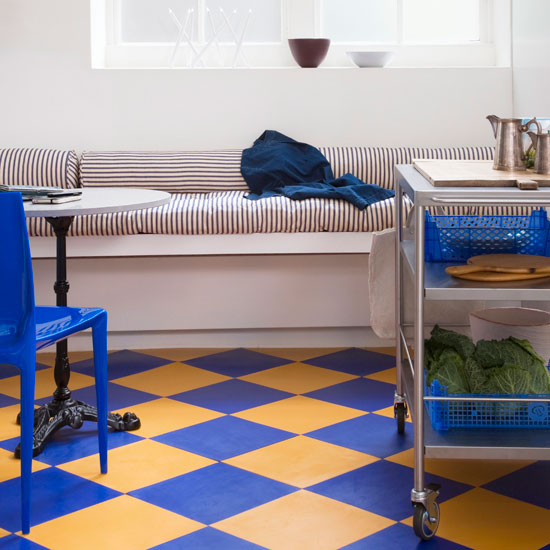
Spread approximately one square metre of adhesive into one of the corners created by the chalk lines on the floor, taking care to spread evenly. Work outwards, gently pressing tiles into place, and add plastic spacers to each corner to ensure the grouting is even.
Step 4: lay the rest of the tiles

When you reach the wall, measure and use the tile cutter to cut tiles to shape to fill any gaps, not forgetting to leave space for grouting. Wear safety goggles and gloves when cutting tiles. Check the tiles are level with the spirit level. Once you've laid all the tiles on one side of the line, continue on the other side of the room.
Step 5: grout the tiles
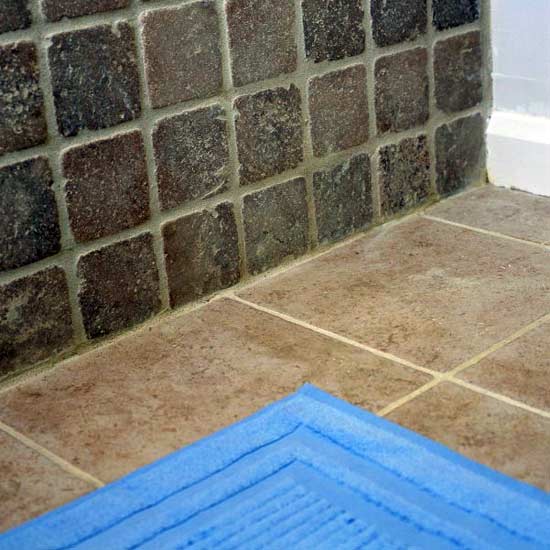
Once you've finished tiling your floor, wait 12 hours for the adhesive to set, before sealing the surface. Allow the sealer to dry for at least 2 hours, and then you're ready to grout the tiles.
Get the Ideal Home Newsletter
Sign up to our newsletter for style and decor inspiration, house makeovers, project advice and more.
-
 My go-to Ninja coffee machine is on sale for Easter weekend
It makes coffee shop quality achievable at home
By Molly Cleary
-
 When to plant out annual flowering plants for vibrant, colourful garden borders – and give them the best start, according to experts
Not sure when to plant out annual flowering plants? We've got you covered...
By Kayleigh Dray
-
 I'm a kitchen decor editor and didn't like this tableware trend - until I saw H&M Home's designer-look plates
They made it easy to justify a new crockery set
By Holly Cockburn