How to install a shower head – upgrading showers couldn’t be simpler
You don’t need any special tools or training to replace a shower head. Just follow our easy step-by-step guide

There are plenty of reasons for deciding to upgrade your shower head but a leaky or badly performing spray tops the list. The good news is that with our easy guide for how to install a shower head is as easy as changing a lightbulb!
‘It’s really important to keep an eye on your shower and consider when it’s best to upgrade or replace ageing shower heads' says product manager Ashley Smith, of Ideal Standard UK.
'Not only can a new shower head improve the quality of shower performance, but it can also help save on water wastage by preventing leaks from older fittings and improve hygiene.’
When choosing a replacement shower head, there are two main fixing types of shower ideas: an overhead shower head, or a shower handset. The former attaches to a shower arm that comes out of the ceiling or wall above your head, the latter connects to a flexible hose, usually on a riser rail. Aim to replace like-for-like.
Follow our guide and get the job done and dusted in 30 minutes or less.
How to install a shower head
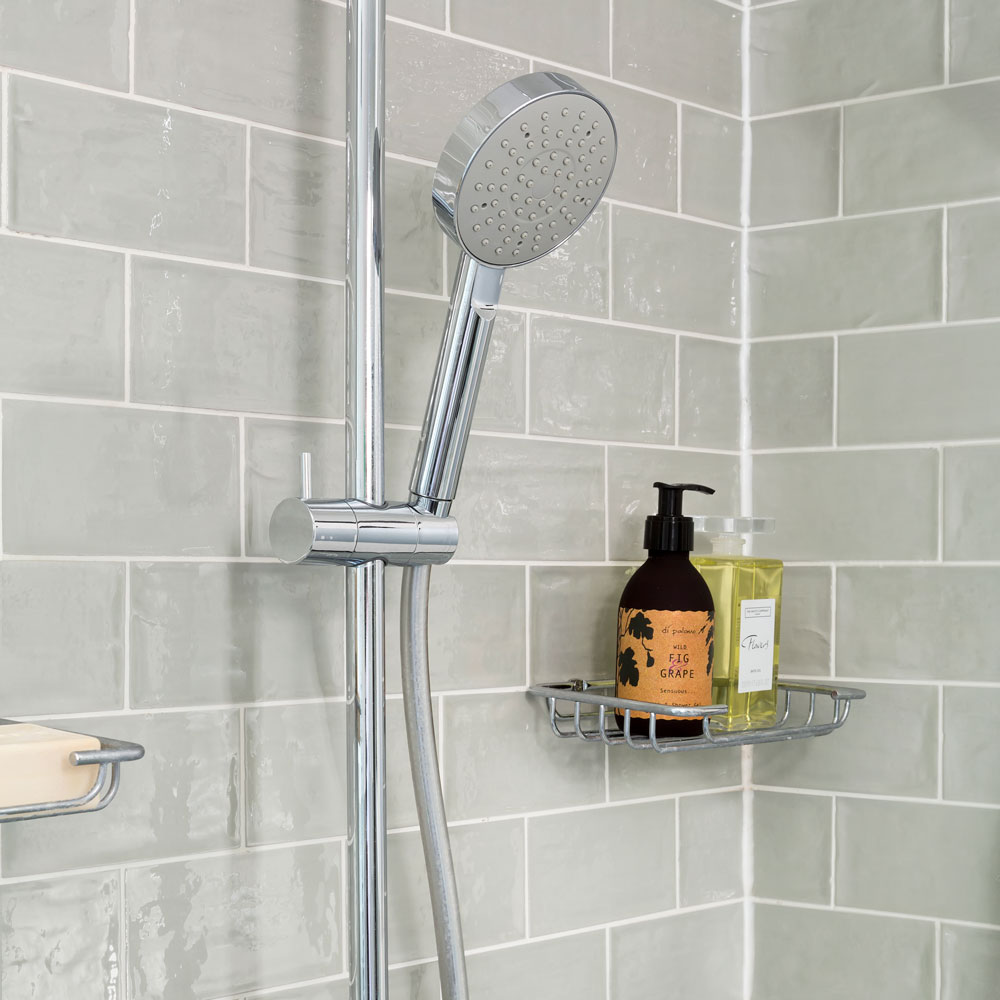
Shower pipes and connections come in universal sizes, which means any shower head should fit your existing pipes. But do consider your flow rate and water pressure before you buy.
If your home has a low-pressure water supply, a shower head designed specifically for high pressure systems will produce a disappointing trickle rather than an invigorating deluge. Check the water pressure recommendations for the shower head before you buy.
1. Remove the old shower head
It may sound obvious but before you begin do make sure the shower is turned off! There’s no need to turn off the water at the mains, just as the shower controls is fine. Next it's how to take the shower head off. Simply unscrew the old shower head by twisting it anticlockwise at the point where it connects to the shower arm or hose.
You shouldn’t need any tools but if the connection is too tight to turn by hand, use a wrench or locking pliers to get a better grip.
2. Clean the shower arm or hose
Once the old head has been removed, check the shower arm or hose connection for rust, debris or limescale build up and give it a thorough clean. Pay special attention to the rubber washer inside and replace it if there are any signs of damage.
3. Apply plumber’s tape
This step isn’t always necessary if there is a rubber seal in the connector – it just adds an extra layer of leak protection and should make the joint easier to disassemble in the future. If you like to take a belt and braces approach in general, plumber’s tape (a.k.a Teflon tape or thread seal tape) will prove a welcome addition to your DIY armoury. This thin white tape is designed to secure a watertight seal on threaded joints.
If you are unfamiliar with plumber’s tape, it is worth watching a YouTube video as you need to wrap the tape in the correct direction, which is the opposite direction to the direction the pipe will be turned when you connect the head to the shower arm or hose! Wrap the tape around the male threads (on the outer side of the pipe) four-five times then smooth the loose end down.
4. Screw on the replacement shower head
Next simply line up the shower head with the shower arm or hose and screw it on in a clockwise direction. There’s no need to use any tools, it will be tight enough once you can’t turn it anymore.
5. Test for leaks
Finally, wipe the connection point to ensure it is dry then turn the shower on and watch for any leaks. Hold a piece of kitchen or toilet roll around the joint. If there’s even the slightest leak, it will soon soak into the paper and become obvious.
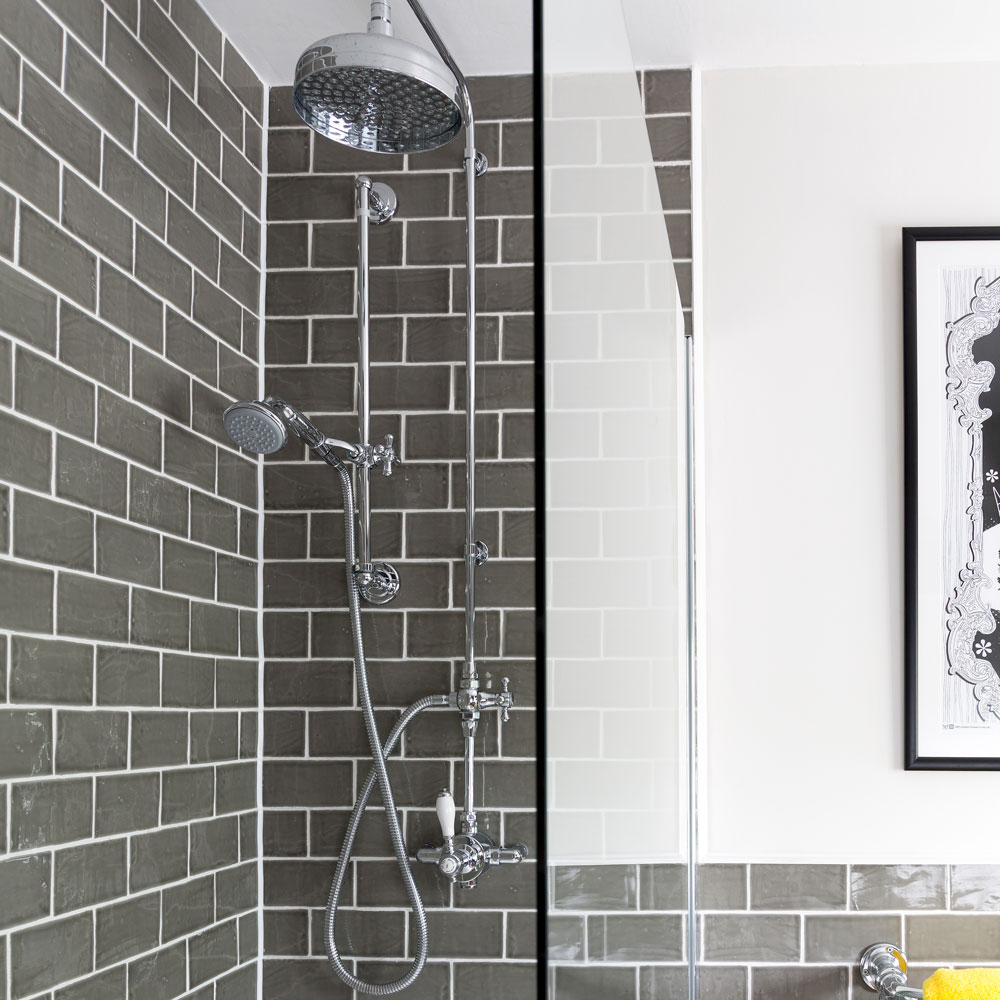
Can you install a shower head yourself?
Yes, if it’s a replacement situation, or the shower pipe/hose has already been installed by a qualified plumber ready for a shower head to be attached. Provided you can reach the existing shower pipe/connection point with ease and have no mobility or strength issues that might affect your safety, there’s no reason you shouldn’t be able to install a shower head.
‘Whether the shower head is connected to a flexible hose or it’s coming out of the wall on a fixed arm, the heads always come separate so you can put either type on and it’s an easy enough job,’ says Rated People bathroom fitter, John Naughton of Total Heat & Bathrooms.
One exception would be a shower panel, where the shower head is part of a full unit containing the controls, mixer valve and often body jets. Installation is best left to the professionals.
Can you put any shower head on?
‘Despite the variety in designs, most shower heads are made to connect to a standard Universal 1/2in BSP connection that is used throughout the UK,’ says Teresa Paul, Category Director for Bathrooms, Plumbing & Heating at Wickes.
‘Before making your purchase be sure to check your bathrooms water pipe to ensure you have a match, you can do this by taking your existing shower head into the store when searching for a new one.’ For fixed shower heads, it’s worth looking for an adjustable design that gives you more control over the angle of the flow.
‘Upgrading your shower head is also an excellent opportunity to incorporate some new contemporary features into your bathroom. Such as spa-like spray modes and water saving technology’ says Ashley Smith, of Ideal Standard UK. For extra fun, switch up to a shower head with built-in Bluetooth speaker and blast out the show tunes while you wash.
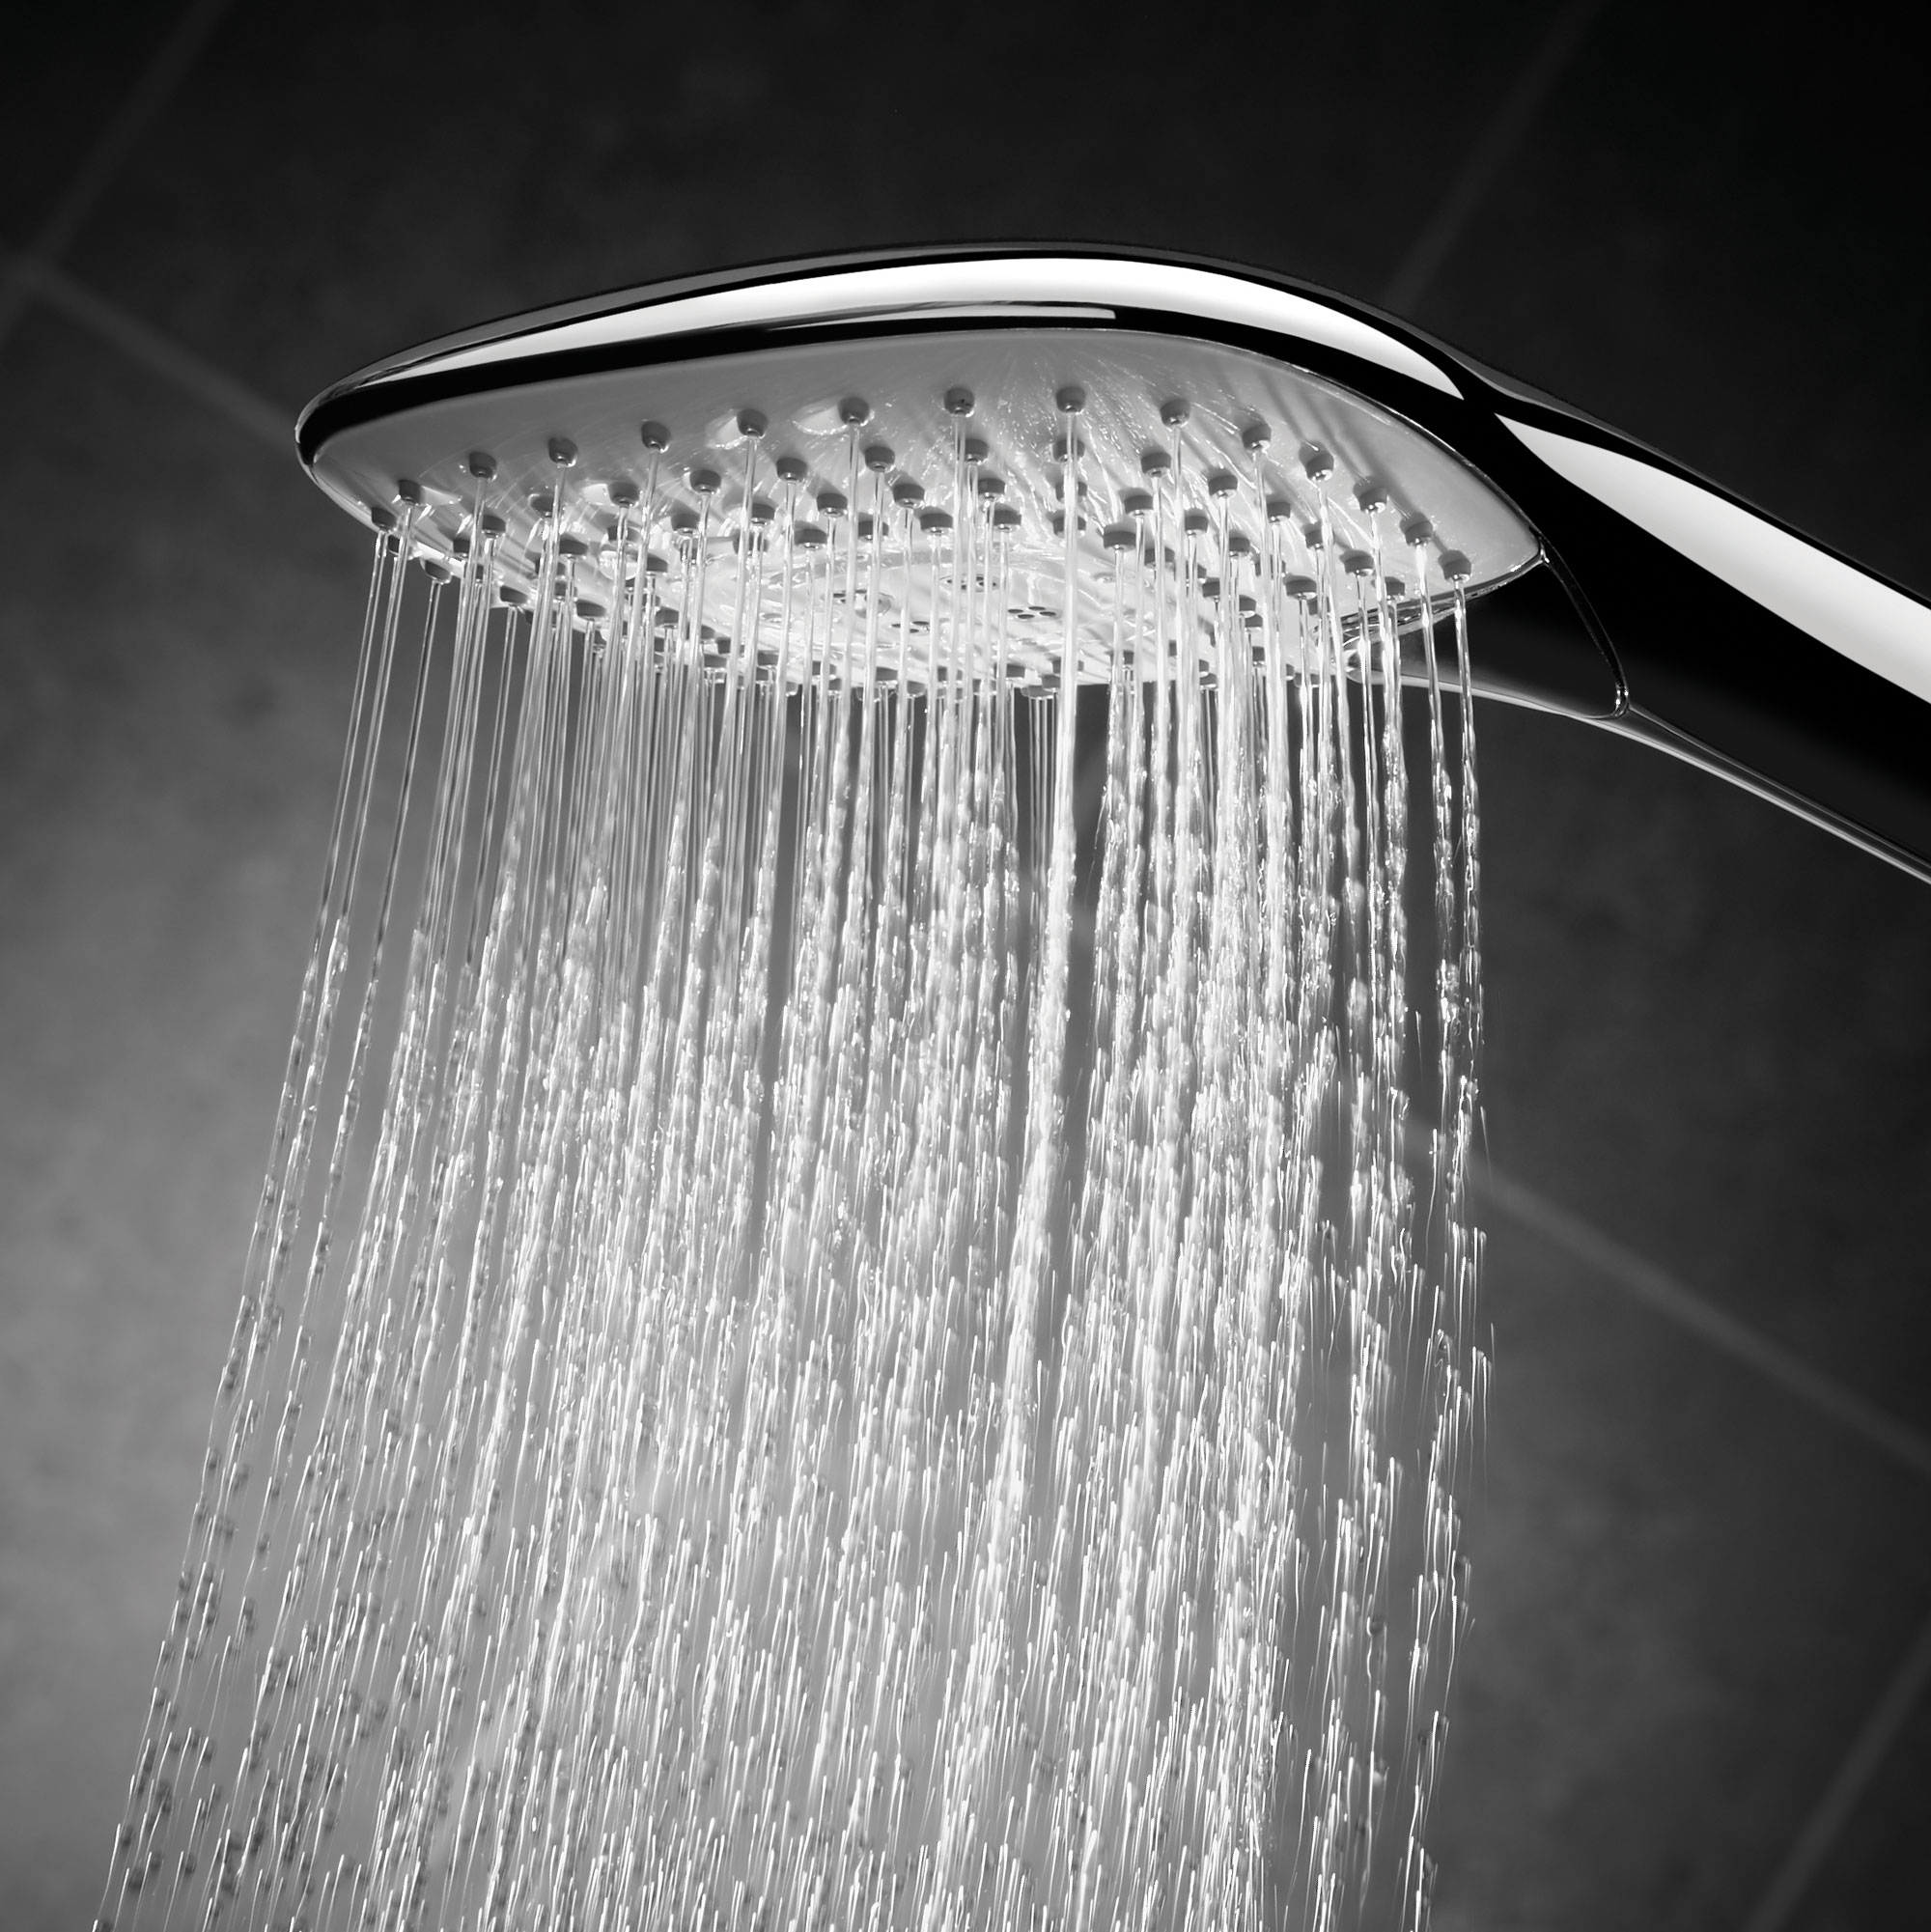
Do you need a plumber to change a shower head?
‘Shower heads are screw on/screw off these days so installing one is a pretty straightforward DIY job, no need for a plumber. Make sure the washer is in place and there’s no need to turn the water off,’ says Rated People bathroom fitter, John Naughton of Total Heat & Bathrooms.
‘If you did decide to get a plumber round, labour shouldn’t cost much more than £50, depending on your location.’
Get the Ideal Home Newsletter
Sign up to our newsletter for style and decor inspiration, house makeovers, project advice and more.

Linda Clayton is a professionally trained journalist, and has specialised in product design, interiors and fitness for more than two decades. Linda has written for a wide range of publications, from the Daily Telegraph and Guardian to Homes & Gardens and Livingetc. She has been freelancing for Ideal Home Magazine since 2008, covering design trends, home makeovers, product reviews and much more.
-
 Wood drenching is the calming new twist on the colour drenching trend – here’s how to make the look work in your home
It’s easier than ever to embrace natural materials
By Maddie Balcombe
-
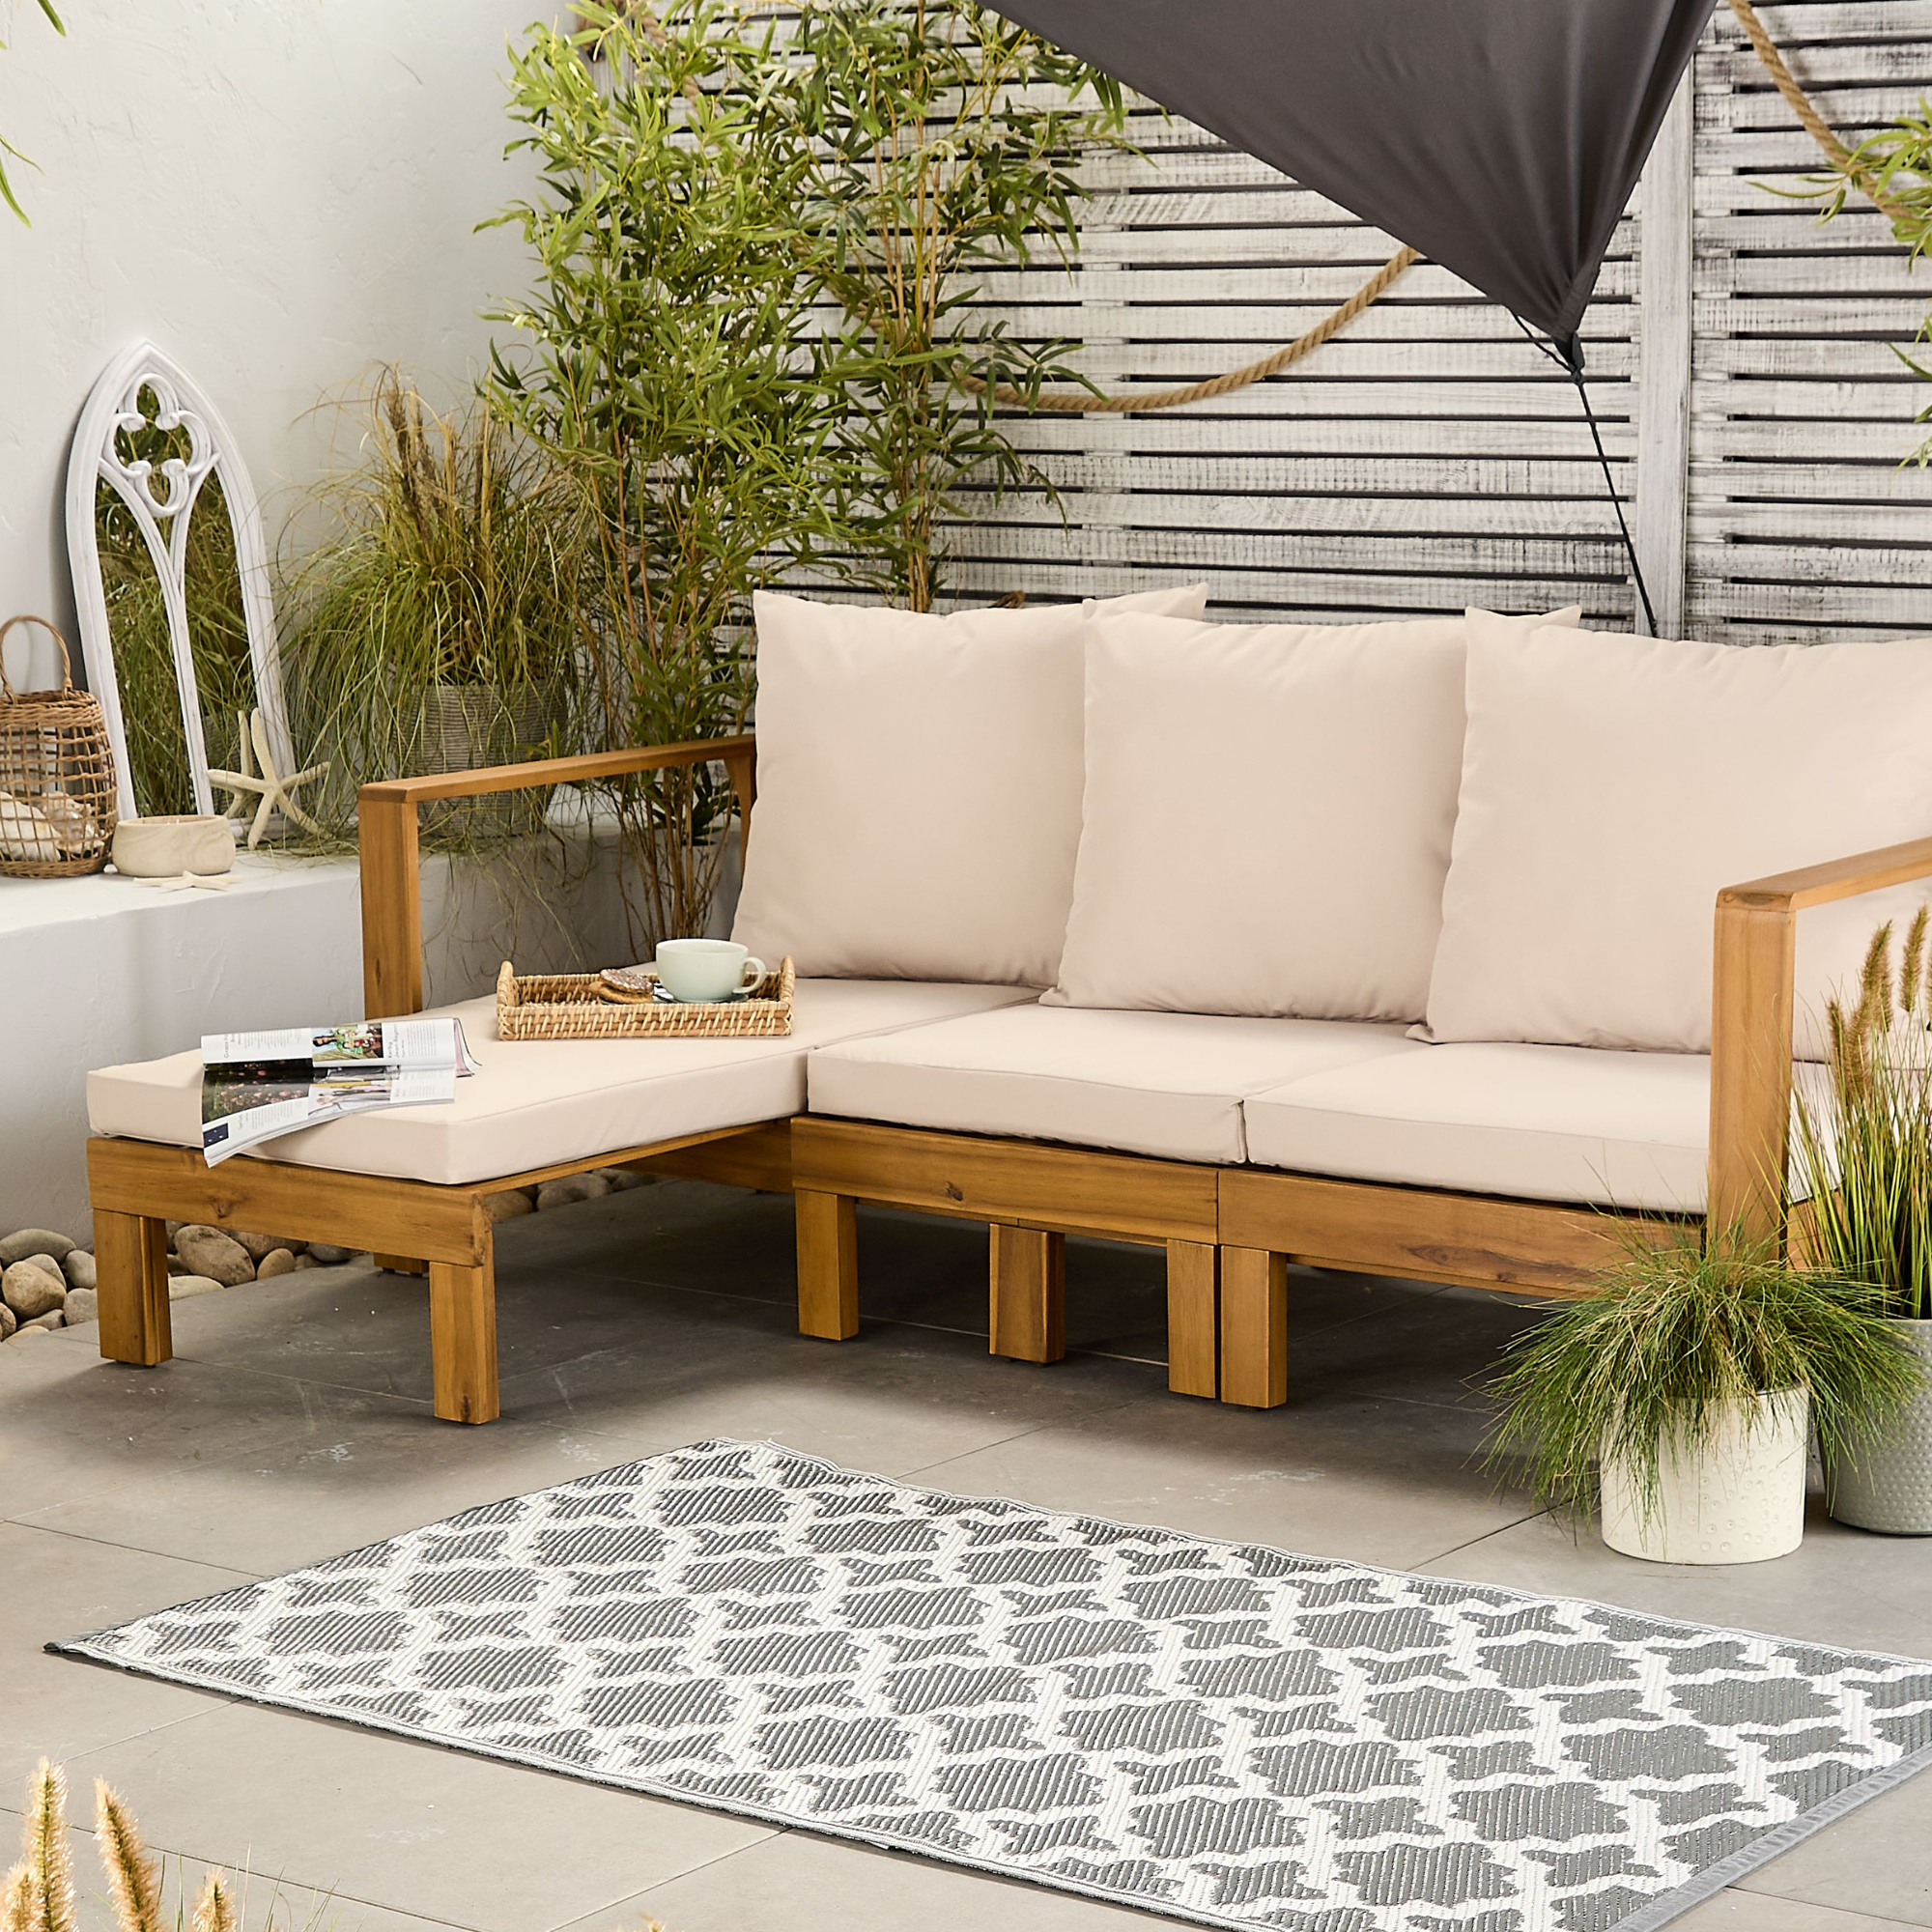 Aldi is launching a £200 day bed with four different features - its sleek design is suited to the whole family
You don't want to miss out on this Specialbuy
By Kezia Reynolds
-
 How to set up a drip watering system that saves water and a lot of effort
Keep your plants hydrated (and your water bill down) with this clever garden watering solution
By Natalie Osborn