DIY headboard ideas to create a stunning backdrop for your bed on a budget
15 ways to make a statement of your bed without blowing the budget
Your bedroom decor can be instantly updated with the simplest of changes – for instance a fresh new bedding set can inject a bold accent colour or a switch of bedside lamp to uplift the scheme.
But when it comes to bigger changes such as the bed itself we can often feel halted by our budget, because so often a new bed is not cheap – plus we are more mindful than ever of waste. The solution, if you have a perfectly good bedstead but want to change things up is an affordable DIY headboard idea to give your bedroom a style makeover.
From fabric panels hung on the wall behind the bed to savvy storage solutions that double up as a headboard, there's a DIY and decorating option for all budgets and styles.
DIY Headboard ideas
1. Fashion a fabric cover
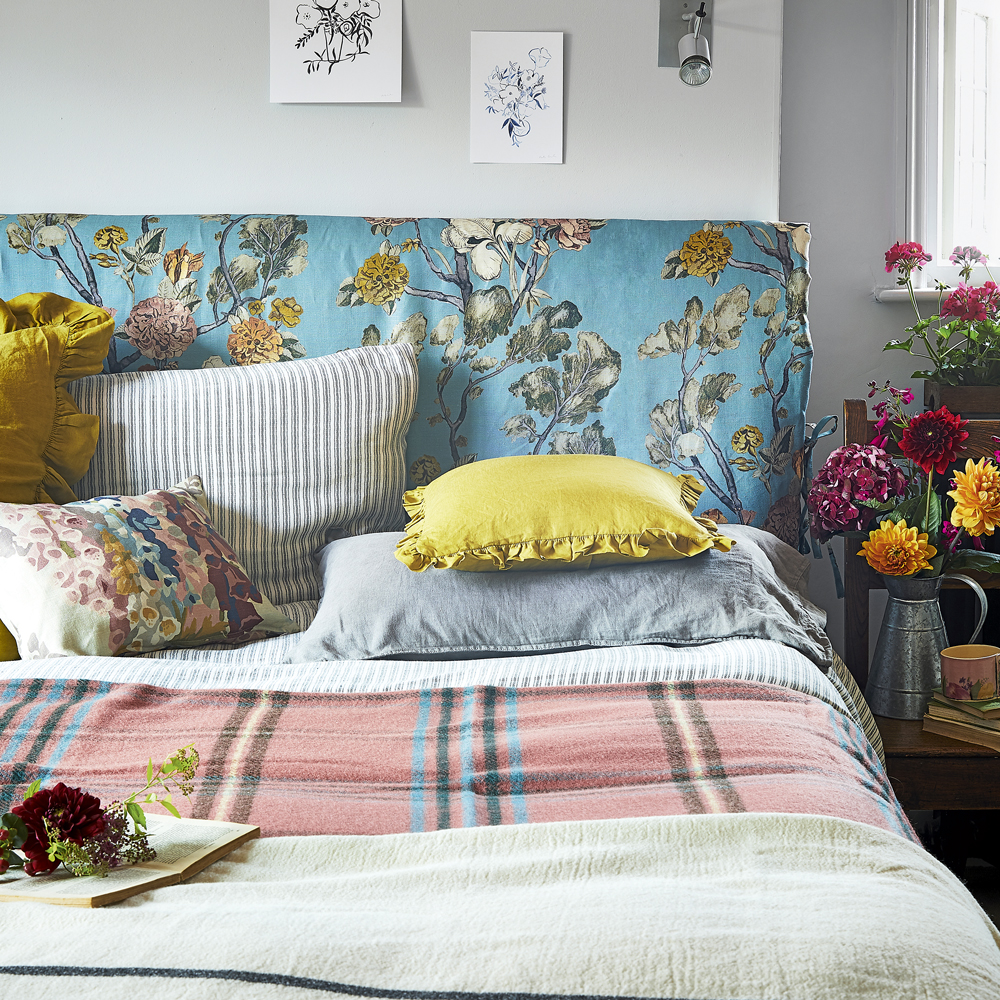
To makeover an existing fabric headboard you simply need a new fabric to breathe new life into the scheme. Make a loose cover, in the same manner you would do for a chair, that neatly ties at either side of the existing headboard.
The new cover will conceal the old headboard, giving you the freedom to change the decor scheme in an instant. The beauty of such a versatile solution is that it can be changed as frequently as you decide, as a bonus it's easily removable and therefore washable.
2. Double bedroom storage as a headboard
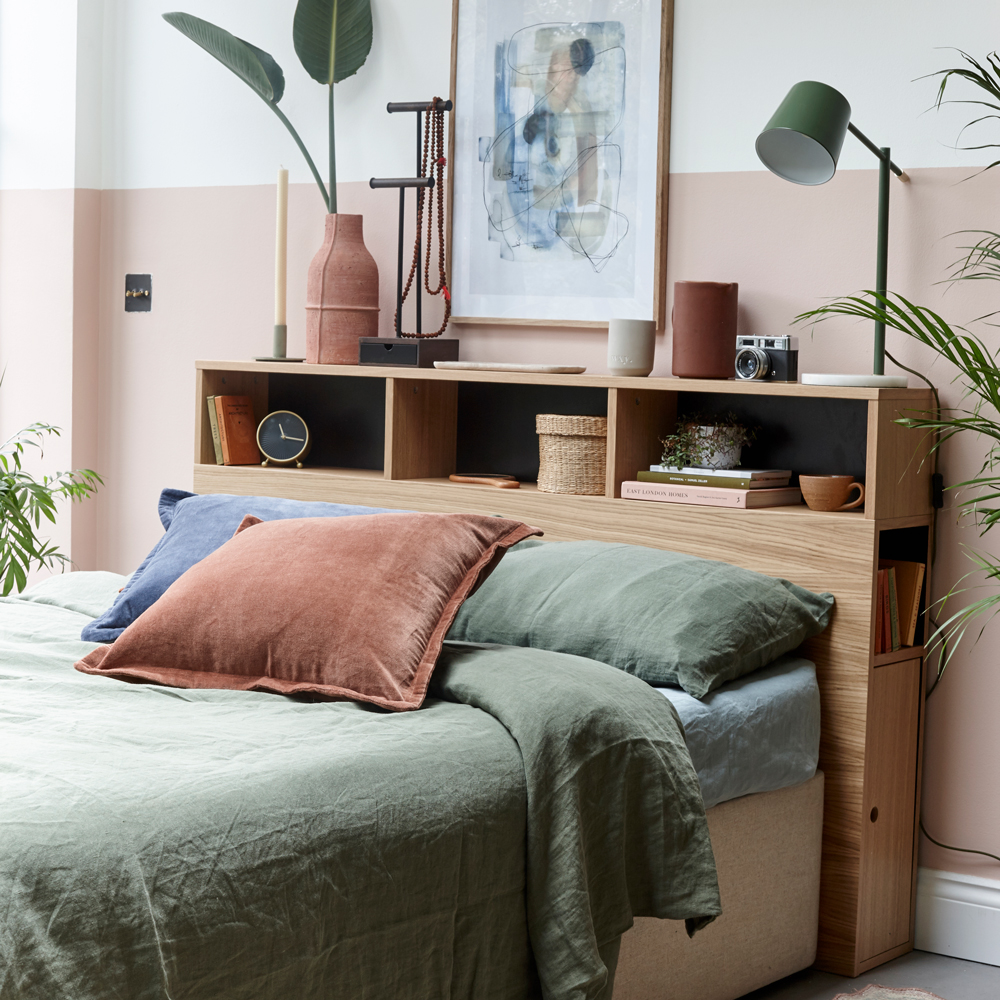
This alternative headboard is an ideal small bedroom idea to save space. The chosen storage unit is positioned behind the bed to form a headboard to lean up against, while acting as key storage for all manner of bedroom essentials.
Combining the two purposes helps to save valuable floorspace. You could paint the front of the unit to give it a different perspective.
Get the Ideal Home Newsletter
Sign up to our newsletter for style and decor inspiration, house makeovers, project advice and more.
3. Wall-mount a soft option
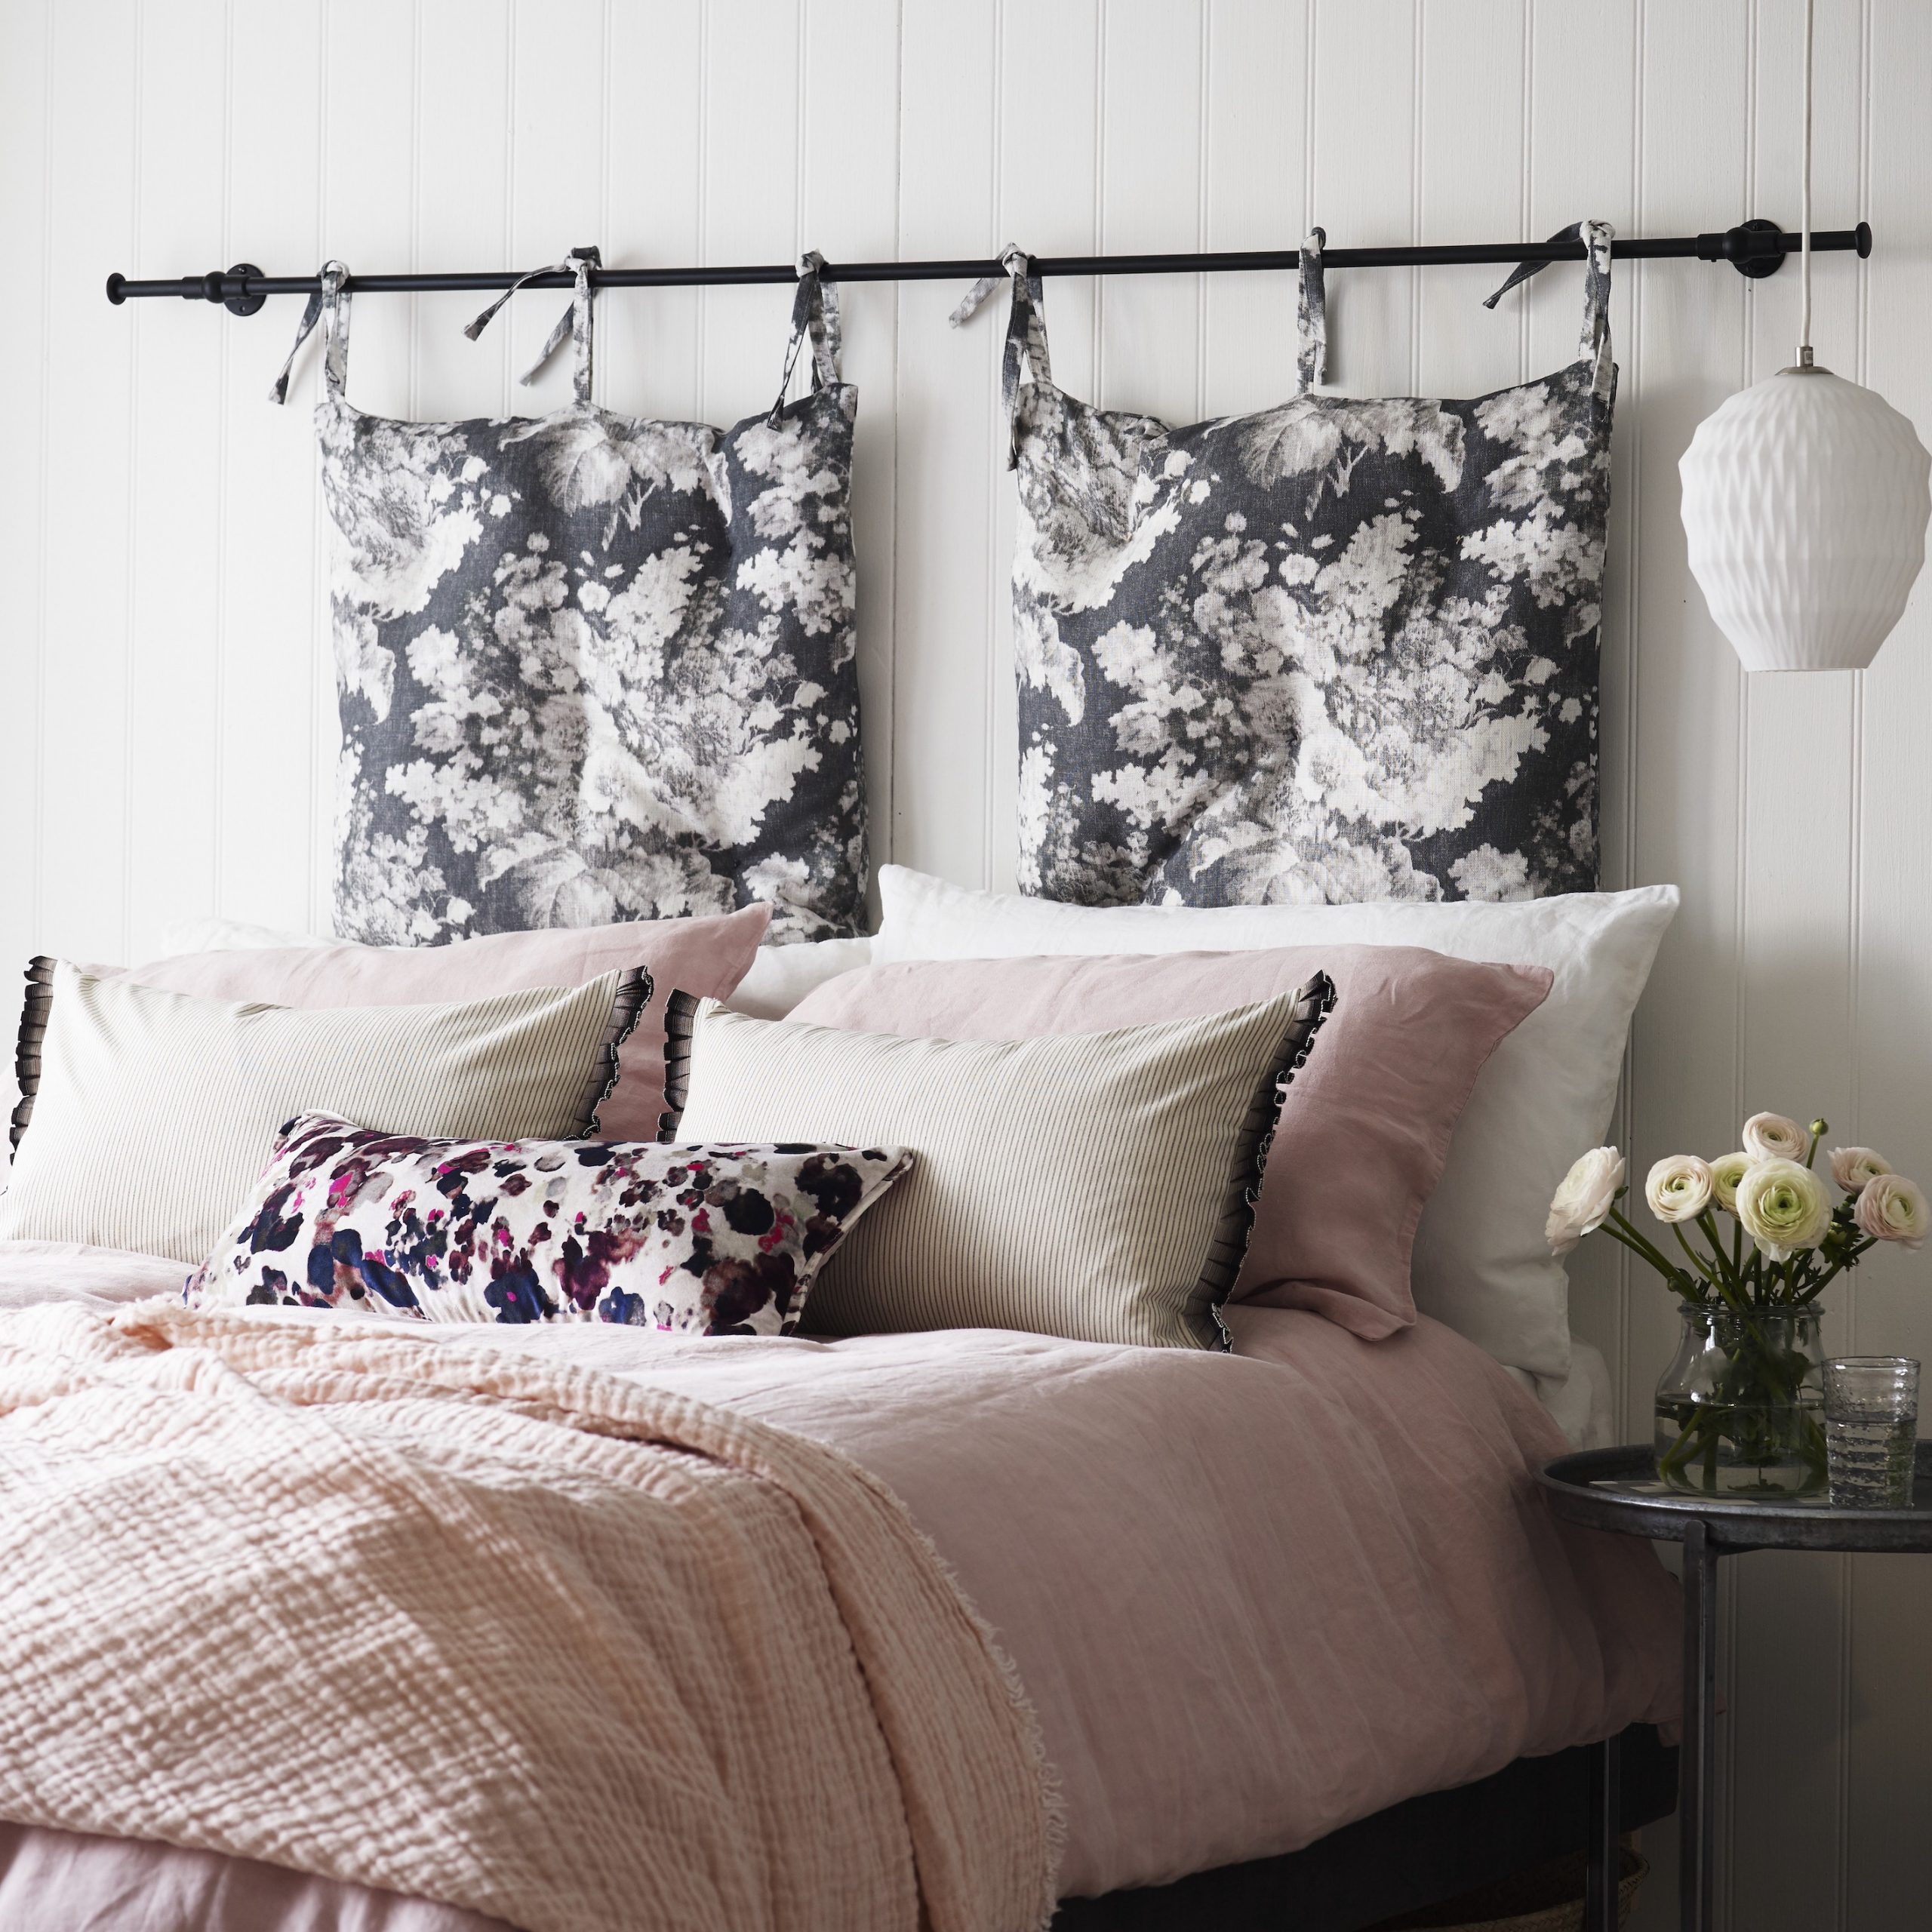
Hang cushions with ties from a simple curtain pole hung above the bed, just switch the cushions when you fancy a change! Choosing a bold patterned fabric makes the headboard the focal point but remember to keep the bedlinen plain to perfectly balance the look, or go vice-versa with plain headboard cushions and patterned bedlinen.
Top tip: Position the cushions at the perfect height to act as a support for your back when sitting up in bed with a good book.
5. Box the bed in to surround yourself with colour
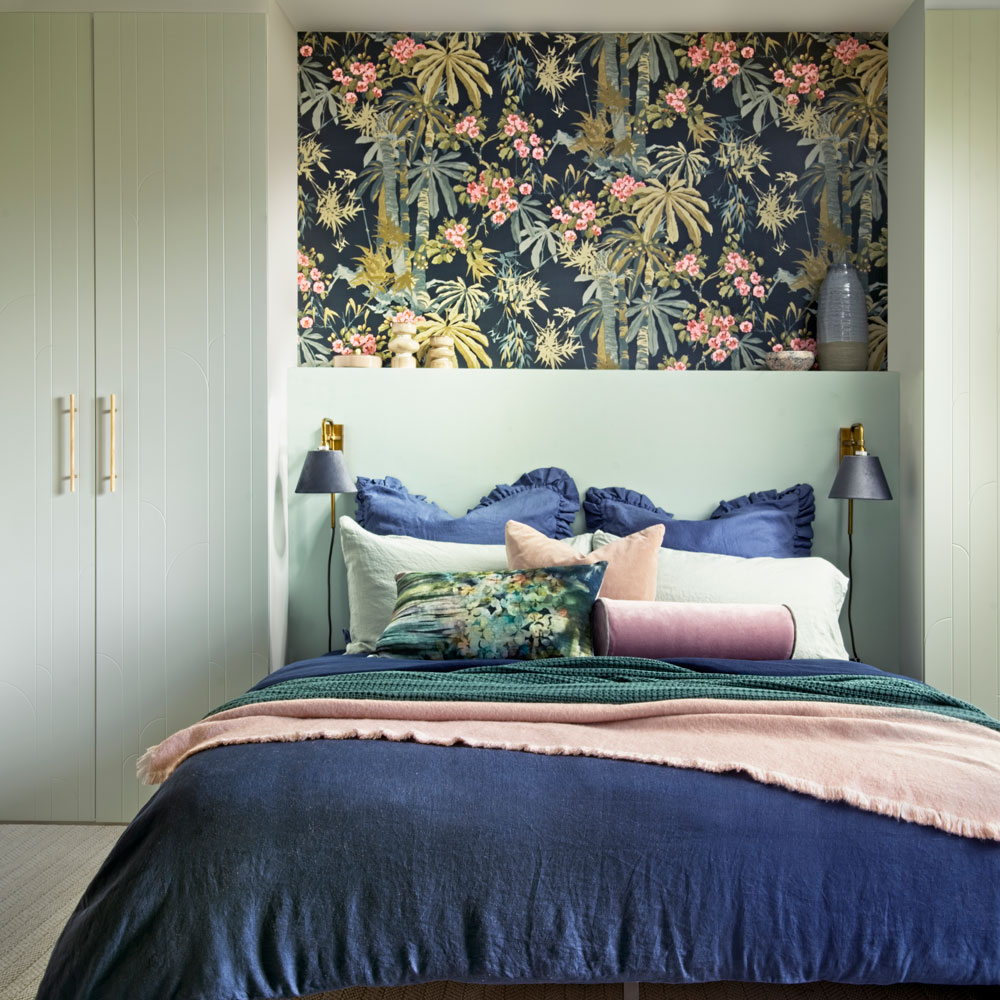
Fill the space between a set of wardrobes, one either side of the bed, by building a headboard deep enough to display accessories. Paint the wardrobes and headboard in a matching colour for a smart co-ordinated look and fix wall-mounted lamps onto the headboard for easy bedtime reading.
Carve out a space above the headboard box to use a patterned wallpaper, to add interest and a riot of accent colour to the set up.
6. Hang a cafe curtain-style headboard
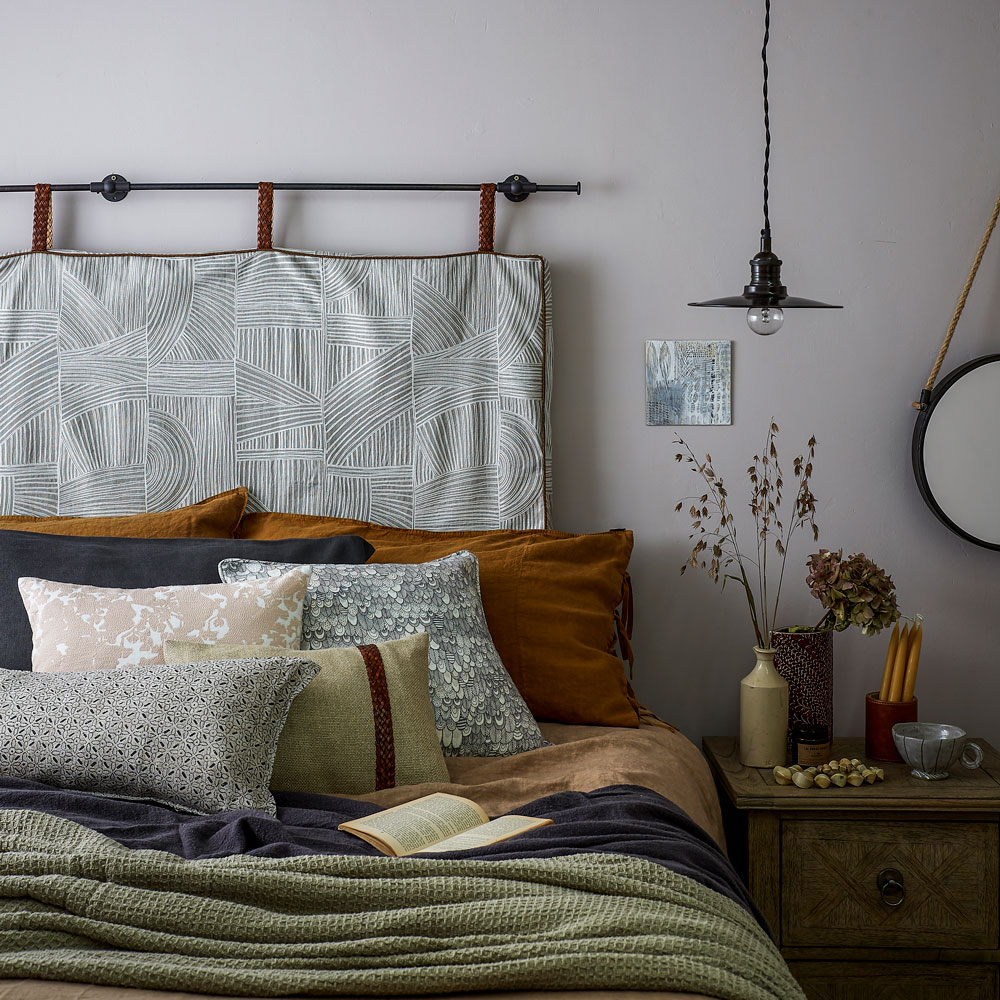
Add a curtain-style swatch of fabric to act as a decorative headboard panel behind the bed – to create a captivating focal point. For this easy DIY project simply secure an attractive curtain pole onto the wall above the bed for the purpose of hanging the fabric headboard design.
You have the option to hang curtain-like panels are you can add wadding to fashion a lightweight panel which will provide an element of padding.
7. Paint a semi circle on the wall in place of a headboard
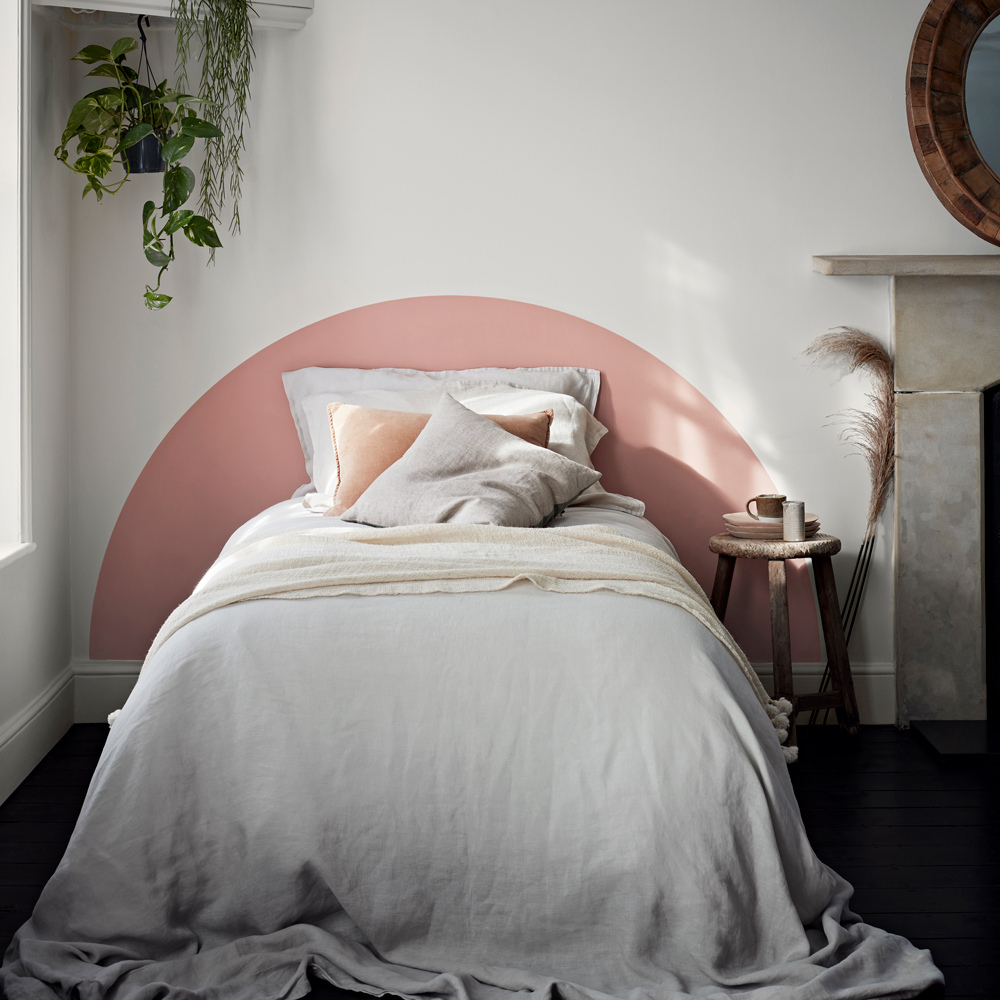
Get creative with paint to fashion a block of colour in place of a psychical headboard. The use of colour helps to create the perfect backdrop for a bed, giving enough prominence to the zone without having to have a headboard.
'Creating a perfect semi-circle with paint is easier than you think' says Judy Smith, Crown Paints Colour Consultant. 'First of all, measure the length of your wall and mark its centre, or wherever you want the centre of your semi-circle to be.'
'Once you’ve taped the skirting board with masking tape to protect it from splatters, hammer a nail into the spot you’ve just marked, just above the skirting board. Depending on how wide you want your semi-circle to be, measure out some string and cut it to size. The longer the string, the bigger the semi-circle. Tie one end of the string to a pencil and the other end to the nail. If you’re not allowed to use nails on your wall, extra strong tape will hold the string in place.'
'Once you’re all set, start tracing out your semi-circle on the wall from one way to the other. Making sure you’re pulling the pencil tight on the string. Once you’ve drawn the outline, use a small paint brush to create a precise edge at the top of your semi-circle. You can then go in with a paint roller or larger brush to fill in the rest of the shape.'
8. Declutter with secret built-in storage
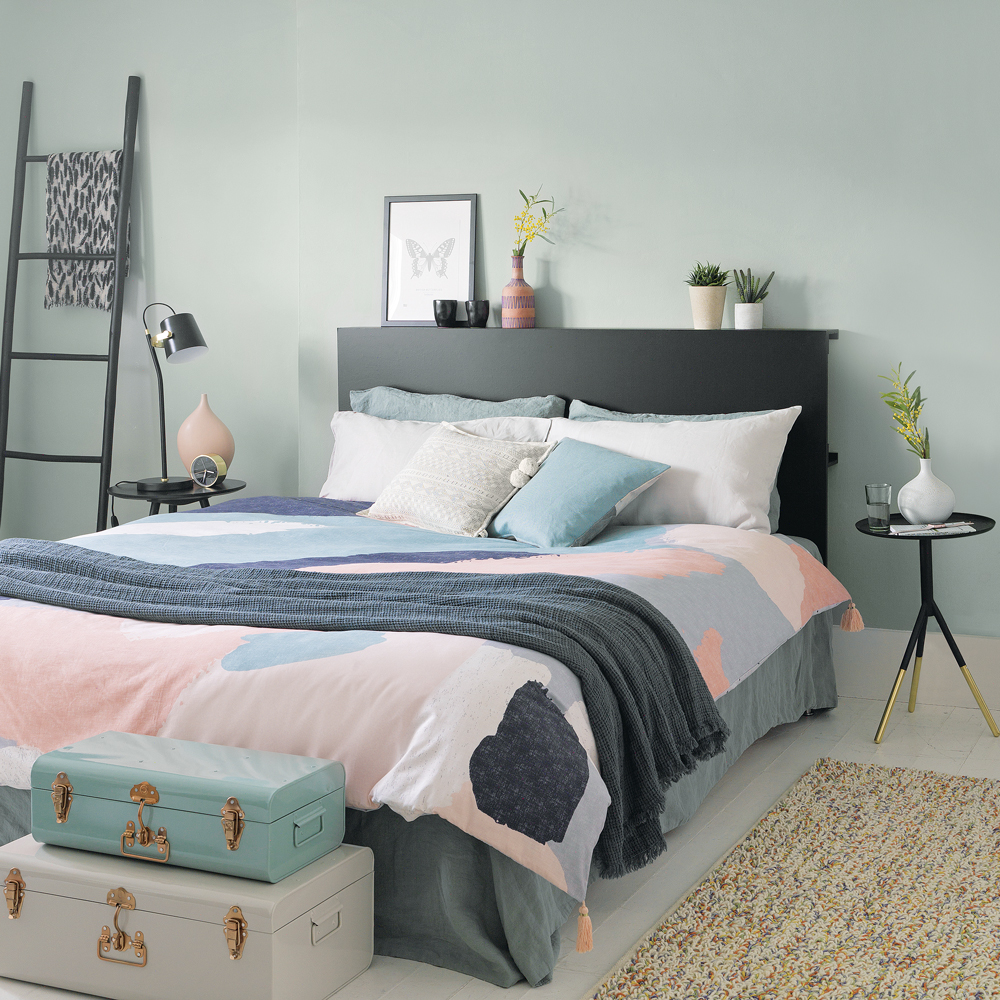
Create hidden cubbyholes behind your headboard with three picture ledges and a piece of Fablon covered MDF board. Mount the picture ledges on the wall equidistant apart, with the top picture ledge upside down to provide the top ledge, fix the MDF board over the front or the ledges for a sleek, modern feel.
9. Use shoe storage for a clever bedhead design
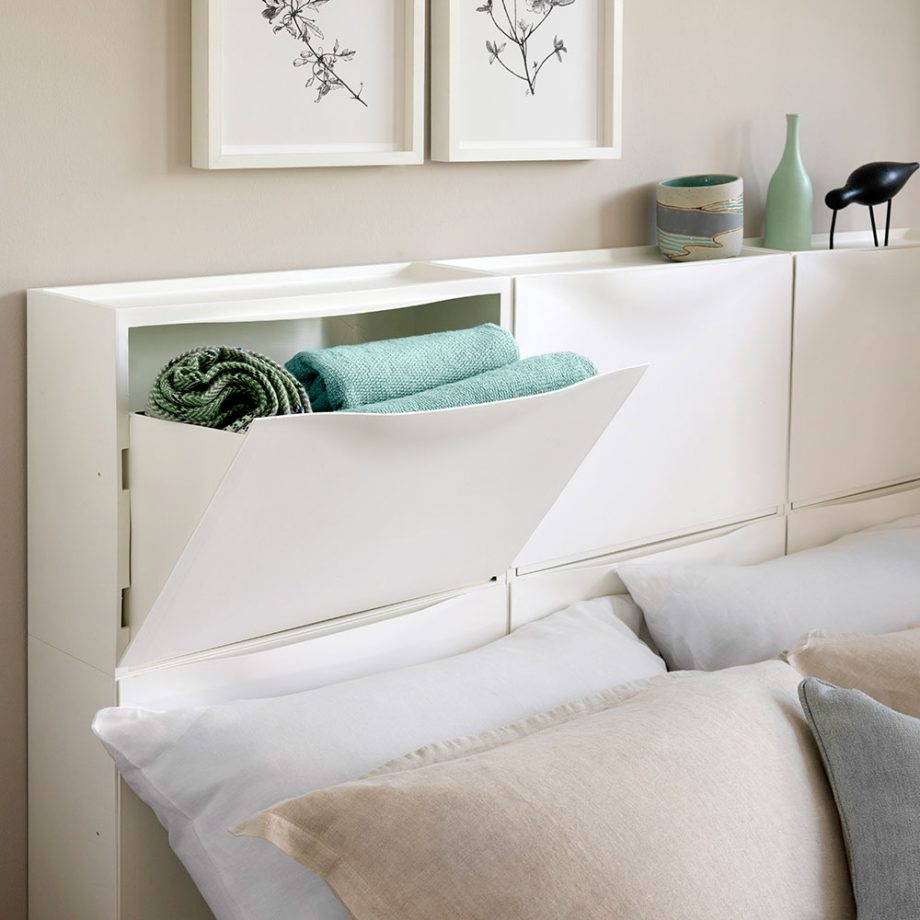
Update a divan bed with this clever bedhead hack, which not only provides storage but also offers a perfect little ledge for display. Using six Ikea TRONES units, stack them on top of each other and secure to the wall. Great for stowing away spare bedding, pyjamas and books when bedroom space is at a premium.
10. Create a rustic up-cycled headboard
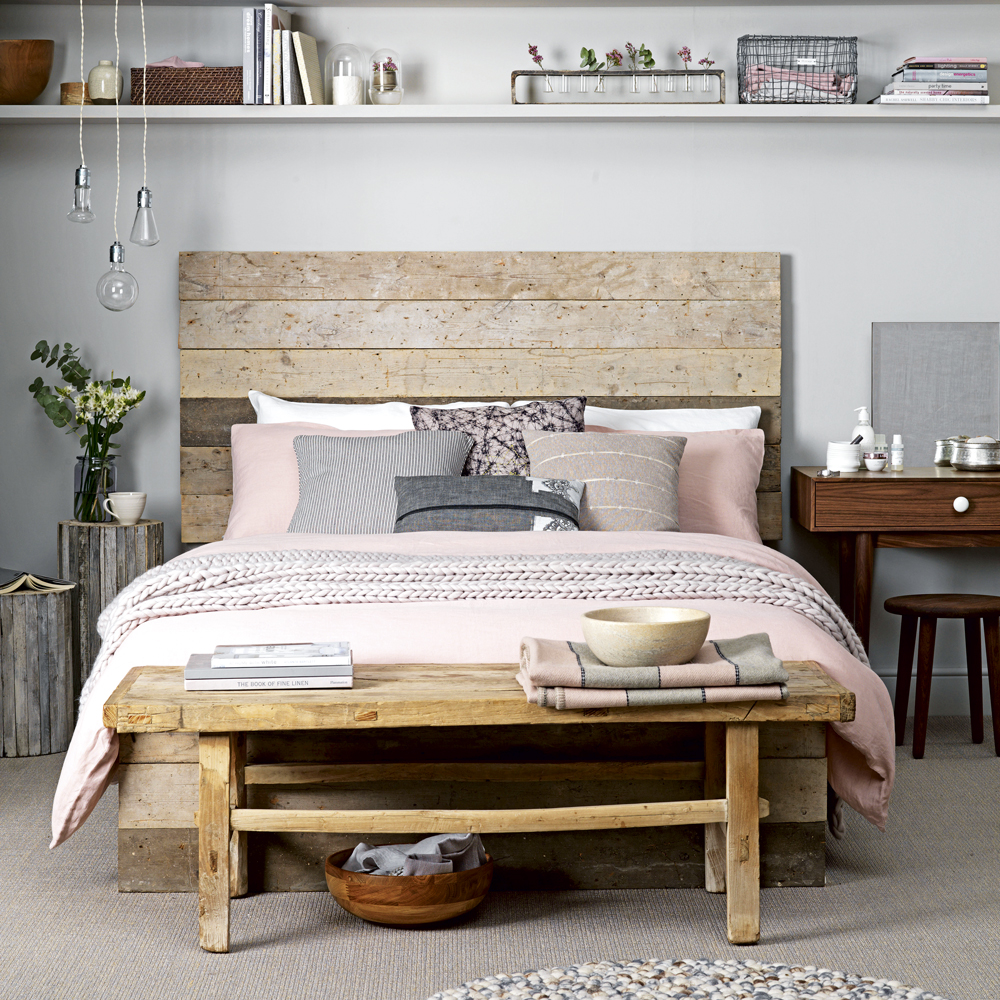
Make a bespoke headboard by fixing reclaimed planks, vintage floorboards or scaffold planks to a wall behind the bed for texture. Take it one step further and encase your bed base in the same wood too. Remember to give planks a thorough sanding down to avoid rough spots or splinters.
11. Set the scene with a wallpaper headboard
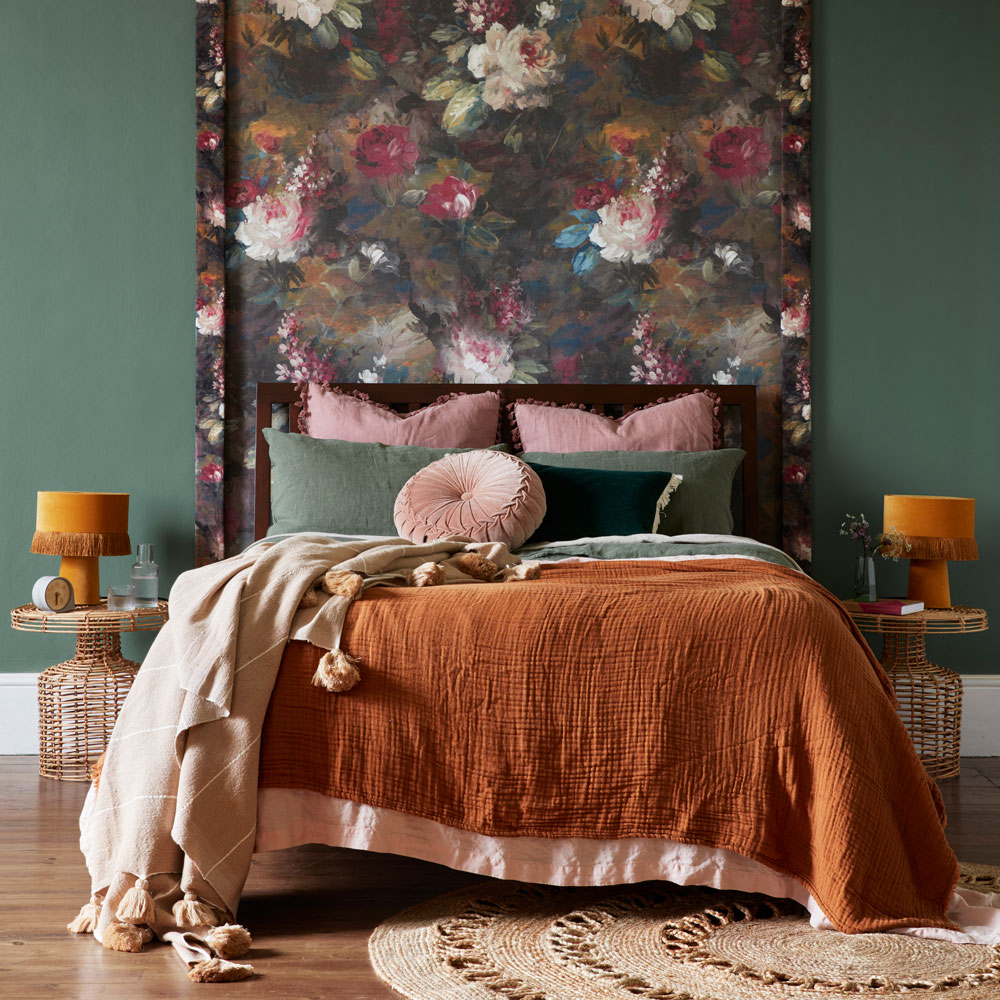
Make a boutique-hotel-style design feature by hanging a striking wallpaper panel behind the bed. While this can be used as a feature wall behind an existing headboard it's also a savvy solution in place of a headboard. Top tip is to make the panel slightly wider than a headboard to frame your bed perfectly. To really add a design wow factor, create neat raised edges with wooden battens – but this finish is optional, if you want less work.
12. Frame an upholstered headboard
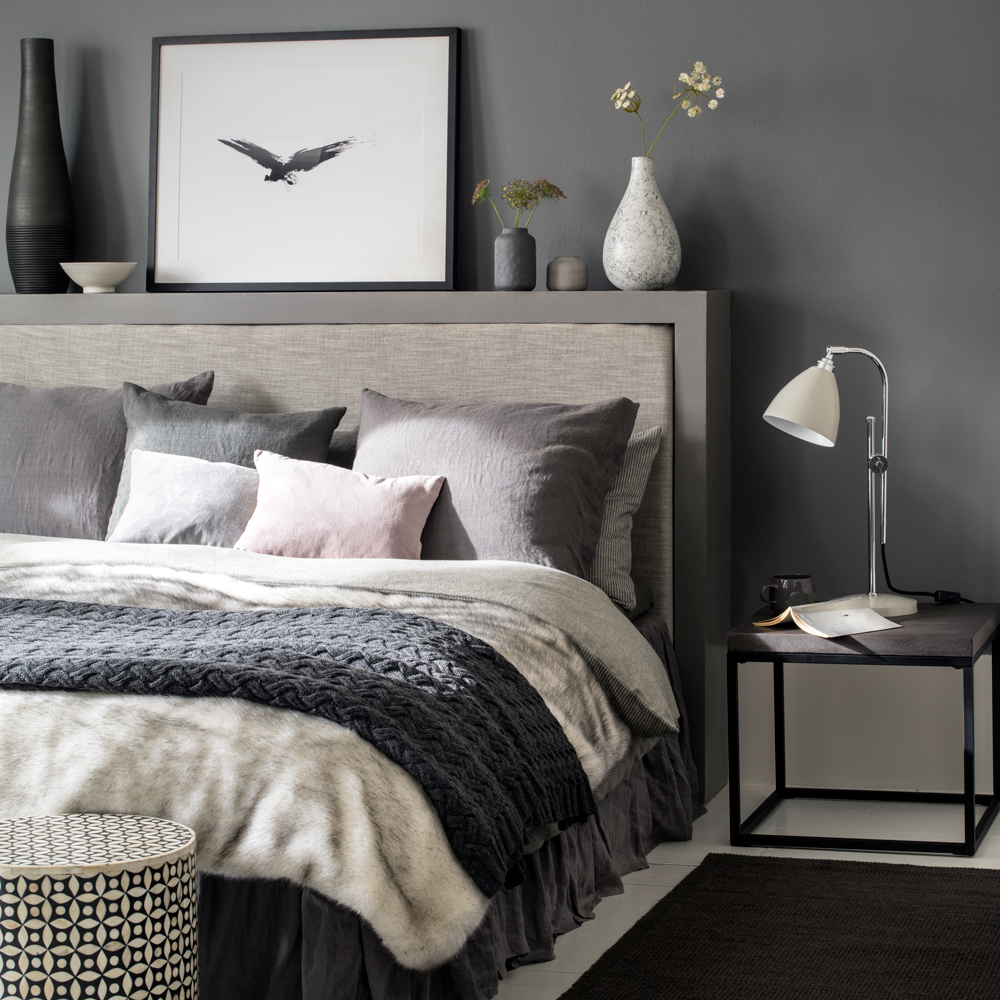
Surround a fabric covered headboard with a deep wooden frame to create a surface you can use to display ceramics and framed prints. Paint in a similar tone as the upholstery, or make a feature of it by painting with a contrasting shade. The warm greys create a smart but comfortable vibe - layer up throws and cushions to make the bed super welcoming.
13. Upcycle wooden doors and shutters
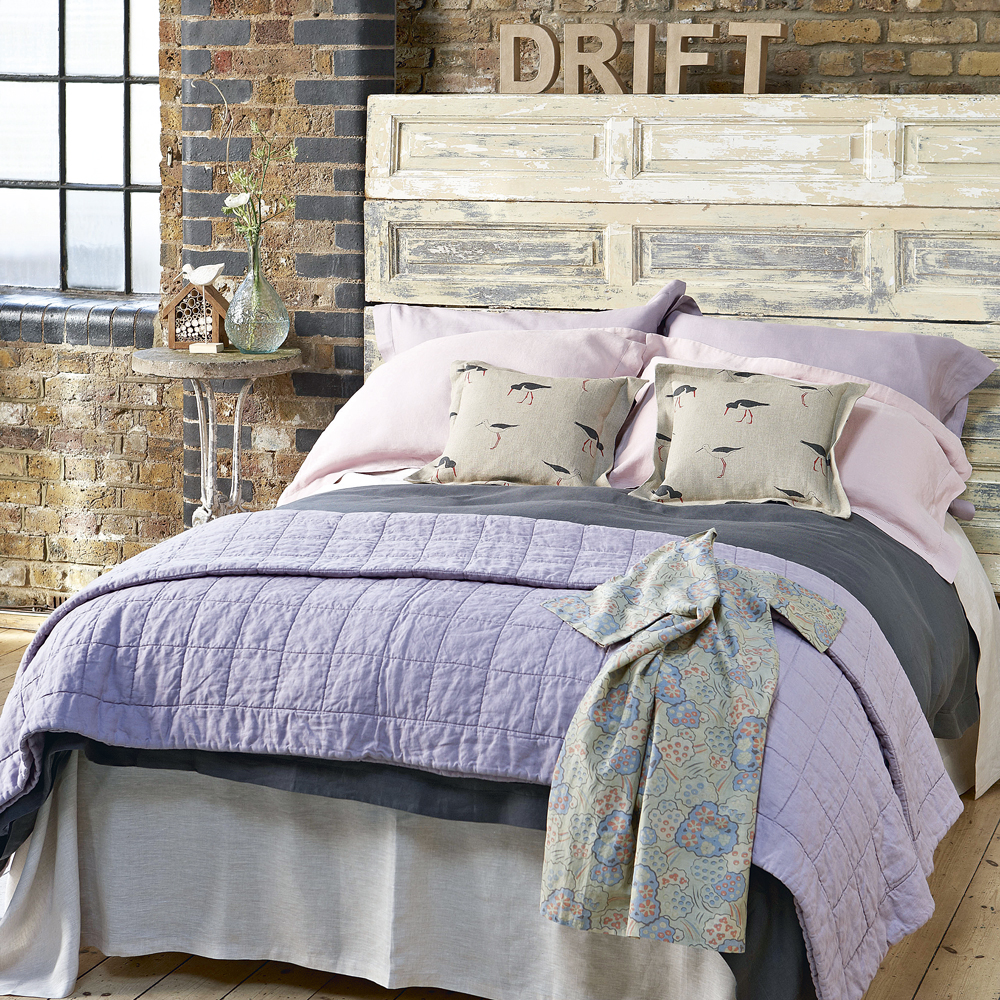
Visit a reclamation or salvage yard to pick up beautifully aged French doors or aged shutters to use as a characterful headboard. Remove any door furniture, such as handles and hinges to ensure the look is more styled and purposefully curated.
14. Add interest with ornate wooden carvings
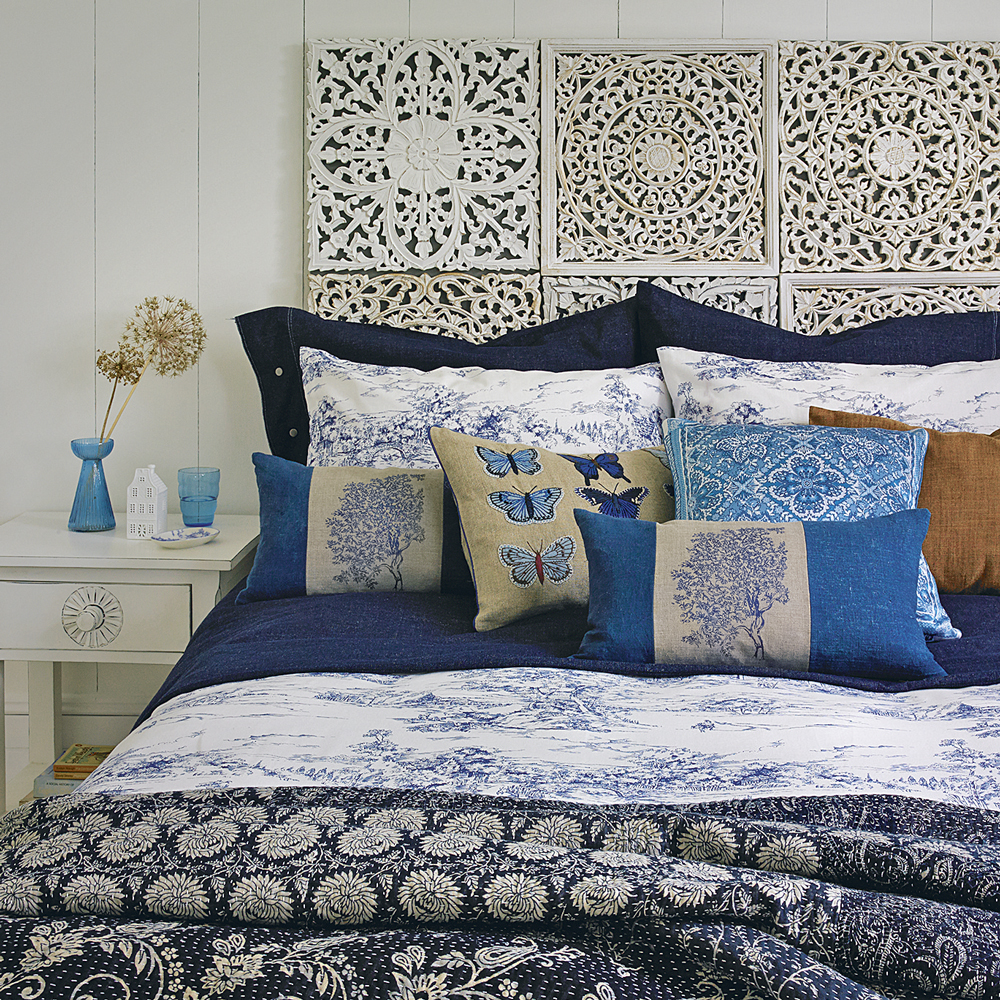
Use ornate carved wooden wall art tiles to create a captivating headboard with decorative interest. To make the design moveable, should you choose to reposition the bed at any stage, secure the wooden tiles to a sheet of MDF cut to size to ensure they fit perfectly. Carefully measure out the design first to ensure you have equal overhang either side of the bed.
15. Extend onto the ceiling
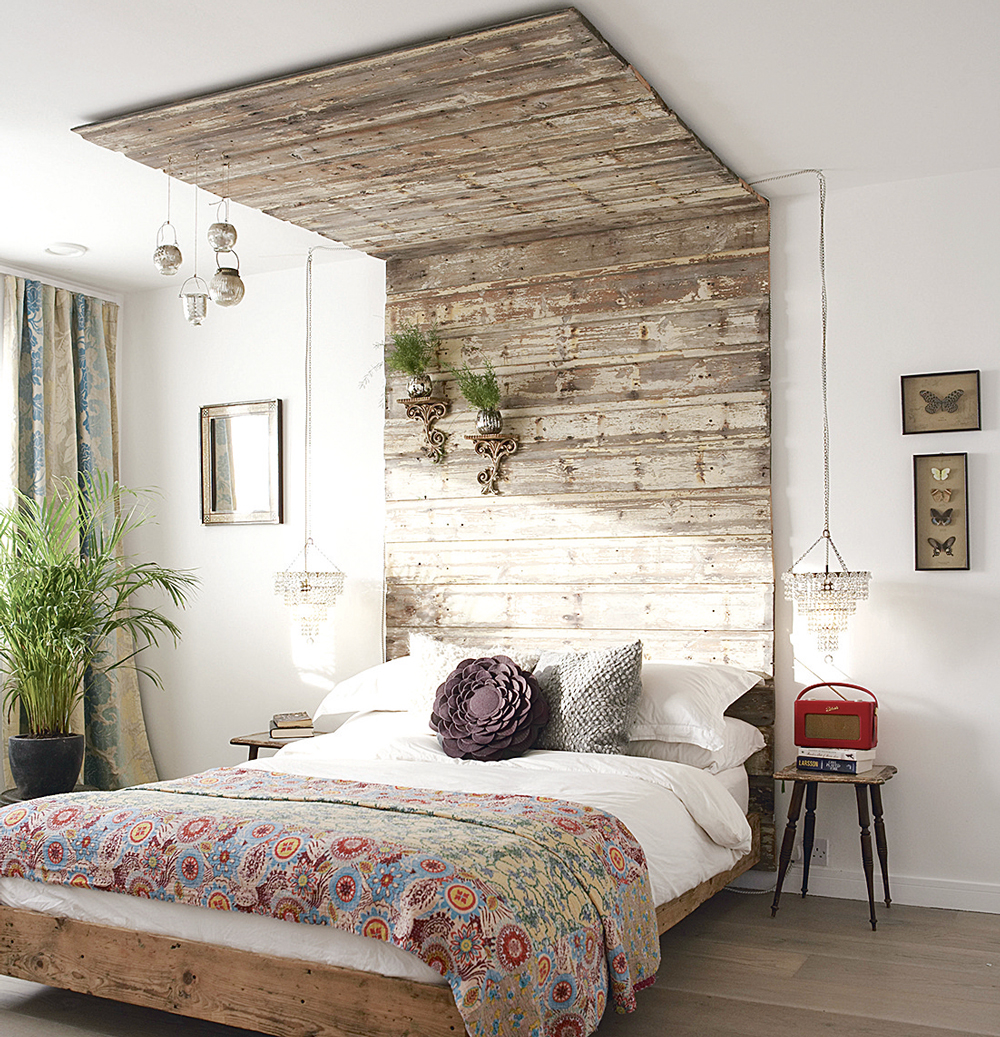
Really set the scene by extending a DIY headboard design onto the ceiling. In this case upcycled wooden planks are used to create a bed canopy that frames the bed, using the wall behind and the ceiling above. This idea is a real statement, for those looking to make the bed the stand-out star of the decor.
What can I use instead of a headboard?
Instead of a traditional headboard there are a number of savvy DIY headboard ideas to get the look. The most cost-effective way to give your bed a headboard style focal point is by painting the wall behind. Although there's no physical headboard in place the block of colour positioned at the head of the bed can go a long way to creating the illusion of the real thing. Another good alternative, especially from a budget perspective, is repurposing storage units. This not only gives a physical structure to support the end of the bed, it frees up floor space by combining two bulky pieces of furniture – the bed and the unit.
Tamara was Ideal Home's Digital Editor before joining the Woman & Home team in 2022. She has spent the last 15 years working with the style teams at Country Homes & Interiors and Ideal Home, both now at Future PLC. It’s with these award wining interiors teams that she's honed her skills and passion for shopping, styling and writing. Tamara is always ahead of the curve when it comes to interiors trends – and is great at seeking out designer dupes on the high street.
-
 My mum introduced me to Nancy Birtwhistle’s ‘Pure Magic’ recipe - now I don’t think I’ll need to buy another cleaning product ever again
I live in a hard water area, and it's the ONLY thing that's removed the limescale in my toilet
By Lauren Bradbury
-
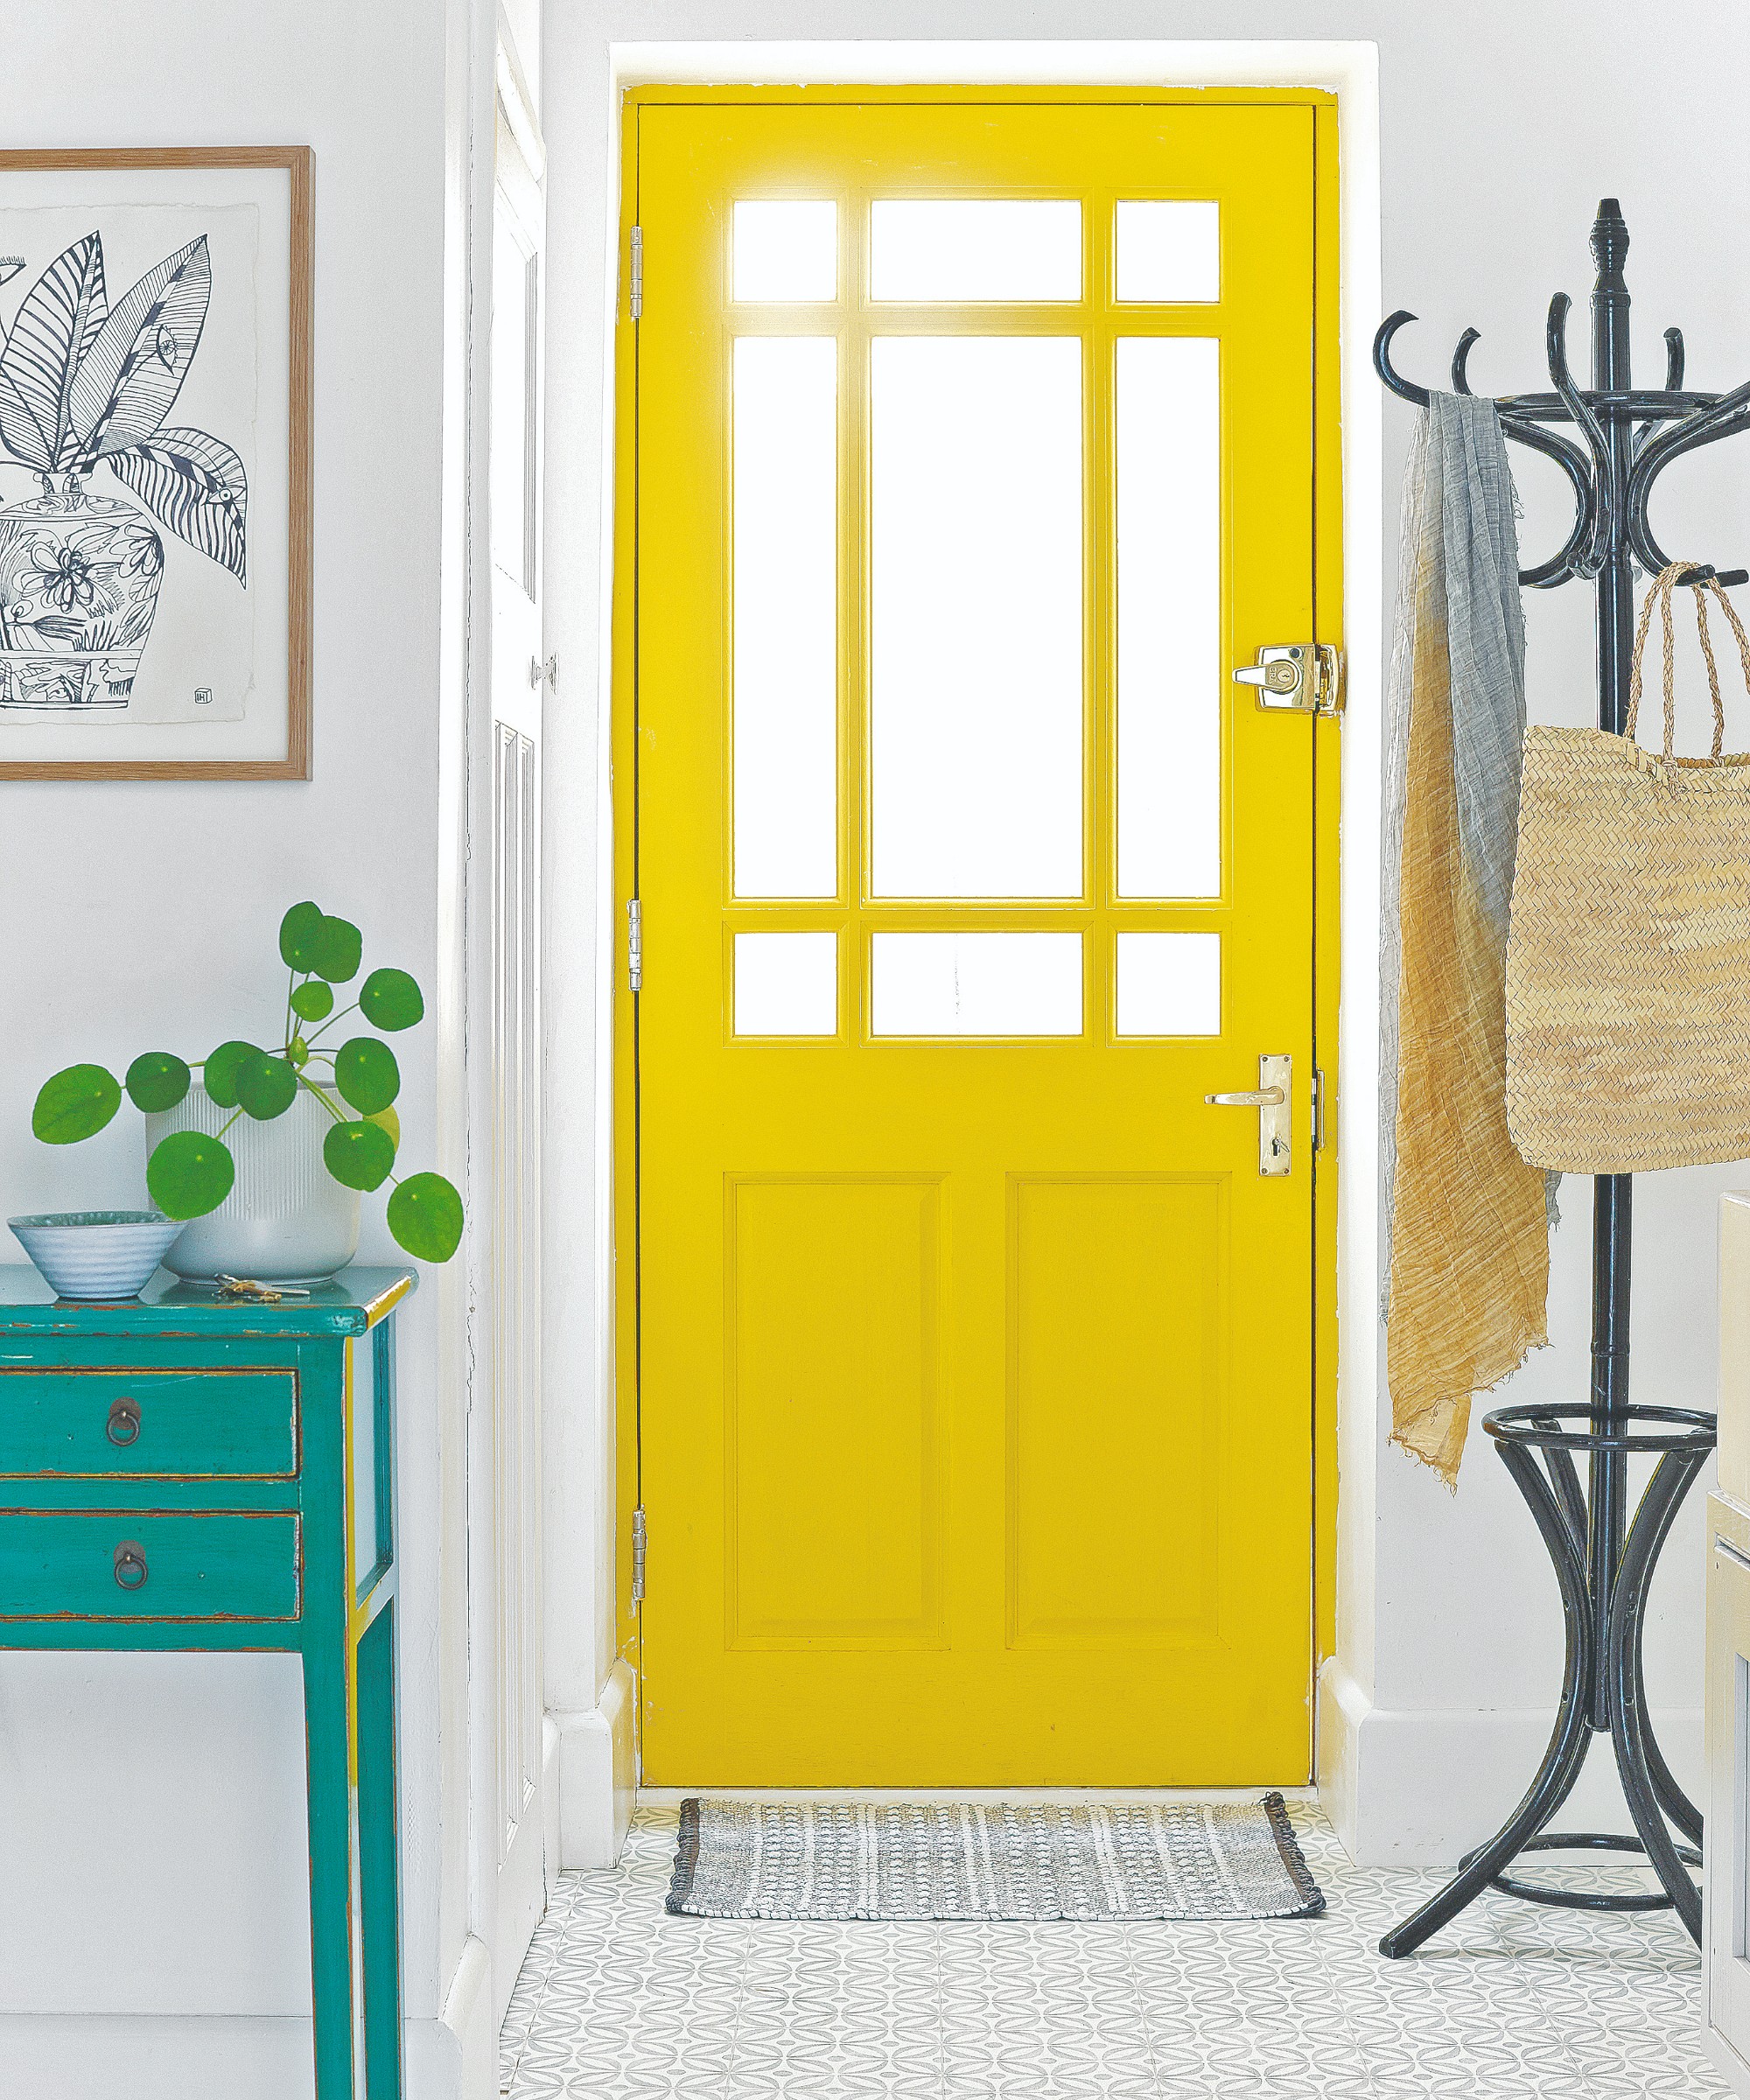 5 most welcoming colours to paint a front door, according to experts and colour psychology
Send out the welcoming vibes before the door is even open
By Ellis Cochrane
-
 How and when to fertilise peonies for bigger, brighter blooms, according to experts
Find out everything you need to know about fertilising peonies and how to boost their beautiful blooms for longer
By Lisa Fazzani