How to care for wooden kitchen worktops – prepping, cleaning and oiling tips
Keep your kitchen looking its best by making sure your wooden worktops are oiled regularly. Here’s what you need to do…
Wooden kitchen worktops are one of the most popular choices when it comes to kitchen surfaces. Wood is a traditional favourite thanks to its natural warmth and the character that comes as it ages. Hardwood materials are preferable over 'soft' woods due to strength and durability. Popular choices of hardwood include oak, walnut and iroko.
Wooden worktop ideas do need a certain amount of upkeep to preserve the surface, protecting it against the wear and tear of busy kitchen life. If your wooden worktops are varnished or lacquered, consider sanding and oiling them to get the best finish. Oiled wood not only has a richer, more natural patina, but the oil also helps to seal the surface, making it more durable and protected.
How to care for wooden kitchen worktops

1. Do the water test
Test oiled worktops to see if they need re-oiling by dripping water onto their surface. If the water forms a bead, it’s fine. If the water sits flat on the surface, you should re-oil as soon as possible.
'In the first few weeks of use, special care must be taken to prevent the worktops becoming stained before they have built up sufficient oil protection' says Phil House, Senior Wood Buyer at Worktops Express. 'In particular water must not be allowed to lie on the surface. When the surface has a sheen, and water 'beads' or forms into droplets, you can tell that the worktop is in good condition.'
2. Sand and prep the surface
Use a hand-held electric sander to resurface the wood and remove any varnish, or simply to refresh previously oiled worktops. Concentrate particularly on any stains, scorch marks or areas around the sink that have rotted.
'Prior to placing the worktops in situ' it is important that you oil ALL the edges and faces at least three times with Danish Oil' advises Phil House. 'Wipe away any surplus oil 15 minutes after application, and allow 6 hours between coats.'
3. Oiling wooden worktops
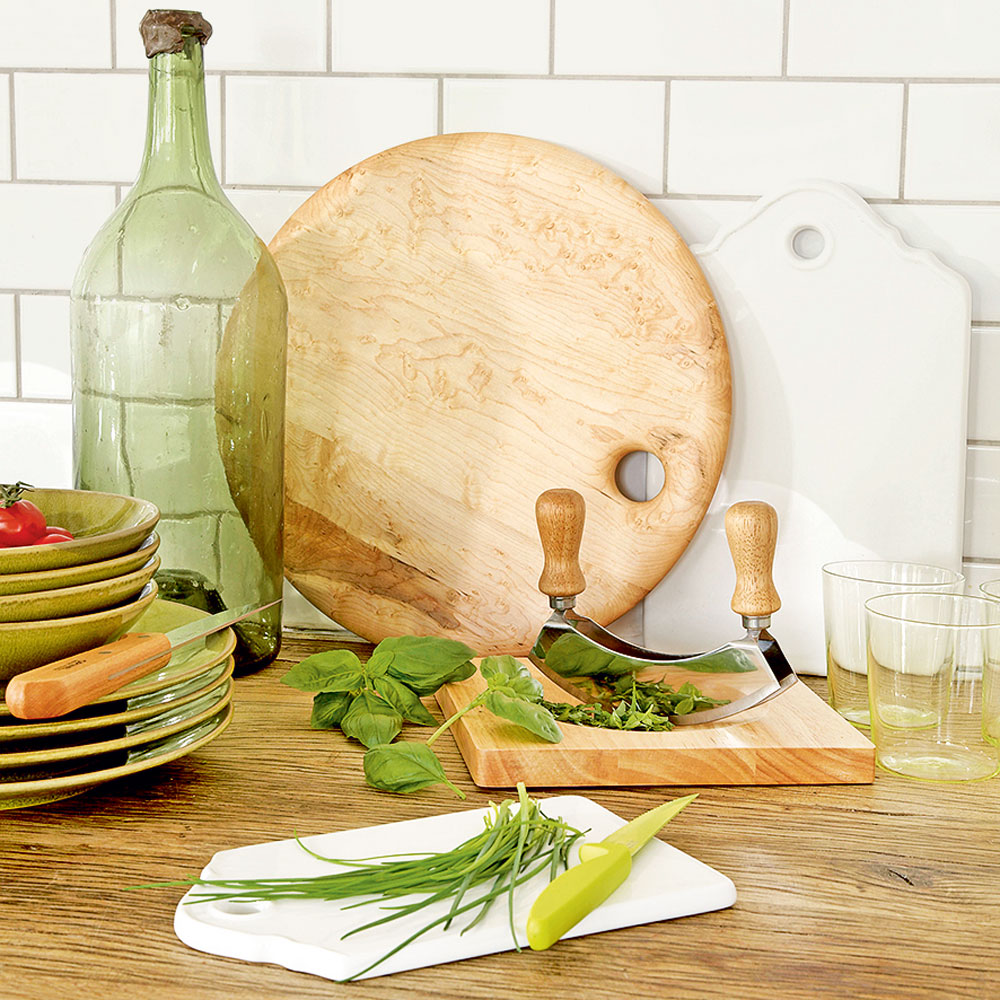
Use linseed or Danish oil (available from DIY stores) and a lint-free cloth – microfibre works well. Pour a little oil directly onto the worktop and, using the cloth, spread it over the surface until you have a very thin and even layer. Keep going until you’ve covered all your worktop, then apply another coat.
'To maintain the fine quality of your solid wood worktop, be sure to oil regularly' advises the Phil House at Worktops Express. 'Wood is a natural material and a proper course of oil treatment is essential to ensure a long and trouble-free life.'
'When the surface is dull and droplets don't form, you need to re-oil the worktop. Ideally, you should re-oil the surface before it quite gets to that stage. New worktops will require treating frequently to build up their protection. However, as the protective layer builds up they will gradually require oiling less often.'
'The environment in which it is fitted and the amount of wear and tear a surface receives will affect how often a worktop needs oiling. However, we would recommend regular re-oiling at least every three months.'
4. Leave it to dry
The oil will take a few hours to dry the first time you apply it, but up to eight or more hours for subsequent coats. Adding several thin coats is far more effective than just one thick coat – you can’t over-oil a wooden surface.
5. Cleaning wooden worktops
Try the water bead test once again and, if required, repeat the oiling process. If your worktops are brand new, it’s advisable to oil them at least twice over (preferably before fitting), including the edges and underneath, where they might be seen from certain angles.
'Wipe worktops down regularly with a damp (not wet), lint-free cloth, warm water and a small amount of soap' advises Phil House at Worktop Express. We do not recommend using multi-purpose cleaning products which contain chemicals as this may damage the worktops. Please also avoid the use of scouring pads.
6. Protect wooden worktops from heat
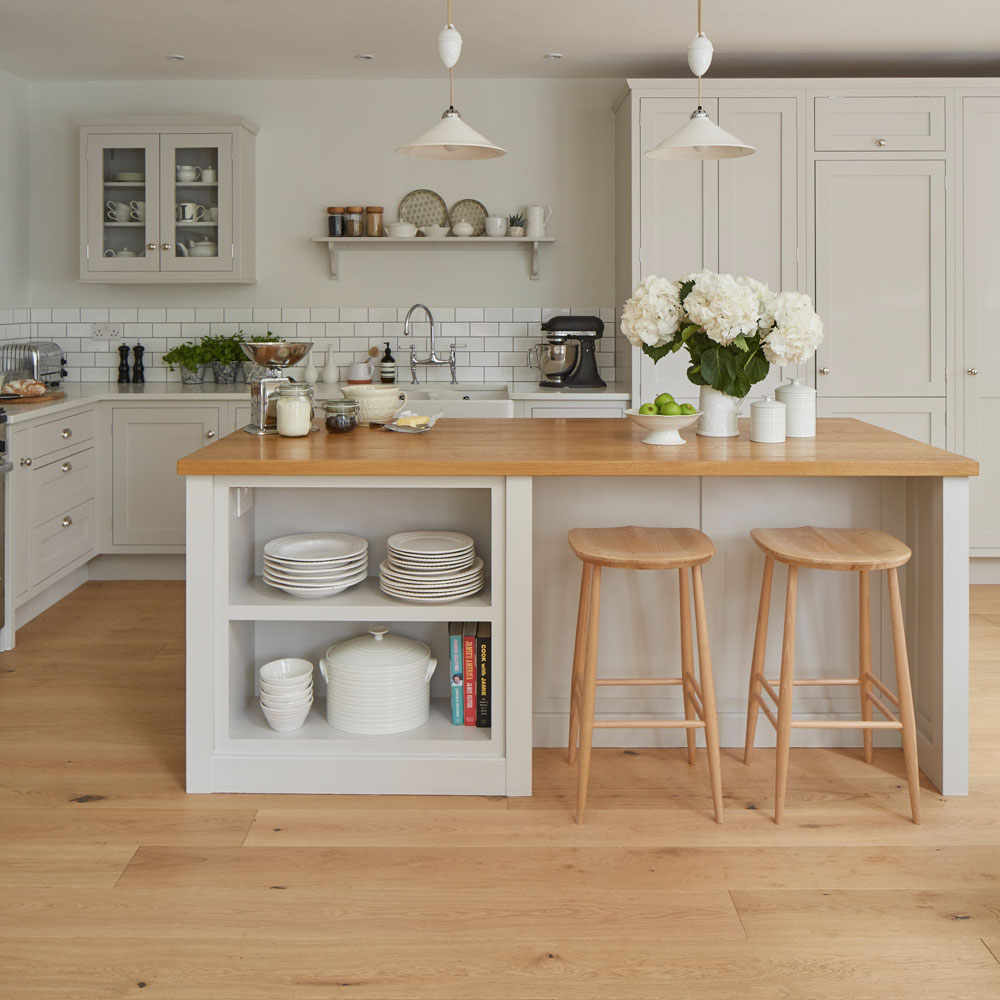
To prevent your worktop getting stained or damaged, use trivets or glass surface protectors under hot pans so they don’t scorch the wood. Always use a chopping board to avoid damage and take care with pigmented spices, such as turmeric, which can stain the surface.
7. Keep sink areas dry
Try to keep the area around your sink dry, or the wood will begin to blacken and rot. Re-oil surfaces every three months. Take care with linseed or Danish oil as soaked rags can burst into flames as they dry.
Always choose a sustainable hardwood, preferably from an FSC (Forest Stewardship Council) accredited source.
Get the Ideal Home Newsletter
Sign up to our newsletter for style and decor inspiration, house makeovers, project advice and more.
Tamara was Ideal Home's Digital Editor before joining the Woman & Home team in 2022. She has spent the last 15 years working with the style teams at Country Homes & Interiors and Ideal Home, both now at Future PLC. It’s with these award wining interiors teams that she's honed her skills and passion for shopping, styling and writing. Tamara is always ahead of the curve when it comes to interiors trends – and is great at seeking out designer dupes on the high street.
-
 Small garden shed ideas – 5 ways to make the most of this garden building without compromising on space
There's a shed for every garden size – even the tiniest ones!
By Sophie King
-
 My mum introduced me to Nancy Birtwhistle’s ‘Pure Magic’ recipe - now I don’t think I’ll need to buy another cleaning product ever again
I live in a hard water area, and it's the ONLY thing that's removed the limescale in my toilet
By Lauren Bradbury
-
 5 most welcoming colours to paint a front door, according to experts and colour psychology
Send out the welcoming vibes before the door is even open
By Ellis Cochrane