

Fancy making your own Christmas present sack this year? Follow Country Homes & Interiors' step-by-step guide on how to make a How to make a Christmas present sack.
You will need
* 1m main fabric, at least 137cm wide (we used Cape Stone, ref CP7, £95 per metre, De Le Cuona)
*0.5m velvet fabric for letter (we used Lido, ref 6340112, £49.90 per metre, Casamance)
* 2.5m cord (£2.32 per metre, VV Rouleaux)
* 2 pompoms (£2.16 for two, VV Rouleaux)
* Tacking thread
* Matching thread

How to make a Christmas present sack
1) Cut a 130cm wide by 95cm long rectangle in main fabric. Draw out a 40cm high letter on a piece of newspaper, cut out and use as a template to cut your velvet letter.
2)Wrong sides facing, fold the main fabric in half by bringing the two
short edges together. Allowing for a 2.5cm seam down one side and along
the bottom, position the letter centrally across the width around 20cm
from the bottom. Pin in place all round through one layer of main fabric
only, open out the fabric then tack. Remove pins.
3) Use buttonhole or zigzag stitch to appliqué the letter, carefully machine stitching over all the raw edges. Remove tacking.
4) Open out the fabric and re-fold and pin, this time with right sides facing. Starting 8.5cm from the top of the raw edge side, machine stitch
taking a 2.5cm seam, working all down the side and continuing along the
bottom. Tack along the 8.5cm of unstitched seam line. Remove pins and
trim and press open seam allowances.
5) To make a channel
for the cords, turn down 12.5cm along the top and pin and press along
the fold. Turn the raw edge under by 2.5cm and pin and press again.
Removing pins as you go, machine stitch all round the top edge three
times: once at 5mm from the top edge; once at 4cm from the top edge and
once 2mm from the turned under edge.
6) Carefully tease
open the seam to reveal the tacking between the 4cm stitching line and
the 2mm stitching line. Remove the tacking to create openings for
threading the cord (see main illustration).
7) Cut a 2.4m
length of cord and push a large safety pin carefully and securely
through one end. Fasten the pin. Push the safety pin into one of the
channel openings at the top of the sack. Tease the pin along the
channel, taking the cord with you as you go and gradually working the
fabric over the pin as you push it along. Continue working all round the
top of the sack until the pin appears at the opposite channel opening.
Pull out the pin and continue pulling through the cord until you have an
equal amount at each end - check by smoothing out the fabric along the
channel so that there is no ruching.
8) Tie the cords
together with a loose knot 15cm from the channel openings. Tie the
pompoms in place around the loose knot and tighten to secure in place.
Knot the cords together again, this time 5cm from the cut ends.
Looking for more craft ideas? Learn how to make Christmas crackers, personalise your Christmas gifts and make your own decorations.

-
 Will a conservatory add value to your home and how can you maximise it?
This is what the pros say
-
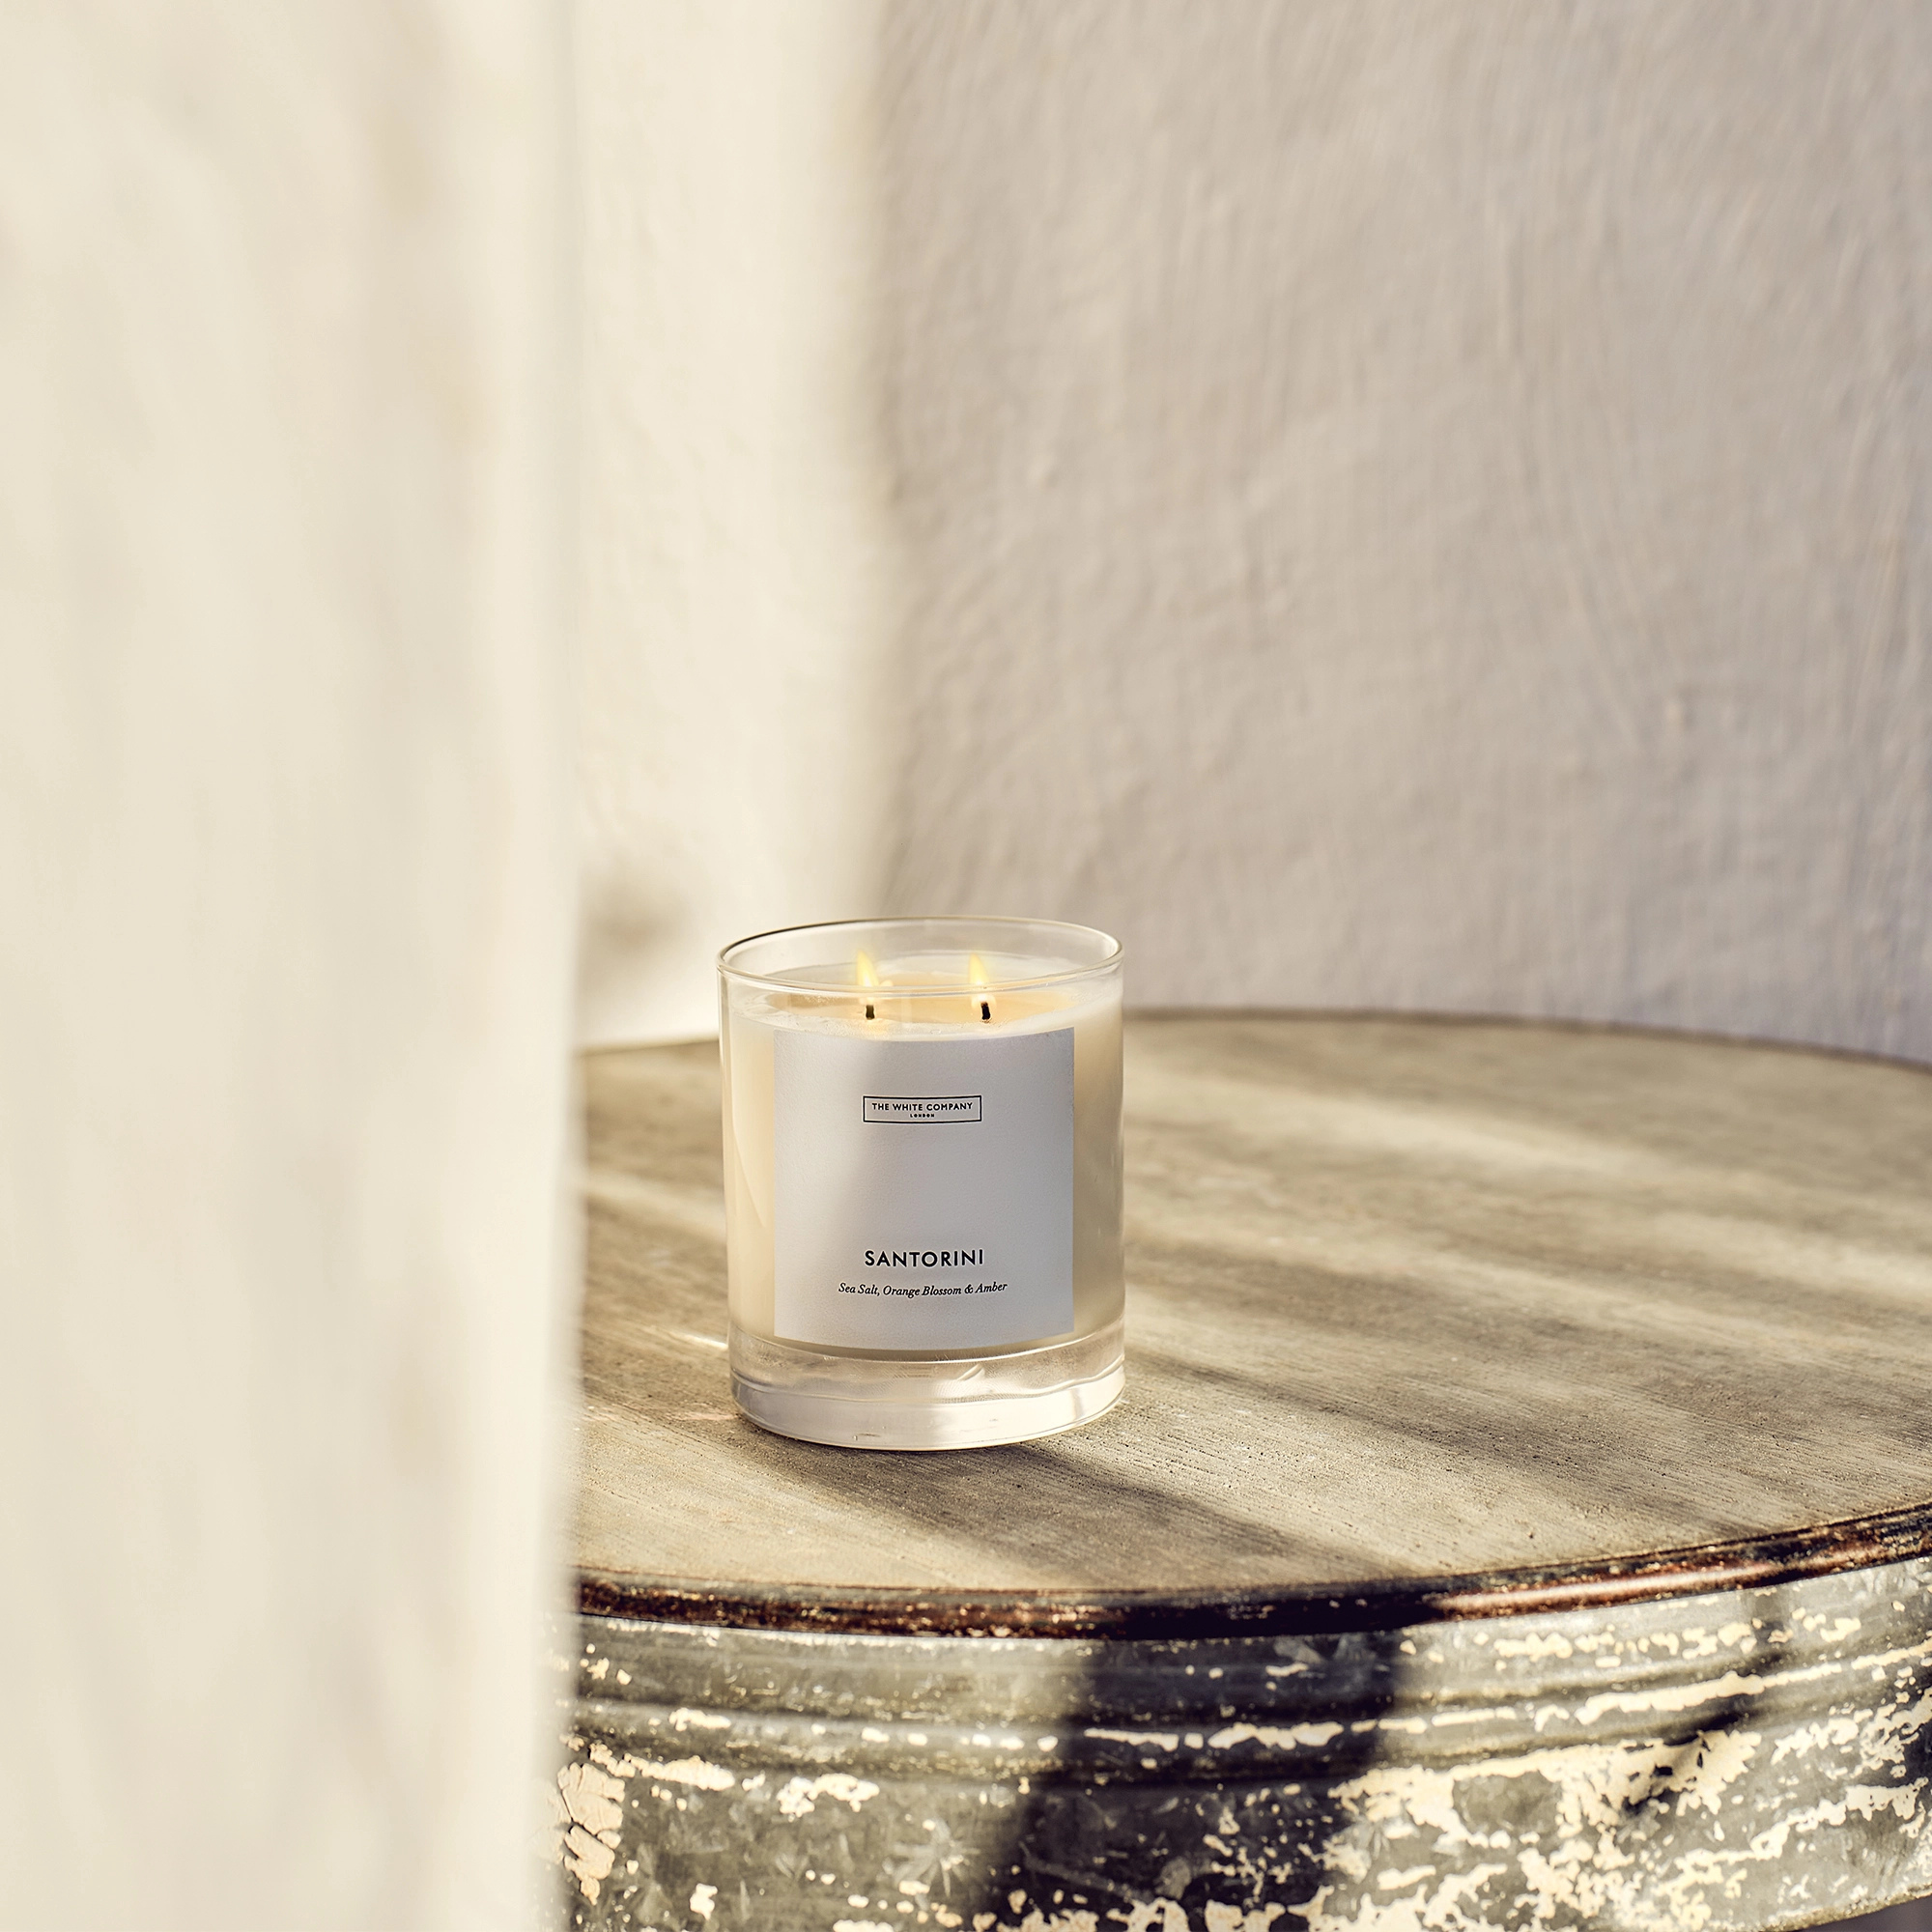 I’ve been looking for a new signature scent for my home and The White Company's new fragrance is the exact summer holiday smell I needed
Santorini smells fresh, summery and sophisticated
-
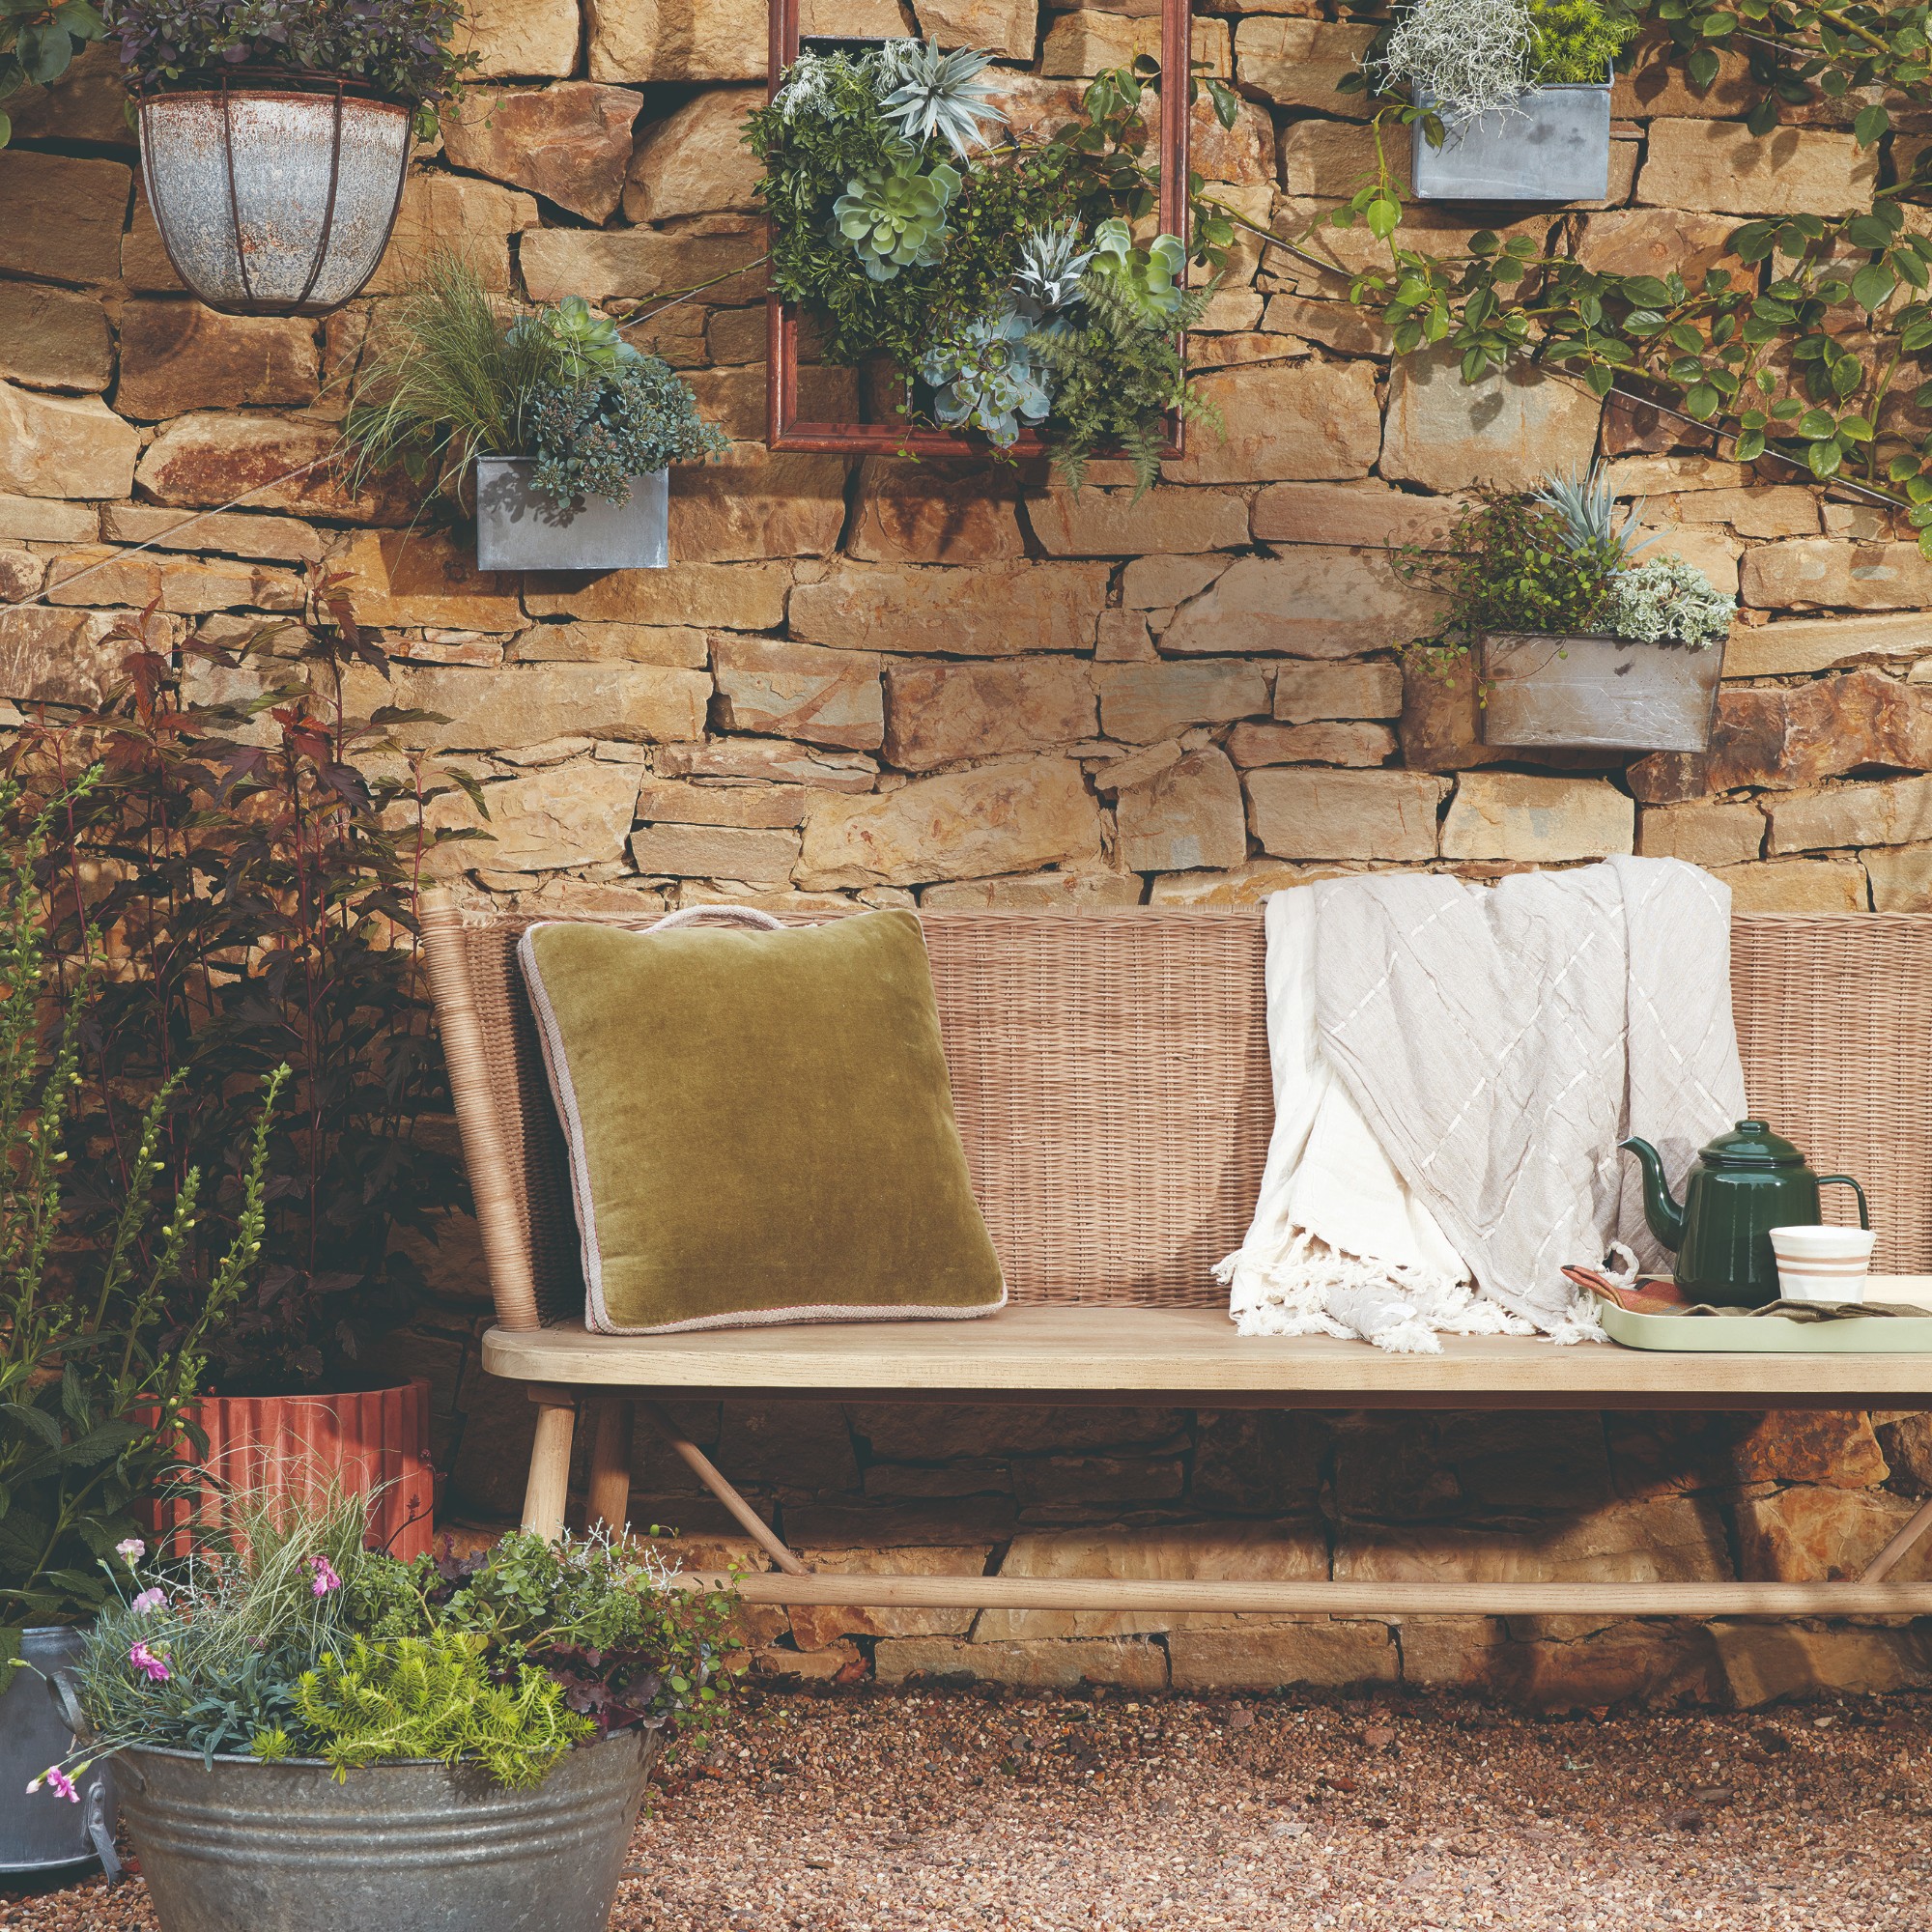 How to remove algae from garden walls in five steps – and the cleaning product experts rave about for tackling it fast
Experts share their top tips for getting garden walls algae-free


-
 How to store baubles without a storage box - 5 household items that will store ornaments safely for next year
Keep your baubles safe and secure, ready for Christmas 2025
-
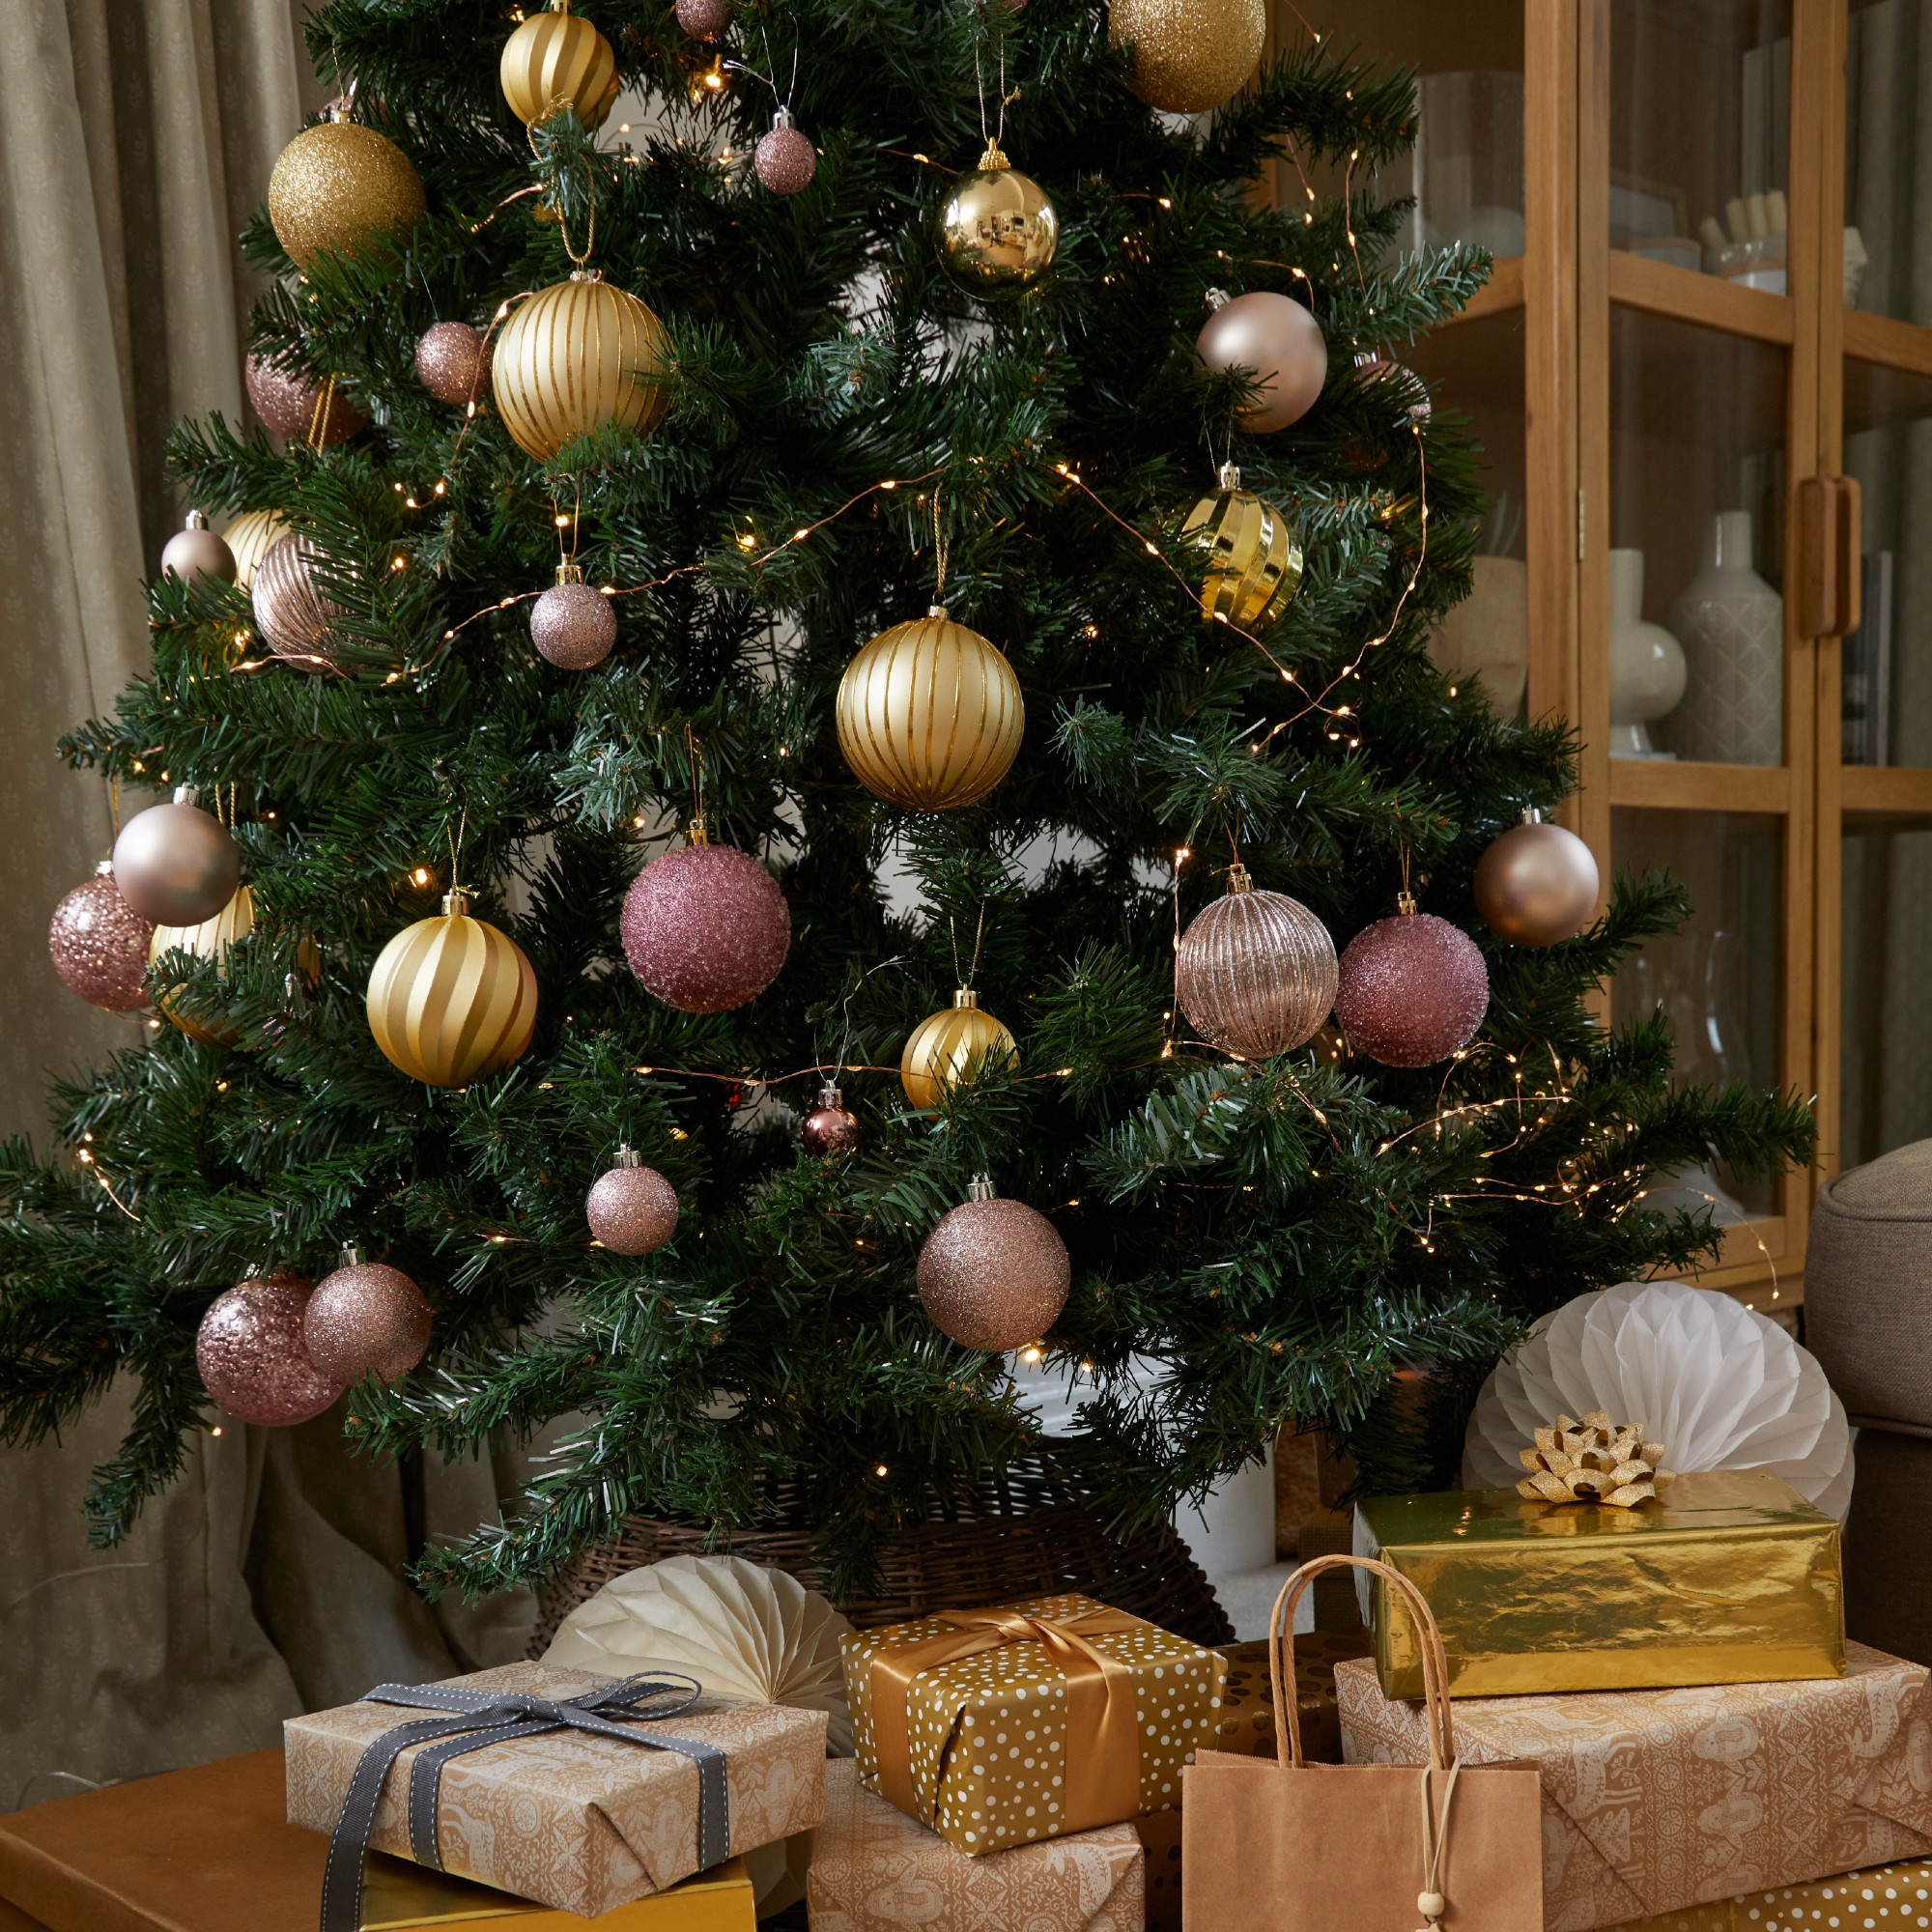 How to upcycle your Christmas baubles – 5 ways to give your dated festive decorations a new look
Tired of your old Christmas baubles? Our creative, clever tips will transform them beyond recognition in a few easy steps
-
 Christmas smart home tech - how to make the festive season a more practical (and magical) one
Discover how to make the festive season both more practical and more magical
-
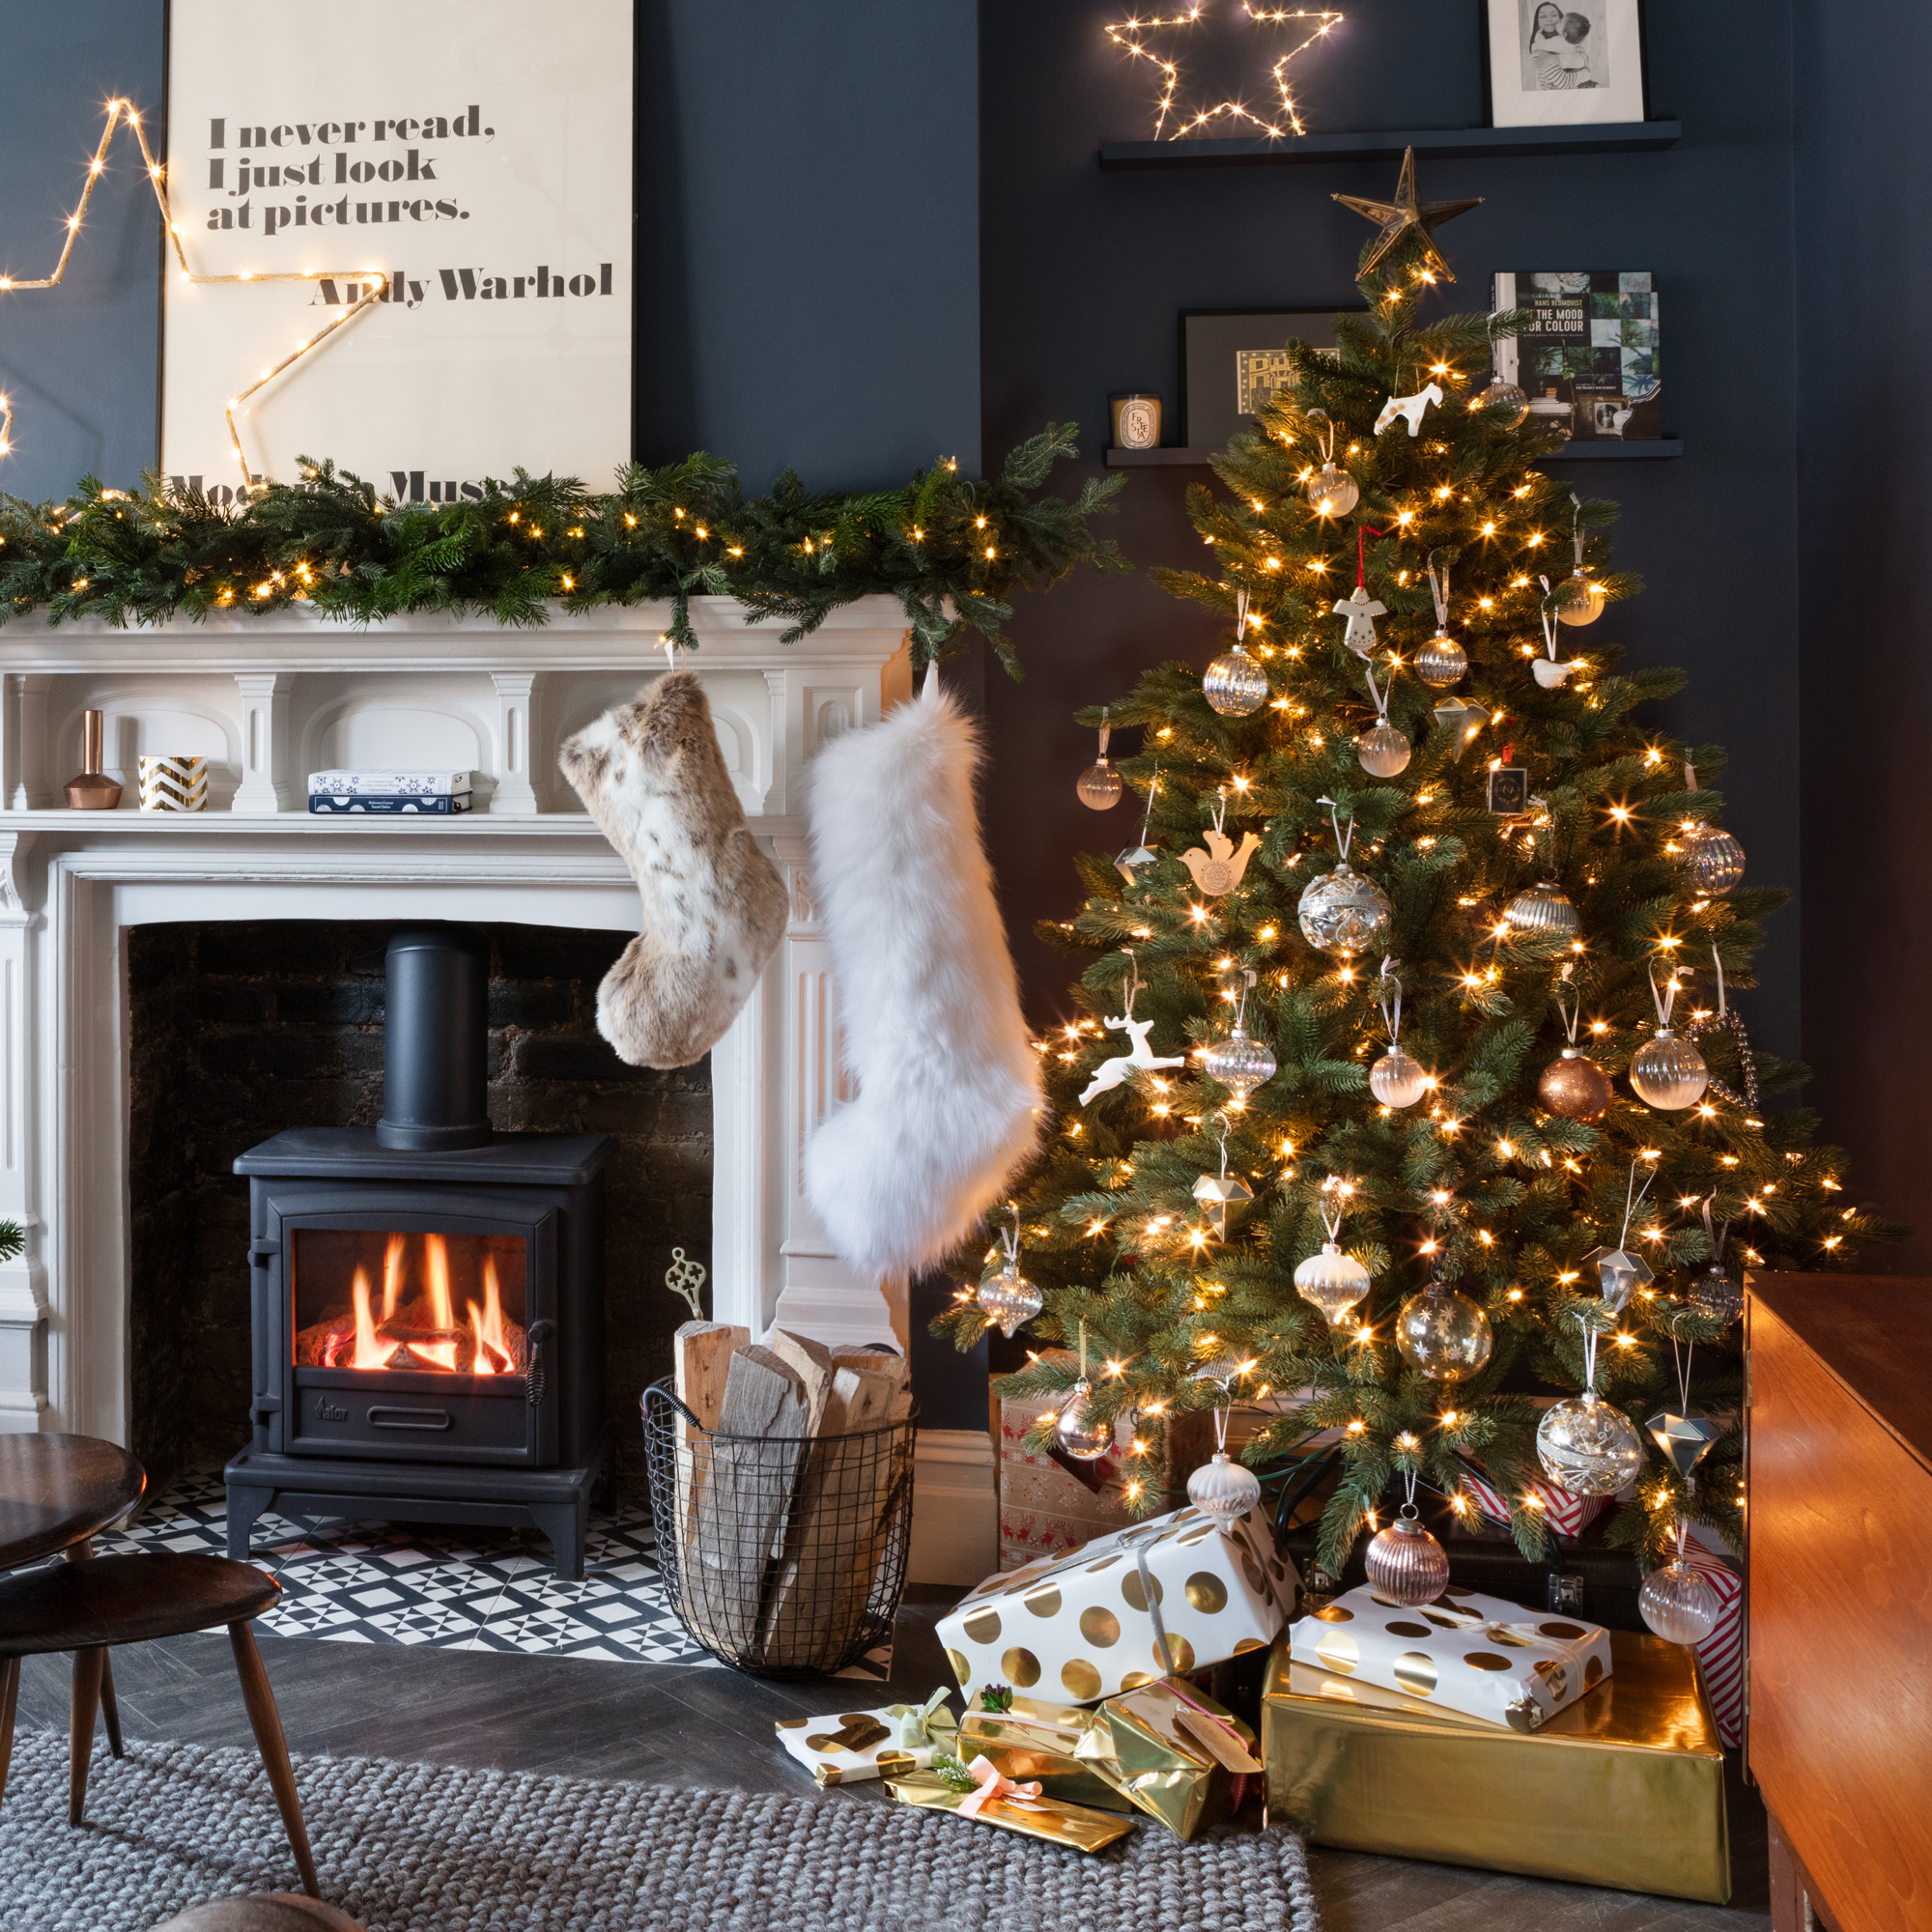
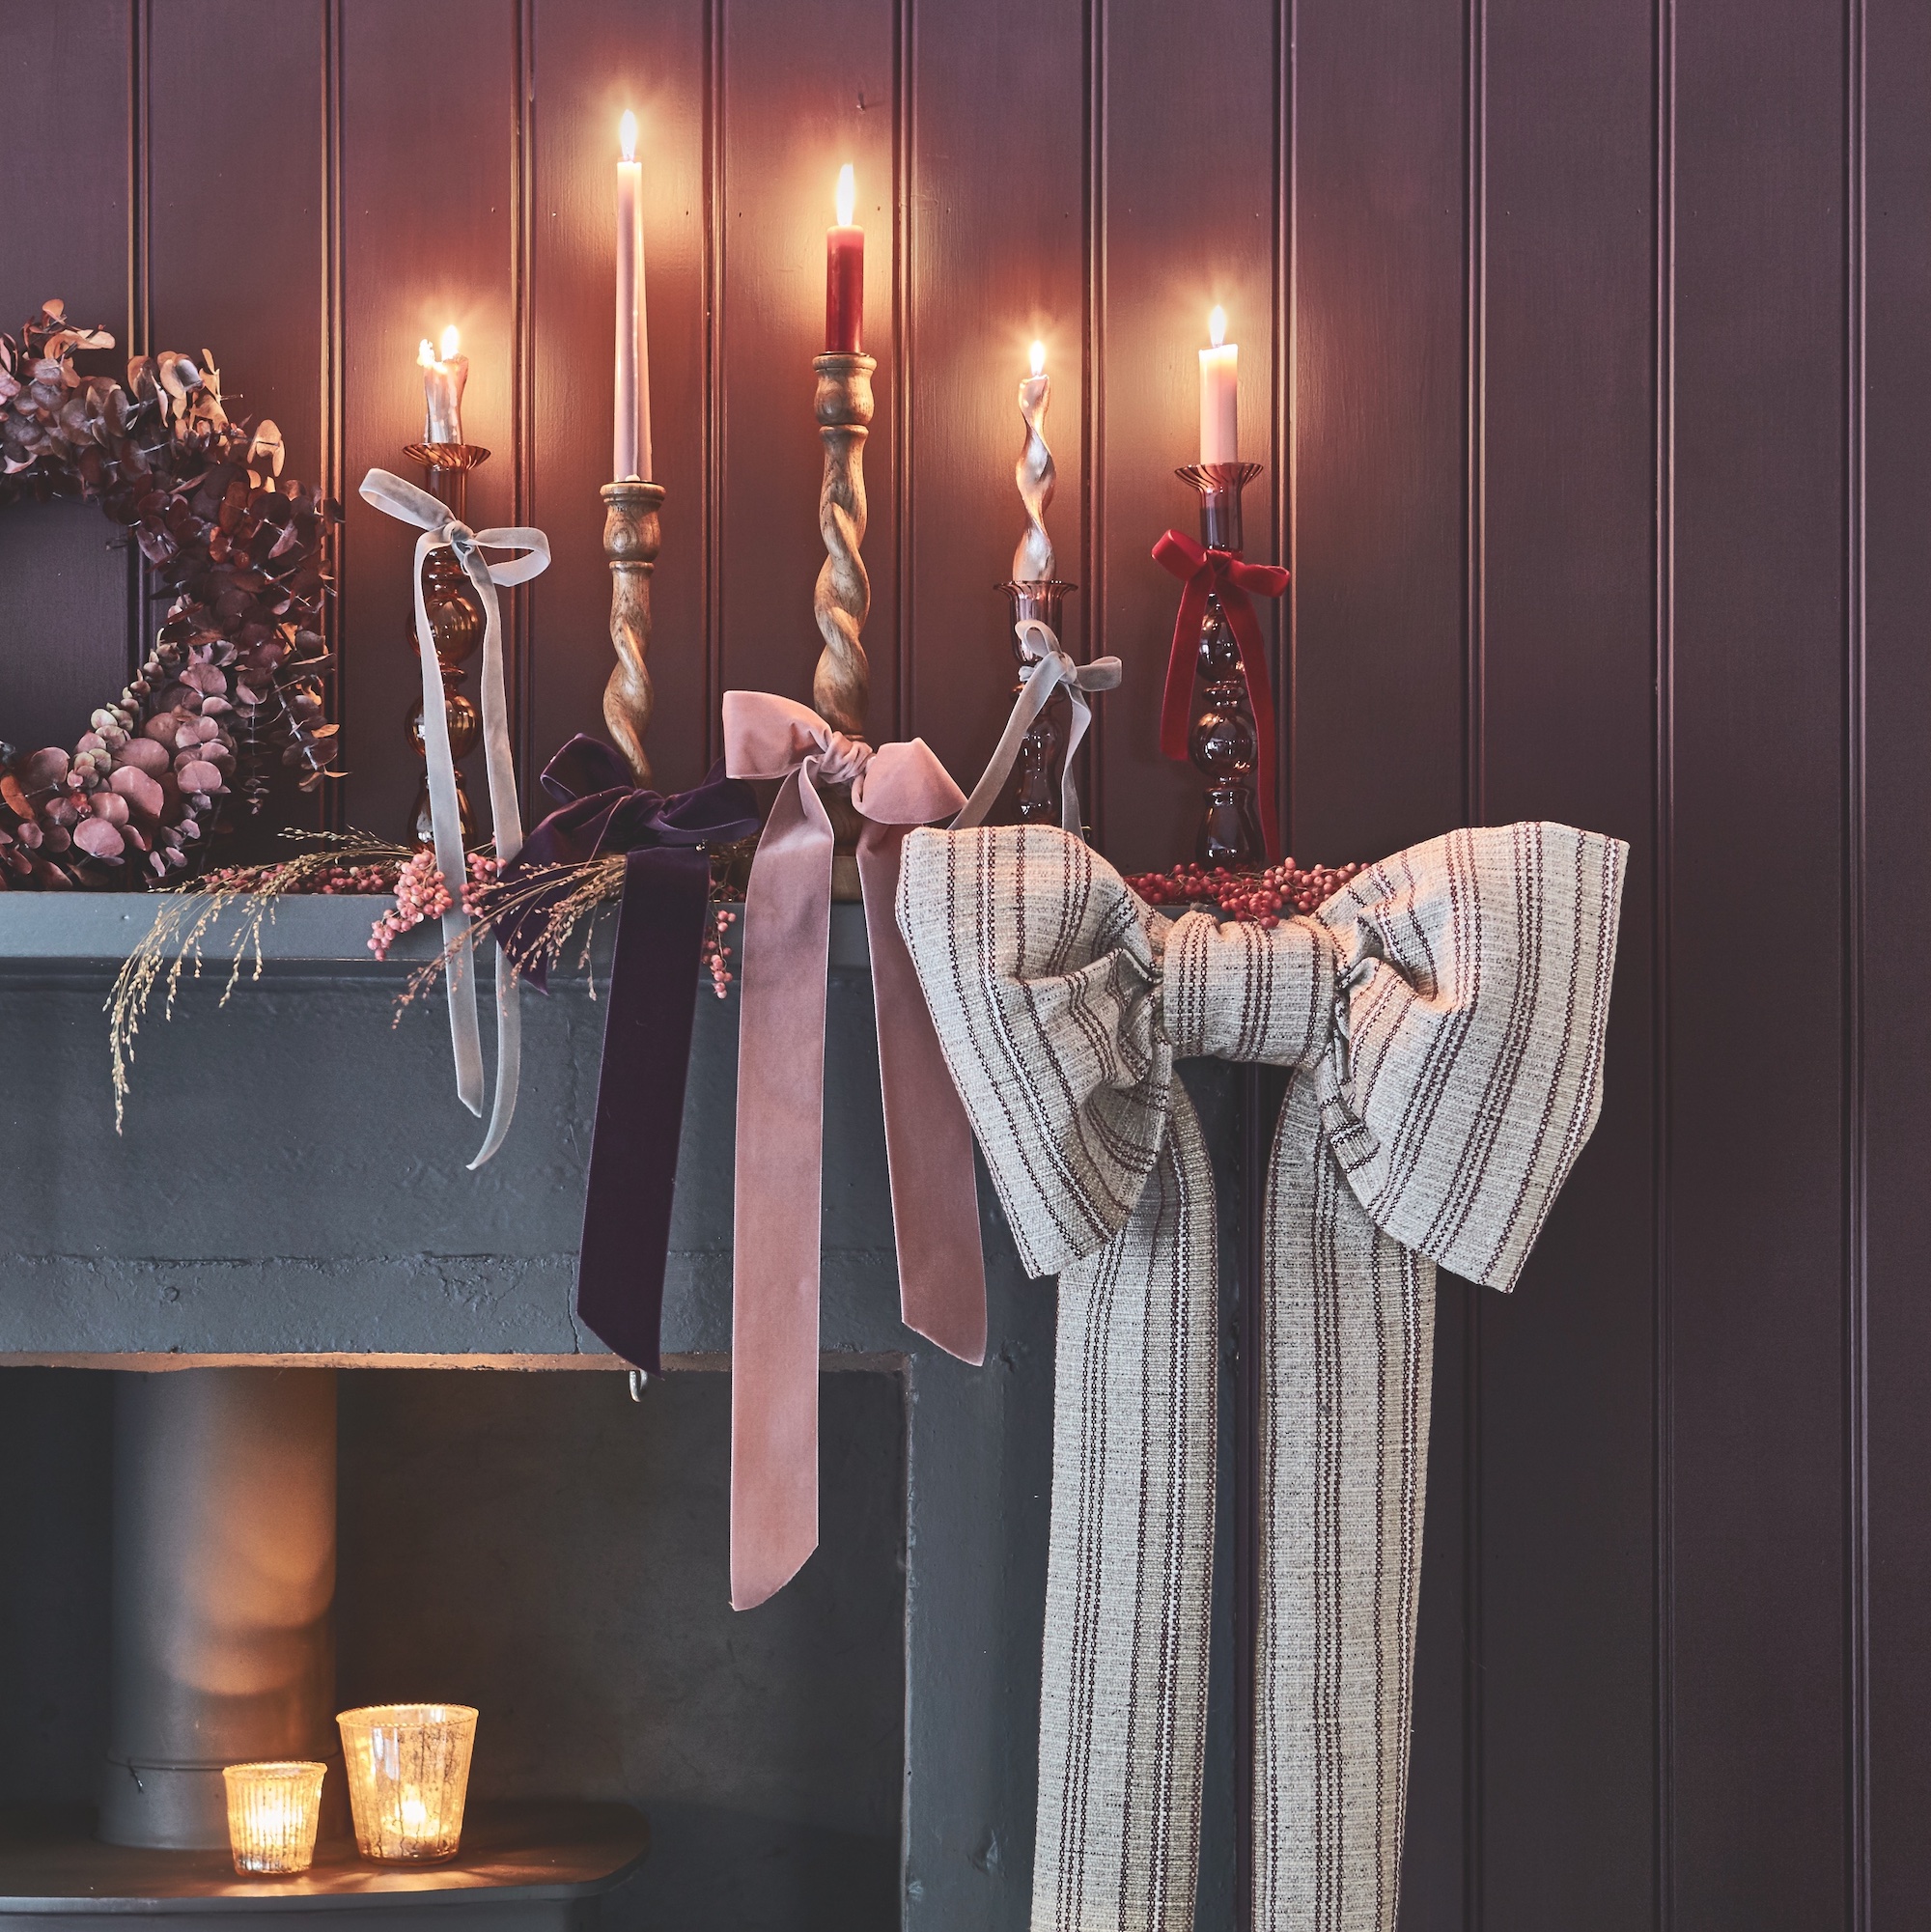 How to make a mantle bow - tie up your festive mantlepiece styling with this on-trend idea
This twist on a traditional garland will have plenty of admirers
-
 Putting your Christmas decorations up now gives you a chance to check the insulation in your loft - and save you up to £590 in the process
This is why now is the perfect time to check your loft insulation
-
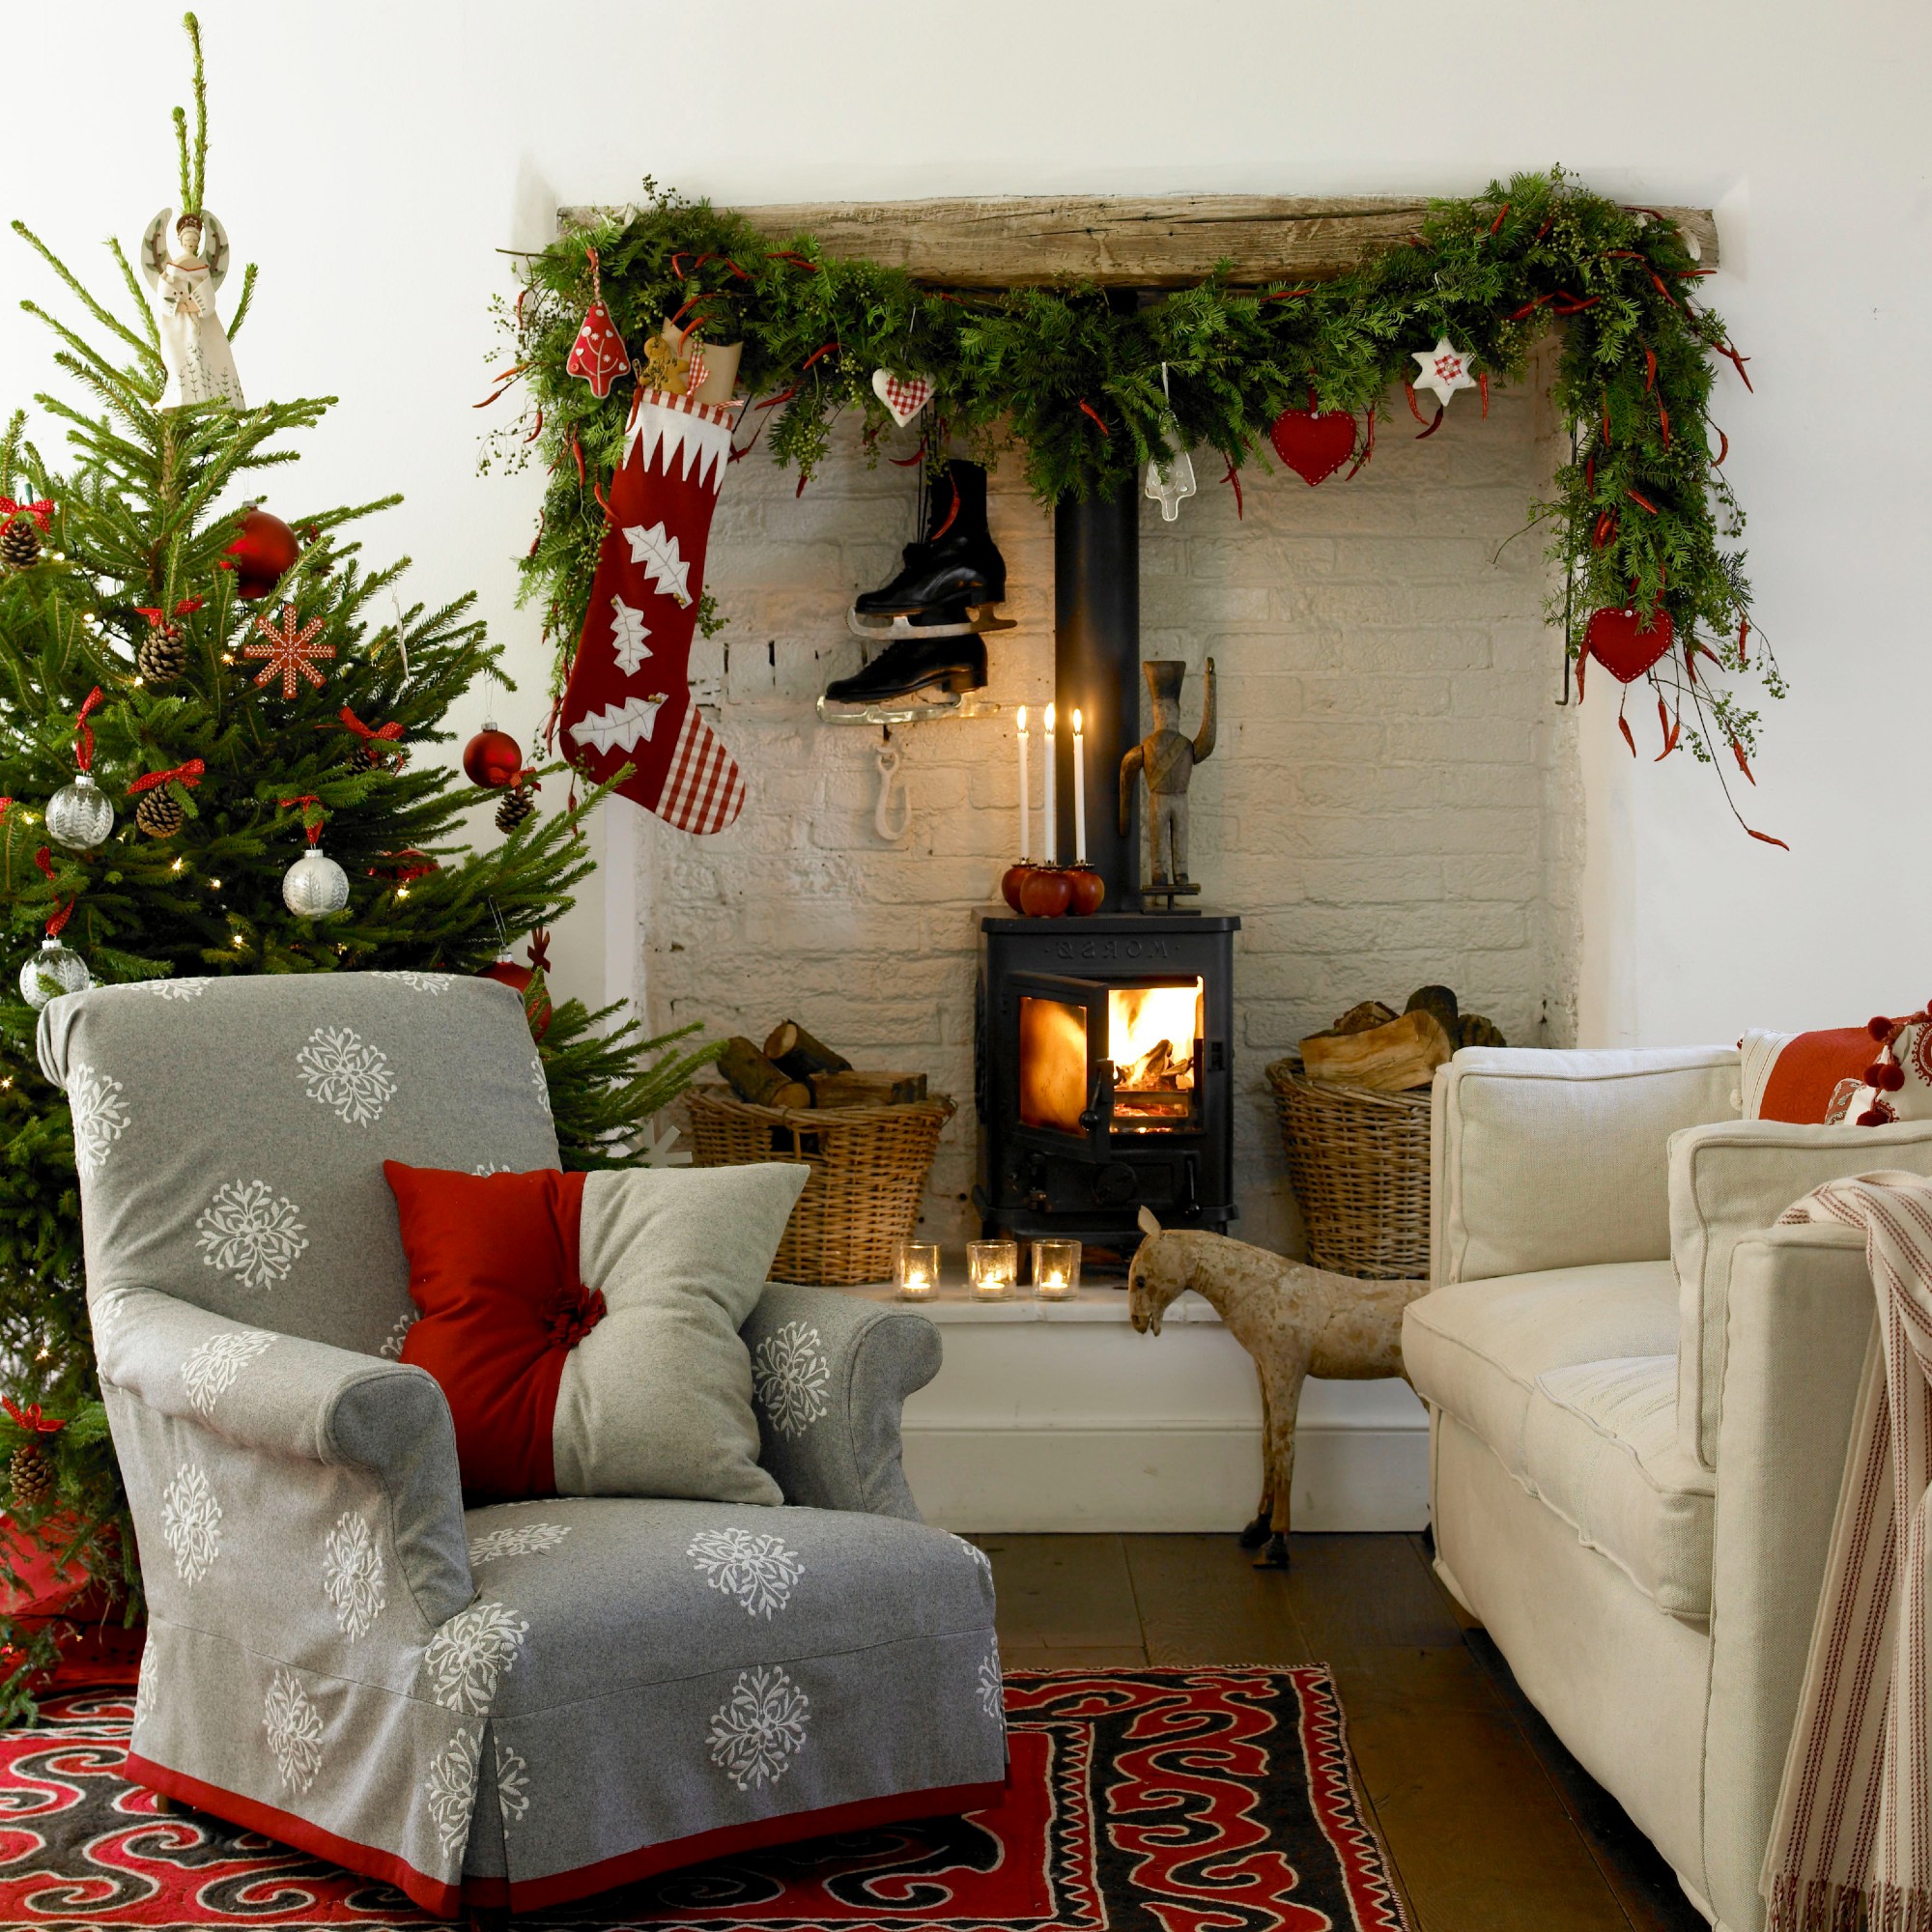 How to make your own Christmas garland – the easiest way to create a festive showstopper to adorn your mantel with
The expert-recommended, step-by-step guide to making your own Christmas garland
-
 The everyday household items you can use to store Christmas decorations safely, easily and for free
These tricks will ensure your decor stays in pristine shape without buying a thing
-
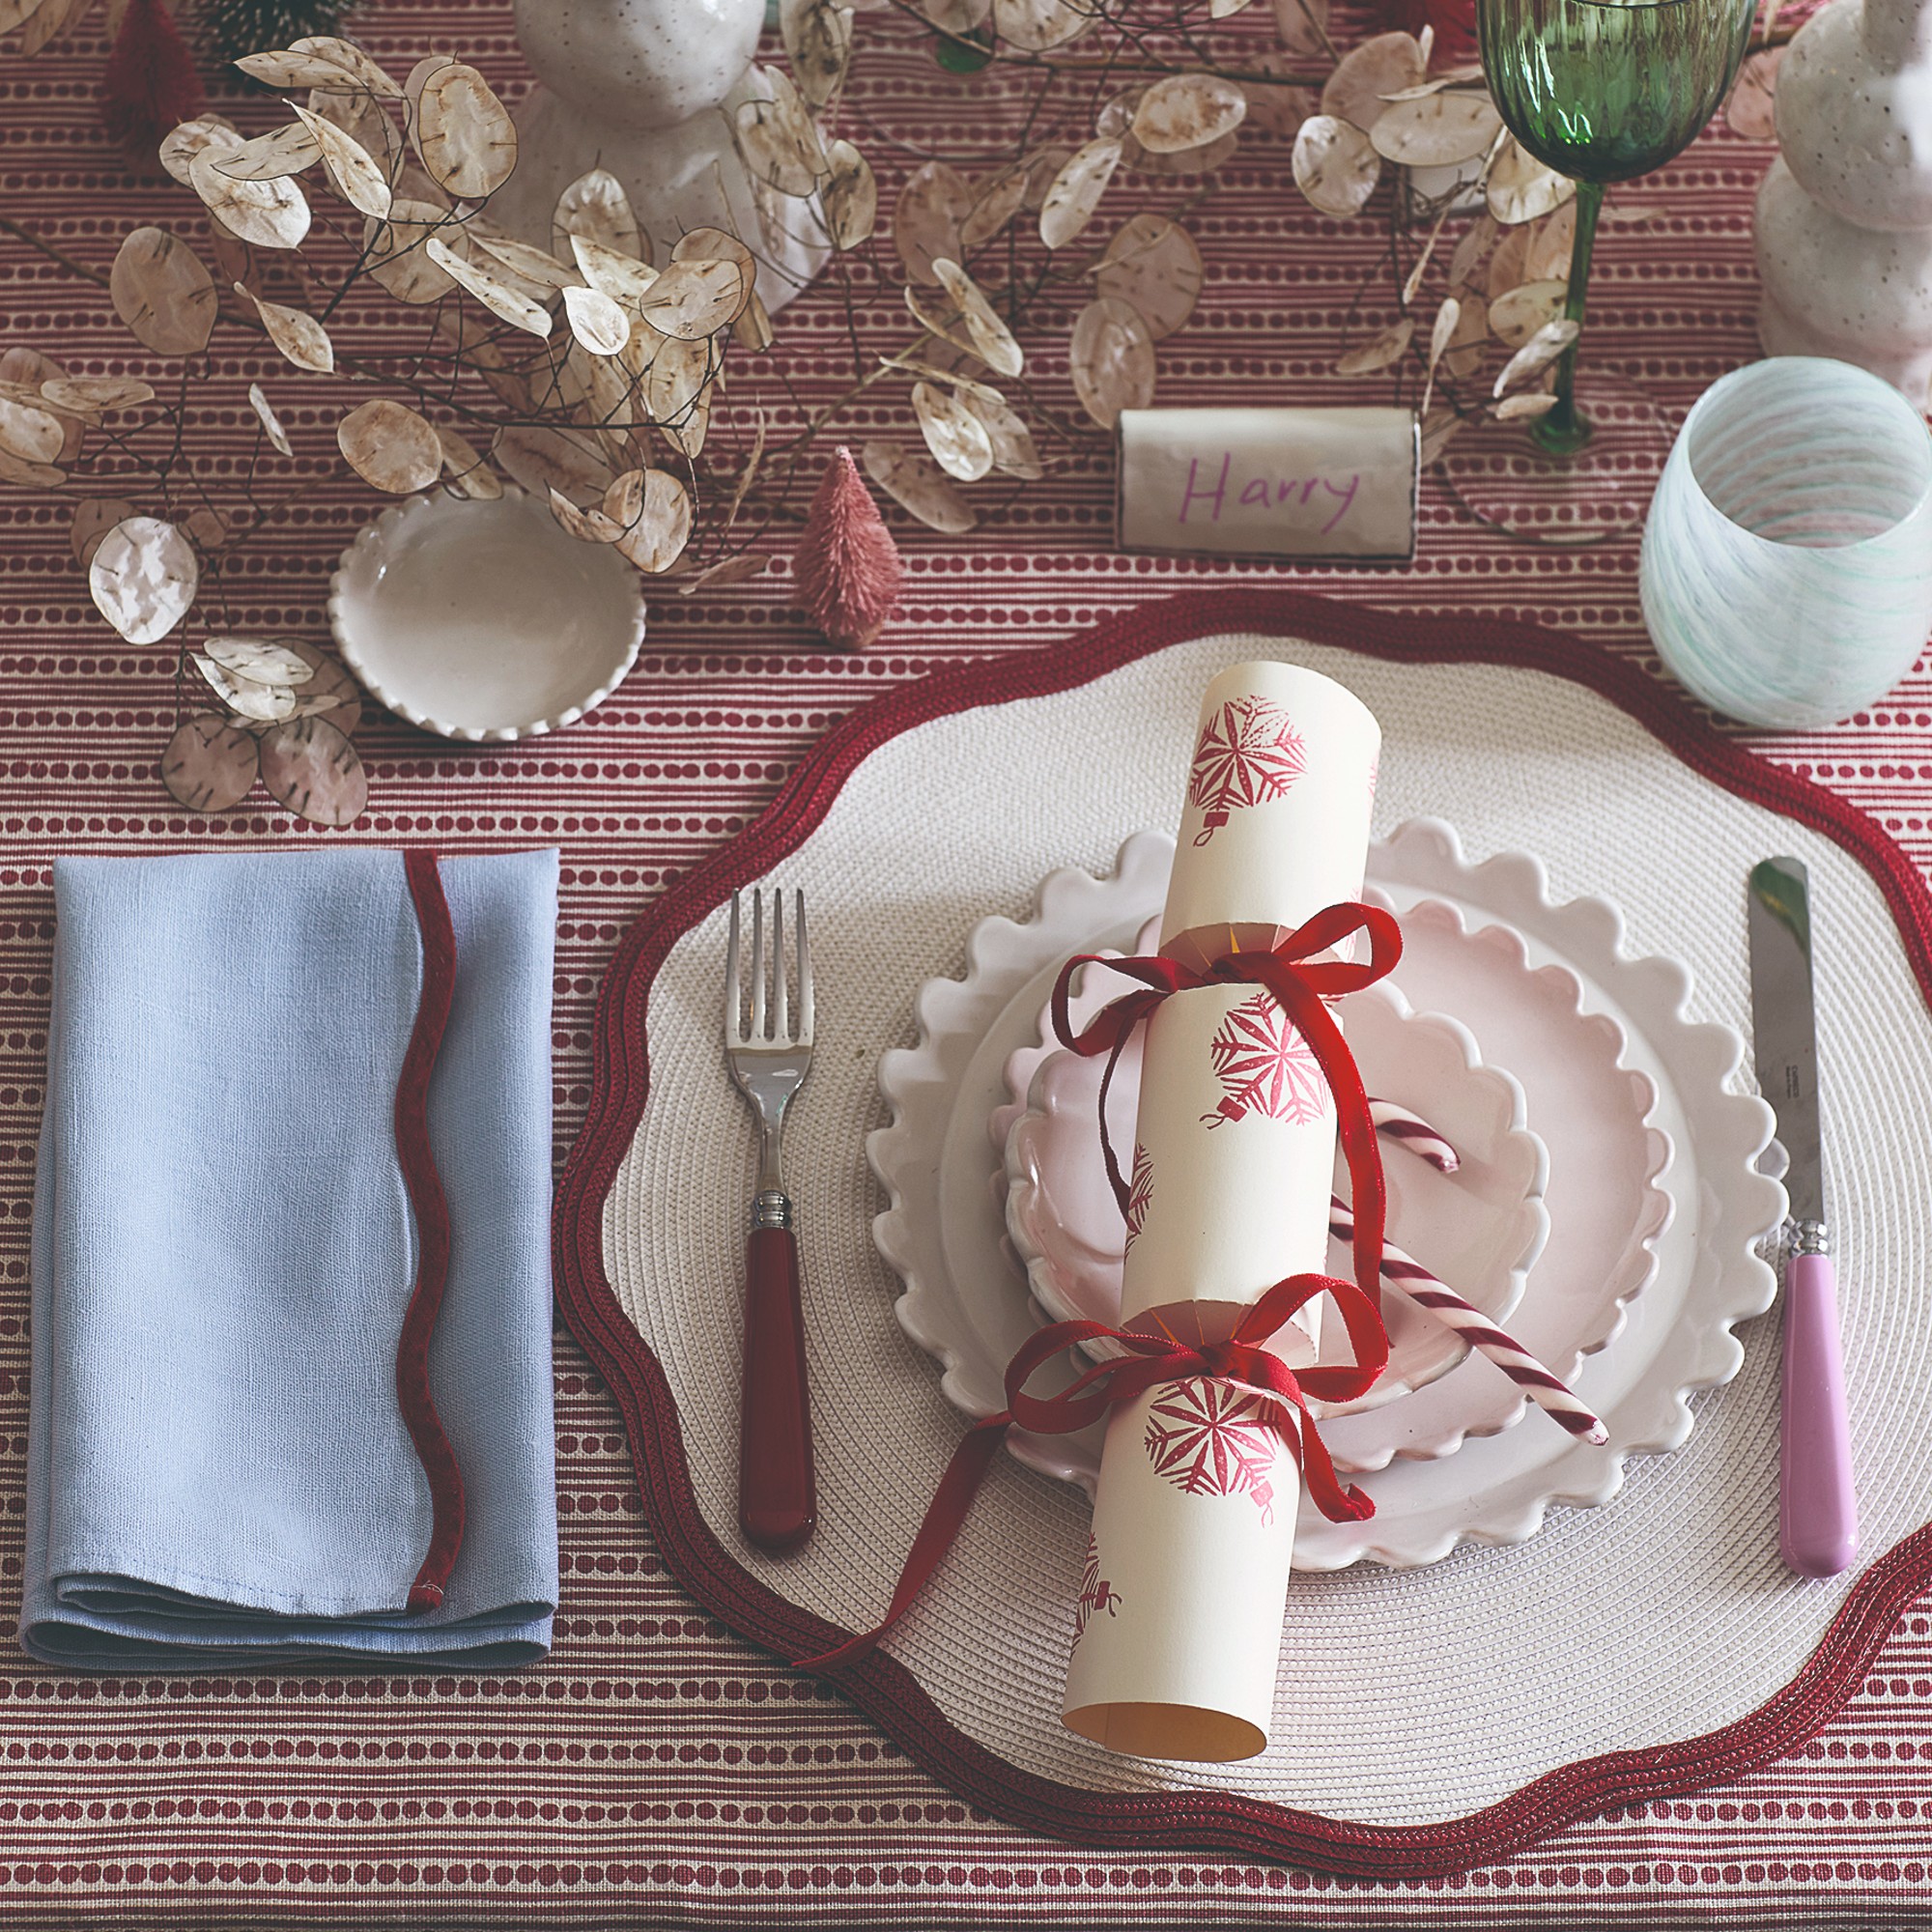 3 ways to elevate shop-bought Christmas crackers – making them look more expensive, stylish and personal
Why not personalise your crackers with these easy hacks and wow your guests?


