
Follow our step-by-step instructions and create your own tailormade squab cushions. Use a fabric that will co-ordinate with your room.
You will need
- Main fabric (we used Macapa, ref 01, £35 a metre, Swaffer)
- Cushion pad (we used fire-resistant duck feather box cushion pad, 46cm by 60cm by 5cm, £10.75, Merrick & Day, merrick-day.com)
- 12 self-cover buttons, optional (we used Prym 23mm self-cover buttons, £2.49 for four, Calico Laine)
- Matching thread
- Fabric marker pen
- Strong upholstery thread

Step 1) Cut two 68cm by 54cm rectangles in main fabric. Place
right sides facing and matching raw edges all round and pin together.
Stitch all round taking a 1.5cm seam and leaving a 50cm gap along one
long edge. Remove pins.
Step 2) Trim and clip seam
allowances, turn through and press. Open up the gap along the long edge
and carefully ease the cushion cover in place over the cushion pad,
working the pad into each of the corners for a neat fit. Neatly slip
stitch the opening closed (see illustration).
Step 3) Using
a fabric marker pen, mark the position for six buttons on one side of
the cushion, making sure they are evenly spaced. Repeat on the other
side of the cushion.
Step 4) Cut twelve 35mm circles from the main fabric and use to cover the buttons, following manufacturer's instructions.
Step 5) Thread a long needle with strong upholstery thread, or similar (we used a Roxanne basting needle, which is 21/4in long, from The Cotton Patch). Knot the ends together to form a double thread.

Ste
p 6) Beginning at your first marked button spot,
over-stitch a few times to anchor the thread and then thread on your
first button. Push the needle through the cushion on the marked spot and
bring the needle out on the corresponding marked spot on the reverse of
the cushion. Thread on the second button, then push the needle back
again to the other side and through the first button again (see
illustration).
Step 7) Carefully draw up the thread so
that the two buttons either side of the cushion move together. Push the
thread through the pad and through both buttons as previously and,
again, pull up the thread. Continue to do this until the buttons feel
firmly anchored to each other, then finish off.
Step 8)
Repeat Steps 5 to 7 with the five remaining sets of buttons.
Alternatively you can use a heavy cord rather than buttons (work through
the cushion pad in the same way). Tie in knots to finish on one side of
the cushion.
-
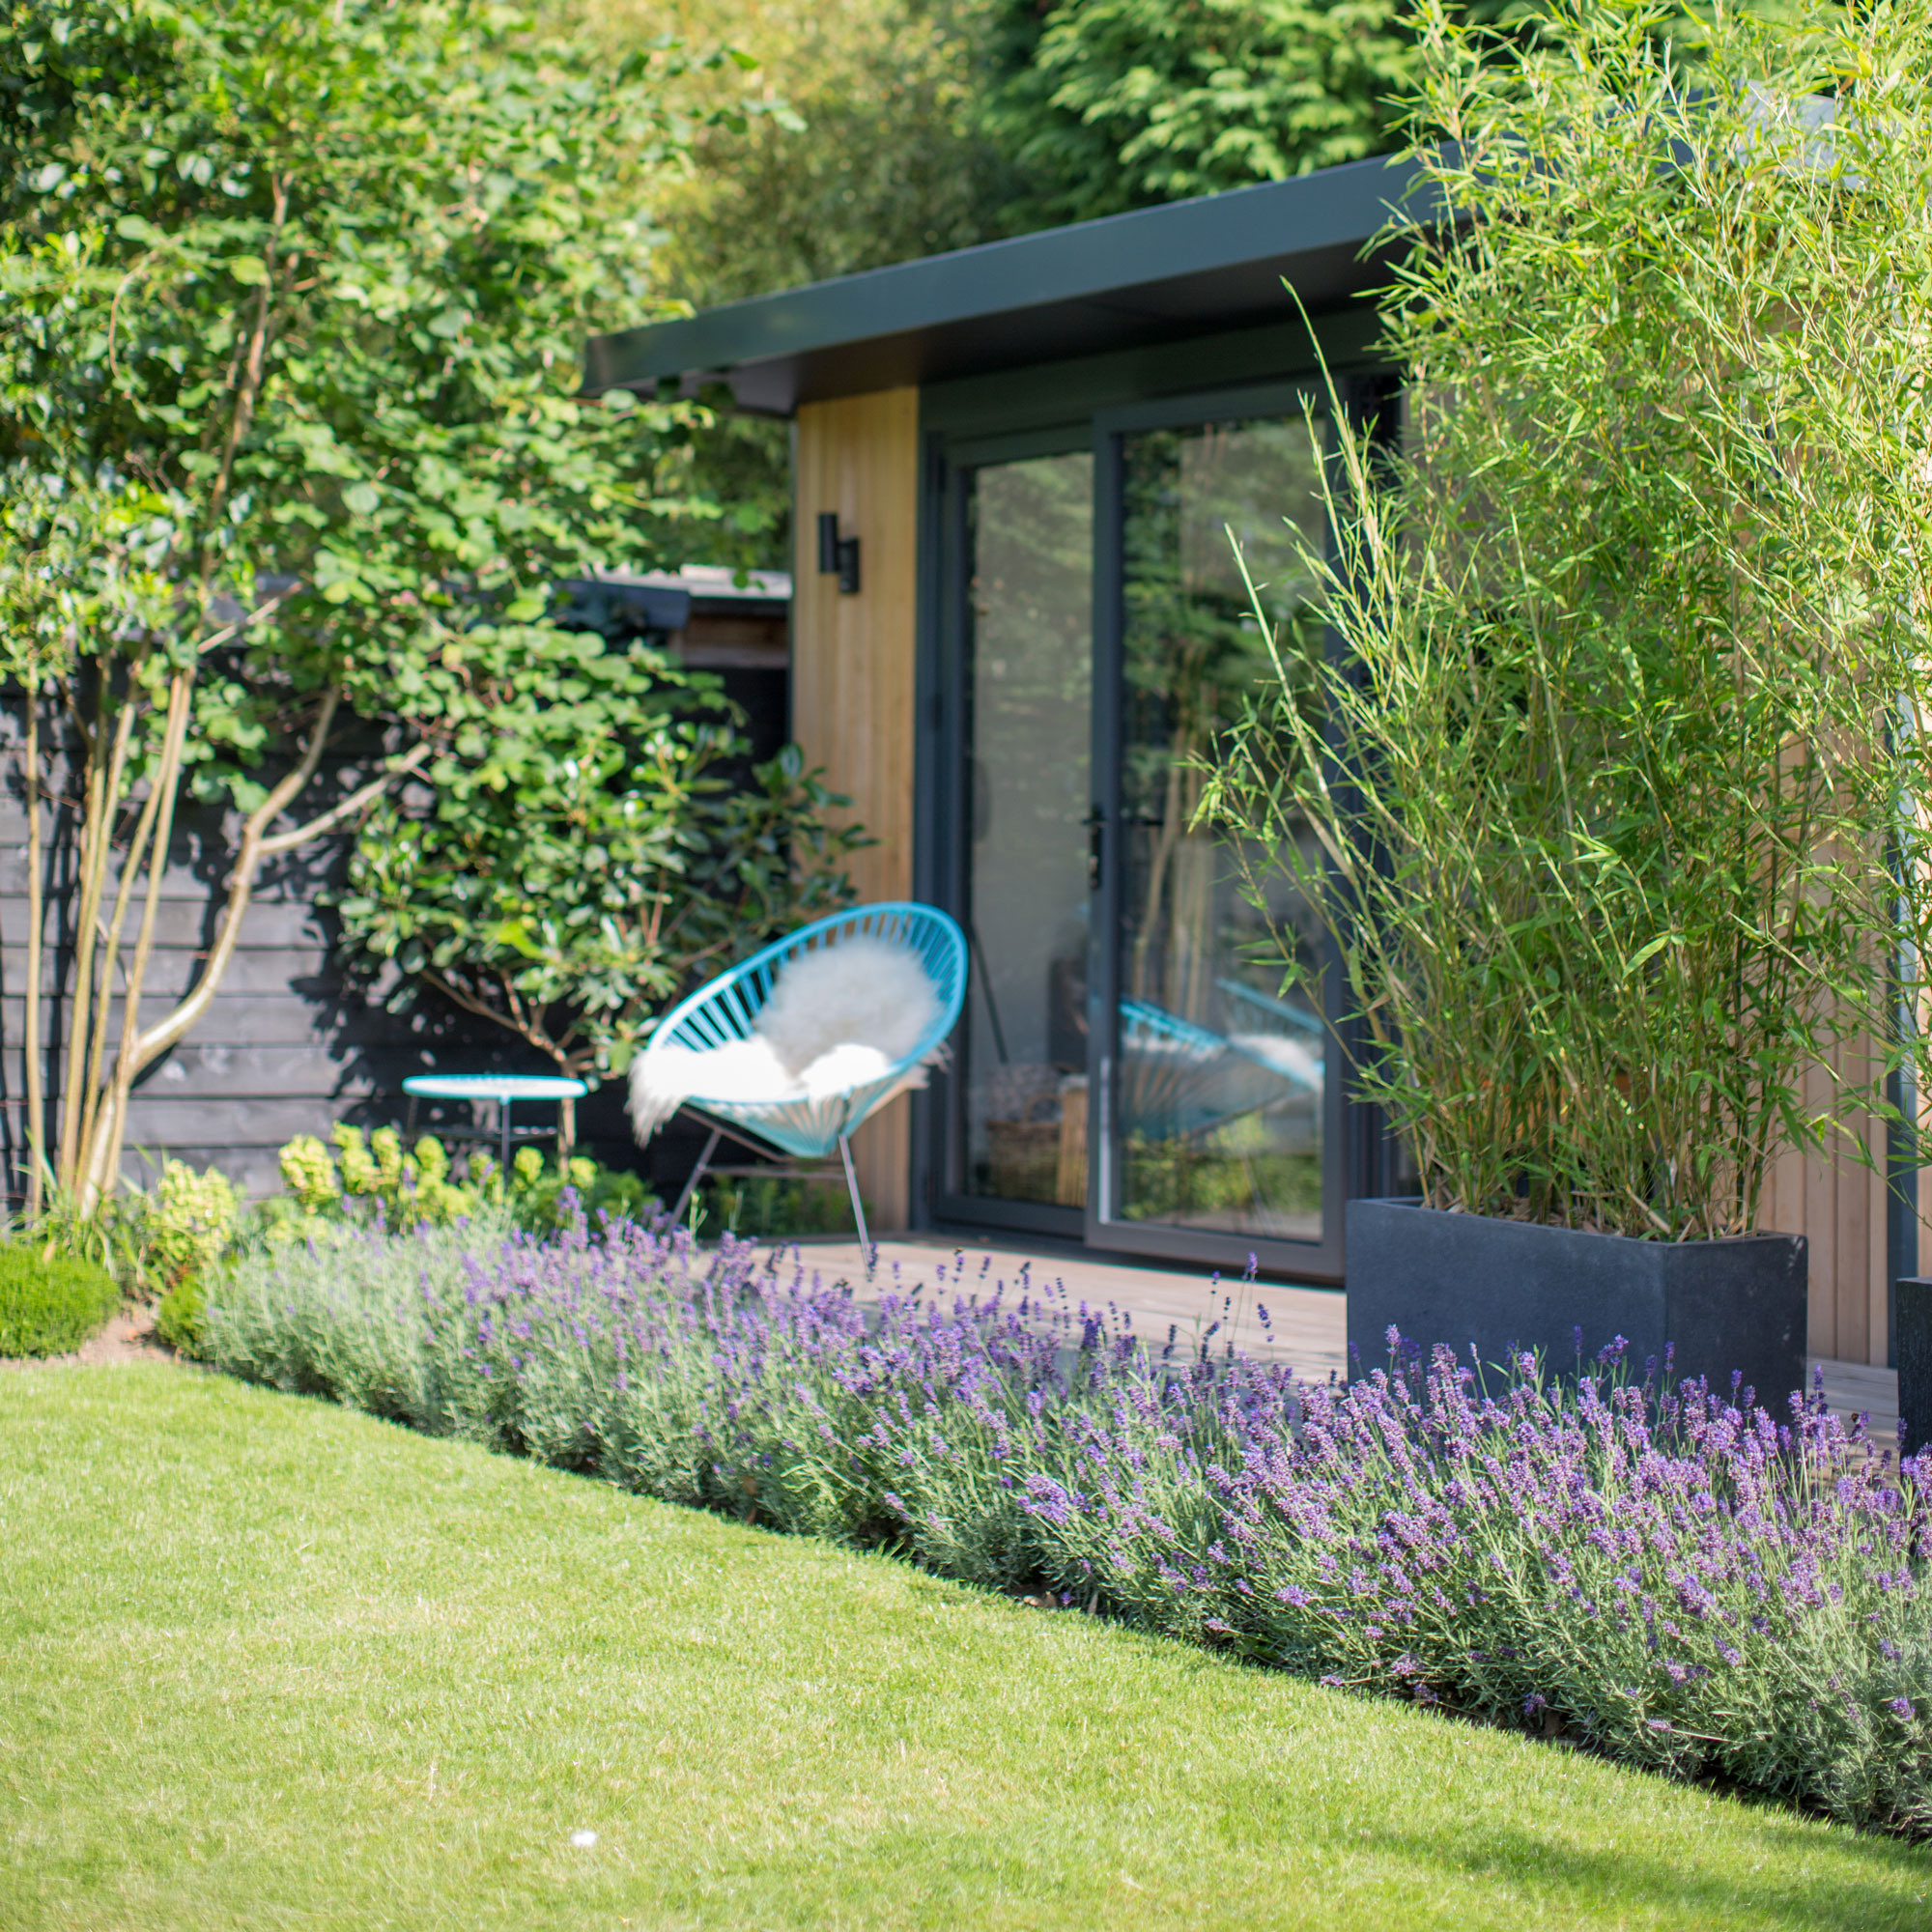 How to set up a drip watering system that saves water and a lot of effort
Keep your plants hydrated (and your water bill down) with this clever garden watering solution
-
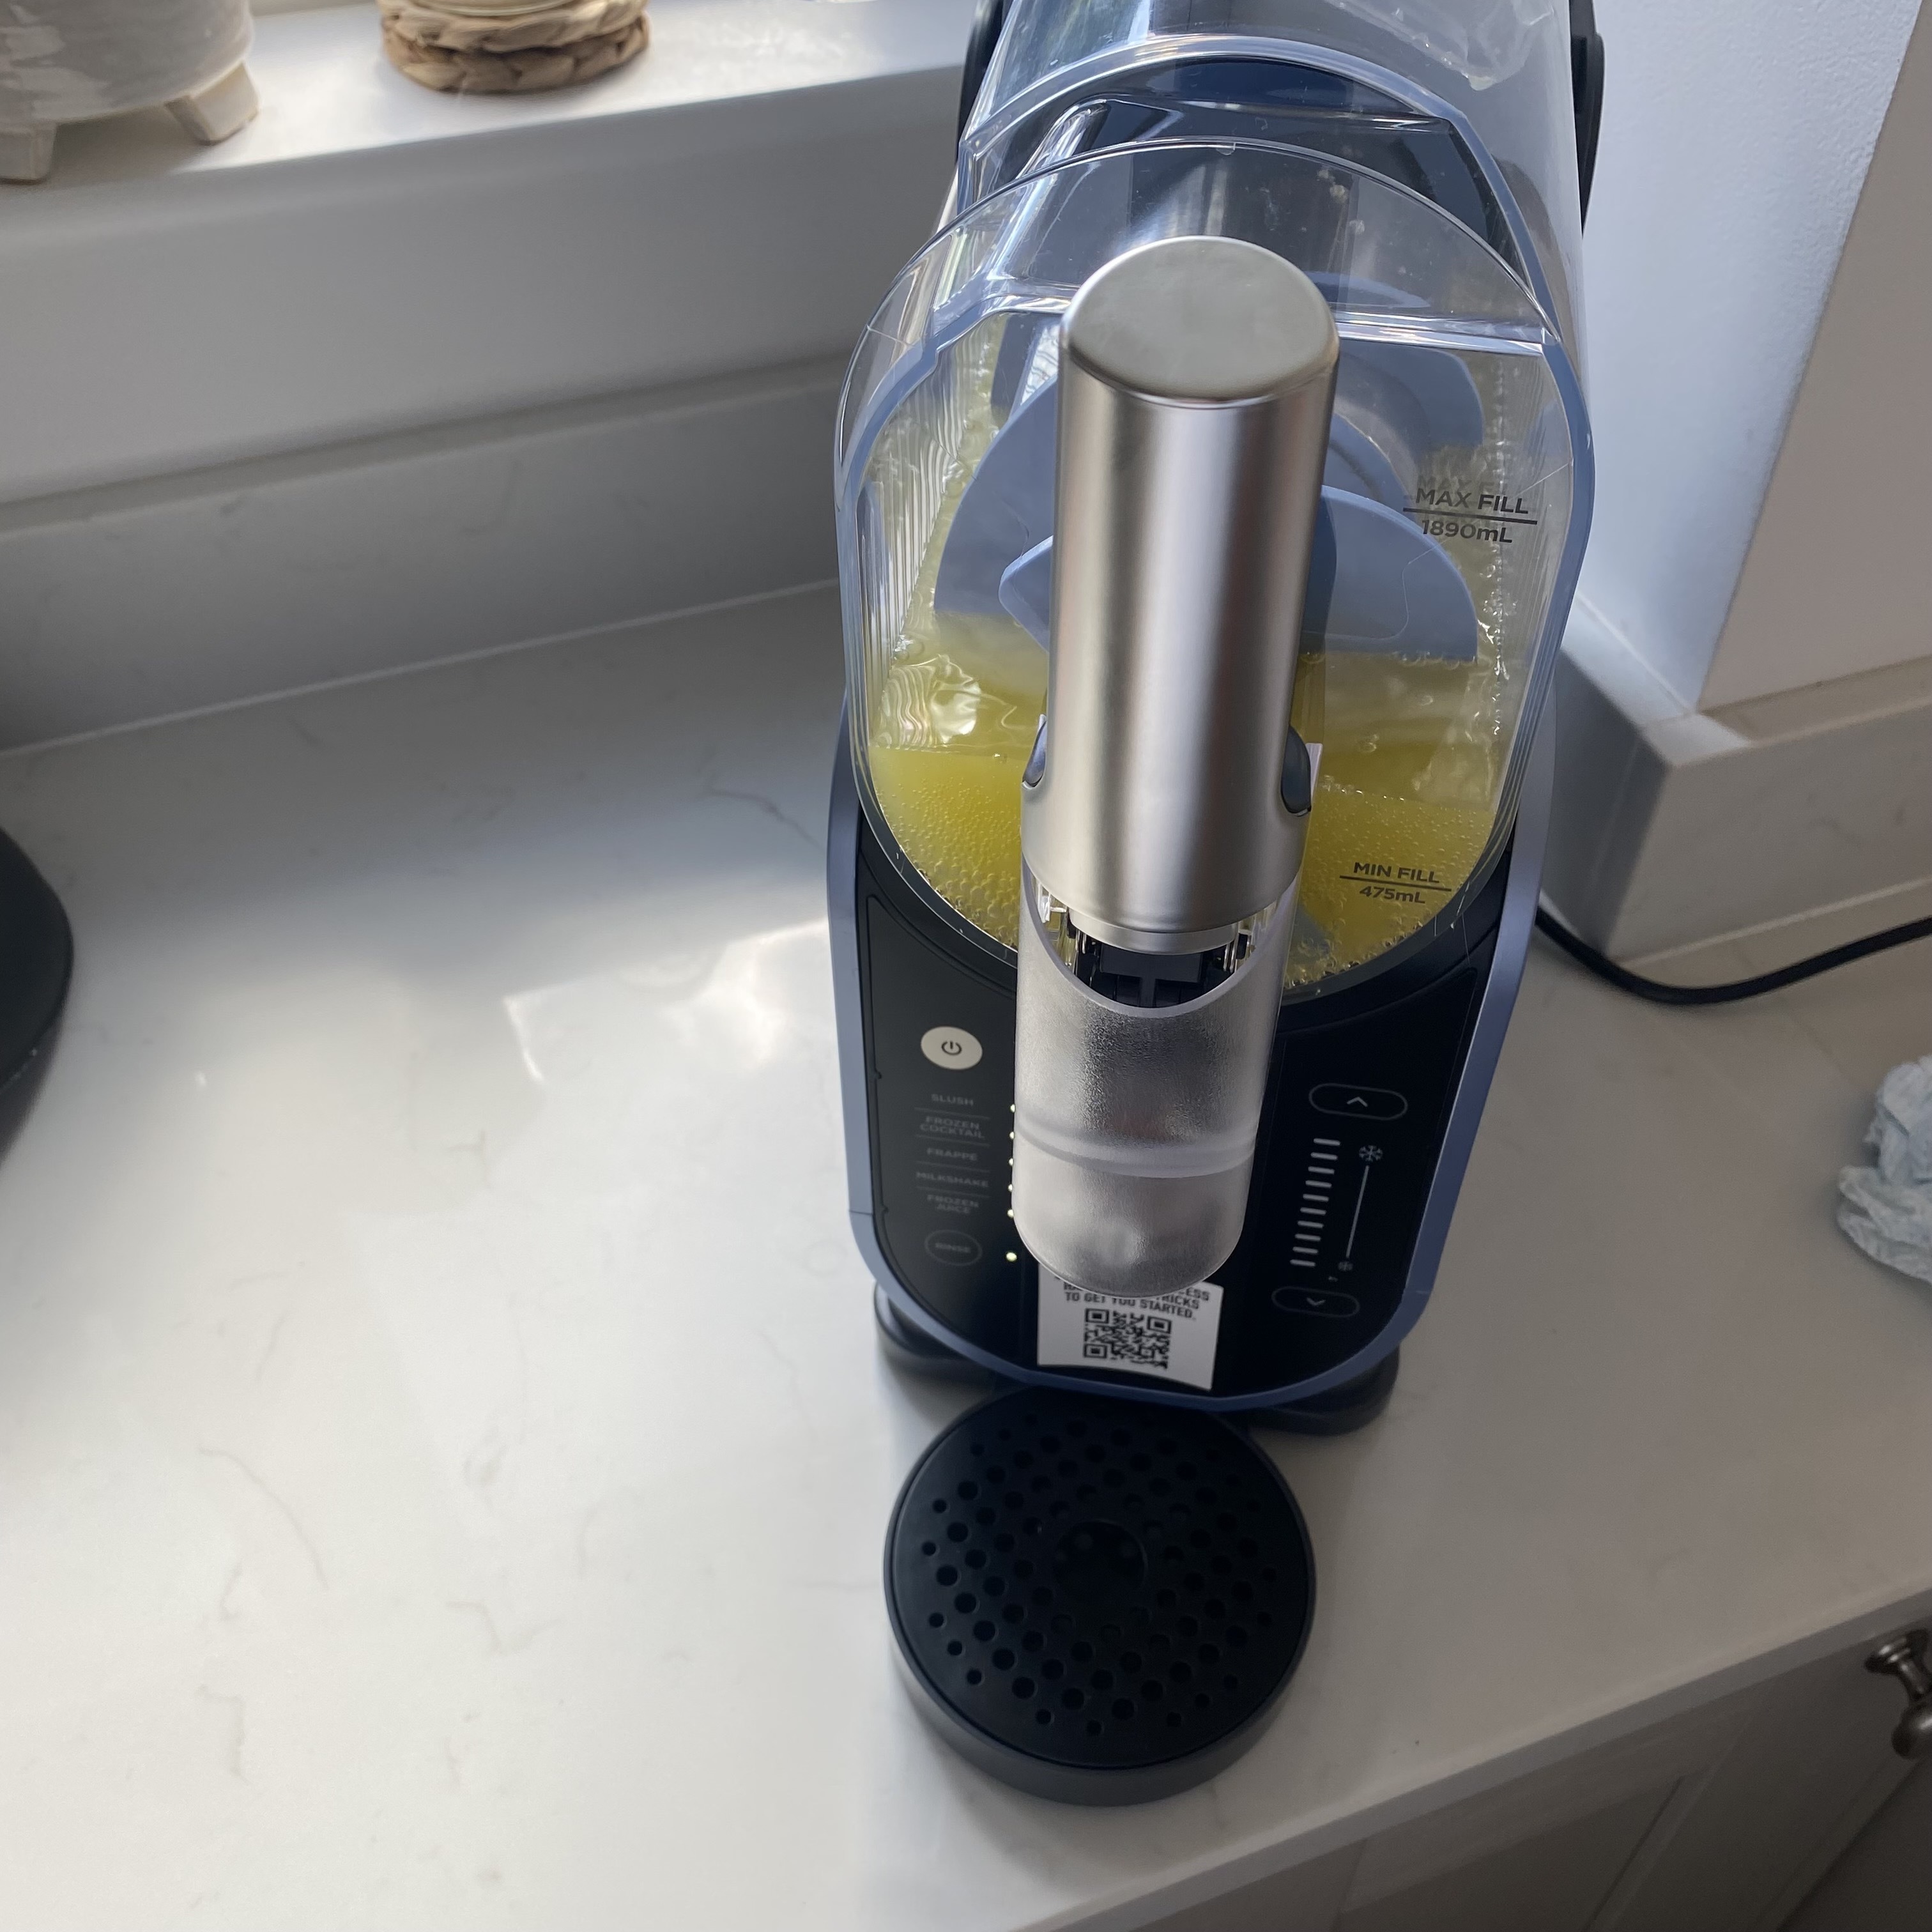 I unboxed the Ninja Slushi – here's what happened
The Ninja Slushi is the stuff of dreams for summer entertaining
-
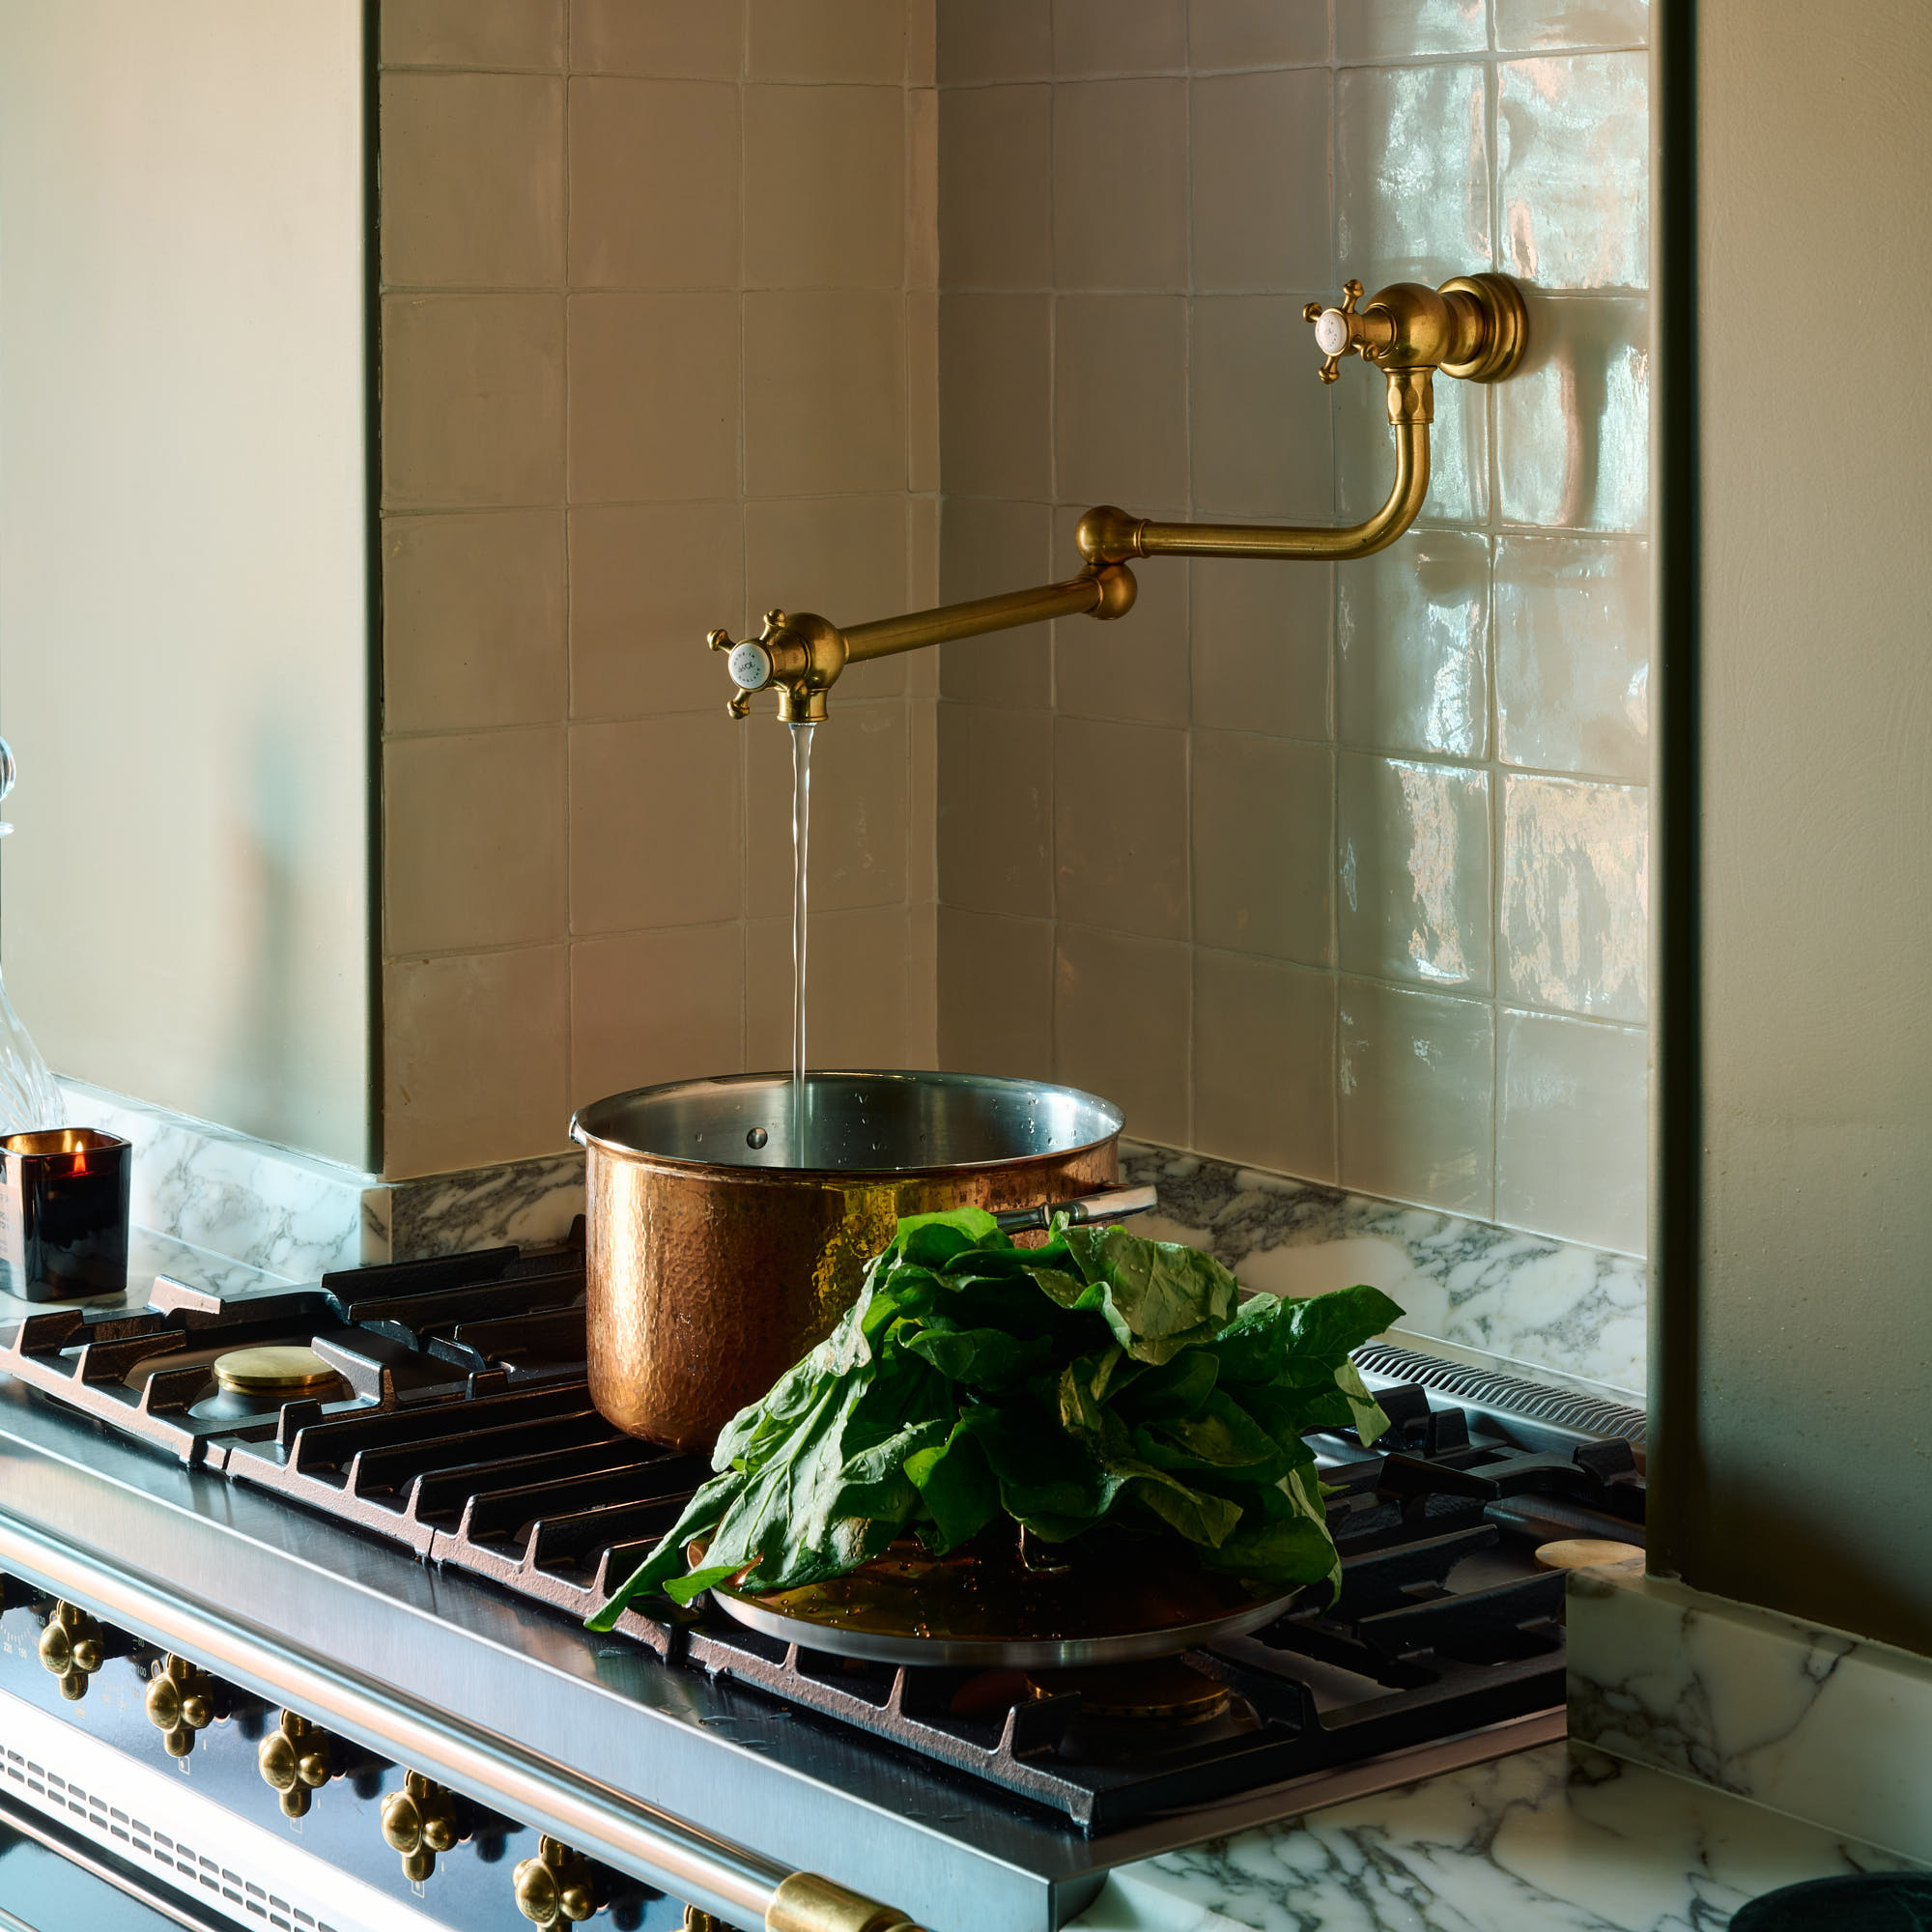 Should you invest in a pot filler or are they just a high-end kitchen fad? I asked kitchen experts whether they're set to be a trend beyond 2025
A high-low approach to kitchen design is the key to creating a stylish space in your budget


-
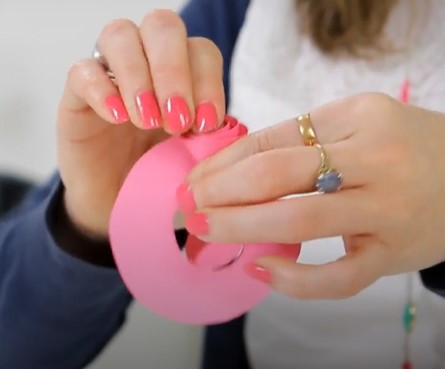 Craft corner: How to make a paper flower
We show you step by step on how to make pretty paper flowers to brighten up your dining table.
-
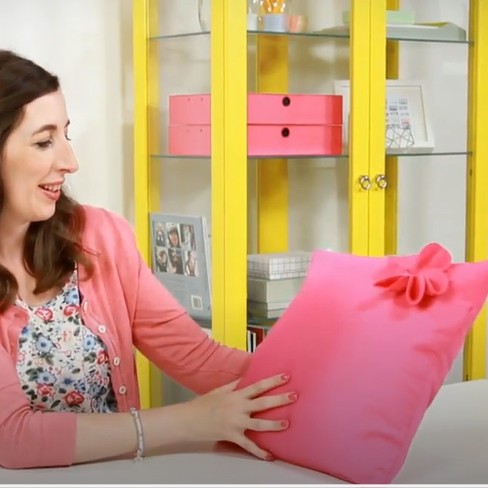 Craft corner: How to make a felt flower cushion
We show you step by step on how to make a lovely felt flower cushion which will brighten up any room.
-
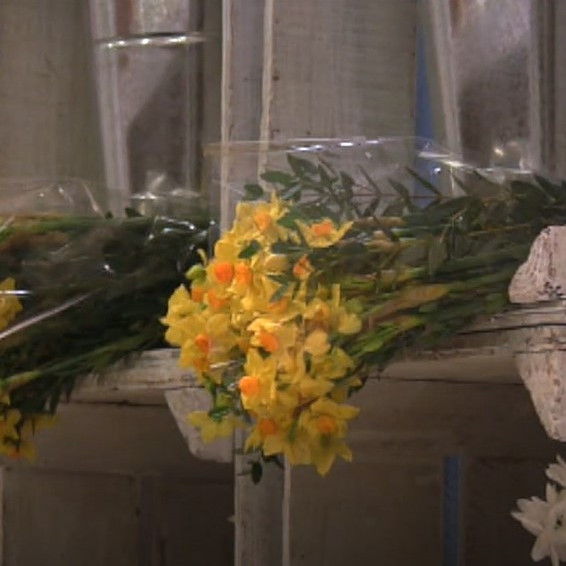 Craft corner: How to make an easy flower display
Love flowers? Why not try making your own floral displays with our simple step-by-step guide.
-
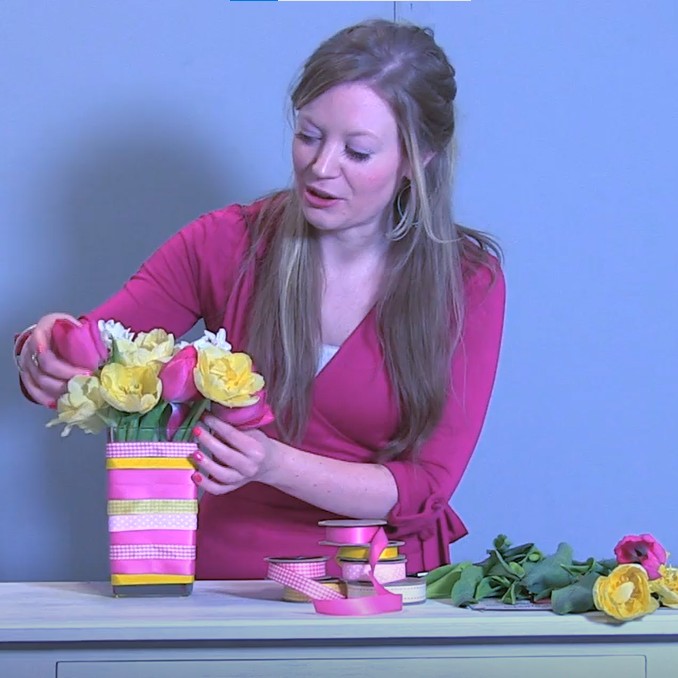 Craft Corner: How to make a ribbon flower vase
Housetohome Channel Editor, Vicky shows you how to make a quick and easy ribbon flower vase in this Craft Corner video
-
 The art of pressing flowers
Create a keepsake of flowers, petals and leaves to archive the changing seasons
-
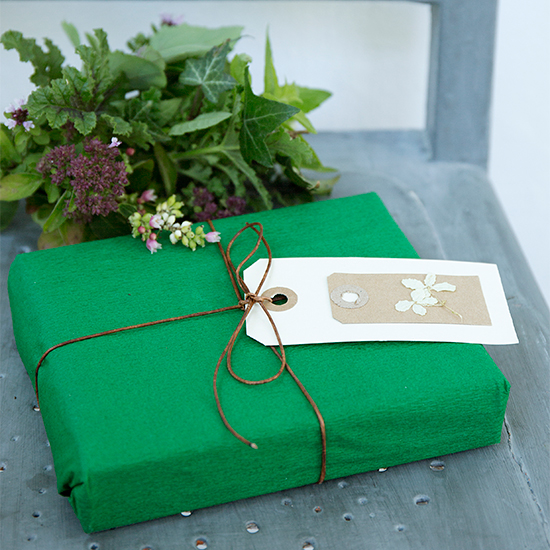
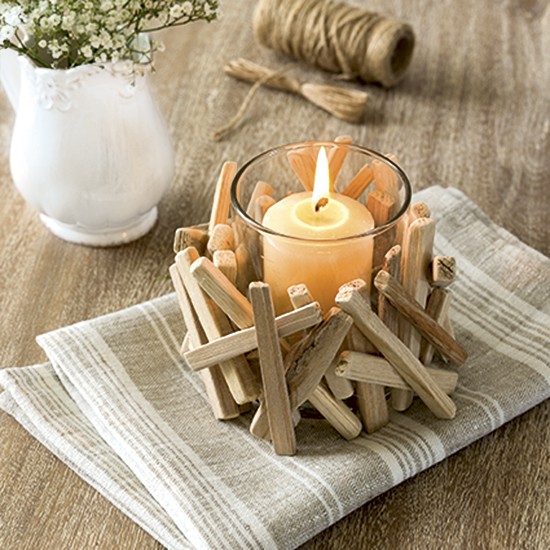 Make a pretty twig votive
Revamp a glass jar with pieces of driftwood for a coastal-inspired votive, as chosen by Style at Home
-
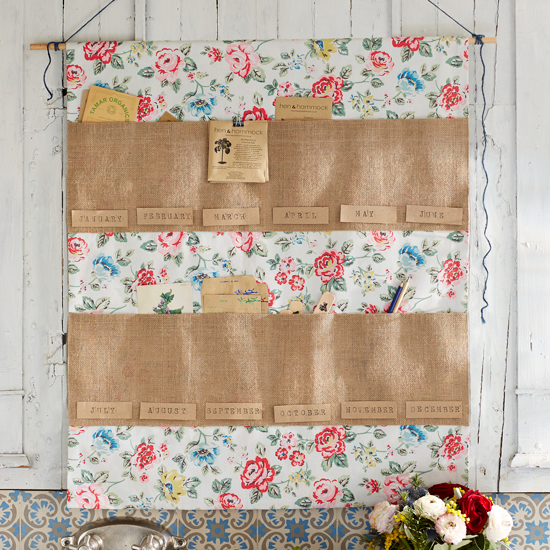 How to make a gardening year planner
Discover how to craft this decorative gardening year planner following Country Homes and Interiors' easy step-by-step instructions
-
 How to make a chandelier centrepiece fit for a garden party
Pretty up your garden for outdoor entertaining with a colourful chandelier centrepiece


