-
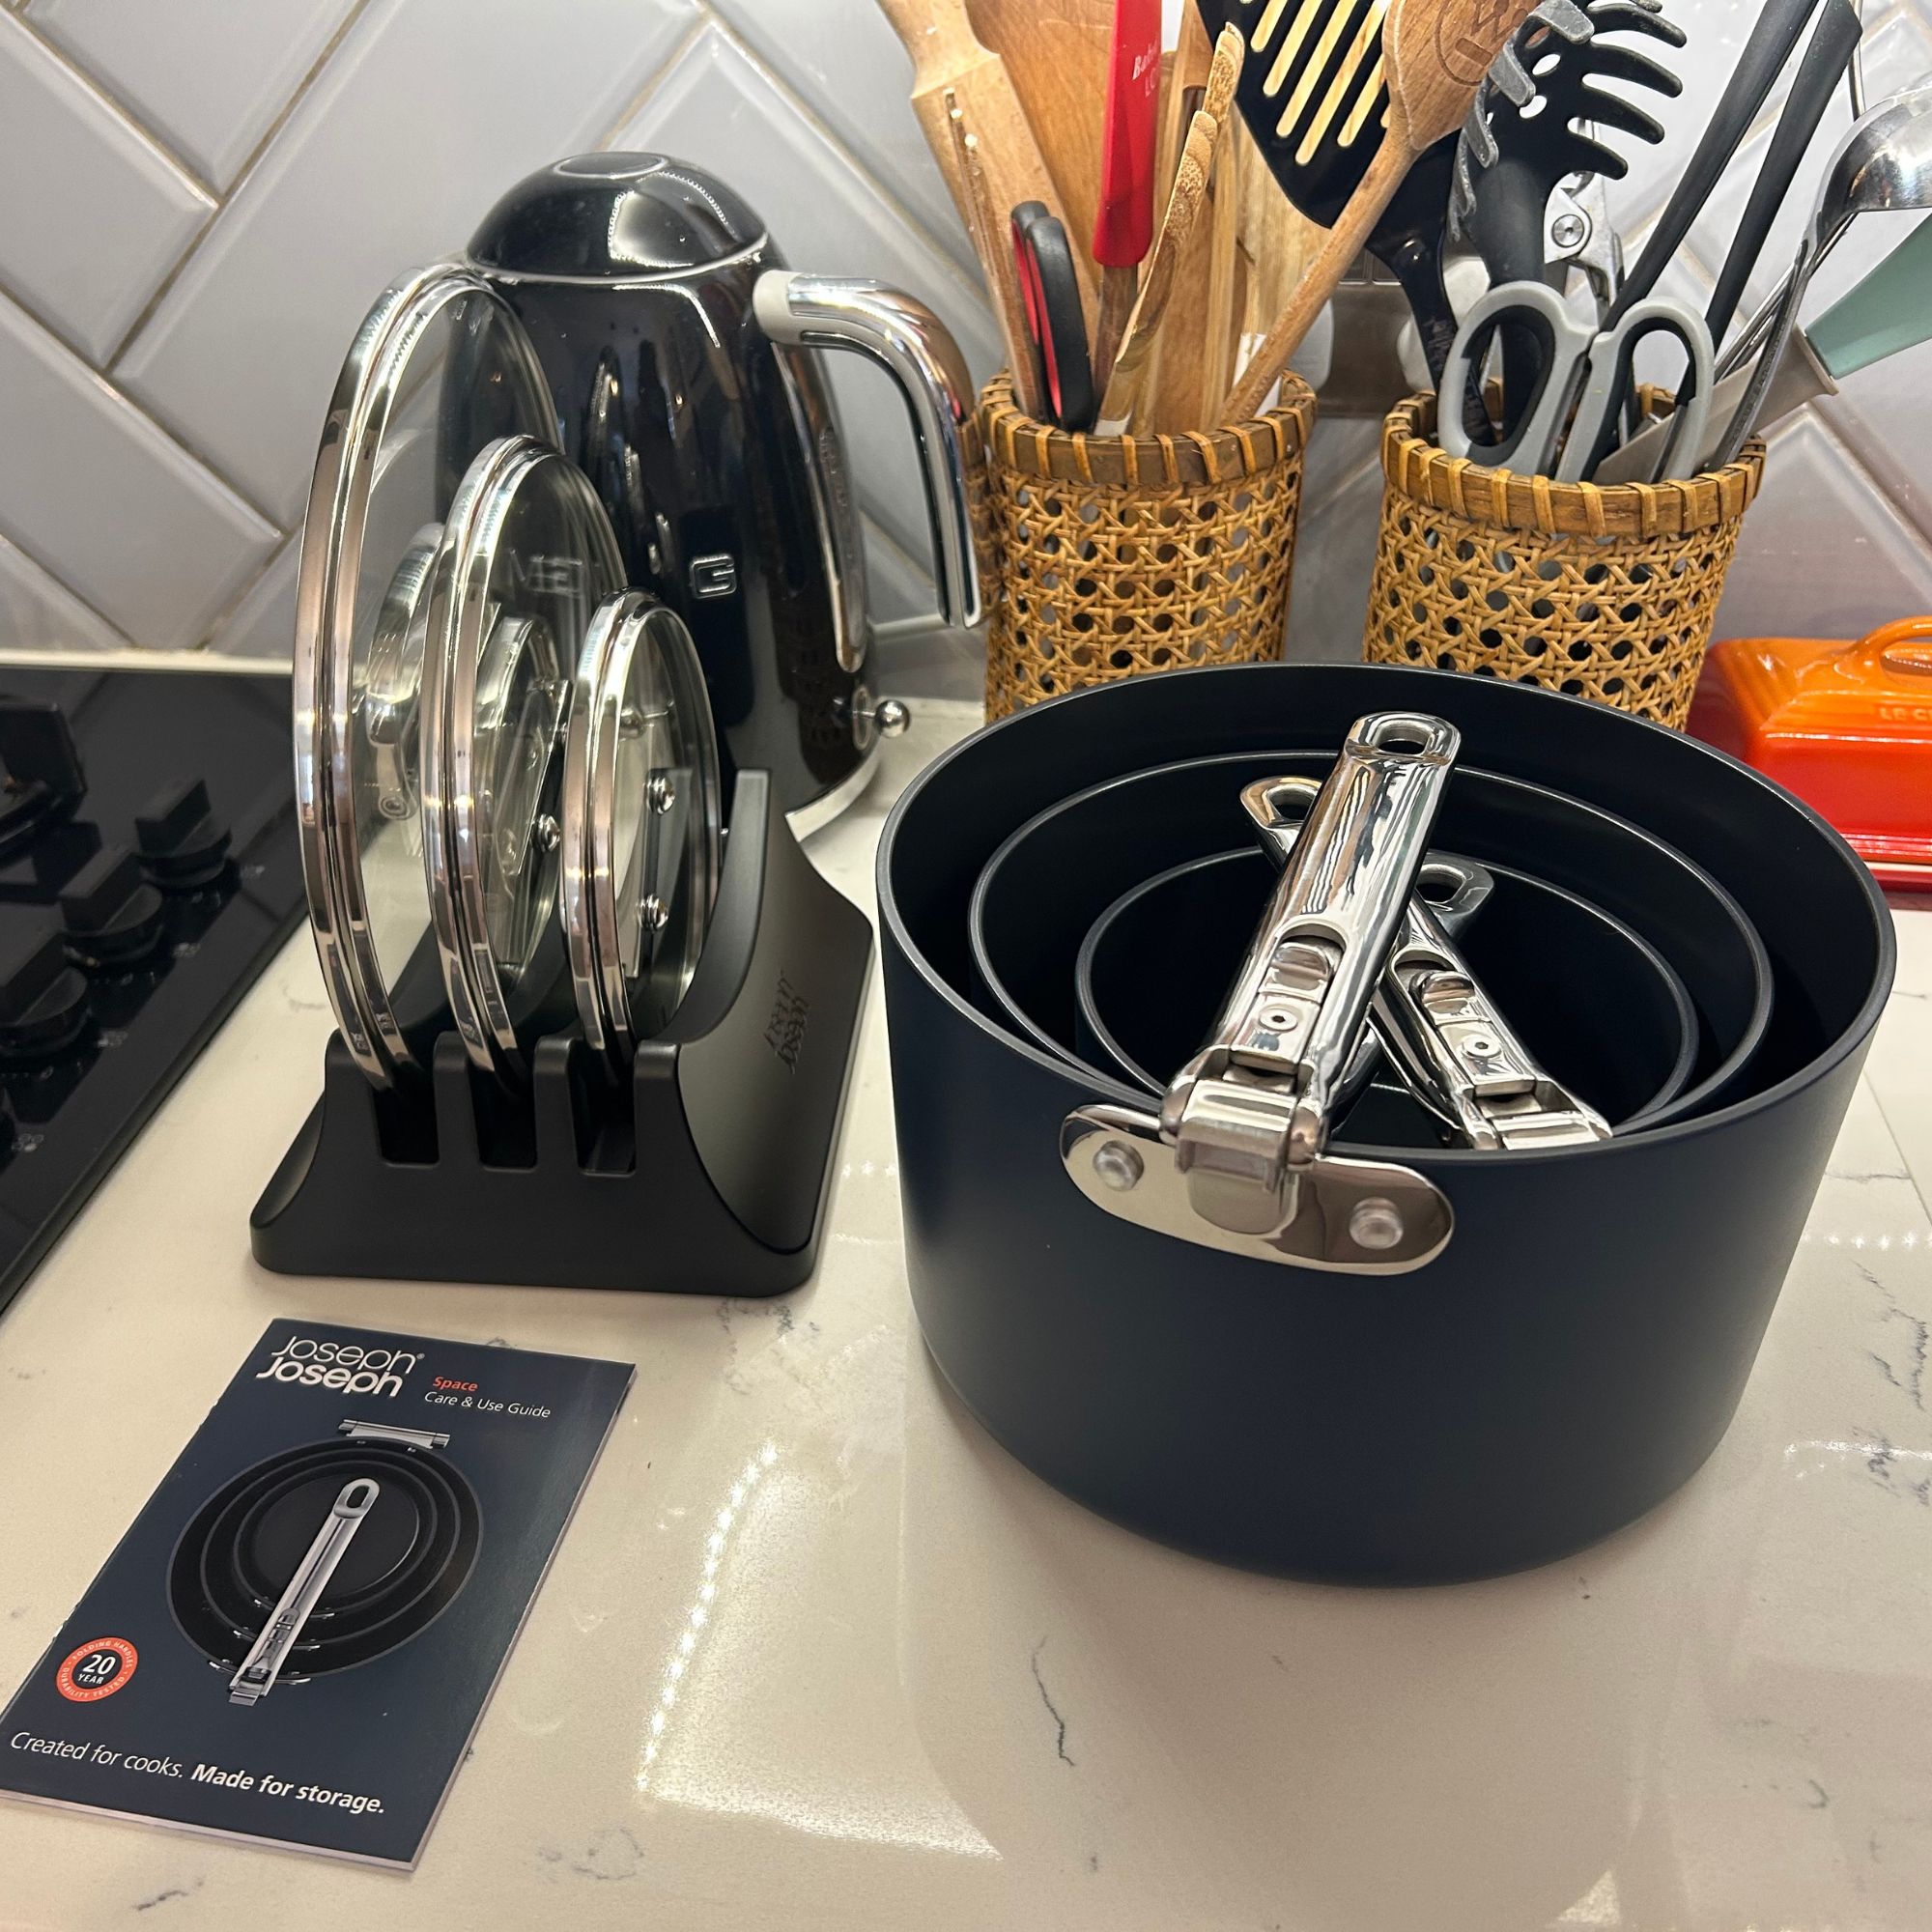 Joseph Joseph 3-piece Saucepan review – seriously space-saving
Small kitchen? I tested this innovative Joseph Joseph space-savvy set which has foldable handles — and I loved it
-
 Forget seating, this is how you should be making the most out of your kitchen island in 2025
Seating doesn't always have to be a necessity on an island when you can choose these ideas instead
-
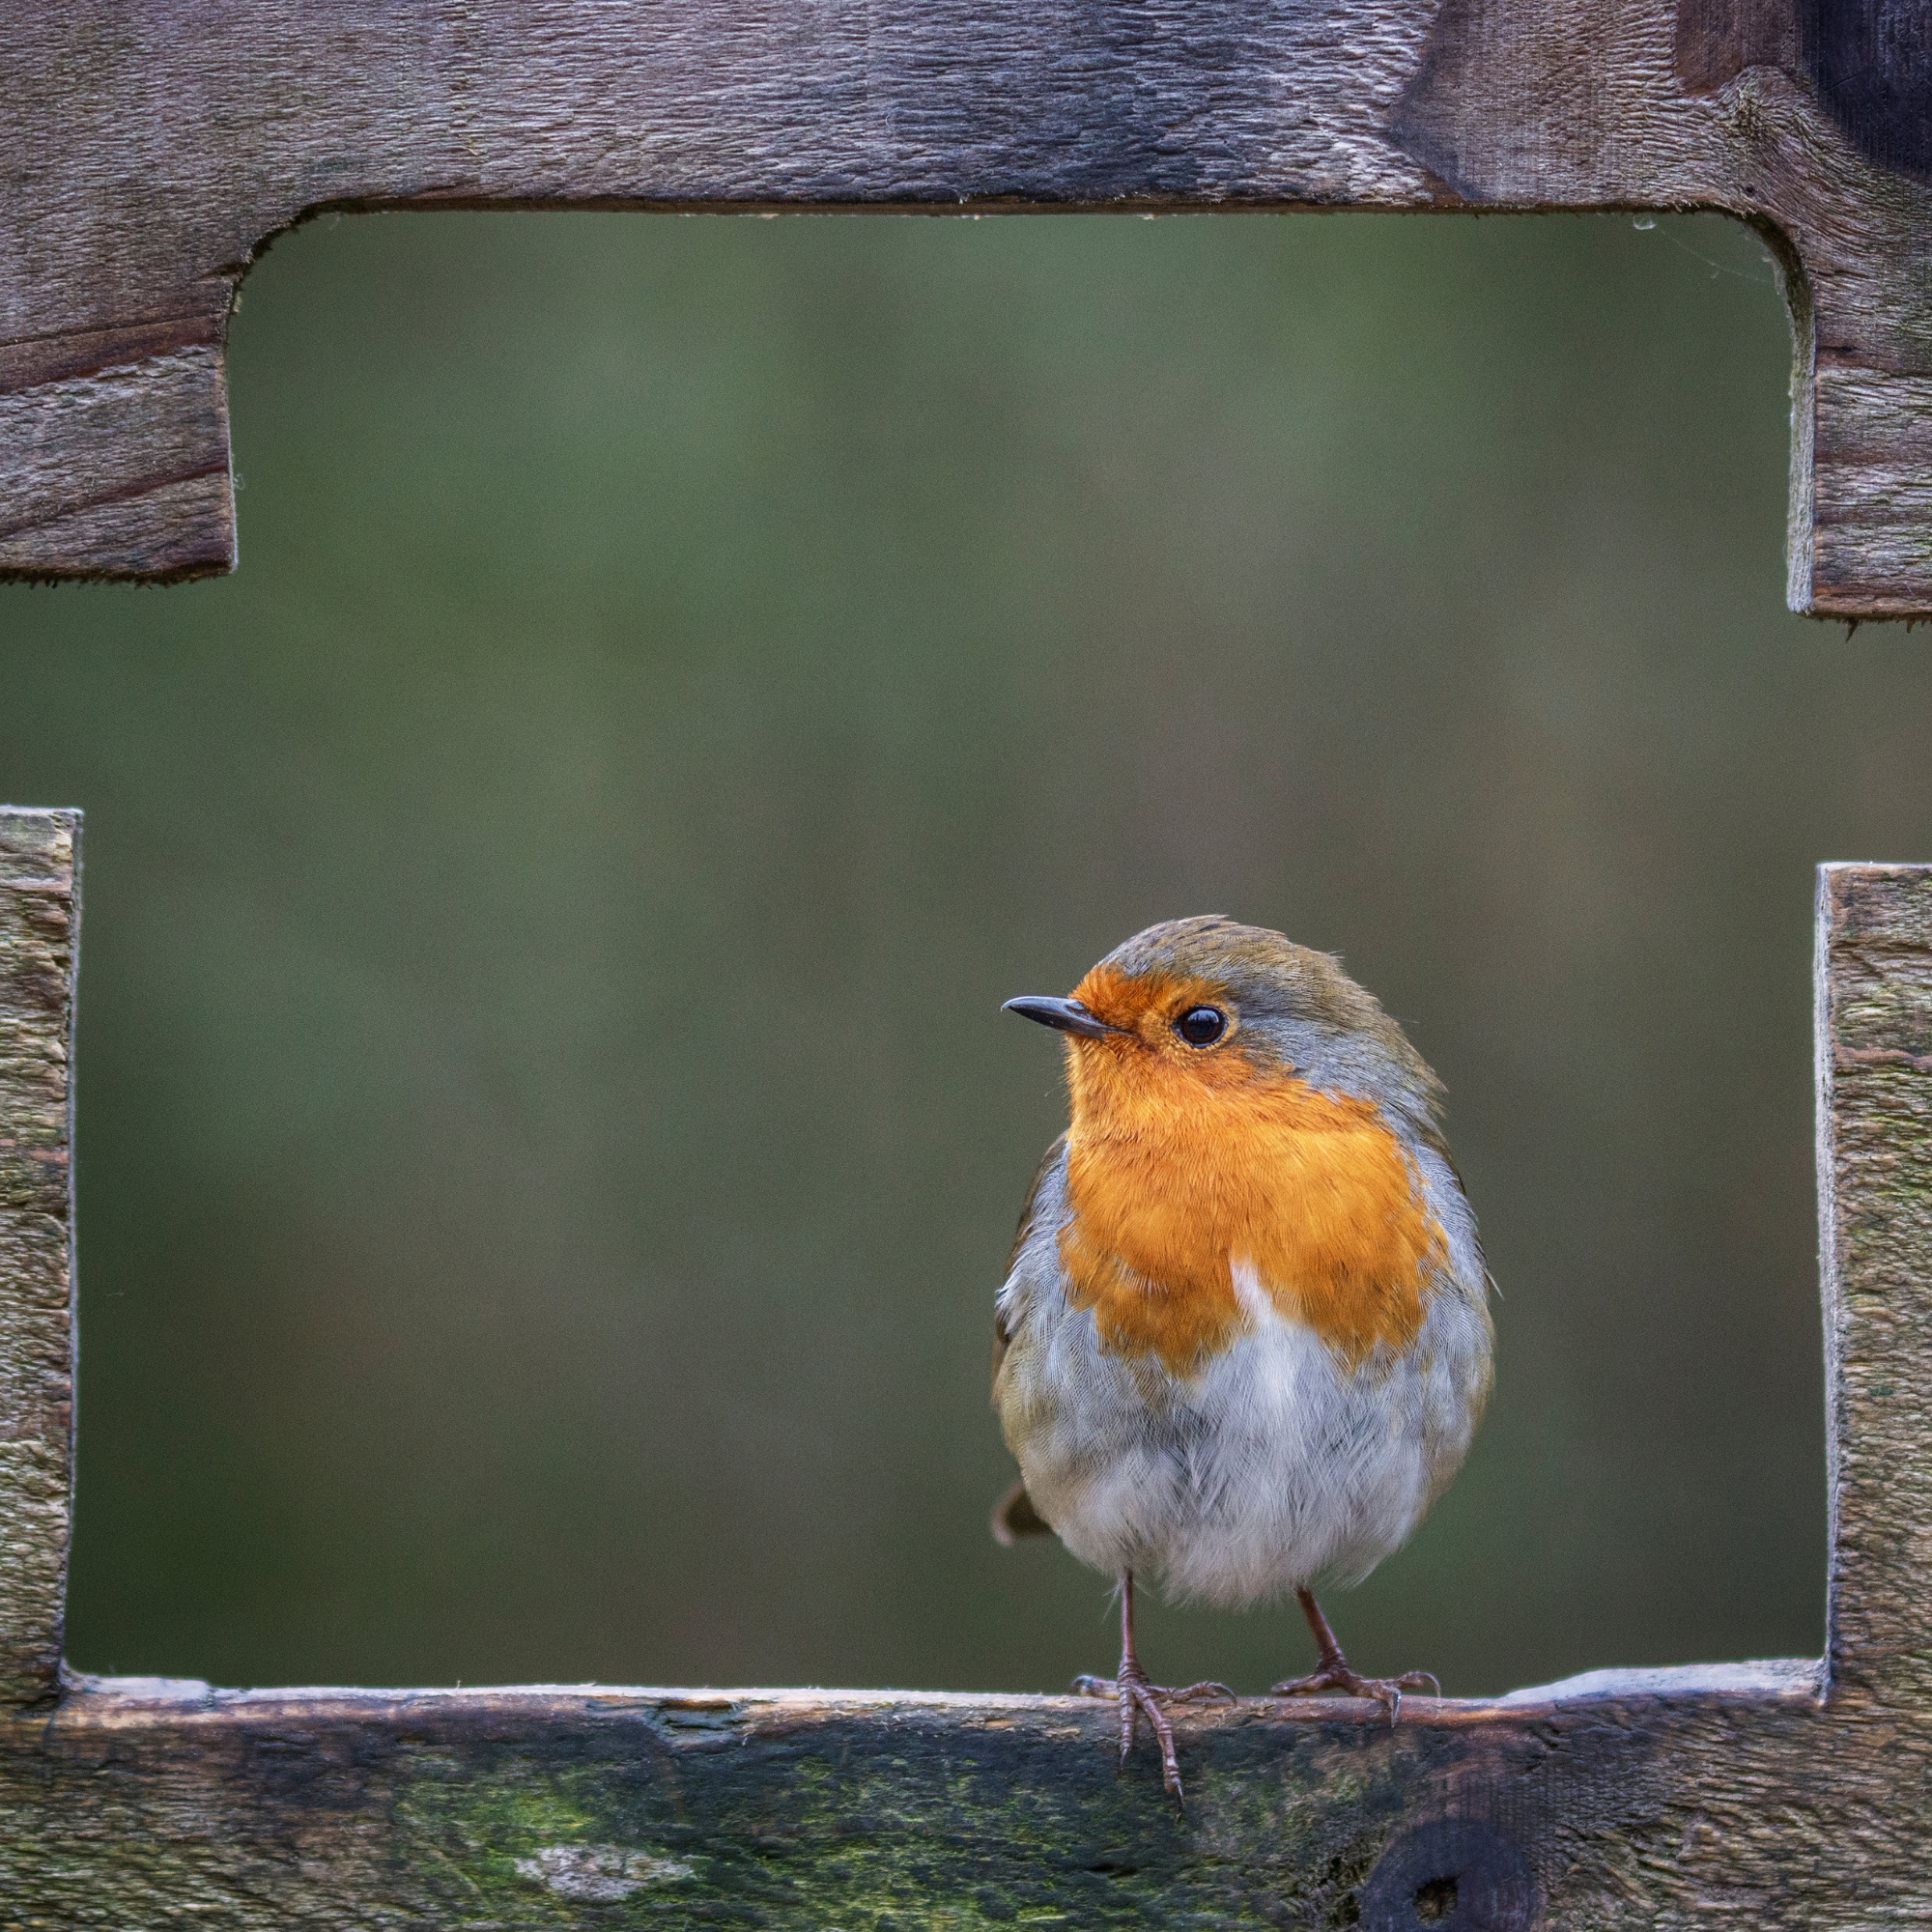 How to attract robins to your garden – experts reveal the exact bird box you need and where to place it
Robins are the UK's favourite bird, and this is how you keep them coming back to your garden


-
 How to reset your home after Christmas to restore a sense of calm
Follow these 7 steps to get back to normal at home and beat post-Christmas blues
-
 How to turn wrapping paper into bows for last-minute New Year's Eve decorations in 2 simple steps
Don't let your wrapping paper go to waste this year - make these beautiful bows instead
-
How to transition your Christmas decor for New Year’s – 7 ways to quickly swap and repurpose your festive decor
Welcome the New Year with ease and no stress
-
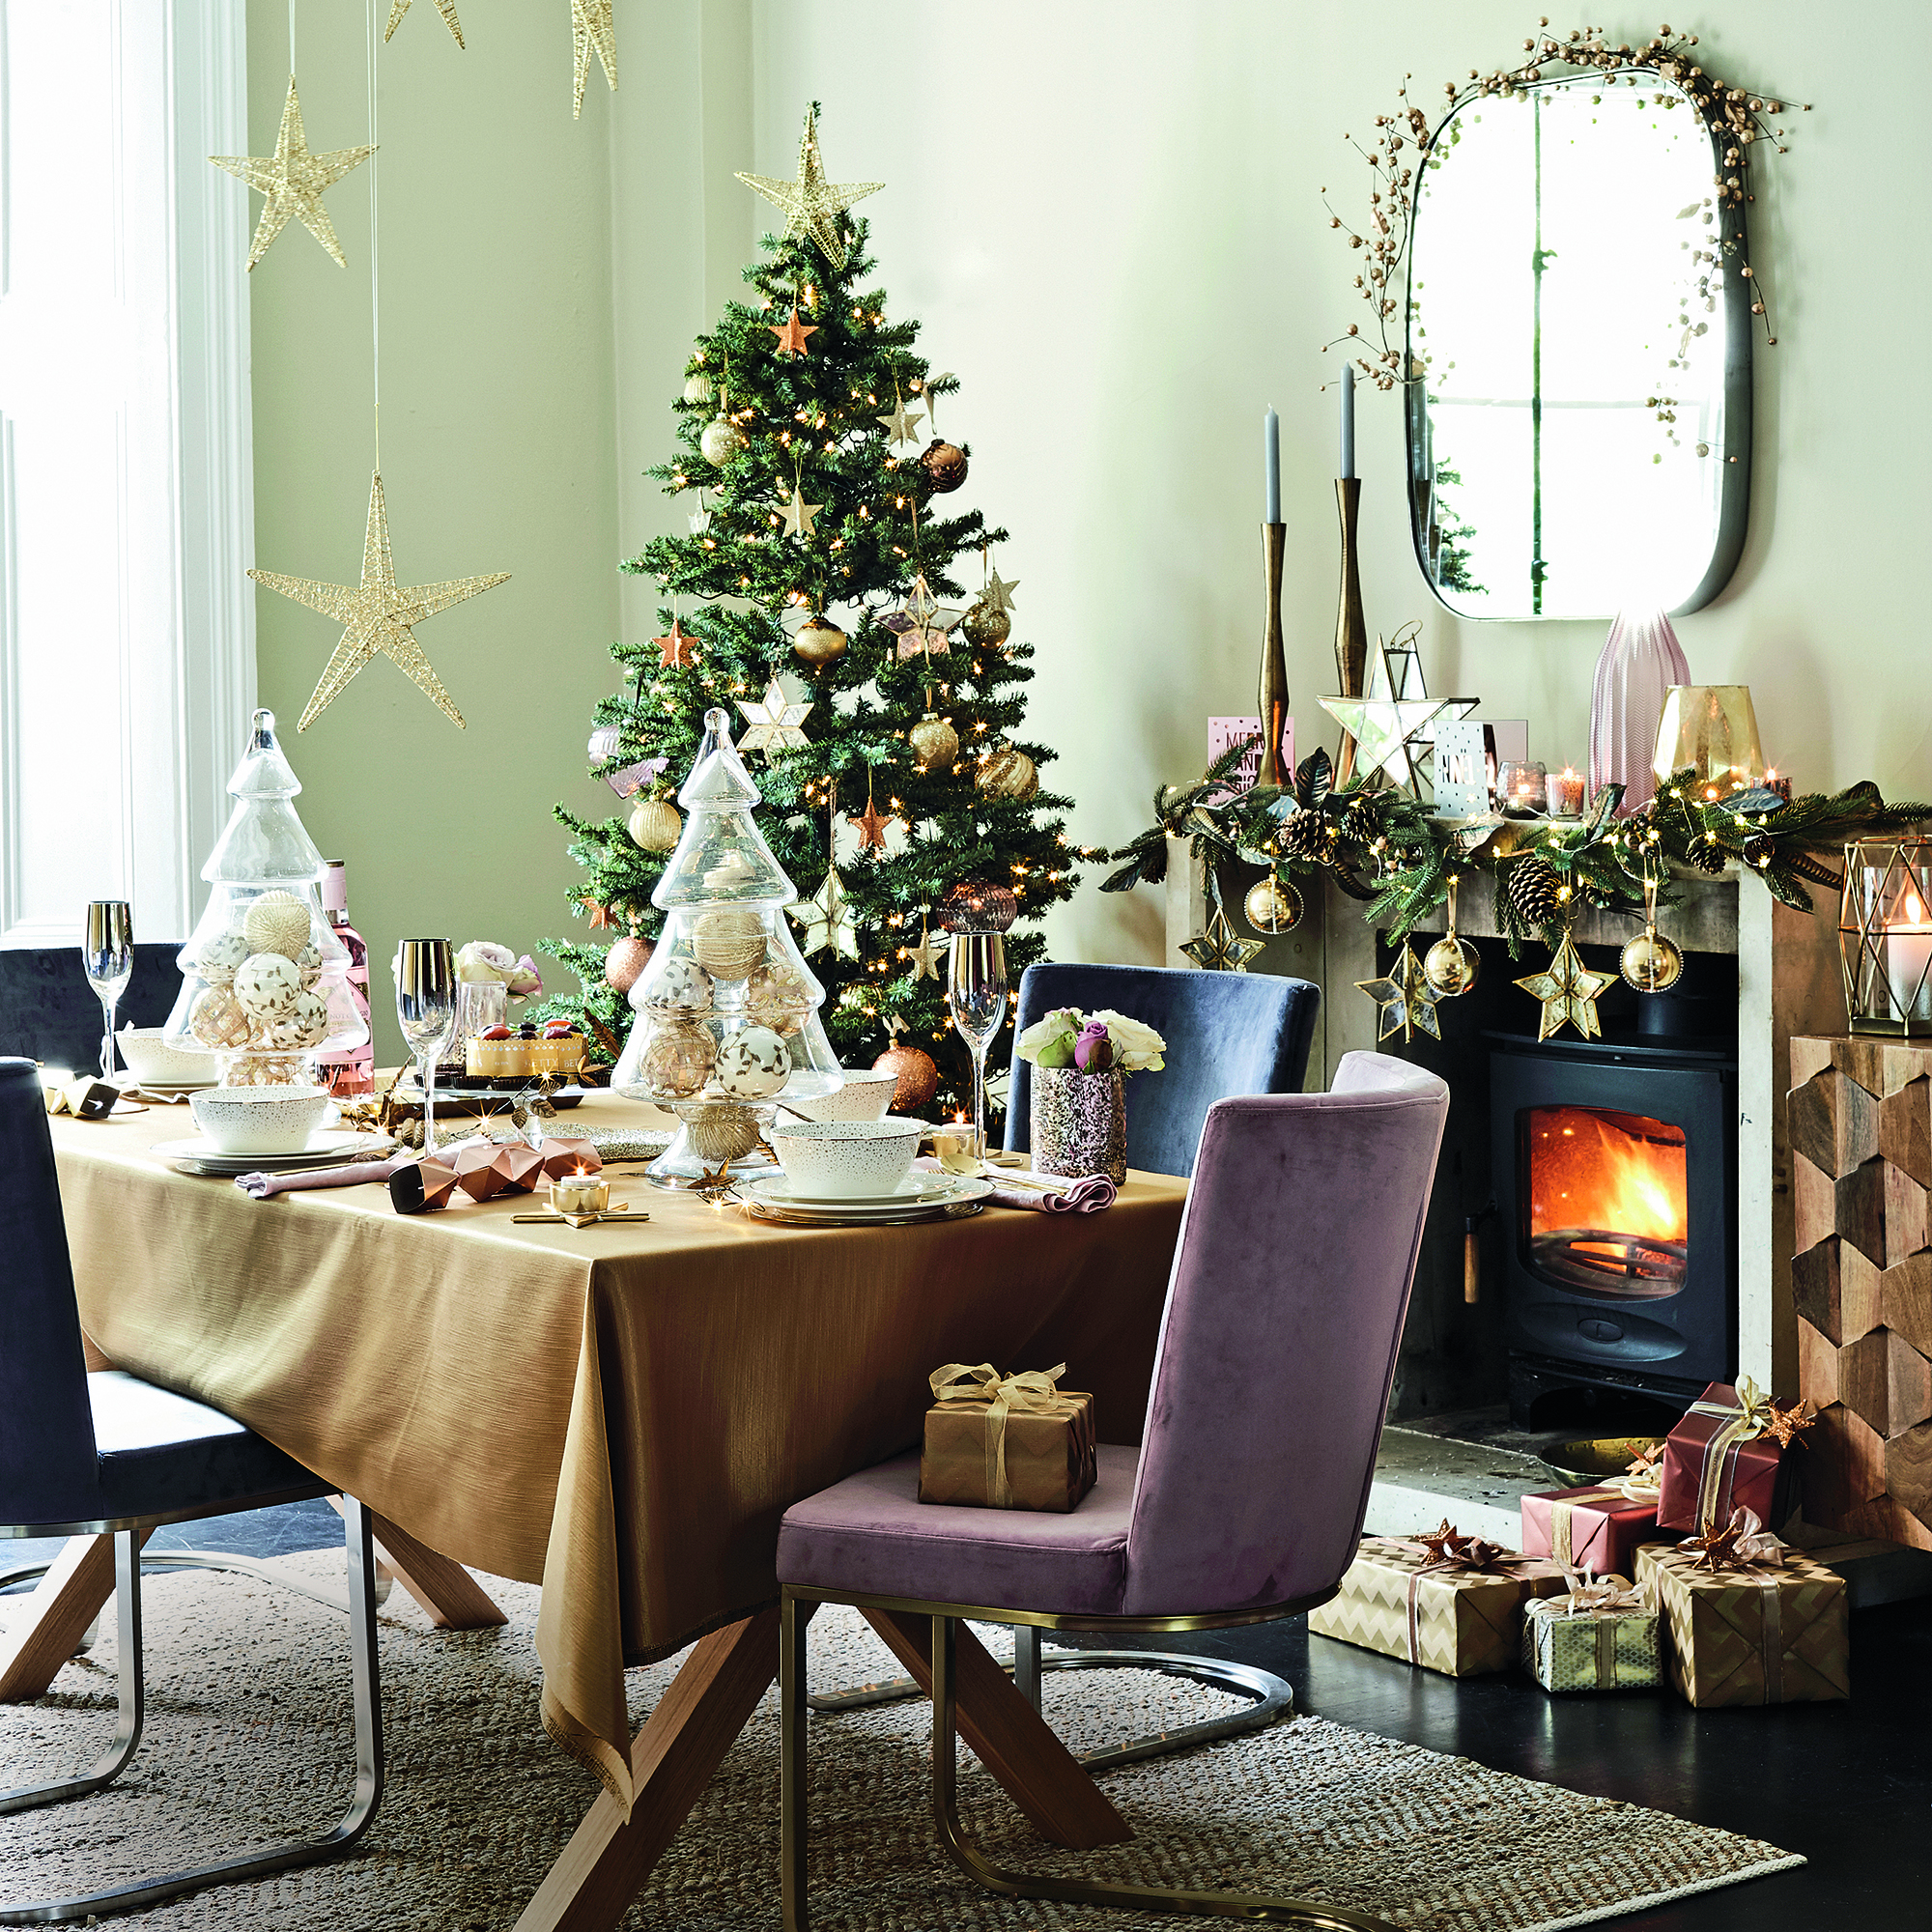 How to craft the perfect festive dining space, according to design experts
The styling and hosting secrets the professionals rely on
-
 How to use a metallic scheme this festive season, according to an interior design expert
Metallic finishes are trending, but if you get the styling right this look could become a holiday season staple
-
 How to make clear ice cubes – use this fool-proof method for dazzling cocktails this Christmas
This is what you need to do to achieve crystal-clear ice cubes this Christmas
-
 How to get rid of Christmas lights - everything you need to know about safely recycling old fairy lights
Step away from the bin, there is another destination for your lights
-
 How to elevate paper napkins for Christmas dinner – 6 ways to transform budget paper napkins into creative festive table decor
Christmas decor doesn't need to be expensive in order to look elevated


