
Boxes, twine, paint and scissors, from a selection, Hobbycraft. Navy
rattail satin cord, £1.50 for 5m, The Bead Shop. Washi tape, from a
selection, Papermash. Blue fabric, similar from Designers Guild.
Fresh green leaves appearing on trees and shrubs bring new life to our gardens and woodlands and are a sure sign that spring has sprung. Inspired by nature and the shiny new season, design your own country-style stationery by pressing leaves. Stick to the same vibrant palette of greens for a co-ordinated look on wrapping paper, tags and cards and add an extra special personal touch to gifts and notes.
You will need:
- A selection of freshly gathered leaves
- Scissors
- Plain card
- Wallpaper lining
- Stencil brush
- Stencil paint
- Wallpaper roller
- Masking tape
- Hole puncher
- Twine
Step one
Head out to the countryside and forage for leaves with nice shapes, making sure they are clean and dry.
Step two
Cut and fold plain card to make greetings cards and gift tags. Use a roll of wallpaper lining for the gift wrap. Practise your printing technique a few times before starting. Lay a leaf, right side up on a piece of scrap paper. Working quickly, use a stencil brush to apply green stencil paint over the entire surface, stippling from the centre out to the edge.
Step three
Place the leaf face down on the surface you want to print on. (To create a plain border around a gift card, use masking tape to screen off the edges before applying the painted leaves. Remove once the paint is dry.) Place a square of kitchen paper over the top of the leaf and roll across the back of the leaf evenly with a wallpaper roller or rolling pin. Remove the kitchen paper and peel off the leaf.
Step four
Continue in the same way to complete your design then leave to dry. Punch holes in the gift tags and thread with green twine. To vary the designs, you could cut printed leaves into their natural shape to use as tags.
Looking for or more country-style craft ideas? Check out the Country Homes & Interiors website.
******
-
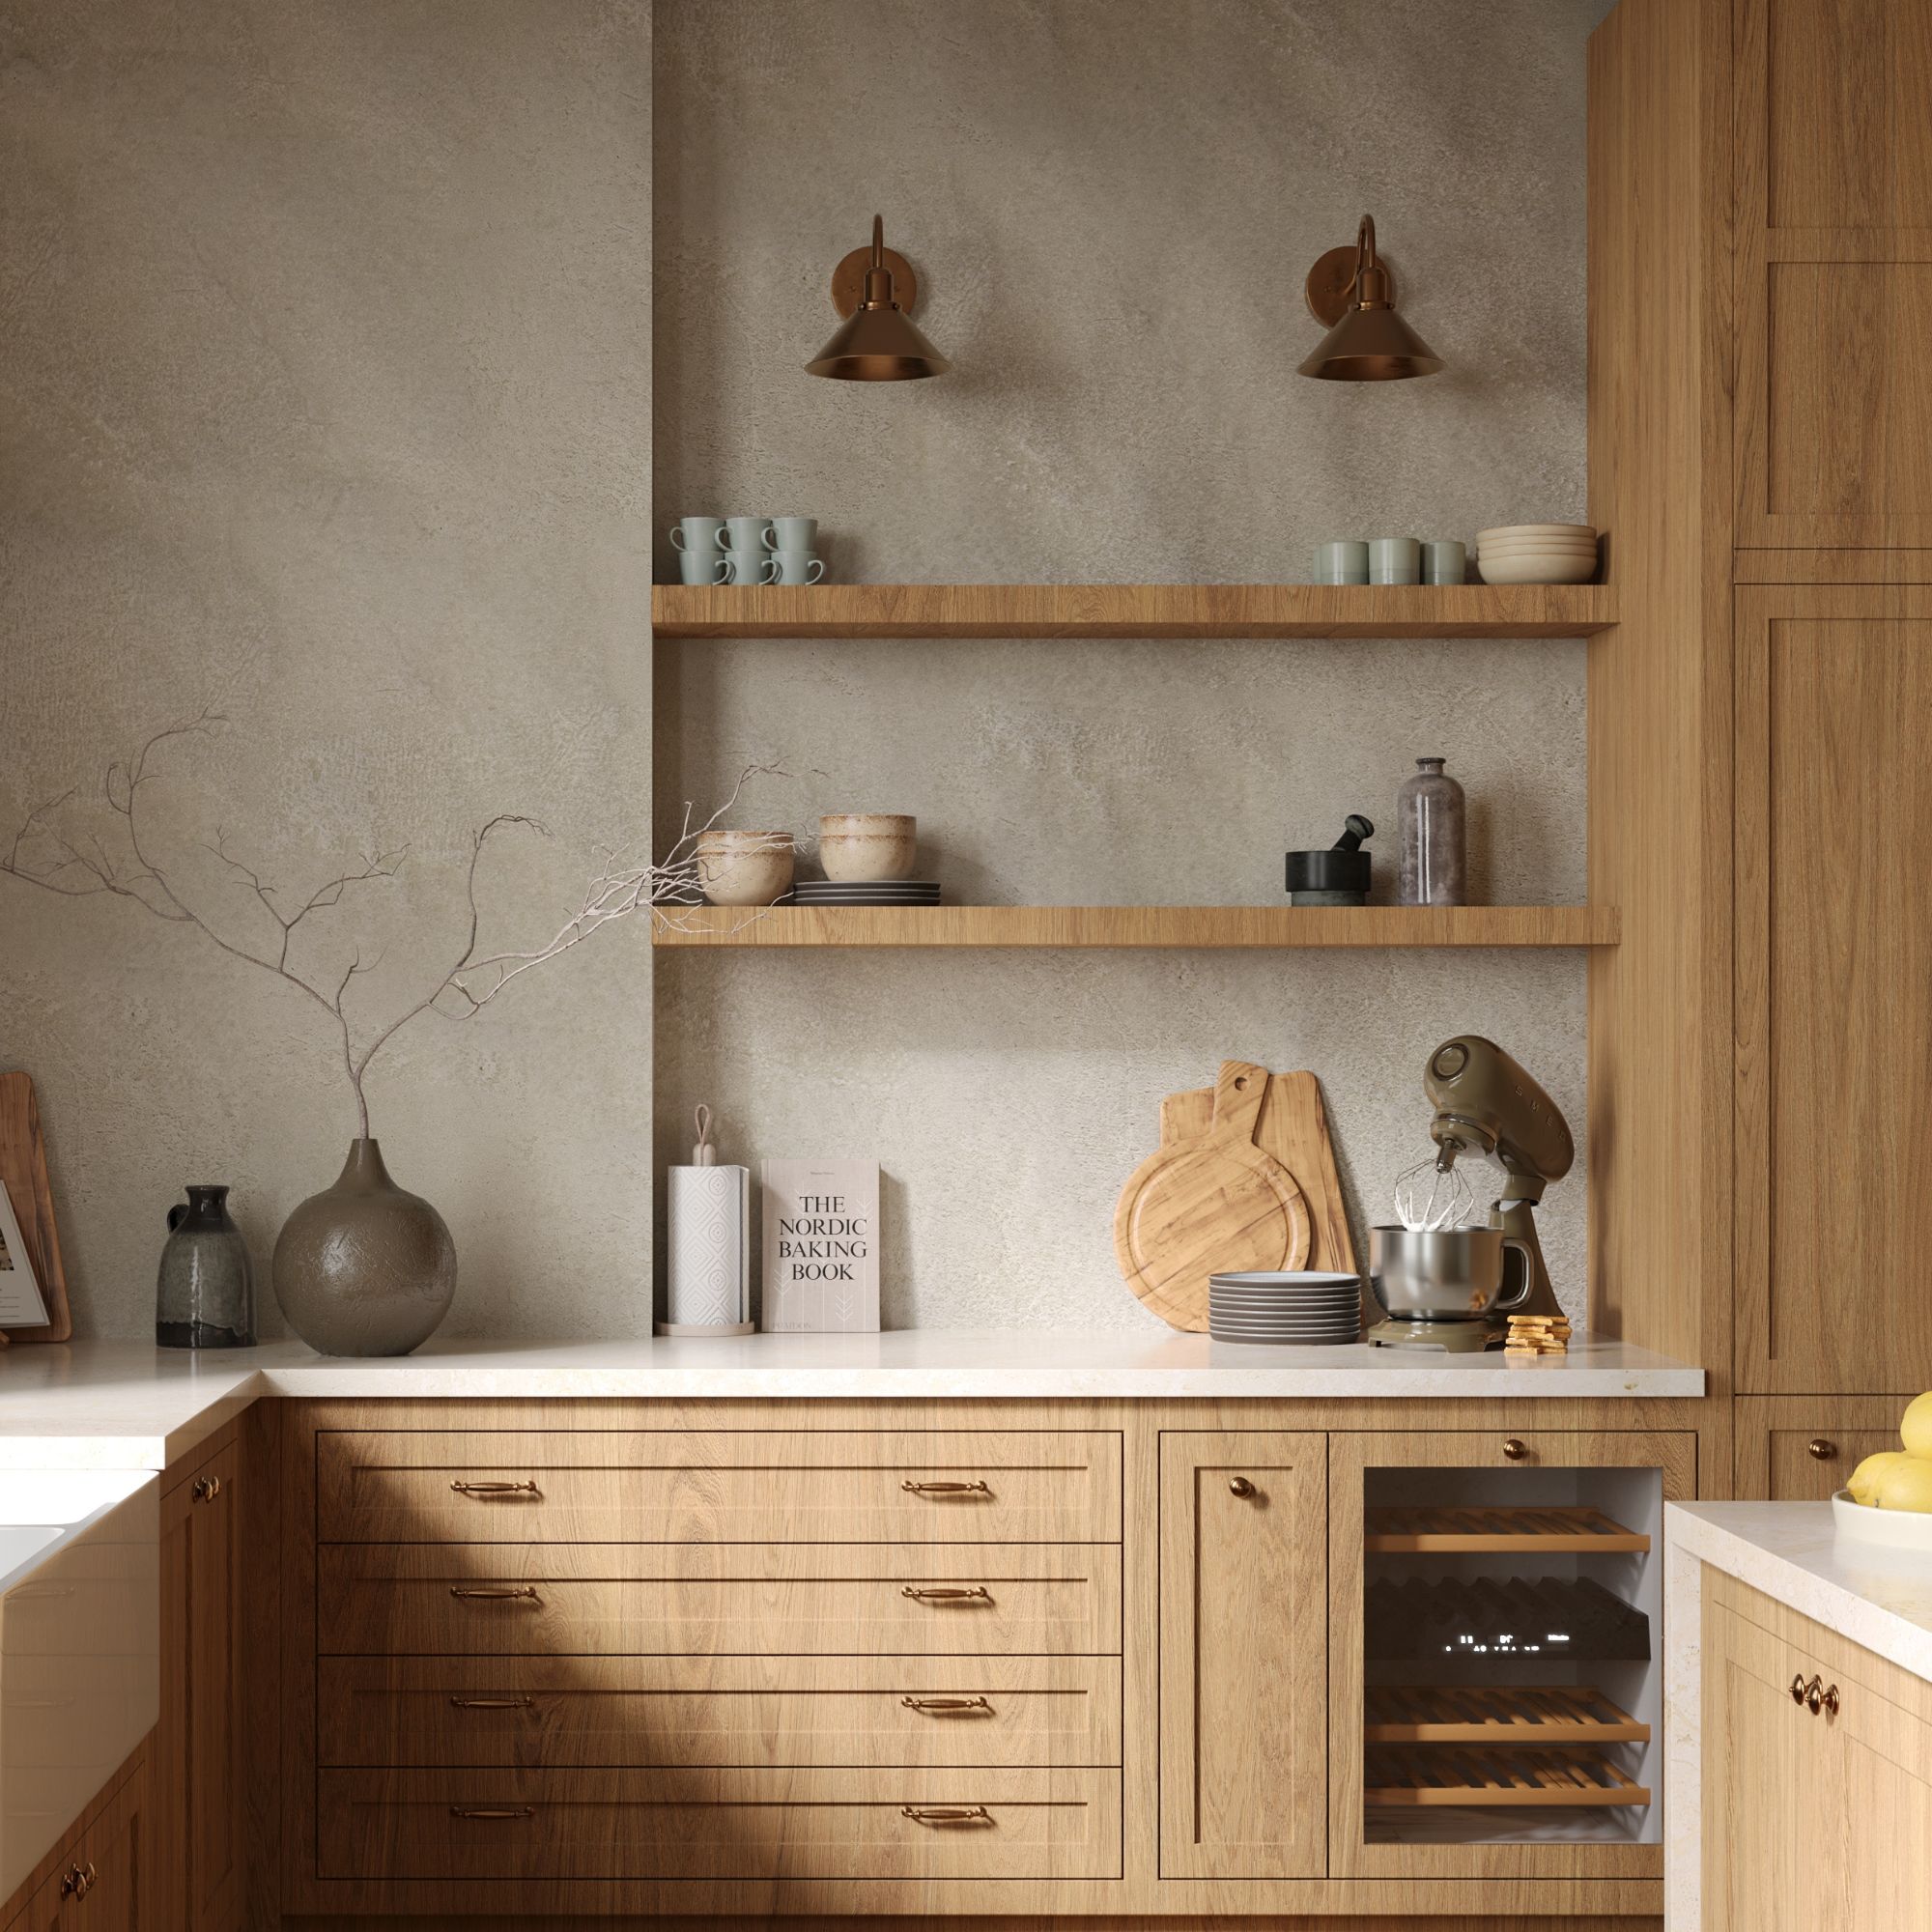 Wood drenching is the calming new twist on the colour drenching trend – here’s how to make the look work in your home
It’s easier than ever to embrace natural materials
-
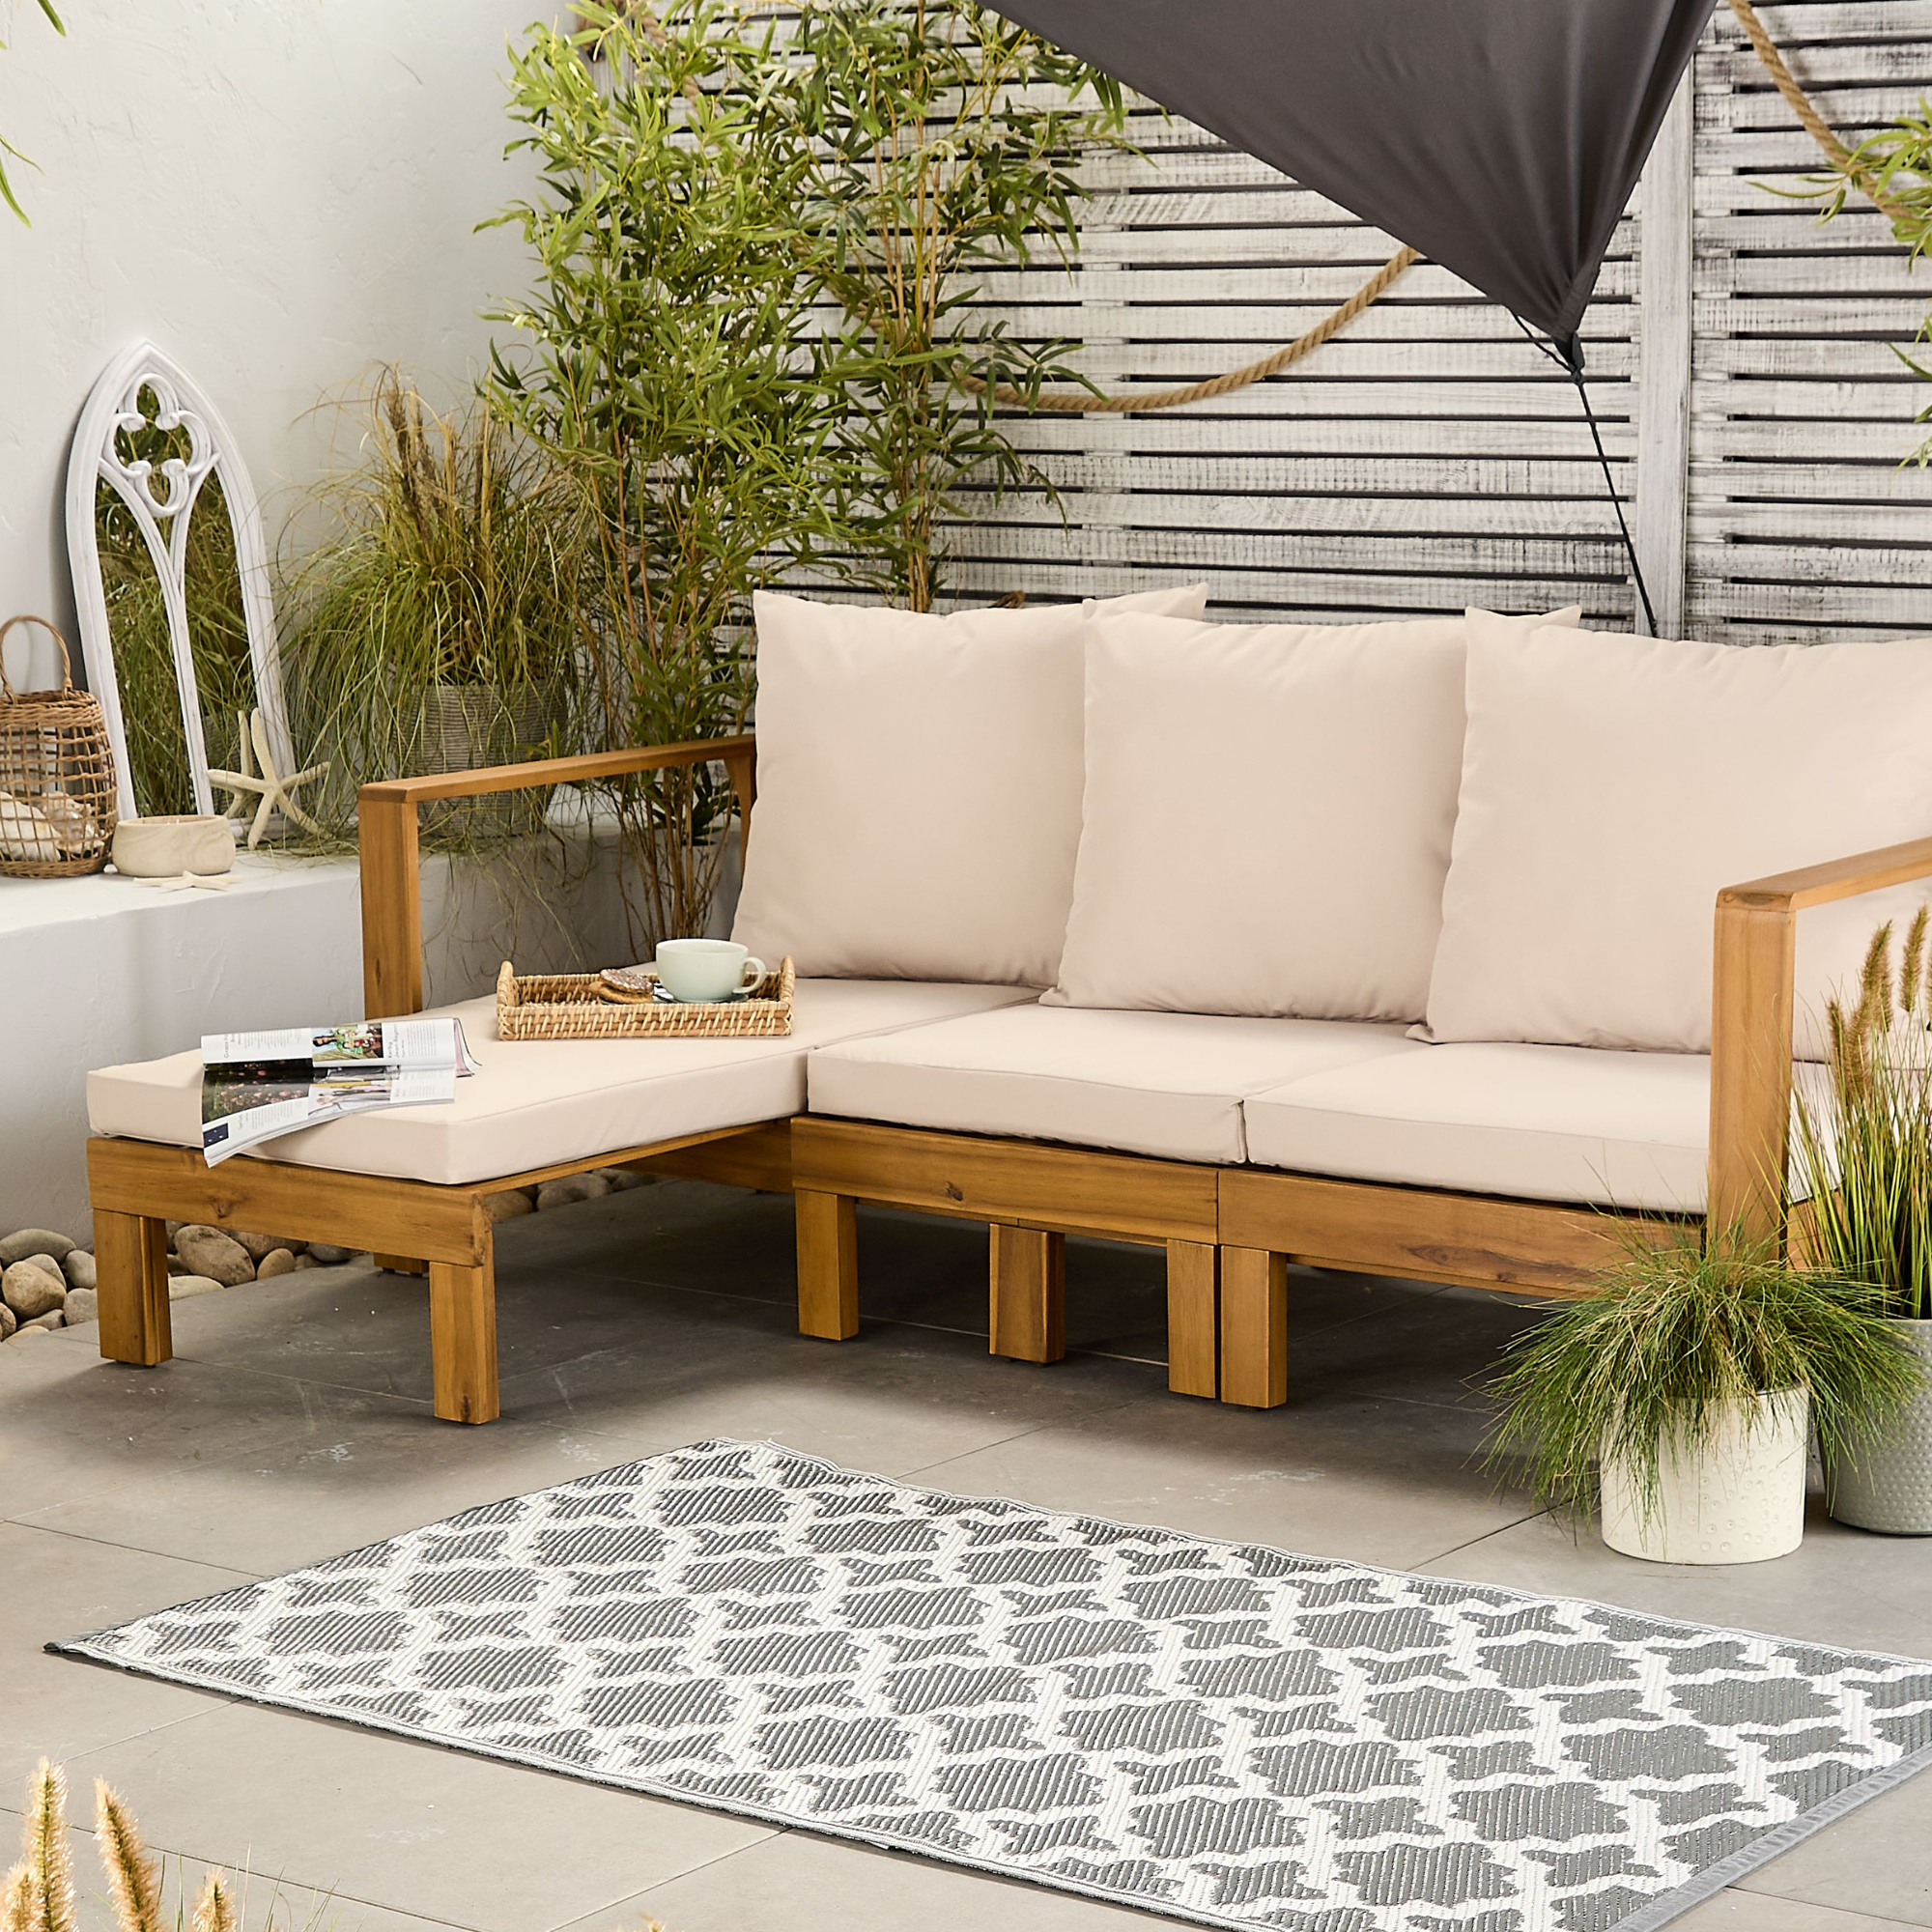 Aldi is launching a £200 day bed with four different features - its sleek design is suited to the whole family
You don't want to miss out on this Specialbuy
-
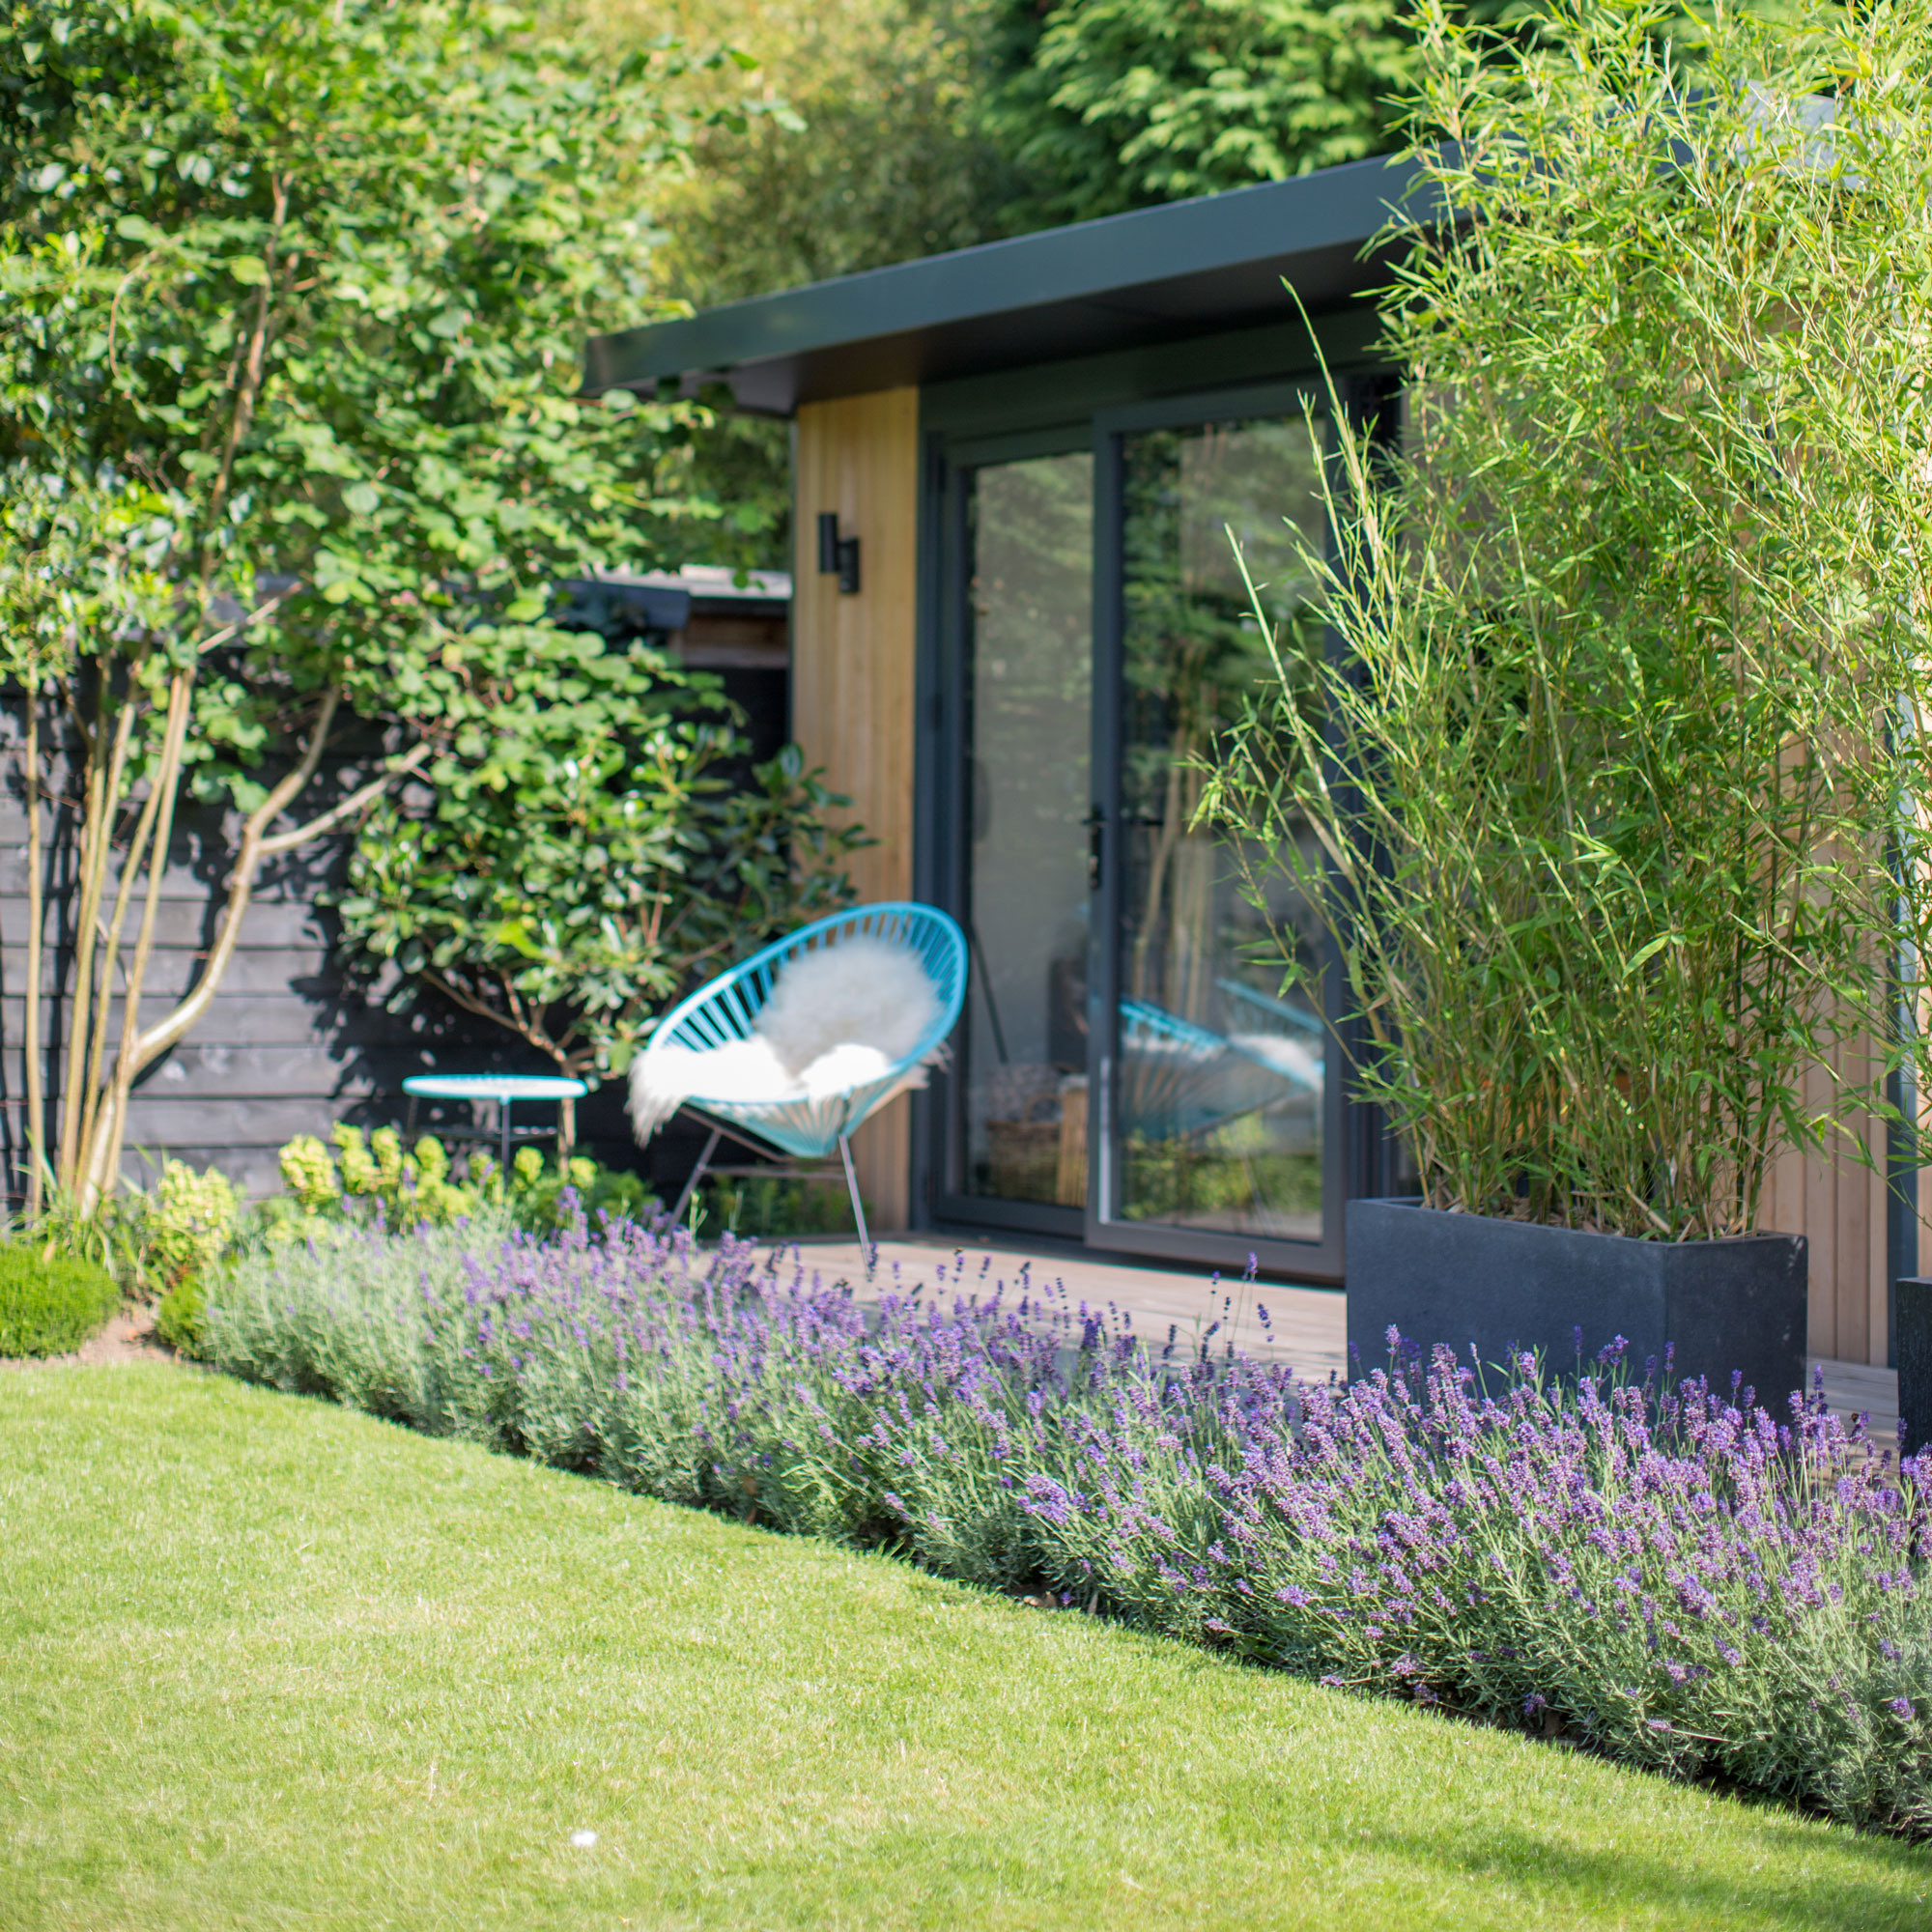 How to set up a drip watering system that saves water and a lot of effort
Keep your plants hydrated (and your water bill down) with this clever garden watering solution


-
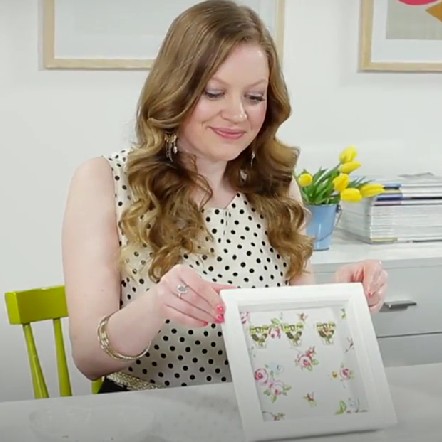
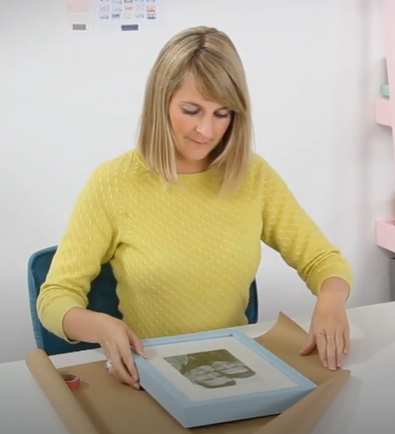 Craft corner: How to create simple picture displays
Create an eye-catching display, be a whole wall of prints or a select few
-
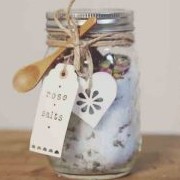 Craft Corner: How to make a mason jar of bath salts
We show you how to make your own mason jar bath salts. These can be for yourself or a great gift for someone else.
-
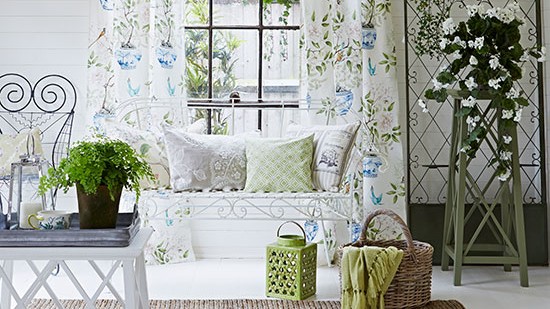 How to make a valance curtain
Discover how to make these pretty valance curtains using Country Homes & Interiors simple instructions
-
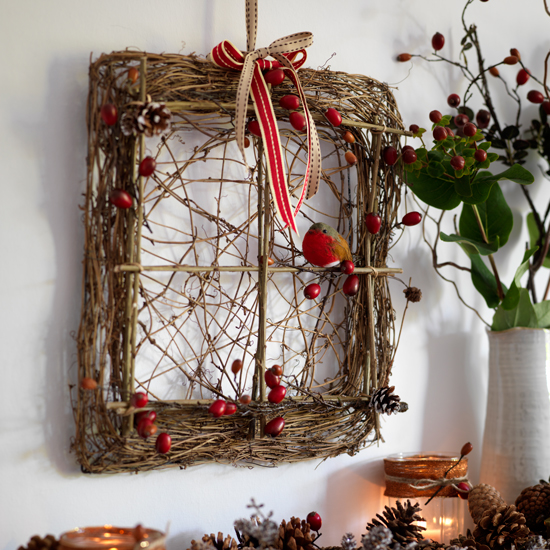 Get crafty this Christmas with these twig ideas
Give your home a festive woodland feel with these twiggy craft ideas
-
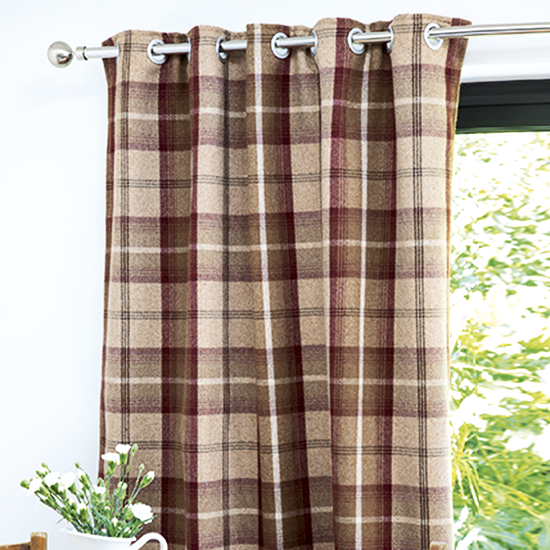 Transform your windows with stunning new curtains in three easy steps
Follow our 3 simple instructions to make new eyelet curtains to transform your window.
-
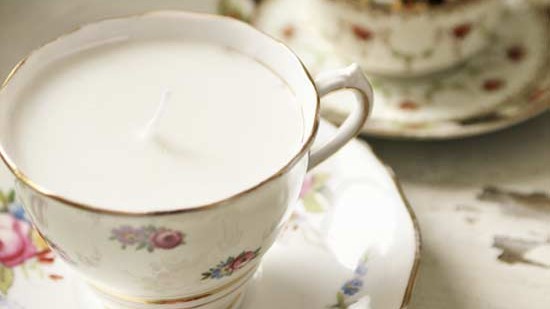 How to make candles in teacups
Check out our latest craft idea on how to make candles. Fill teacups with melted wax to make gorgeous one-of-a-kind candles.
-
 Craft corner: How to make a gingerbread felt decoration
Jennifer shows us how to make cute gingerbread decorations out of felt.
-
 Craft Corner: How to make a framed key holder
Channel Editor Vicky shows you how to make a framed key holder.


