Building an extension – the ultimate step-by-step guide to extending your home
Ensure your extension project is a roaring success with our top tips on the whole process, from establishing your budget to understanding the schedule of works

Sarah Handley
Building an extension can have a hugely positive impact on your home, but it's also a substantial investment that requires careful thought and planning if you want it to be a success.
You might have loads of extension ideas for every budget that you want to bring to life, and be paying specific attention to how much an extension costs. You'll need to work with the professionals to make sure the ideas themselves, and the process you follow, bring your project in on time and on budget.
But that can be really difficult if you are taking on an extension for the first time. To help we've broken down all you need to know about building an extension, and share top tips from designers on how to make the most of the new addition.
1. Plan what you want and need
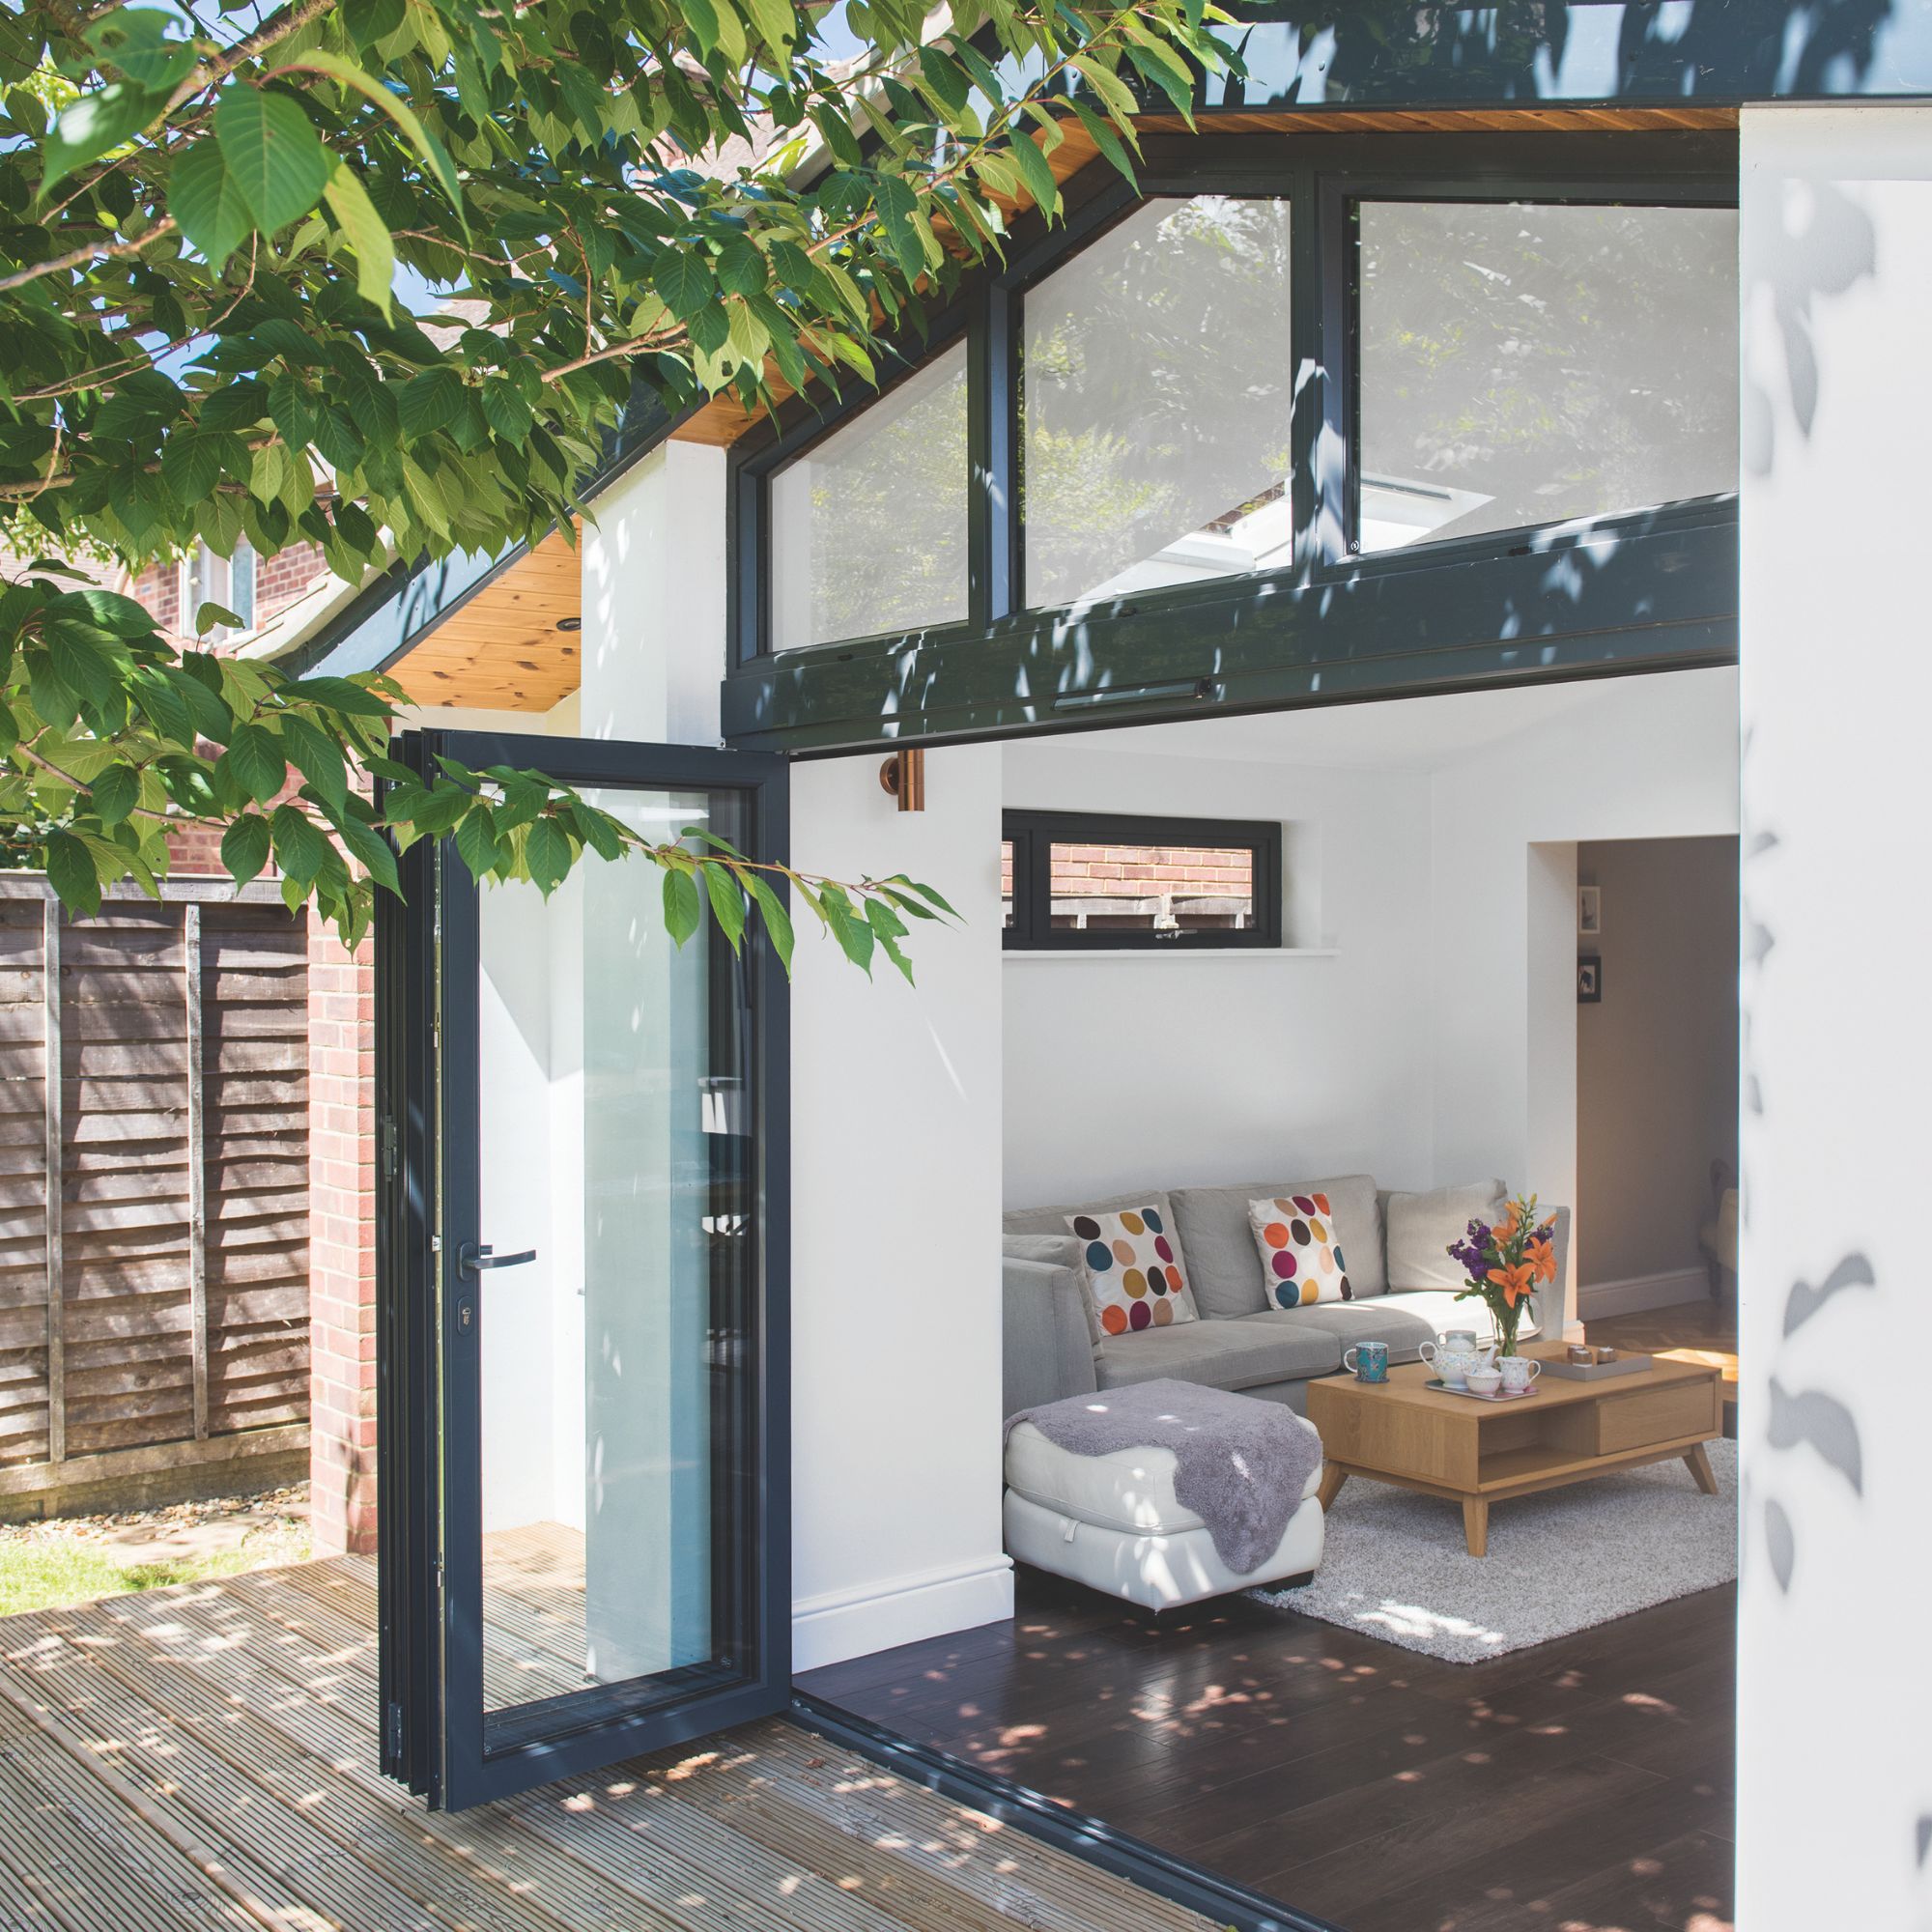
There might be a lot of signs it's time for you to extend your home, but if you've decided the time is now, then you'll need to start thinking about what you need and what you want. It's worth also considering whether you are prepared to sacrifice some garden for your extension, or whether reconfiguring existing space may be a viable alternative.
Once you’ve highlighted the key functions you want from your extension, you can start to create a first draft design brief. This will form the basis on which you can start up conversations with architects and builders about your vision, your current niggles and your needs.
As the design process develops tweaks can be made to fall in line with your budget. But at least you’ll begin to understand the areas you’d be willing to compromise on and the areas where you definitely wouldn’t.
2. Consider your budget carefully
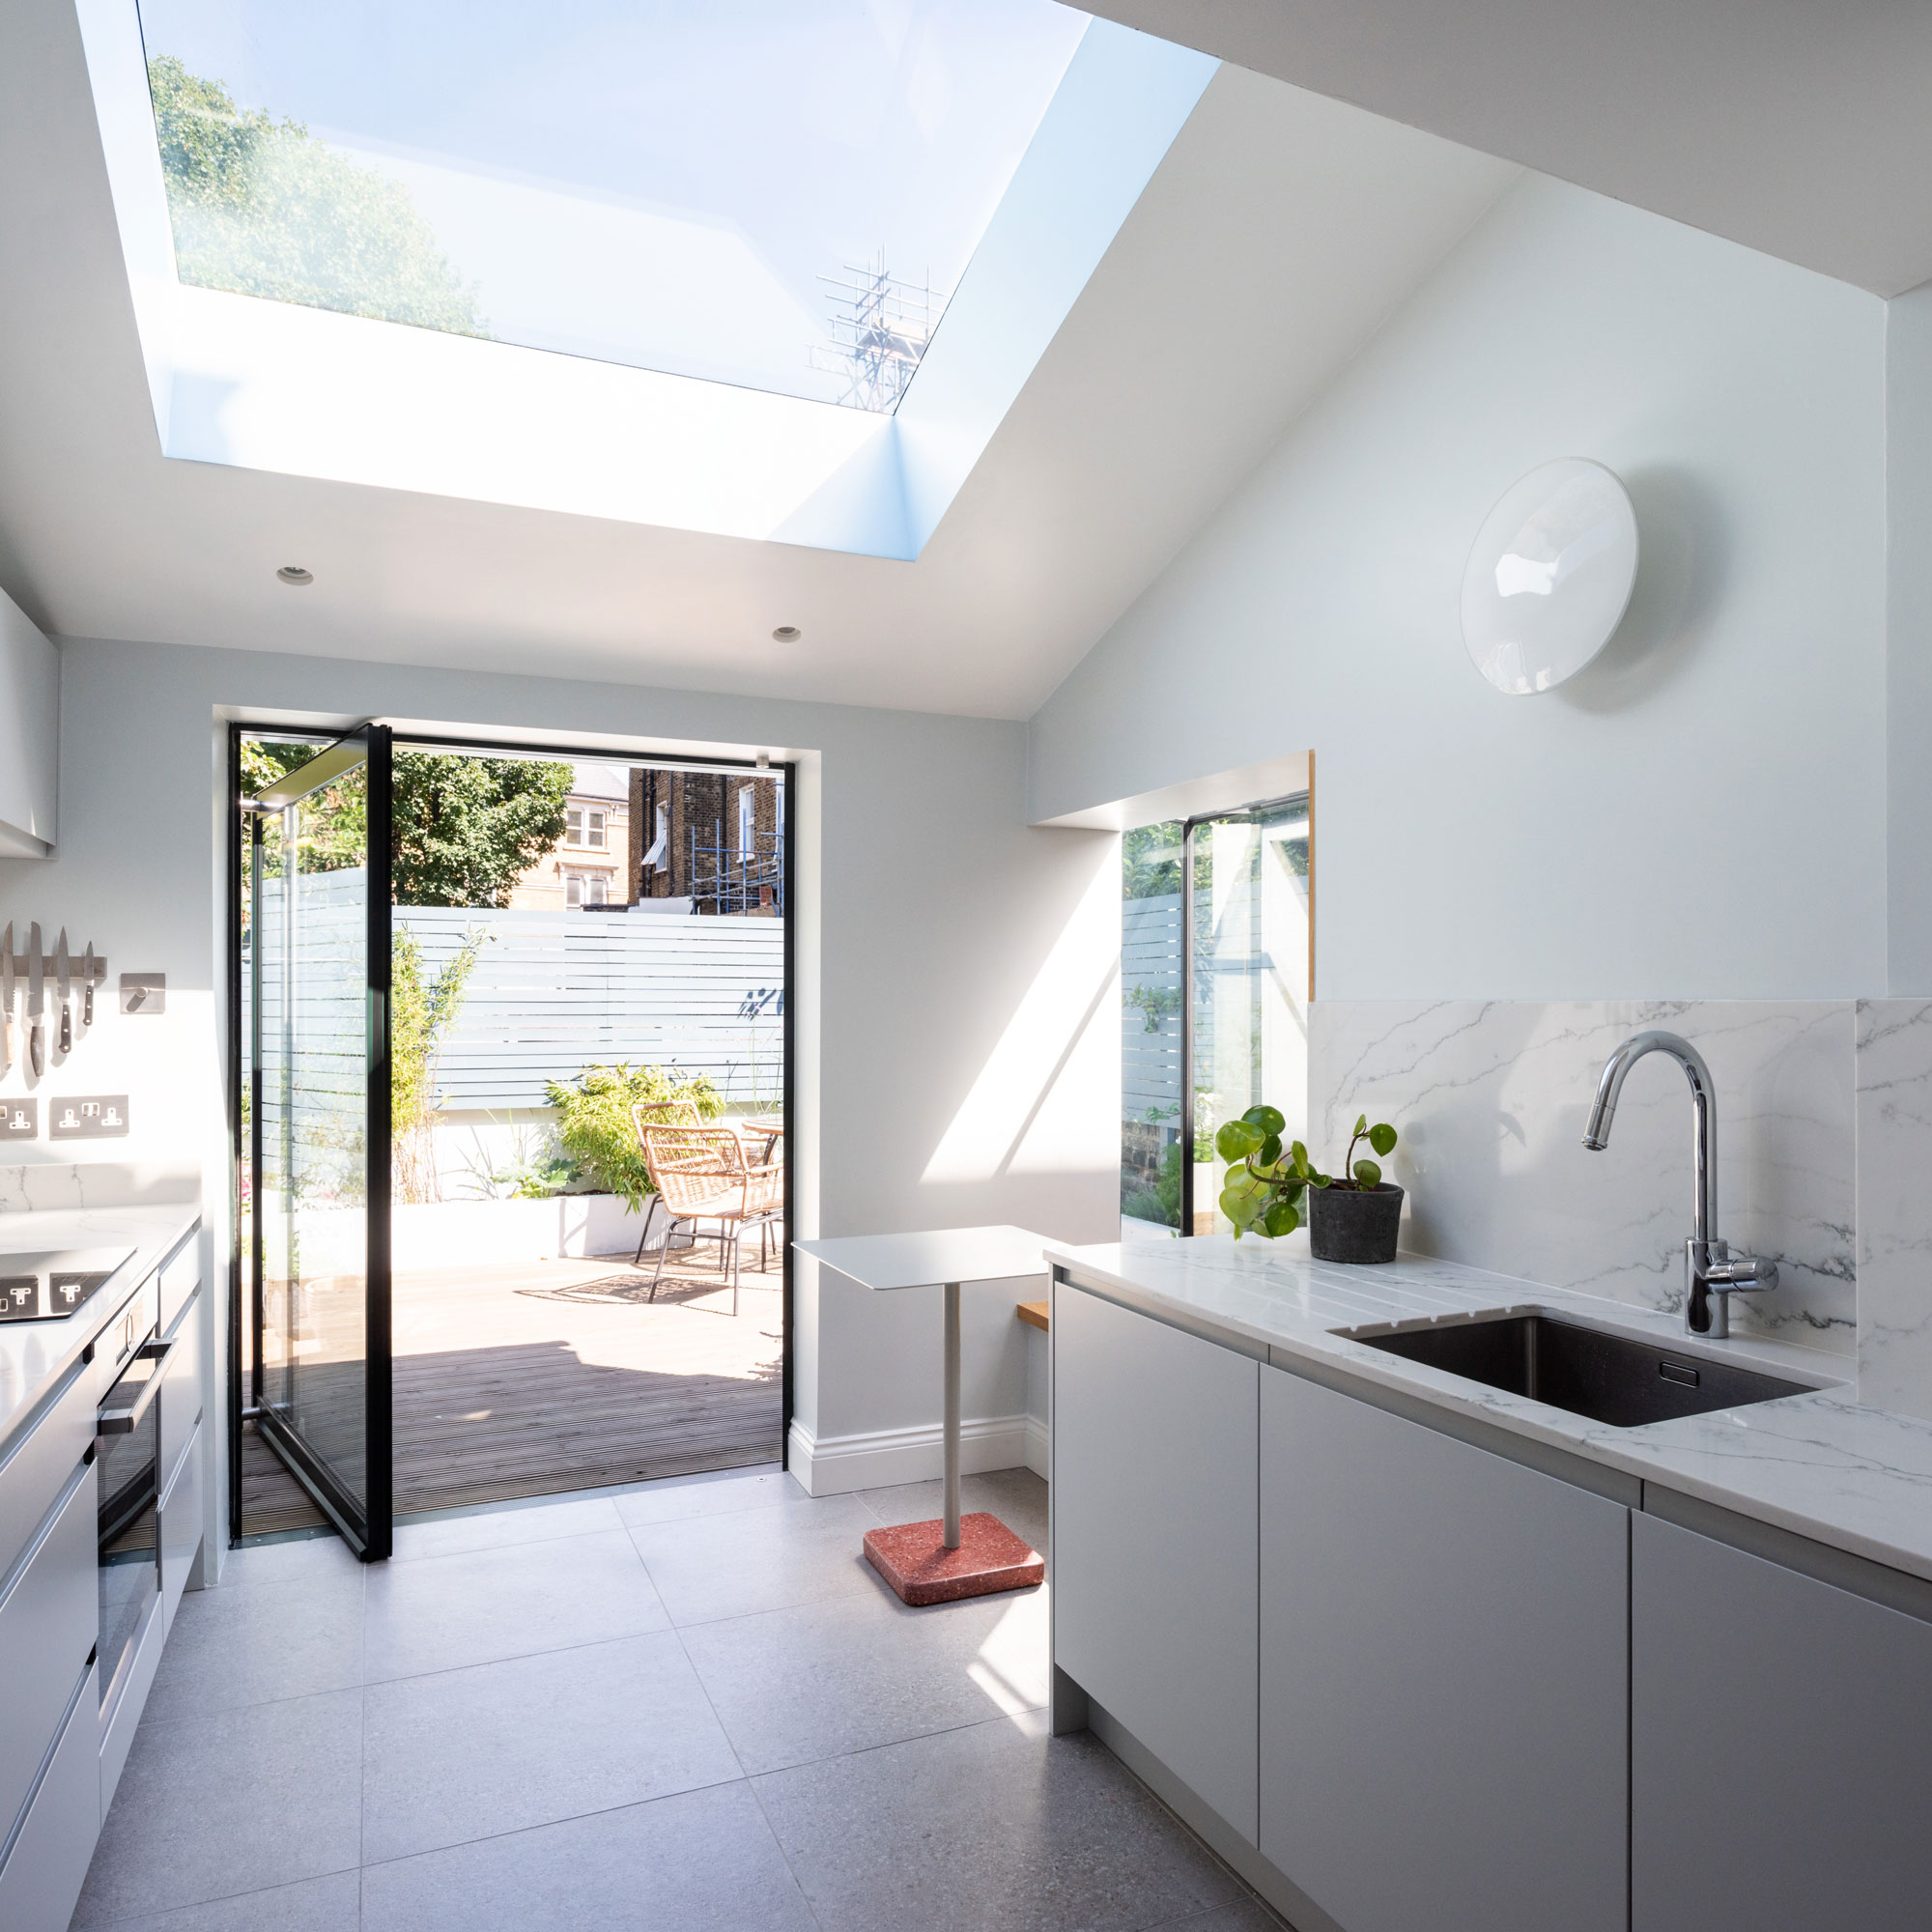
How much you should budget for your extension will depend on a few factors, including size, specification and what you plan on using the space for.
While single-storey extension costs are likely to be the cheapest option, the cost of a two-storey extension can actually turn out to be more cost-effective per square metre. But there is no point in adding extra space you don't need, so you should carefully weight up a single vs two-storey extension to see which is right for you.
It's also important you are aware of less obvious costs that come along with building an extension:
- Insurance - you’ll likely need specialist extension insurance to cover the project
- A ground survey and/or groundworks to clear the site ie removal of tress, drainage inspections
- Fees ie planning, architect, structural engineer
- Potential Party Wall Agreement
- Interior decoration
- And any ‘making good’ of the garden after works have finished.
As a guide, you should set aside between £1,800-3,500 per square metre for an extension, excluding VAT. It's a broad price range (and can of course cost more) and will be impacted by where you live.
When determining your budget, it is also a sensible idea to ringfence a 15-20% contingency fund. This can make sure your project can withstand any issues that crop up, rather than grinding to a halt because the pot is empty.
3. Engage with an architect
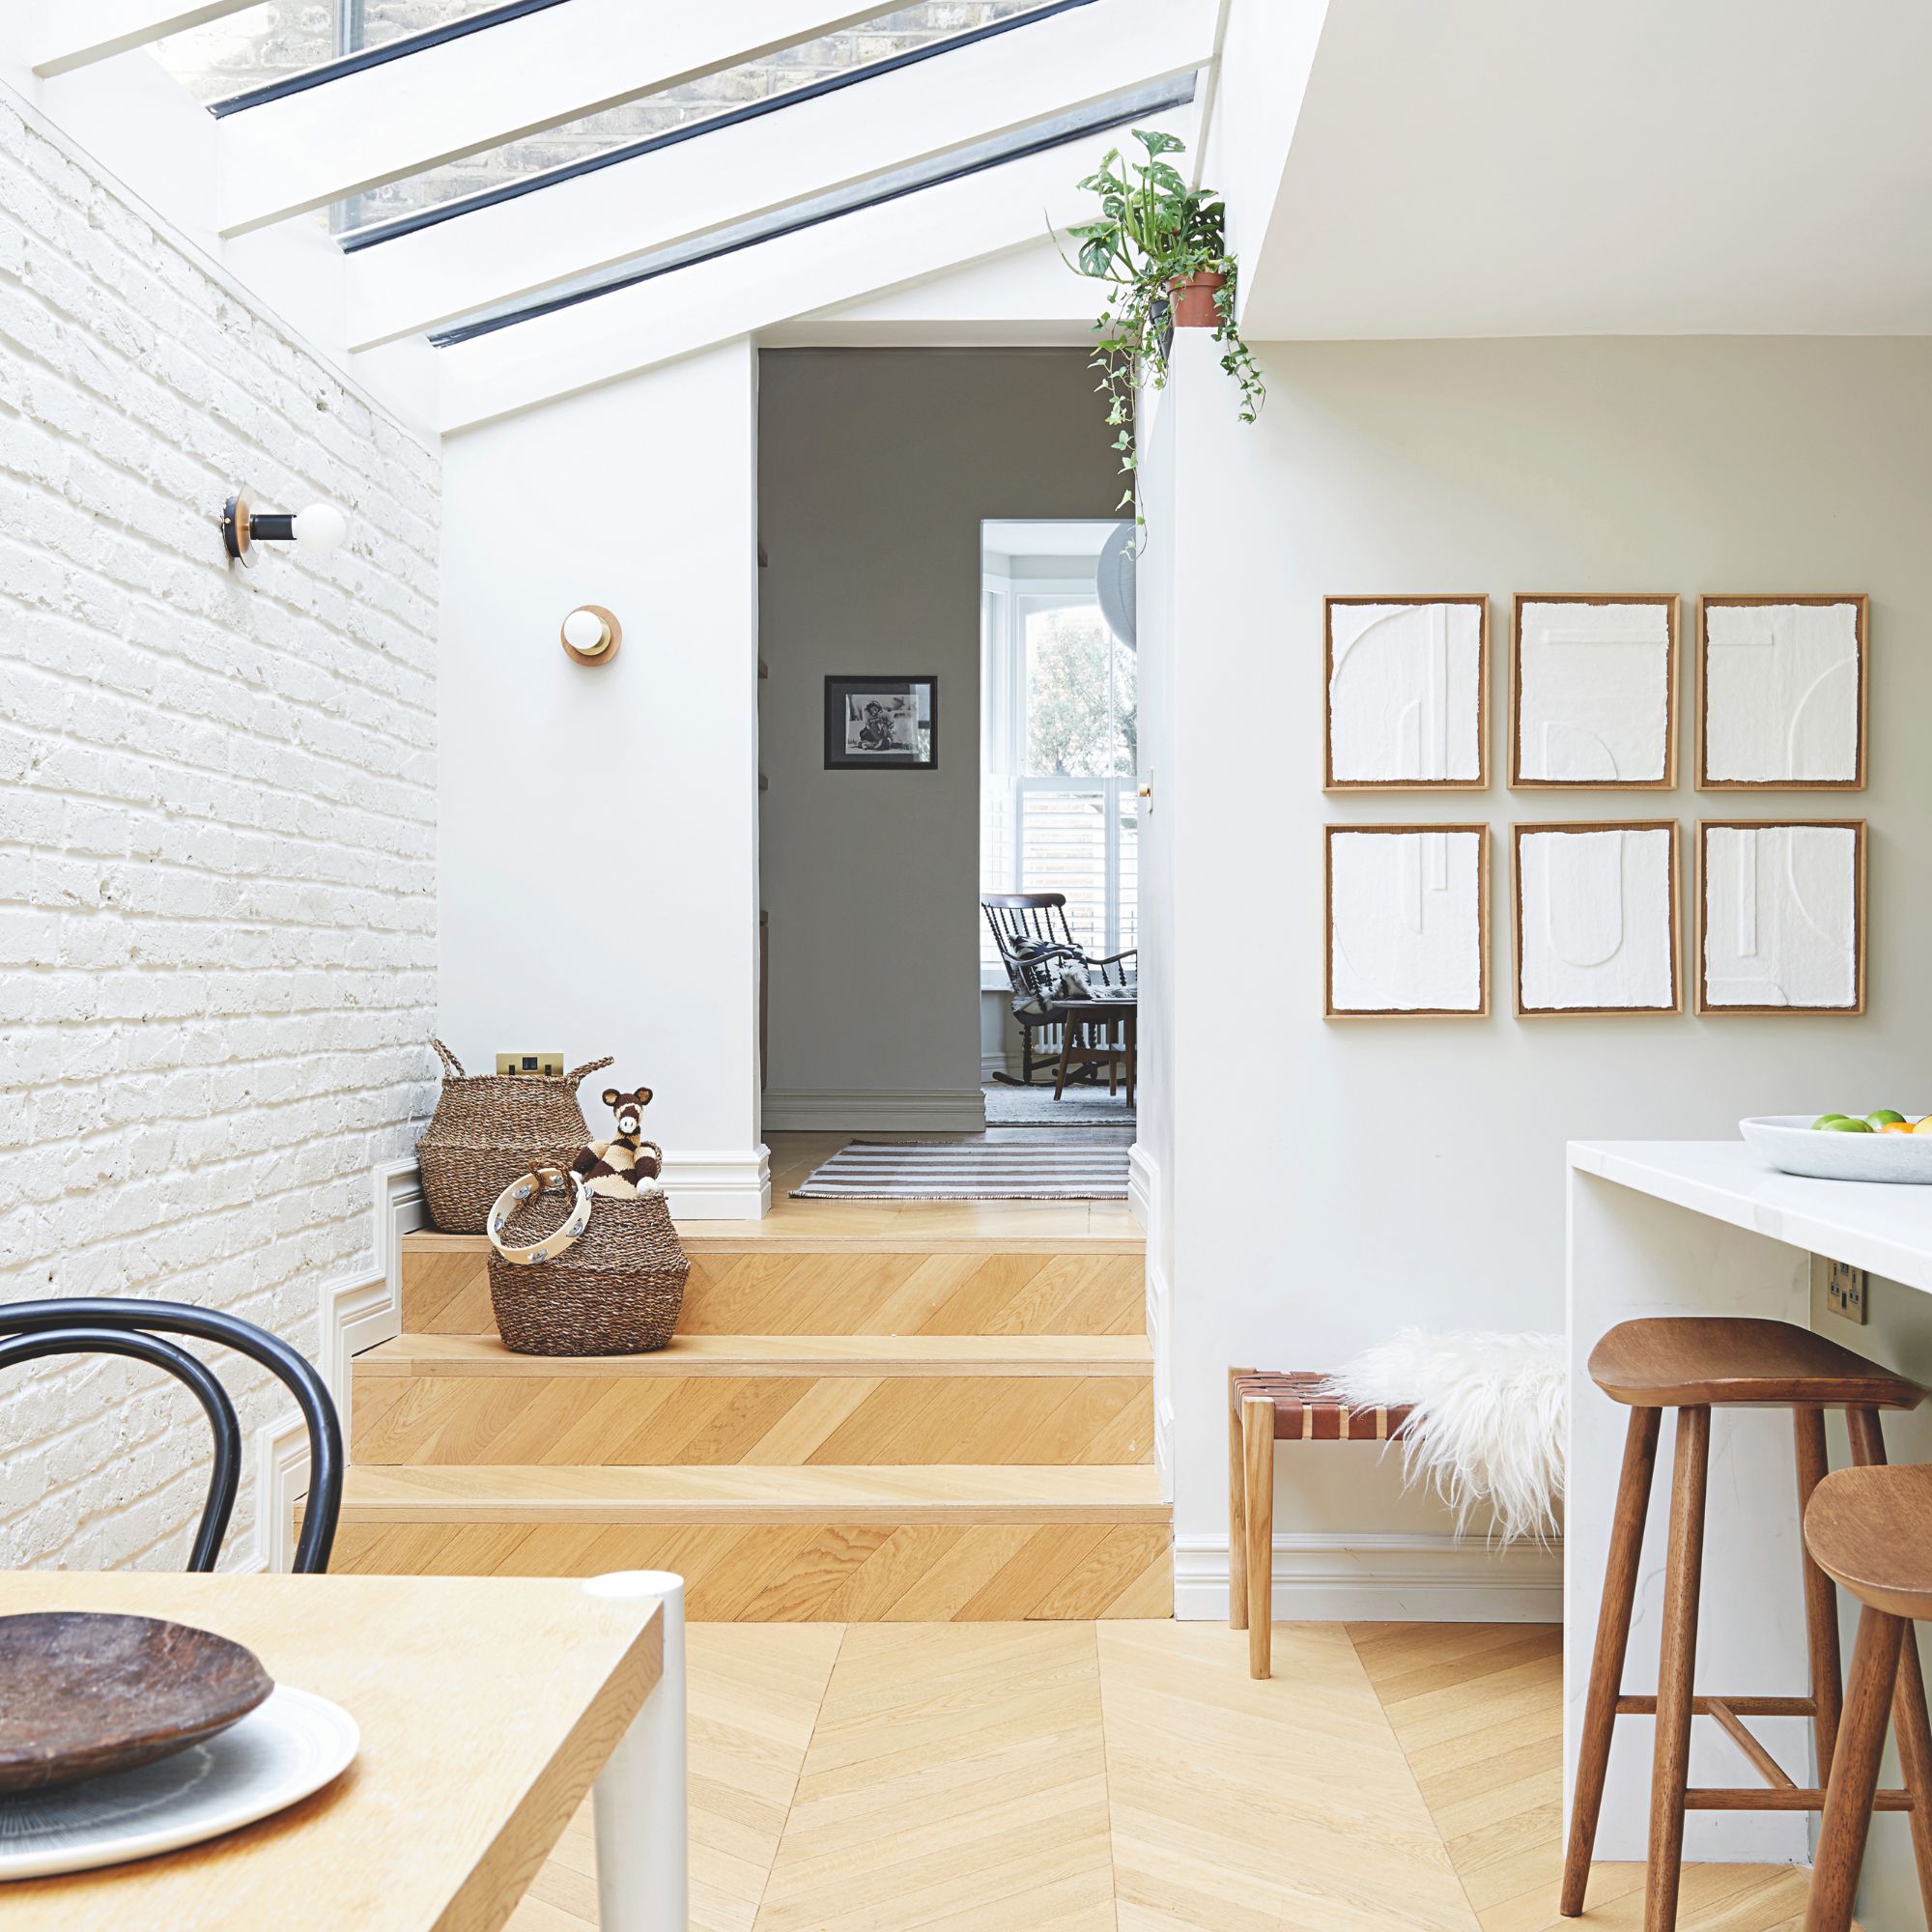
Do you need an architect for an extension? It isn’t essential to bring an architect on board - there’s no law to say you have to have one - yet a designer’s vision can be hugely beneficial.
Their insight on positioning, orientation, structural systems and building materials can help in creating a stunning addition. They can bring fresh ideas to the table, they will know what passes planning in your area or what will meet Permitted Development rules, and can offer ways to reduce the cost of the design, if this needs to happen.
There are different levels of service an architect can offer, too. They could come in and consult, provide ideas and draw up construction plans. Alternatively, you can hire an architect for a full design service, which means they will effectively project manage the design process for you. They’ll engage with other professionals the project may need before construction begins, such as bringing in a structural engineer, they can create the drawings needed for planning and liaise with the planners and council during that process.
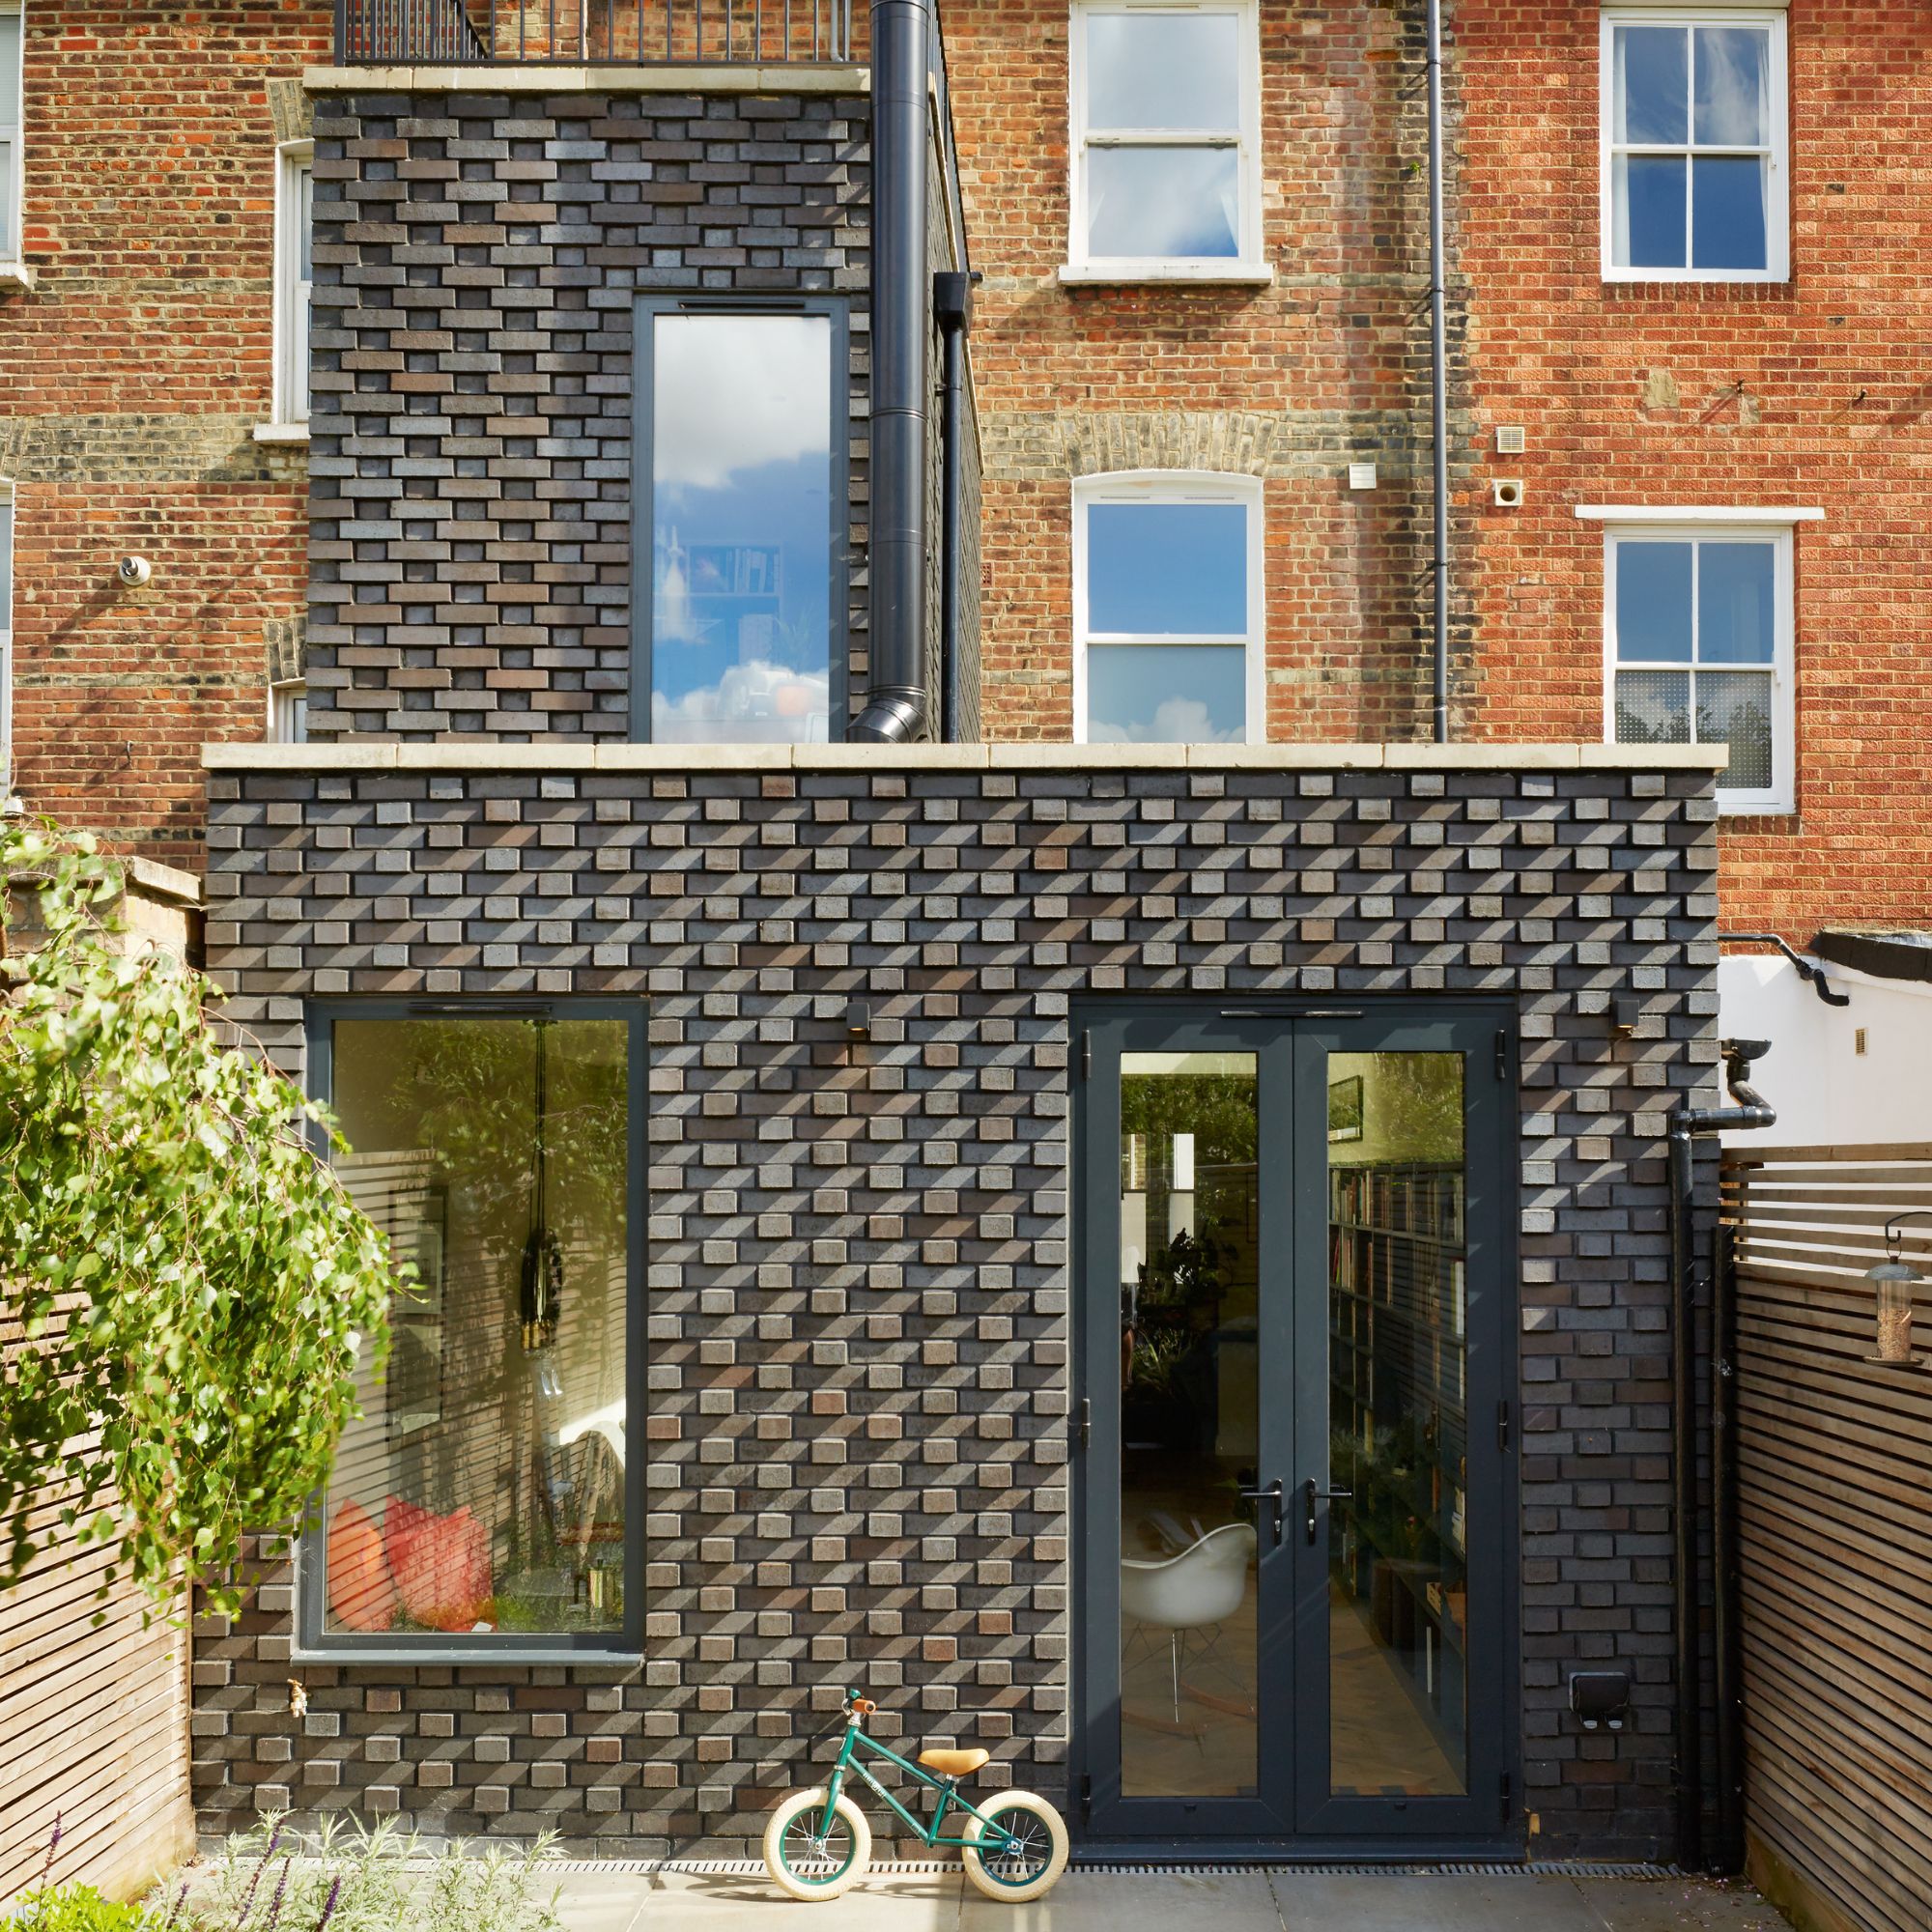
But just how much will you pay for architects in fees? 'This always depends on how architects structure their fees,' says architect and director of Studio BAD architects, Darren Bray. 'Some use percentage to cost up and some use a capped time charge. We as a practice sell time and service which is capped. Typically if you wanted to make an allowance for architects fees, generally works to existing buildings can be more involved so budget eight to 12 % of your total construction cost.'
'There is always someone out their prepared to quote more cheaply than most, but always interview a number of architects, get references and ask about their success rate at planning and delivering to a budget. Some architects do find it challenging delivering to a budget!'
4. Find a builder
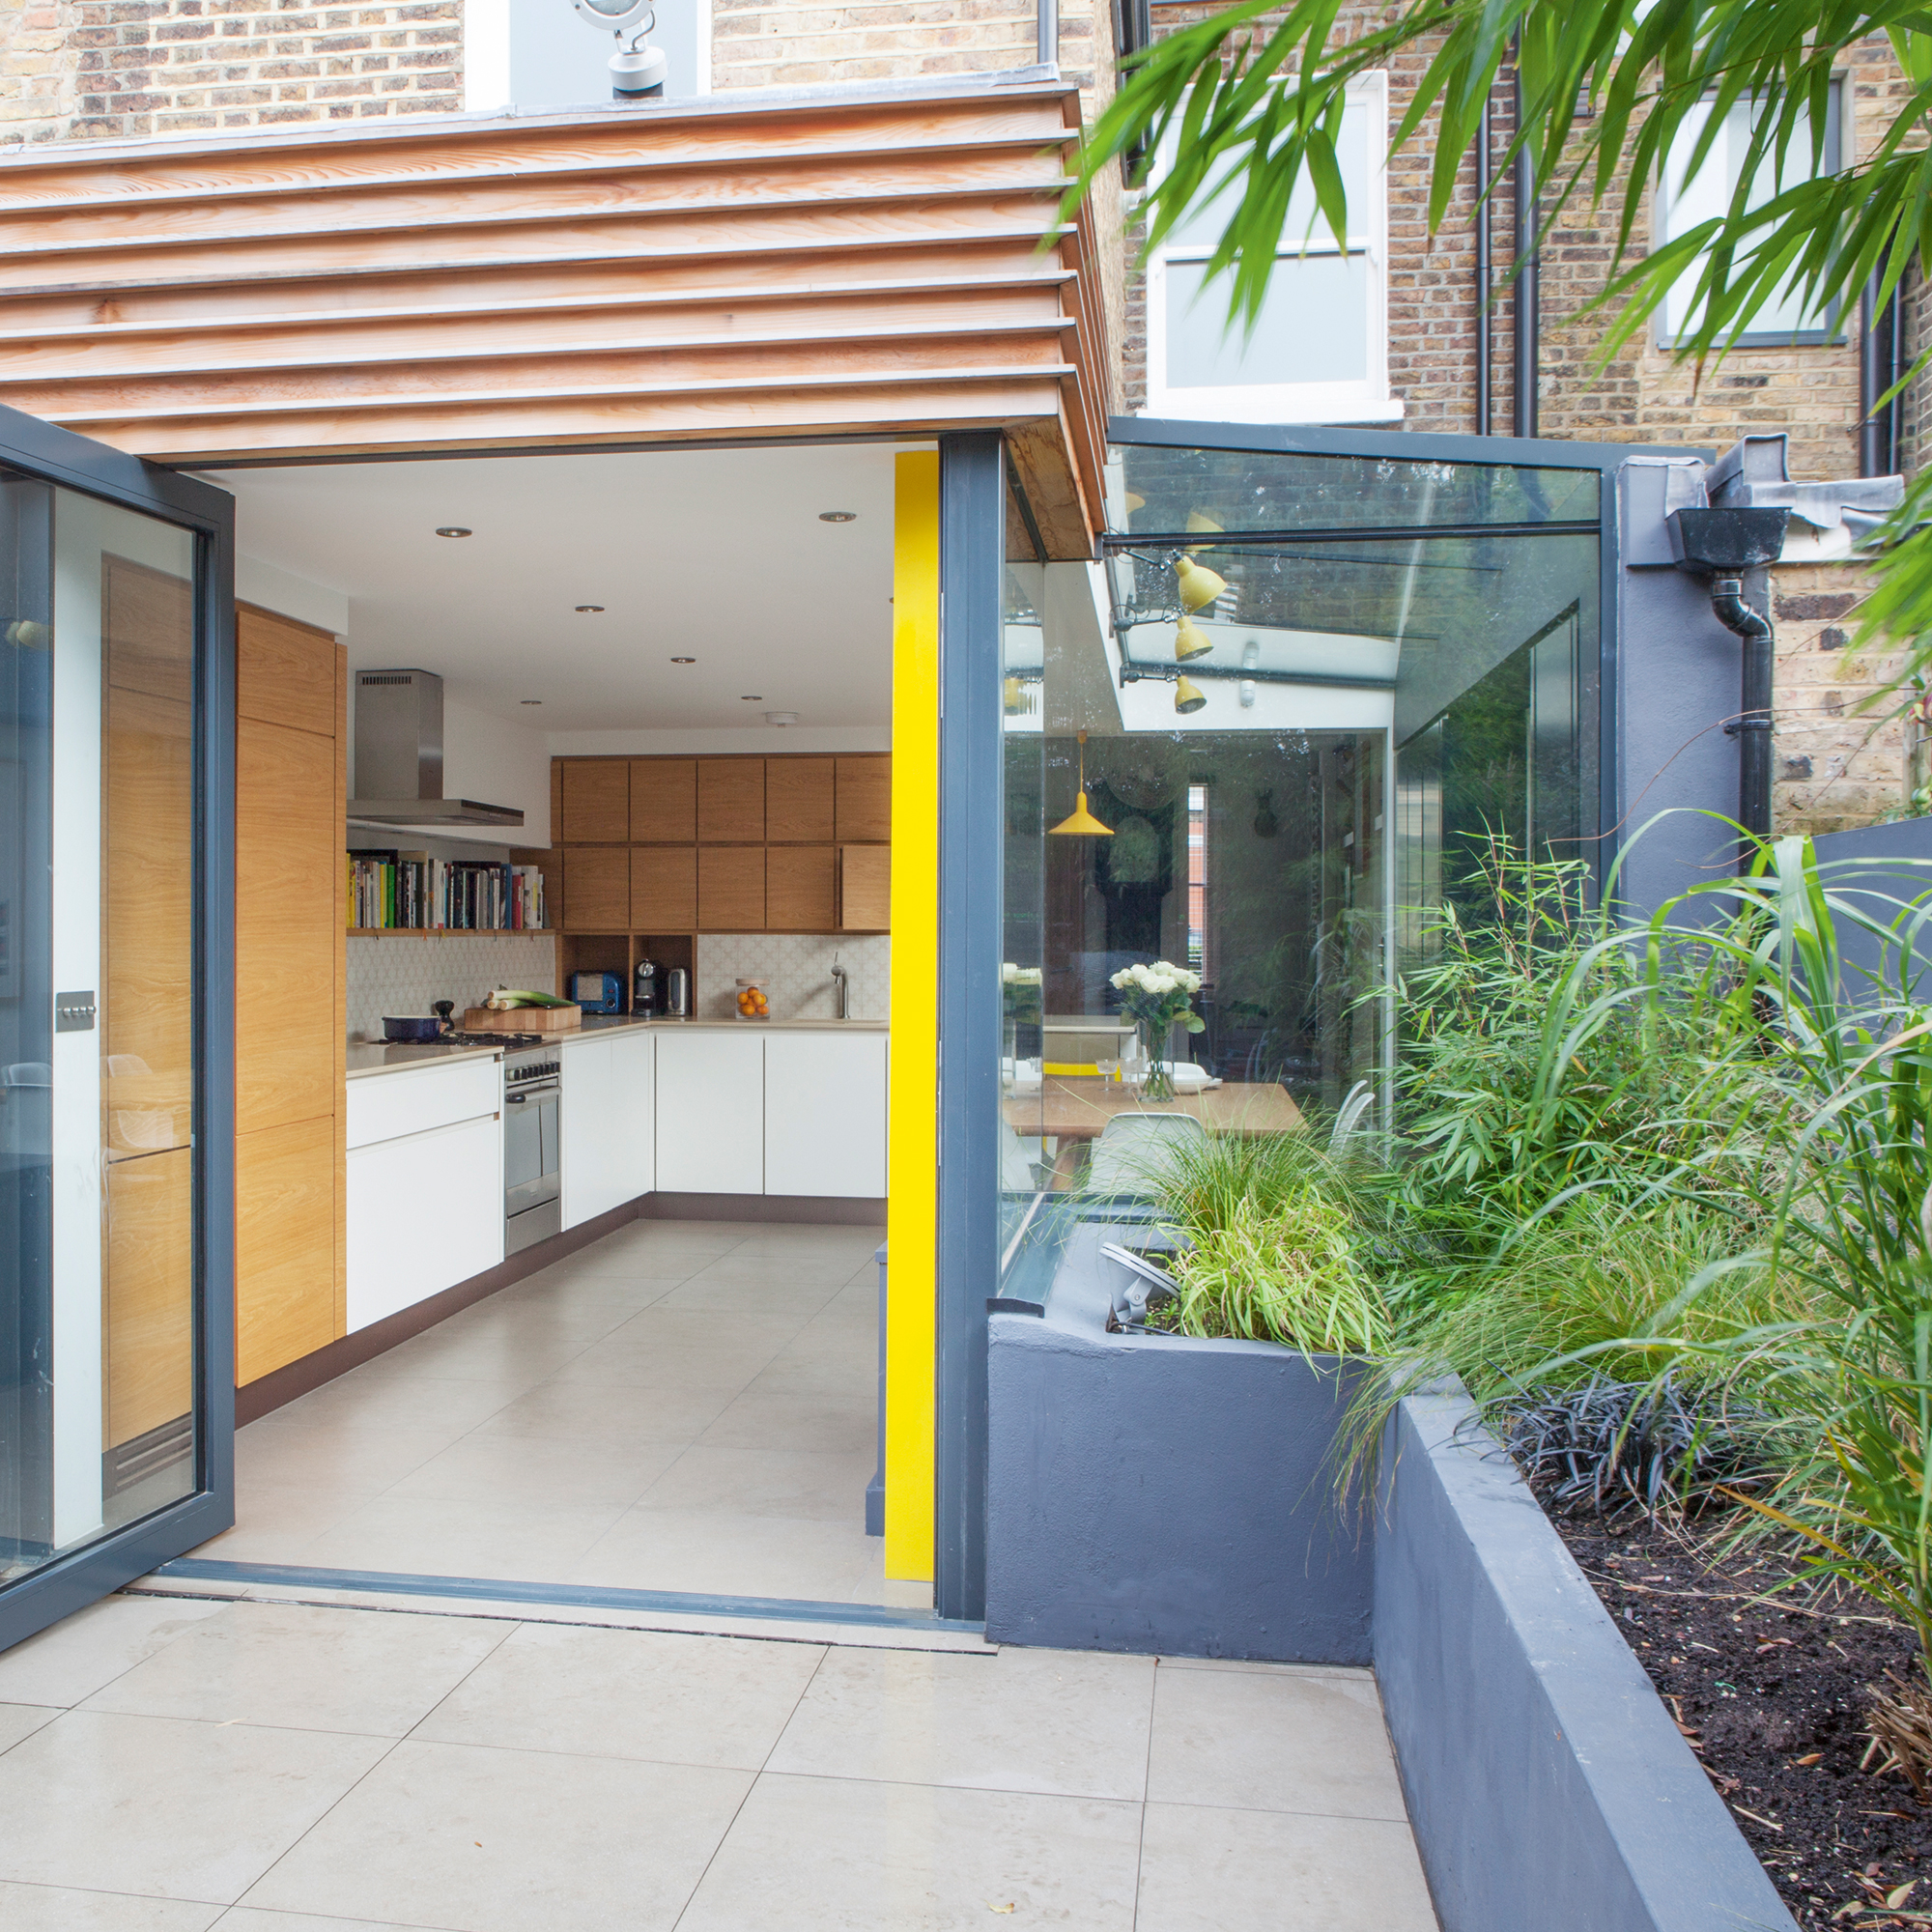
When it comes to finding a good builder, it's a good idea to start your search early on, so you have time to vet potential options properly.
Builders will be able to inform you about materials and construction - are certain materials in short supply or on a long delivery lead time for example? Are costs for certain materials going to blow your budget - can they suggest alternatives? The more insight you have at the planning stage, the better. Plus, you can get an idea early on of the builders you’d like to go out to tender for the work.
Darren's top tip when finding a builder is to not write off the smaller companies. 'We have shifted how we deliver small domestic projects now and will generally only use a small builder, who does one project at a time.
'Larger contractors have just become too expensive at the smaller scale of the market. They come with added costs on resources and site set up. Smaller builders will generally agree a fixed cost with smaller overheads and profit (OHP) around eight to 10 % whereas the larger contractors will have an OHP around 10 – 15%.'
5. Call in quotes
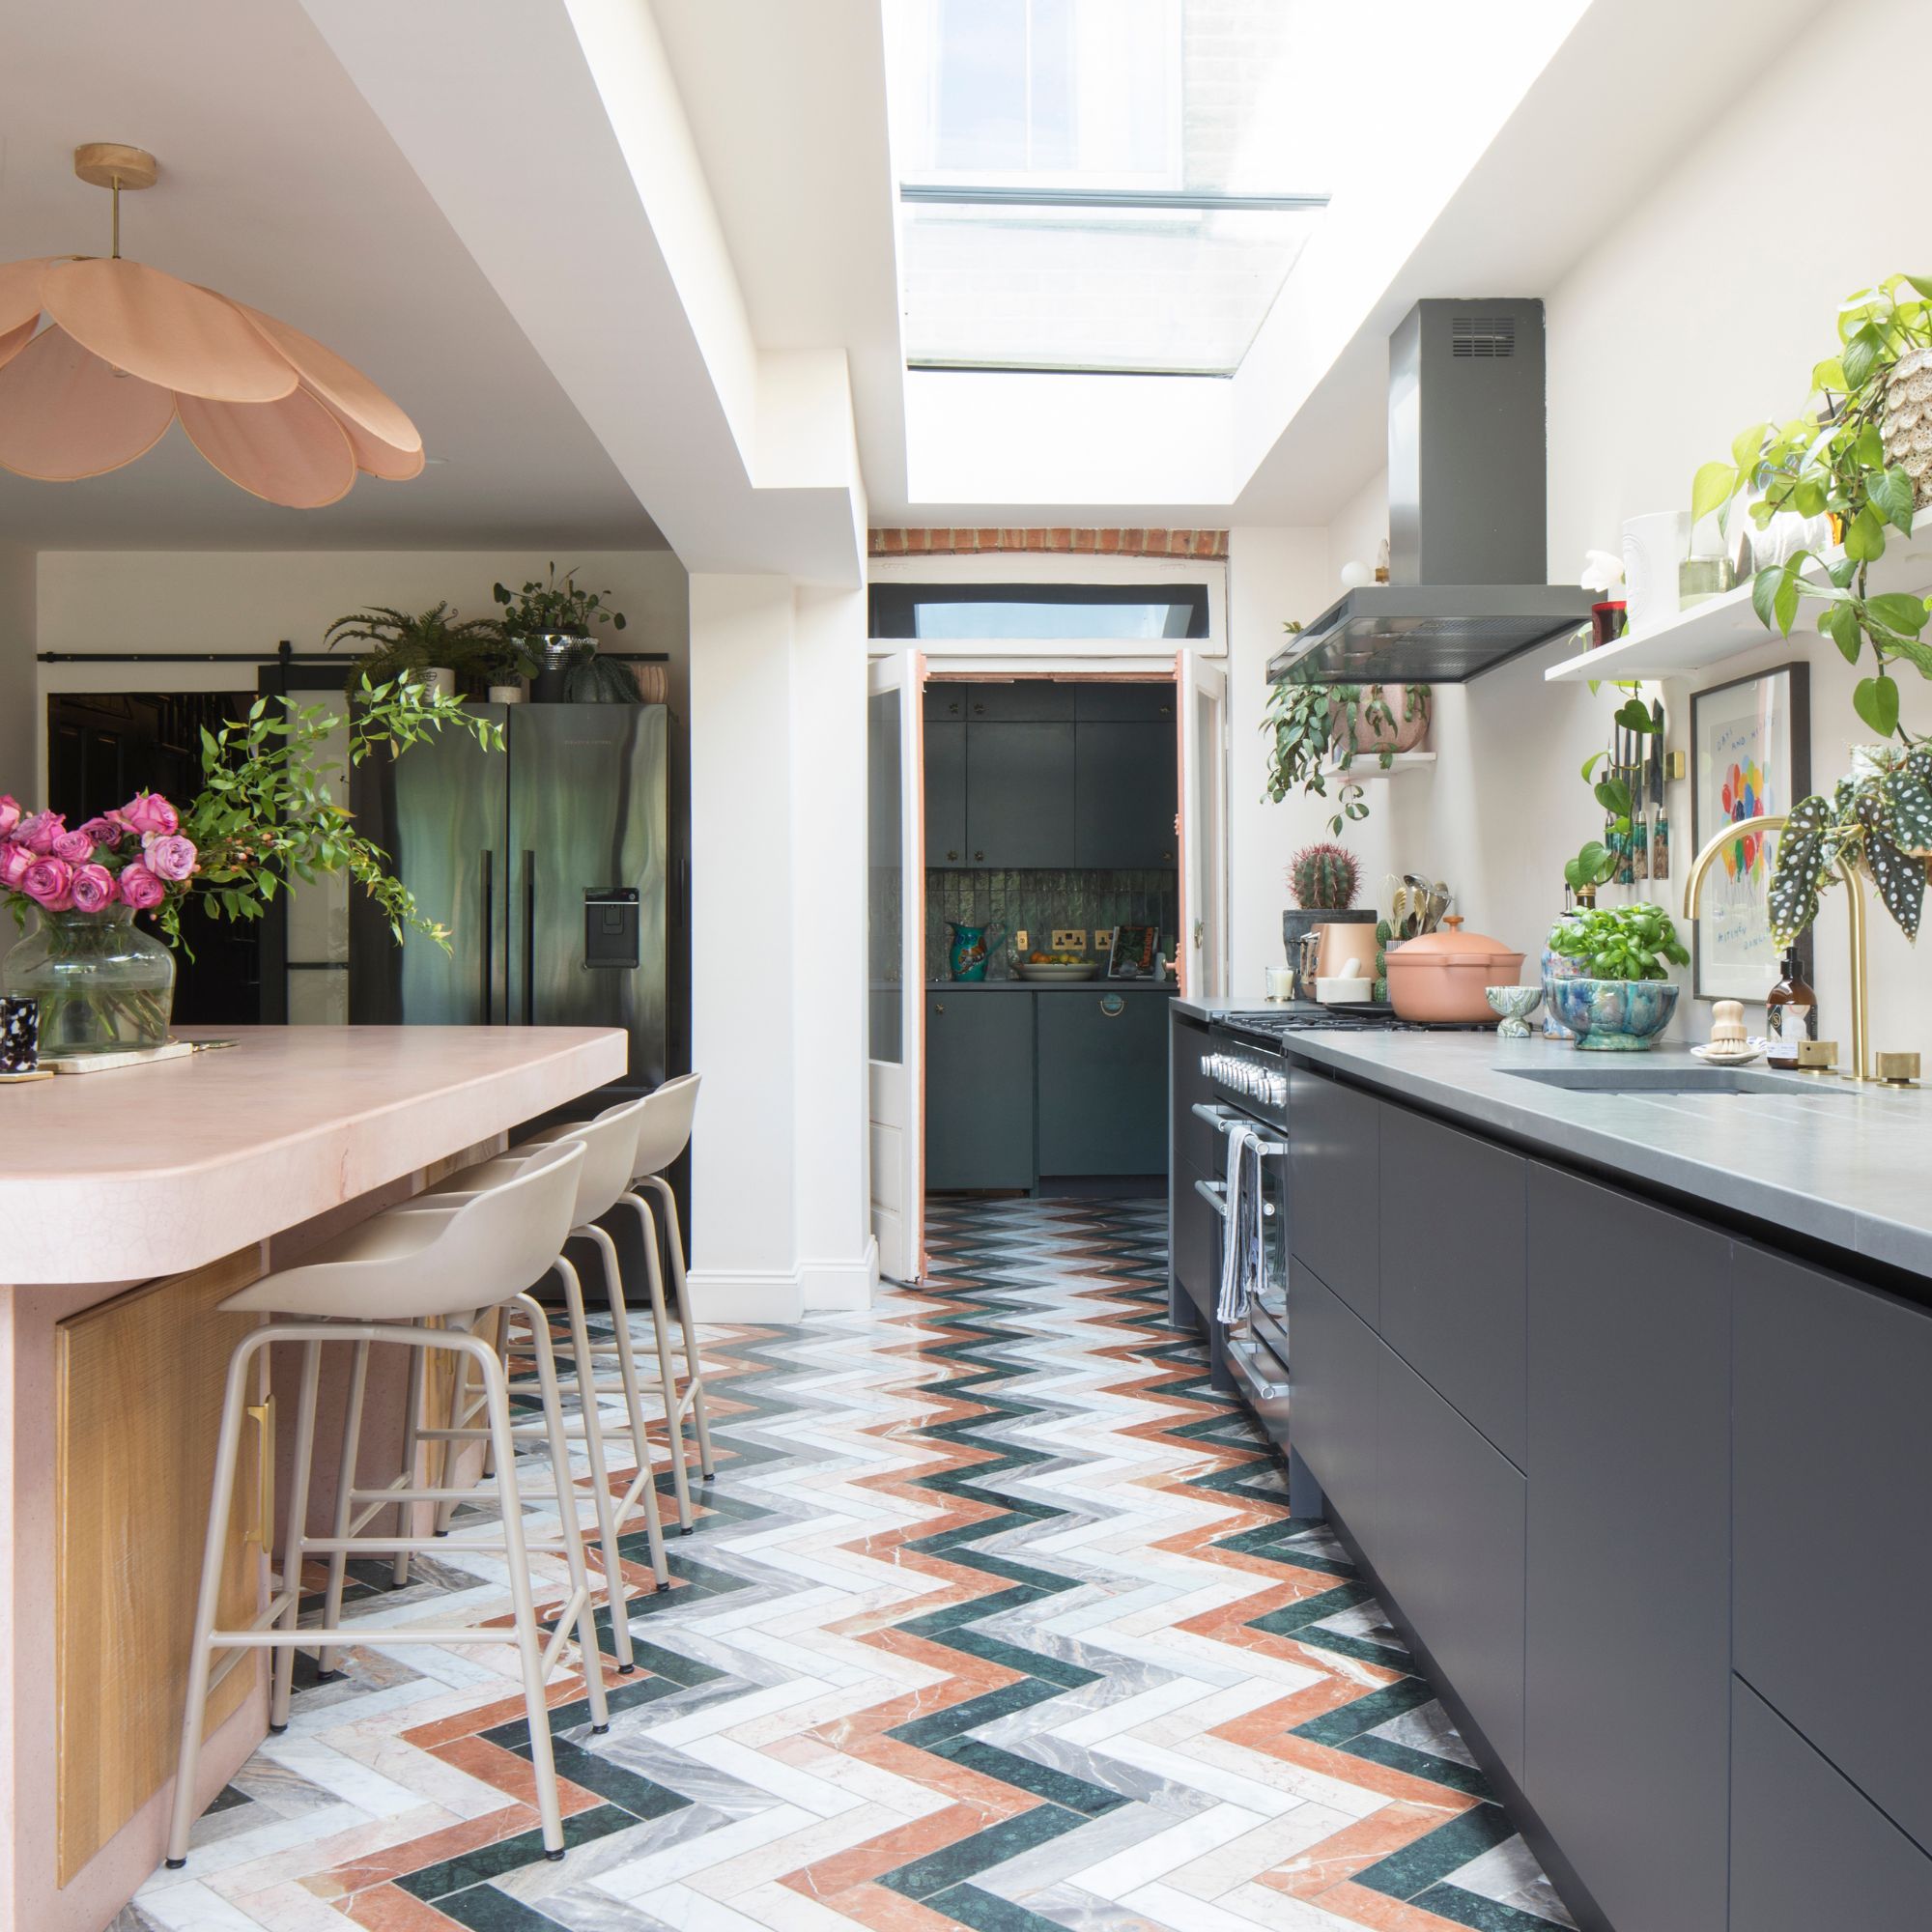
Once you have the green light to go ahead with building an extension, you can put your project out to tender. Try to source quotes from at least three contractors.
Put together a series of documents for the tender process - this should include things like plans/drawings, an outline of the work needed at each stage, whether you'd want the main contractor to be the project manager, a list of known materials needed, and so on. This means each builder/main contractor will be basing their quotes to you on the same criteria, which then means you should get like-for-like back from each one. Although, do go through them all thoroughly to spot any anomalies as a cheaper quote might well have missed out something crucial.
Always ask to see examples of past projects or find out if you can talk to previous clients. And don't forget to ask what their timescales are. Many builders and their sub contractor teams will have work lined up for months in advance. This is a good sign, but will mean you might have to wait for you preferred builder, so bear this in mind.
6. Find out if you need planning permission
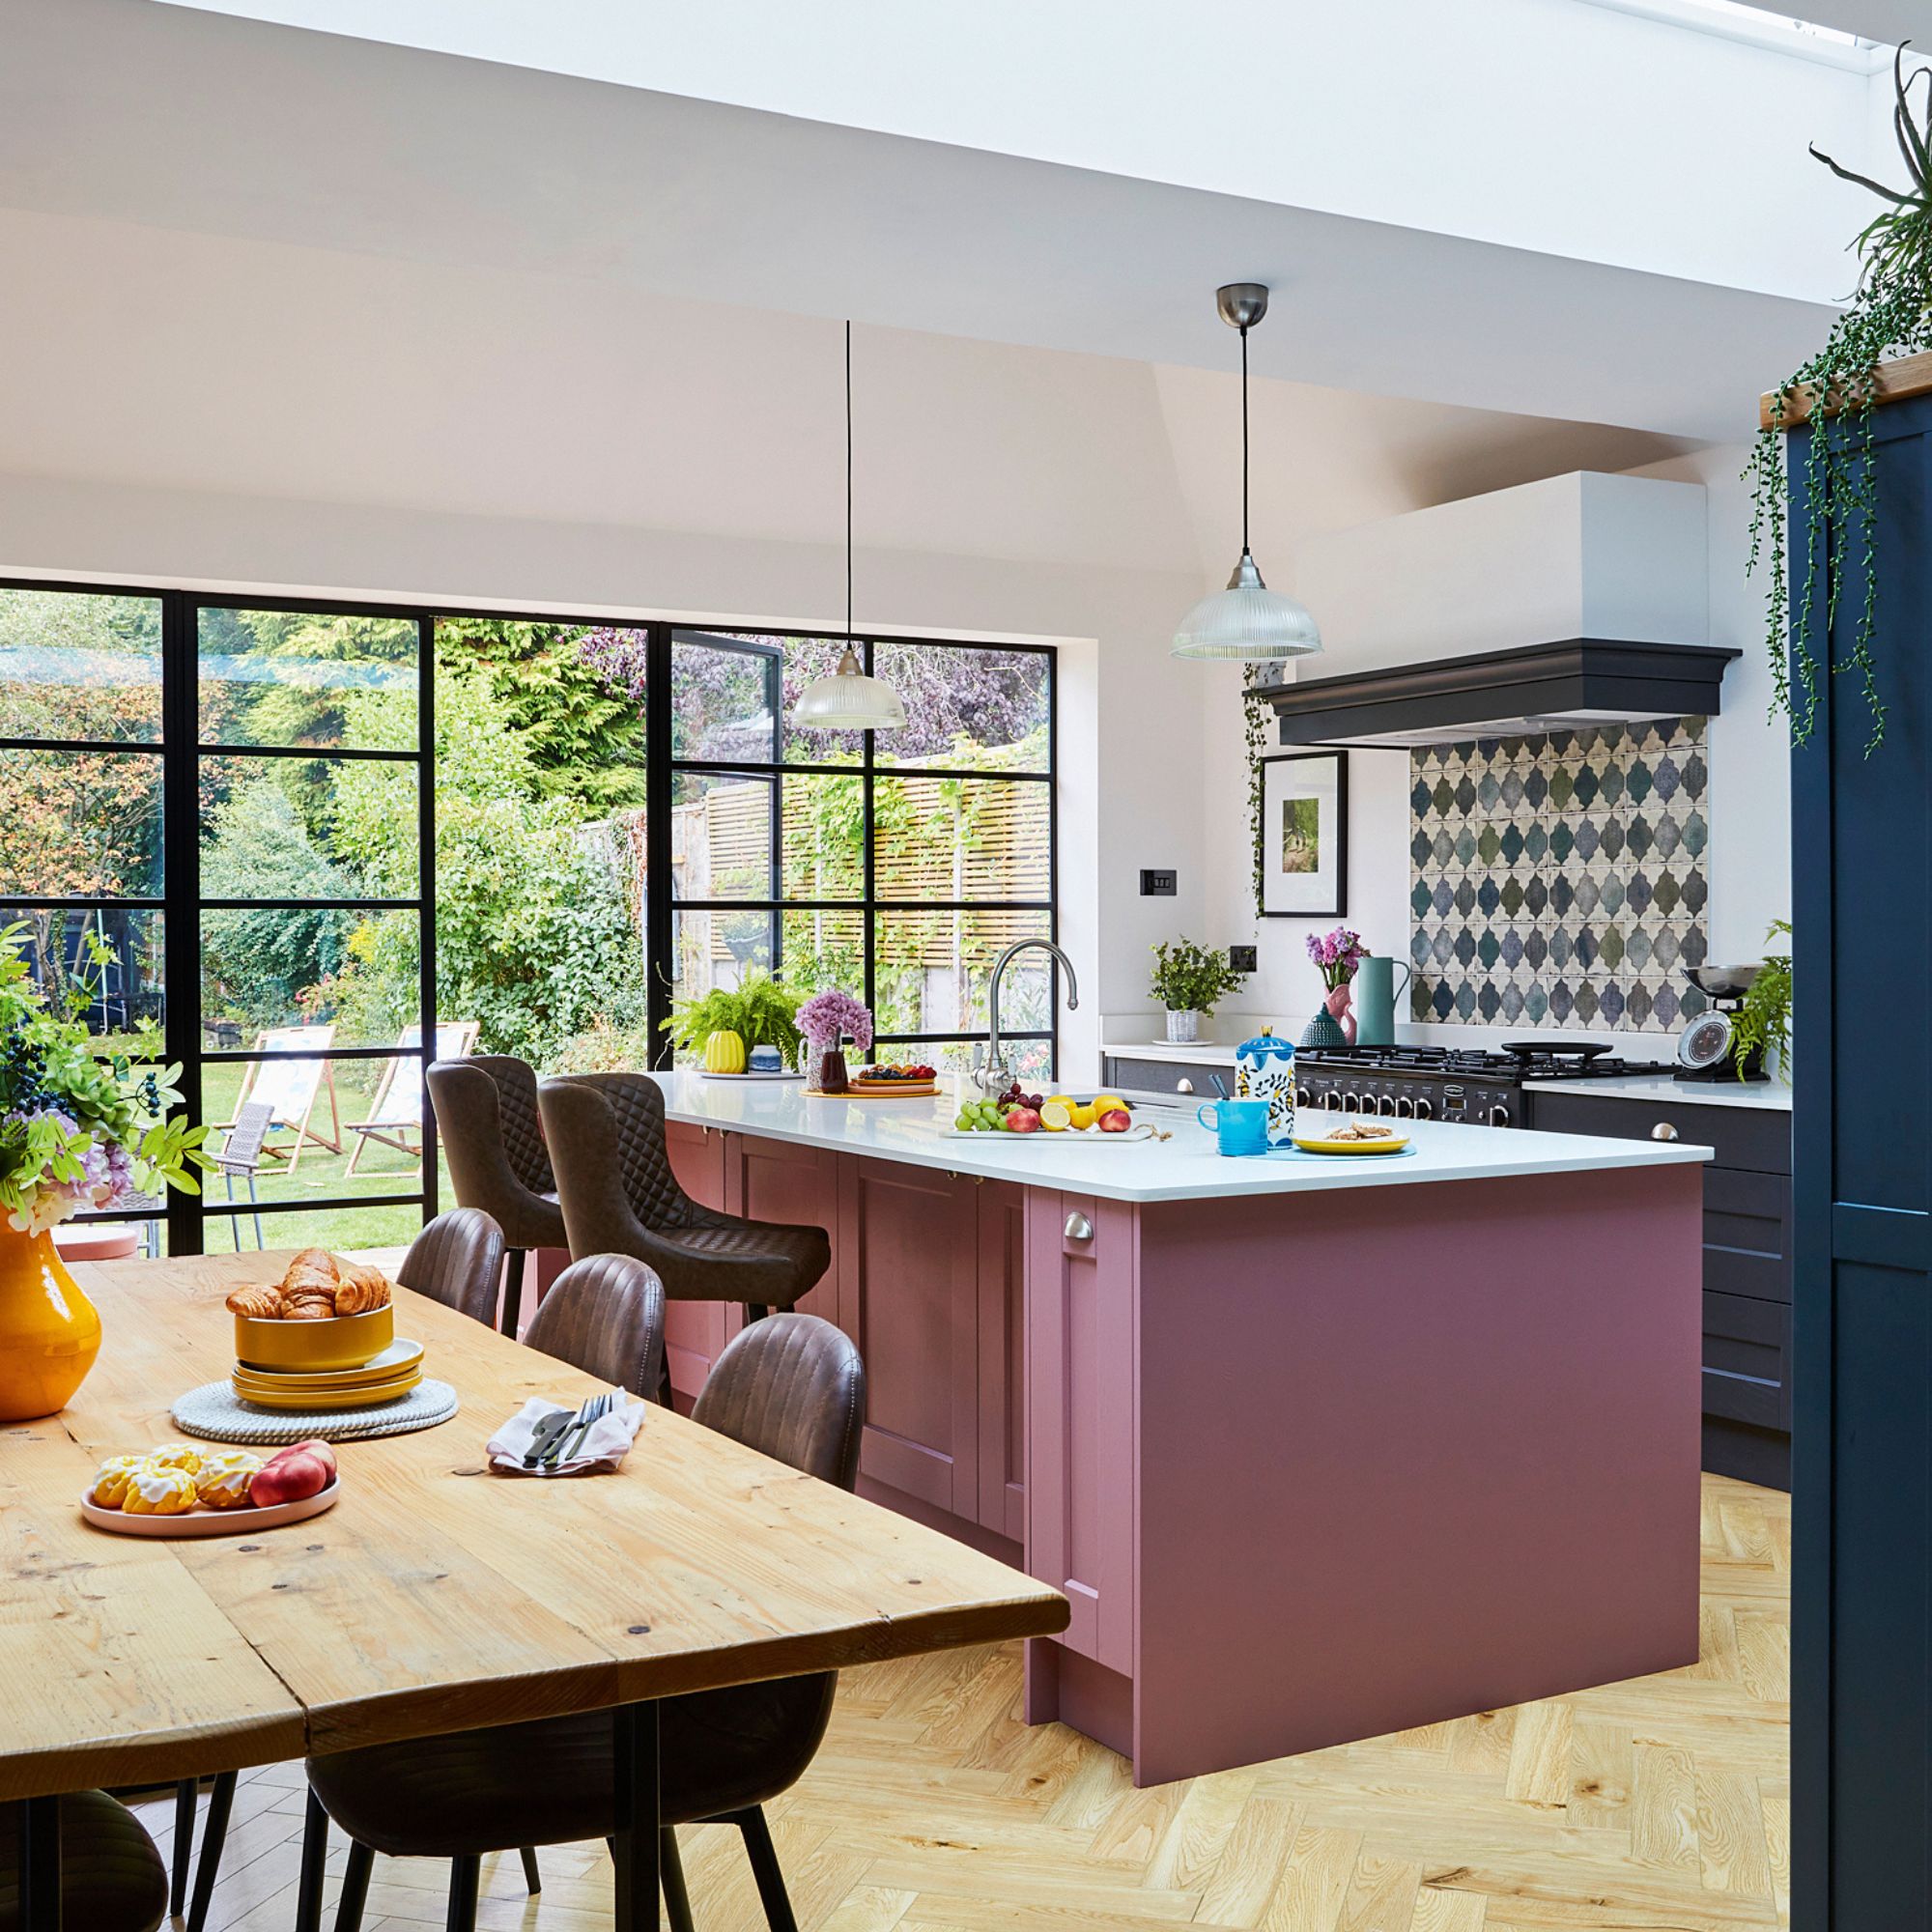
The good news is, you won't always need to apply for planning permission for an extension, but that's not to say you never need to. When it comes to what size extension you can build without planning permission, projects that fit within specific size parameters are automatically granted consent under what are known as Permitted Development Rights.
However, if your property has been extended in the past, you live in a designated area (like an Area of Outstanding Natural Beauty or a National Park), or you want something that pushes the boundaries of design, then it's likely you'll need to apply for planning permission. Your designer should be familiar with local planning policy and can advise whether your project requires approval, or you can check with the local planning department yourself. You could also use a planning consultant to help guide you through the process, which can be complex.
Even if you don't need planning permission, you will need to meet the requirements of the building regulations for extensions.
7. Choose a project manager
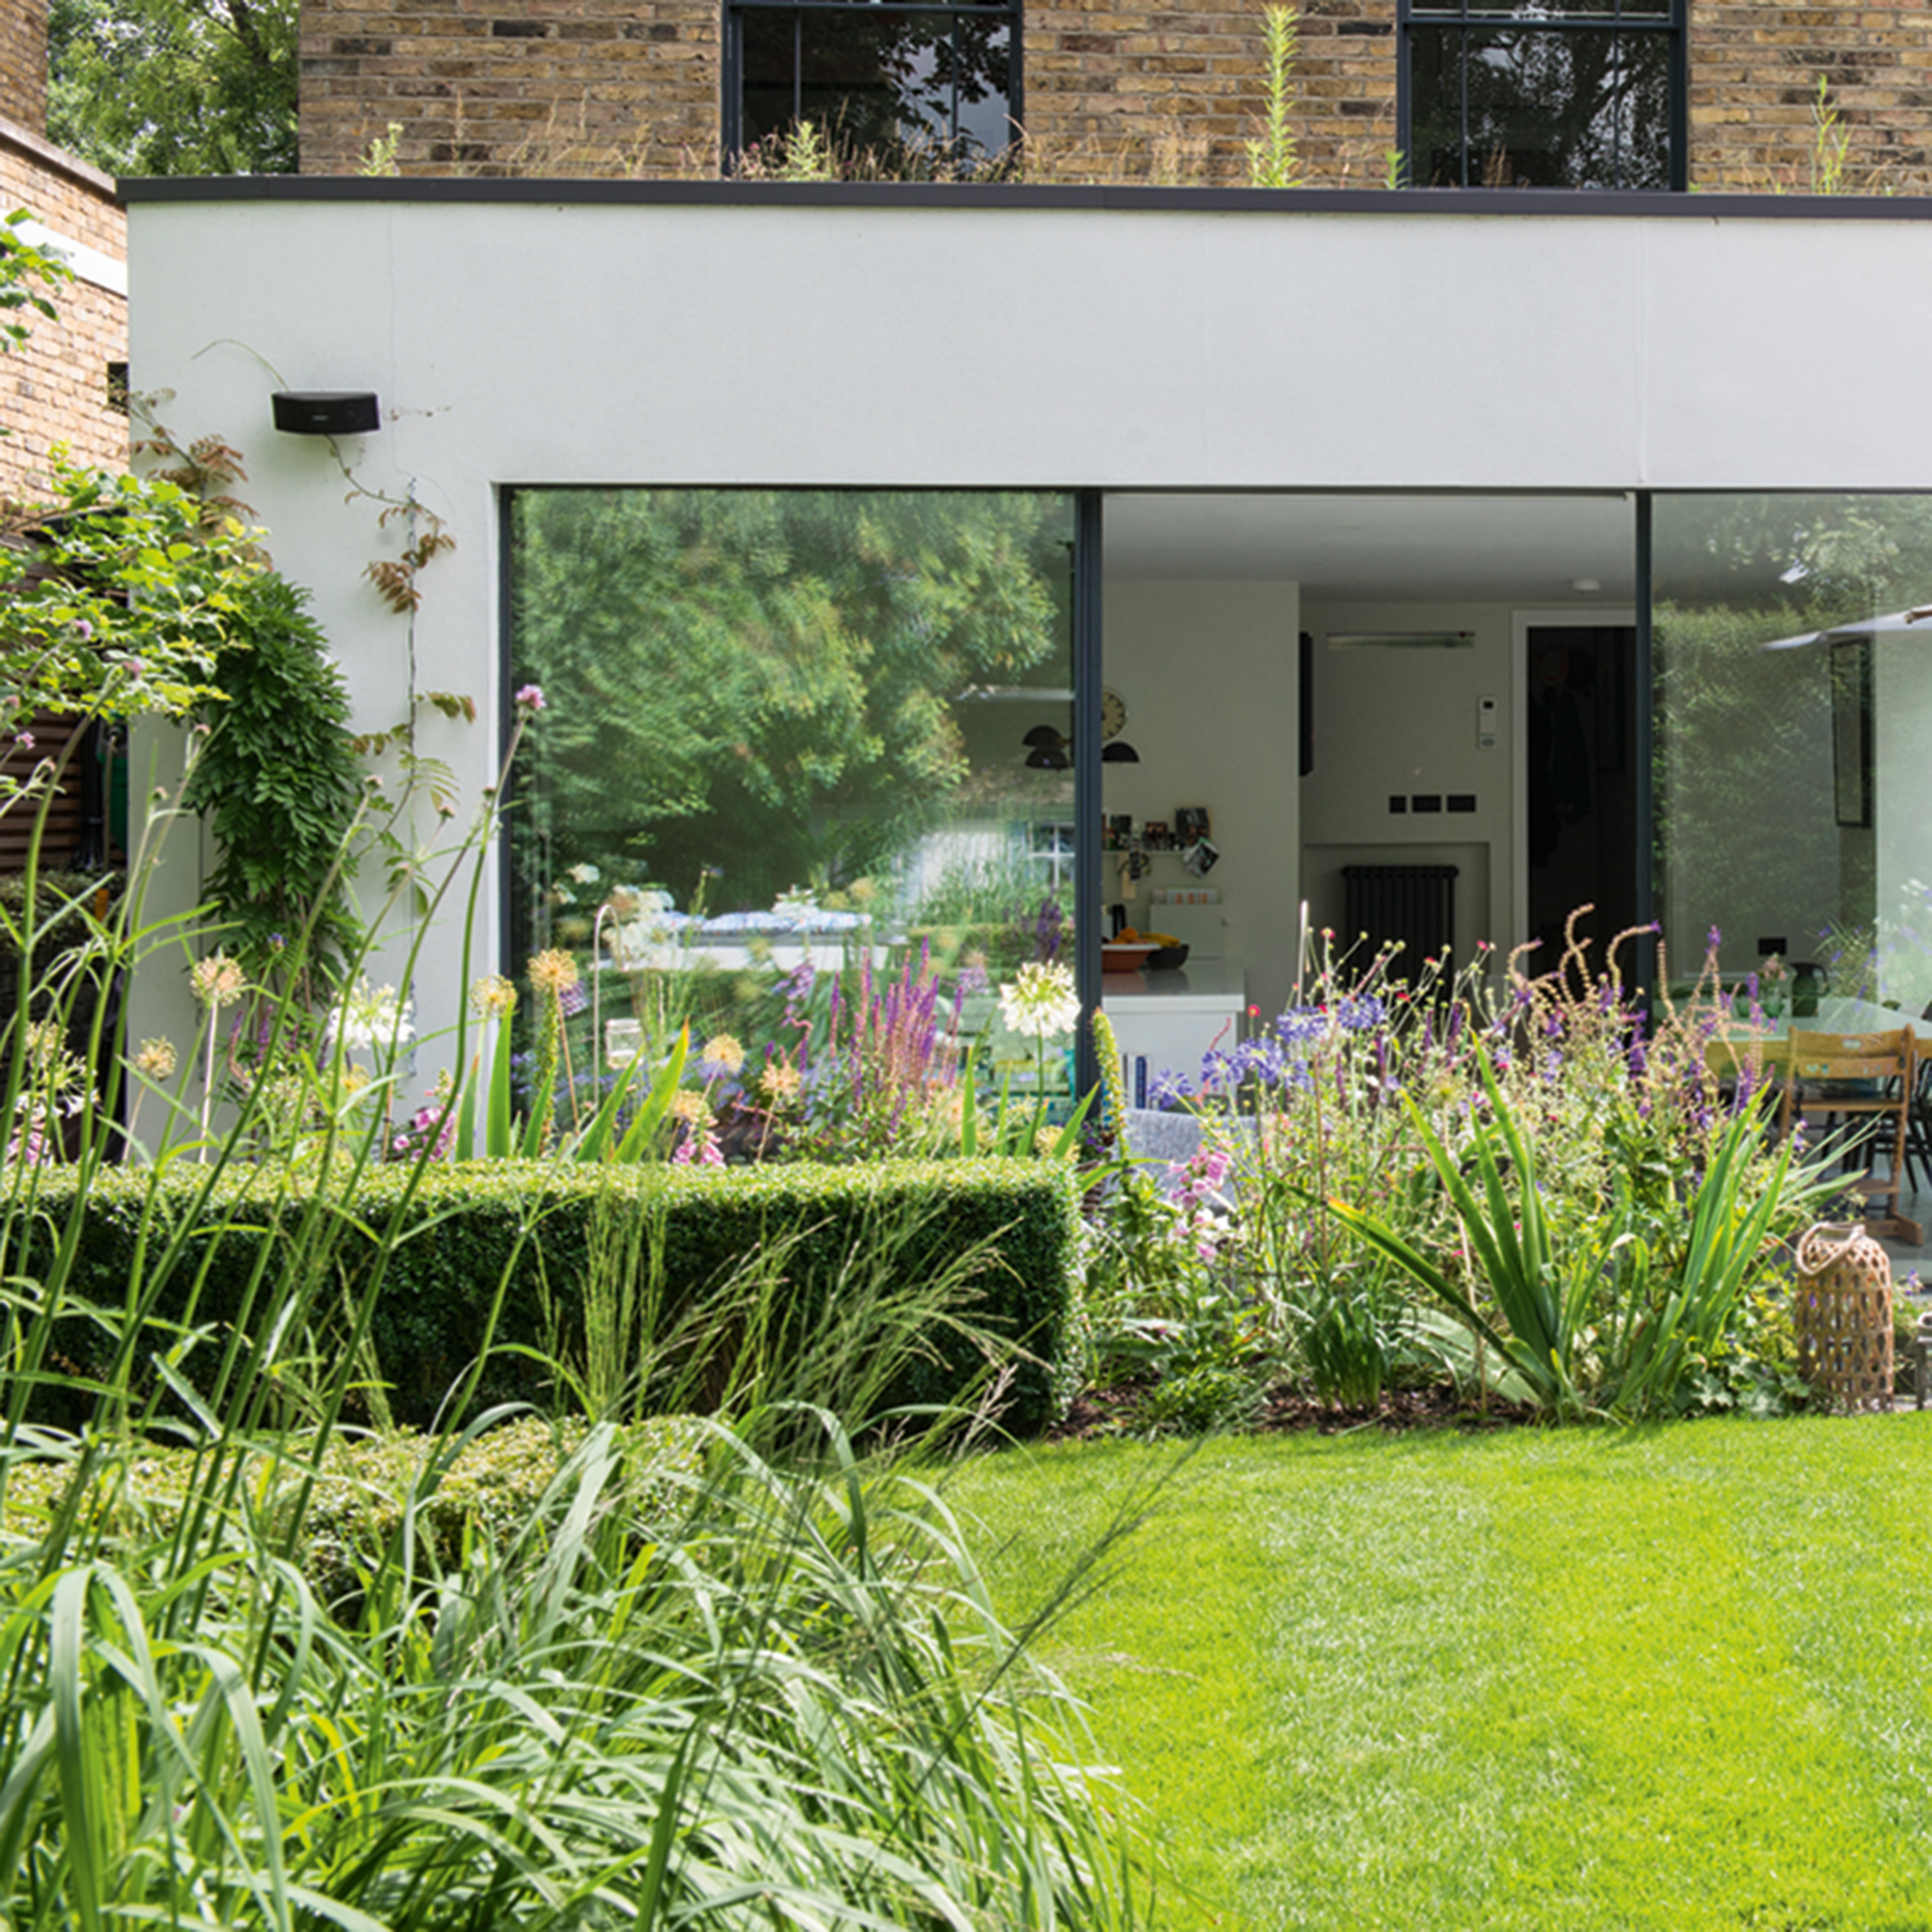
If your budget is tight, you may decide to take on the project manager (PM) role yourself. This will certainly save you money but not time. Don't underestimate the role of PM. You'd be responsible for the site (access, safety etc), the deliveries, the running of the project, the orders and the trades. And you'll need to be on site daily.
If you think it'll be a monumental commitment then pass it over to a professional PM, a main contractor or architect, well-versed in this area. Alternatively, you could split the role. A main contractor could take on PM until your extension reaches watertight stage. Then, you could take on the role, organising and overseeing the sub trades like electricians, plumbers, carpenters, and so on.
Whether you take on the role of PM or not, always keep the channels of communication open with the trades on site. You should know what's happening from problems to decision making, from hold-ups to no-shows from trades, so keep yourself informed.
8. Look to order your shopping list items
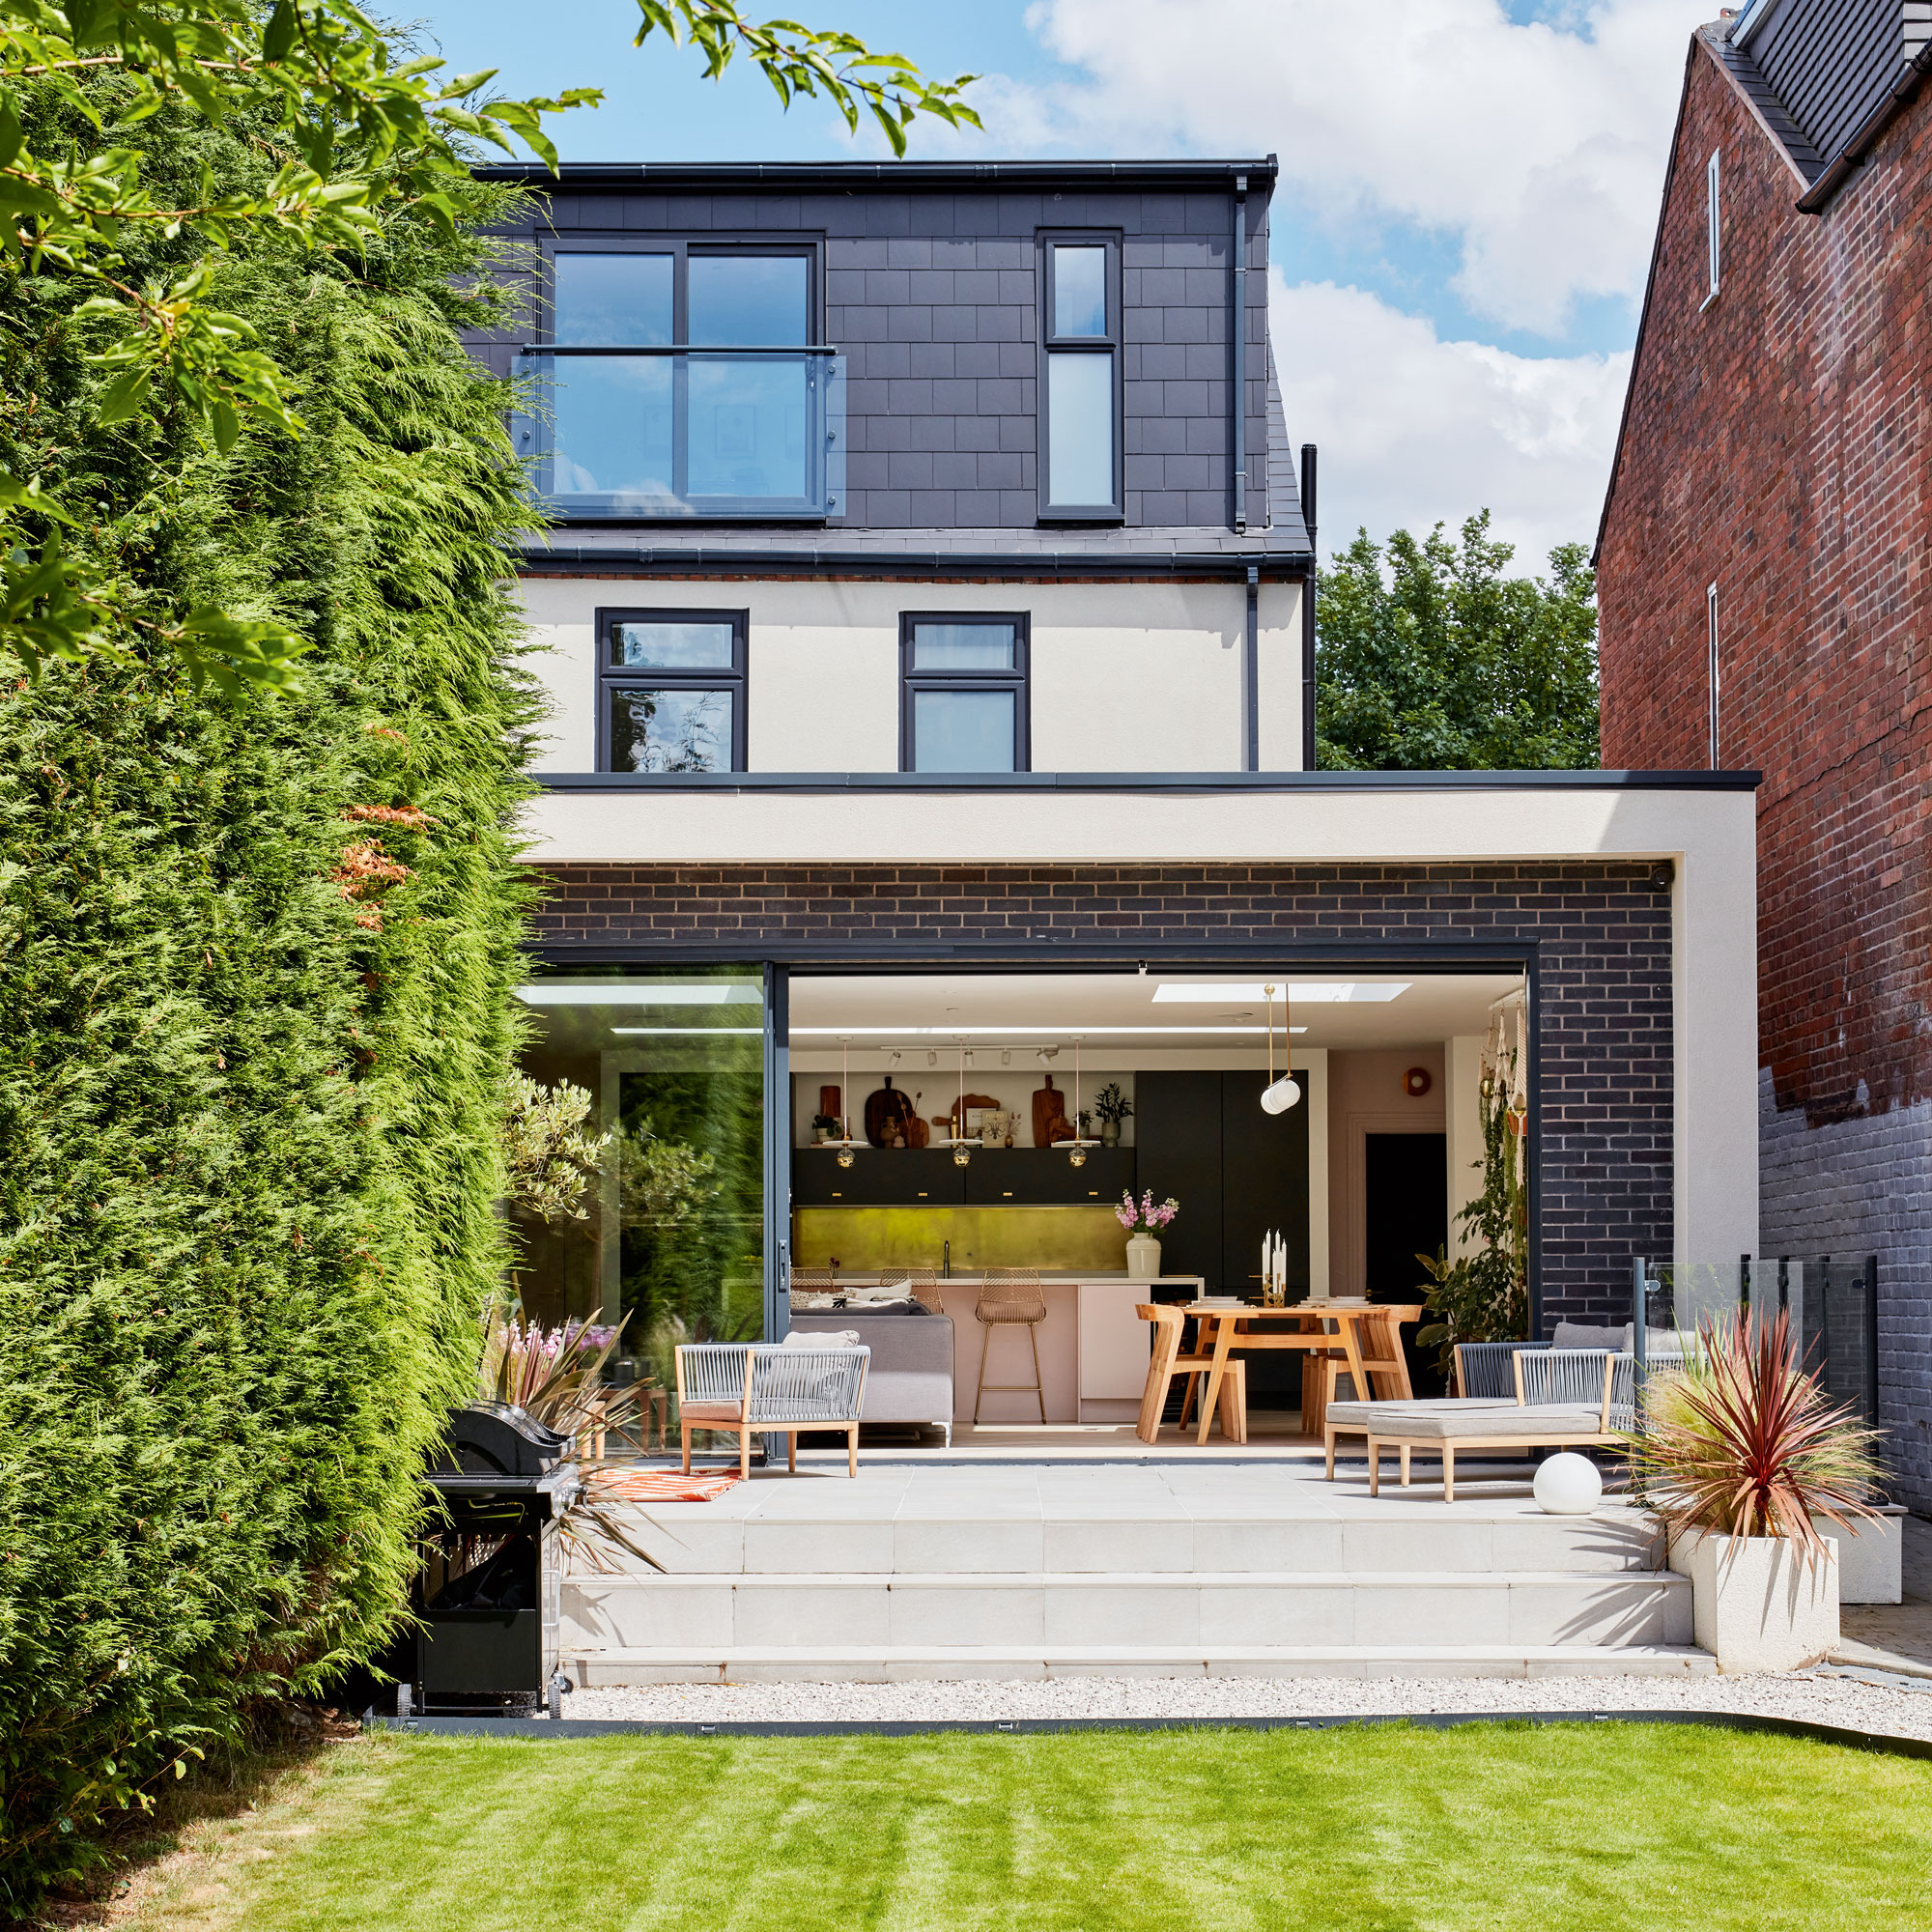
Once your build has been scheduled and you know the start date, you can begin the exciting task of looking at the shopping list items you need to order in. But do it sooner rather than later.
Anything from the cabinets, worktops and white goods you want installed in your new kitchen extension to the sanitaryware, tiles and flooring for a new bathroom - create an itemised shopping list. Confirm with your builder when the items need to be delivered to make sure they are onsite when needed.
Ordering early means you'll likely be able to get the items you really want, rather than having to choose from what's available when you've gone down to the wire.
You'll also need to communicate with your project manager or main contractor about where to store items when they have been delivered so you can ensure you aren't going to inadvertently cause disruption or a safety hazard.
9. Know the order of works
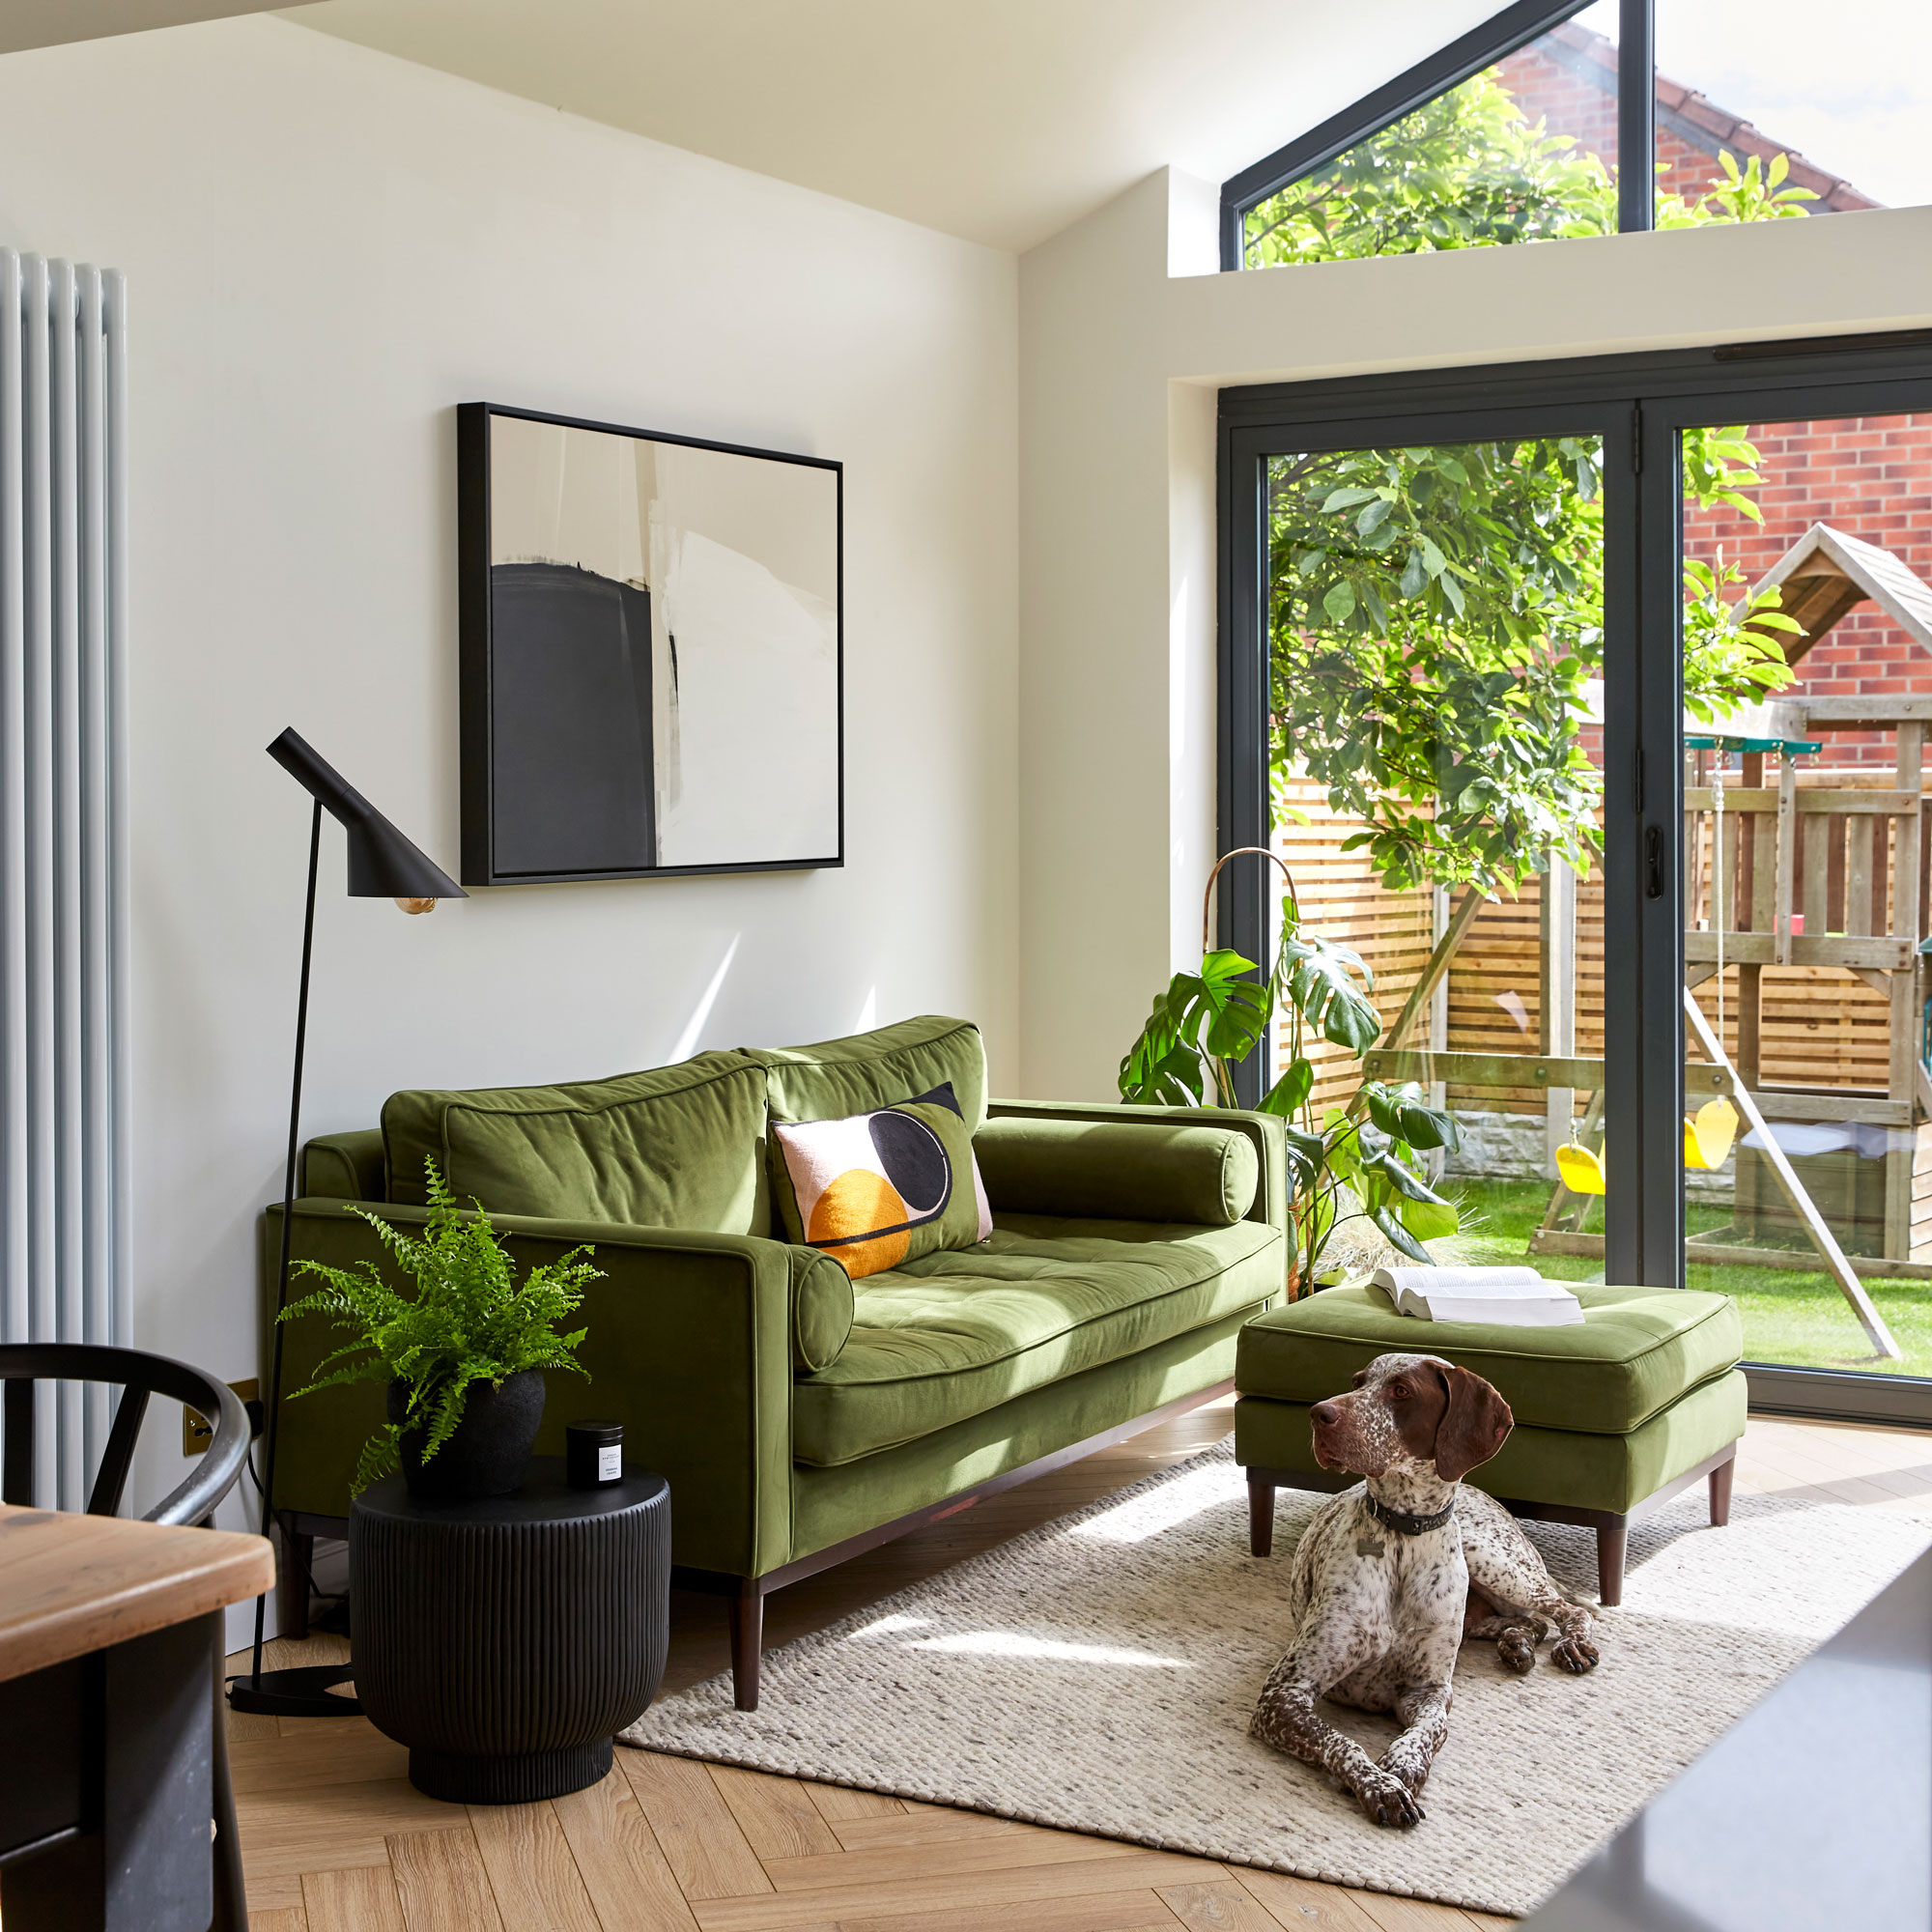
While every extension project is different there is an order from the ground up. Here's a brief rundown of the order of works you can expect when building an extension...
1. Prepare the area
The first stage is to start by sorting out adequate access to the site as well as clearing the area. This is the job of a groundworker. They are usually sub contracted by your main contractor.
Tasks can include dismantling or moving a greenhouse or shed, moving seating and plants, removing soil, patio slabs and waste - anything that may get in the way of the work and make the site unsafe.
At the same time, you should also protect spaces that are going to be lived in during the project, setting up alternative kitchen/bathroom arrangements if necessary. And there will be dust (and plenty of it) so it can be an idea to pack away and store items that you don't need on a daily basis in plastic boxes.
2. Lay the foundations
Once the site has been cleared and made safe, areas can be assigned for the storage of materials or topsoil. Then the foundations can be laid.
Footings will be dug and marked out. Drains will be put in. Groundworkers will then lay hardcore, sand, a damp proof membrane, insulation and concrete to form the base floor foundation.
3. Start the build
At this point, the walls can go up (usually breeze blocks with a brick outer skin, unless you’re opting for cladding or something more unusual). Window sills and lintels can be inserted as the walls rise. Upper floor joists should be fitted if there is to be more than one storey.
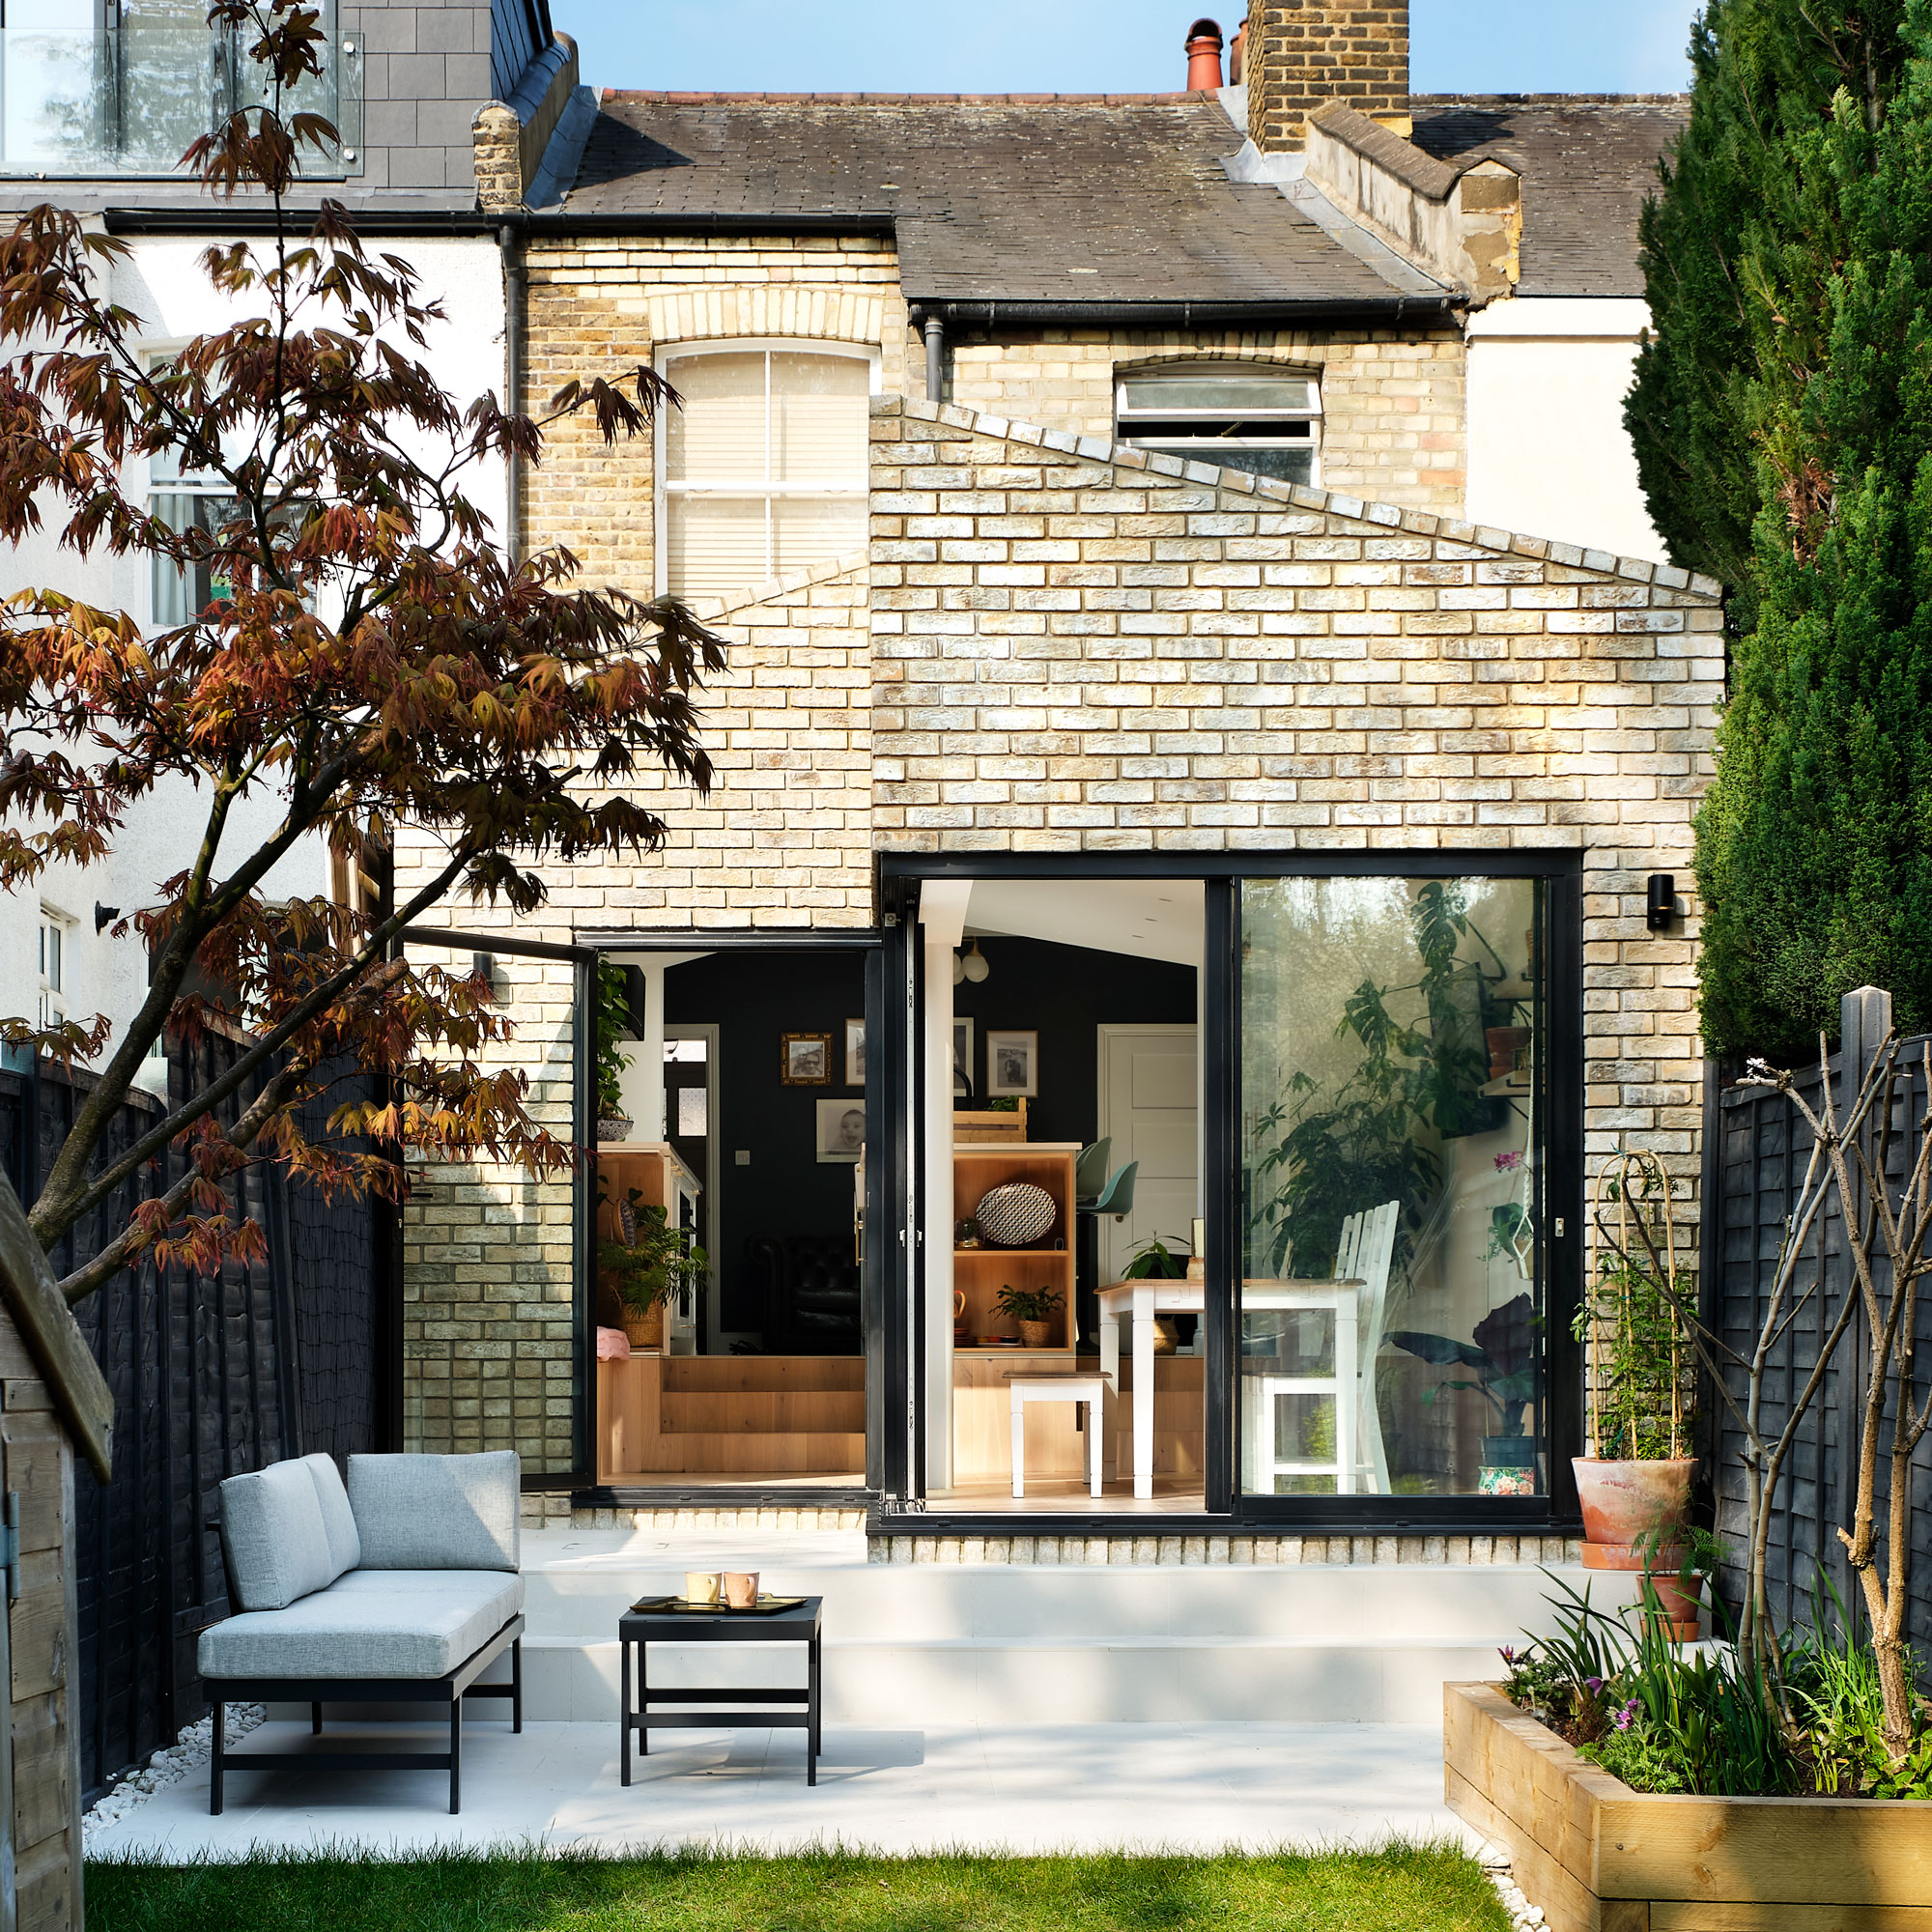
4. Add the roof
First, put in trusses and gable walls to form the frame. Add vents, felting and battens, then put the chosen roof covering on. Add guttering, downpipes and flashing.
5. Finish the shell
Now windows and doors can be fitted, the break through can happen, linking your existing house with your new extension.
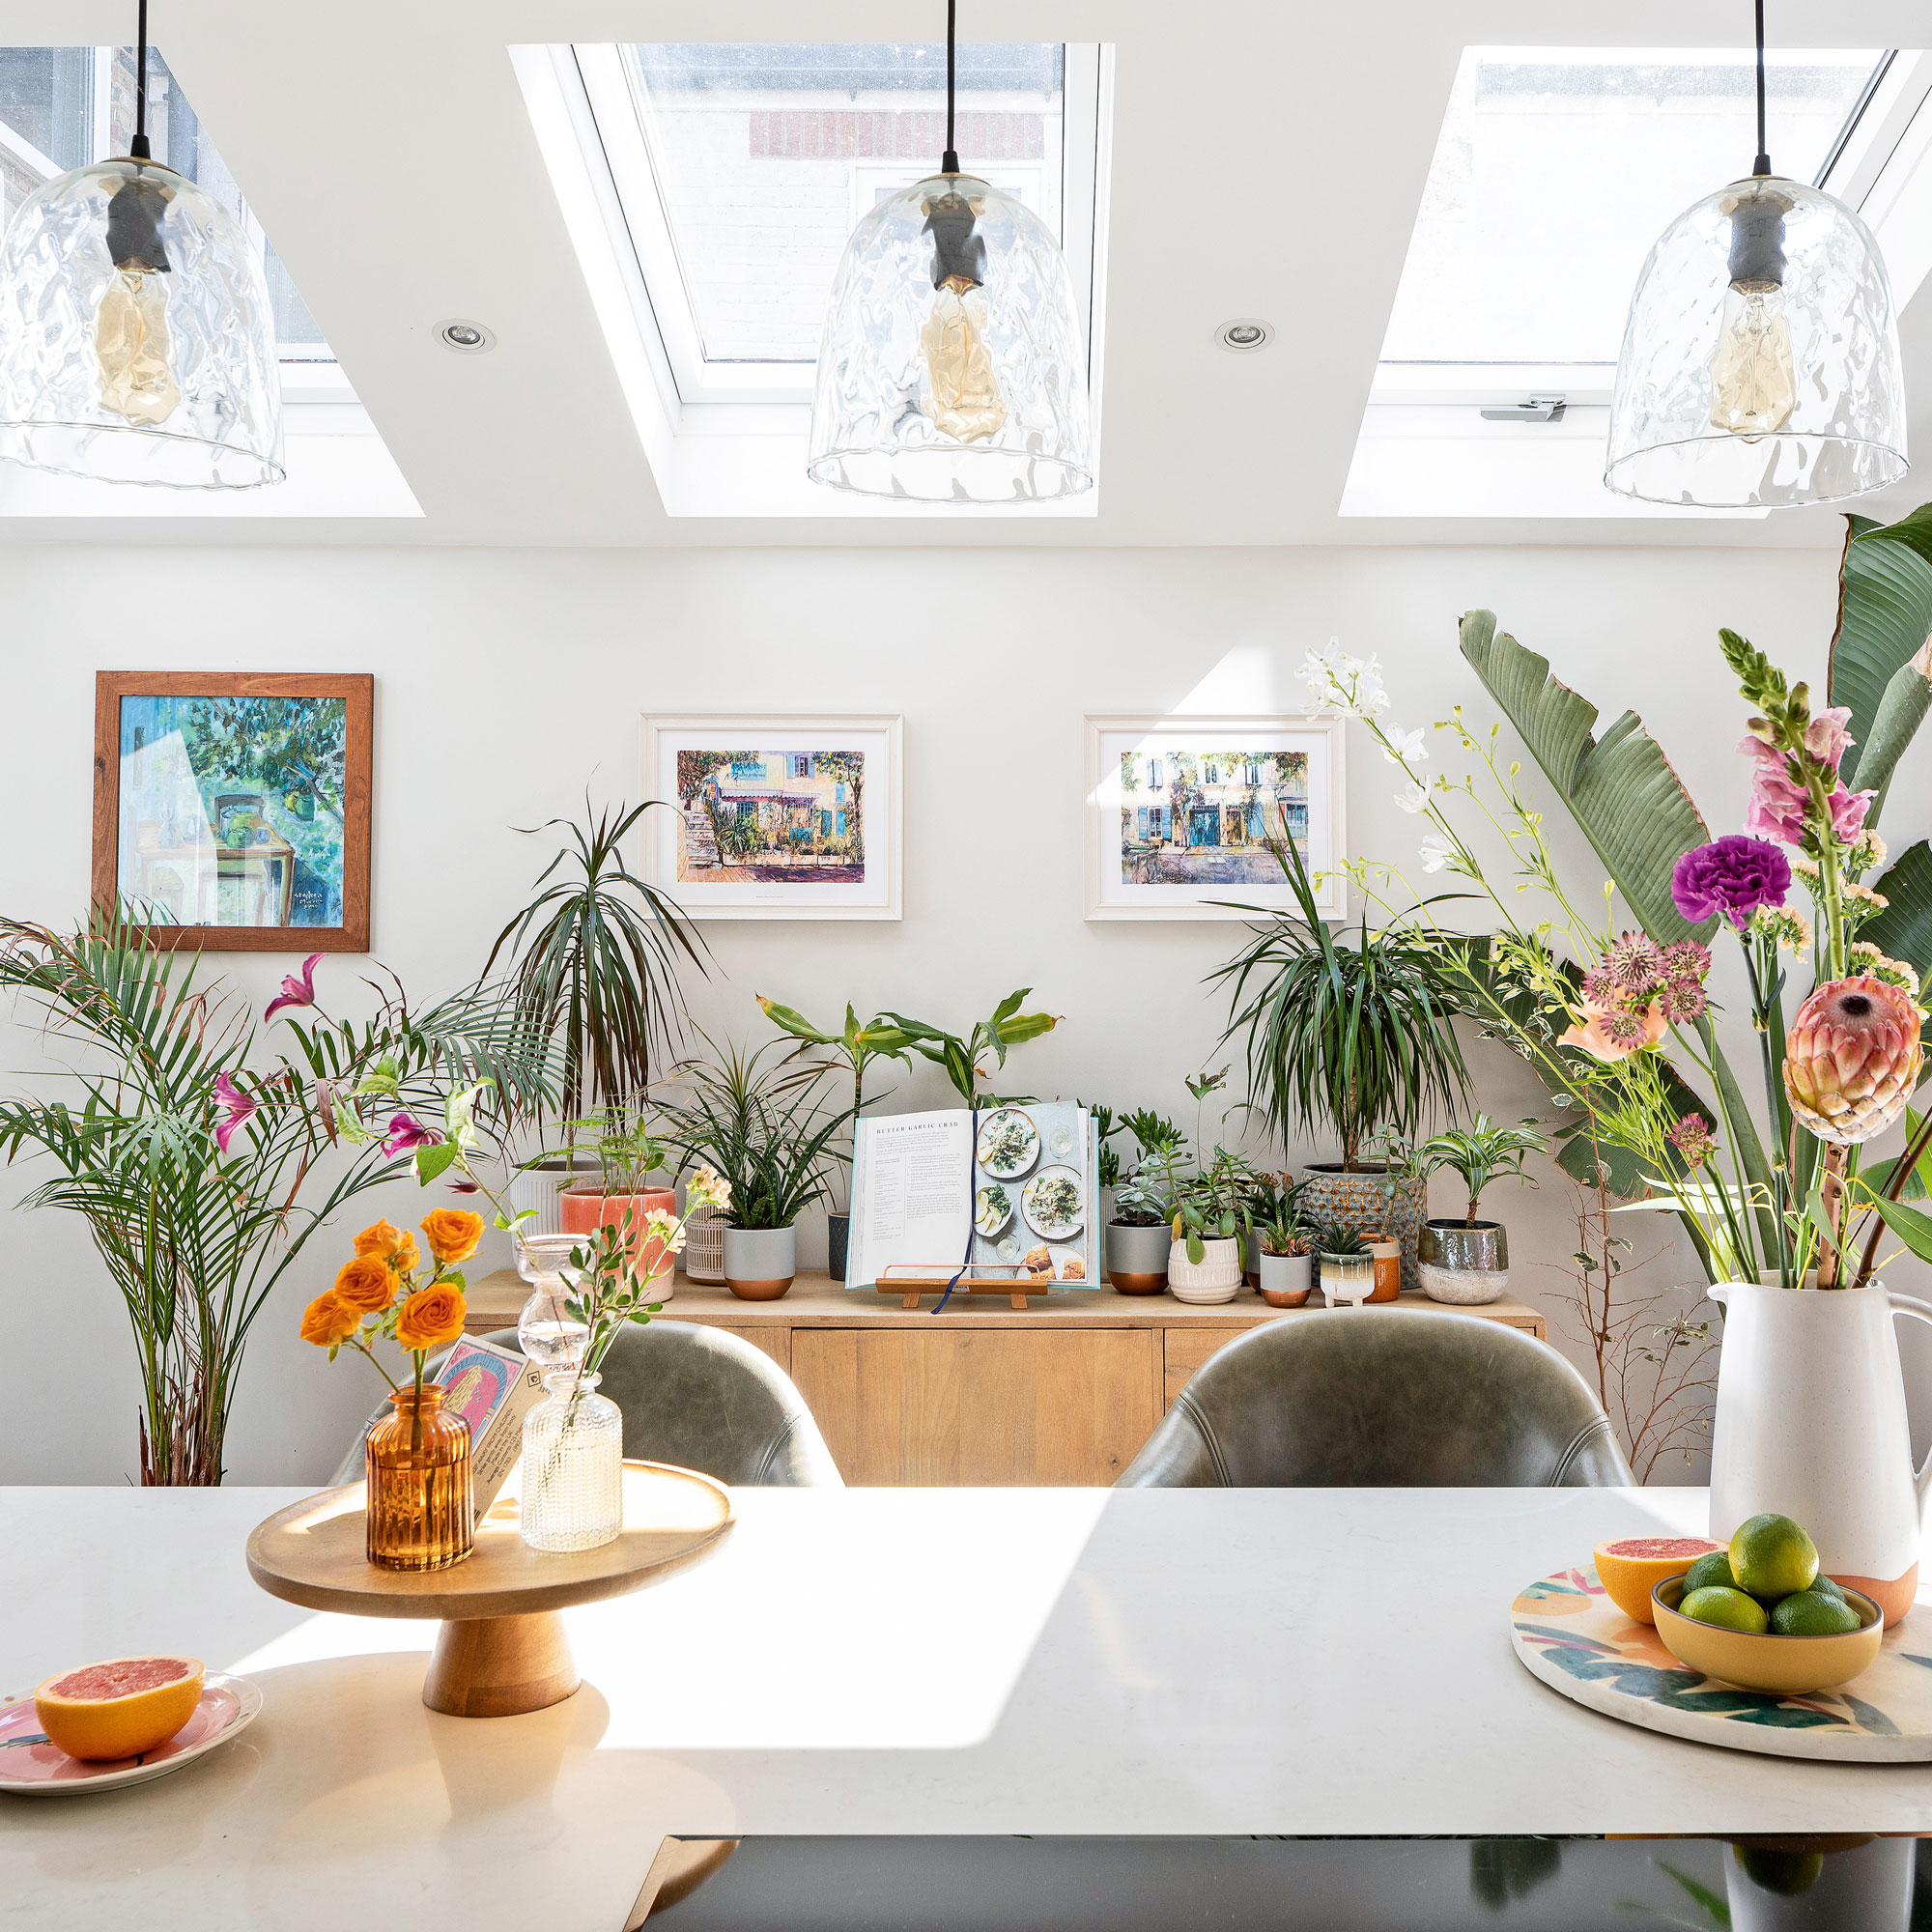
6. Fit the interior
Now, floor insulation can be laid – along with any underfloor heating pipework, if it's required. Electrics, plumbing and plastering will be completed.
Finally, your flooring will be installed, cabinetry fitted, carpentry and appliances sorted and in, and then it's the really fun bit - decorating the space!
FAQs
How long does an extension take to build?
Depending on the complexity of the project and the size of the structure, construction will usually take between three and six months.
'Typically if you are building a modest extension approx. 25 – 50 sqm, we would expect this to be approximately six months, depending on the concept and complexity of the design and materials used,' says architect Darren Bray of Studio BAD. 'Windows are always the long lead items, typically eight to 12 weeks from placing an order.'
Use this construction time period wisely by sourcing products for the internal fit-out. Bear in mind that kitchen suites and bespoke joinery often come with a significant lead time so order earlier rather than later.
Get the Ideal Home Newsletter
Sign up to our newsletter for style and decor inspiration, house makeovers, project advice and more.
- Sarah HandleySection Editor – Renovation
-
 I tried out this neat little dehumidifier for a month – it dried my laundry in half the time
The 20L SmartAir Dry Zone dehumidifier tackled my laundry drying woes head on
By Jenny McFarlane
-
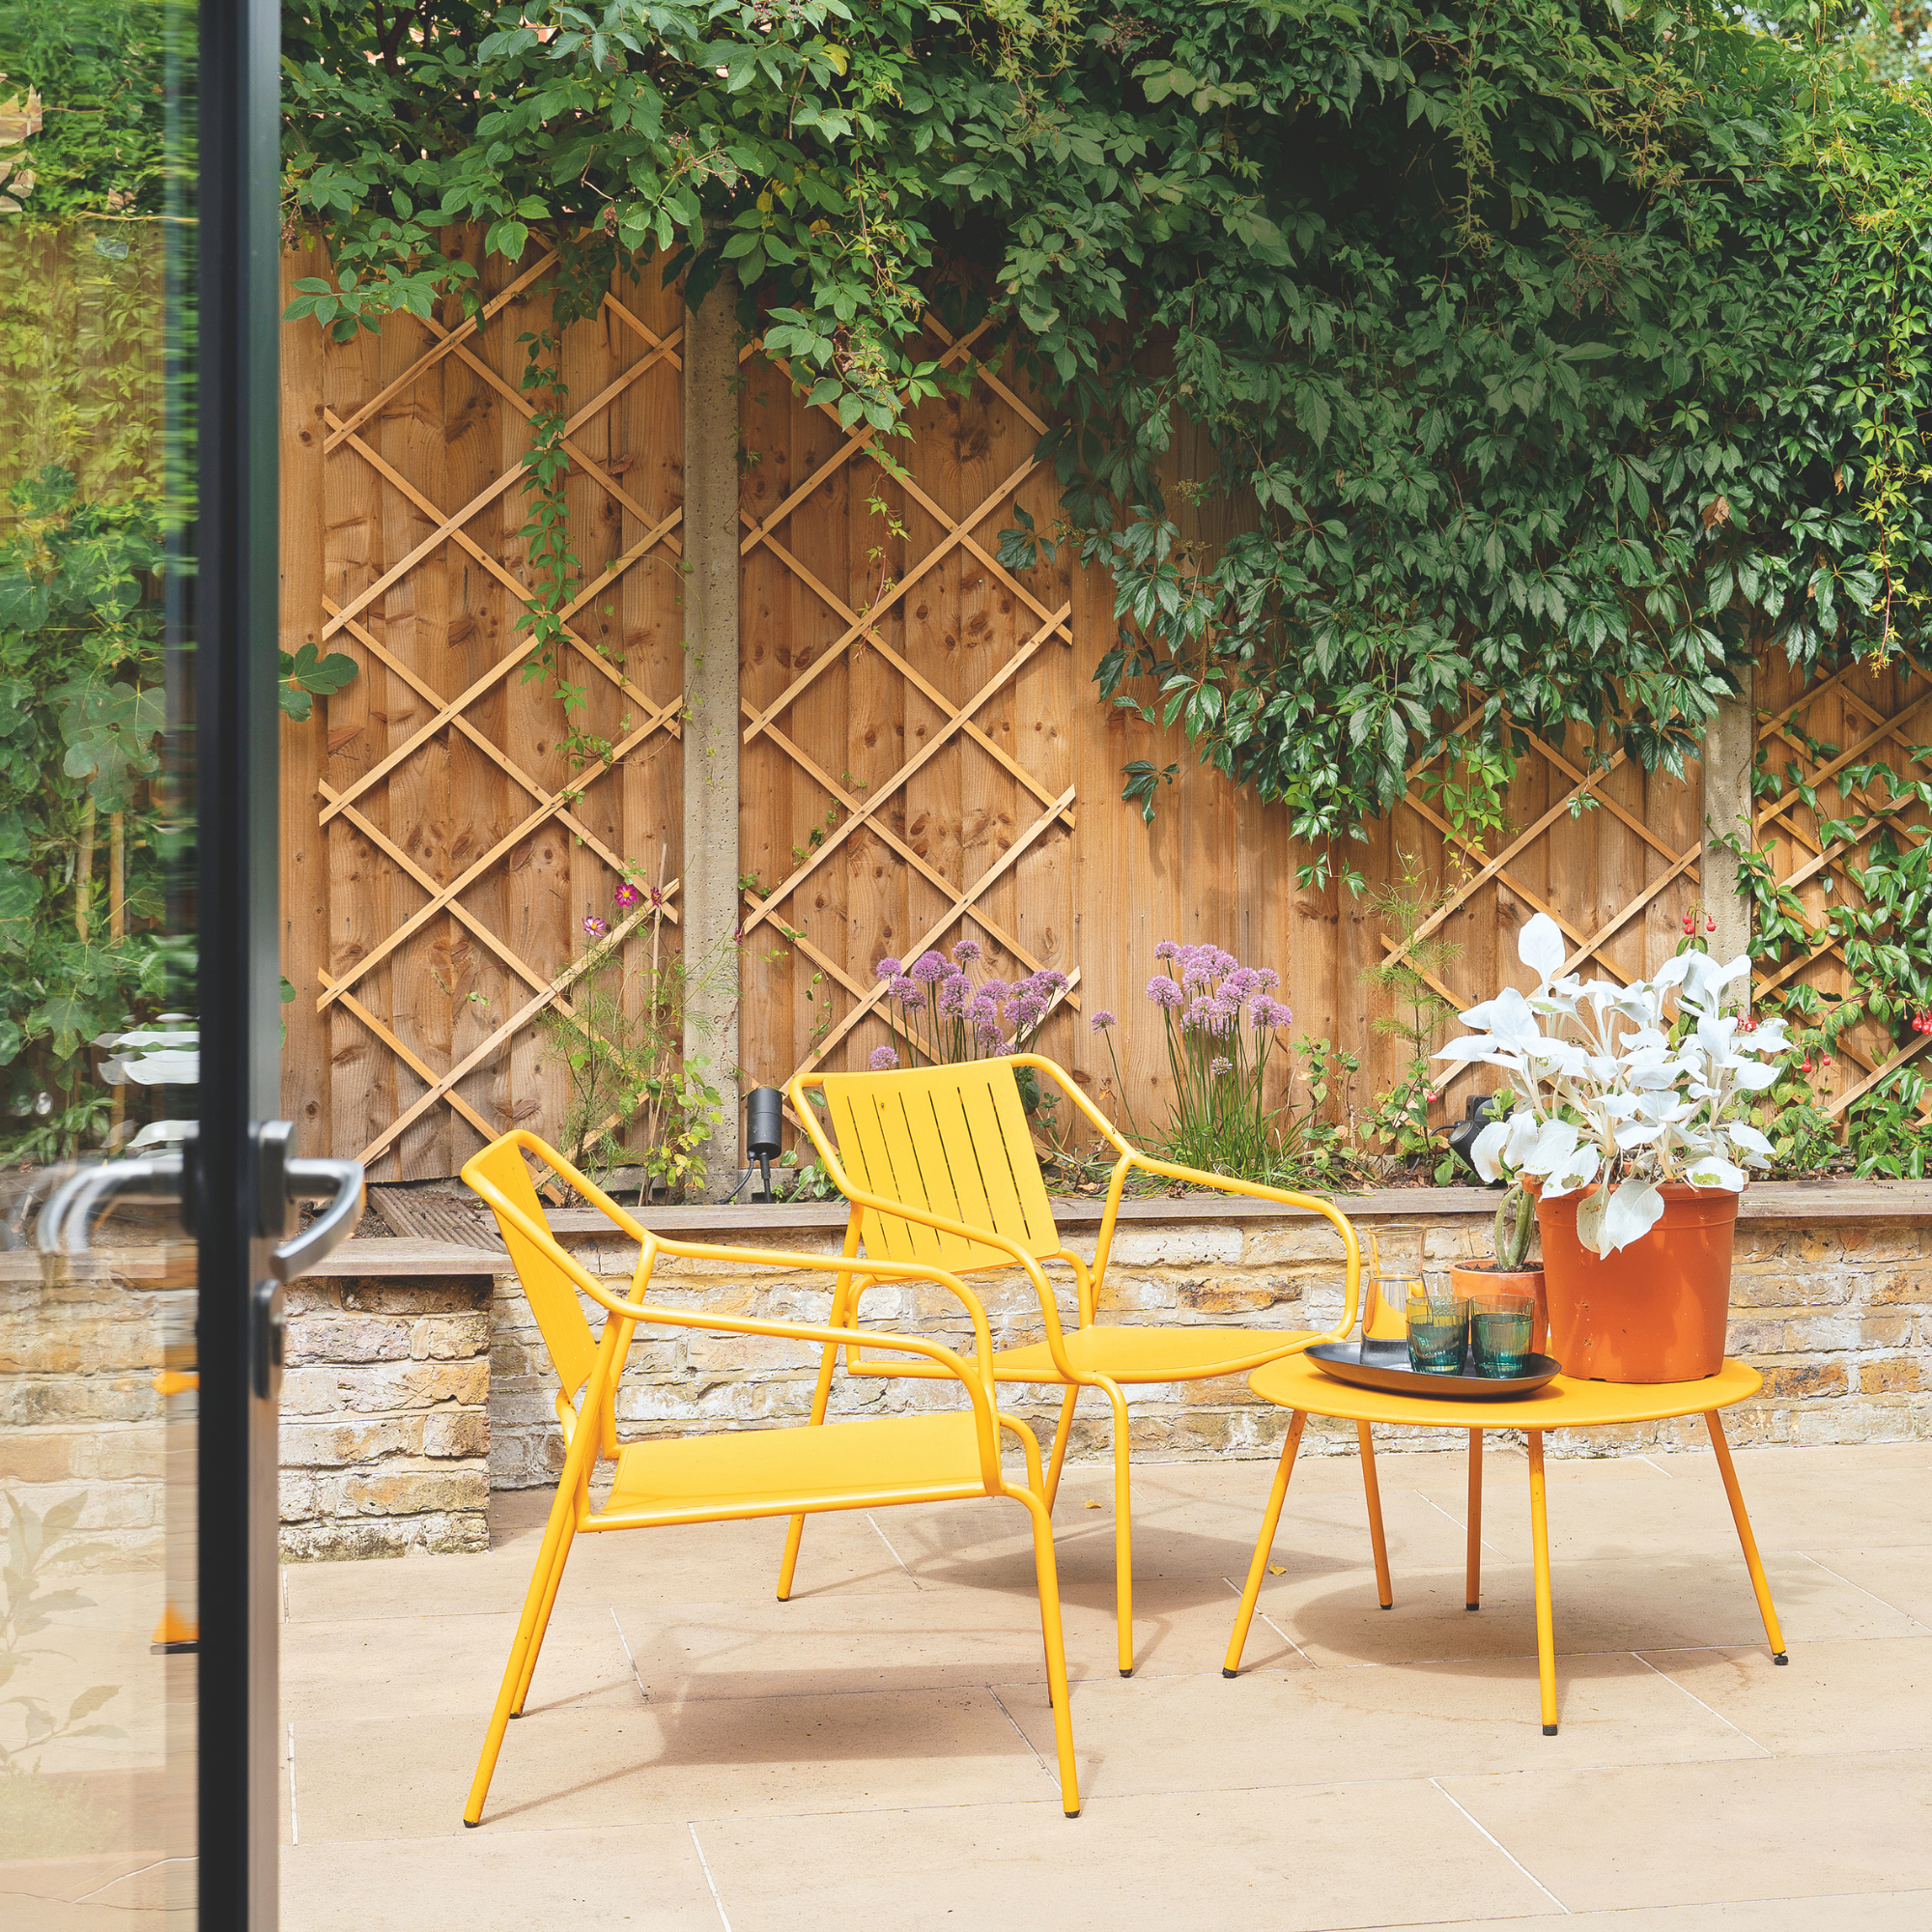 I’m seeing pastel garden furniture at all my favourite brands this spring, but QVC’s sorbet collection impressed me the most
Fresh pastel shades are a great way to liven up your outdoor space
By Kezia Reynolds
-
 Don't tell my flatmates, but Joseph Joseph's clever new sink range finally made me enjoy washing up
I didn't know stylish washing up accessories existed until I saw this collection
By Holly Cockburn