How to change a tap easily and give your sink a fresh new look
Sick of the drip, drip, drip? Here's how to replace your old tap with a shiny new mixer

Katie Sims
Changing a tap might not seem like the most exciting part of home renovation, but they sure do make a big difference to our day, and there are lots of fabulous taps to choose from that can complete the look of your bathroom or update your kitchen ideas.
'Simple changes like upgrading your taps can make a world of difference when restyling your kitchen or bathroom', says Rob Pearson, Network Operations Manager at Rightio. 'Fortunately, fitting a new tap is relatively easy and takes just a few simple steps.'
Changing a tap is a job you can tackle yourself, and with a wide variety of options available from as little as £40, it’s a low-cost upgrade, too. You’ll need access to under your sink, and to know how to turn your water supply off and on again.
Learning how to change a tap is made easier by our comprehensive step-by-step guide, covering everything you need to know from isolating your water supply to disconnecting your tap and fitting a new one. Or if you want to solve an issue with your current taps without replacing them, you can learn how to fix a dripping tap first.
How to change a tap – step-by-step
The kit you'll need
- Masking tape
- Bucket
- Towel
- Flat head screwdriver
- Adjustable wrench
- Box spanner
- Limescale remover
- Cloth
- New mixer tap
- Plumber's pliers
- PTFE (Plumber's tape)
1. Check your pressure
This will help you determine the best tap to buy as a replacement to get the most from your new faucet. While changing a tap is a good opportunity to fix low water pressure if you're able to, it will still need to suit your home’s water pressure which you won't be able to change yourself.
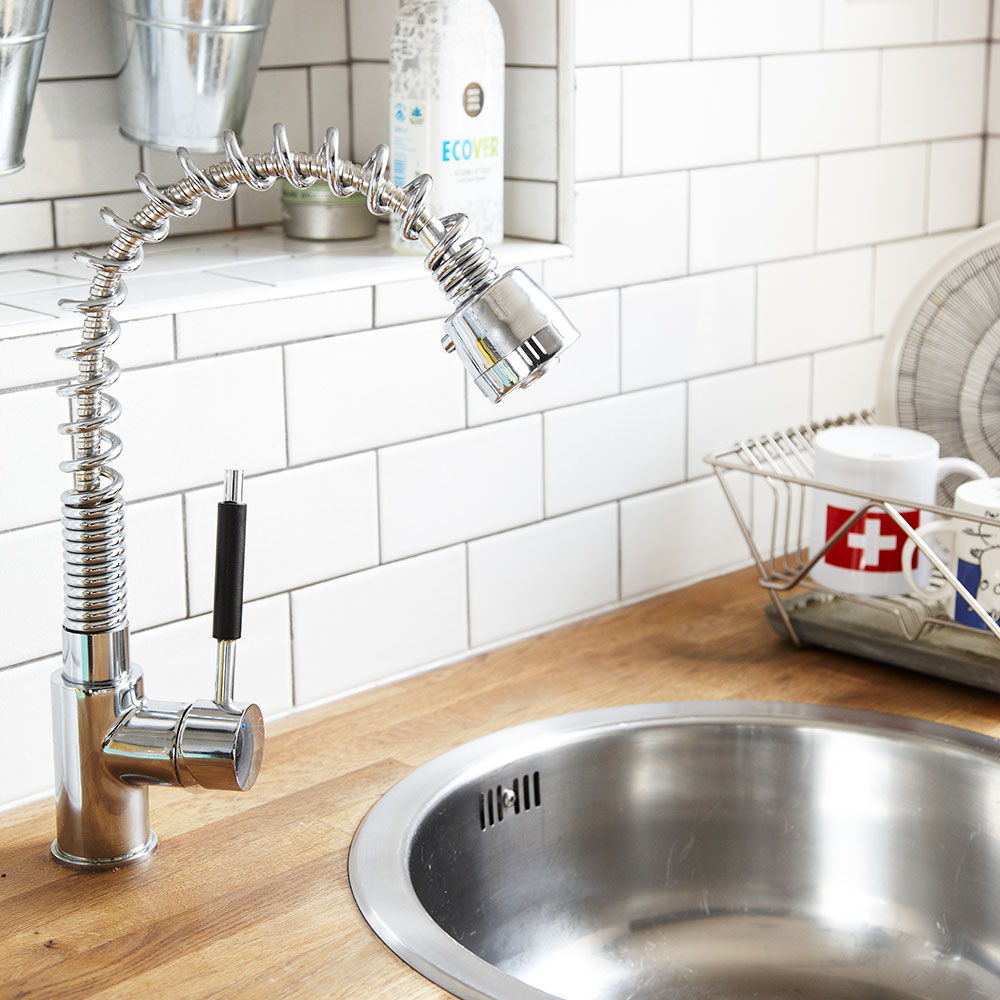
If it’s low, a tap designed to operate at low pressure will ensure a steady flow rate, while if it’s high, you can choose one with more innovative features, such as a spray head.
Check your water pressure by holding a measuring jug under your tap for 6 seconds. Multiply the amount of water collected to find out your flow rate in litres per minute. Anything less than 10 litres per minute is considered low pressure, whereas anything around 15 litres per minute is considered high pressure.
2. Isolate your water
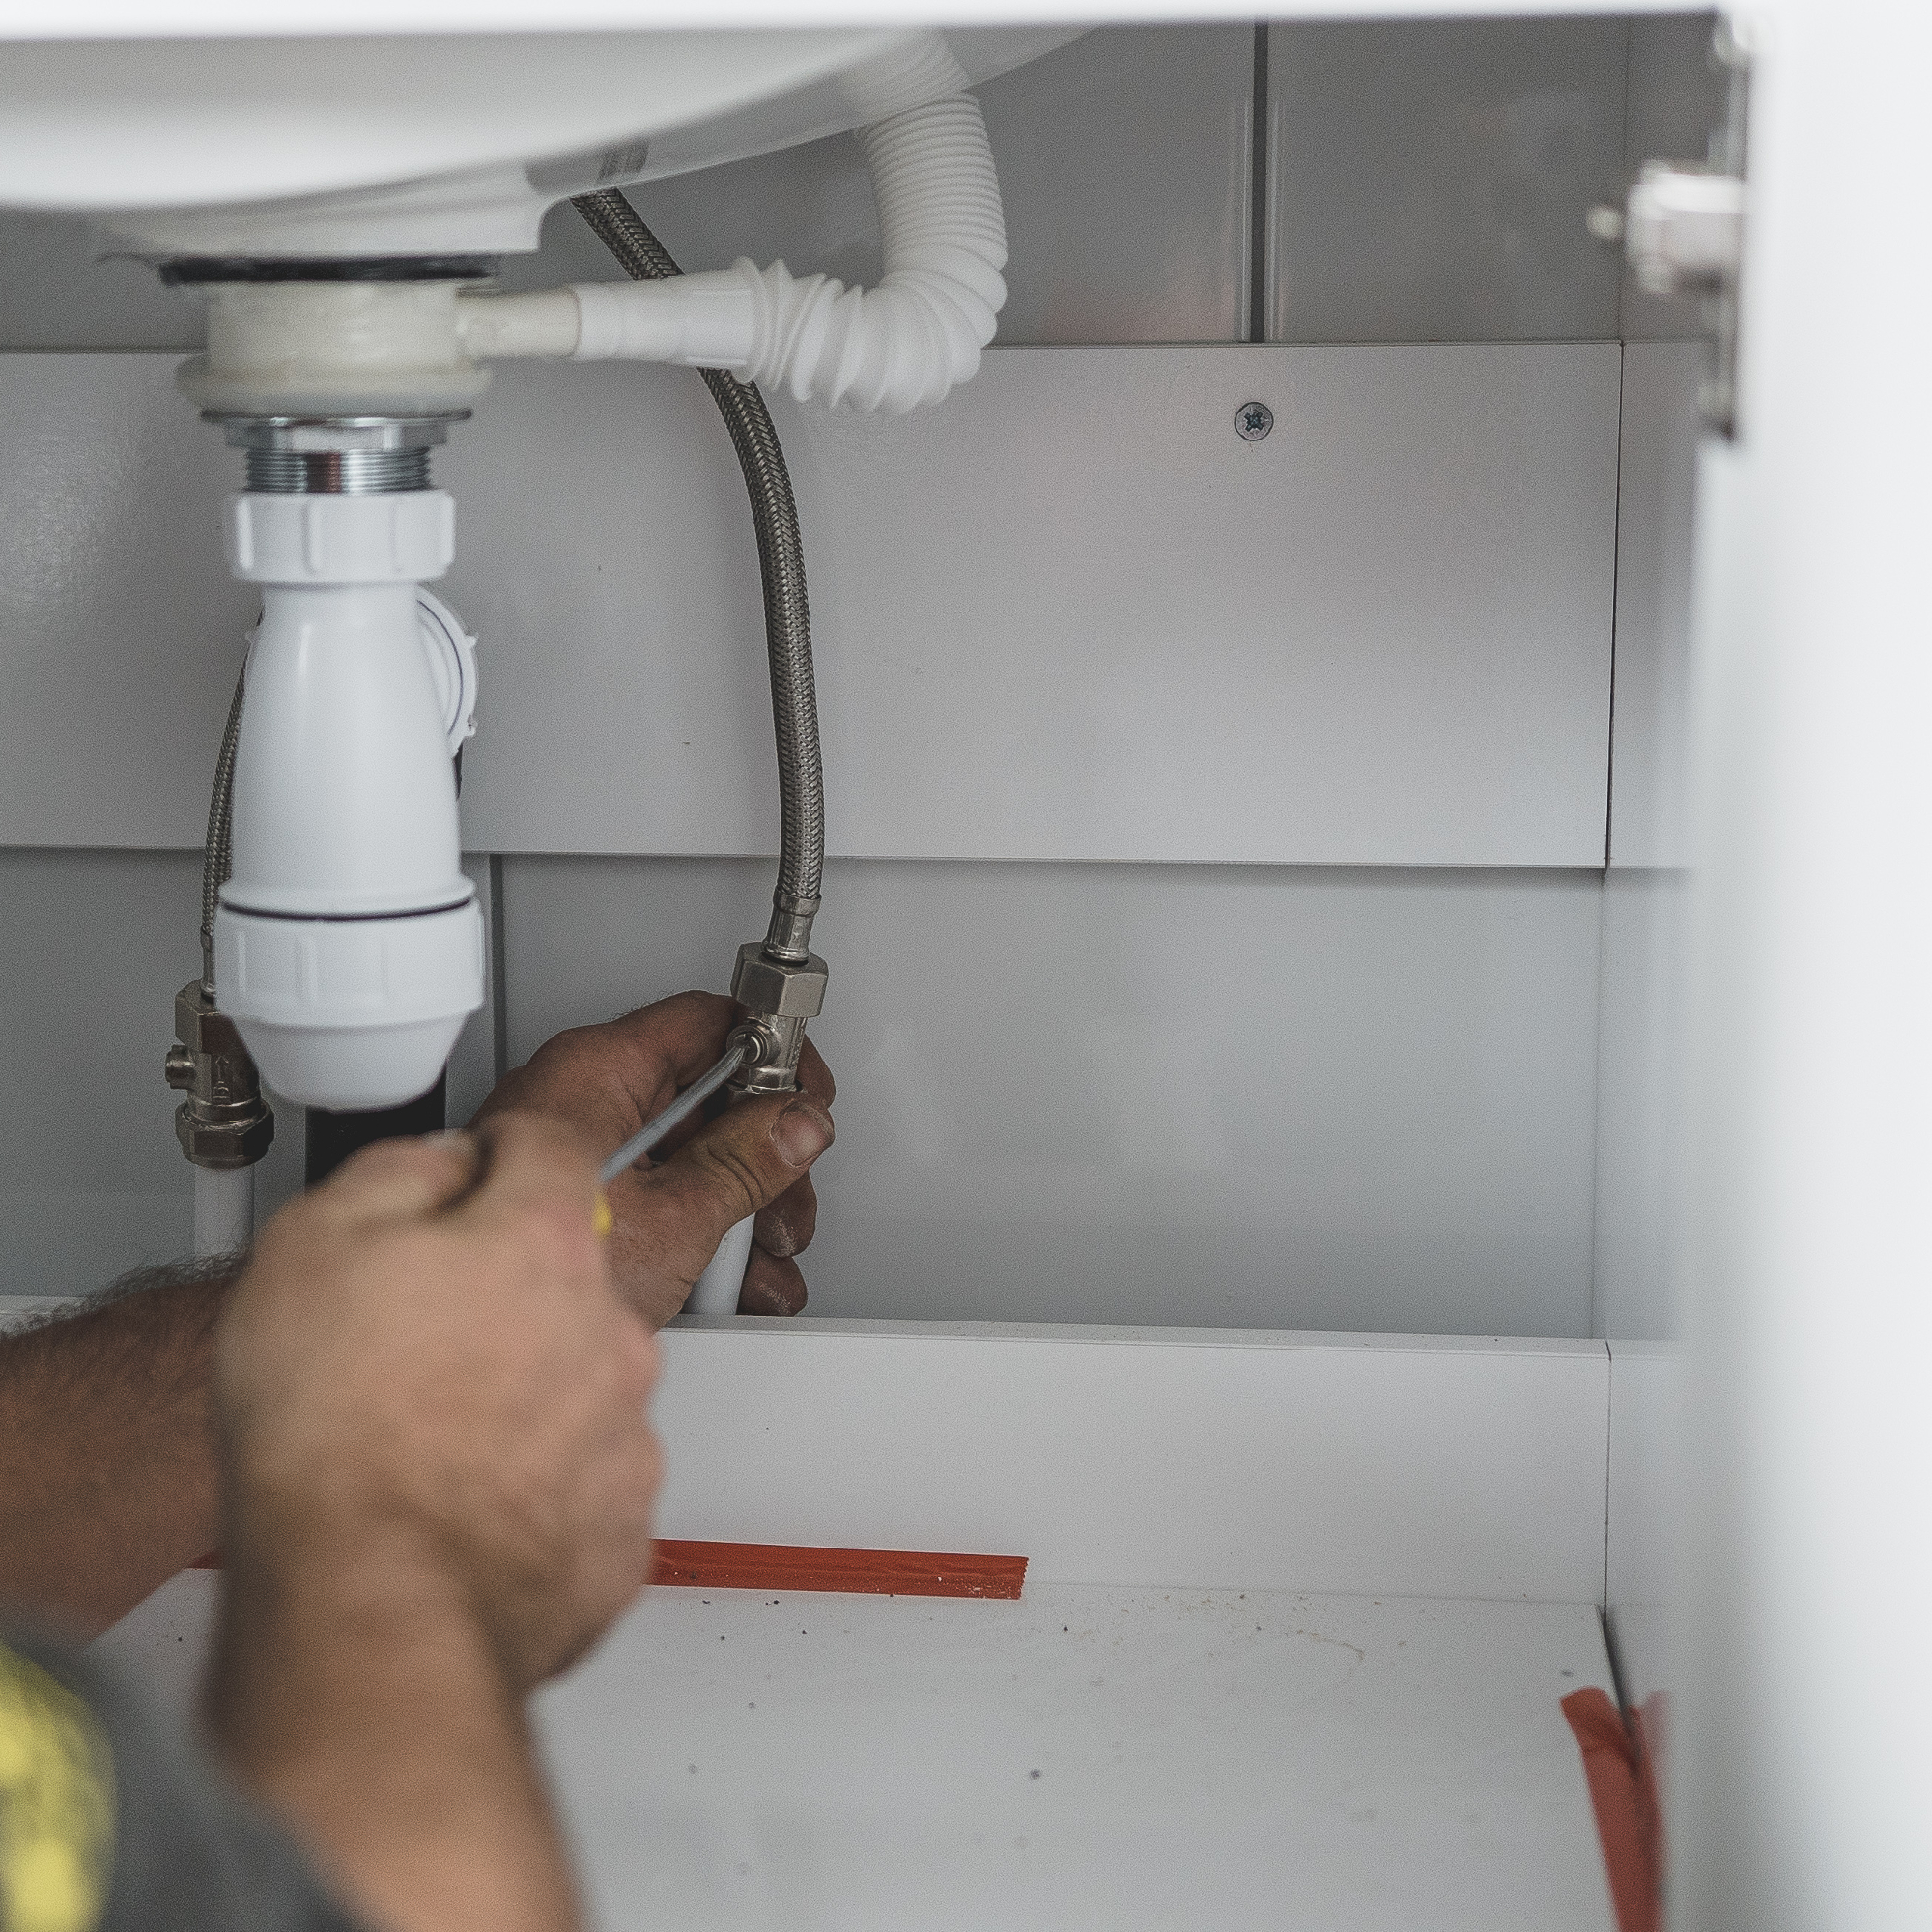
Turn off your water, either with the isolating valves or by locating the stopcock and shutting it off. Run the tap to drain any water. Spread an old towel inside the cupboard and place a bucket to catch the drips. You'll also want to make a note of which supply pipe is hot and which side is cold, which you can label with masking tape.
3. Disconnect the tap from the water pipes
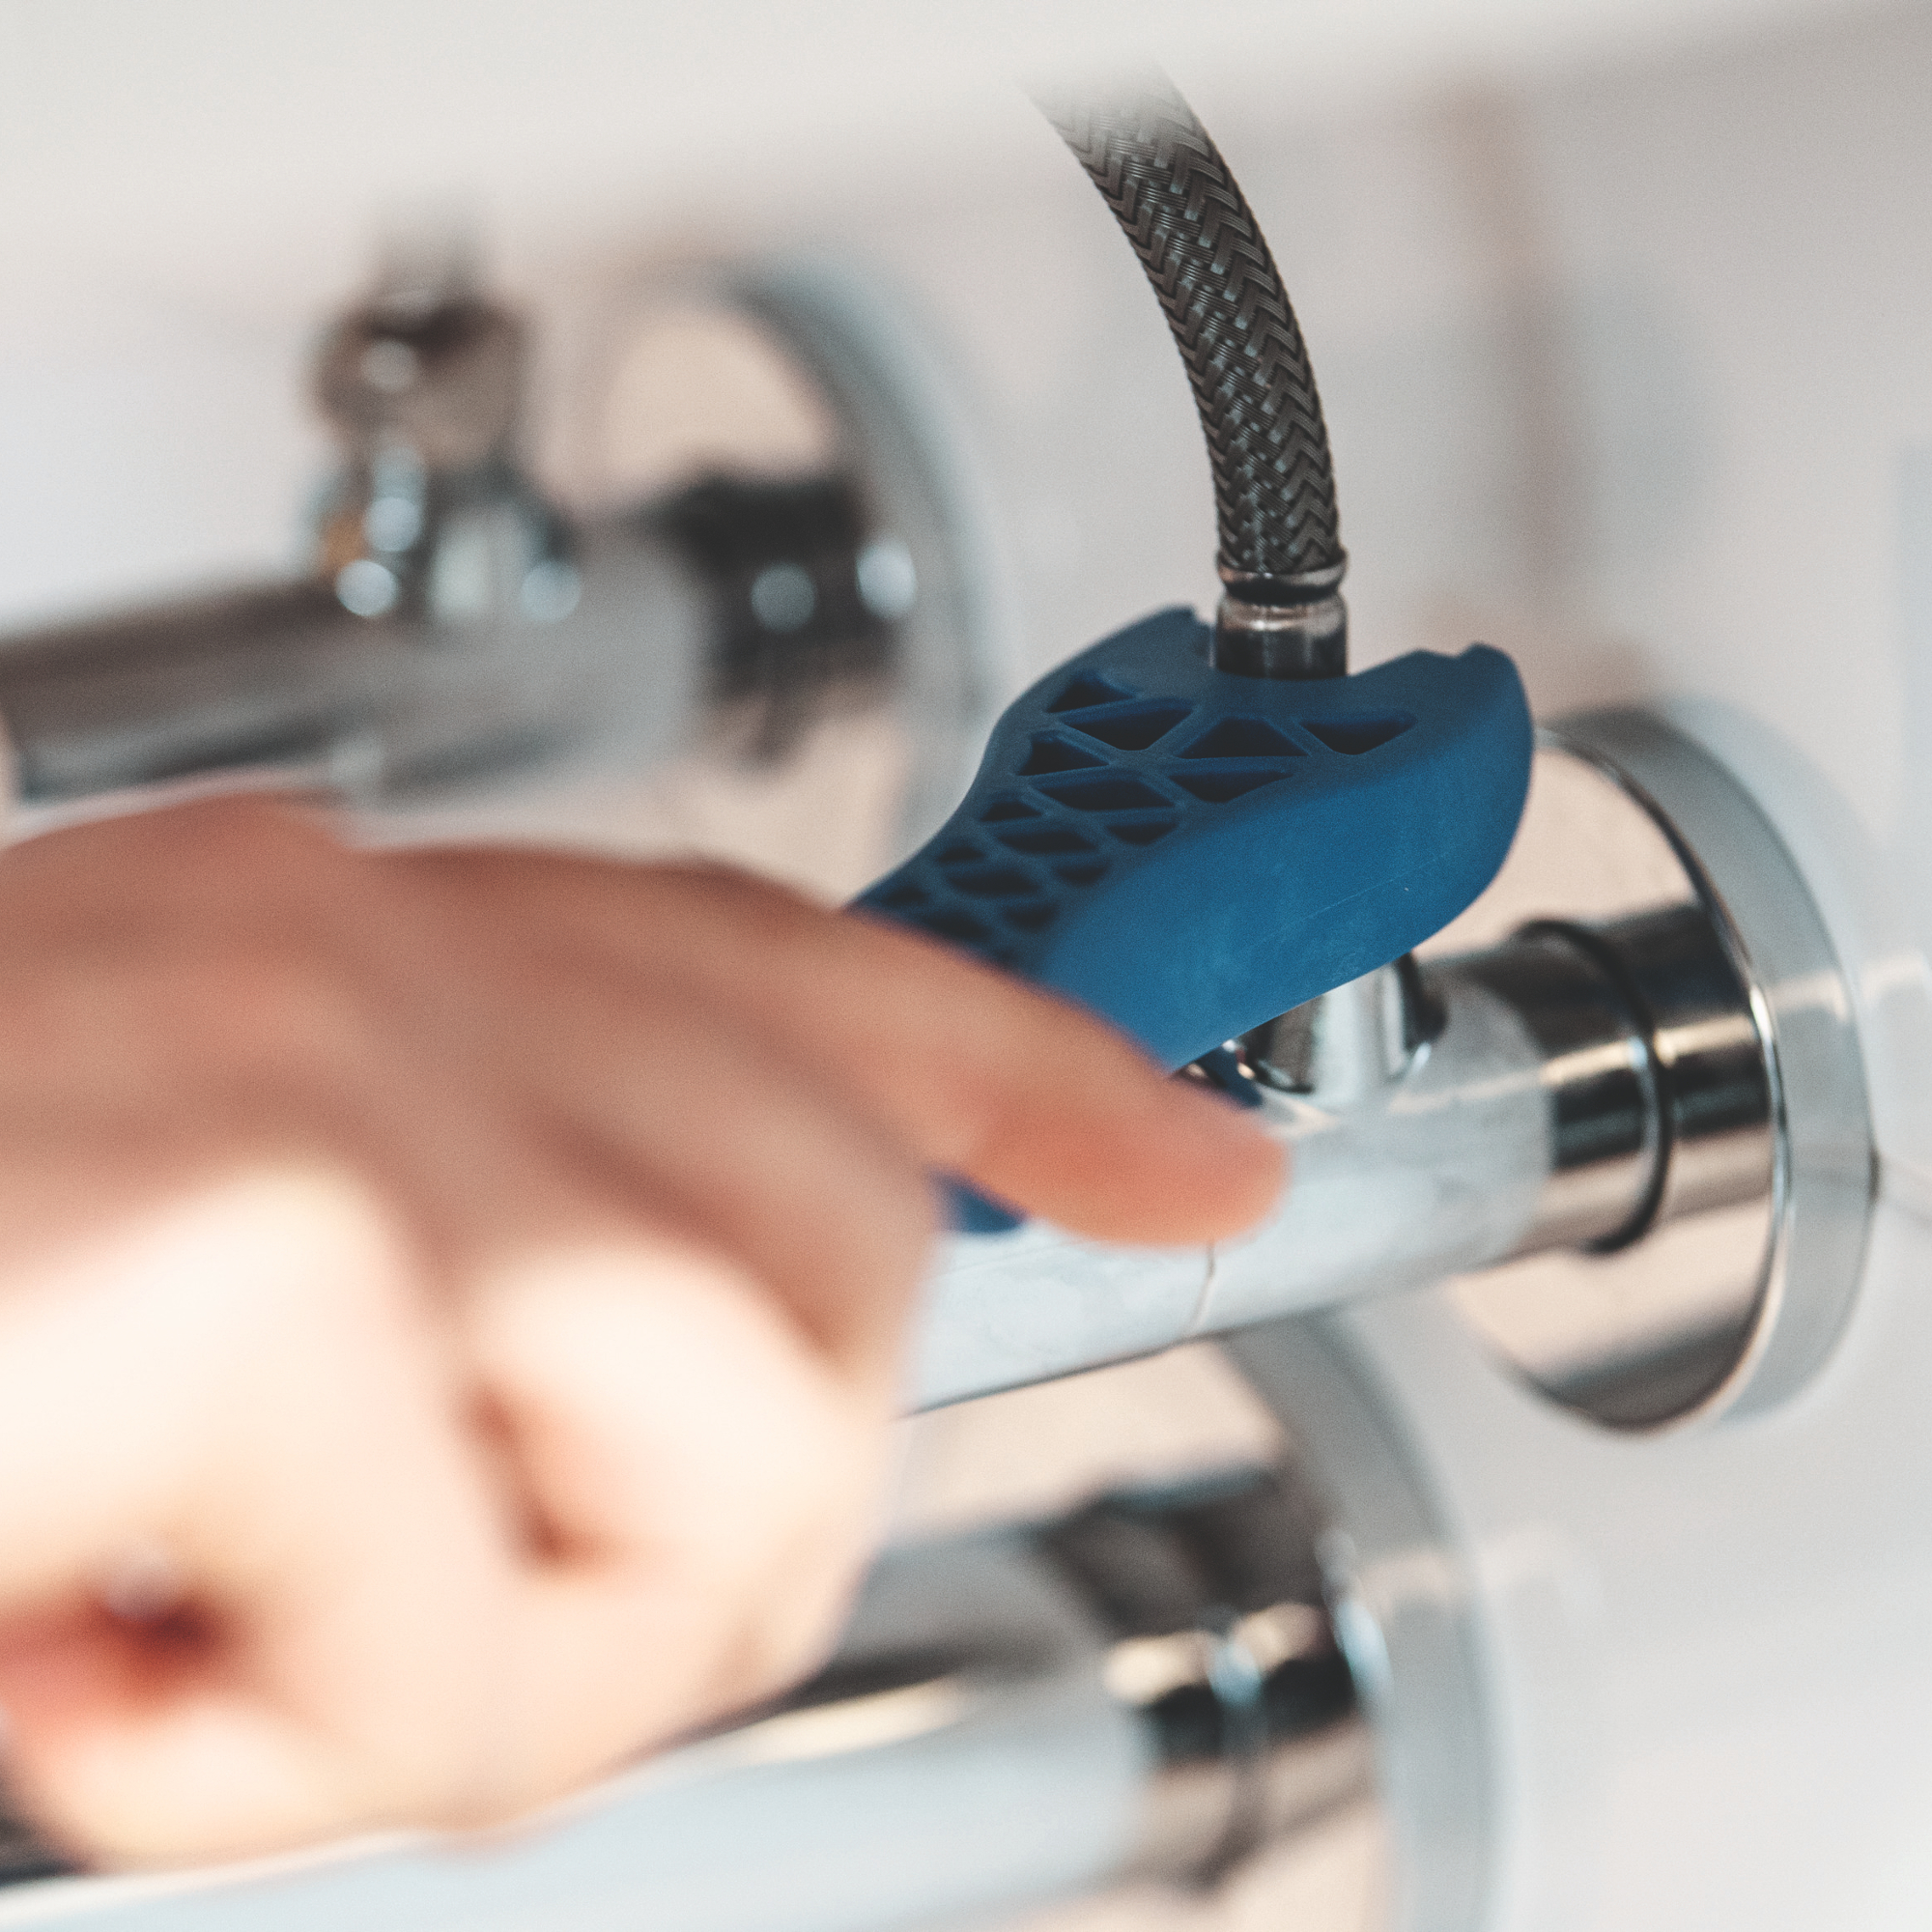
Disconnect the tap from the hot and cold water pipes underneath the sink. Using an adjustable spanner, loosen the nut attaching the tap to the mains pipe (you may have two supply pipes each end with a compression fitting or two shut-off valves in the pipes under the sink). In each case, loosen and disconnect the joints with the spanner.
4. Remove the old tap
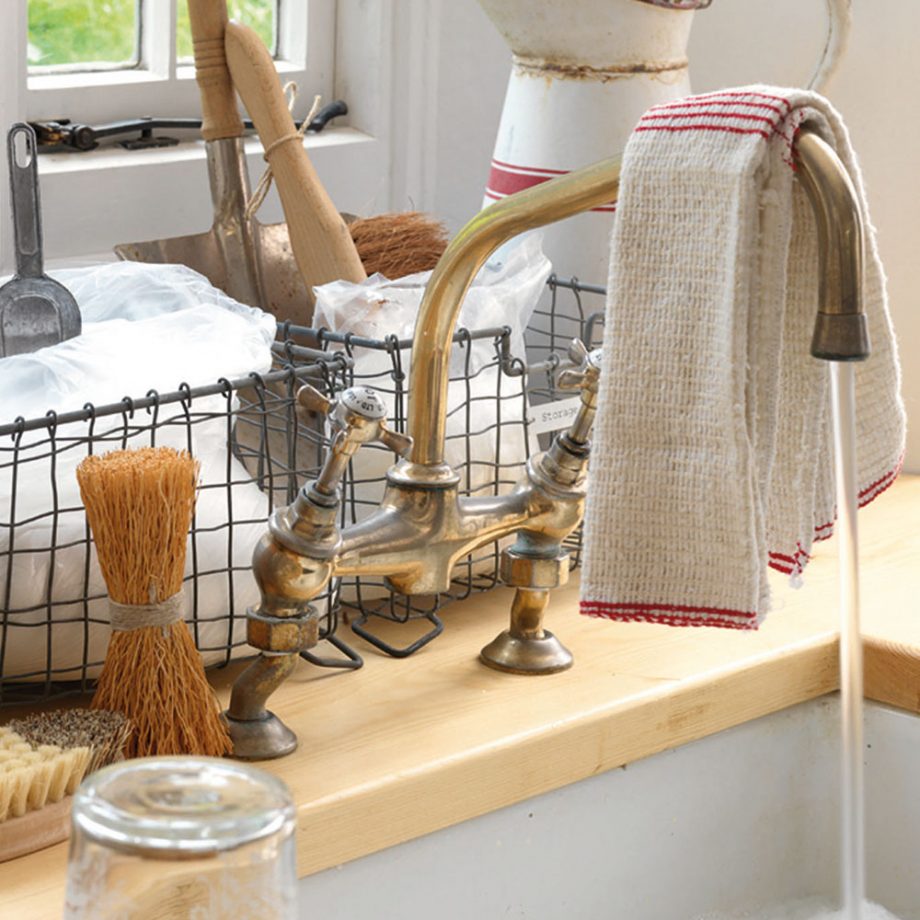
Underneath the sink, you’ll find a brass nut that holds the tap in place. This is the nut that is screwed onto the threaded bar that is attached to the base of the tap. Unscrew this with a box spanner or a flathead screwdriver and then lift the tap from its hole. Give the area around the tap hole a good clean to remove limescale from the tap, but be careful because the tap hole is very sharp.
5. Fit your new tap
Assemble your new tap if necessary. The new tap will have a tube with an external screw thread at its base. Push the tube down through the hole in the sink or worktop, then push the retaining plate and washer over the tube. Fit the nut and tighten with the spanner or pliers.
Make sure the hot and cold connectors aren’t twisted, then reconnect to the supply valves or pipes. If the pipework to your old tap had a flexible hose, then fitting a new tap should be straightforward. If you have solid copper pipes, then unless your taps are the same length, you’ll need to use flexible hosing to bridge the gaps.
6. Finish up and test your new tap
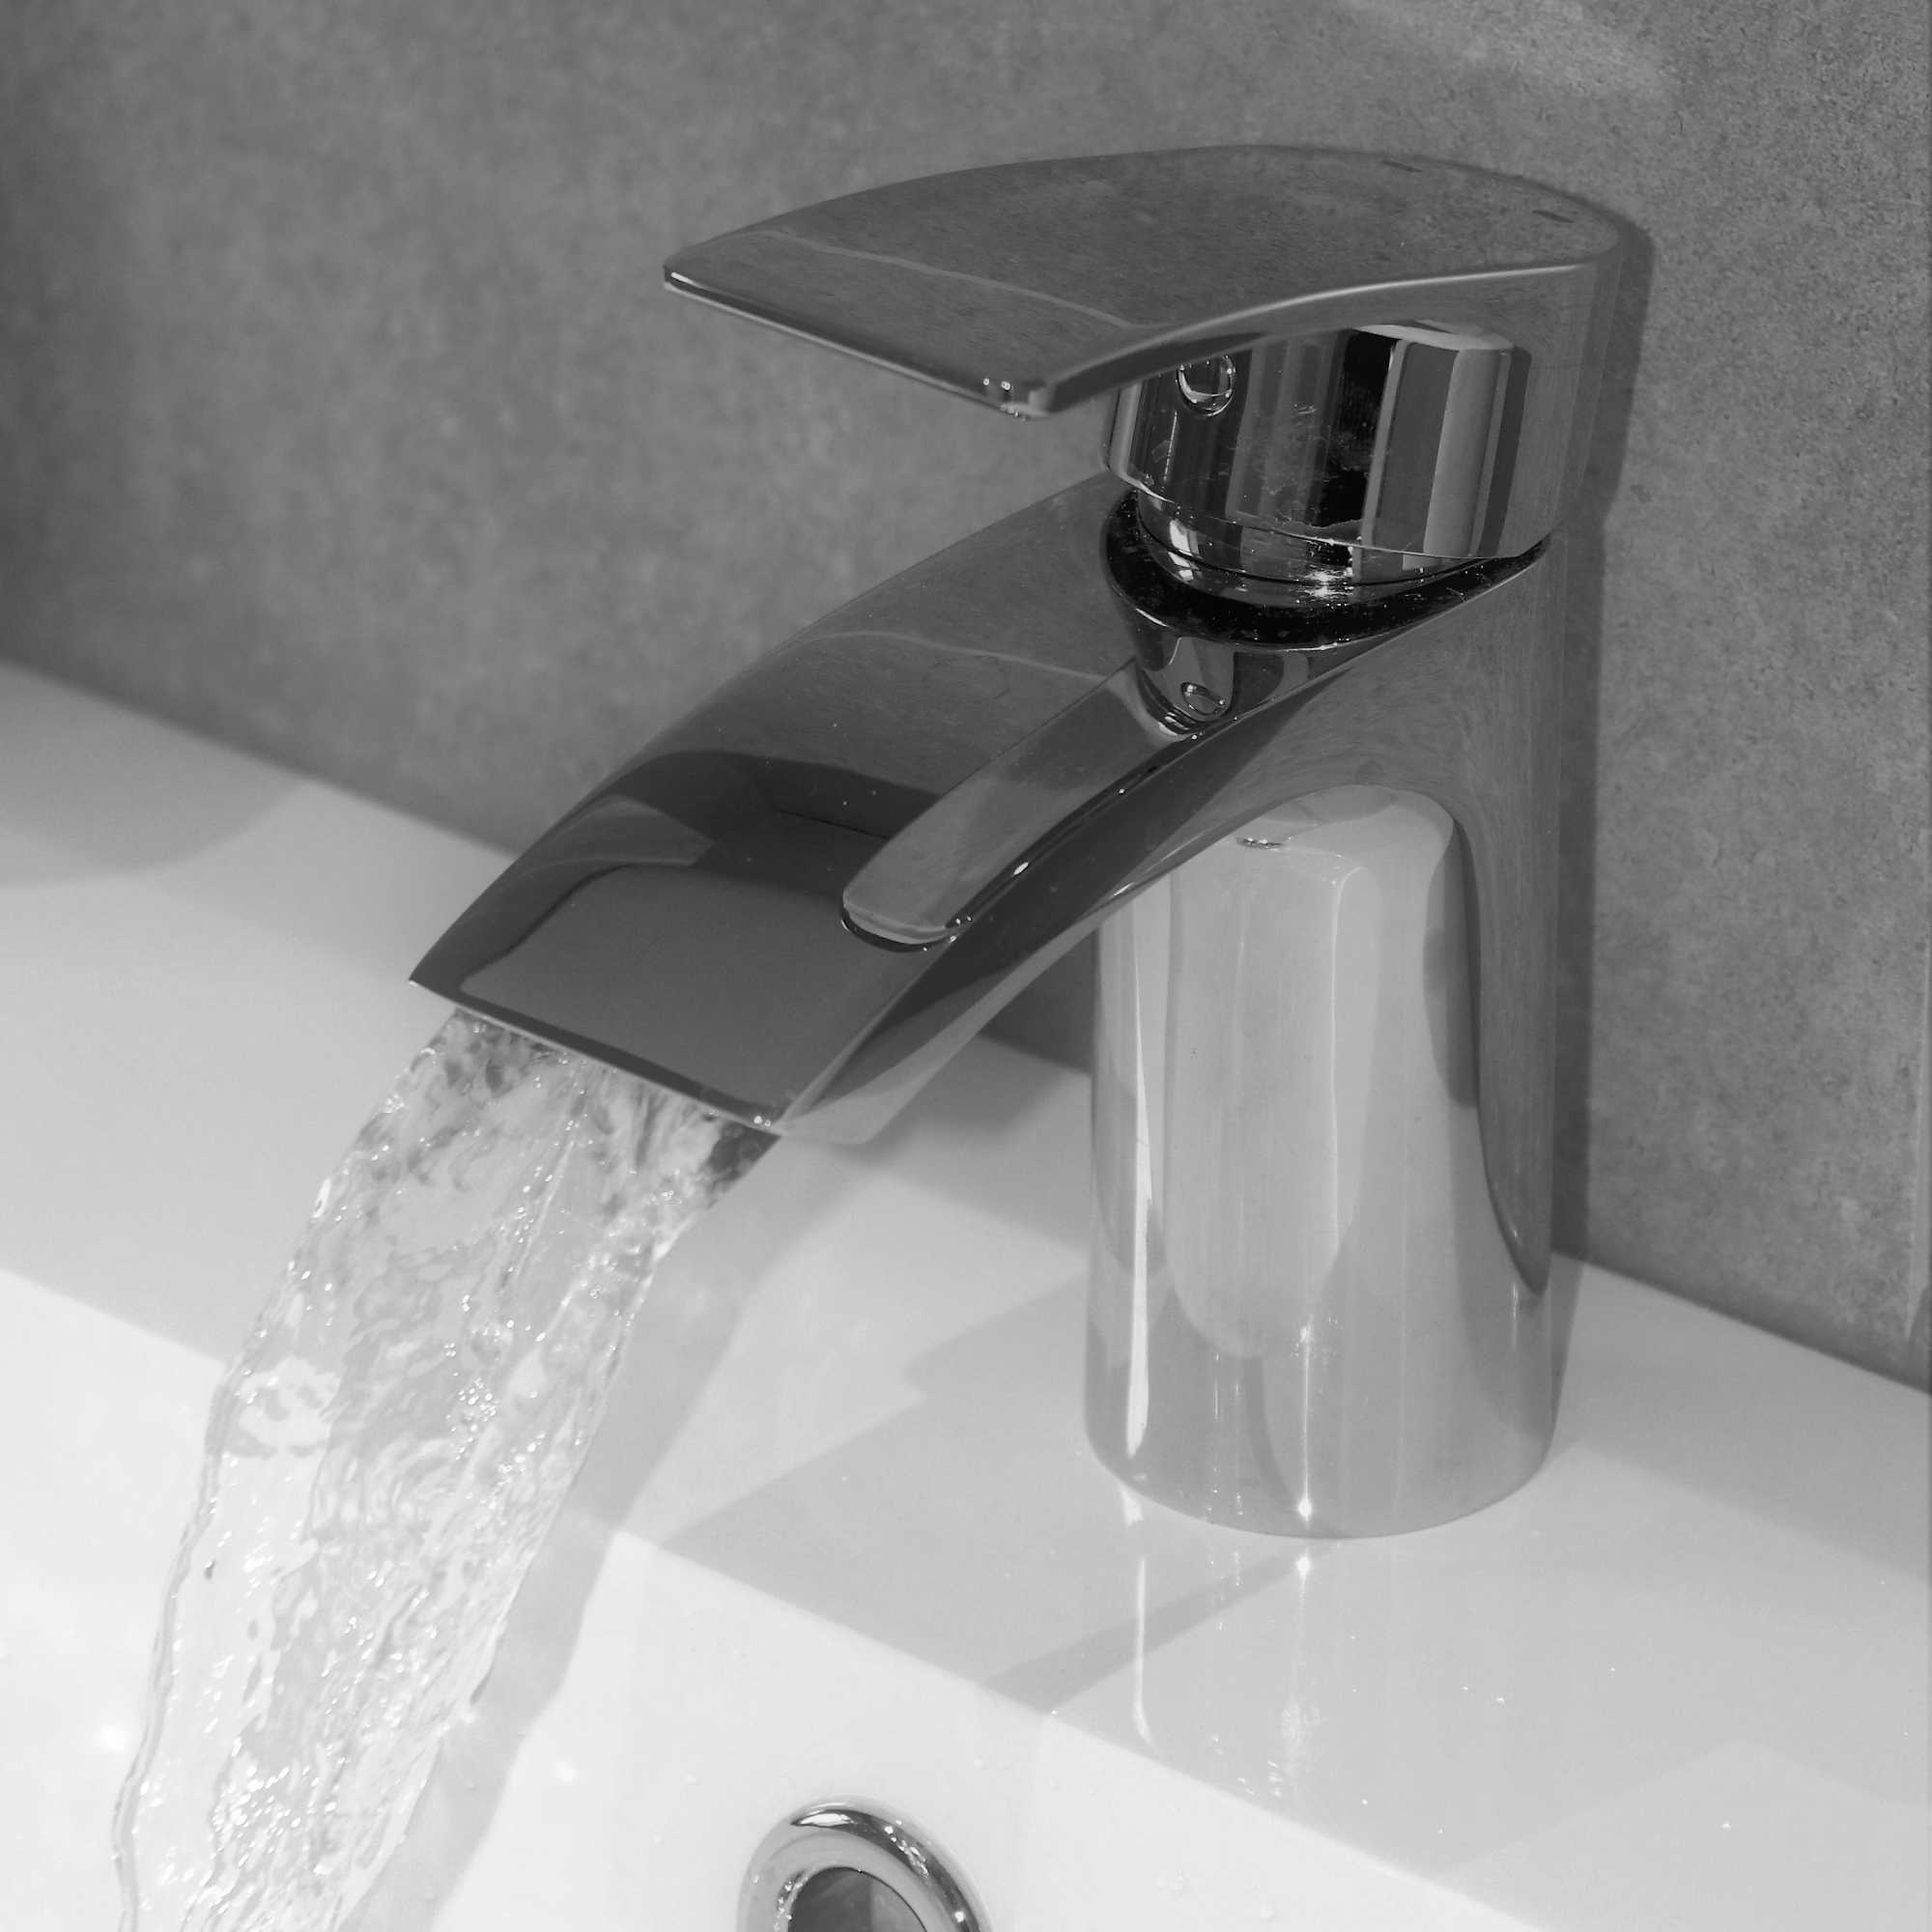
Tighten the joints, and then turn your water supply back on with your stopcock. Before you tidy away, test your tap works to see if there are any leaks. When testing your new tap, turn it on slowly to avoid an initial rush of water – it may gurgle a bit when it first kicks into action.
7. Fix any leaks
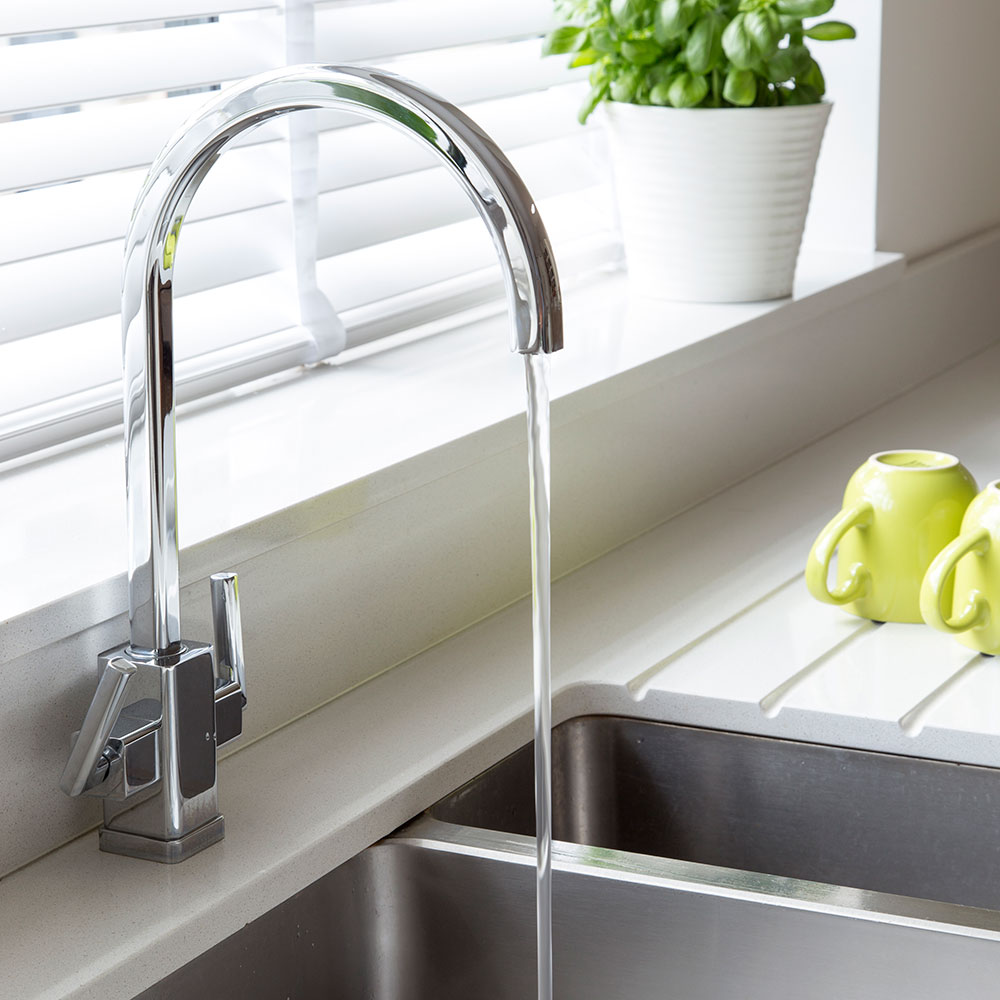
If a compression joint (see step 3) is leaking, you might need to undo the joint and wrap some PTFE tape (plumber's tape) around the inner compression ring. This will keep the water sealed in and stop it from damaging the tap further down the line.
Is changing a tap easy?
'Taps are easy to be changed, the difficulties normally come from the limited access to be able to do it', says Lydia Luxford, Technical Services Manager at Easy Bathrooms.
If you can easily access the pipes your taps are connected to, changing them is simple enough. You can loosen the nuts which are fixed to each side of the tap so it can be lifted up and exchanged.
If your taps are wall mounted, the process is more difficult. 'It will often be the case that you’ll need to remove the tiles that the fixtures are attached to, so you’ll need to think about whether you have the skills to do this and replace the tiles as well,' advises Lydia. You may wish to seek the advice of a professional if this is the case.
It's also easier to change a tap if your basin has two separate taps. Basin mono, or mixer taps require a little more work. Mixer taps are predominantly fitted with a plate, one or two long bolt threads and nuts on the threads to keep the plate secure,' Lydia explains. The nuts can still be loosened with a spanner so the plate can be lifted and the tap exchanged.
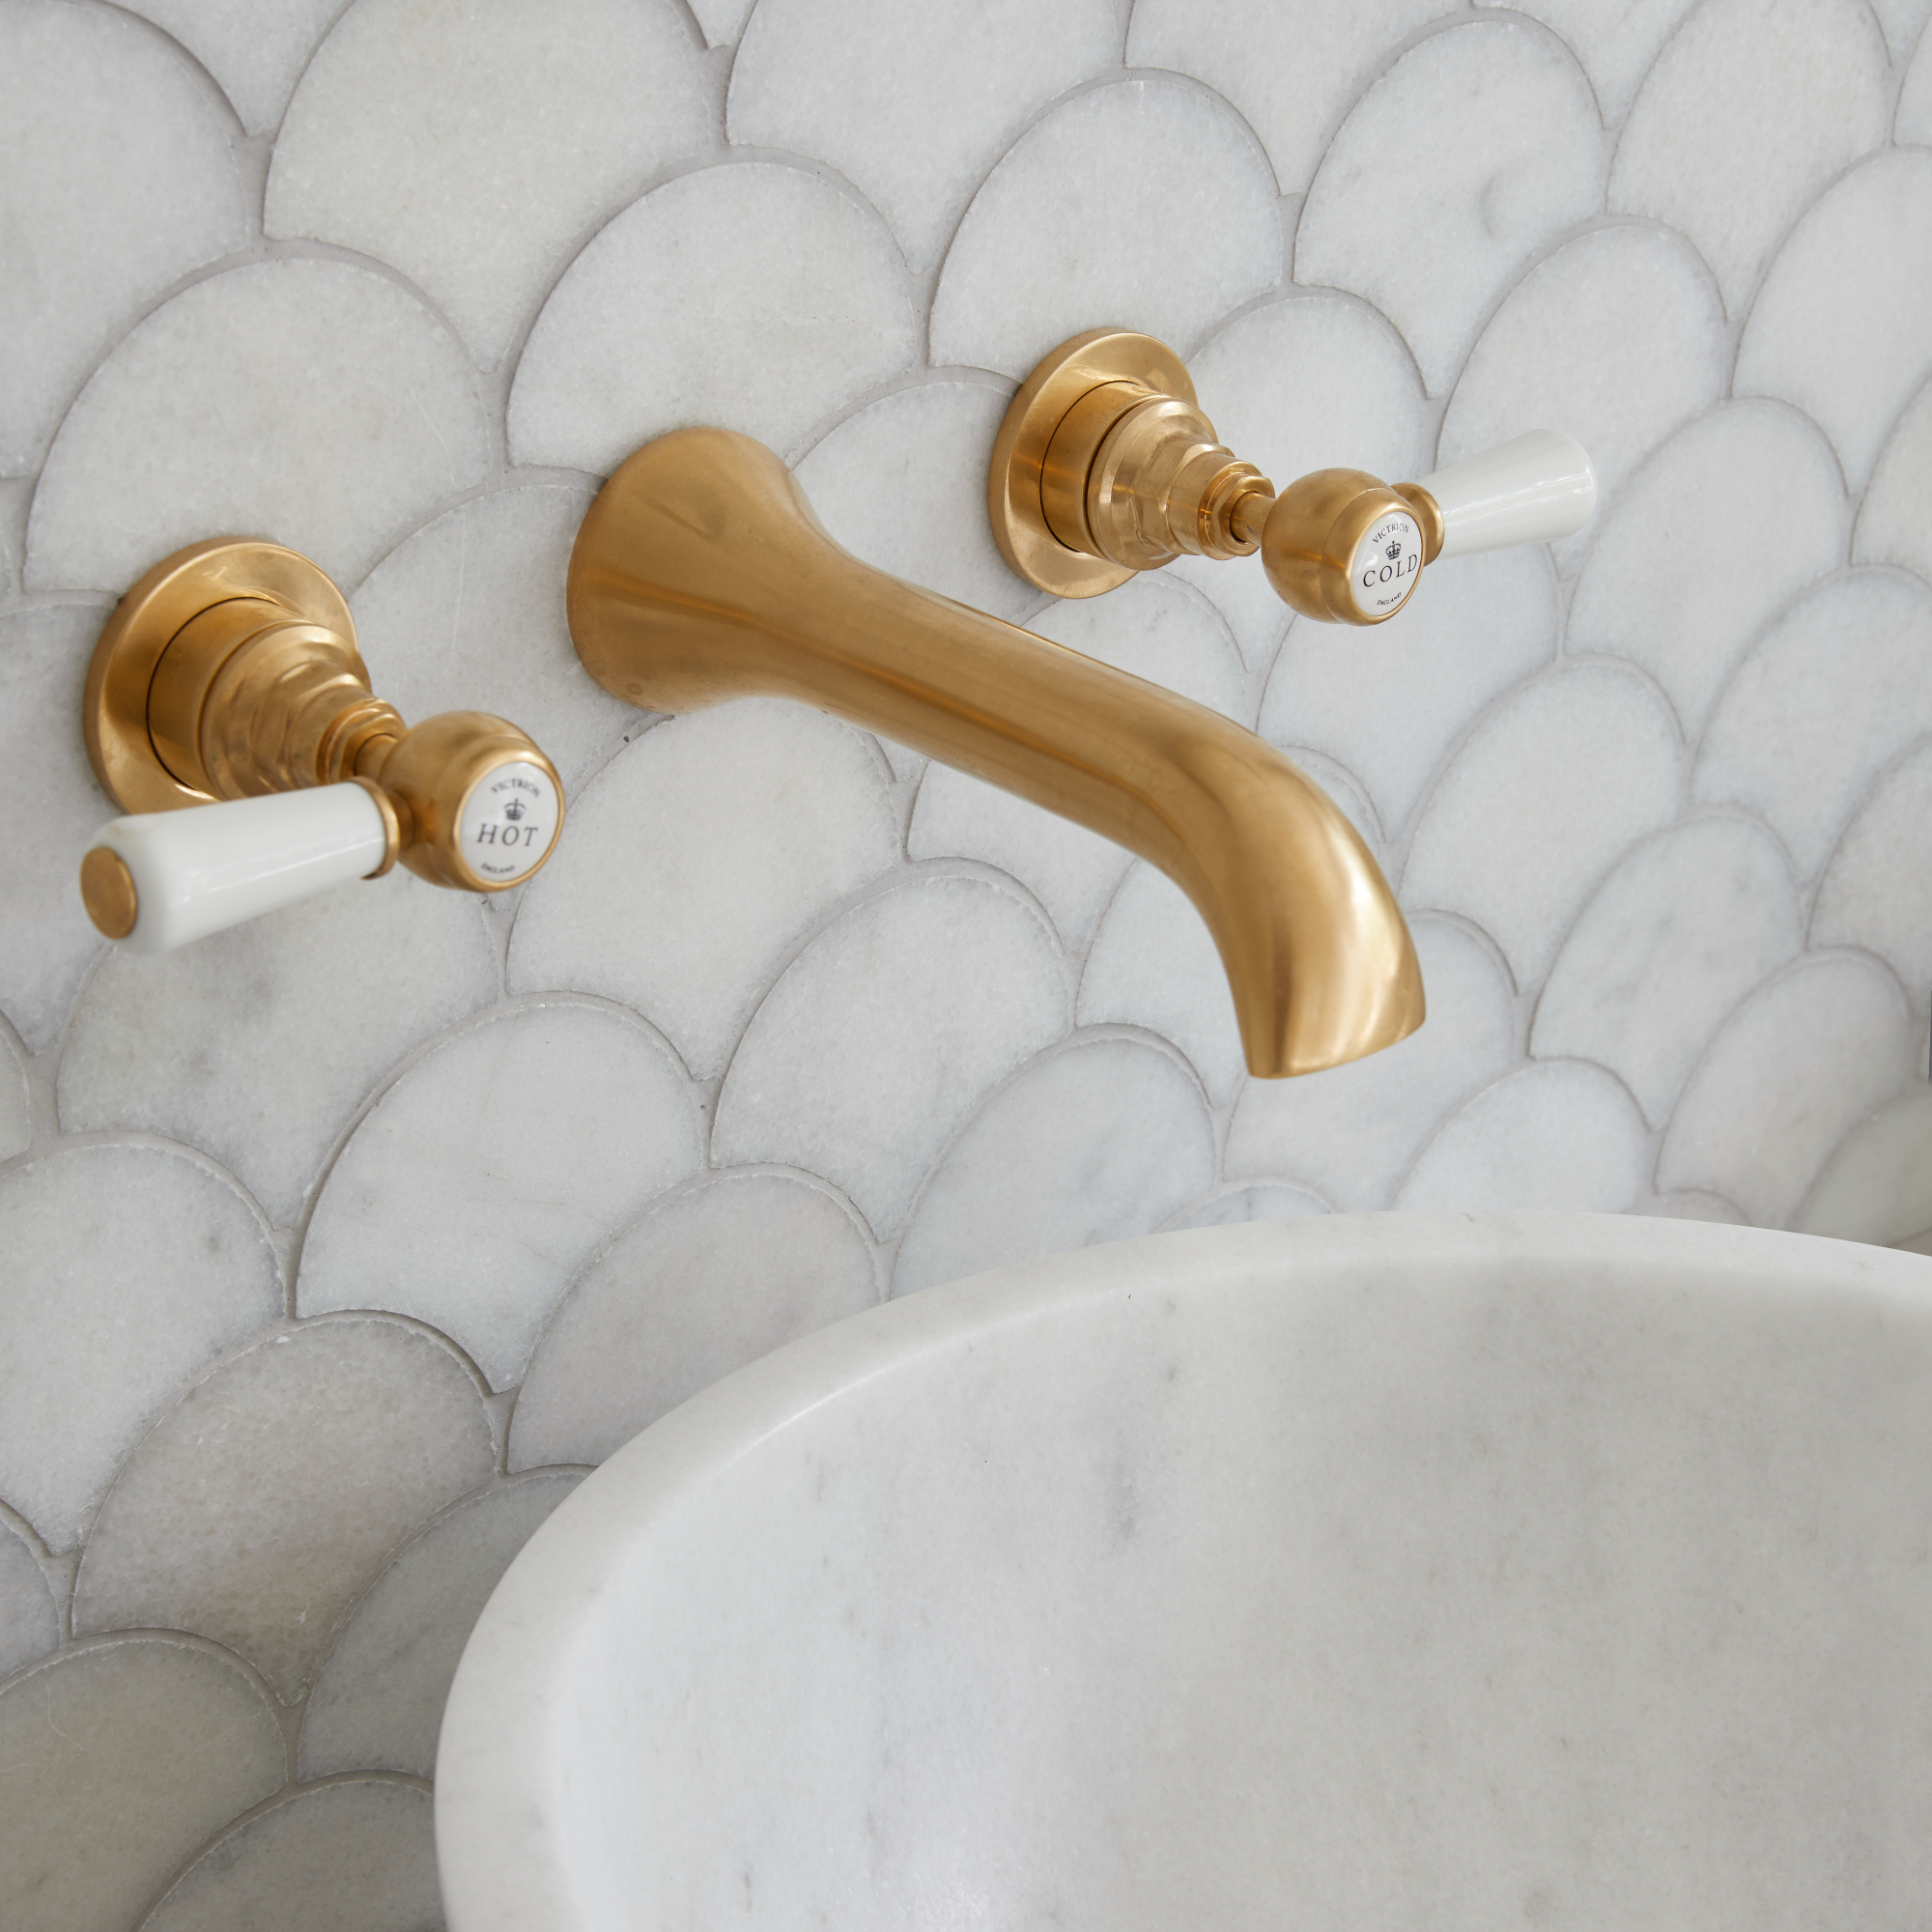
What tools do I need to change a tap?
The essential tools you'll be using when changing your tap is an adjustable spanner, so make sure you know how these work before starting. You'll also need some plumber's pliers and a box spanner. It's good to have a flathead screwdriver to hand as well as you may need these to unscrew your tap from its base.
How to change a tap quickly
To quickly and safely change your taps, first shut off your water with your isolation valve or stopcock. You'll then need to disconnect your current taps from your water pipes by unscrewing the hexagonal nuts that connect the taps to the basin.
'You should now be able to lift the old fixtures away from your sink, ready for their shiny new replacements,' explains Rob from Rightio. 'To install your new taps, always be sure to always follow the manufacturer’s instructions. You'll need to line them up with your sink's current tap holes and slot them in.'
You'll then need to return under the basin to connect your new taps to your hot and cold water pipes. Check the alignment and tightness of your taps by securing them with a spanner under the basin.
Once you've completed these steps, you can turn your water supply back on and enjoy your new tap fittings!
Get the Ideal Home Newsletter
Sign up to our newsletter for style and decor inspiration, house makeovers, project advice and more.

Amy Cutmore is an experienced interiors editor and writer, who has worked on titles including Ideal Home, Homes & Gardens, LivingEtc, Real Homes, GardeningEtc, Top Ten Reviews and Country Life. And she's a winner of the PPA's Digital Content Leader of the Year. A homes journalist for two decades, she has a strong background in technology and appliances, and has a small portfolio of rental properties, so can offer advice to renters and rentees, alike.
- Katie SimsContributor
-
 Wood drenching is the calming new twist on the colour drenching trend – here’s how to make the look work in your home
It’s easier than ever to embrace natural materials
By Maddie Balcombe
-
 Aldi is launching a £200 day bed with four different features - its sleek design is suited to the whole family
You don't want to miss out on this Specialbuy
By Kezia Reynolds
-
 How to set up a drip watering system that saves water and a lot of effort
Keep your plants hydrated (and your water bill down) with this clever garden watering solution
By Natalie Osborn