How to change a tap washer to stop dripping in minutes
Cure the dripping by learning how to change a washer on a tap, a simple DIY skill that should take minutes
Amy Hunt
Learning how to change a tap washer is a skill that will save you from the cost of calling in a plumber, and it's not too tricky a DIY task either – all that's required is a few basic tools and a bit of concentration.
While you might not have known it existed before now, a tap washer plays a crucial function in your bathroom (or kitchen's) plumbing. Richard Wilkinson from Victoria Plum explained, 'A tap washer is usually a small rubber washer fitted inside the tap. They create a watertight seal when your tap is turned off. Over time these can wear out, and are often the cause of a dripping tap.'
So how exactly do you change a tap washer? In our step-by-step guide, we'll explain the tools you'll need to complete this household job, the instructions to follow, and why it's so important to change yours ASAP if you notice that irritating drip, drip, drip...
Can I change a tap washer myself?
Yes, learning how to change a tap washer is one of those easy DIY home repairs that most people can absolutely do themselves, as long as they have the right tools and know-how.
If you feel unsure (even after reading our comprehensive guide), it may be best to consult a professional for advice. However, this can become expensive – and changing it yourself is incredibly cheap and simple to do. So, we'd say that learning how to change a tap washer is a skill well worth learning, and something that may come in handy.
Before you start this home repair, however, there's one crucial thing to check, and that's whether you have a monobloc mixer tap or a regular pillar tap.
Does my tap have a washer?
Most taps will have washers (though not all), and the type will often vary depending on how modern your tap is.
Harry Wyatt, home improvement supervisor at My Plumber explained, 'There are two types of tap washers – ceramic and rubber.' Mixer taps tend to be more modern and have ceramic washers, while older pillar taps tend to have rubber washers.
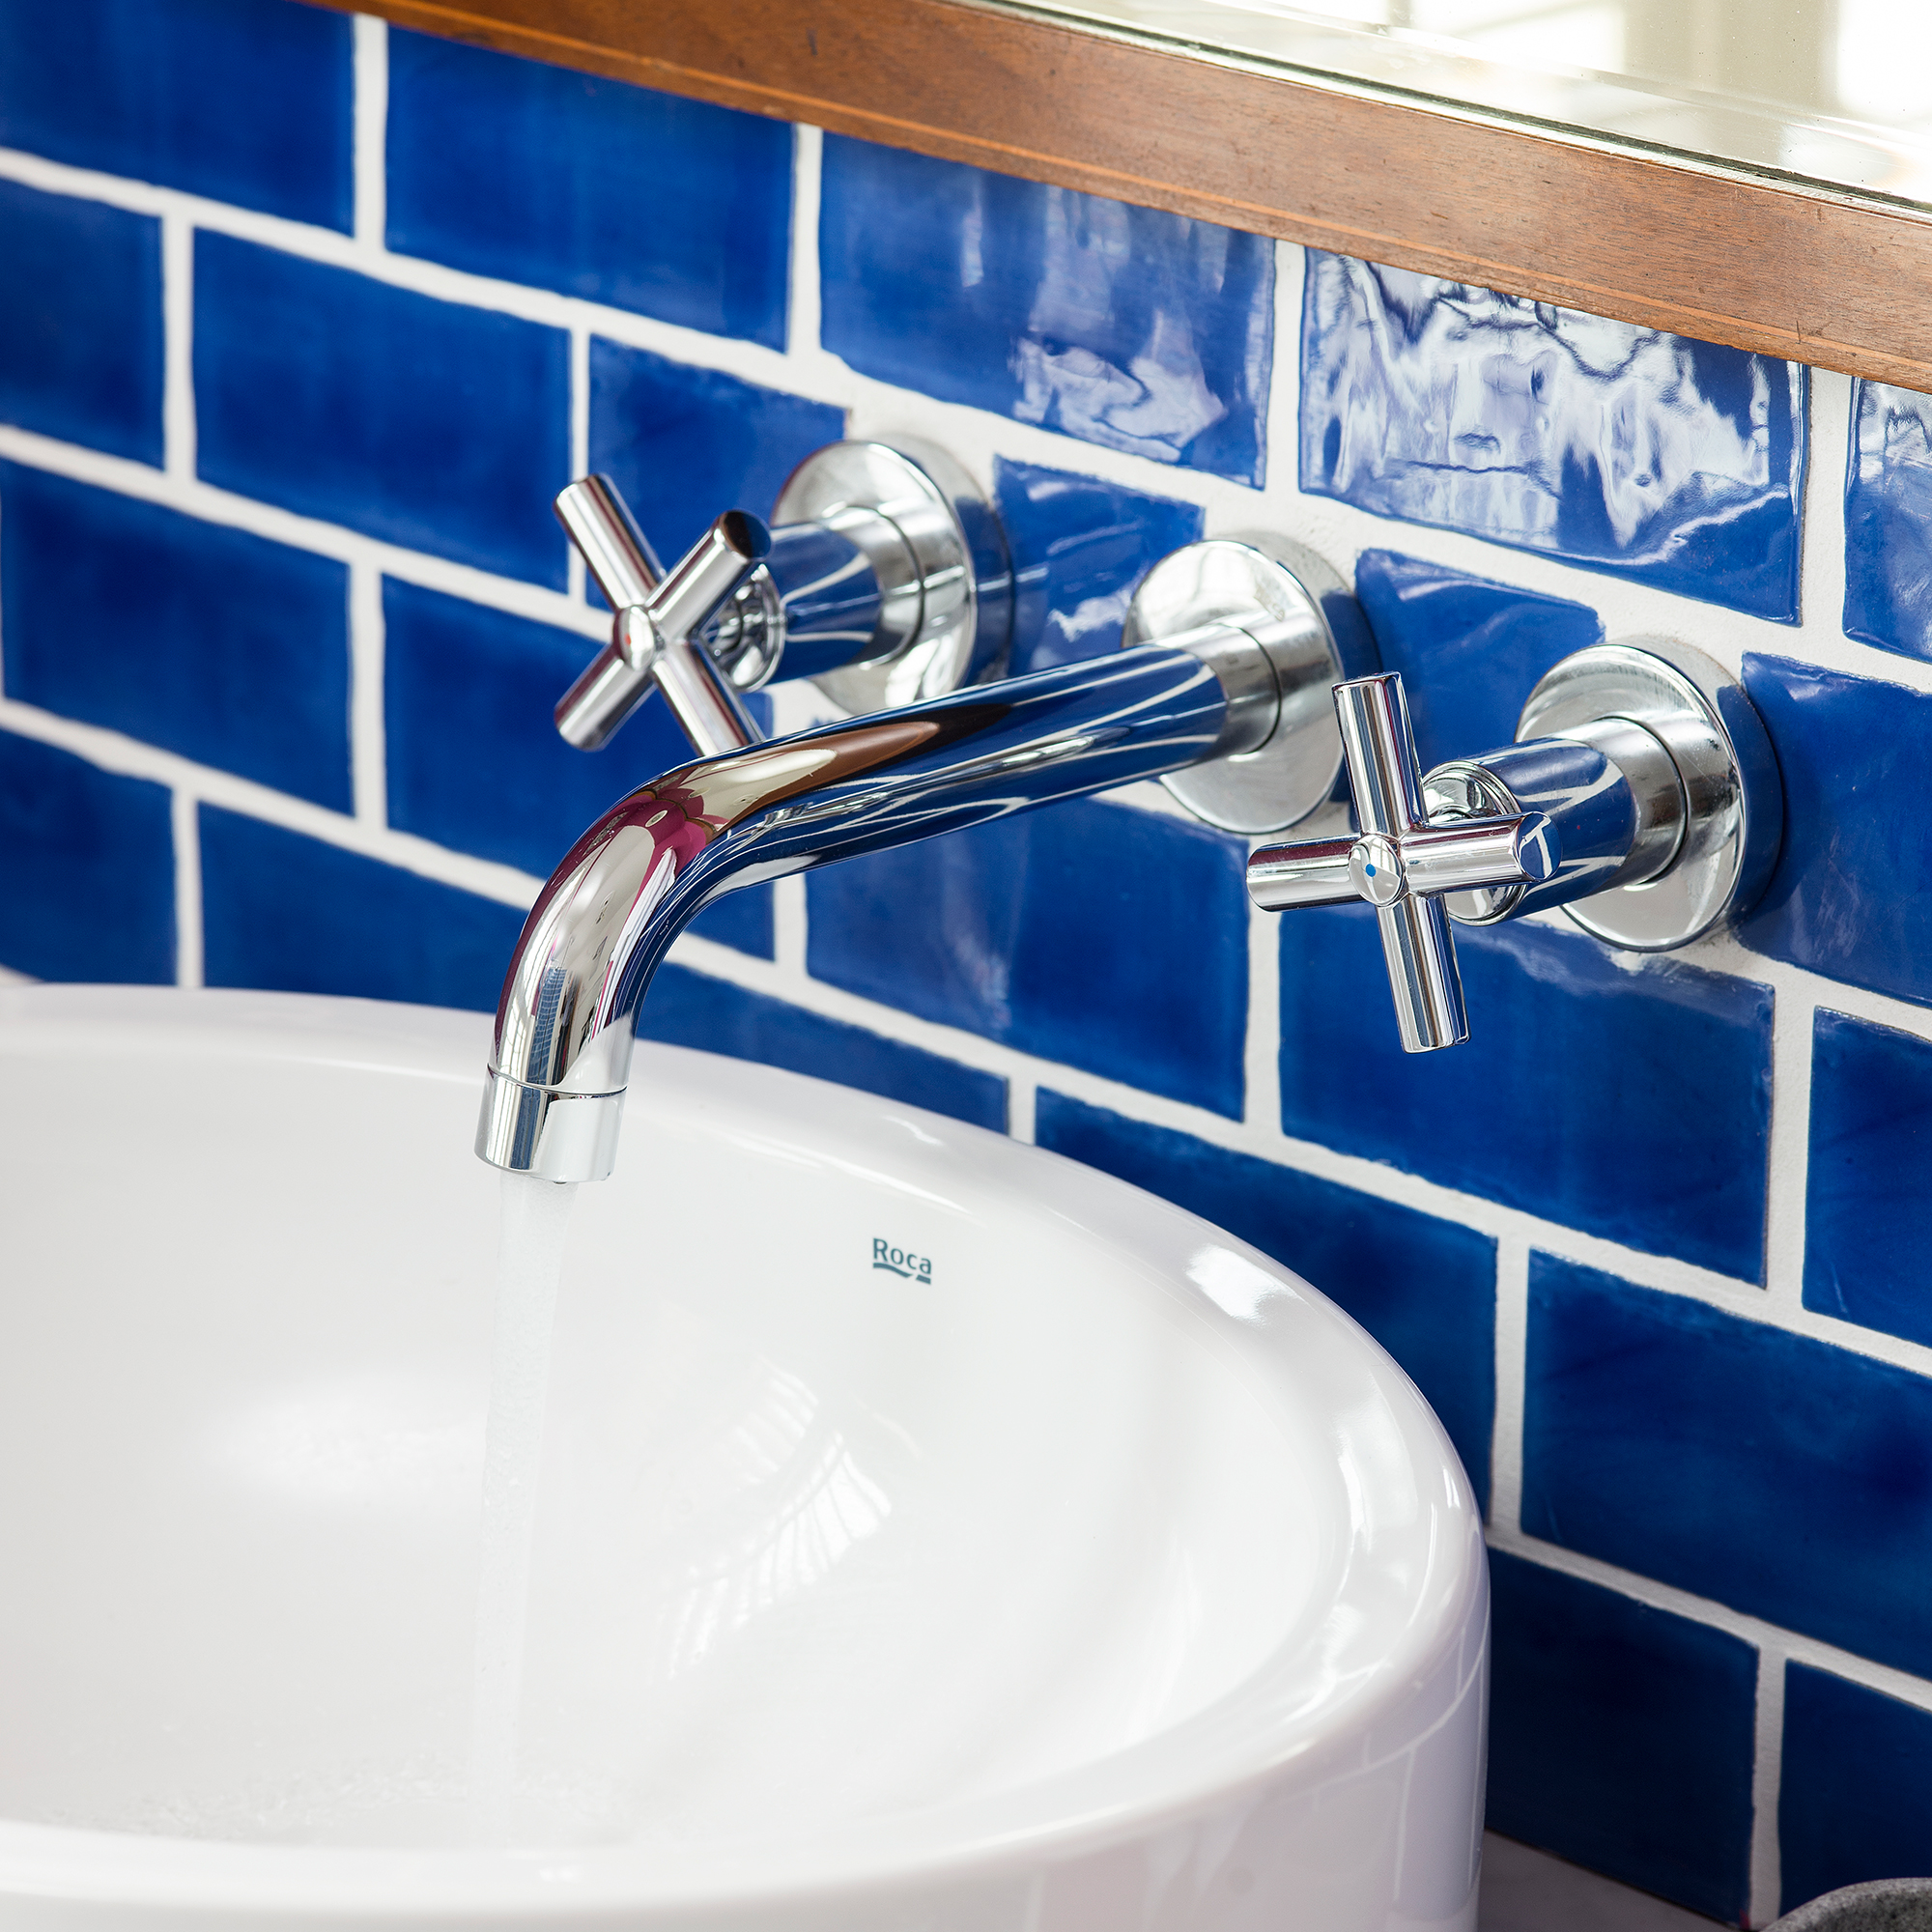
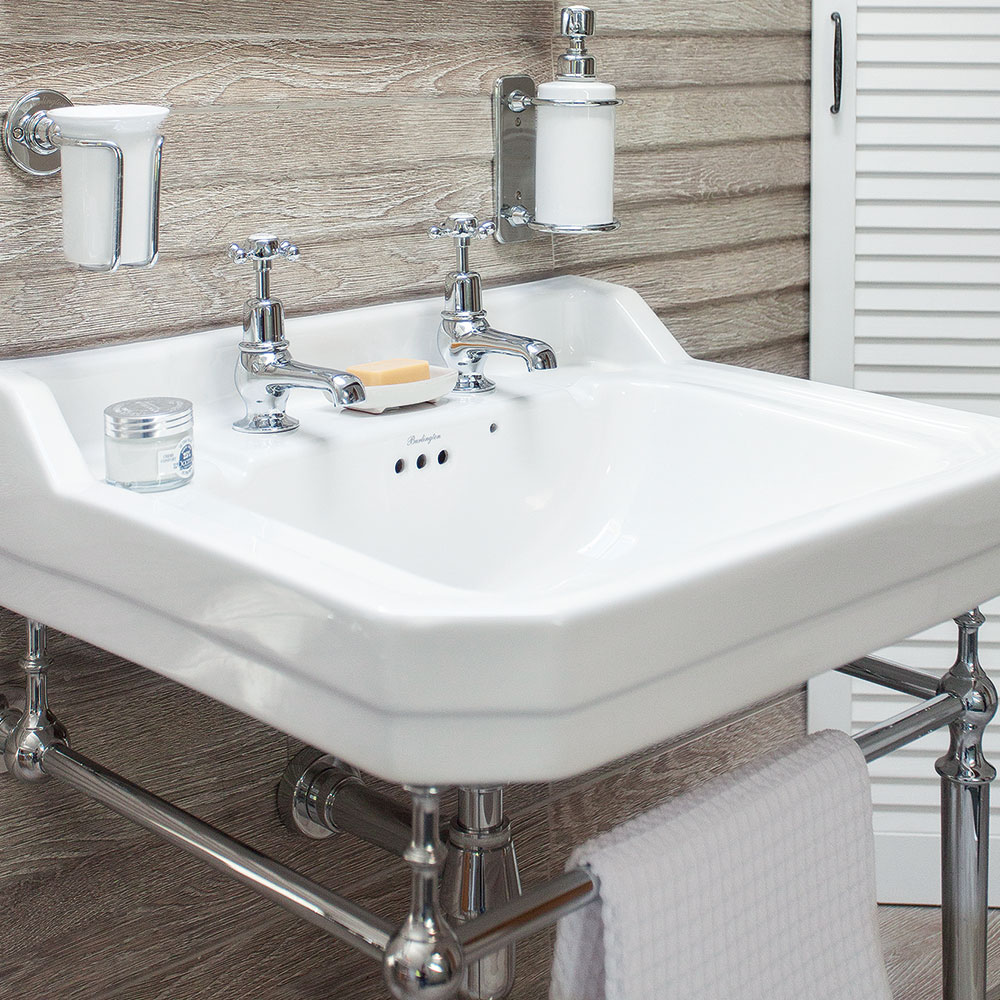
Found in both kitchens and bathrooms, monobloc mixer taps usually have a single spout and one or two handles. The water is mixed in the tap, and then released through the spout. A pillar tap is considered to be more traditional, and usually has two separate faucets for hot and cold water.
When it comes to changing the washer, Harry said, 'When compared to traditional (pillar) taps, mixer taps have a ceramic cartridge with two discs and no rubber washer taps.' Richard explained, 'A ceramic disc in place of the rubber is more hardwearing, and will outlast a rubber washer.'
To replace a ceramic disc you will need to get a replacement cartridge from your tap manufacturer. You can get a rubber tap washer from almost anywhere.
Changing a tap washer – the tools you'll need
Now you know what type of tap you have, you're ready to get started with learning how to change a tap washer. Be sure that you don't make a start on the job before you've got the following essential tools to hand:
- Two adjustable pipe wrenches
- The plug for your sink
- A slot head screwdriver
- Cloths or towels for any water spills
- A pack of rubber washers, or your ceramic washers
- Cleaning equipment
How to change a tap washer
1. Locate your stopcock and switch off the water first
To start this DIY job, turn off the mains water supply by turning the main stopcock off until your tap runs dry. This valve is normally located under your kitchen sink, but you can look at our guide to figure out where my stopcock is if you're unsure. If you are changing the washer on hot taps, you must also turn the immersion heater and boiler off.
Richard at Victoria Plum explains, 'You should always turn the water off before changing a washer as, once you take the tap off, there is nothing to prevent the water from flooding your bathroom or kitchen, which could lead to serious water damage.'
2. Plug up the sink
The next step is to put the plug into the plug-hole of your sink, in order to prevent losing the washer or any tap components while you're dismantling it.
Harry at My Plumber also advised that you should 'cover your sink with a towel, to prevent scratches.'
3. Unscrew the top of the tap
Next, unscrew the top plate of the tap. If you can't do this by hand, use a wrench to screw it off, but be sure to protect the rest of the tap with a cloth first.
4. Take off the body cover
Some more traditional taps will have a body cover, which you will need to remove before you can unscrew the valve of the tap to access the washer underneath.
Normally, you can unscrew this fairly easily, although it may take a bit of force. If it feels very resistant, try not to force it and consider calling in a professional plumber. If it feels easy enough though, secure the tap itself with another wrench while you remove this section, to stop it moving around.
5. Find the the washer and replace it
The washer should be sat under the valve, and it will either be pressed into place or held in position with a nut or a screw. Unscrew the valve, and use a screwdriver to release the washer itself. Then, clean the stem of the tap, before fitting the new washer.
'Keep in mind that the washer should be kept in place by a nut or a screw, so it might be a bit difficult to take out,' Harry explained. 'If you find it difficult, do not use any force, but use some oil and leave it sit for a bit. Then try again.'
6. Put the tap back together and test the water
Now it's time to reassemble the tap; replace the valve, the body cover and the top cover by screwing it all back into place.
Then, take the towel (if you followed this step) and plug out of the sink, and turn on the water supply to test the tap. Keep an eye (or ear) on your tap over the next few days, and if you don't notice any dripping, it's likely you've done a successful job of changing your tap washer.
Can you change a washer without turning off the water?
No – if you are planning on changing your tap washer, it is highly advised that you turn your water off first.
Richard told us, 'Not turning off your water isn't recommended. Most well plumbed taps will have an isolation valve on the water pipe, and this can easily be turned to the off position.
'However, as mentioned, if you don’t have these on your plumbing, then it is advisable to turn off the main supply to your property at the stop tap. And if you have two separate taps and you are replacing the hot tap washer, then it is recommended that you switch off your boiler too.'
Why should a leaking tap be repaired immediately?
It's important to fix a dripping tap as soon as possible to avoid damage to your home, and even your health.
'The longer you leave a dripping tap, the more likely it is to develop mouldy spots, further water damage, and damp,' Harry explained. 'This is extremely crucial, especially for people with respiratory allergies and other lung illnesses.
Richard said, 'There is also the fact that it wastes water, which is not good for the environment – or your pocket'. A leaking tap can waste much more water than you realise, driving up your water bill unnecessarily.
Are all tap washers the same size?
Tap washers generally vary in size, although not hugely. Richard told us, 'Common sizes are half an inch or three-quarters of an inch for older taps and three-eighths of an inch for more modern ones.
'However, its good practice to compare your old one with the washer you are replacing it with, to ensure it fits.'
I've replaced the washer and my tap still drips. What should I do?
If your tap continues to drip, its valve seating might be eroded. You can repair this using a washing and seating set, which you can buy from a plumber's merchant. Alternatively, you may need to look into how to change a tap completely.
We hope our guide will save you not just money, but the headache that comes from a dripping tap!
Get the Ideal Home Newsletter
Sign up to our newsletter for style and decor inspiration, house makeovers, project advice and more.
- Amy HuntContributor
-
 5 signs you’ve taken decluttering too far — and how you can pull yourself back, according to organisation experts
You might have to start resisting the urge to purge
By Lauren Bradbury
-
 What is the Party Wall Act 3m rule and is it something you should be worried about? This is what the experts say
Don't get caught off-guard by the Party Wall Act 3m rule — our expert guide is a must-read
By Natasha Brinsmead
-
 Shoppers can’t get enough of The Range’s lemon tree, but I’ve found an even cheaper bestseller at B&Q - it’s perfect for a Mediterranean look
Welcome the summer with this glorious fruit tree
By Kezia Reynolds