How to cover a seat pad
The latest do-it-yourself project from Country Homes & Interiors
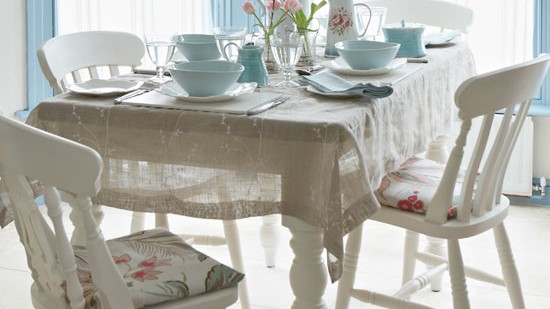
Learn how to make a slip-on cover for a seat pad. For more Country Homes & Interiors craft projects click here.
You will need
- Main fabric (we used Montacute, ref NCF4050/02, £54 a metre, Nina Campbell at Osborne & Little)
- 43cm-square seat pad (we used Neptune Havana seat pad, 43cm square, £29.50, John Lewis)
- Sew-on hook and loop fastener
- Matching thread
- Tacking thread
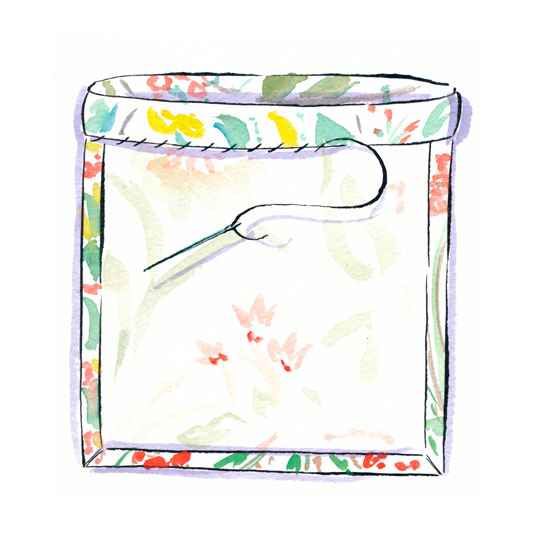
Illustration Michael A Hill
1) Cut two 47cm by 51cm rectangles in your main fabric.
2)
Right sides facing and matching raw edges all round, stitch around the
two long edges and one short edge taking a 1.5cm seam (the remaining
unstitched short edge will be the back of the cover).
3)
Trim corners and press open seam allowance. Turn under 1.5cm then 3cm
along the remaining raw edges and press to form a hem. Slip stitch in
place (see illustration).
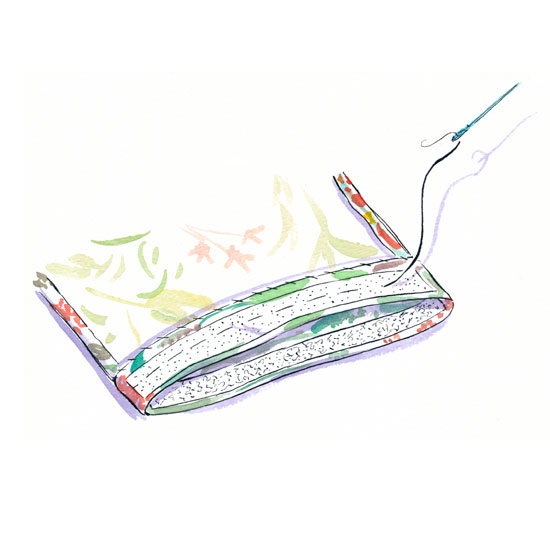
Illustration Michael A Hill
4) Cut a 43cm length of sew-on hook and loop fastener.
Tack the loop fastening in place along the right side of one hemmed
edge 5mm from the edge, and then tack the hook fastening to the wrong
side of the opposite hemmed edge (see illustration). Machine stitch both
in place all round and remove tacking.
5) Turn the cover
through, press and slip in place over the seat pad. Tuck the loop
fastener under and bring the hook fastener over the top to secure. If
your seat pad has ties along the back edge or at the back corners, just
pull the ties through the opening of the cover and secure the fastener
over the ties.
Get the Ideal Home Newsletter
Sign up to our newsletter for style and decor inspiration, house makeovers, project advice and more.
-
 This £20 telescopic hose brush did such a good job cleaning my windows I sacked my window cleaner and saved £100
It's a game-changer for sparkling glass
By Jenny McFarlane
-
 Pest experts reveal eucalyptus is the secret ingredient for keeping rats off your bird feeder - this is how to use it safely and effectively
It's a great natural deterrent
By Kezia Reynolds
-
 Is a wet room worth it? I asked bathroom experts whether a wet room adds value or makes it difficult to sell
Not everyone sees a wet room as a positive so we asked the experts how to design a space that will add value and help your home sell fast
By Natasha Brinsmead
-
 Craft corner: How to create simple picture displays
Create an eye-catching display, be a whole wall of prints or a select few
By Ideal Home
-
 Craft Corner: How to make a mason jar of bath salts
We show you how to make your own mason jar bath salts. These can be for yourself or a great gift for someone else.
By Ideal Home
-
 How to make a valance curtain
Discover how to make these pretty valance curtains using Country Homes & Interiors simple instructions
By Sara Bird
-
 Get crafty this Christmas with these twig ideas
Give your home a festive woodland feel with these twiggy craft ideas
By Sara Bird
-
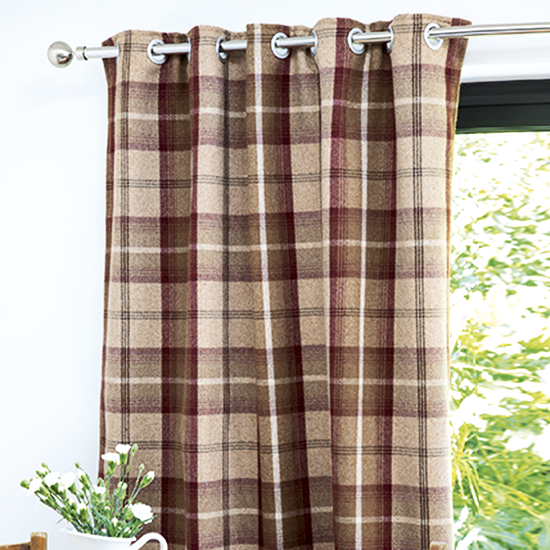 Transform your windows with stunning new curtains in three easy steps
Follow our 3 simple instructions to make new eyelet curtains to transform your window.
By Tamara Kelly
-
 How to make candles in teacups
Check out our latest craft idea on how to make candles. Fill teacups with melted wax to make gorgeous one-of-a-kind candles.
By Jennifer Drew
-
 Craft corner: How to make a gingerbread felt decoration
Jennifer shows us how to make cute gingerbread decorations out of felt.
By Ideal Home
-
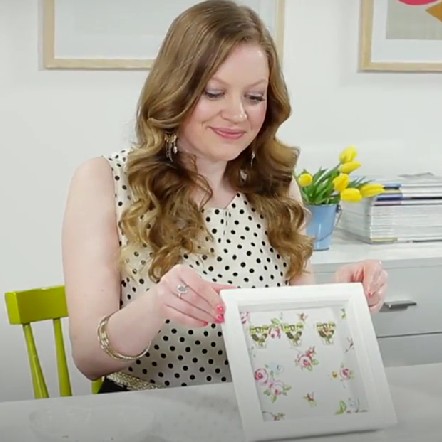 Craft Corner: How to make a framed key holder
Channel Editor Vicky shows you how to make a framed key holder.
By Ideal Home