With so many clever paint effects to choose from, a clean finish is vital for not only wall edges and corners but for those fancy two-tone horizontal and diagonals, chevrons and stripes too. Ensure your painted walls for your latest DIY and decorating project have a seamless and sharp edge with this step by step guide on how to cut in paint.
View the full video below:
How to cut in paint– what you'll need

- Decorators tape
- Sanding block and sandpaper
- Scissors
- Small paintbrush
- Paint tray
- Paint
Step-by-step guide to cutting in when painting
1. Prep the walls

Fully prepare the wall by sanding the surface and filing in any holes. prime if needed.
2. Apply decorator's tape

Unless you are confident that you have a really steady hand it's best to use decorator's tape or frog tape to mask off the area that you are not going to paint to ensure you have clean lines at the edges. The neatness of the cutting in will have a huge effect on the final look.
3. Prepare your paint

Pour some of your paint into a small paint tray. Dip your brush bristles into the paint until the paint covers roughly a third of the brush. Gently tap each side of the brush against the paint container to avoid any drips.
4. Begin cutting in

Holding the brush with a pencil grip for control, make a downward brush stroke on the wall about two inches away from the edge you are cutting into. This will remove the excess. This stroke should be about 12 inches long.
5. Take care at the edges

Turn the brush so you are using the narrow edge and brush right along next to the tape. Make sure you don't apply too much pressure or the paint will ooze from the brush and create drips.
6. Blend the sections

Using the wide end of your brush again, gently sweep the brush back and forward over the area you just painted. Then repeat the above steps as needed. Watch our video tutorial how to paint a wall - to gain the perfect backdrop for any room
7. Paint the rest of the wall

You are now ready to fill in the larger edges with your roller while the cutting in is still damp. This will help blend the two. When working from wet areas to dry areas gently overlap the sections to achieve a blended finish. Ensure you remove the decorator's tape before the paint is dry to avoid any bleeding and to get a seamless finish.
-
 Martin and Shirlie Kemp’s pastel flower beds has given their Victorian renovation a romantic look - how you can get the look
Their pastel garden is the cottage garden inspo you've been looking for
-
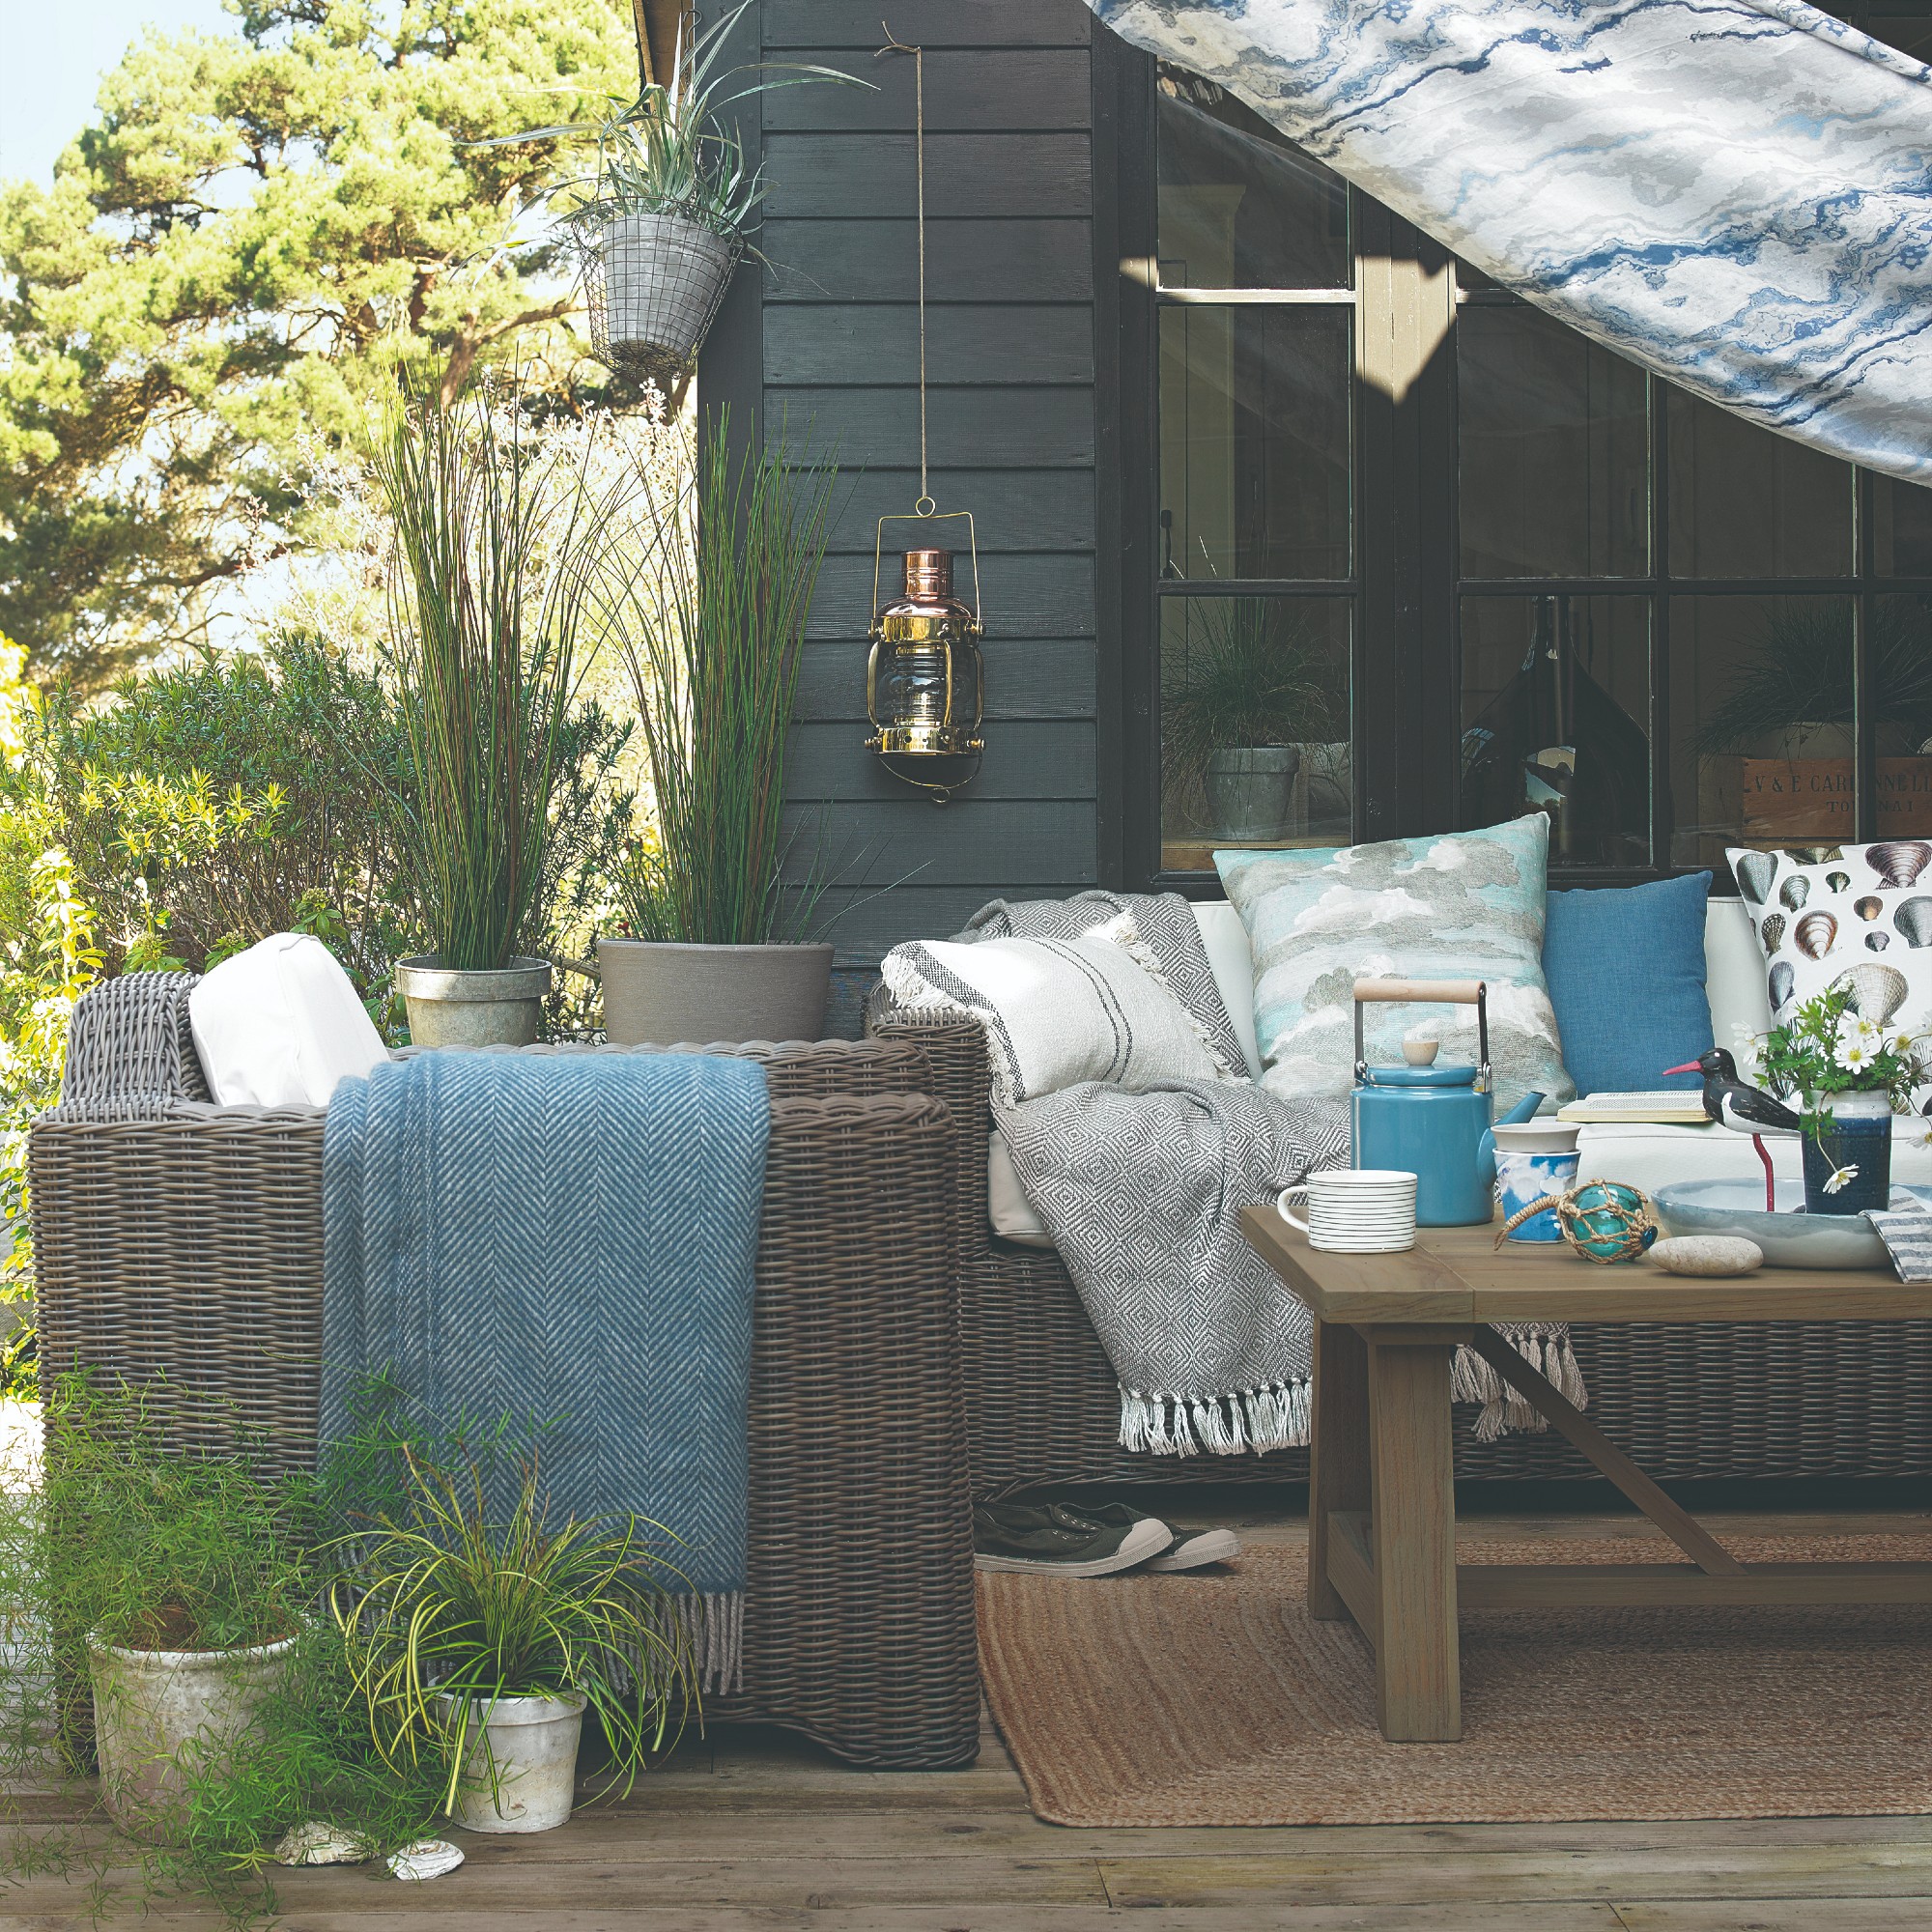 7 outdated rules to ignore when designing a small patio – experts say ditching them will transform your space
These are the traditional patio design rules you don’t always need to follow
-
 Who is responsible for repairing a party wall?
How to find out who should be organising and paying for the work


