14 of the most common paint problems – and everything you need to fix peeling, foaming, or blistering paint
Tackle any paint problem with confidence

Lauren Bradbury
Nothing beats the satisfaction of a DIY job done well. But every once in a while, the universe throws a spanner into the mix, and you may find yourself dealing with a paint problem you’ve never experienced before.
Yes, although we’ve all had our fair share of DIY and decorating dilemmas, there’s something incredibly frustrating about paint peeling off a wall and filler poking through the paintwork - especially when you already have a dream paint idea in mind. But you don’t have to call in expensive reinforcements to paint a wall in your home.
If you know how, you can fix these common paint problems yourself. That’s why we’ve put together all of the information you could possibly need to know on the 14 most common paint problems and what you can do to fix them.
1. Paint peeling
If your freshly-painted room starts to blister and flake, it’s a sure sign that something has gone wrong. Paint peeling off a wall is more common thank you’d think, though, and can be caused by a number of different factors.
Paint blistering and flaking can be caused by moisture trapped beneath the surface of the paint or by incorrectly applying paint over new plaster. Unclean surfaces can also be a cause, highlighting the importance of sugar-soaping the walls to remove dirt, oil, and grease before painting.
Alongside this, using dark colours in high-stress areas (i.e. incredibly hot or sunny areas) can also result in bleeding and flaking. The experts at Dulux explains, ‘Resin bleed and flaking is a common problem where dark colours are used on south-facing elevation. This is because dark colours absorb more heat than light colours.’
And while blistered and flaky walls look unsightly, you can fix them. To do this, the expert team advises, 'All loose material will have to be removed back to a firm edge, spot primed with the appropriate primer, and then recoated with the appropriate product. If large areas are involved it’s best to totally strip the surface back to a bare surface and start again.'
2. Bleeding and staining
As Sophie Smith of Zhoosh Paints says, ‘Quality paints should last well if applied correctly to the right surface.’ So, if your paint is bleeding or staining, there’s a high chance that you either haven’t applied it correctly or the surface wasn’t prepared correctly beforehand.
In fact, bleeding is pretty common when you incorrectly use products like this Frog Tape from Amazon. If you don’t stick the tape flush to the wall or pull it off too early or too late, you may experience bleeding.
Alternatively, it may be that this unsightly finish is usually caused by contamination of the underlying surface by soluble stains that haven’t been removed prior to painting. This is easily fixed with good prep.
'It is important to seal the original stain' explains the experts at Dulux. 'You can do that by applying a coat of Polycell Stain Stop prior to re-decorating.' Thankfully, you can buy Polycell Stain Stop from Amazon to help you do this.
3. Wrinkled paintwork
Does your wall look wrinkled and shrivelled? Well, this is a common paint problem and normally occurs when the paint dries too quickly. The surface will form a thin skin before the paint underneath has fully dried, meaning it shrinks.
This is likely to be worse if a thick coat of paint is applied, especially to horizontal surfaces. It can also occur if a second coat is applied before the first one is completely dry.
Because of this, the best way to stop this from happening again is to have patience and allow the paint to dry and harden. This may take several days, or weeks, depending on the drying conditions. When dry, rub the surface down using 'wet and dry' abrasive paper (like this 25 PACK Wet & Dry Abrasive Sand Paper from B&Q), and clean with warm water with a little detergent added.
Rinse the surface with clean water and allow to dry before repainting. If you are unable to wait for it to dry it would be best to scrape off the tacky paint taking it back to a sound, dry surface.
4. Cissing
The term cissing is used to explain the notion of when paint fails to adhere to a surface. This is caused by painting over contaminated surfaces such as wax, oil or polish. The paint cannot stick to the surface and draws away leaving unpainted patches.
To fix the patchiness the Dulux experts advise, 'Allow the surface to dry and then rub down using 'wet and dry' abrasive paper and a solution of warm water and detergent. Once rinsed and dried, repaint the area.'
5. Visible filler through the paint
Filler is something every DIY-er should have at their disposal. It can fill holes and cracks and is ideal for creating an even surface to paint on. But what happens when the filler is visible through the paint?
'Make sure that all filled areas are rubbed down smooth and level,' say the Dulux experts. 'You will need to prime the filler before painting to prevent subsequent coats being absorbed more rapidly than in other areas. Use a coat of regular emulsion thinned 10-20% with clean water - once that’s dry, apply a full coat of emulsion.'
6. Foaming paint
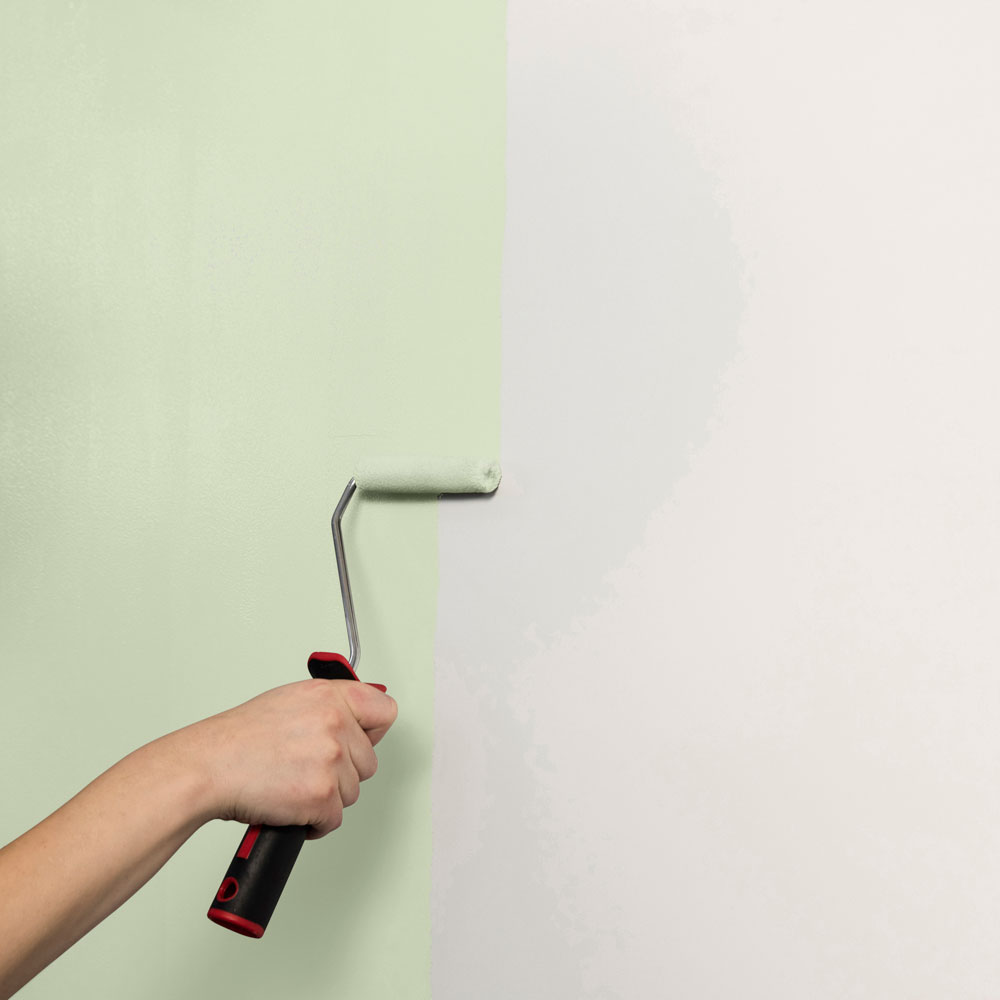
If you’ve ever noticed foaming on your walls when you’re not painting, you’re not alone. In fact, this is extremely common for those using rollers to paint their walls.
That’s why the Dulux experts advise you to, 'Avoid sponge or foam rollers if you’re using a water-based paint. If you're using a long pile roller, make sure it’s wetted out properly. Foaming happens when air gets into the wet paint film to create air bubbles. When these bubbles burst craters are left on the film surface - sometimes these craters dry to give an even film.'
What should you do if the craters still show? You will need to rub down using 'wet and dry' abrasive paper, using water with a little detergent added. The surface should then be rinsed and allowed to dry before repainting.
If this is impractical due to the size of the area, line the affected area horizontally using lining paper and then repaint. Before you go in with a roller, be sure you know how to cut in paint for perfect edges and corners, too.
7. Mud cracking
Mud cracking may seem like something you’d experience in the garden, but it’s actually a common paint problem. But what is mud cracking? Well, when the paint application is too thick and heavy on textured or embossed surface such as blown vinyl wallpapers or pebbledash it creates a mud cracking effect. In fact, that’s why we’d encourage you to use a spray gun when painting pebbledash.
This is especially true if the paint was applied by brush. 'Cracking can also occur when matt paint is applied over silk if the sheen is not removed from the silk coating,’ says Dulux.
'One or two thinned coats of paint may fill in the cracks. For internal walls, use a soft sheen paint. If the affected area is over wallpaper, the best thing to do is to remove the paper and start again.'
8. A chalky finish on exterior walls
Getting a perfect finish after painting an exterior wall can be difficult, and many people find that their finish is chalky when they’re done. This powdery finish is most likely caused by the wearing away of the paint by weathering. It could also be evidence of salts seeping from the surface.
To fix it, Dulux suggests, 'Brush the affected area down with a stiff bristle brush to remove as much powdery material as possible before applying a coat of primer, such as Weathershield Exterior Stabilising Primer.’ Thankfully, you can pick up this primer from B&Q.
'If the powder is due to salts/efflorescence then wipe the surface with a dry cloth to exhaust the salts before coating with an alkali-resisting primer to eliminate staining. Then just repaint in your chosen finish,’ they add.
9. Cracking plaster
When painting a room or inspecting the paint in your home, it’s also a good idea to look at what’s going on underneath the paint. This includes cracking plaster.
This is particularly common in new houses and is often the result of plaster drying out or movement of the building. To fix it, the Dulux team say, 'Cut out all cracks and remove all dust and debris. Fill the cracks using an appropriate filler. (the Polycell Polyfilla range from B&Q has a filler for every size of gap). Then just paint in your chosen finish.'
10. Mould growth
There’s nothing worse than seeing mould in your home, but getting rid of mould on walls isn’t as easy as it sounds. After all, you can’t just paint over mould in the hope that it will disappear completely.
Instead, you need to focus on treating the mould and allowing the treatment to work its magic. In many cases, this treatment may bleach or stain your walls, so you’ll need to repaint. And you should only do this when you know that the mould has gone and you’ve done everything you can to stop the mould from coming back.
11. Loss of sheen
If you’re a fan of gloss or satin paint, you probably choose this type of paint because of the sheen it gives off. That’s why it can be so disappointing to see this shine disappear.
When a gloss loses its sheen, normally only noticed with high gloss paint and varnishes, it's caused by the settling of dew or condensation on the paint shortly after application – a problem most likely to occur in areas of high condensation like bathrooms.
So, how do you fix it? Dulux suggests, 'When the surface is thoroughly dry, rub the affected surface down using 'wet and dry' abrasive paper and recoat.’
Hudson Lambert, Damp Expert at Stormdry also adds, ‘It is important that any paint finishes applied are breathable in order to allow any dampness that is already in the wall to dry out. For extra peace of mind, it is recommended to decorate and maintain your newly refurbished wall with anti-condensation and anti-mould products to prevent future issues.’
12. Yellowing around radiators
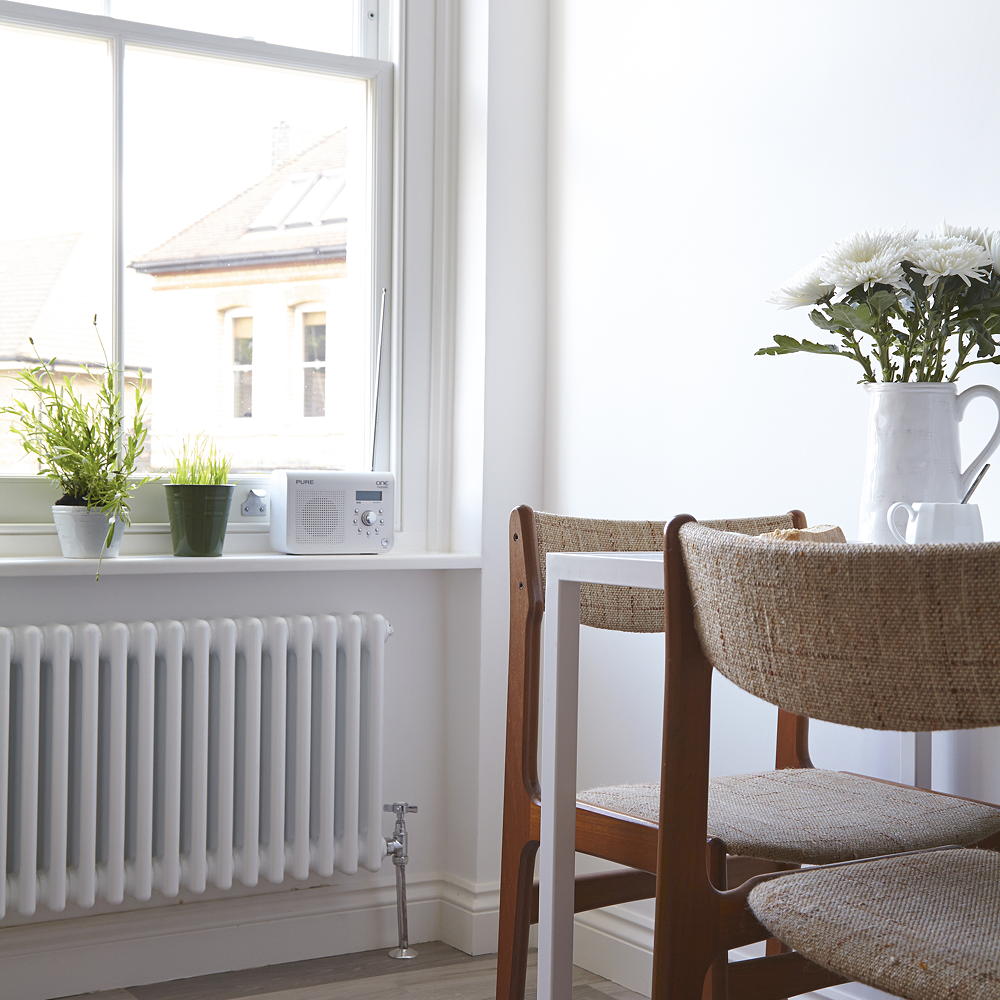
During the winter months, your central heating system keeps you and your family warm. But your radiators can also have an adverse effect on the paint nearby - especially if you have a solvent-based gloss paint on your walls or the radiator itself.
In fact, you may find that your walls or your radiators turn yellow or start to have a yellow tinge to them. This is usually due to the heat and the age of your paint.
Because of this, it’s worth refreshing the paint as soon as possible. Start by using a primer to get rid of any yellow tinge, and then follow the steps to paint a radiator in the colour of your choice.
13. Rain spotting
If you want more space to stretch your painting arm or you want to paint your outdoor table, you might head outside to paint. And while this can work in your favour on a mild, dry day, it could result in a common paint problem if it starts raining.
That's because surface blemishes occur on a paint finish if it’s rained on before the film has had a chance to fully dry. To fix it, start by moving your painted item and wait for the surface to dry completely.
Dulux then advises, 'When the surface is thoroughly dry, rub the affected surface down using 'wet and dry' abrasive paper. Then recoat.'
14. Rotten wood
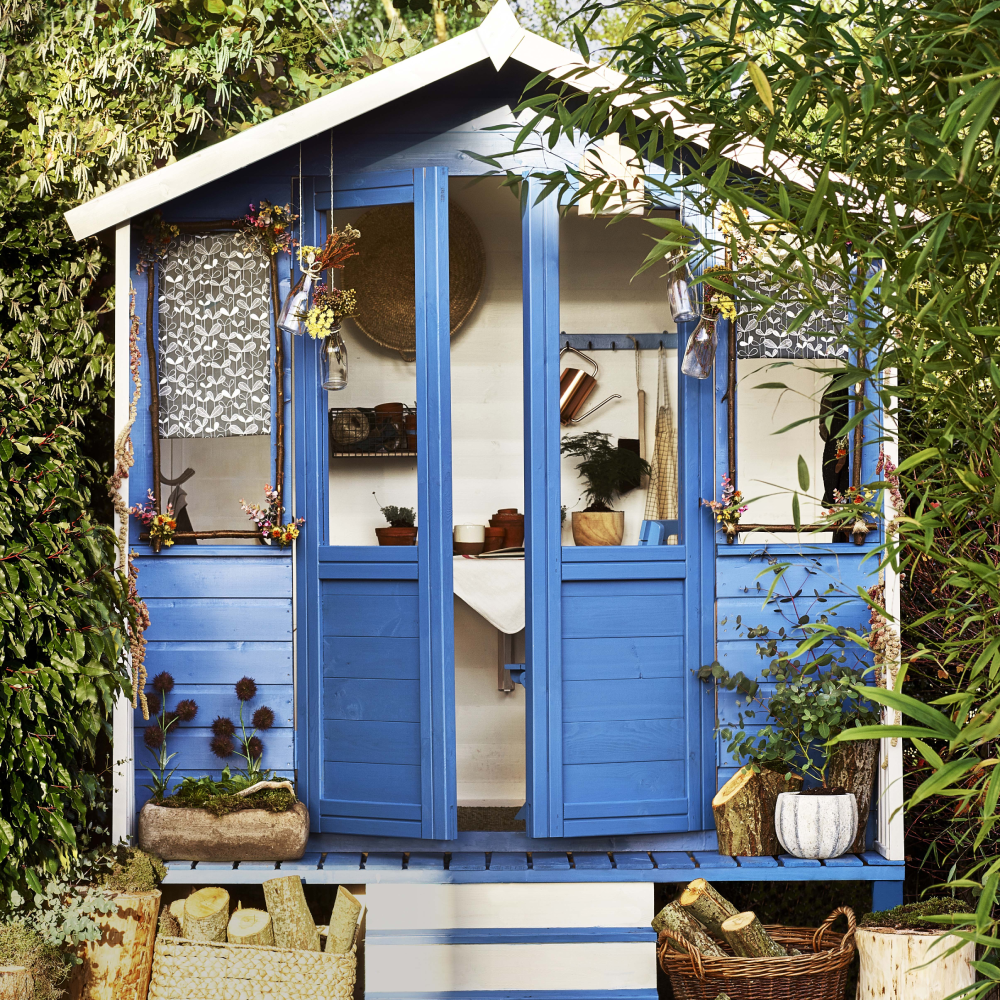
If you want to bring your shed paint ideas to life, nothing is stopping you. Except for the state of your shed, of course.
Due to its nature, wood is prone to rot when exposed to excessive moisture for prolonged periods of time - and this can making painting a shed a problem.
So, what do you do if you want to paint rotten wood? Dulux advises, 'Cut out all rotten wood and replace with sound timber. Then, prepare the area before painting.’
You can also buy wood hardeners - like this Ronseal Wet Rot Wood Hardener from Amazon - to strengthen your shed before painting.
FAQs
Why is all my paint peeling?
Paint peeling off a wall is one of the most irritating things you can experience, as it seems like such a waste of your time and your money. But before you start trying to fix it, it’s important to understand why it happened in the first place.
In most cases, paint peeling off a wall is caused by excess moisture in a wall. This could be because you didn’t let your fresh plaster dry for long enough, or could be that you’ve simply painted too many coats of paint on top of each other without letting them dry in-between.
How do you fix a bad first coat of paint?
This all depends on the severity of the paint job and the paint itself. If you’ve messed up the first coat of a light paint colour, you should be able to paint over it without any worries.
In other cases, however, you may have to take more drastic action and it may be that you have to start from scratch. To do this, you’ll need to sand down the wall to remove any lumps or bumps, prime the wall, and then paint over with your desired paint colour.
Why is my second coat of paint taking off the first?
It’s highly likely that you didn’t leave enough time in between coats for the first coat to dry, which is why your second coat of paint is taking off the first. When painting multiple coats, you should wait at least 24 hours before painting the next coat.
Your second coat of paint can also take off the first if you’re using different paints. Some paints do not bond well when layered on top of each other, so you should aim to use the same paint during your whole painting process.
So, if you're experiencing any of these common paint problems, you don't need to worry. In most cases, there's an easy fix.
Sign up to our newsletter for style and decor inspiration, house makeovers, project advice and more.
Tamara was Ideal Home's Digital Editor before joining the Woman & Home team in 2022. She has spent the last 15 years working with the style teams at Country Homes & Interiors and Ideal Home, both now at Future PLC. It’s with these award wining interiors teams that she's honed her skills and passion for shopping, styling and writing. Tamara is always ahead of the curve when it comes to interiors trends – and is great at seeking out designer dupes on the high street.
- Lauren BradburyContent Editor (House Manual)