How to wallpaper – an expert guide to hanging wallpaper with ease
Learn how to hang wallpaper with our step-by-step video guide

If you've always wanted to learn how to hang wallpaper, but are too scared of ending up tangled in lengths of paper or covered in paste, fear not! We've put together a step-by-step guide to hanging wallpaper to make sure your home decorating project is as painless as possible.
How to wallpaper – a step-by-step guide
See more expert DIY & Decorating advice on our main channel
Once you've ordered your design, it's important to check your rolls all have the same batch reference number so that the printed colours match exactly. The batch number will be clearly printed on the label.
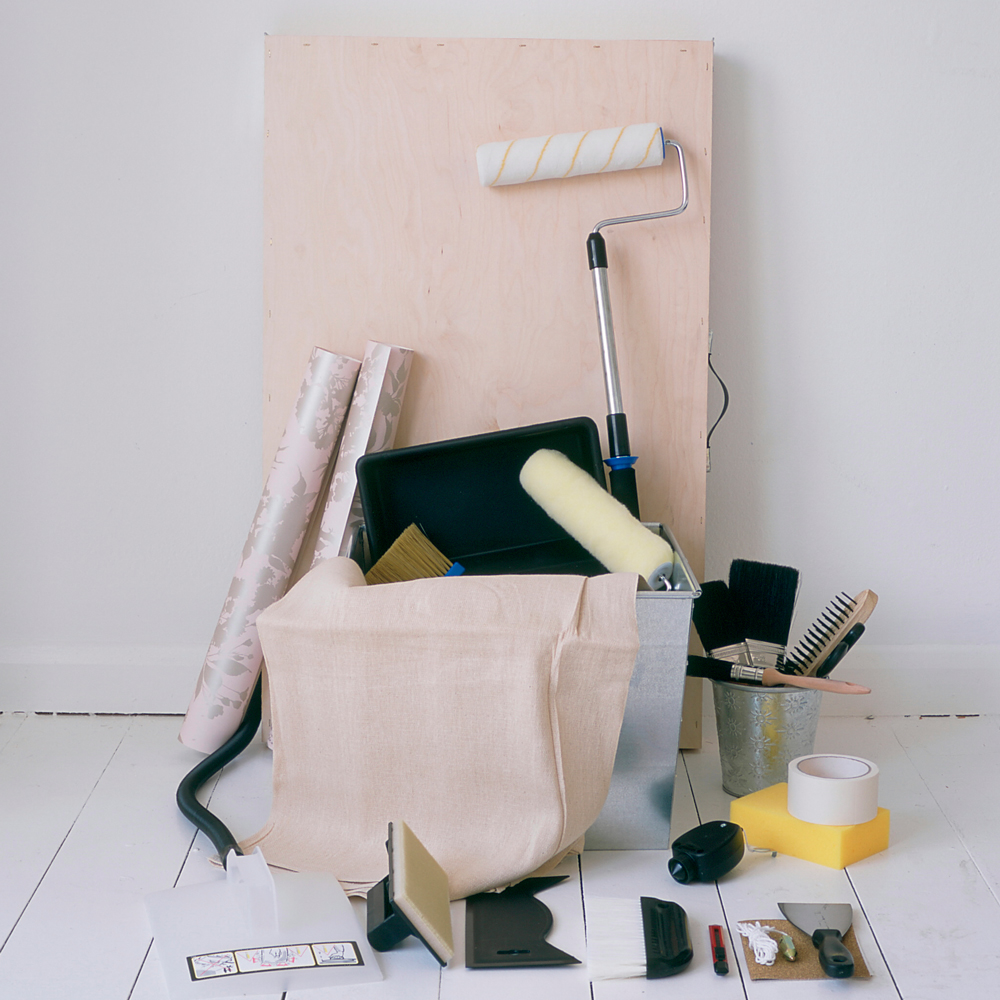
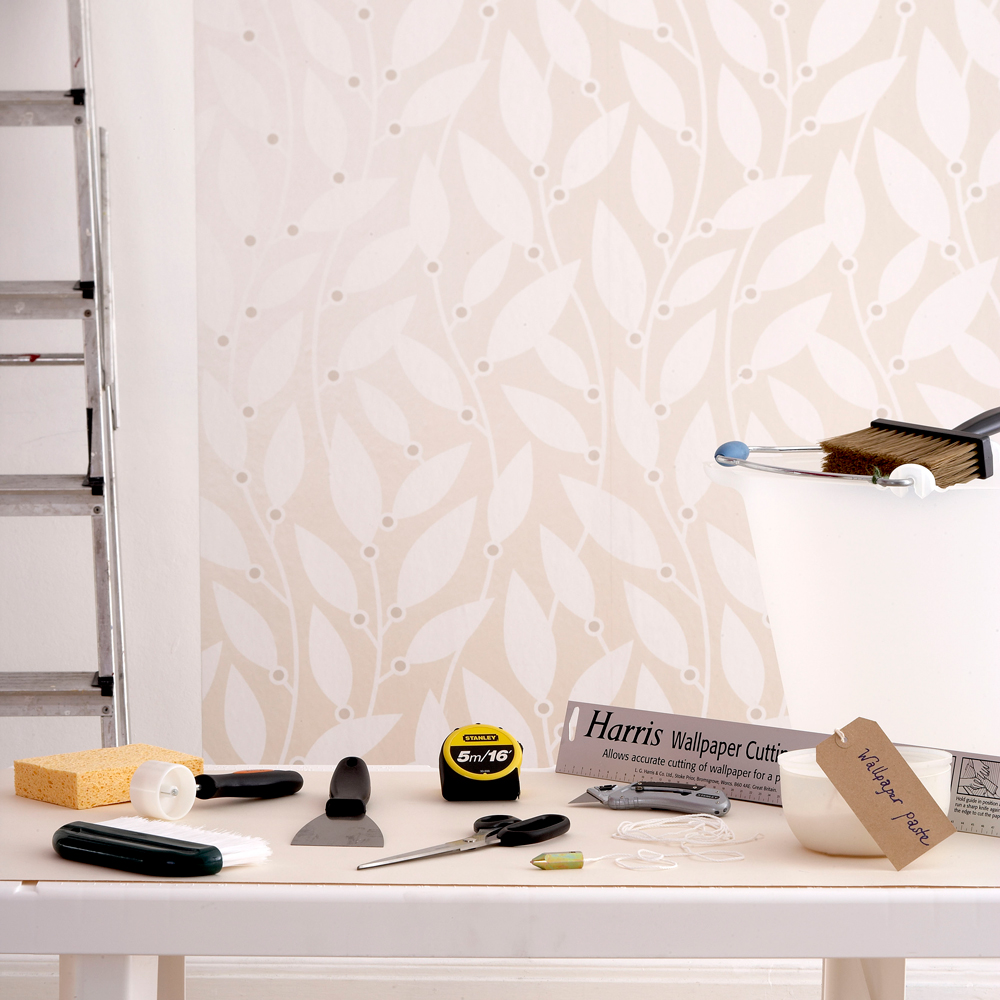
What you'll need for hanging wallpaper:
- Paste Table
- Blue Bucket
- Solvite Ready Mixed Wallpaper Paste
- Plumb line and bob
- Pasting brush
- Scissors
- Wallpaper scraper
- Seam roller
- Paper-hanging brush
- Decorator Sponge
1. Prepare walls for wallpapering
Once you have the paper ready to go it's time to start prep. Ensure that your walls are properly prepared by carefully removing any old wall covering or flaky paint. Fill and sand any cracks or imperfections to ensure a good base. Next wash the walls down with sugar soap, to remove any greasy marks or dirt.
Make sure walls are smooth, clean and perfectly dry, before you begin to hang your wallpaper.
Wallpaper experts at Graham & Brown share a top tip for freshly plastered walls, ''Size' the wall. this means making up a diluted solution of paste and liberally apply to the walls being decorated and let it dry.' This process allows a base coat of paste to be absorbed into the porous plaster – meaning it will prevent the paste being absorbed when it's applied at the stage of hanging the paper.
2. Measure and plan
Cut your first length of wallpaper so it overlaps the ceiling and skirting by at least 2-3cm at each end. All subsequent lengths must be cut to allow for the pattern repeat - so that the edges match up and the pattern is even across the wall. For example, if your drop is 240cm and the pattern repeat is 25cm, you will need to cut lengths of 275cm to allow for one whole pattern repeat, plus the 5cm at each end.
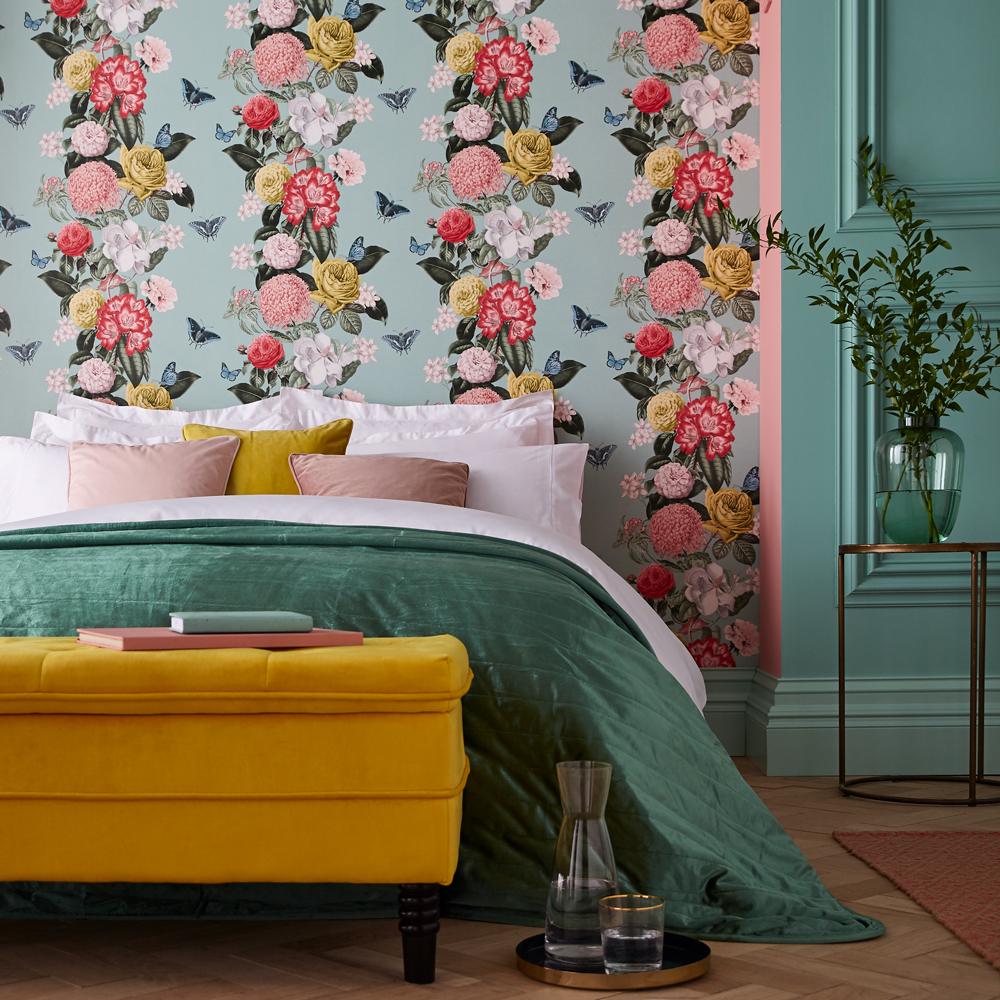
‘Bloomsbury in Neo Mint’ Graham & Brown wallpaper of the Year 2020
'The first drop of wallpaper is key,' say Graham & Brown experts. 'As all others will align to it, so it is important to ensure it is 'plumb' otherwise your wallpaper could look wonky'.
'From the left-hand corner of the wall you are about to decorate measure 50cm and make a pencil mark to give you your starting point. Using this mark, draw a plumb line using either a plumb-bob or spirit level. A plumb line is a vertical straight line, from which you will hang the first “drop” of wallpaper against and ensure it is hangs straight down.'
3. Mix and prepare to paste
Mix the wallpaper paste, following the instructions. Where you will paste will depend on the type of paper you are working with. If your wallpaper isn't of the super-easy paste-the-wall variety, use a pasting table and pasting brush to apply paste to the length of paper, working from the centre outwards and making sure the edges are covered. Avoid getting paste on the printed side.
Loosely fold both ends of the cut length of wallpaper into the centre, pasted sides together (without creasing it), before loosely folding in half again. This prevents the paste from drying out before you hang the wallpaper, allowing you to prepare two or three lengths at a time.
With modern wallpapers you will paste the wall directly. For this process the experts advise, 'Apply the paste liberally to the wall, ideally with a roller (it’s quicker). You can paste over the plumb line and make sure you apply paste a couple of centimetres wider than the wallpaper you are about to hang.'
'This means you can hang the second “drop” of wallpaper without worrying about applying paste over the first “drop”'.
Related: Wallpaper trends 2021 – the designs setting the scene for the year ahead
4. Apply the paper to the wall
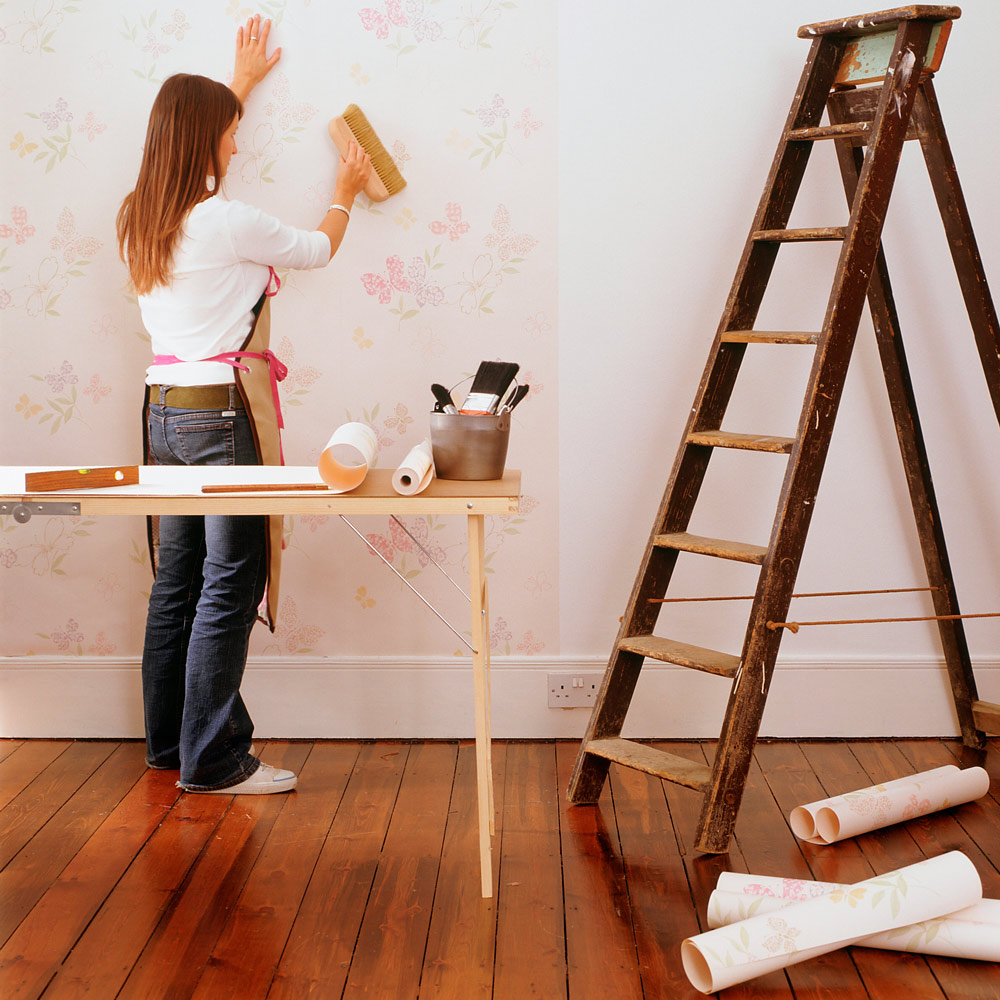
As you hang the paper, whether from the roll or pre-cut lengths, lightly brush into place as you go move downwards towards the skirting board.
'Here you can lightly push the paper to the wall advise the experts at Graham & Brown. 'Ensure that the paper is in the correct position and is vertically correct. Brush down the paper with the smoothing brush from the centre to the edges of the roll.' Trim the excess paper at the top and bottom with a knife or wallpaper scissors.
'Working to the right of this first “drop”, paste the wall again allowing a few centimetres wider than the width of the wallpaper. You should see you don’t need to get close to the first drop of paper when doing this. For the second drop – look to see where the paper matches (the point at which the design fits together along the edges of the wallpaper).
Continue the process until every section of wall is covered.
Expert wallpapering advice
Always start hanging wallpaper in the middle of a wall or chimney breast and work outwards so that the paper lengths meet in an inconspicuous place in the room.
Use a plumb line to mark a vertical line on your wall, then begin by unfolding the top half of your first prepared strip, slide the wallpaper onto the wall so that it's lined up and then unfold the rest.
Smooth out any bubbles, working from the centre out. Carefully trim off any excess at the top and bottom, using a craft knife and a metal rule.
'When you get to the bottom of the wall – check the pattern matches, and there are no gaps. If there are bubbles, or mismatches, just loosely pull the paper back and brush it back down. The paper is forgiving! If it matches you're nearly there' say the Graham & Brown team.
Hang your next piece of wallpaper, making sure that you match the pattern exactly. Wipe off any excess paste from the paper with a damp sponge as you go along and lightly seal the matching edges with a seam roller after hanging each new piece.
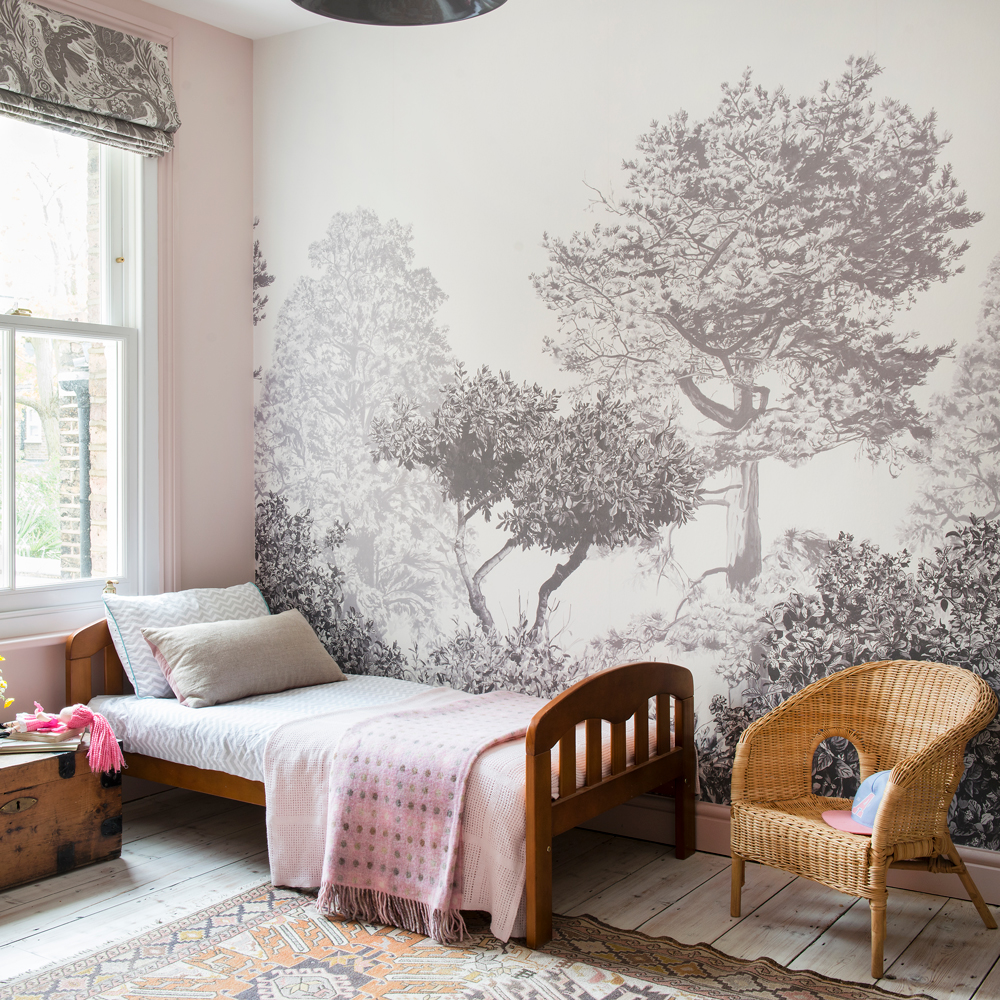
If the wallpaper you have chosen has a large pattern repeat, be sure to allow extra length when cutting so that you don't have a problem matching up seams perfectly.
For particularly uneven walls, it's worthwhile putting up lining paper first. This will create a far smoother and, ultimately, more stylish finish.
If you're still uncertain about pasting the wallpaper without tearing or creasing it, consider using paste the wall papers, or even trading wallpaper for wall stickers - they still have a smart finish.
For more decorating inspiration, craft ideas and cleaning hacks don't miss our dedicated DIY guide.
Get the Ideal Home Newsletter
Sign up to our newsletter for style and decor inspiration, house makeovers, project advice and more.

Thea Babington-Stitt is the Managing Editor for Ideal Home. Thea has been working across some of the UK’s leading interiors titles since 2016.
She started working on these magazines and websites after graduating from City University London with a Masters in Magazine Journalism. Before moving to Ideal Home, Thea was News and Features Editor at Homes & Gardens, LivingEtc and Country Homes & Interiors. In addition to her role at Ideal Home, Thea is studying for a diploma in interior design with The Interior Design Institute.
-
 Everything you might not know about Ideal Home's history
From Mary Berry's stint as Food Editor in the 1970s to the founding issue
-
 The easy planting technique I always use to create stunning hanging baskets - it's the secret to a show-stopping flower arrangement
If you're not sure where to start when making up a hanging basket for the garden, the 'thriller, filler, spiller' method is worth a try
-
 This £10 Amazon fix stopped pooling water from destroying the wall behind my kitchen sink – 6 months on, it still looks great
If you're struggling with pooling water around your kitchen sink, listen up