How to make a mosaic table – upcycle a side table with tiles and paint, step by step
Follow these easy instructions to make a unique mosaic side table, courtesy of B&Q.
If you’ve been debating what to do with an old side table, then we could have just the solution for you. Craig Collins, marketing manager for paint at B&Q, share his tips on how to breathe a new lease of life into a side table — simply by using a handful of tiles, adhesive and some paint.
Related: How to make pallet garden furniture – a step-by-step guide
With the country in lockdown, now is the perfect time to tackle any DIY projects or interior updates. So why not give this a try?
How to make a mosaic table
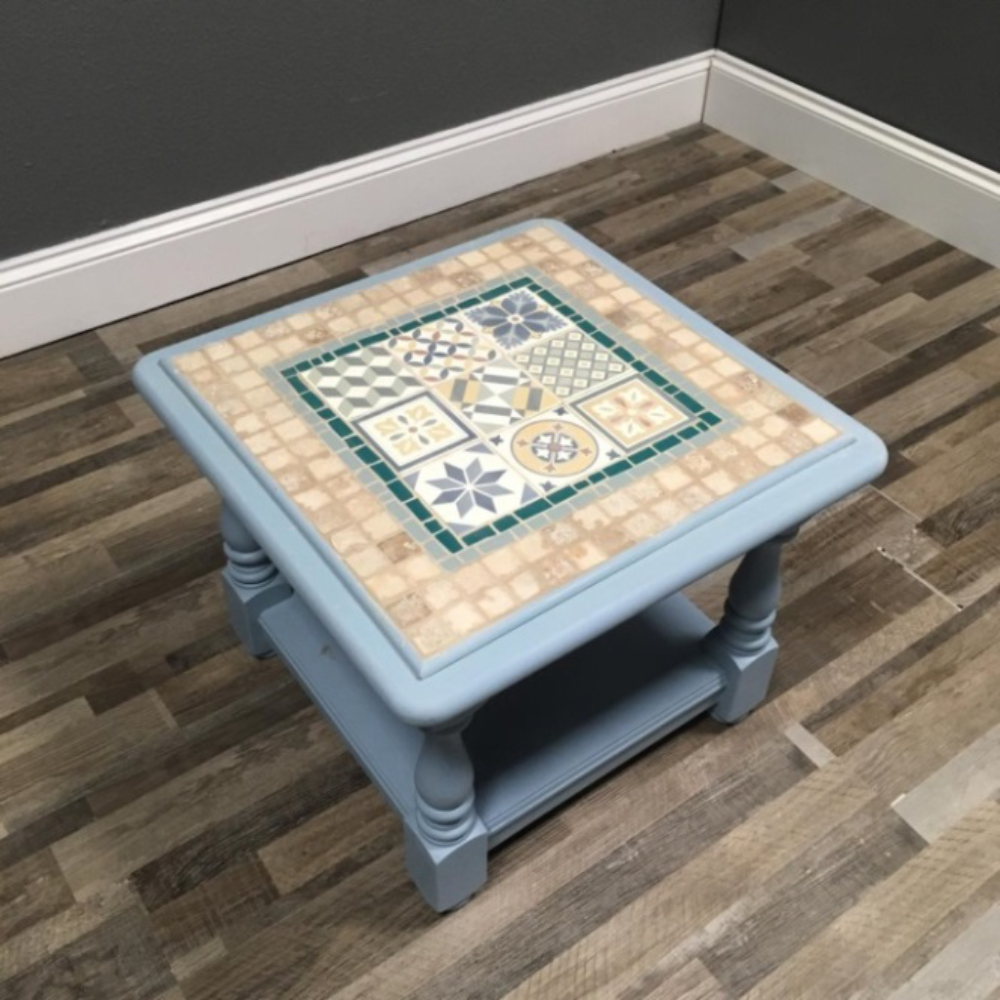
The best thing about this makeover is that you can personalise your table top with whatever tile design of your choosing. There's the option to mix different types of tiles or even break a few up a few to create a totally unique mosaic effect.
The tools and equipment you'll need
- An orbital sander or medium grit sandpaper
- Tape measure
- Fine-tooth saw
- A mitre box
- Pencil
- Nails and a hammer
- Latex gloves
- Sponge
- Rubble sack (to smash up tiles)
The materials you'll need
- Wooden trimming (for the border)
- A side table of choice
- Self-priming paint of your colour choice
- Furniture lacquer
- Assortment of mosaic tiles
- Tile adhesive
- Ready-mixed grout
Related: DIY fan shows how to make a tasteful bottle lamp – using an empty gin bottle
1. Sand all over
First things first, you need to make sure your table is free from scuff, scrapes or rough patches, so use either an orbital sander or medium grit sandpaper to create an all-over smooth effect. Make sure any gloss is removed and don’t neglect often-forgotten areas, such as the legs.
2. Create a border for your mosaics to sit inside
You’ll need to measure just how far you want the tiles to come out on the table top. Use a pencil and tape measure to mark out the area. Then cut your wooden trimming to size, using a mitre box and a fine-tooth saw — this will help to cut the borders corners to size at a perfect 45 ° angle, so they slot into one another.
3. Hammer borders into place
Put the wooden border trimmings in place and then use a nail and hammer to fix them to the table.
4. Paint
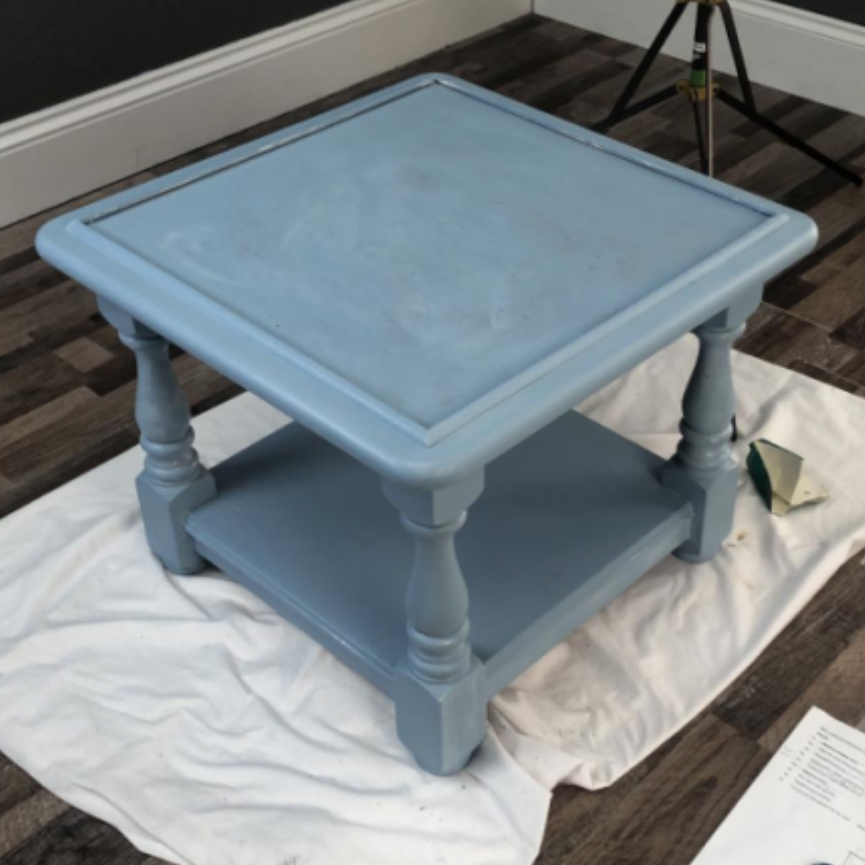
Once the borders are in place it’s time for the paint. Use a self-priming paint and apply a thin, even layer. Leave the first coat to dry, before applying a second. Then use a coat of furniture lacquer to help seal and protect your newly-painted surface.
5. Start the tiling
While the lacquer is drying, it’s time to focus on the tiling and you can get as creative as you want with this. There are two options - either use whole tiles or to break some up to make a unique moasic border.
This rustic broken mosaic look can be achieved by placing each tile in a rubble sack and hammering to break it up into 3-4 small pieces.
6. Stick them down
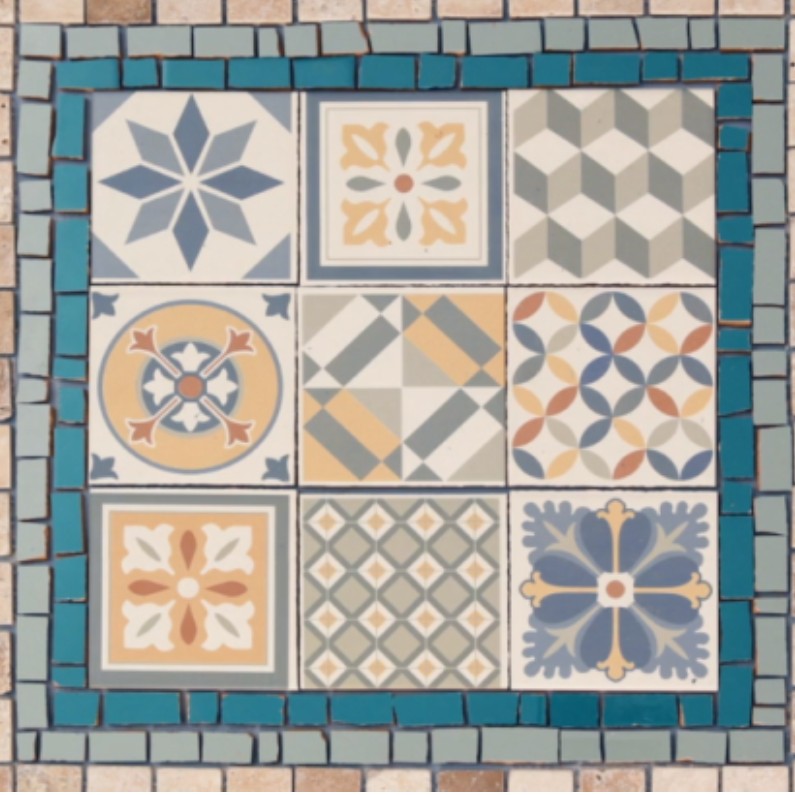
Once you’ve decided on a design that fits the table, apply a small amount of tile adhesive to the back and press each one down.
7. Apply grout
One the adhesive is dry, apply some grout. Wear gloves for this (because there could be some sharp edges), fill in the gaps and remove any excess grout before it sets. Our how to grout tiles guide has all the advice you need for this stage.
8. Sponge off any excess grout
Finally, take a damp sponge to it and wipe it across to clear any excess.
Looking for another project? 32 Easy DIY projects and fun makes to do during the coronavirus lockdown for every room in the house!
Make sure to leave your table out overnight so the grout dries fully before putting anything on top of it. And there you have it – a unique side table you can be proud to say you made yourself.
Get the Ideal Home Newsletter
Sign up to our newsletter for style and decor inspiration, house makeovers, project advice and more.
-
 I tried out this neat little dehumidifier for a month – it dried my laundry in half the time
The 20L SmartAir Dry Zone dehumidifier tackled my laundry drying woes head on
By Jenny McFarlane
-
 I’m seeing pastel garden furniture at all my favourite brands this spring, but QVC’s sorbet collection impressed me the most
Fresh pastel shades are a great way to liven up your outdoor space
By Kezia Reynolds
-
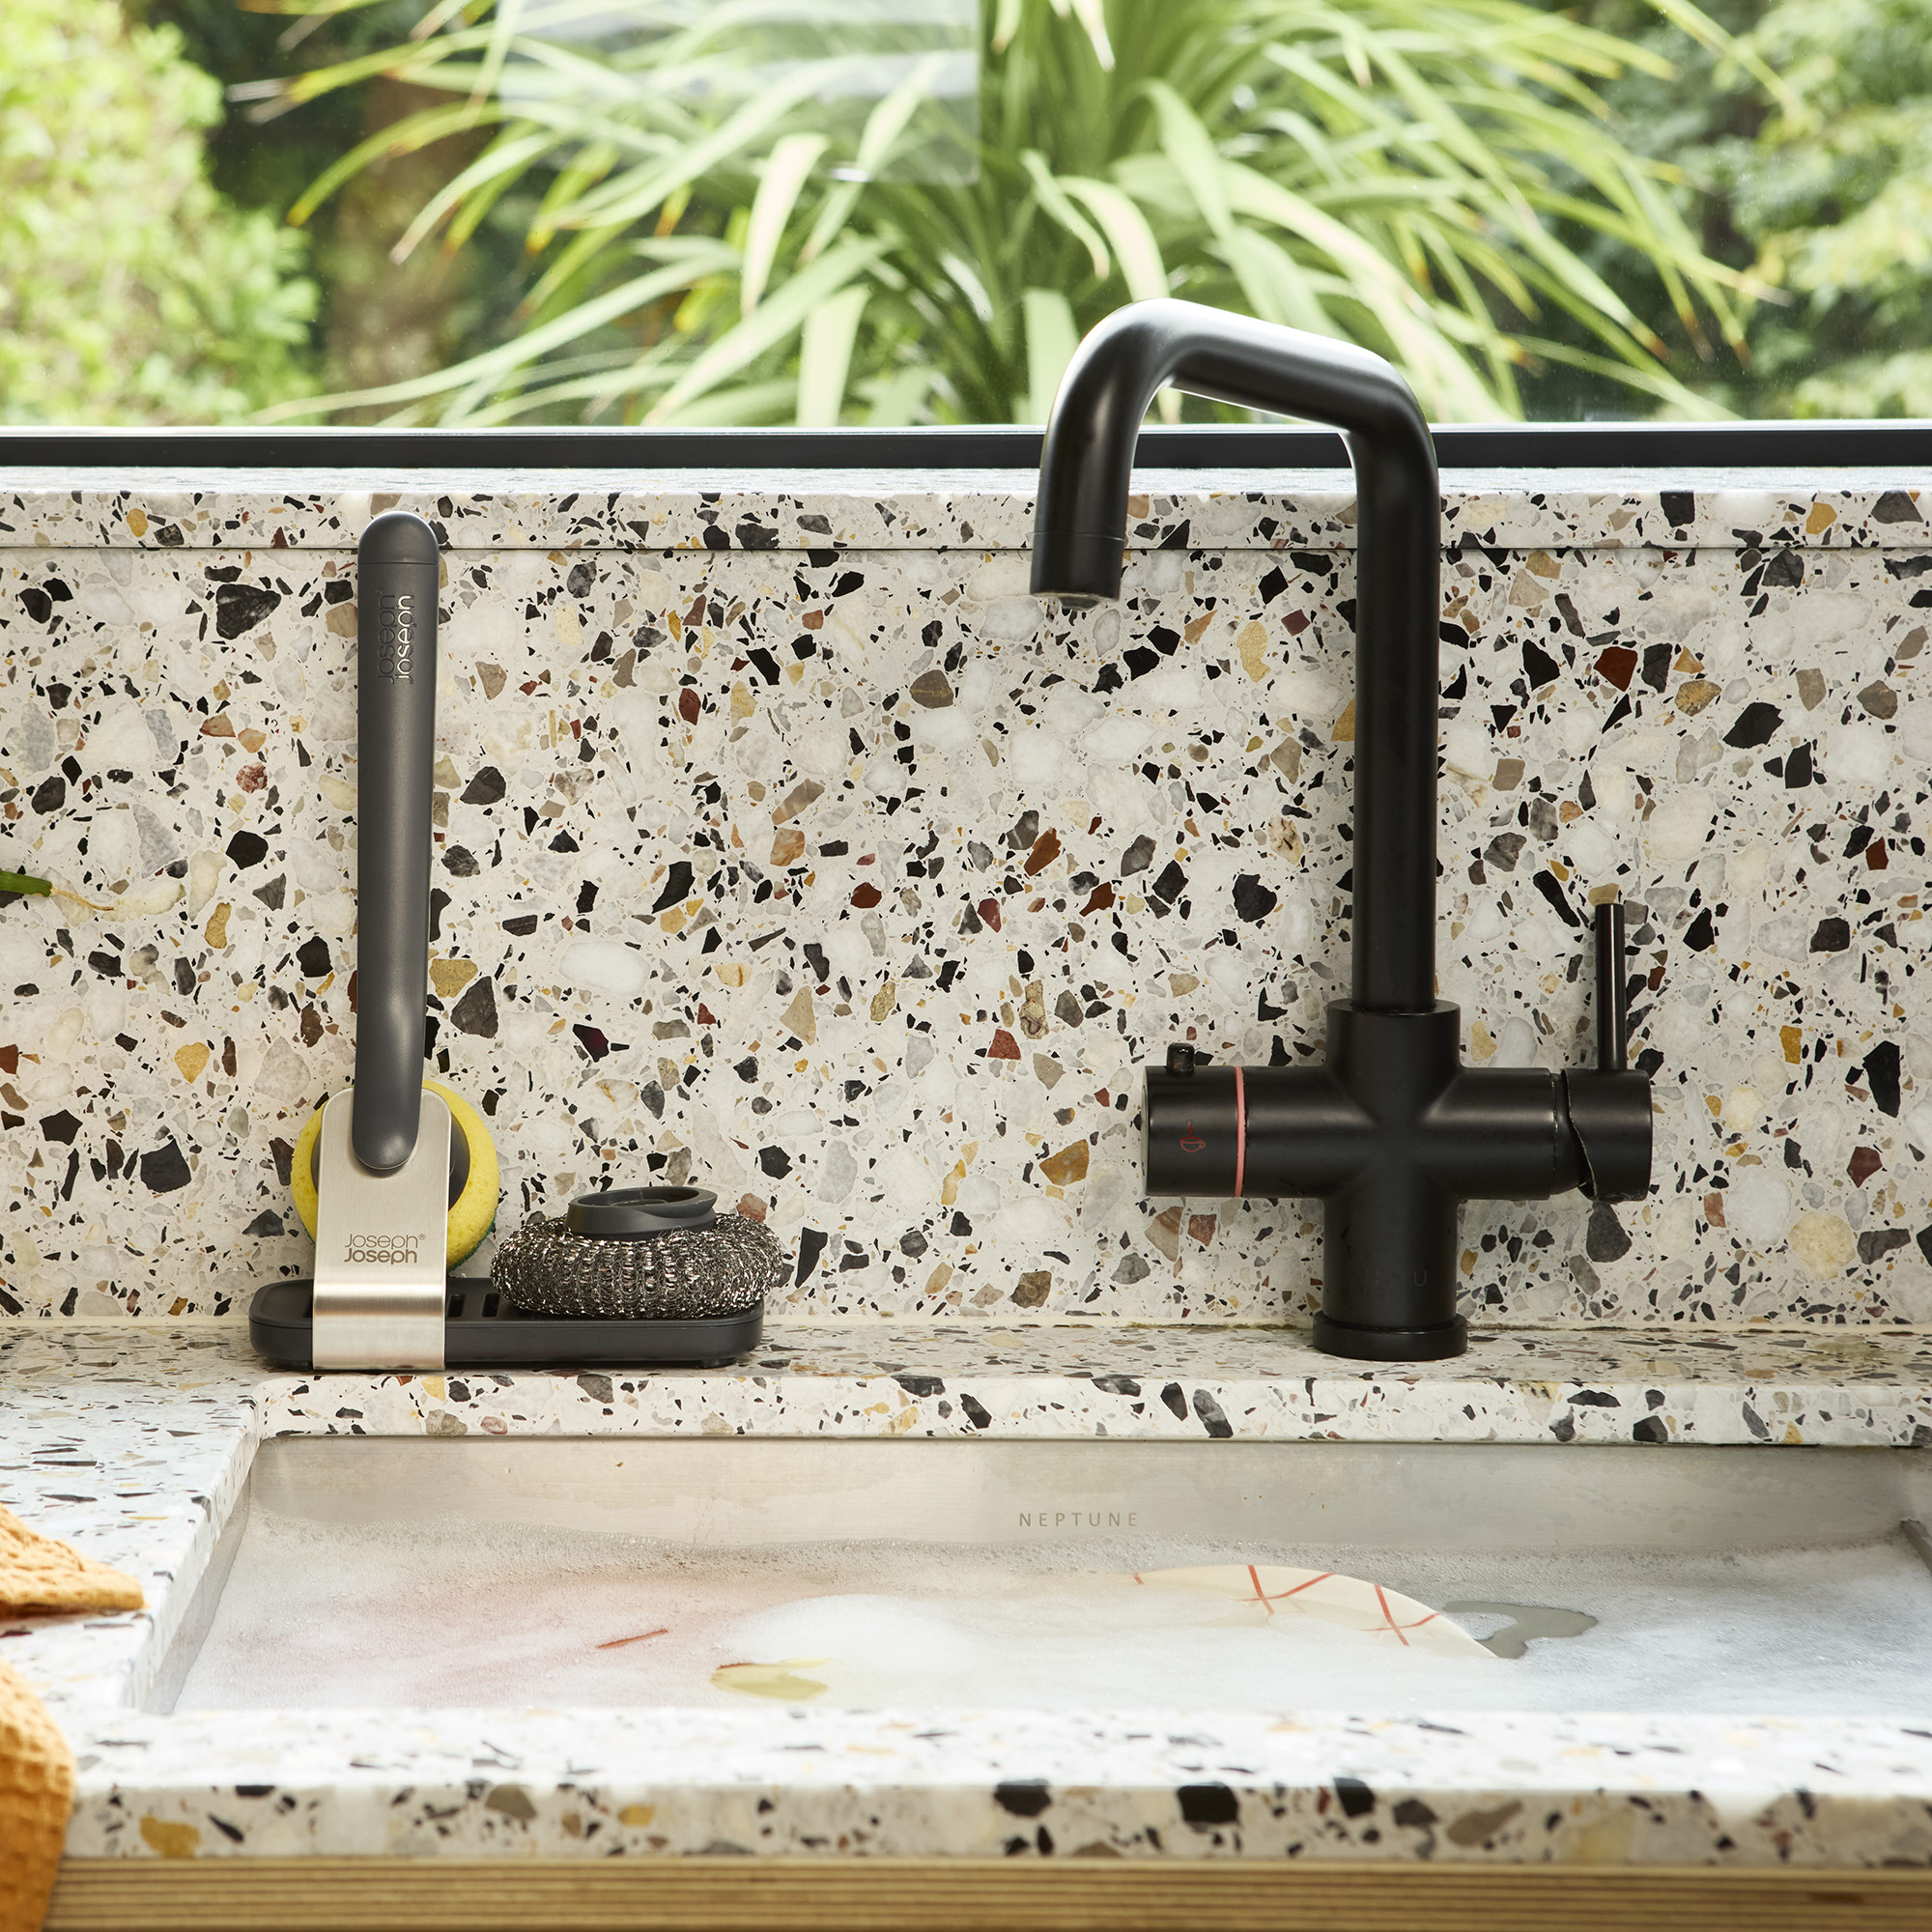 Don't tell my flatmates, but Joseph Joseph's clever new sink range finally made me enjoy washing up
I didn't know stylish washing up accessories existed until I saw this collection
By Holly Cockburn