How to make a paper windmill
Paper windmills, or pinwheels, make great tabletop decorations for outdoor parties.

Learn how to make a paper windmill with this step-by-step guide...
You will need
Step 1)
Cut two 20cm squares of paper, one in each colour. Place one sheet on top of the other. Matching edges all round, fold the paper in half diagonally and open out. Fold diagonally again, this time on the opposite diagonal and open out.
Step 2)
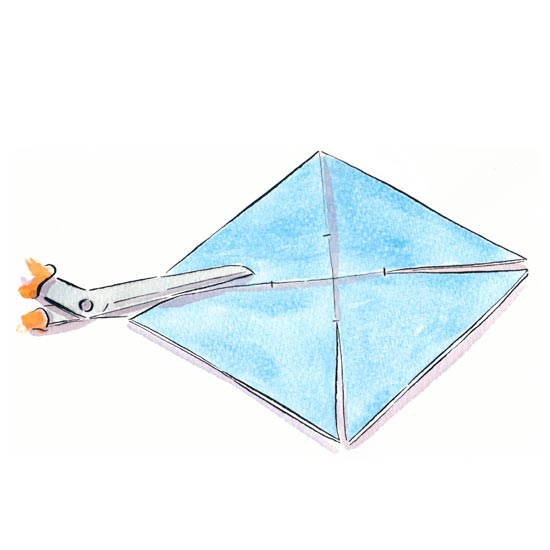
Cut from one corner along the diagonal fold stopping around 3cm from the centre. Repeat along the remaining diagonal folds.

Step 3)
Fold four alternate corner sections down to the centre of the paper, holding each section under your thumb at the centre as you work. Place a sticker centrally on the windmill so that it holds the four blades in position.

Step 4)
Take a map pin or push pin and push it through the centre of the sticker and out the back of the
windmill. Push the map pin into the top of the dowelling stick so that it firmly secures the windmill in place, but still allows the windmill to turn. You may need to tap gently home with a hammer.
For more decorating inspiration, craft ideas and cleaning hacks don't miss our dedicated DIY guide.
Get the Ideal Home Newsletter
Sign up to our newsletter for style and decor inspiration, house makeovers, project advice and more.
-
 I'm a Homes Editor with expensive taste, but Debenhams just made me do a double-take with this bargain designer-look outdoor sofa
This is the last place I thought I'd find my dream outdoor sofa
By Rebecca Knight
-
 15 ways to add kerb appeal to your home – experts share what really works for a stylish first impression
Make your home's exterior pop with these ideas
By Jenny McFarlane
-
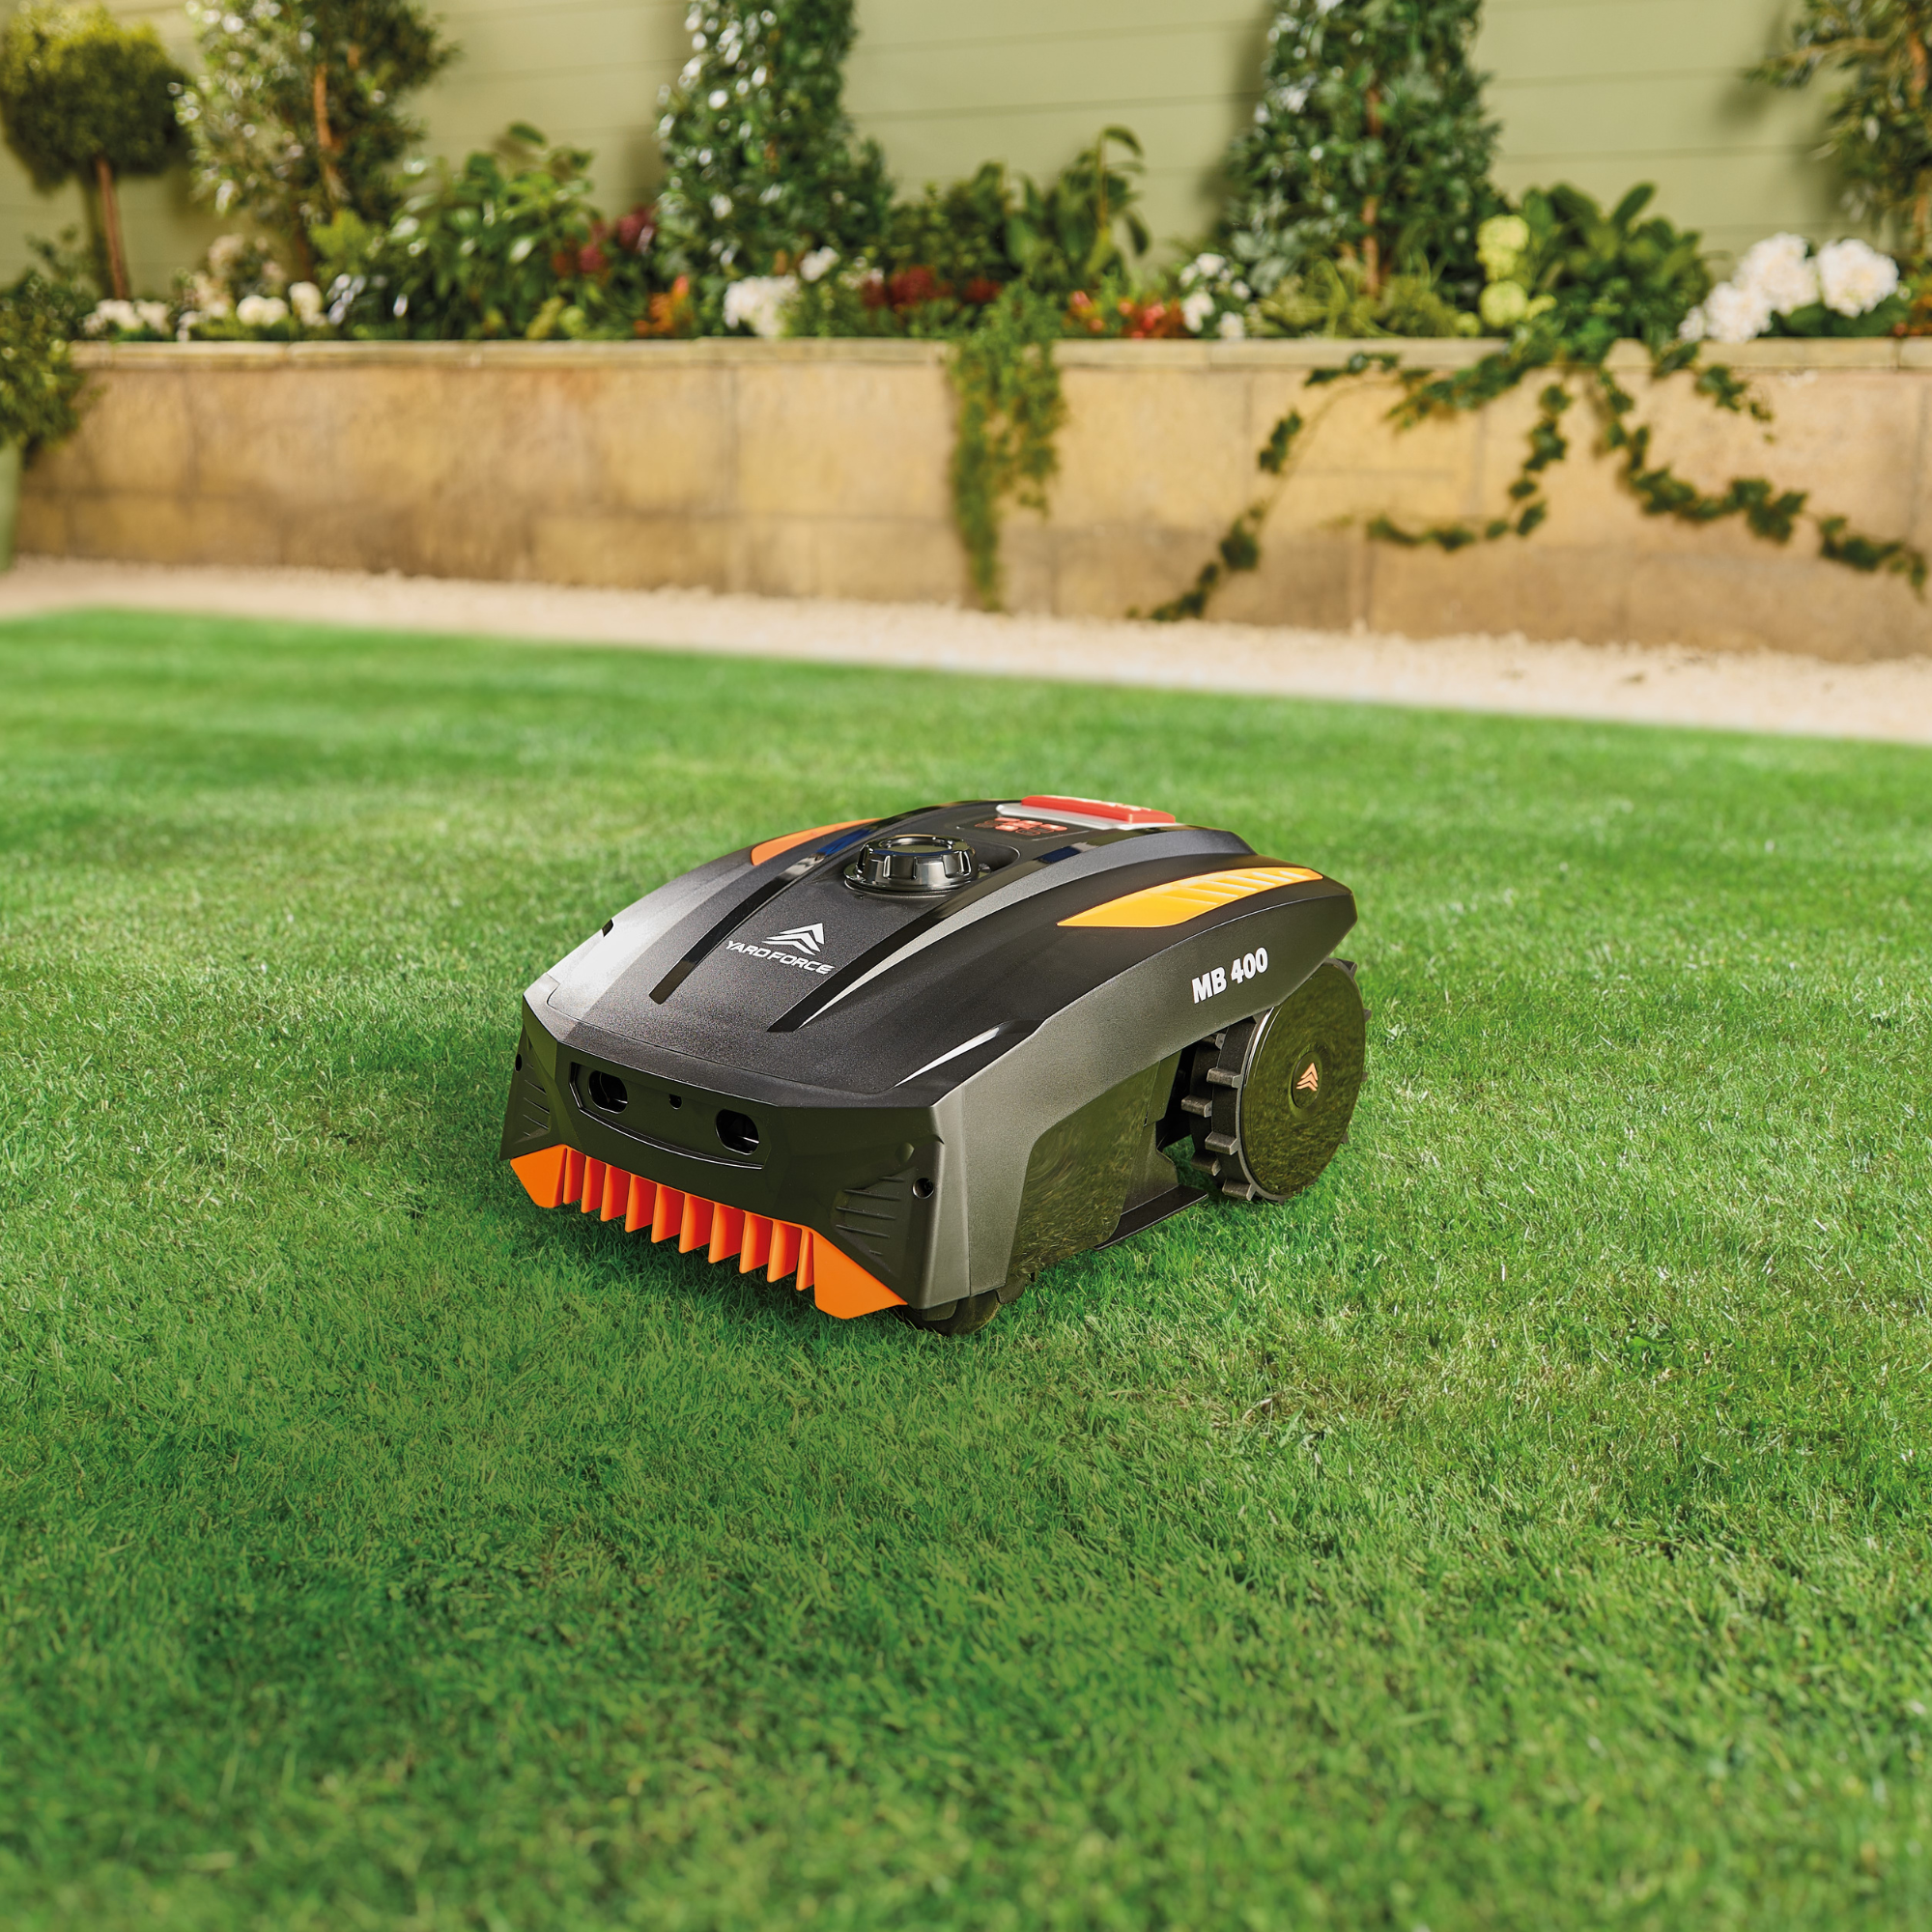
 Aldi is selling a robot lawn mower for under £200 - it's one of the cheapest on the market
I never thought I'd see 'Aldi' and 'robot mower' in the same sentence...
By Kezia Reynolds