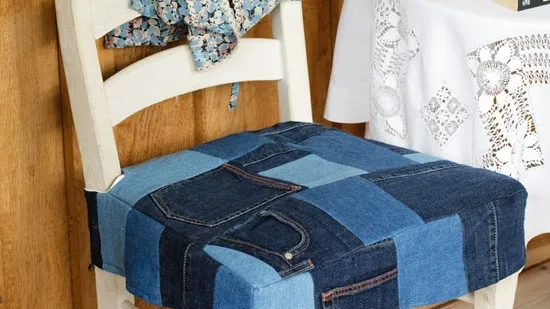
Brighten up your living room for 2010 by crafting a patchwork seat cover for an old chair.
Follow Country Homes & Interiors' step-by-step guide:
What you'll need
* Paper (for pattern)
* Denim fabric (we used Denim Blue, ref PF50125 660, £34 a metre, Baker Lifestyle and Worn Indigo Denim, £31.50 a metre, Lena Proudlock, and denim offcuts)
* Matching thread
* Stitch-on hook and loop fastener
1) Make paper patterns for the 5 sections of the cover: the seat
and four 10cm-deep ‘skirt' pieces to fit along the front, back and two
sides of the seat.
Using the illustrations as a guide to making your
patterns, note that: the back corners of the main seat piece are shaped
around the two uprights of the chair back; the back skirt extends only
as far as the inside edges of the two uprights; and the side skirts
extend around the uprights to overlap the back skirt by 4cm (see
photograph and illustration).

2) Add 2.5cm all round on all paper pattern pieces and cut out.
3)
Decide on your fabrics for the patchwork on the main seat piece and cut
out adding 1cm all round. Join the pieces together taking 1cm seams.
You may want to make some pieces extra large to incorporate pocket or
trim details if using old pairs of jeans or jackets.
Trim and
press open seams as you work until you have joined up enough denim
sections to make up the shape of the pattern piece. Once your patchwork
is complete, you may need to trim around the edges to match the pattern
piece as closely as possible. Piece together the four side sections in
the same way.
4) Stitch a 2.5cm hem along the back corners
of the main seat piece where the cover will fit around the seat
uprights. Right sides facing and matching raw edges, stitch the back
skirt piece to the main seat piece and trim and press open seam
allowance.
5) Join the front skirt to the two side skirts
along the short ends in the same way. Right sides facing and matching
seams at the front corners, stitch the three-piece skirt section to the
remaining raw edges of the main seat piece.
6) Stitch 2.5cm
hems along the bottom edges of all the skirt pieces, as well as the
side edges of the back skirt and the top and side edges of the side
skirt pieces where they extend to the back of the chair.
7)
Slip stitch lengths of hook and loop fastener in place on the wrong
side of the side skirt pieces and the right side of the back skirt piece
(as shown in the illustration below).
8) Using a damp
cloth, give the chair cover a final press before placing on the chair.
Push the back skirt between the two chair uprights and wrap the back of
each side section around the uprights to overlap the back skirt. Press
the hook and loop fasteners together to secure.

Looking for more ideas? Why not head to our dedicated craft pages. And for more inspiration follow Country Homes & Interiors on Facebook and Twitter.
-
 5 signs you’ve taken decluttering too far — and how you can pull yourself back, according to organisation experts
You might have to start resisting the urge to purge
-
 What is the Party Wall Act 3m rule and is it something you should be worried about? This is what the experts say
Don't get caught off-guard by the Party Wall Act 3m rule — our expert guide is a must-read
-
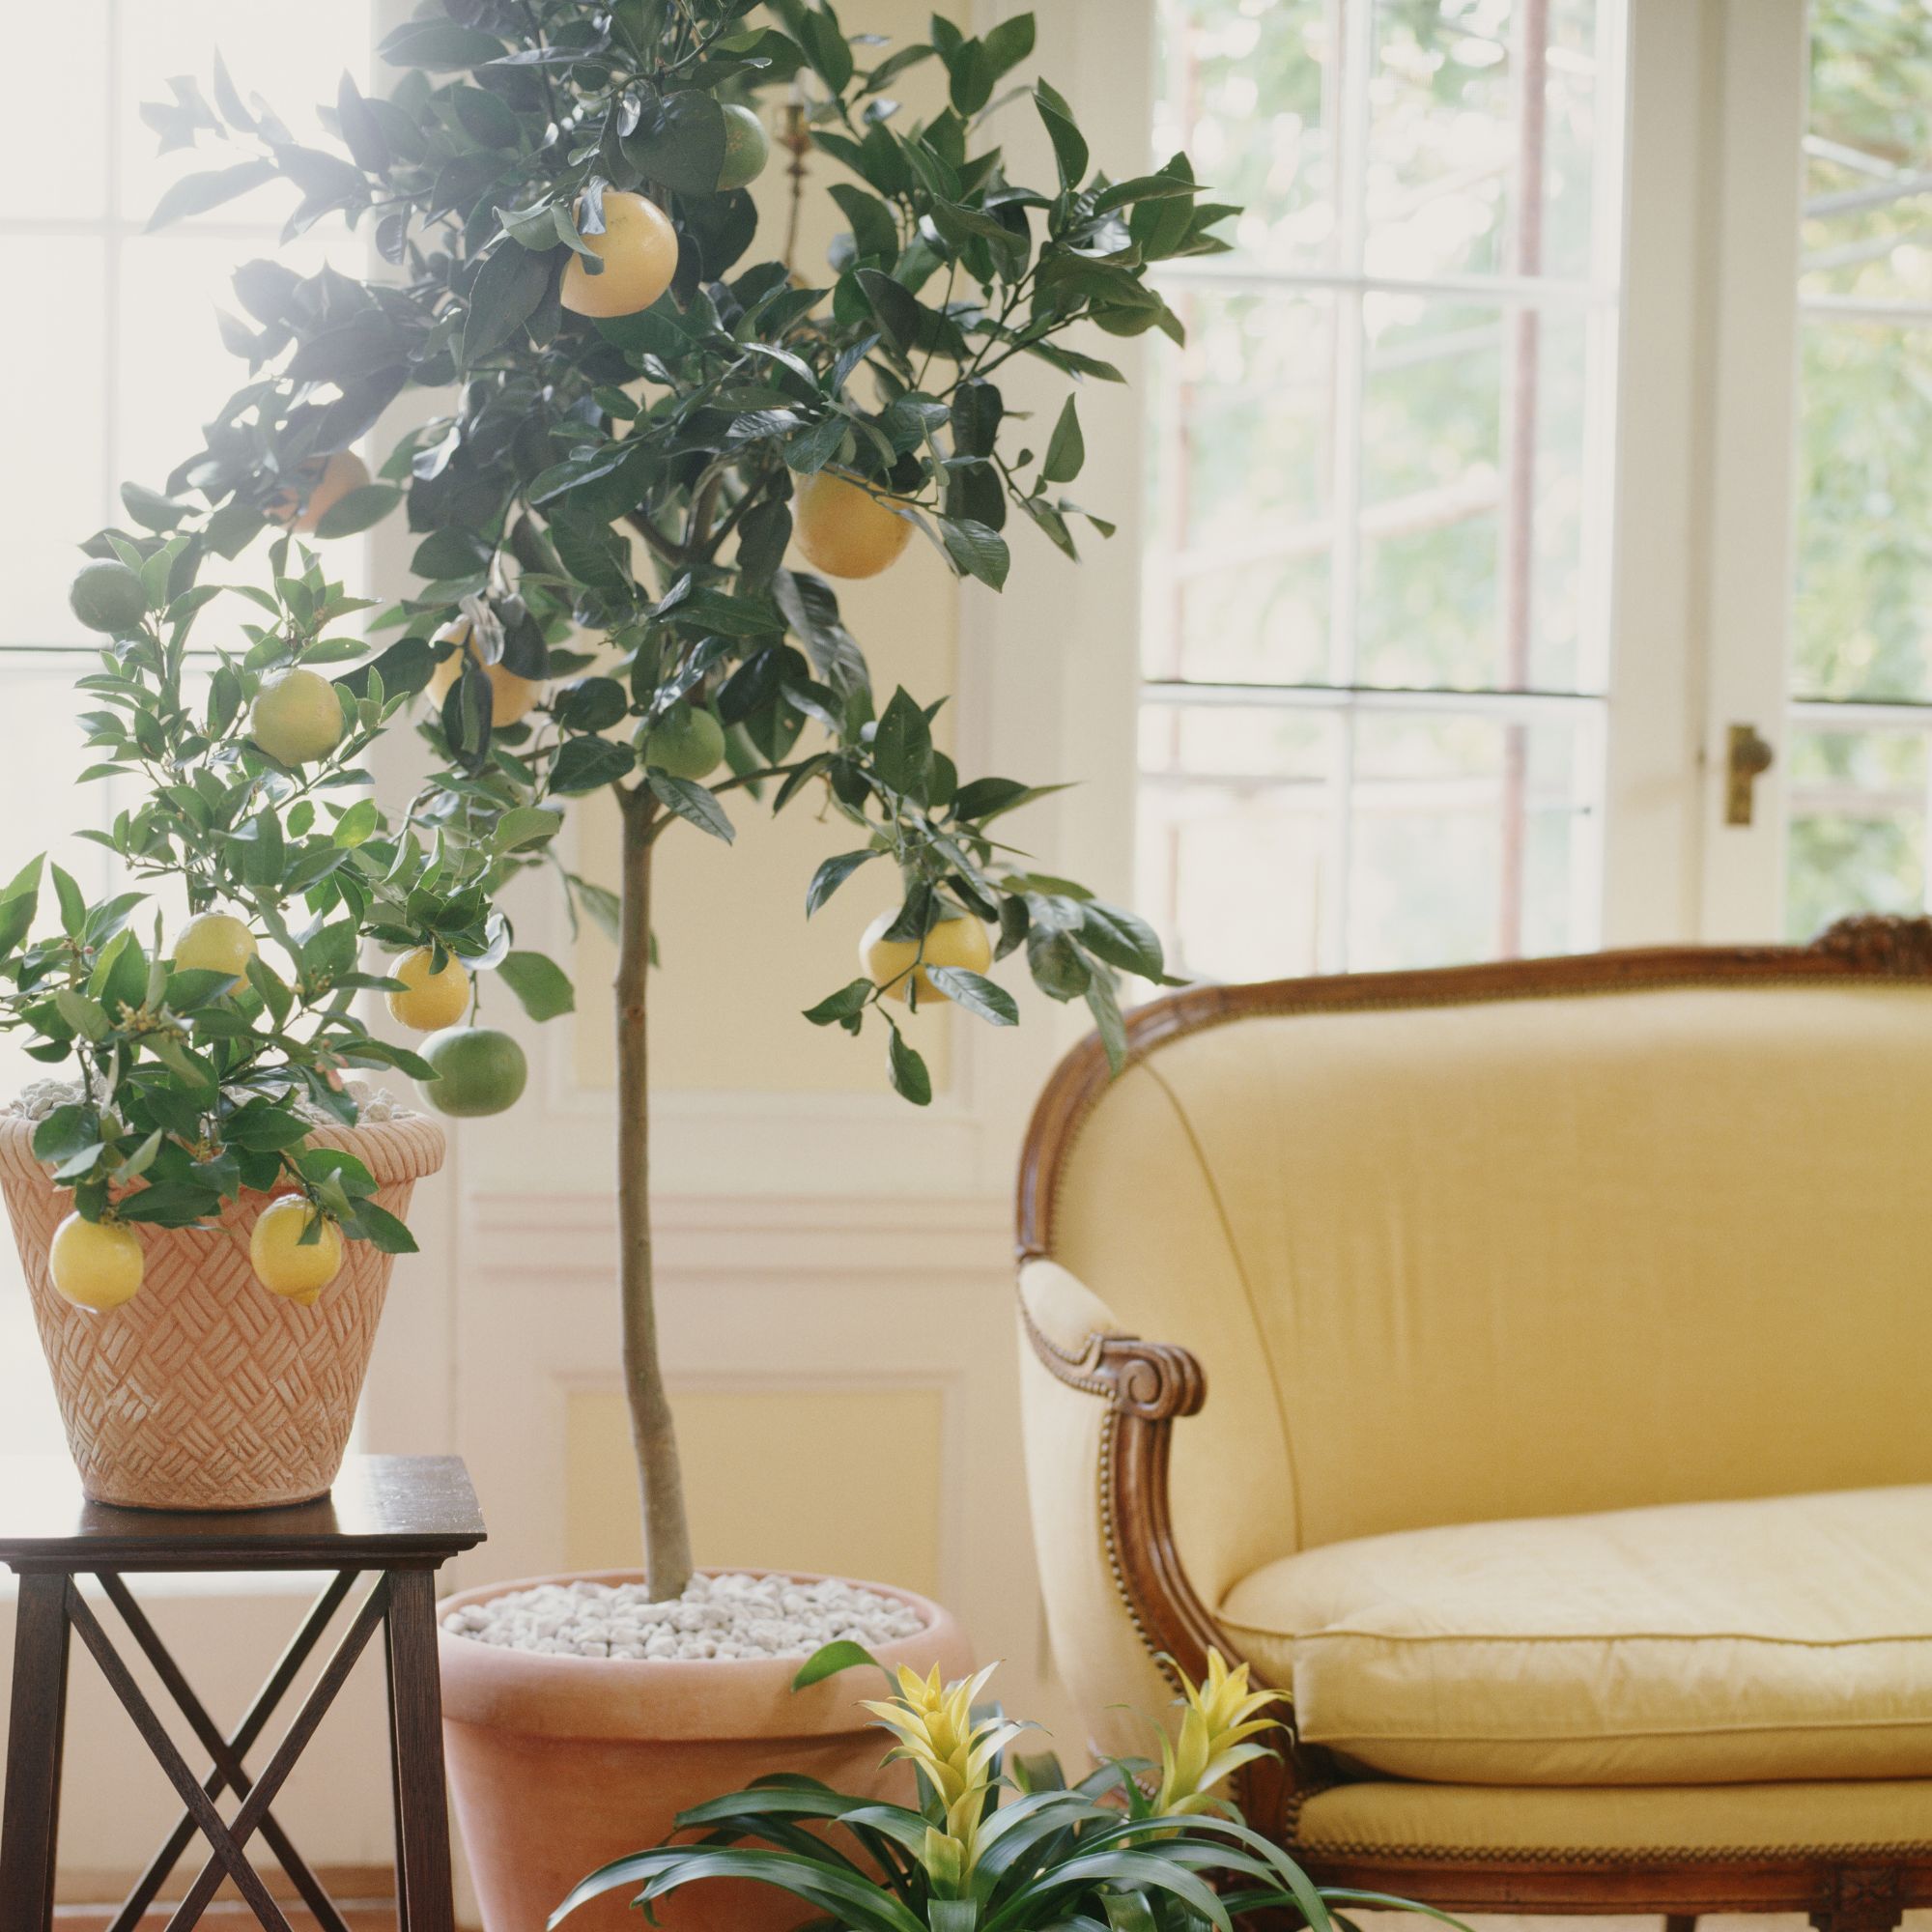 Shoppers can’t get enough of The Range’s lemon tree, but I’ve found an even cheaper bestseller at B&Q - it’s perfect for a Mediterranean look
Welcome the summer with this glorious fruit tree


-
 Craft corner: How to create simple picture displays
Create an eye-catching display, be a whole wall of prints or a select few
-
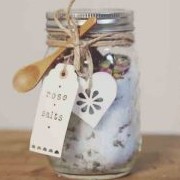 Craft Corner: How to make a mason jar of bath salts
We show you how to make your own mason jar bath salts. These can be for yourself or a great gift for someone else.
-
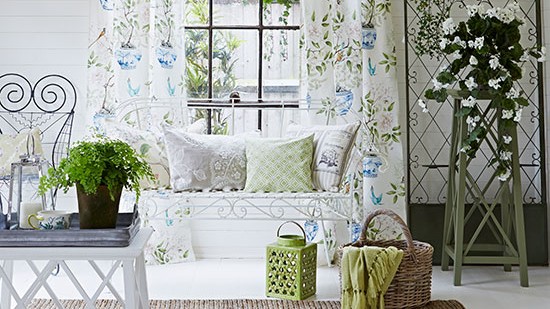 How to make a valance curtain
Discover how to make these pretty valance curtains using Country Homes & Interiors simple instructions
-
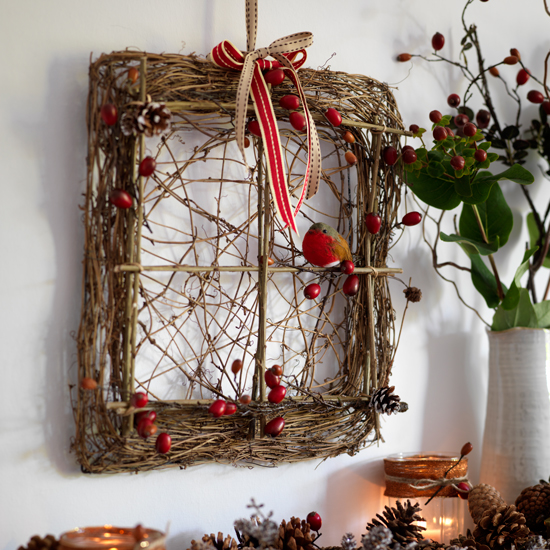 Get crafty this Christmas with these twig ideas
Give your home a festive woodland feel with these twiggy craft ideas
-
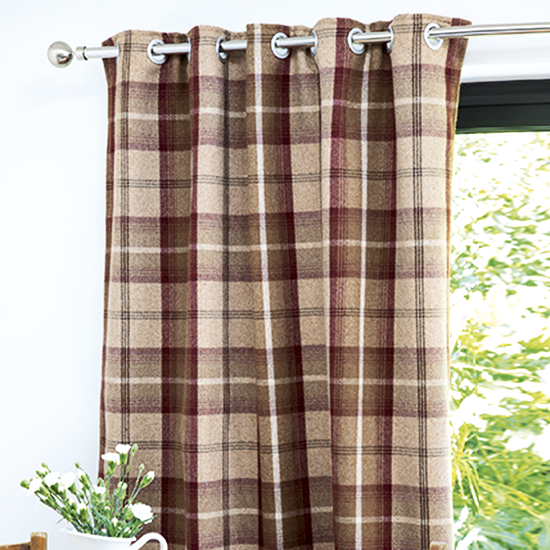 Transform your windows with stunning new curtains in three easy steps
Follow our 3 simple instructions to make new eyelet curtains to transform your window.
-
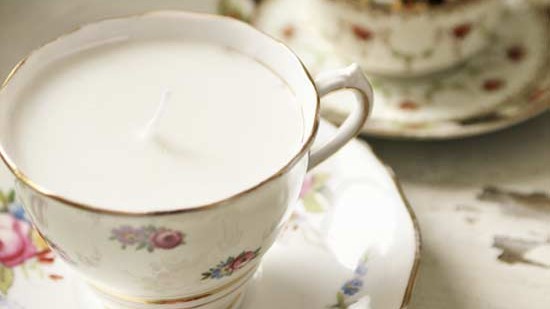 How to make candles in teacups
Check out our latest craft idea on how to make candles. Fill teacups with melted wax to make gorgeous one-of-a-kind candles.
-
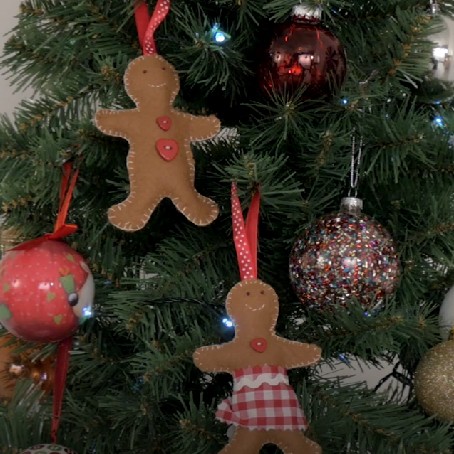 Craft corner: How to make a gingerbread felt decoration
Jennifer shows us how to make cute gingerbread decorations out of felt.
-
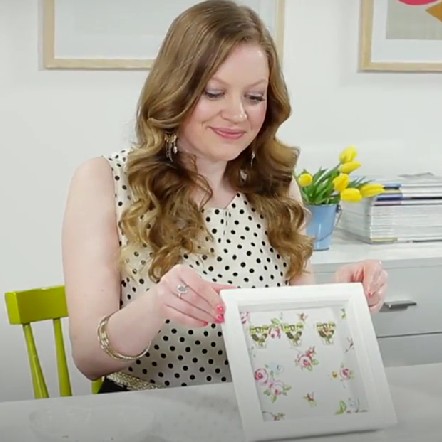 Craft Corner: How to make a framed key holder
Channel Editor Vicky shows you how to make a framed key holder.


