Learn how to decoupage with our simple and easy step-by-step guide. Nothing could be simpler than this method for revamping a piece of furniture. Whether
it's to add colour or cover up a damaged surface, a decorative paper is
just the thing to give new life to almost anything.
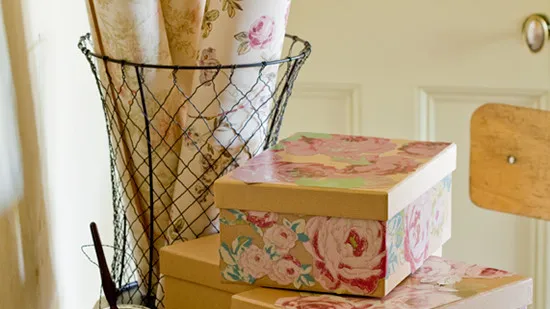
Get crafty and create the perfect place to store everything from precious keepsakes and photos, to sewing bits and bobs.
Follow our easy guide - it's the perfect sunday afternoon activity!
* Cardboard box with lid. (Try Paperchase for a wide range of different sized boxes, or use an old shoe box)
* Brown paper
* Double-sided tape
*
Wallpaper offcuts in a bold floral design (we used Bouquet, ref
BOUNW073, £67.53 a roll; Bird in the Bush, ref BIRWP071, £38.17 a roll;
both Anna French; Vintage Nicky Rose, col Pink, £16.78 a roll, B&Q)
* Craft glue

Step 1) Cover the outside of the box and lid with brown paper,
folding neatly to the inside and underside as if wrapping a present.
Secure with strips of double-sided tape.
Step 2) Take a
look at the wallpaper offcuts and choose favourite sections of the
design, such as rose blooms and leaf sprays. Cut around them carefully
(see illustration).
Step 3) Place the cutouts on the top of the box lid and move
them around until you're happy with their position, overlapping sections
if you wish. Using a pencil, mark trim lines on the cutouts where they
overhang the edges of the lid (see illustration) - keep the edges of the
lid undecorated. Remove cutouts and trim along the pencil lines.
Step 4) Brush
glue on to the back of the cutouts from the centre outwards, being
careful not to have too much glue near the edges. Carefully place each
cutout in place on the lid, pressing down at the centre and then
smoothing out gently towards the edges with a clean, dry cloth to ensure
the cutout sits flat. Repeat on each side of the box (you will find it
easiest to position the box alternately on its sides and ends, keeping
the working area uppermost each time).
Step 5) Let the glue dry completely then replace the lid on the box.

Picture credit: Michael A. Hill
-
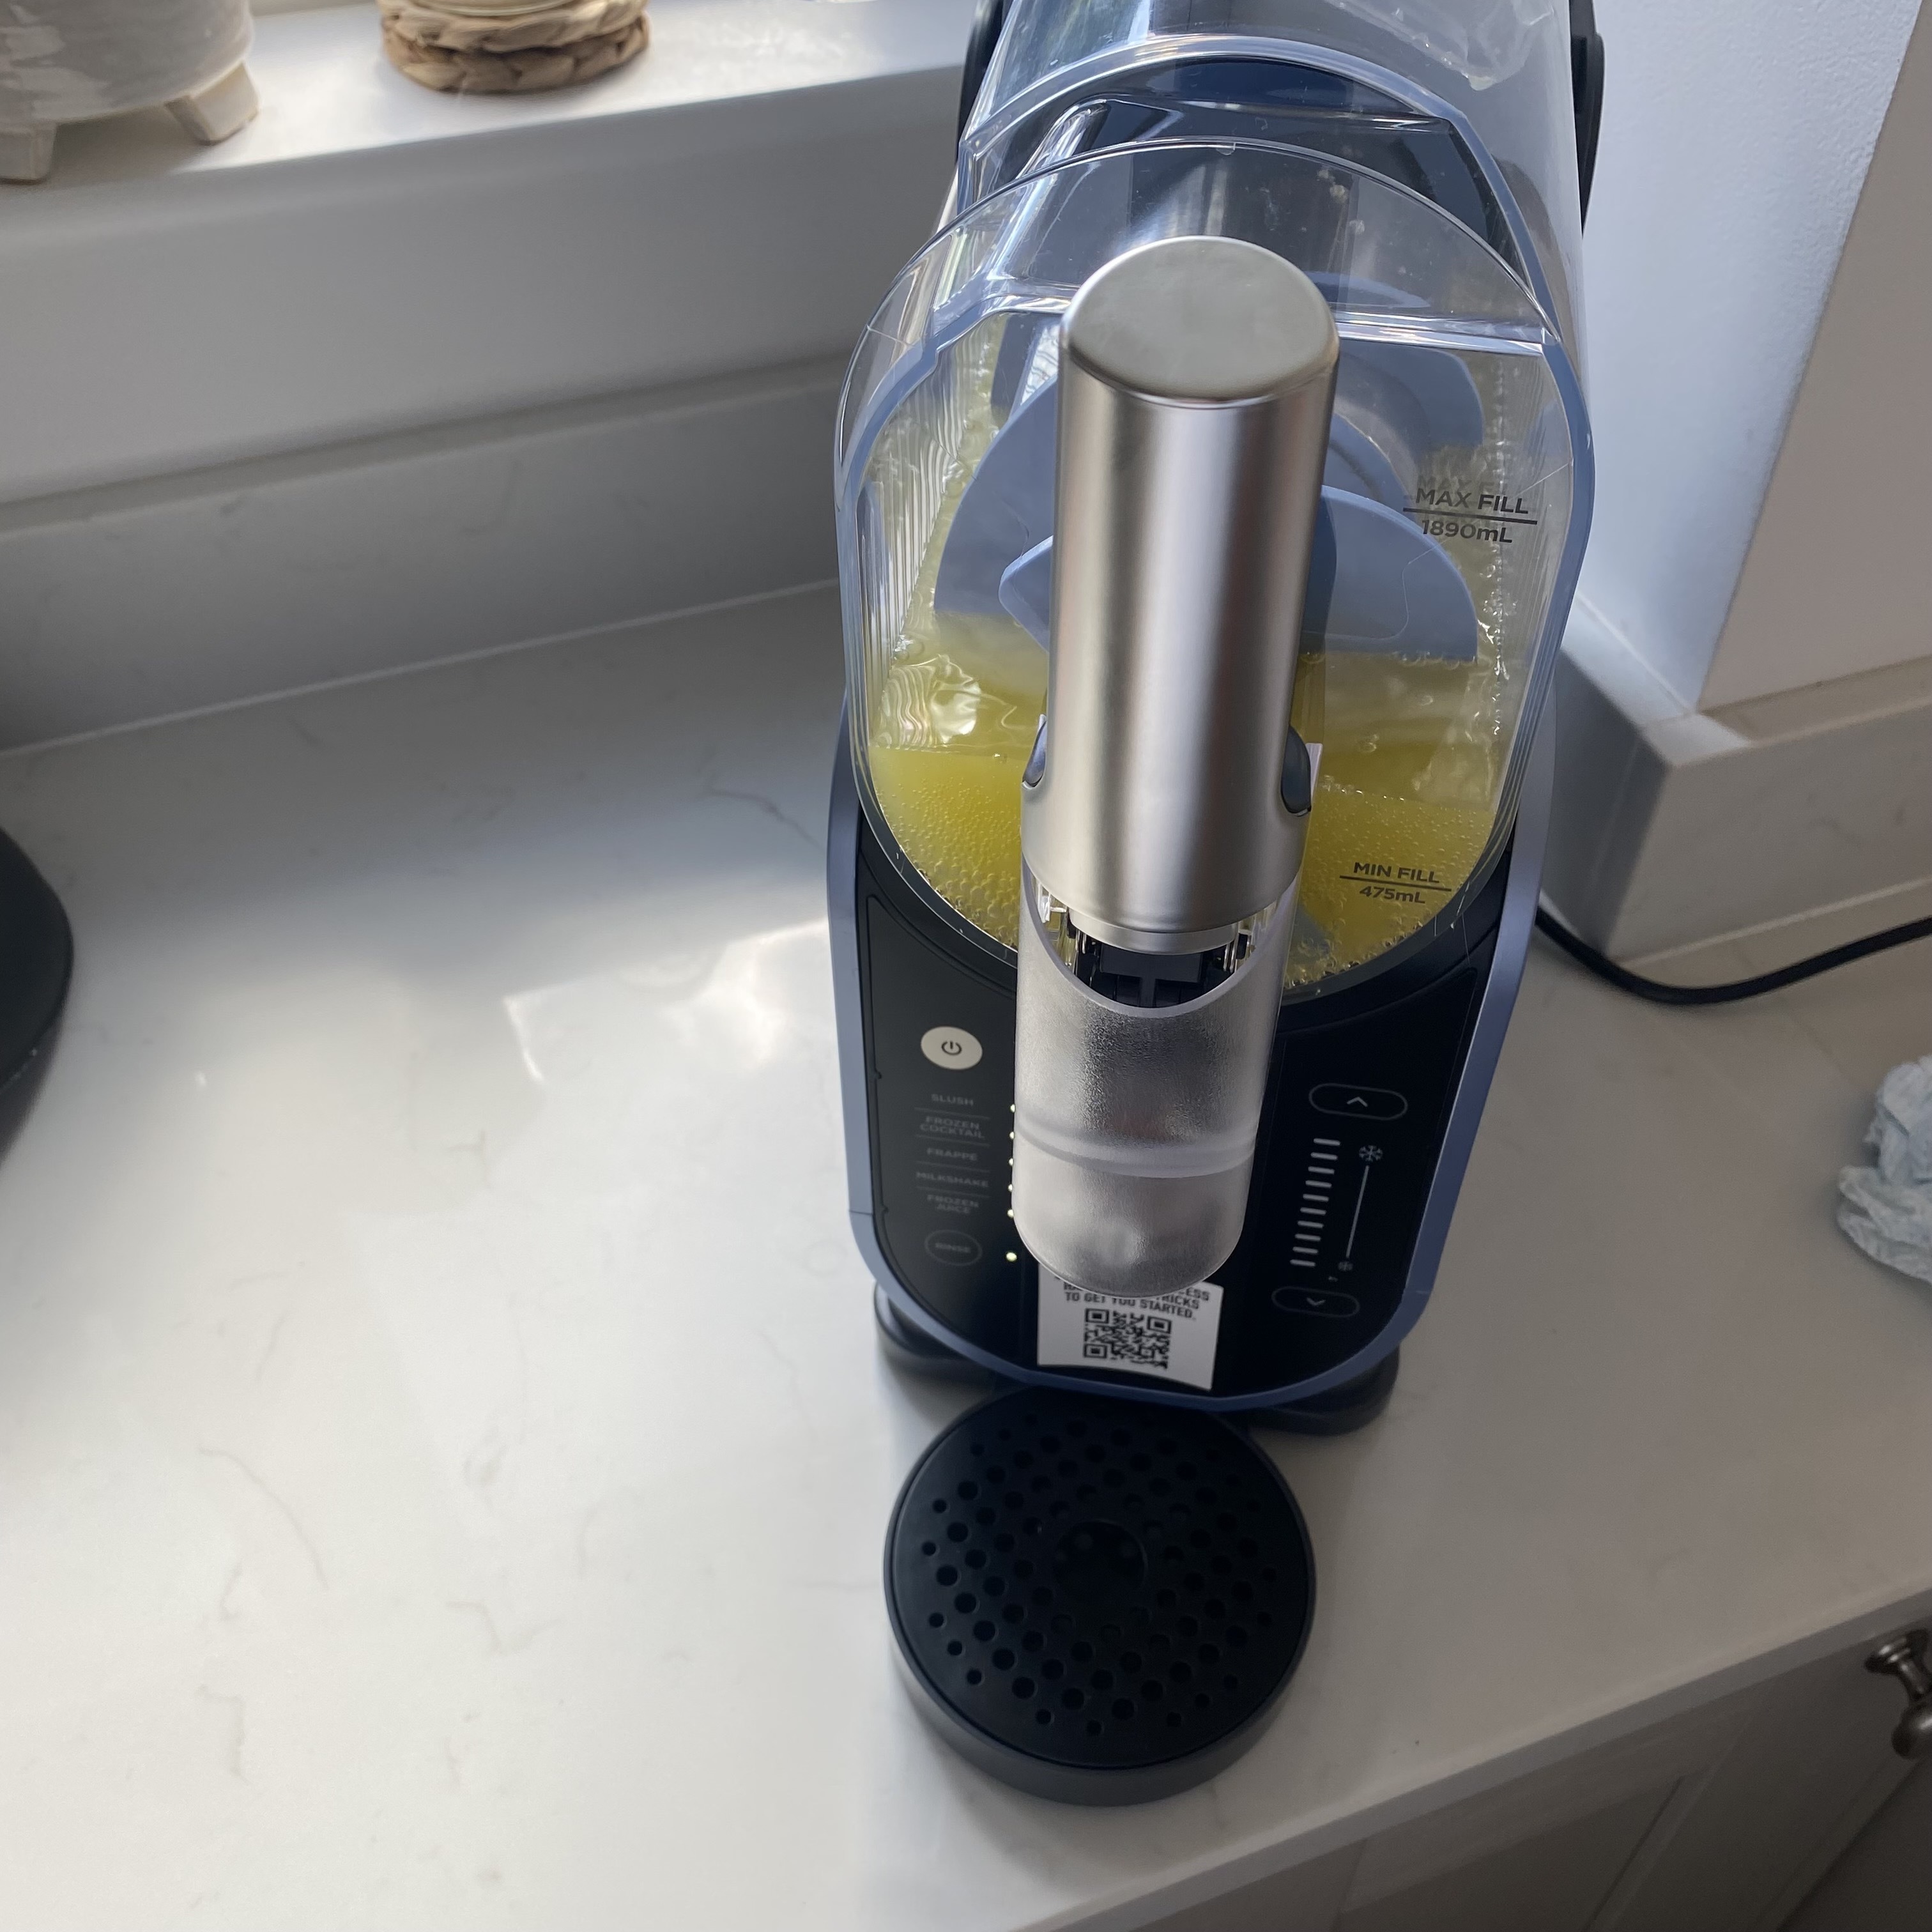 I unboxed the Ninja Slushi – here's what happened
The Ninja Slushi is the stuff of dreams for summer entertaining
-
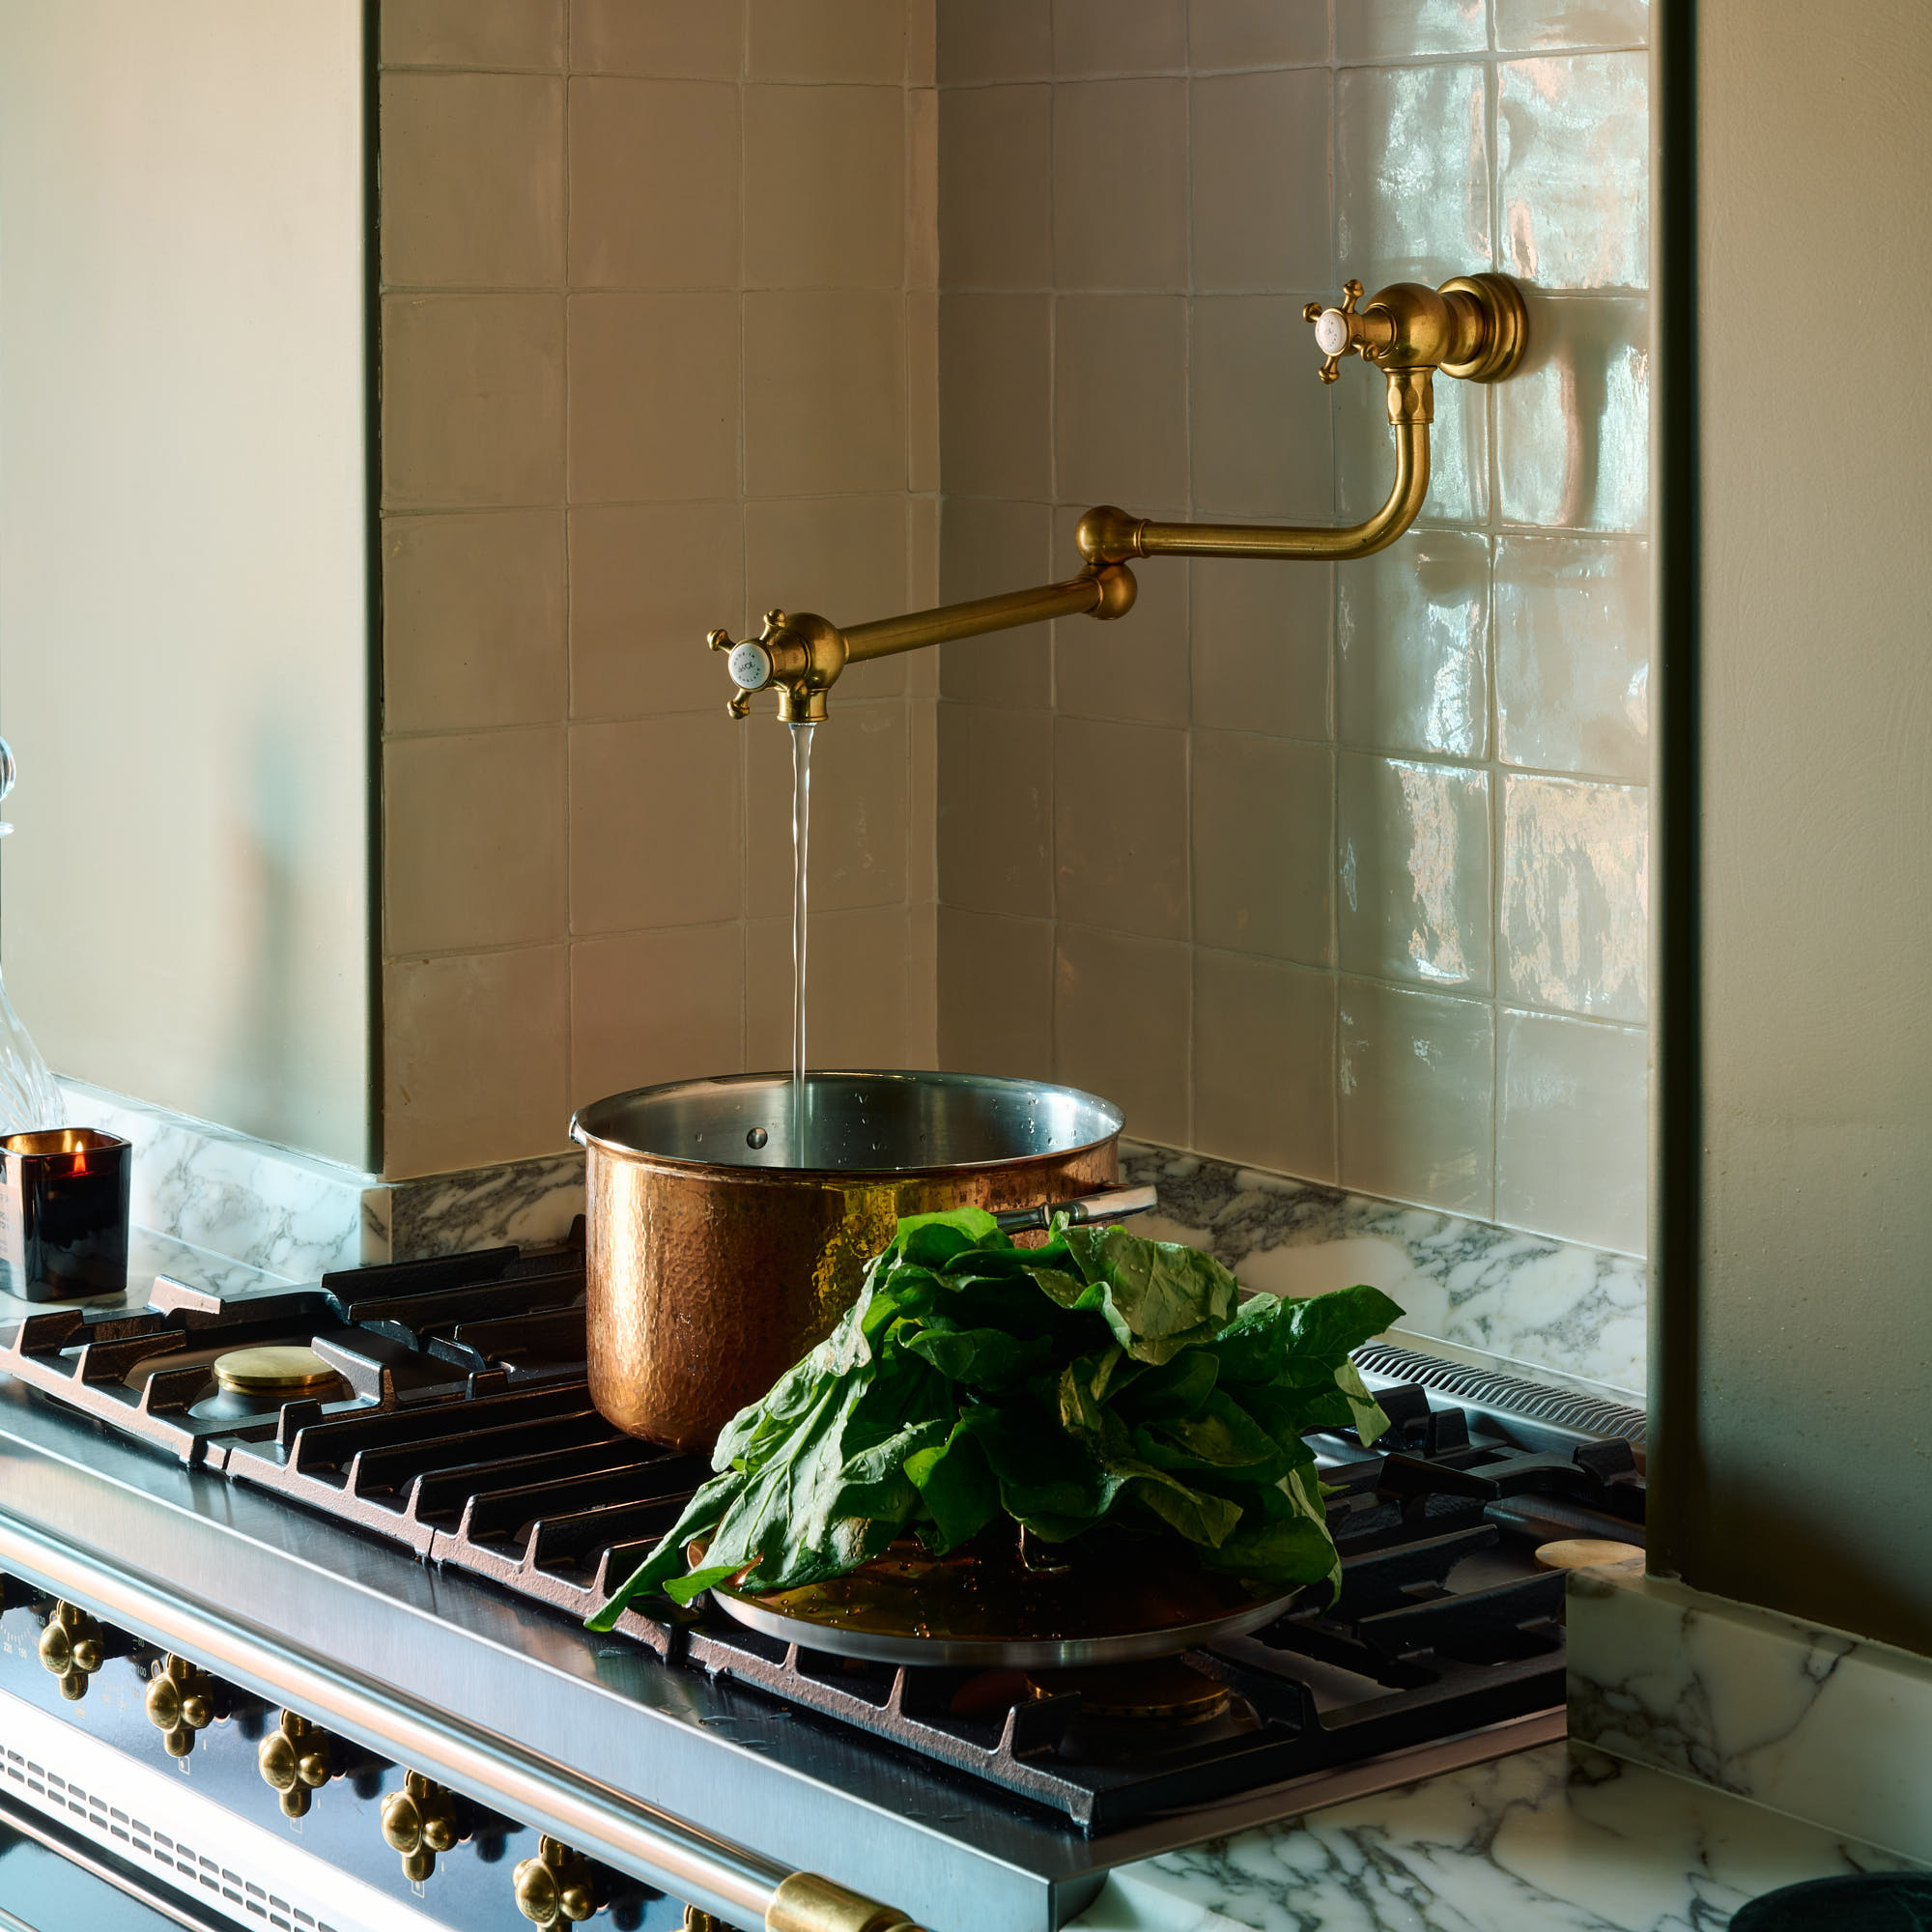 Should you invest in a pot filler or are they just a high-end kitchen fad? I asked kitchen experts whether they're set to be a trend beyond 2025
A high-low approach to kitchen design is the key to creating a stylish space in your budget
-
 Are conservatories going to be banned in the UK?
Conservatory pros reveal the truth behind the rumours


