
(Image credit: Future PLC/Michael A. Hill)
-
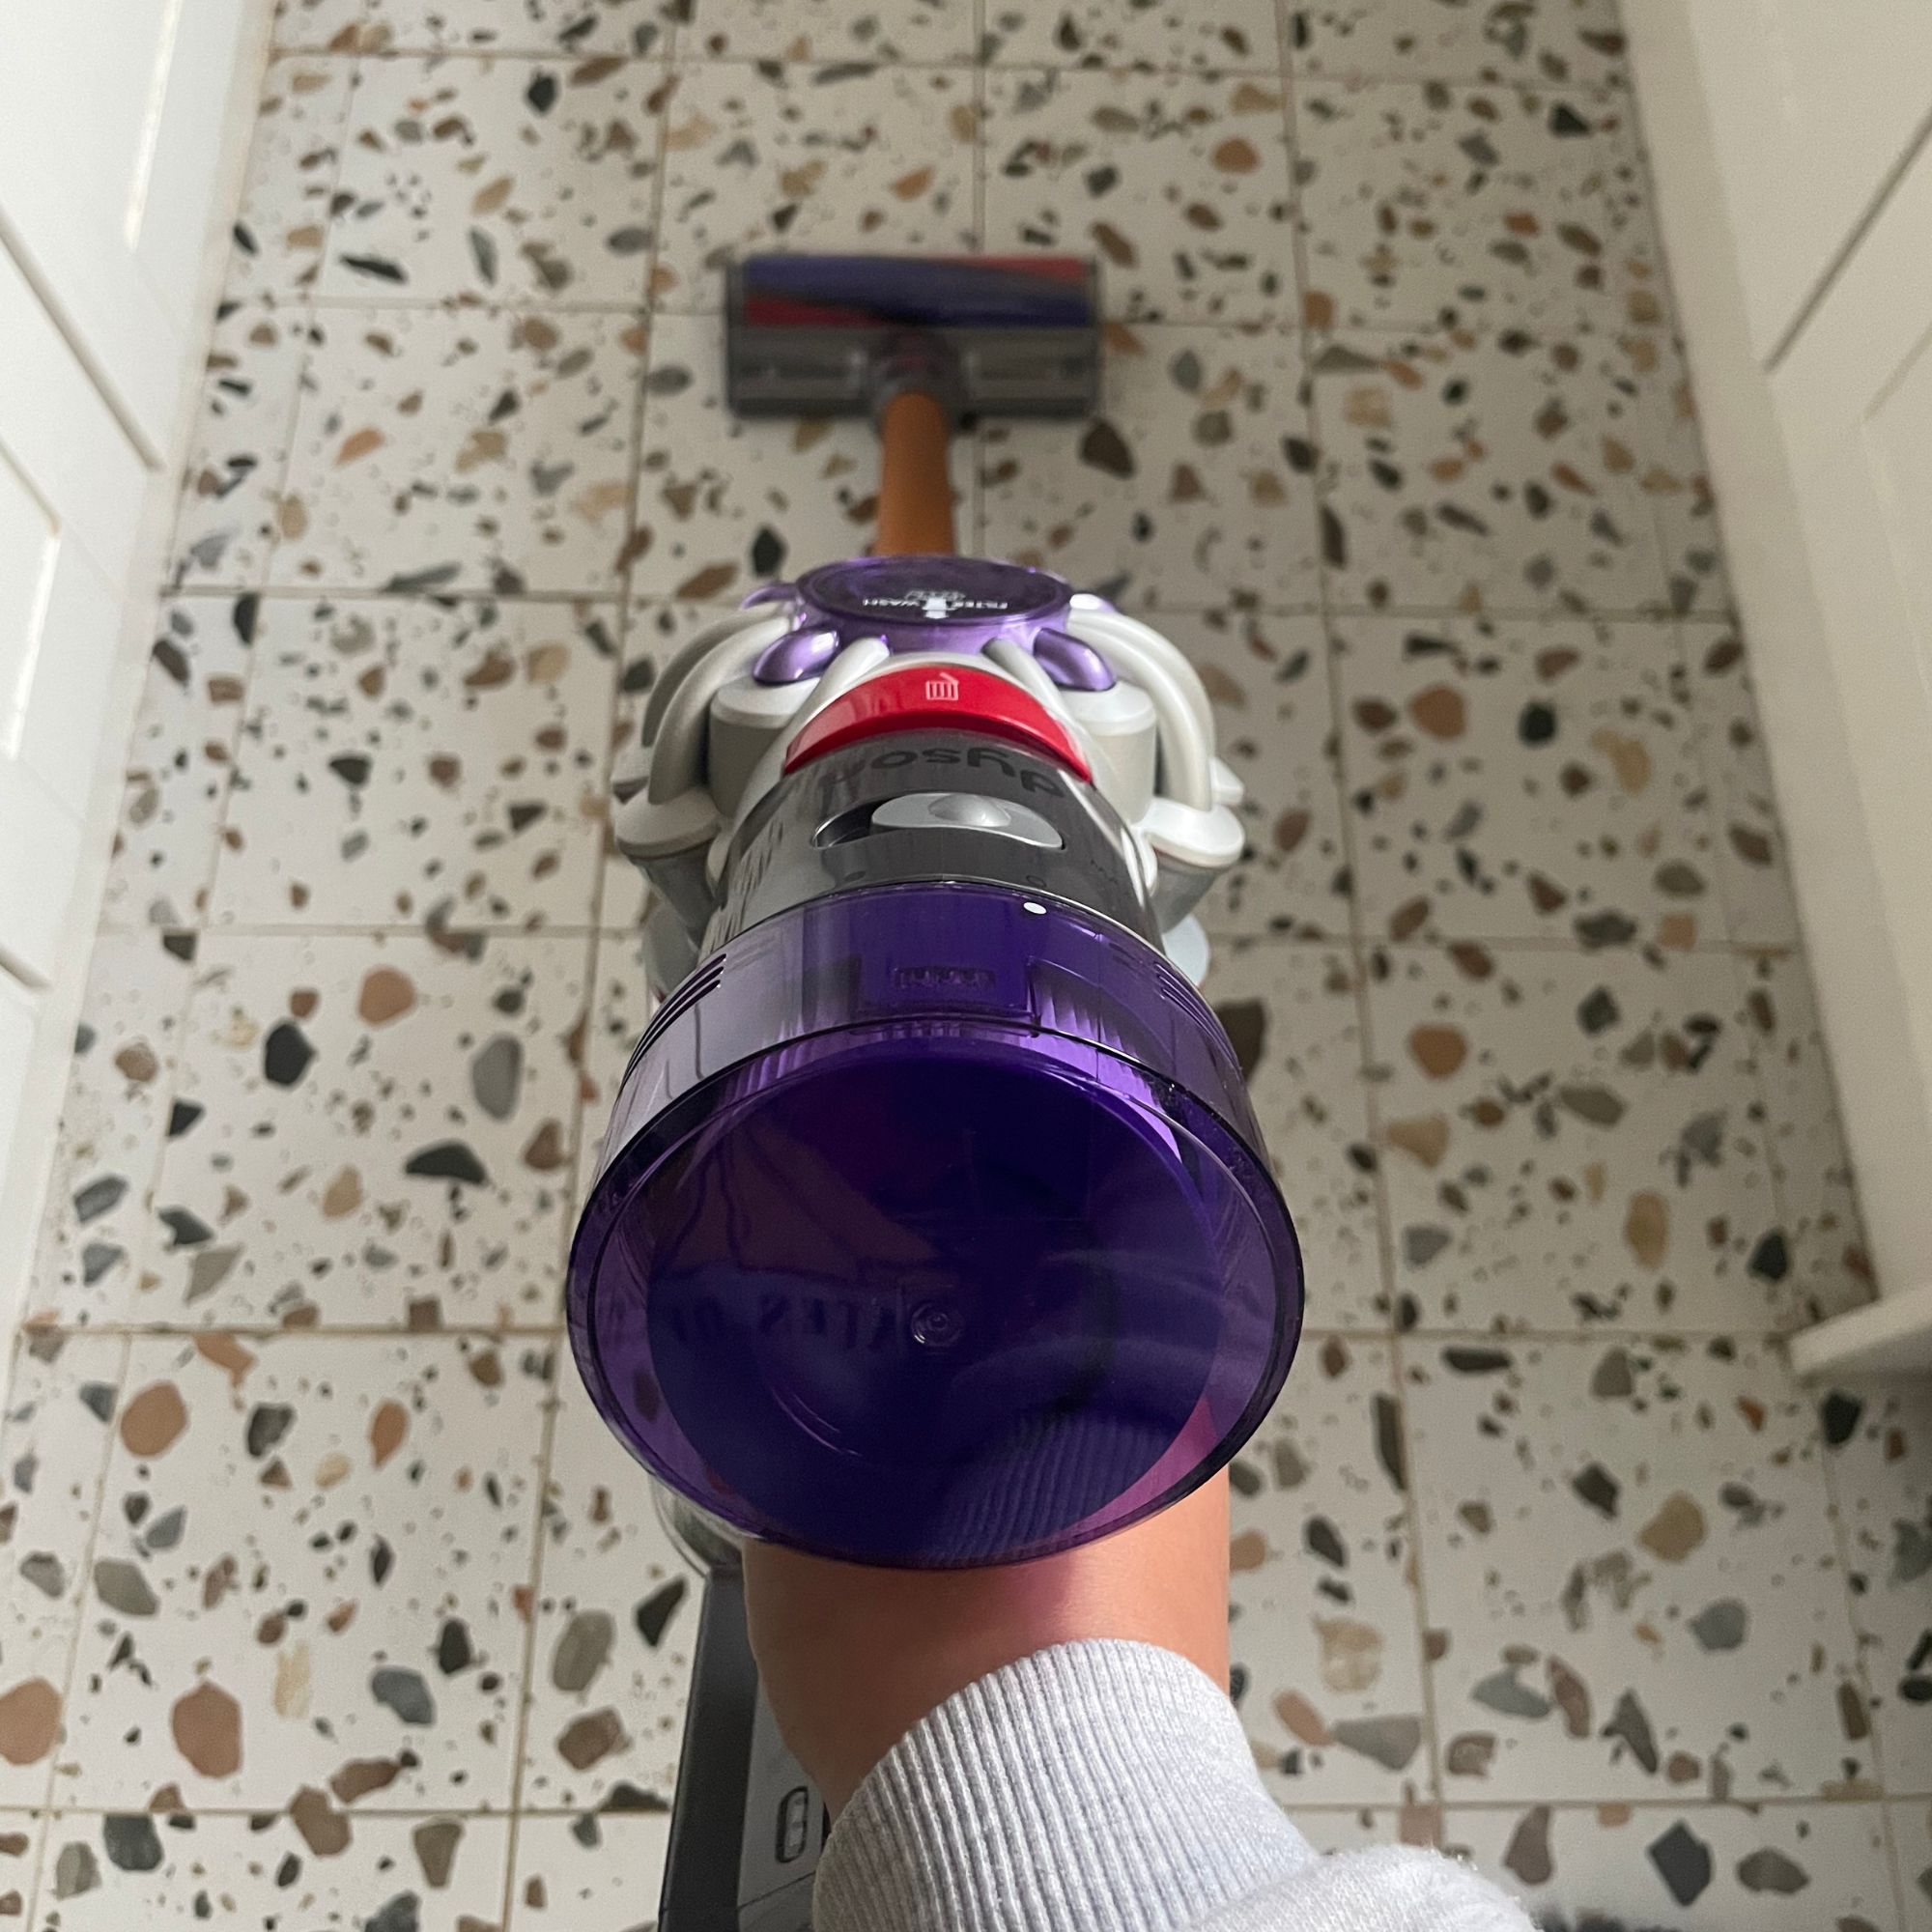 I asked a Dyson engineer how you can avoid these common Dyson vacuum cleaner problems — and how to make the most of your machine
From a loss of suction to poor battery life, I asked the questions to get the answers you need
-
 'I've now bought 3 different colours' – my favourite affordable linen bedding is currently half-price, and the 5-star reviews speak for themselves
The half-price linen bedding that owners can't stop raving about
-
 5 brilliant budget alternatives to paving slabs that won't cost the earth
Looking to pave your garden on a budget? Try these stand-ins...


