Add glamour to your headboard with a spiralling flourish of exotic floral corsage.
What you'll need
* Velvet fabric for the main flowers (we used Cardinal Silk, ref CS1, col Fawn, £188 a metre, De Le Cuona delecuona.co.uk)
* Cotton or silk fabric for the leaves
* Matching thread
* Safety pins
* Cord trimming and fabric glue (if using)
Follow our step-by-step guide to making velvet flowers for your headboard.
1)For each decoration cut the following in velvet: three 12cm squares for
the ‘mushroom' shaped petals; one 10cm circle for the centre; one 24cm
circle for the outer circle. And the following from cotton or silk
fabric: four 15cm by 8cm rectangles.
2) To make each
‘mushroom' shaped petal, fold a square of velvet in half wrong sides
facing. With double thread and working through both layers of fabric,
work running stitch along the three raw edges. Leave about 10cm to 15cm
of hanging thread at your starting and finishing points.

3) Begin gathering up the fabric,
easing the gathers around each of the two corners towards the centre
until the fold forms a ‘bonnet' shape (see illustration above). Keep
gathering until the two ends of the fold come together in the centre.
Tie off to hold the gathers in place and trim off excess thread.
4) Turn the flower over so the knot is at the back, then turn the folded edge over to the front (see illustration below).
5) Repeat steps 2 to 4 to make two more flowers.

6)To make the small centre circle, with the fabric wrong side up, work
running stitch all round the edge of the circle, leaving excess thread
at your starting and finishing points. Holding the threads gently gather
up the fabric, pulling it to the centre of the circle. Tie off and trim
thread then flatten, positioning the ‘gathers’ on the underside of each
piece. Repeat to make the larger circle.
7) To make a leaf, take two rectangles of cotton or silk fabric
and place one on top of the other, right sides facing and matching raw
edges. Trim at one end into a leaf shape. Stitch all round taking a
2.5cm seam and leaving the short, straight edge open. Trim seam
allowance, turn through and press. Repeat to make the second leaf.
Now you are ready to assemble all the pieces and attach them to your headboard.
8)Place the large circle, gathered side up, on a flat surface and
position the three ‘mushroom' shaped petals in the centre. Once you are
happy with their position, work a couple of slip stitches on each flower
to hold it in place on the circle. Slip the two leaves under the circle
so that the short straight end sits under the centre of the circle.
Tack in place on the back of the circle.
9) Thread a long
needle with matching thread. With the small circle gathered side down,
bring the needle from the back, through the centre and out to the front
then place the circle in the centre of the ‘mushroom' shaped petals so
that the raw, gathered edges of the flowers are hidden. Push the needle
back through all layers, including the two leaves, and bring it out at
the back. Repeat to make another couple of stitches, working as if
attaching a button and keeping the stitches as small and unobtrusive as
possible.
10) Repeat to make as many decorations as you require.
11)Attach the flowers to your upholstered headboard using small safety
pins or if you are covering a headboard at the same time, you can work
the final ‘buttonhole' stitching straight on to the fabric. If you like,
finish with a scrolling cord trim, secured using minimal amounts of
fabric glue.
-
 Louise Thompson brightened up her garden with a pretty statement garden chair – I tracked down where it’s from and it’s £75 off right now!
The reality TV star shared a snap of her charming garden on Instagram – and this chic chair stood out
-
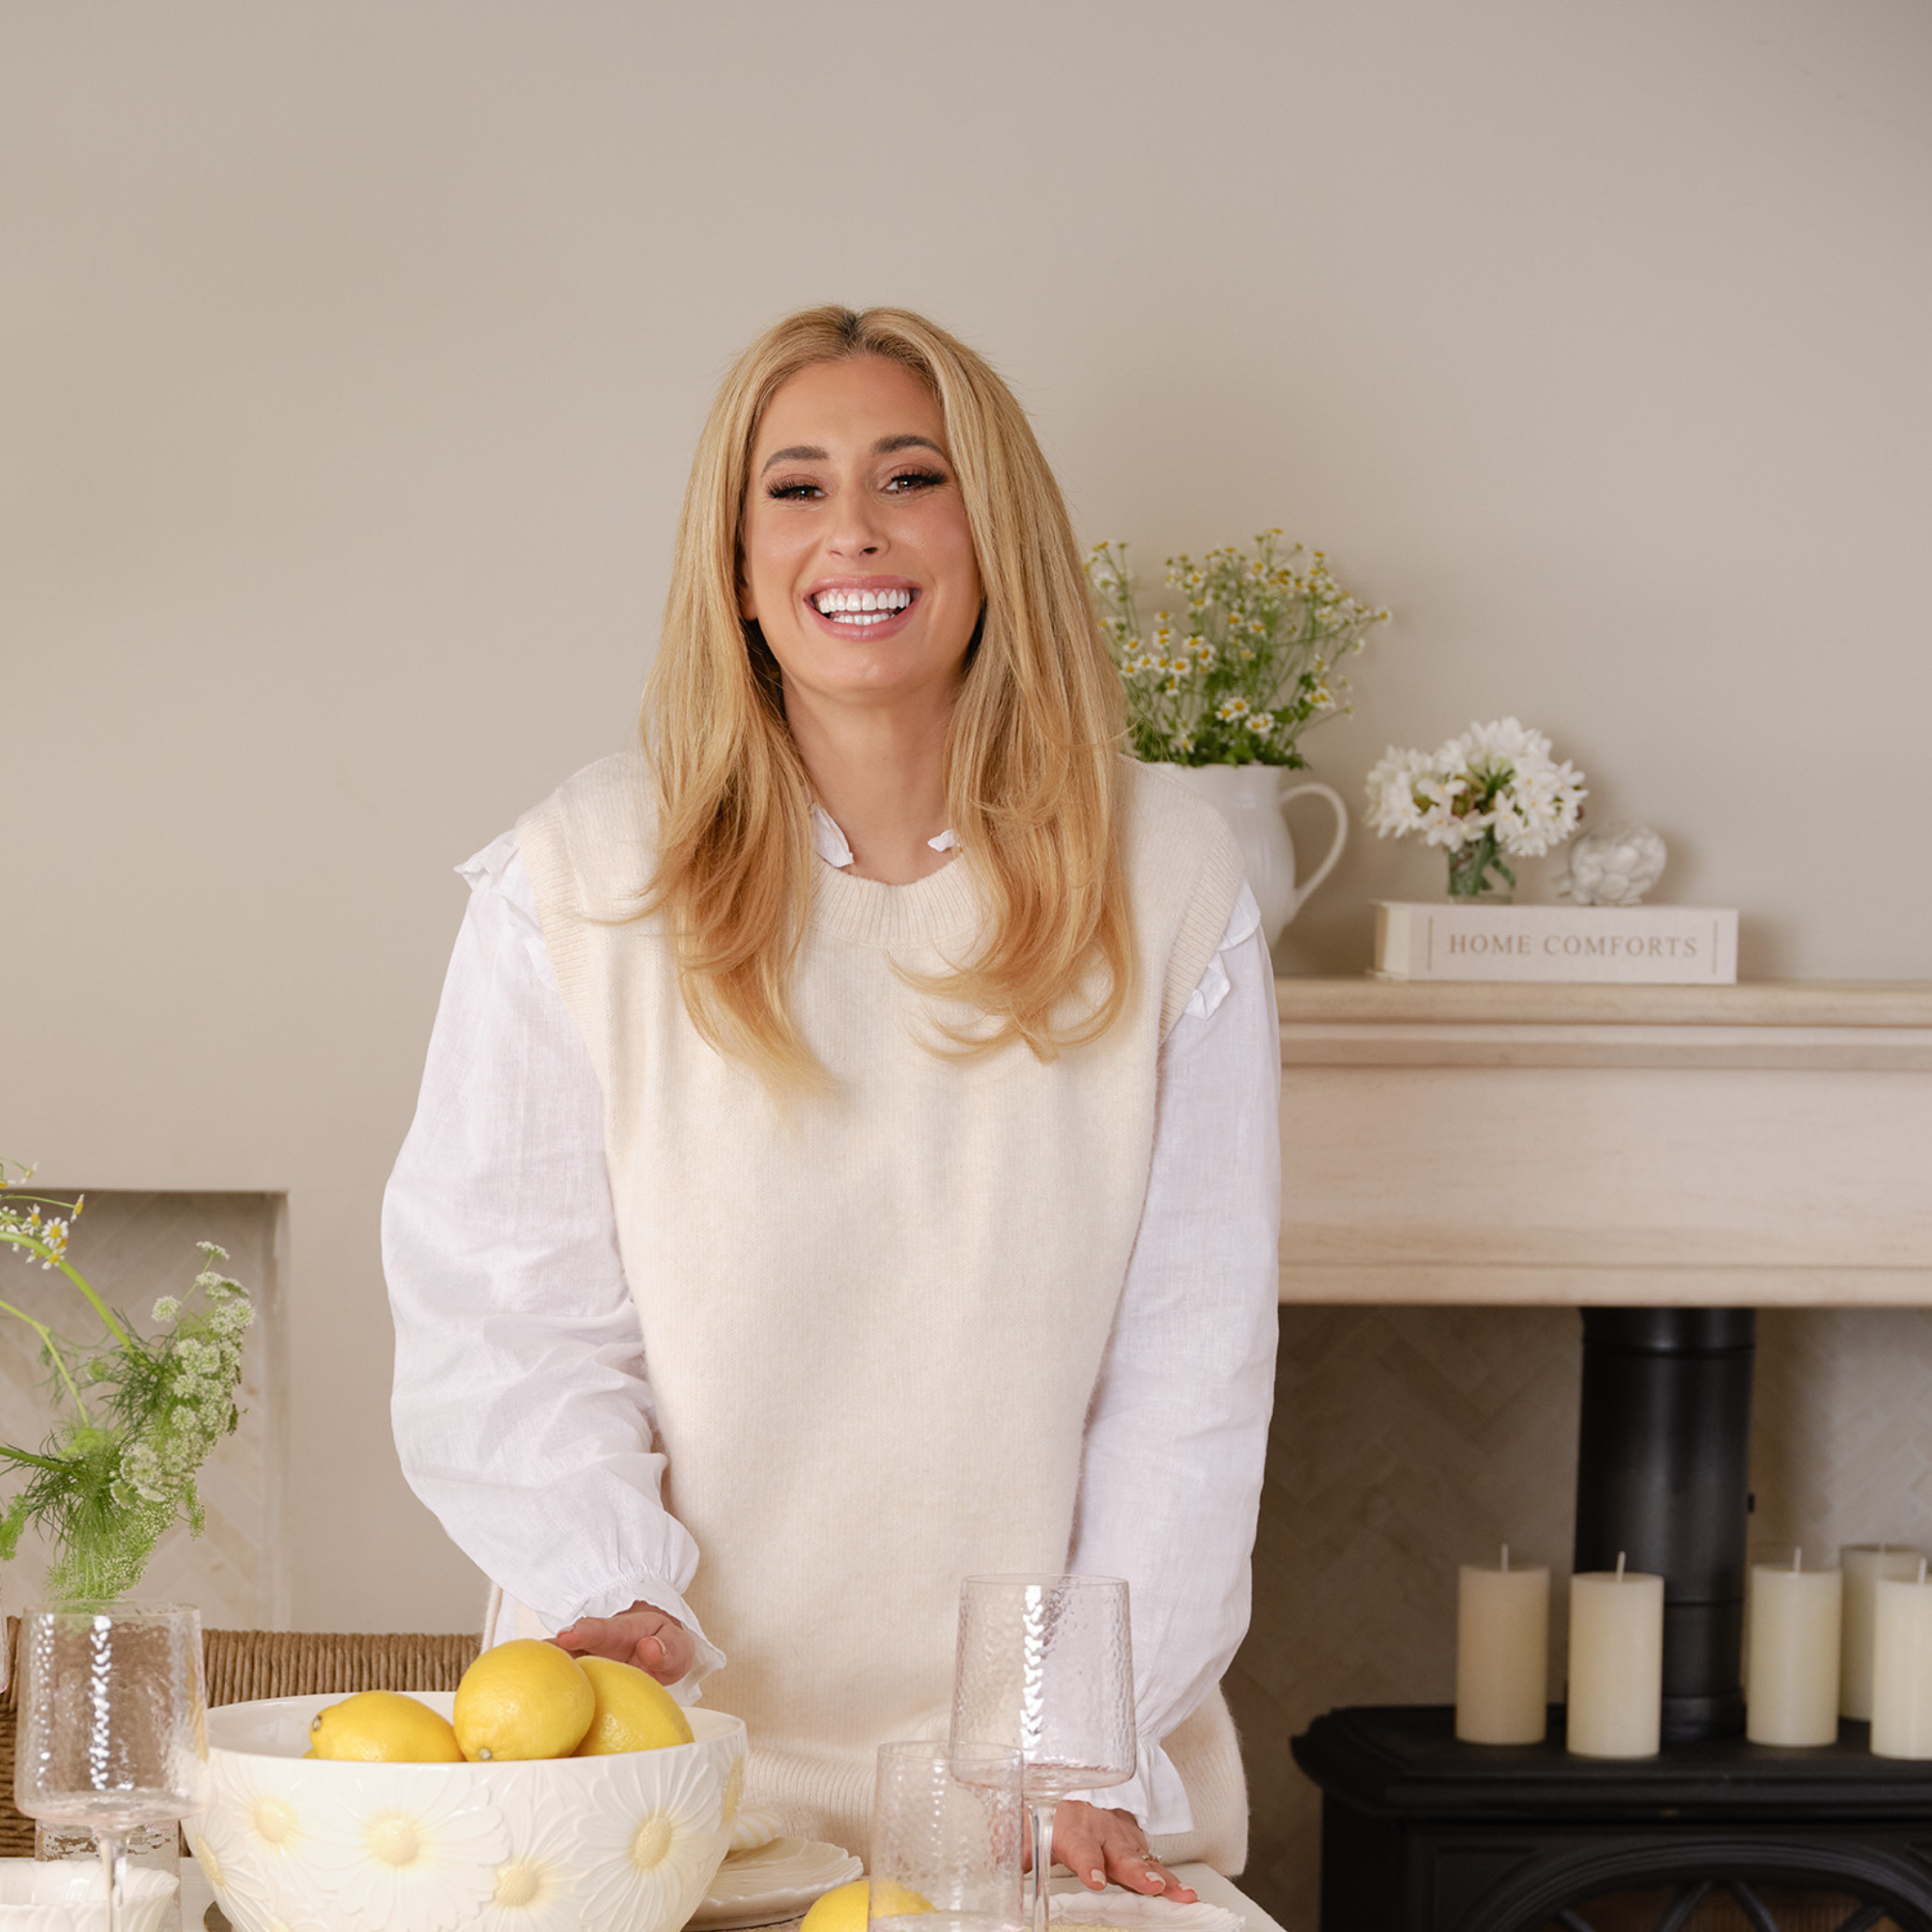 Stacey Solomon’s new summer George Home collection has landed - these are the 6 things to look out for
The whole range is a careful blend of playfulness and stylish neutrals
-
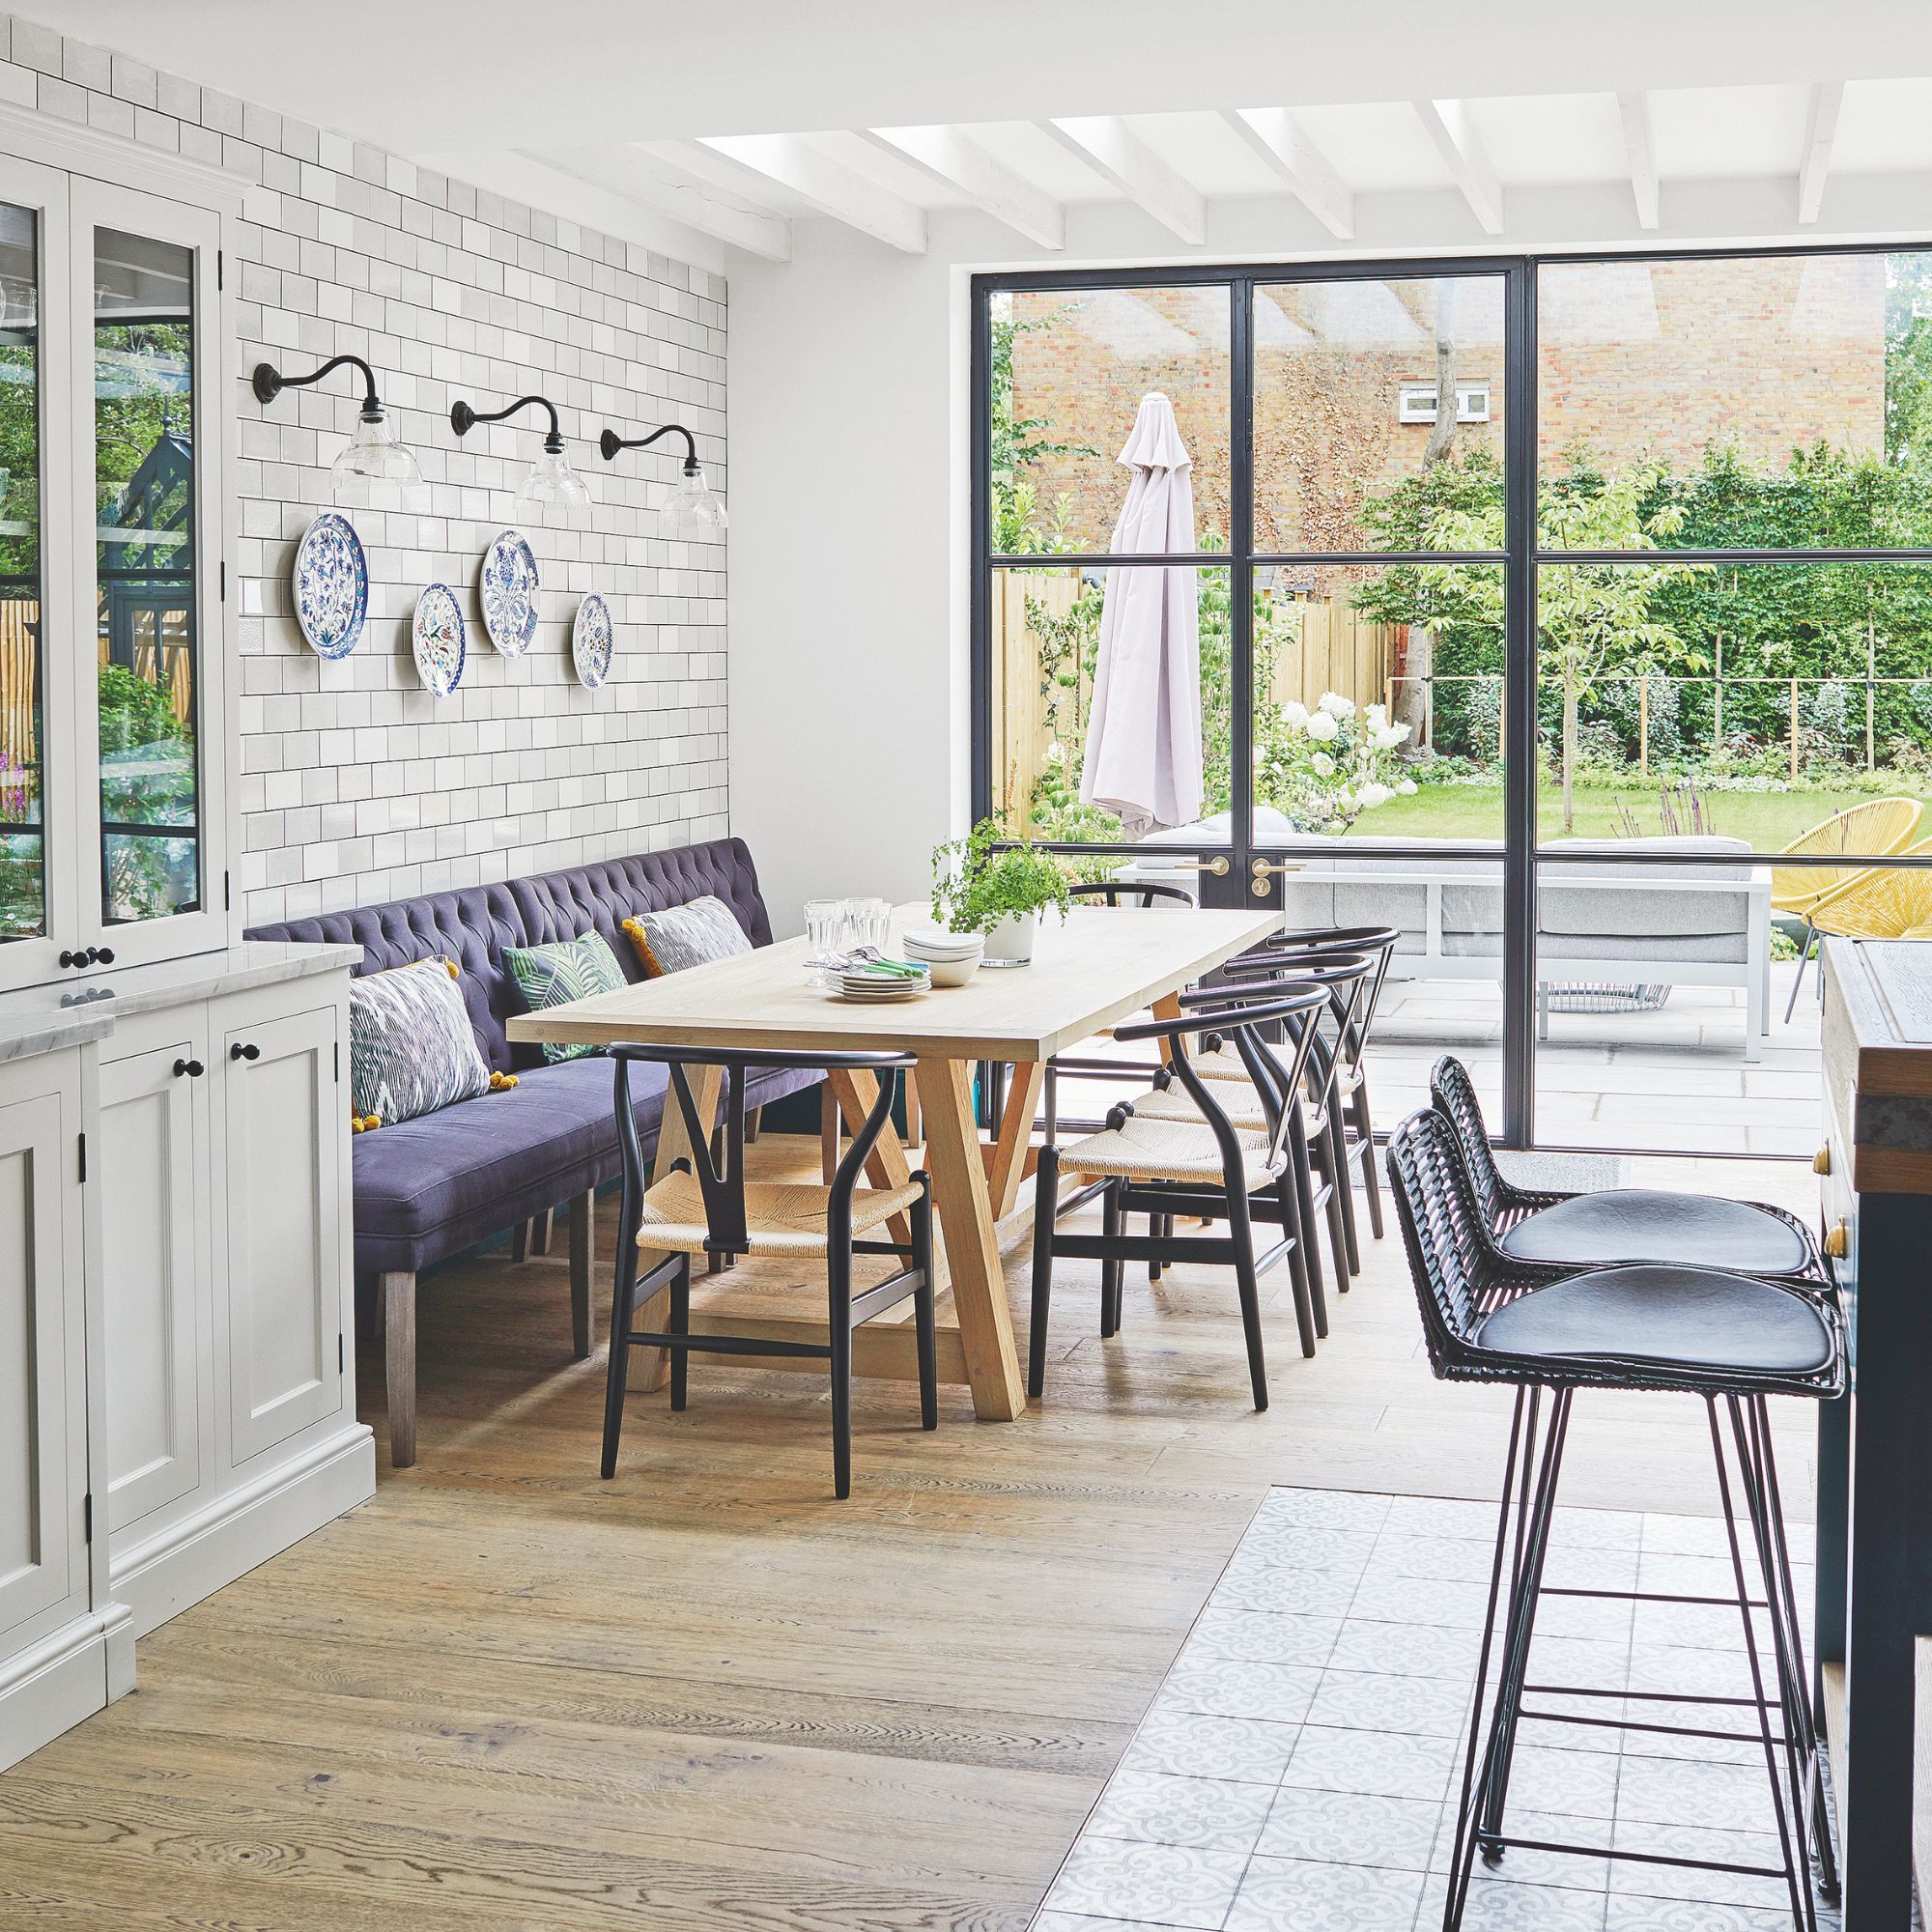 ‘Städdag’ is the Swedish cleaning method I’ve been using to clean my home for months — this is why I’ll never clean any other way
The Scandinavians (and now me) swear by it


-
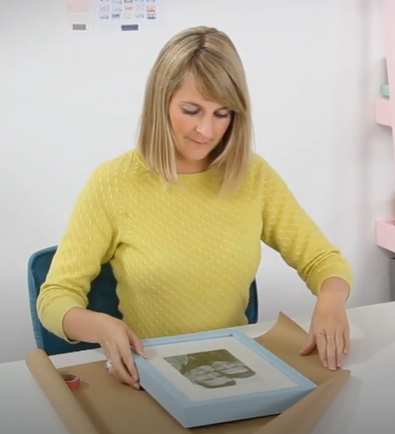 Craft corner: How to create simple picture displays
Create an eye-catching display, be a whole wall of prints or a select few
-
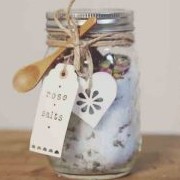 Craft Corner: How to make a mason jar of bath salts
We show you how to make your own mason jar bath salts. These can be for yourself or a great gift for someone else.
-
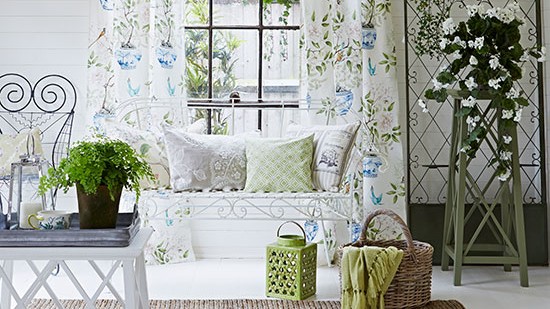 How to make a valance curtain
Discover how to make these pretty valance curtains using Country Homes & Interiors simple instructions
-
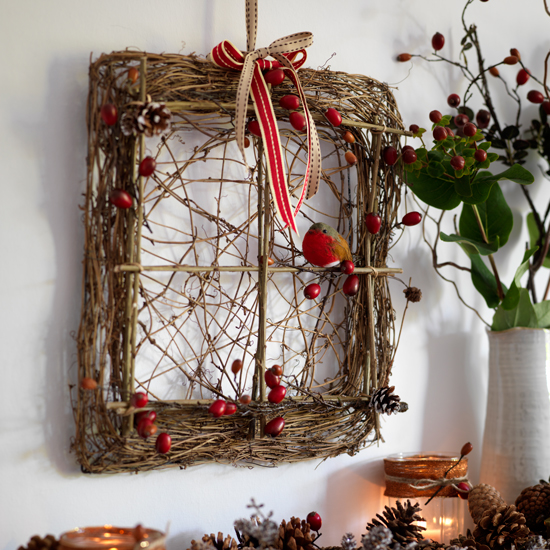 Get crafty this Christmas with these twig ideas
Give your home a festive woodland feel with these twiggy craft ideas
-
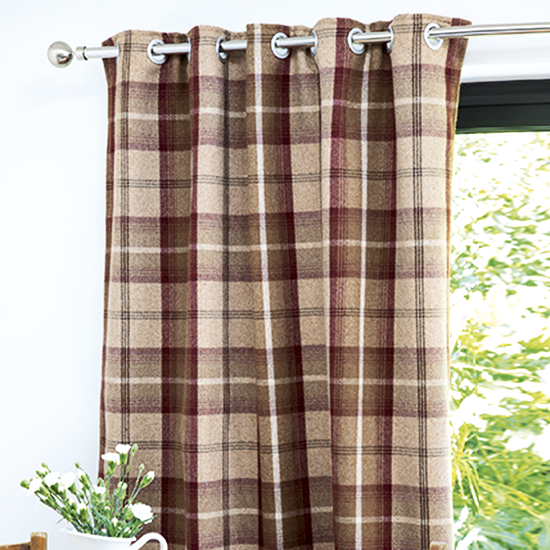 Transform your windows with stunning new curtains in three easy steps
Follow our 3 simple instructions to make new eyelet curtains to transform your window.
-
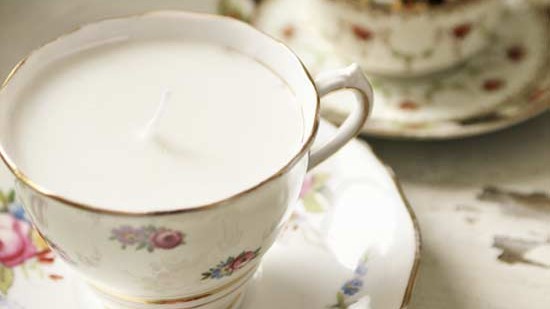 How to make candles in teacups
Check out our latest craft idea on how to make candles. Fill teacups with melted wax to make gorgeous one-of-a-kind candles.
-
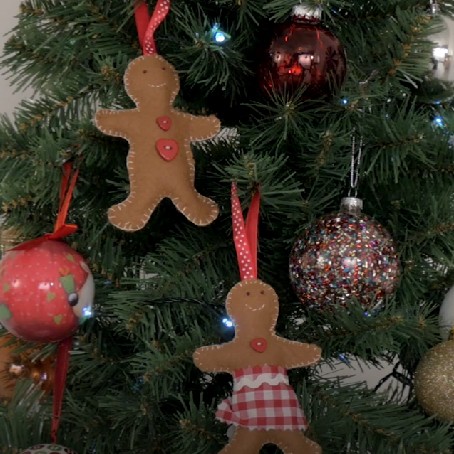 Craft corner: How to make a gingerbread felt decoration
Jennifer shows us how to make cute gingerbread decorations out of felt.
-
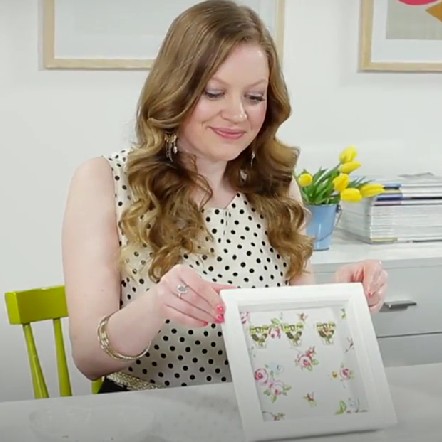 Craft Corner: How to make a framed key holder
Channel Editor Vicky shows you how to make a framed key holder.


