How to make voile panel curtains
Pretty up your windows with our simple step-by-step guide to making voile panel curtains
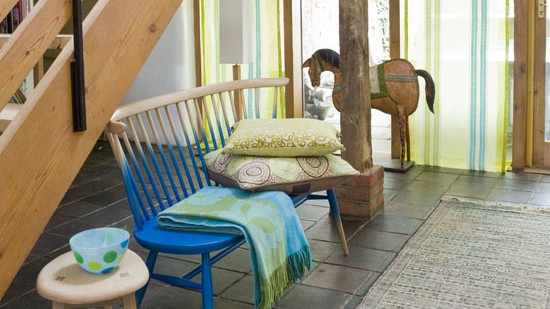
You will need
* 2 main fabrics (we used Klara Lime, ref F1342/02, £59 a metre; and Camu-Moss, ref F1285/06, £79 a metre, both designersguild.co.uk)
* Matching thread
Tips to remember
* The curtain is made up of two panels of voile fabric, each hemmed separately along the side and bottom edges and joined together at the top by a channel for a curtain pole or rod.
* One panel sits in front of the other.
* We chose two fabrics from the same design in different colours.
* Remember that once in front of a window the back panel will show through the front one: when choosing designs, hold the two up to the light to make sure that they work together.
* When doing this, also bear in mind that the while the front of the front panel will obviously face out into the room, the front of the back panel will face the window.
Step 1) Measure the width of your window recess and the drop from the curtain pole to the floor.
Step 2)
Using the illustration as a guide [directional], cut a rectangle in
your first main fabric to these measurements plus 5cm in total along the
width for side seams; and 50cm in total along the drop for top and
bottom hems. This includes around 30cm for the curtains to ‘pool' on the
floor. Cut another panel to the same size in your second main fabric.
Step 3) Turn under 5mm and then stitch a 2cm hem along both
side edges of each panel. Repeat along the bottom of each panel and
press all seams.
Step 4) Wrong sides facing, place the back
panel on top of the front, matching both raw edges along the top. Tack
the panels together 1cm from the raw edges along the width of the
panels, continuing 20cm down each side edge.
Step 5) To make a channel for the curtain
pole, fold the raw edge down by 1cm and press, and then again by 15cm
and press (see illustration). Pin in place and top stitch across the
width of the curtain close to the folded edge. Remove tacking and pins,
thread curtain on to pole and hang.
Get the Ideal Home Newsletter
Sign up to our newsletter for style and decor inspiration, house makeovers, project advice and more.
-
 Should an air fryer be on display in a kitchen or hidden away? This is why I always keep my small appliances on the worktop
Are you on team display or neatly hidden away? Share your opinion in the comments
By Rebecca Knight
-
 Experts warn that these 5 mopping mistakes are making your floors dirtier — and damaging your floors in the process
This is how to keep them clean and avoid costly damage
By Lauren Bradbury
-
 Move over, fences – dead hedges are the wild and wonderful alternative your garden will love and they're easier to build than you'd think
The perfect eco-friendly solution for small gardens
By Kayleigh Dray
-
 Craft corner: How to create simple picture displays
Create an eye-catching display, be a whole wall of prints or a select few
By Ideal Home
-
 Craft Corner: How to make a mason jar of bath salts
We show you how to make your own mason jar bath salts. These can be for yourself or a great gift for someone else.
By Ideal Home
-
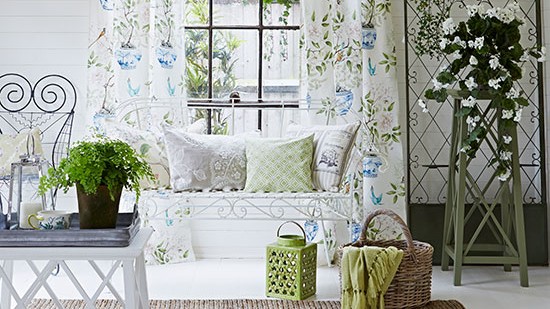 How to make a valance curtain
Discover how to make these pretty valance curtains using Country Homes & Interiors simple instructions
By Sara Bird
-
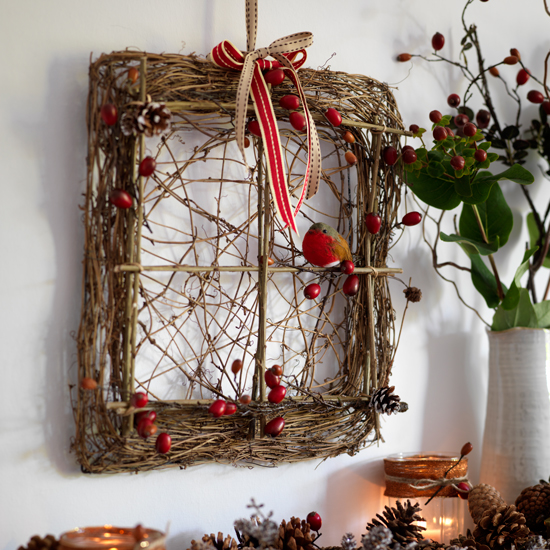 Get crafty this Christmas with these twig ideas
Give your home a festive woodland feel with these twiggy craft ideas
By Sara Bird
-
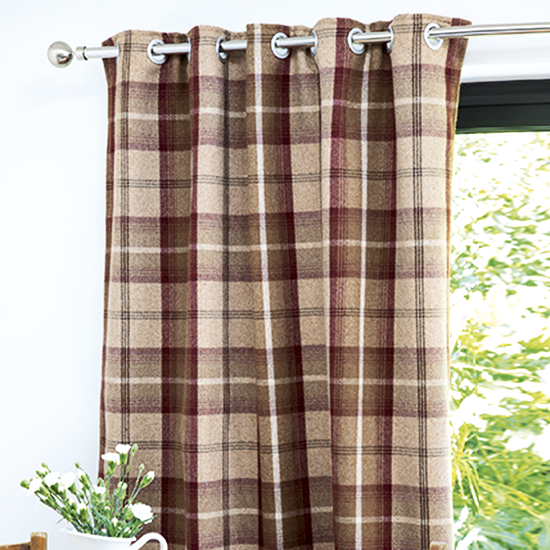 Transform your windows with stunning new curtains in three easy steps
Follow our 3 simple instructions to make new eyelet curtains to transform your window.
By Tamara Kelly
-
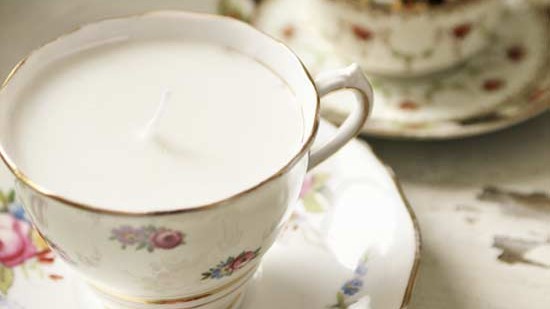 How to make candles in teacups
Check out our latest craft idea on how to make candles. Fill teacups with melted wax to make gorgeous one-of-a-kind candles.
By Jennifer Drew
-
 Craft corner: How to make a gingerbread felt decoration
Jennifer shows us how to make cute gingerbread decorations out of felt.
By Ideal Home
-
 Craft Corner: How to make a framed key holder
Channel Editor Vicky shows you how to make a framed key holder.
By Ideal Home