How to build a DIY pallet bar and become the ultimate garden party host
Take your garden to the next level with your own DIY pallet bar
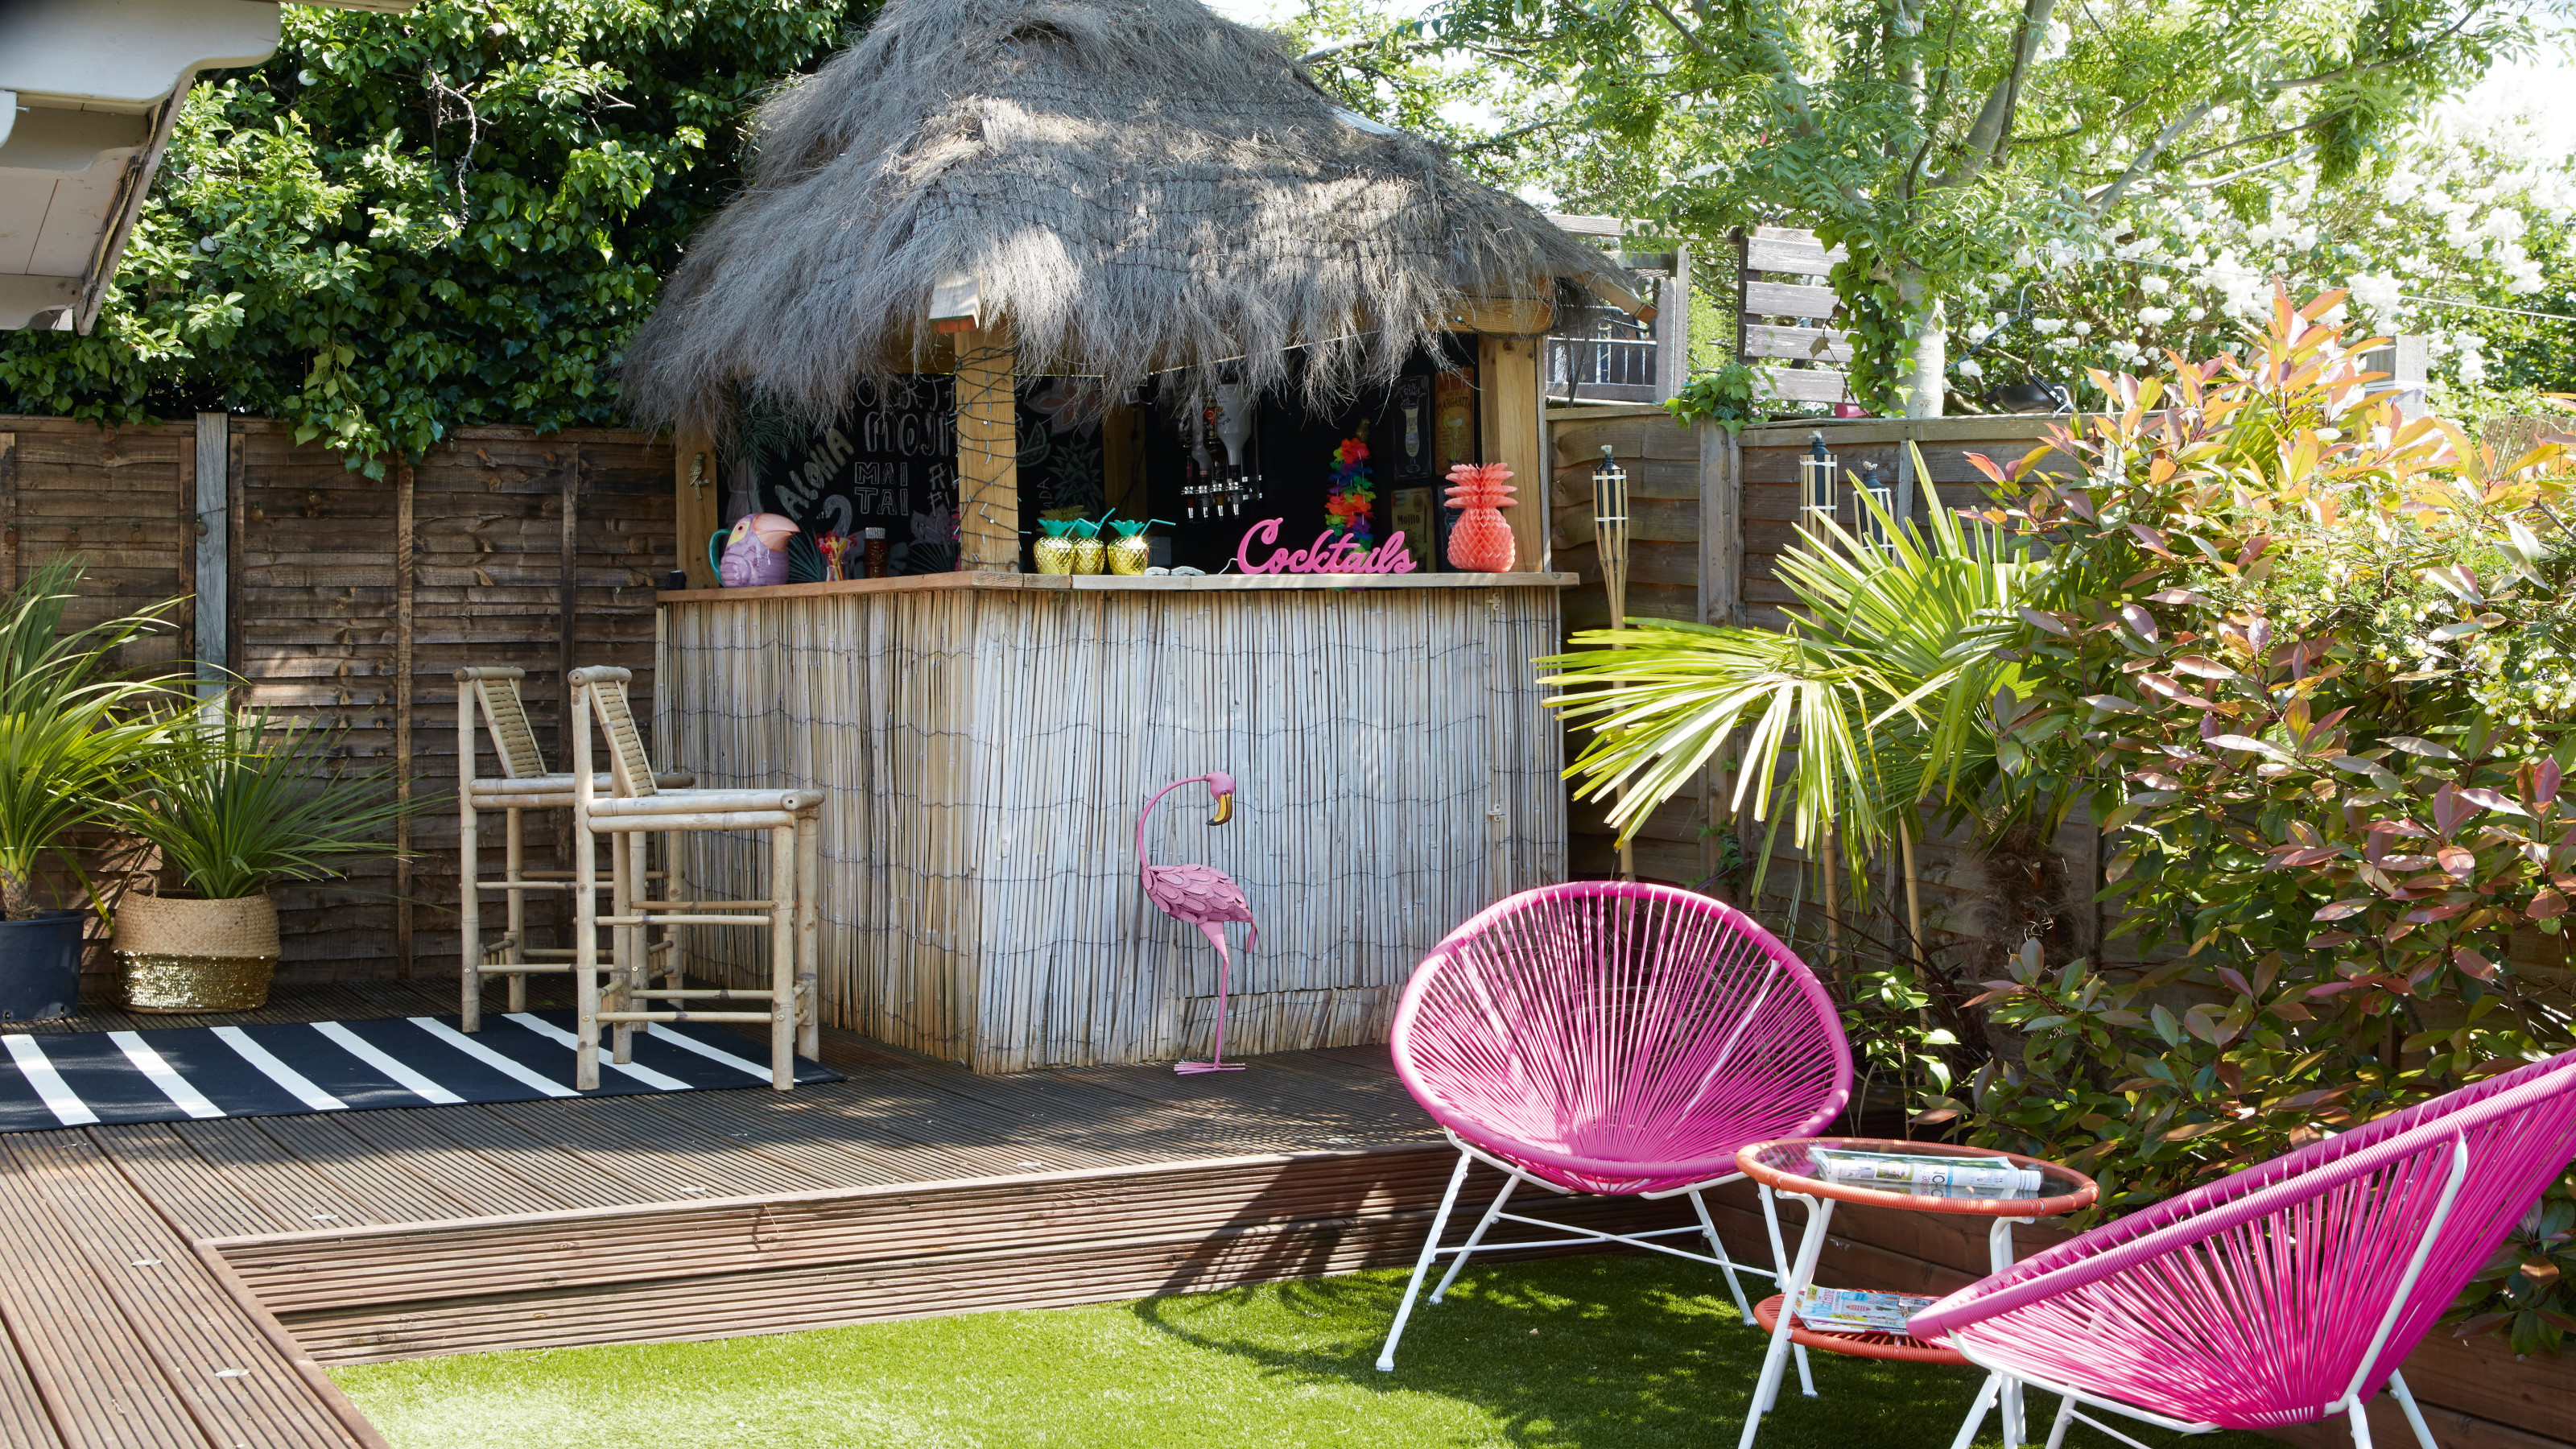
The garden is now a socialising space in its own right and what better way to get everyone together than drinking in your own DIY pallet bar. Creating a bar that reflects your garden ideas and is unique to your style is easier than you think.
‘A fun addition helping hosts make the most in gardens everywhere, outdoor bars are becoming increasingly popular,’ says Jimmy Englezos, senior brand manager at Ronseal.
Upcycling wooden pallets is a clever way of creating a stylish home garden bar idea that looks good and is kind to your purse.
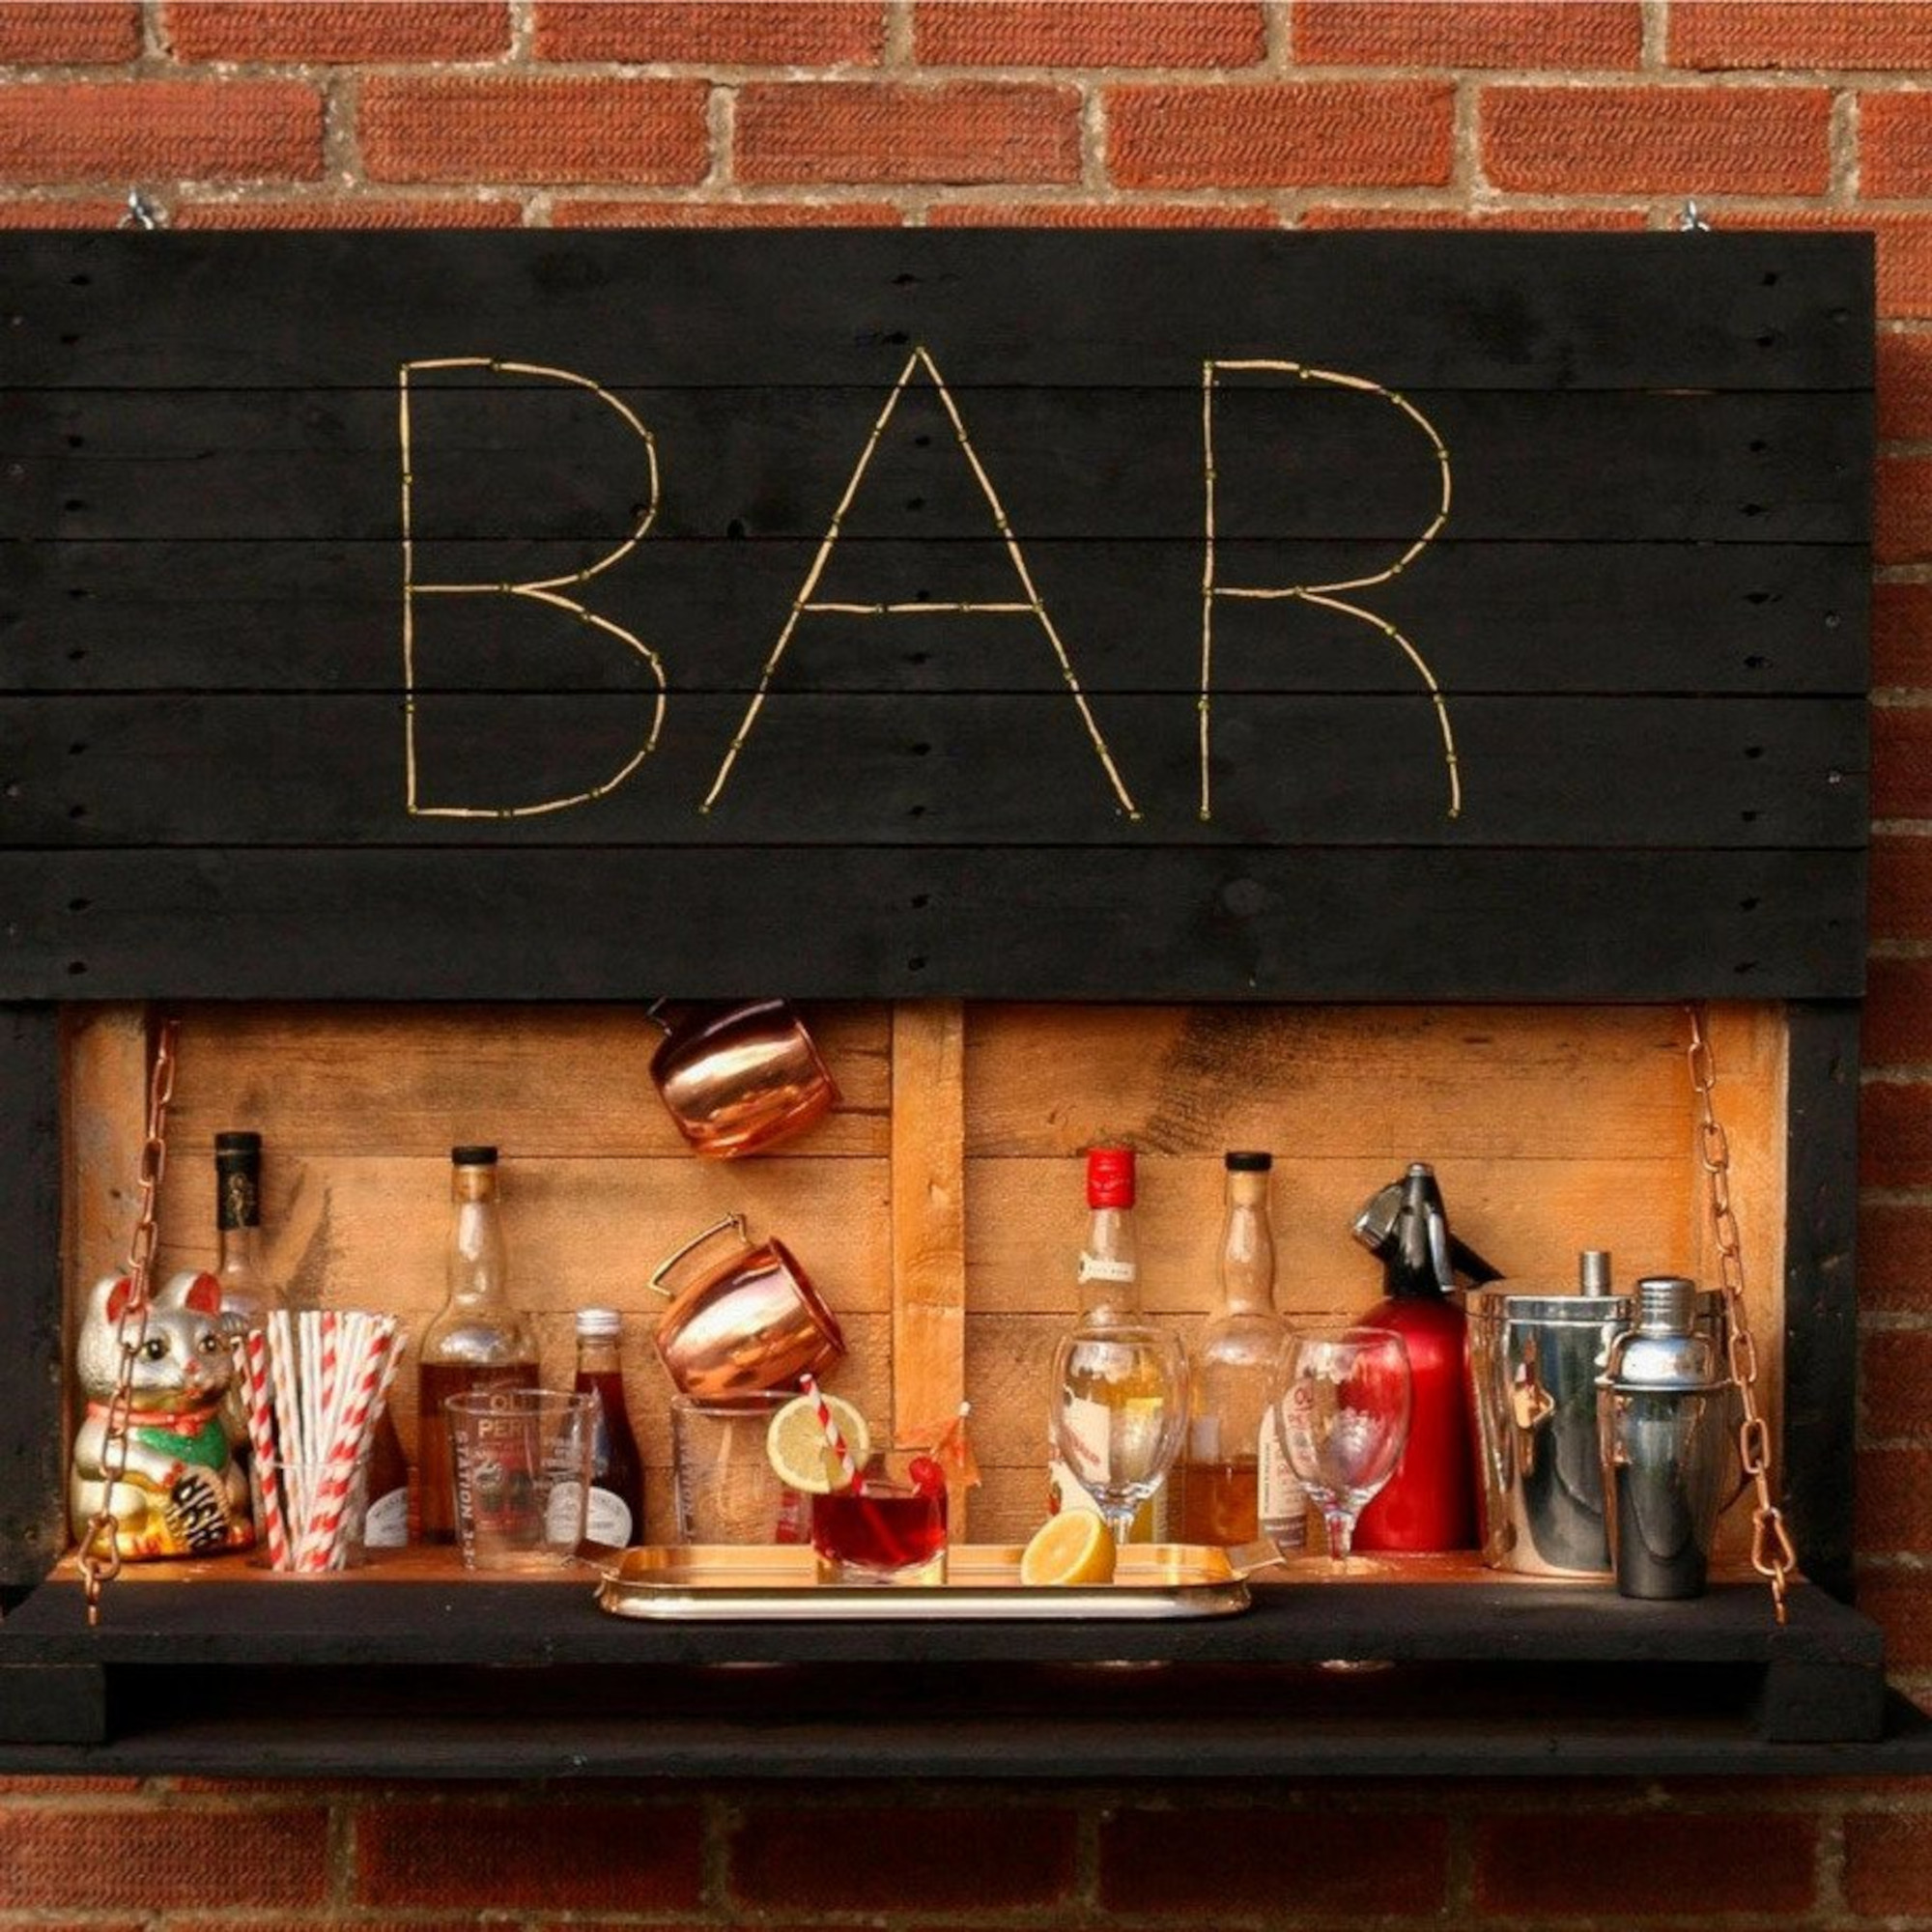
DIY pallet bar
This smart garden bar idea on a budget uses recycled wood, preventing excess wood from ending up in landfill. It also allows you to design your bar to your specifications.
‘An outdoor bar is a perfect addition to any backyard, providing a fun and functional space for entertaining guests or relaxing with friends and family. Building your own DIY bar is a great way to customize the design to your specific needs and budget.’ says Keely Smith lead interior designer at JD Elite interiors.
We spoke to experts from DIY and home improvements marketplace ManoMano on how to make your own chic DIY pallet bar step-by-step.
What you’ll need
Sign up to our newsletter for style inspiration, real homes, project and garden advice and shopping know-how
- 3 wooden pallets
- Hand saw
- Wrecking bar
- Hammer
- Palm sander
- Drill with drill bits
- Holesaw kit
- Stapler
- Assorted sandpaper
- 1.5m length of steel chain (4mm x 32mm)
- Rust-Oleum chalkboard paint
- Rust-Oleum Metallic copper spray
- Solar fairy lights
- 2 x Coach bolts
- Screws
- Eye hooks
- Carabiners
Step-by-step
1. Remove the pallet planks
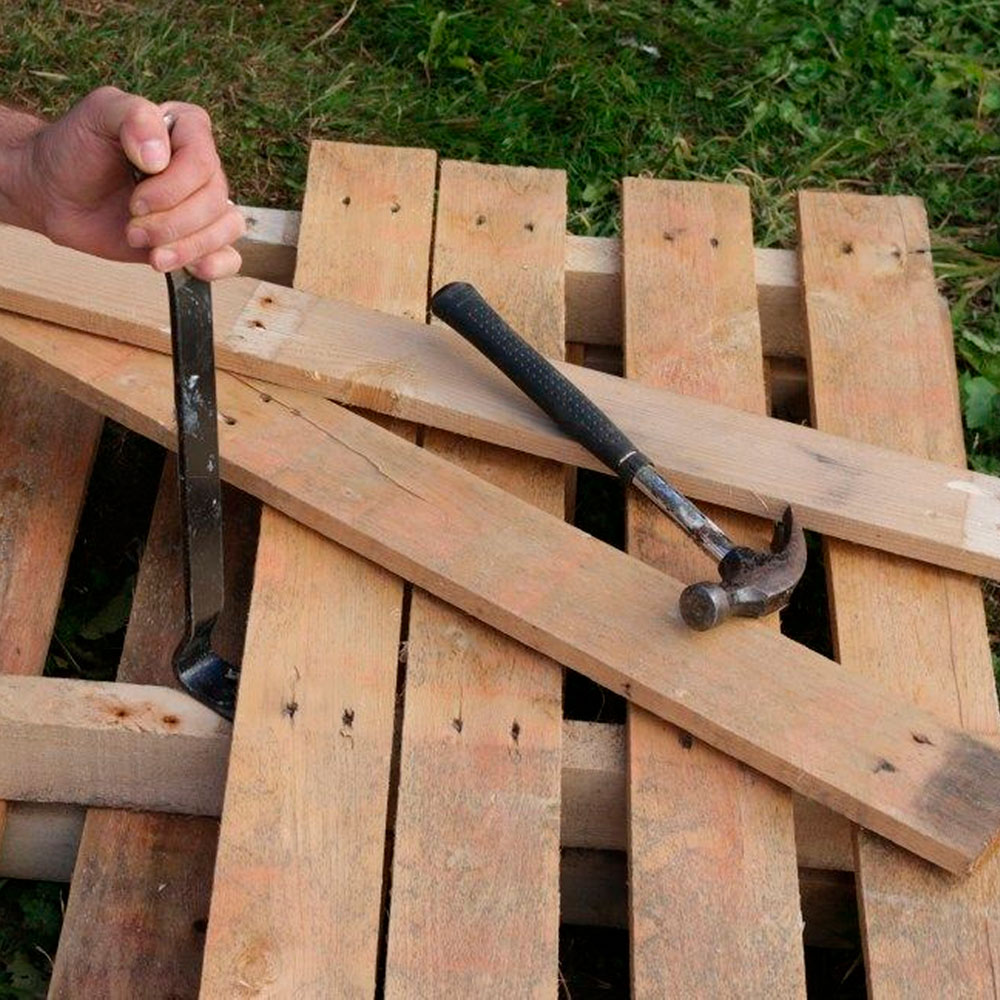
Using a wrecking bar carefully remove the individual planks, from all three wooden pallets.
'Attach three of the side supports together to create an L shape and screw together. Repeat with another three side supports. These will form the upright corners at the back of the bar.'
2. Assemble the back
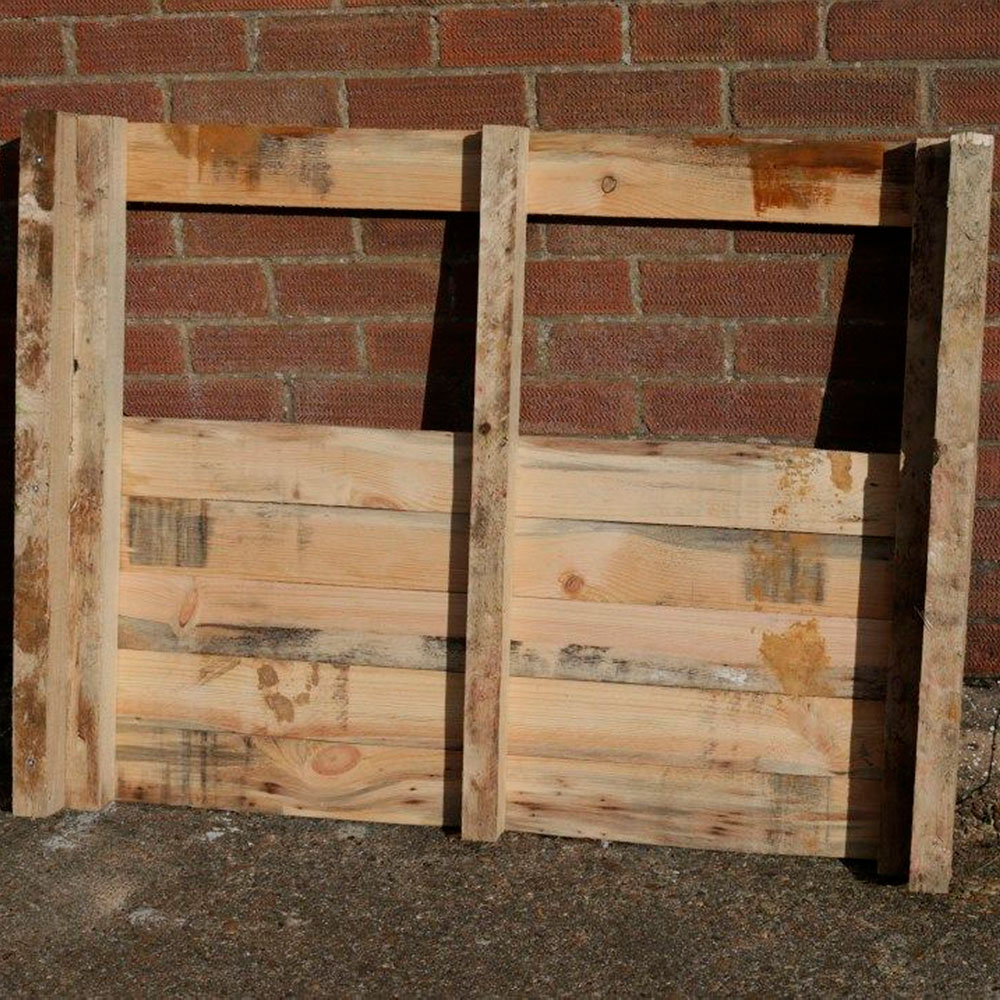
'Assemble the back of the bar using the new L-shape supports on the corners.' You only need to cover the bottom half of the bar – because this will be visible from the inside.
'Position five planks closer together to remove gaps and screw them into the corner supports. Add one plank across the top for structural integrity and add a central support. Leaving the gap on the back gives you access to add the lights later.'
3. Drill holes to spell out BAR
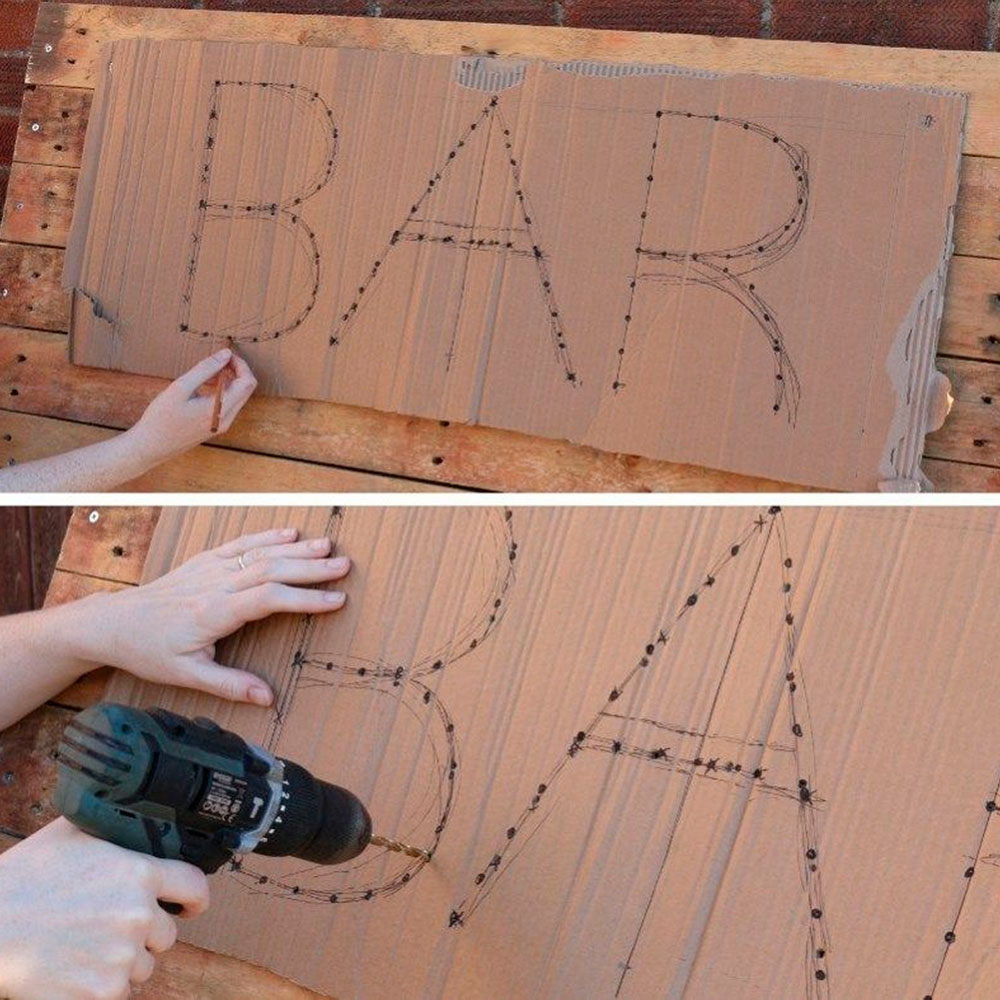
'Turn the back section of the bar over and attach 5 planks at the top of the bar. Again, position the planks close together.'
'Using a piece of cardboard or paper stapled to the top of the front, mark out the BAR letters'. Carefully, 'using a drill bit, slightly larger than fairy light bulbs, drill the holes through the cardboard and through the wood on the front of the bar.'
4. Construct the different sides
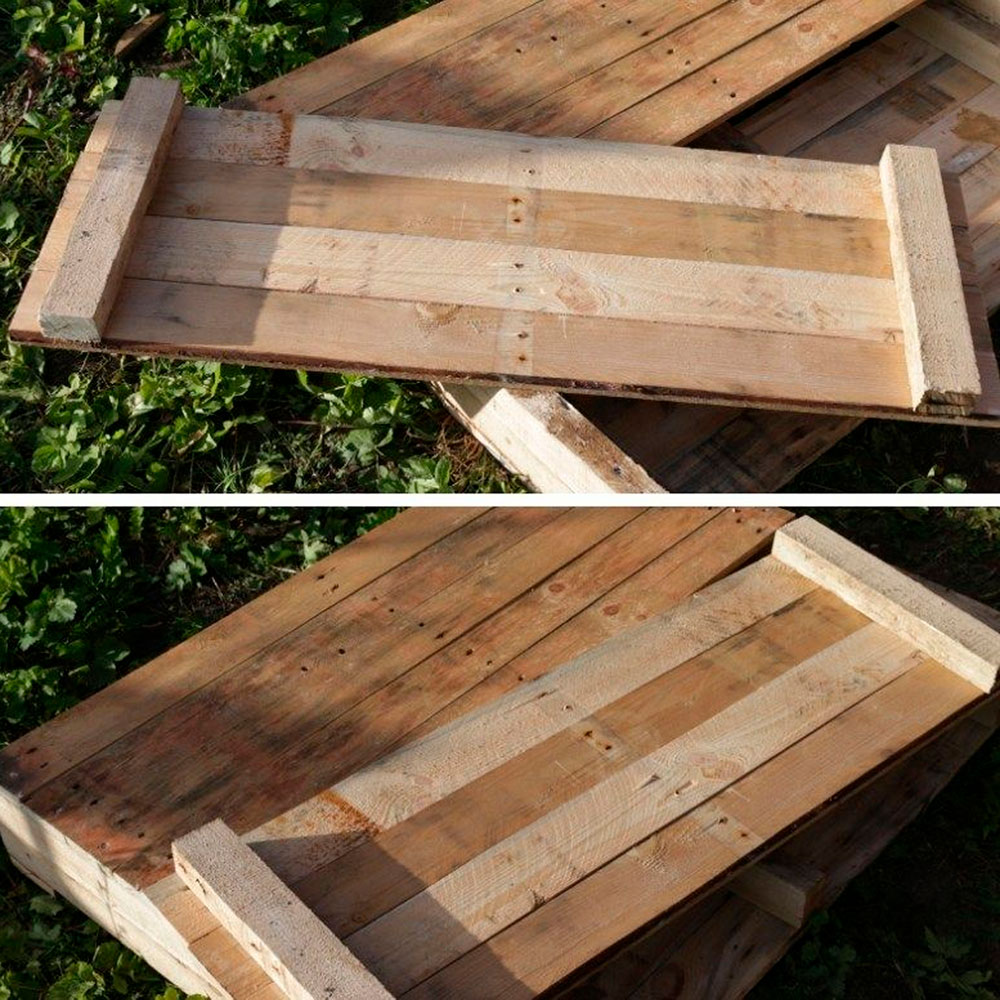
'Measure the distance from the base of the bar to the plank section at the top and cut down two side supports to fit this measurement.' These will act as the supports for the drop-down bar.
'Lay out the planks close together and add the side supports, positioning them set in from the ends of the planks. This will ensure that the drop-down panel will fit inside the corner supports of the bar.'
5. Create drop-down bar top
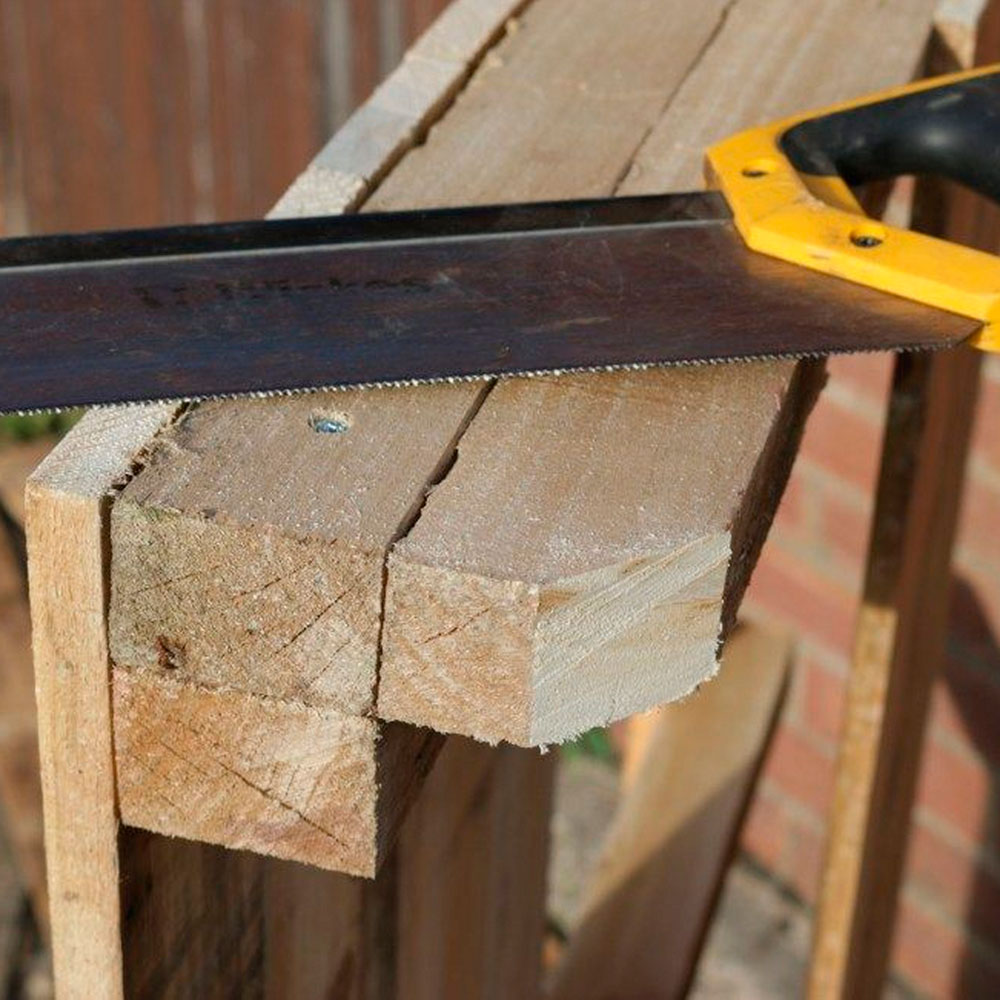
Firstly 'cut away an angle from the bottom of the corner supports at the front of the bar.' To act as a lever mechanism.
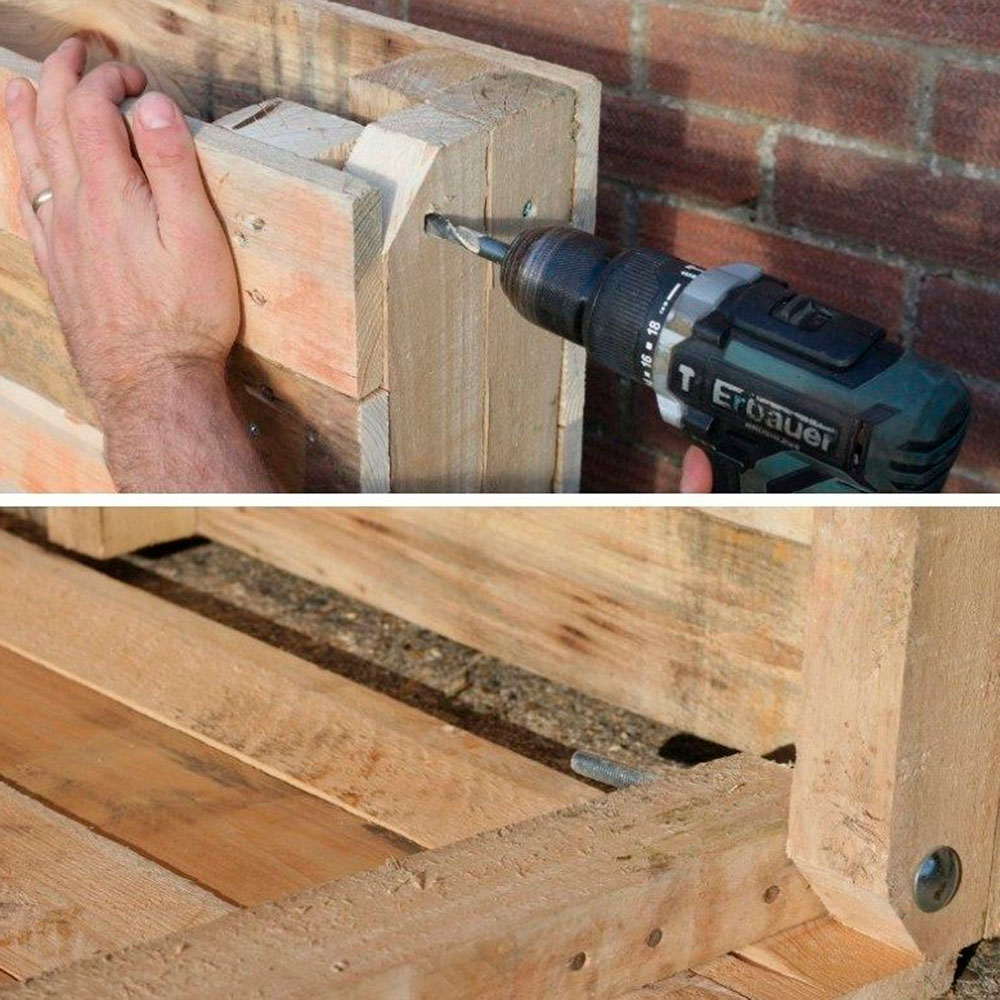
'Place the drop-down section in position on the front of the bar and drill from the side through the corner support and the drop-down support. Add a coach bolt through the hole to act as the hinge.' Repeat for the opposite side.
6. Drill holes for serving glasses
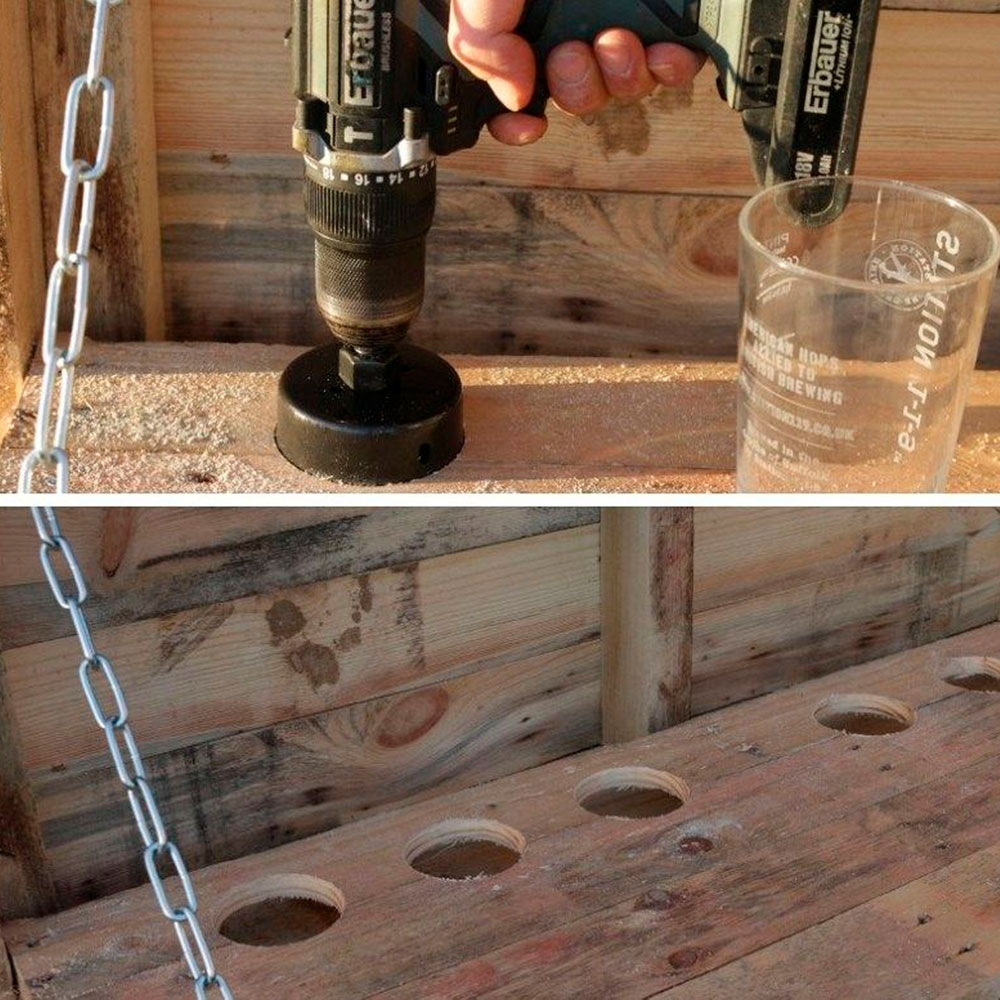
'Use a tank cutter to cut holes along the back of the top layer, of the drop down section. The holes need to be the size of your beer glasses, bottles or wine glasses, to allow them to sit inside the holes when the bar is finished.'
When the drop-down section is closed, you’ll notice a gap on the underside. Attach an extra support piece to remedy this. In doing so you'll create a ‘shelf’ behind the drop-down section when it is open.
7. Paint the pallet
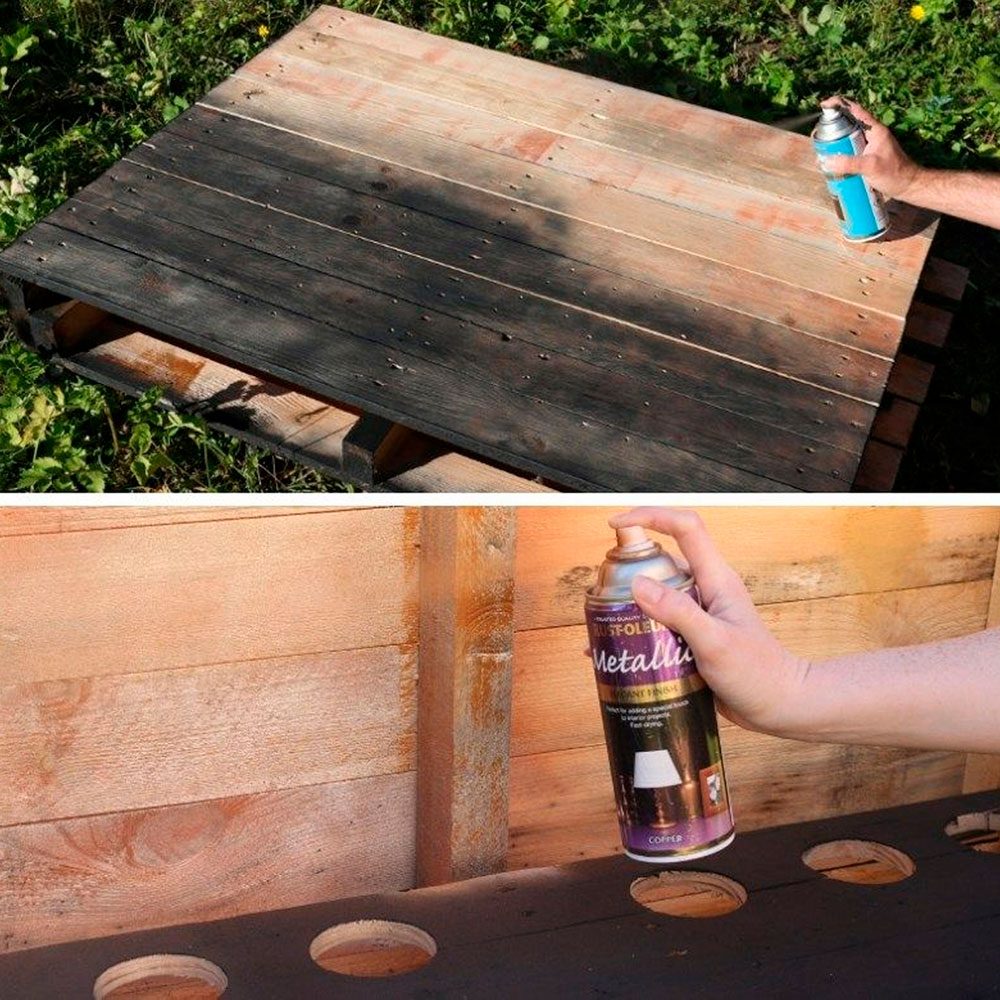
Be sure to sand down any round patches before painting. 'Paint the back planks and the hole section on the drop-down with copper spray paint.'
'Use chalkboard paint (either brush-on or spray paint) to paint the top, front and sides. This will allow you to use chalk to add the words ‘birthday’, ‘cocktail’ or any phrase you like to the top of the BAR sign.'
Take this as your chance to show off your style and add a pop of colour to your garden that matches your garden paint ideas.
Protect nearby surfaces and plants with old sheets in case there are any paint splatters. Apply each layer of paint evenly, going with the grain of the wood and only apply the next layer once each coat of paint is dry.
8. Add lights, chain and BAR sign
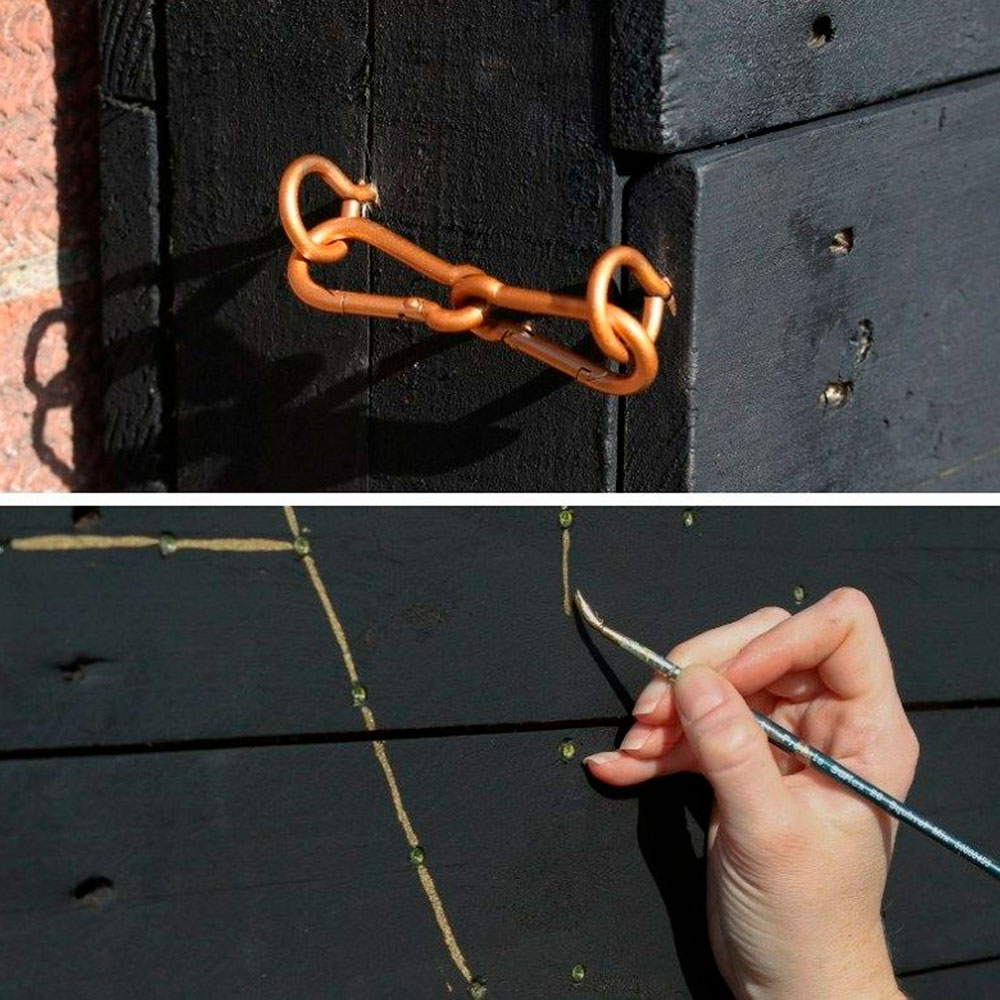
Add the last finishing touches. Once complete use an eye hook and carabiner to attach a chain to the inside edge of the corner support. 'Add another eye hook and carabiner to the front of the drop-down section and clip on the chain. To close the bar, add two eye hooks on each side and close with two carabiners.
'Working from the back poke the fairy lights through the pre-drilled holes. To finish use the metallic paint to spell out the word BAR – using the fairy light holes as a guide.'
Depending on your DIY skills, this project shouldn’t take longer than five hours to complete.
You can use your new DIY skills for other fun pallet ideas that will transform your garden.
Now your DIY pallet bar is up and ready to go, time to fill it with your favourite drinks, cocktail glasses and your own personal décor touches. If you've caught the DIY bug try making pallet garden furniture next.
How to make your own bar at home?
If you want to make your garden a hub of socialisation and enjoy putting your own spin on your budget garden ideas a pallet bar idea is perfect.
‘Making your own bar at home can be a fun and rewarding project,’ says Keely Smith from JD Elite interiors.
‘The first step is to determine the size and style of the bar you want to create. You can then gather materials and tools, such as wood boards, screws, and a power drill, and follow step-by-step instructions. Adding personal touches, such as a unique bar top or built-in lighting, can make the bar truly your own.
‘Building an outdoor DIY bar is a fun and affordable project that can enhance your backyard and provide a great space for entertaining, and you can create a custom bar that fits your needs and style.’
DIY bar ideas
Creating a bar out of wooden pallets works well for a rustic and natural garden style, whereas using metal panels would best suit an industrial garden style. Your bar can be as simple or elaborate as you like and can be tailored for a more grownup setup or child-friendly area.
The benefit of your own outdoor bar is that there will always be a seat for you and you have beautiful greenery as your view. Have fun with your DIY bar and turn back the clock with old pub memorabilia such as quirky beer mats, an old cask pump and unique bottle openers. Make the bar your own with a sign featuring a name you have chosen for your outdoor bar.
Tamara was Ideal Home's Digital Editor before joining the Woman & Home team in 2022. She has spent the last 15 years working with the style teams at Country Homes & Interiors and Ideal Home, both now at Future PLC. It’s with these award wining interiors teams that she's honed her skills and passion for shopping, styling and writing. Tamara is always ahead of the curve when it comes to interiors trends – and is great at seeking out designer dupes on the high street.