How to paint a ceiling with a roller and brush for a professional finish without roller marks
10 steps to a crisp, clean, and non-drip finish
Millie Hurst
Name a more overlooked area of the home than the ceiling... 99% of the time, we paint them white and forget them. If you're planning out paint ideas right now, make sure you learn how to paint a ceiling properly to get a professional-looking finish.
It's an awkward and sometimes messy job, but the 'fifth wall' has a huge impact on the light, atmosphere and overall impression of a room.
How to paint a ceiling
Helen Shaw, Benjamin Moore UK Director, recommends opting for a lighter shade of your wall colour to reduce the contrast between the walls and ceiling. 'Or, for the ultimate design statement, create an ultra-luxe, all-encompassing, floor-to-ceiling finish in one colour,' the paint pro suggests.
Ready to paint? You can use one of our picks of the best white paints, or go for something colourful. Whatever hue you choose, follow our simple steps on the correct way to paint a ceiling to freshen things up in no time.
[jwplayer key="SSWfwp54"]

You will need:
- A roller with handle cover and tray
- An extendable roller arm
- A small to medium-sized brush
- Decorator's tape
- A bucket
- A mop
- Sugar soap
- Floor covers
- A screwdriver
- Paint
- Safety goggles
How to paint a ceiling – step by step
1. Pick your paint and work out how much you'll need
If you're painting the ceiling of your bathroom or kitchen (both high moisture environments), opt for a paint with a hardy finish. For example, Farrow & Ball Modern Emulsion is washable, scuff and stain-proof, and protected against mould. For living room or bedroom paint ideas on the other hand, any finish will be suitable for your ceiling.
Work out how much paint you'll need in order to avoid waste. 55 million litres of paint waste goes to landfill in the UK each year, so try to order as close to the amount you need as you can. To do this, check the manufacturer's instructions, as the number of coats you need varies depending on the brand and the finish.
Sign up to our newsletter for style inspiration, real homes, project and garden advice and shopping know-how
2. Think about how you're going to reach the ceiling safely
Next, you'll need to consider how to reach the ceiling safely and comfortably. If you haven't got a ladder suitable for the job, hire one from a local supplier. 'Do not compromise by using a dining table or chair,' warns Michael Rolland, managing director at The Paint Shed.
'These are likely not going to be the right height or sturdy enough, leading to an accident,' says the interiors and paint expert. 'You can get extendable rollers to reach the centre of the ceiling, but a ladder will still be required for the edging.'
3. Prepare the room
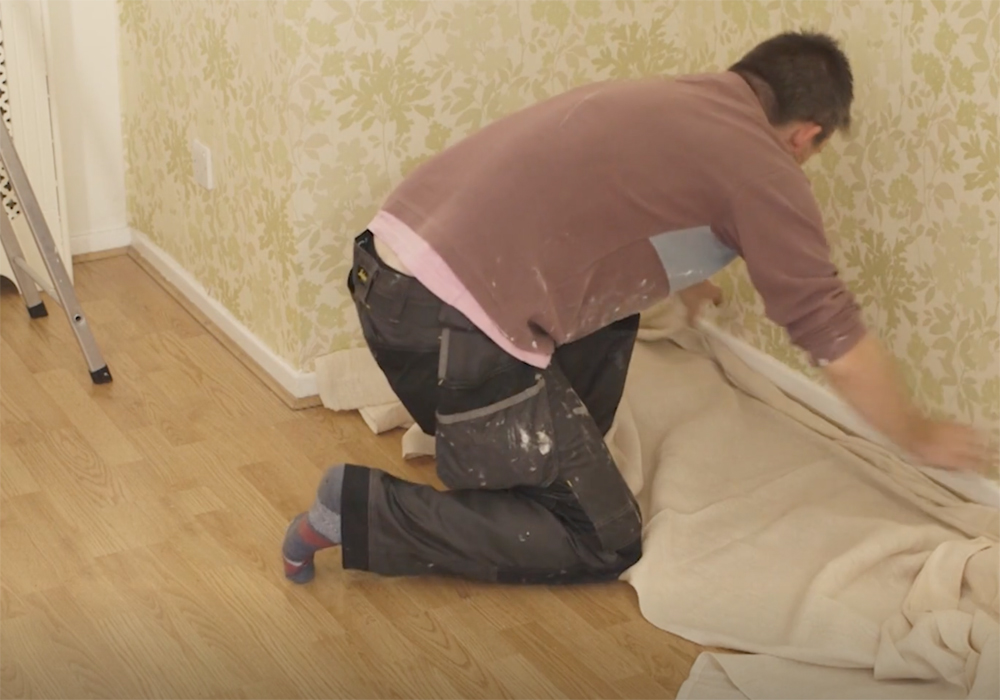
Ideally, you'd empty the room entirely, but that's easier said than done. Remove furniture from the room or push it into the middle so you can access the edges easily. Cover the floors – and anything else you don't want to get splattered – with dust sheets.
You can use hessian dust sheets, but old bedsheets work just as well and don't require an extra spend. Remove light shades and any light fittings you can so you can get right to the edges when painting.
4. Plaster over any small holes and cracks
'If the ceiling surface requires any repair work, such as small holes or cracks, then now is the time to do it,' says Michael Rolland. 'Just remember to leave plenty of time to dry before applying a primer coat to seal the new plaster.'
He says it is also important to ensure you are not painting over any more serious issues. Larger cracks and damp spots should be looked at prior to painting to ensure there are no structural problems lurking.
5. Mask the edges
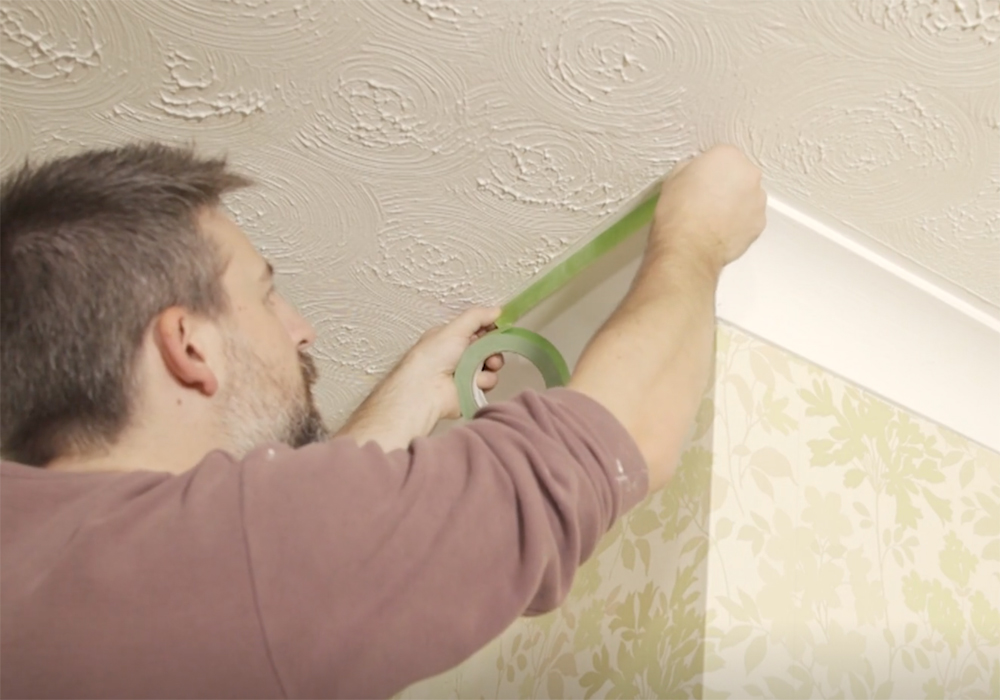
Using your decorator's tape, mask off the area where the ceiling joins the wall or the coving if you have any. You might want to paint the coving at the same time, in which case mask off the area where the coving joins the wall.
6. Clean the surface
If you are painting a ceiling that already has painted plaster, ensure the area is free of crumbling or damaged paint by scraping away loose areas with a screwdriver or hard-bristled brush. Remove any dust and cobwebs. To get rid of any mould, you'll need a fungicidal wash. You can also sand your ceiling to make sure the surface is totally smooth.
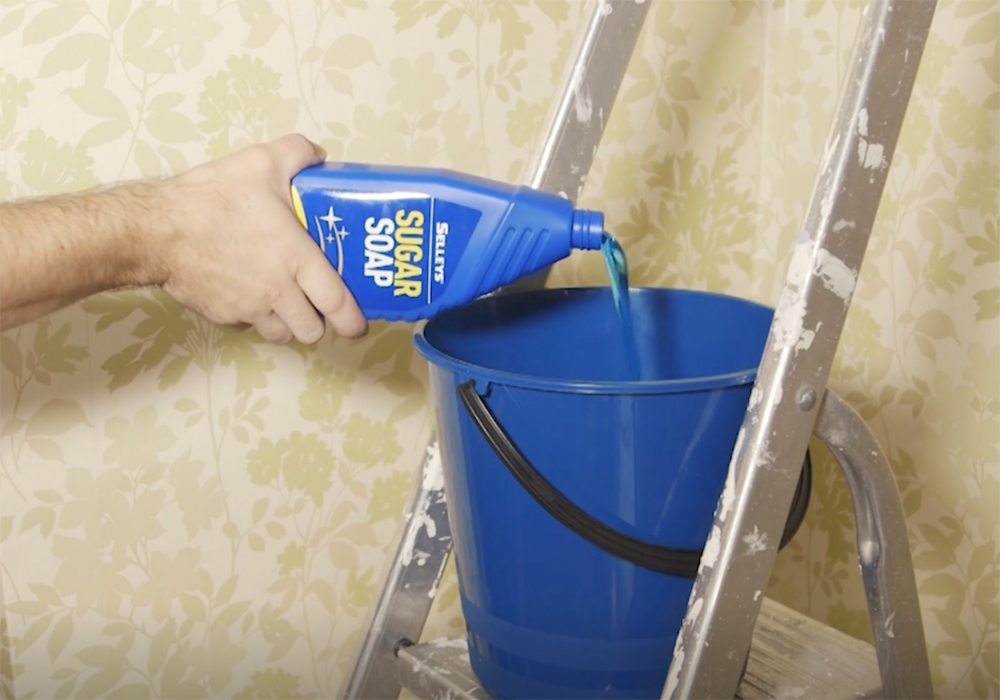
Clean the ceiling with a sugar soap solution. It's best to use a sponge mop for this as a handheld sponge could make your shoulder ache. Once it's masked off and clean, it's time to paint.
When you're painting directly onto plaster, it's recommended that you apply a mist coat. This is when you mix one-half paint, one-half water and paint it onto the wall to help the next coats of paint adhere to the wall properly.
7. Cut in
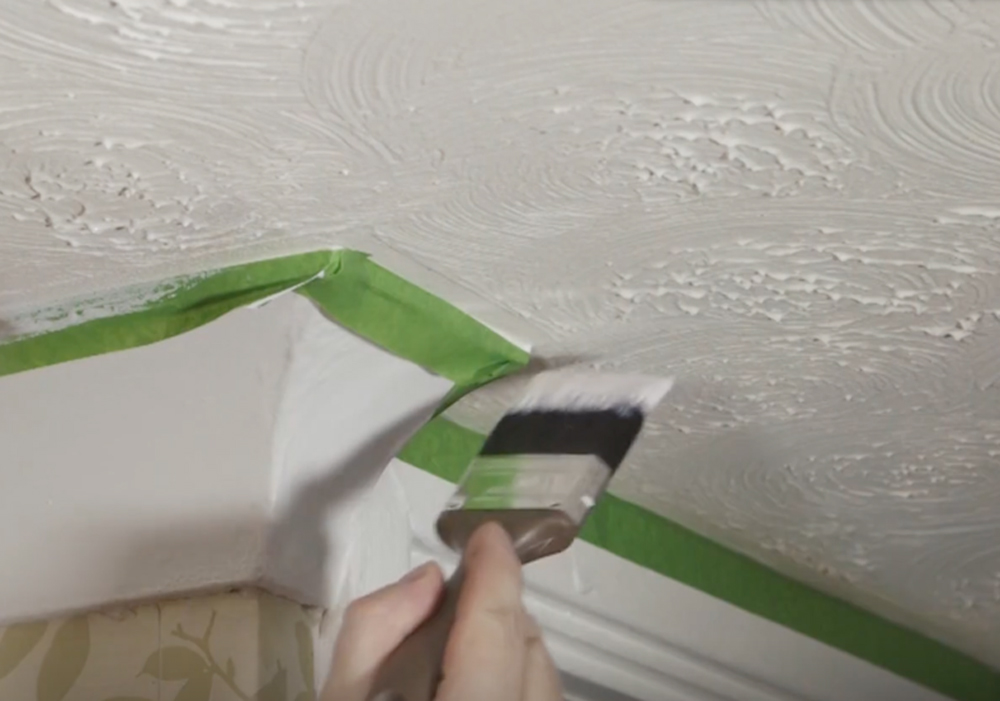
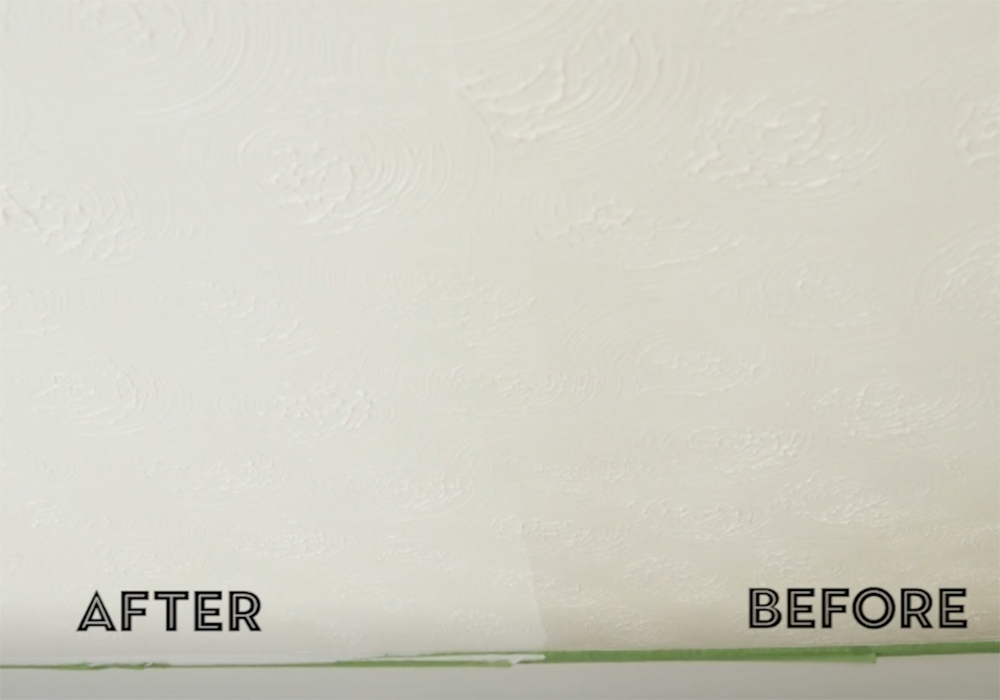
Start cutting in with your brush. Stir your paint thoroughly before you pour it into your paint tray. For this how-to, we've used a special paint that starts pink and dries white.
Buy now: Dulux Magic Brilliant White matt emulsion, £22 for 2.5ltrs, B&Q
We'd recommend wearing safety goggles while painting. Paint an area one or two inches wide around the perimeter so you don't have to use your roller right to the edges. If you're a total novice, read up on how to cut in to help you achieve lovely sharp edges.
If you want to paint your coving or mouldings, now is the time to do it. Remember to paint around your light fittings too.
8. Paint the ceiling
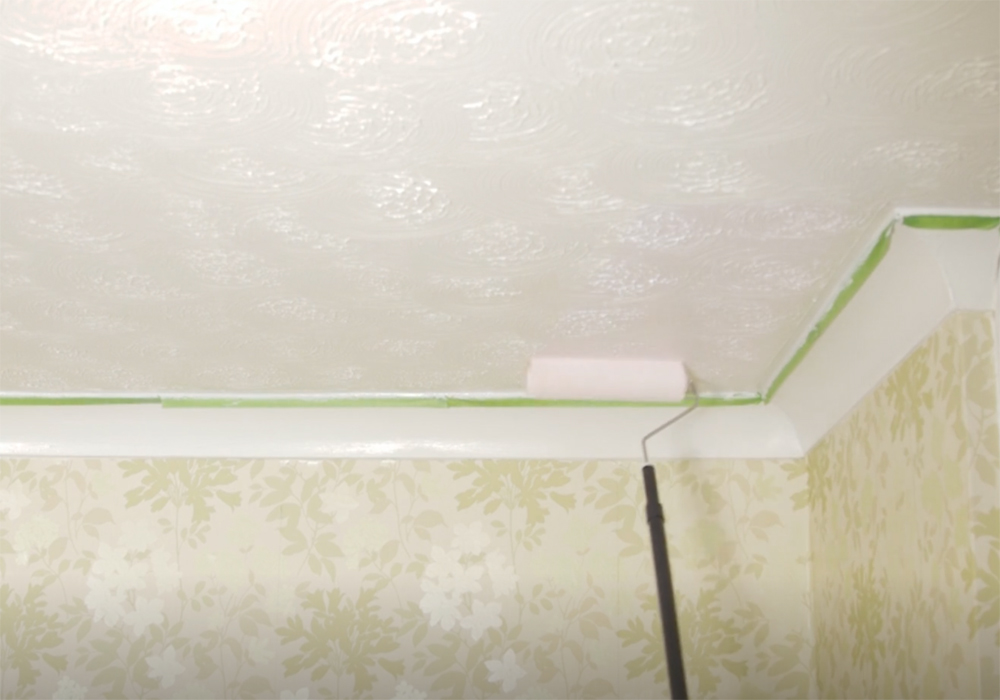
Start painting your ceiling while the cutting areas are still wet, as they will blend better. If your ceiling is flat, a short-haired roller will be fine. If your ceiling has a texture, you may need a longer pile.
Working in small sections, apply the paint with your roller working in a gentle zig-zag formation slightly overlapping the previous stroke with each movement. Don't push too hard or you will end up with obvious lines in the paintwork.
It might look slightly patchy but this will get covered with the second coat. Work across the whole area in small sections until the whole ceiling is painted. Move your ladder along once you've painted each section rather than overstretching.
9. Paint a second coat
It will probably need two coats, so wait until the first is dry. Check your paint time for drying times, it's usually a couple of hours. Then cut in again and repeat the process. Check your handy work in the daylight to highlight any areas you might have missed.
10. Finish the job
Remove the decorator's tape when the second coat is still damp. And there you have it – a freshly painted ceiling. Now you're ready to learn how to paint a wall.
What colour to paint your ceiling
'We’ve come across some great ceilings recently,' comments Kirsty Fisher from Lemon & Lime Interiors. 'Some homeowners are becoming particularly brave with their colour choices and choosing dark blue and black colours to create drama. But don’t worry, that’s not for everyone.
'Timeless by Dulux is our colour of choice for ceilings, it’s an off-white colour and bounces the light around the room well. Remember, dark colours will make the ceiling feel lower, the lighter you go the higher the ceiling will feel,' Kirsty says. 'If you have very tall rooms, you may want to bring the ceiling down by painting it dark to give a cosier feel. We would advise against painting a low ceiling anything but white.'
Justyna Korczynska, senior designer at Crown Paints recommends trying something a little different by using a really bright colour such as Crown’s Mustard Jar on the ceiling (below). This means the colour visually spills onto plain white walls below.

Is it better to paint a ceiling with a brush or roller?
'We recommend using both a brush and a roller,' says Helen Shaw at Benjamin Moore. 'A brush is needed for painting the edges of the ceiling and the roller to paint the rest of the ceiling.'
Tips for beginners when painting a ceiling
'Remember to keep windows open and well-ventilated while you’re painting,' says Emma Bestley from YesColours. 'It’s always worth investing in your brush and roller as the better the quality, the better the results.
'While the first coat of paint is drying, wrap your brush in a used plastic bag to keep the paint from hardening,' says Emma.
Rachel Homer has been in the interiors publishing industry for over 15 years. Starting as a Style Assistant on Inspirations Magazine, she has since worked for some of the UK’s leading interiors magazines and websites. After starting a family, she moved from being a content editor at Idealhome.co.uk to be a digital freelancer and hasn’t looked back.
- Millie HurstSenior Content Editor