How to paint a staircase – the easiest way to decorate your stairs with a new coat of paint
The expert-approved step-by-step guide to the easiest and most efficient way to updating your stairs with paint
Sara Hesikova
EDITOR’S NOTE: An earlier version of this article included a quote from a purported expert whose credentials we have not been able to verify. The quote has been removed. We regret this lapse in our verification process and have updated our internal protocols to reduce the risk of recurrence.
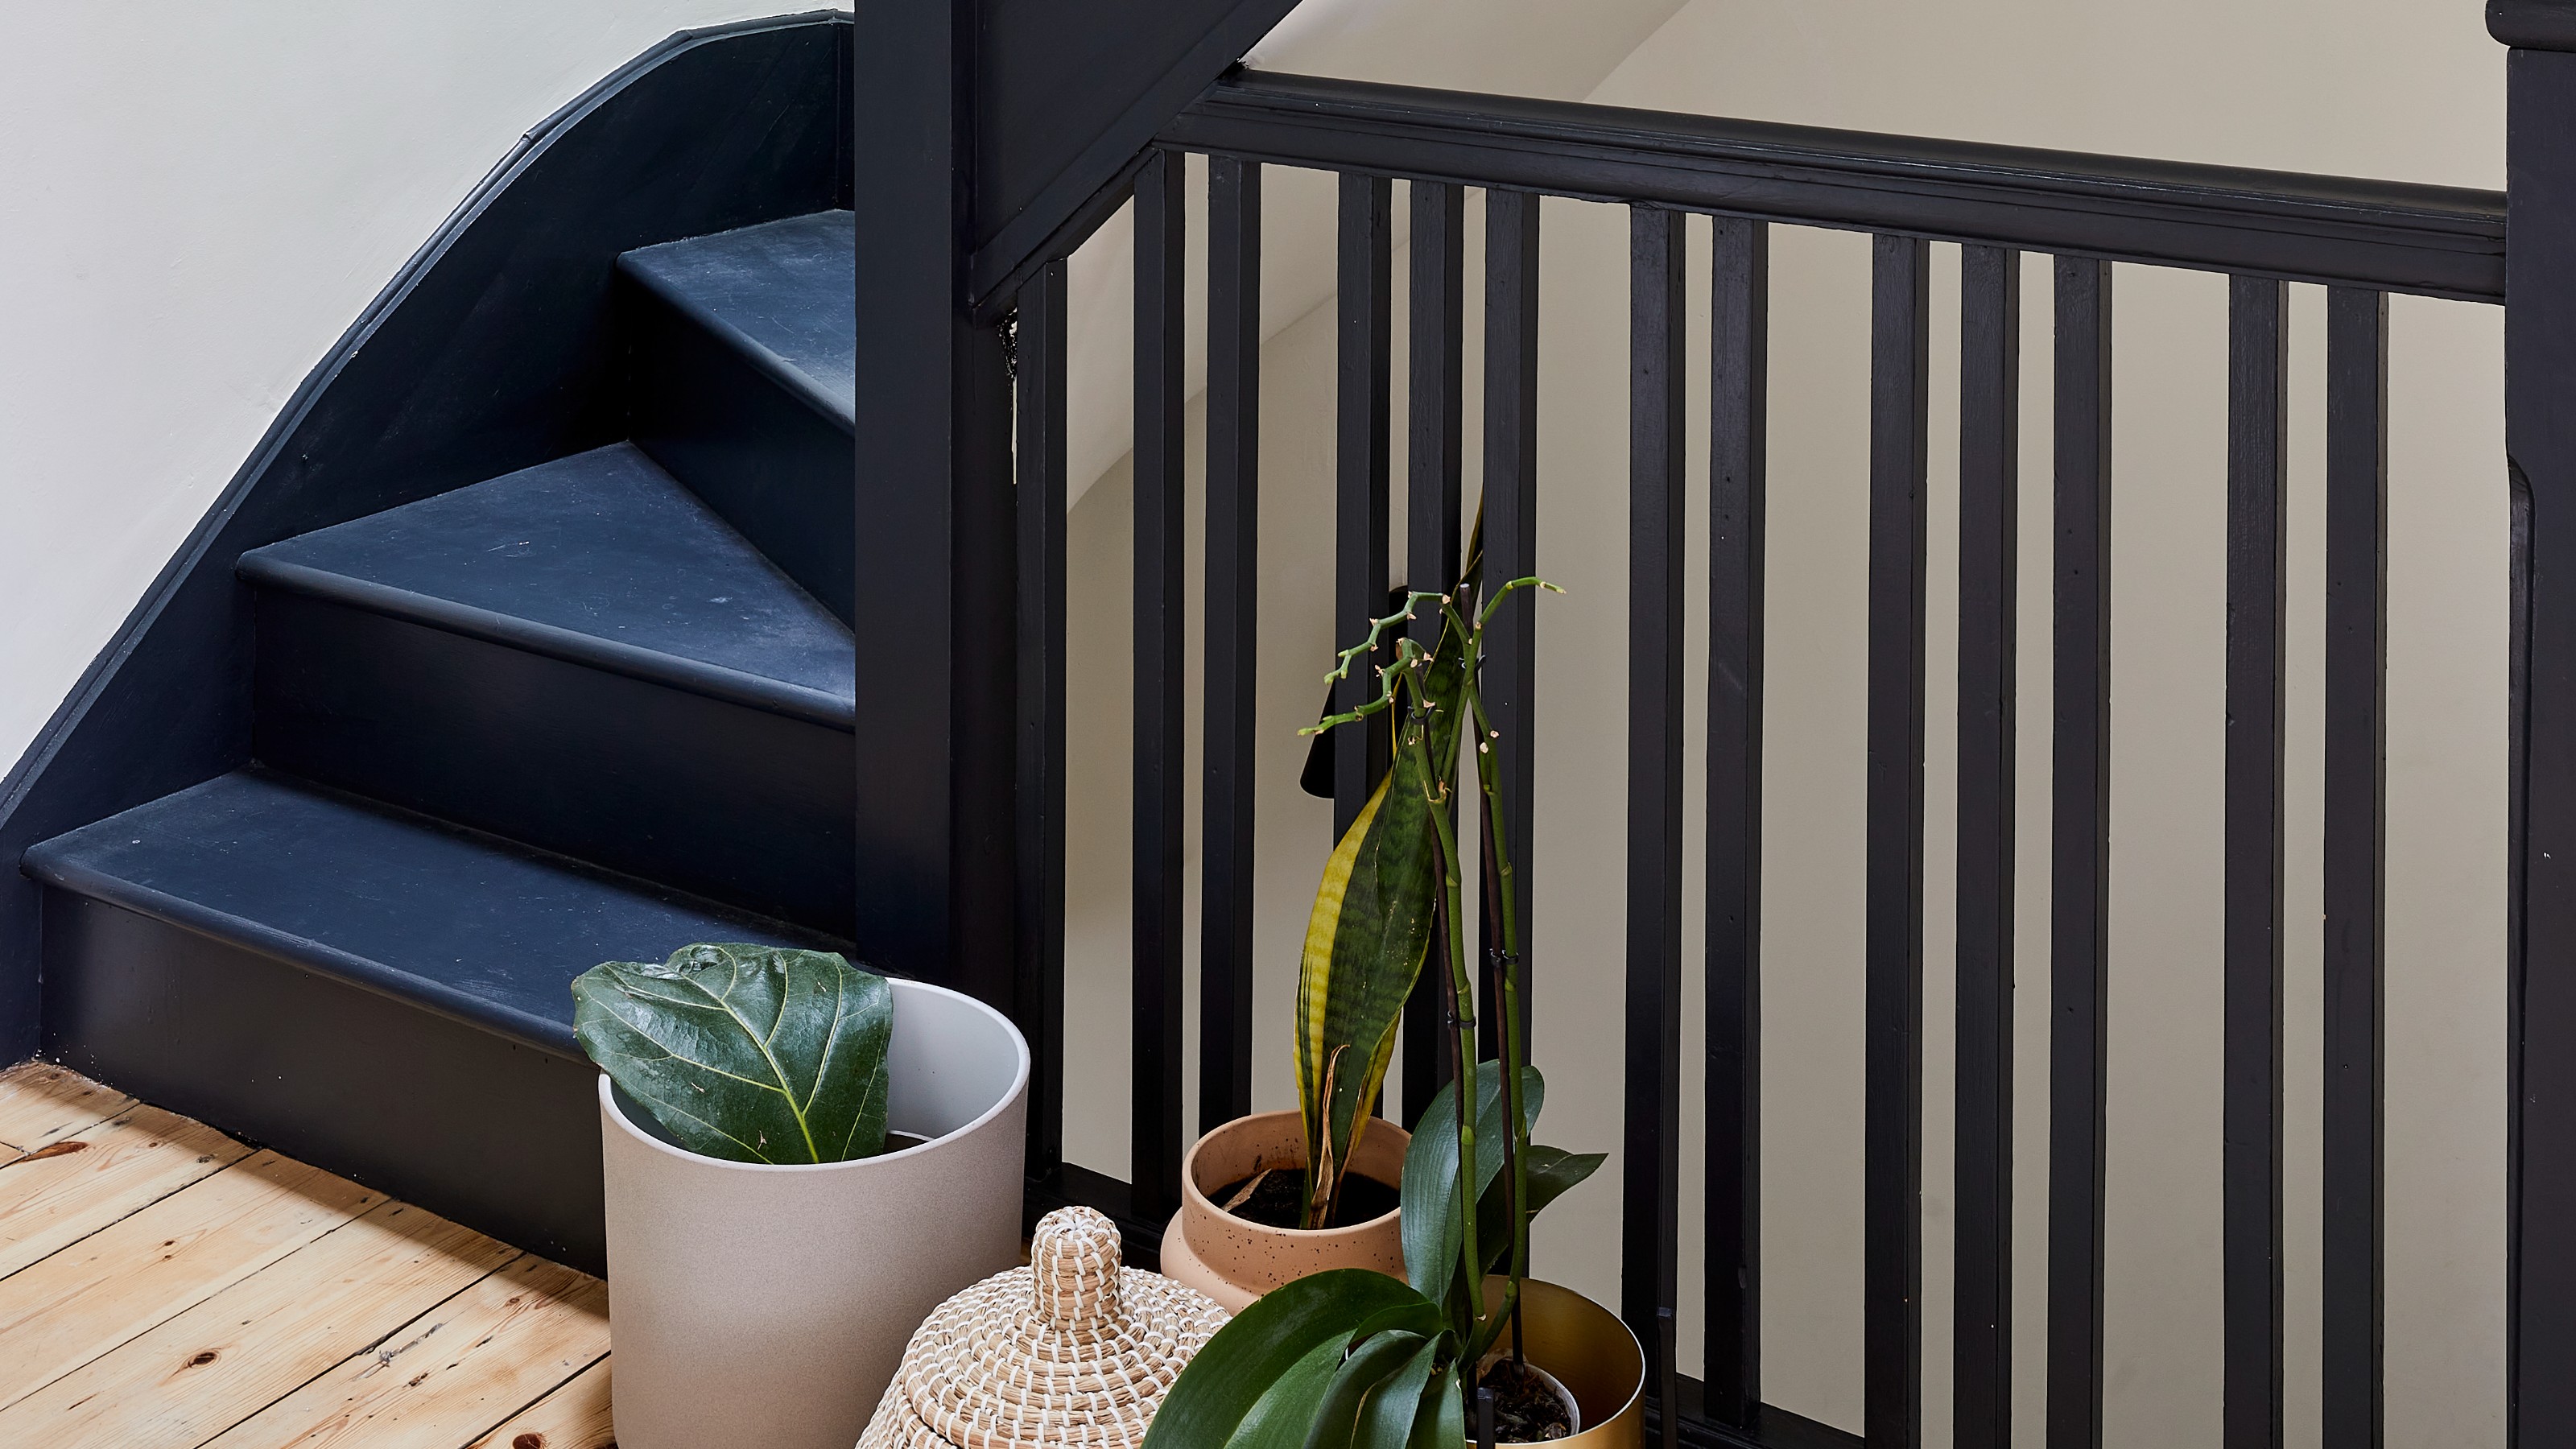
Whether you’re completely redecorating your staircase or want to give it just a little bit of a refresh in case it’s looking somewhat tired, a fresh coat of paint can do wonders for this area of your home. And as long as you know how to paint a staircase, it’s not a difficult home update either.
In fact, pretty much anybody can do it. And our expert-approved step-by-step guide explaining the process in all the necessary detail will surely lend a helping hand. So get your staircase paint ideas ready – you’re gonna smash it!
How to paint a staircase
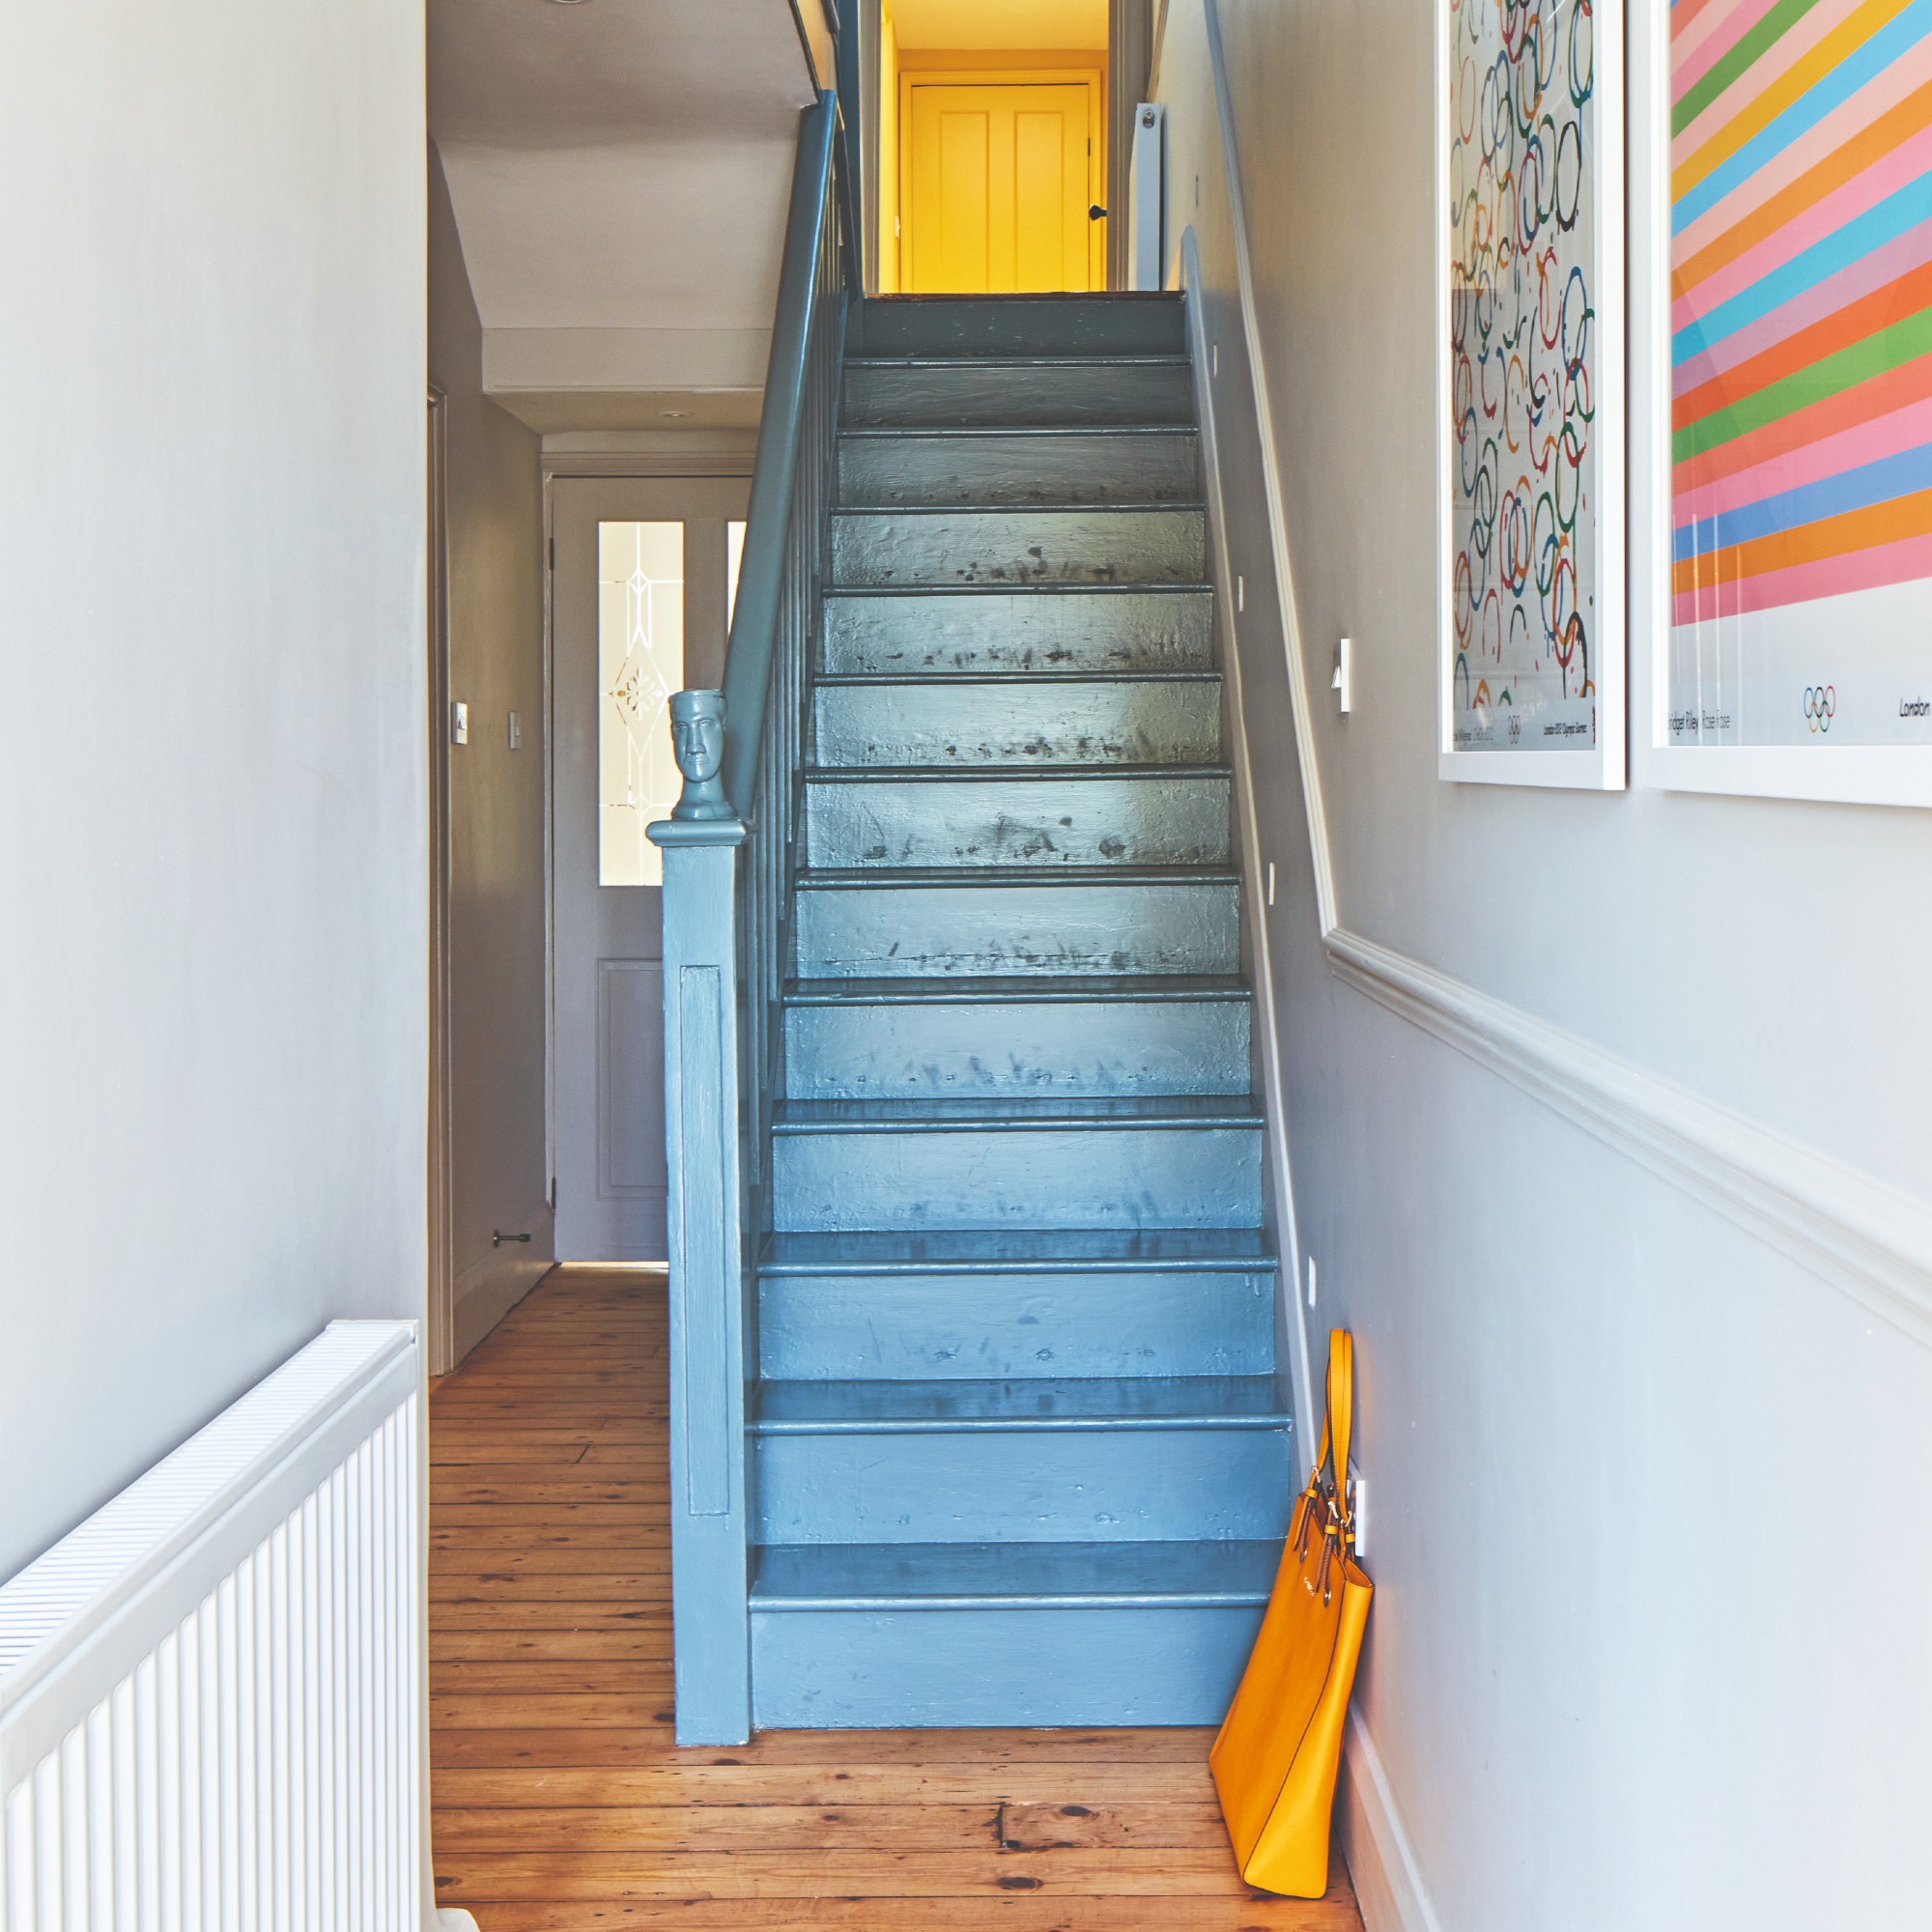
If you’re looking for a fresh new staircase idea for your home, then painting this little pocket of space is not only one of the best ways to give it a new look – especially if a pop of colour is what you’re after, something that staircases are ideal for as it is a relatively small space that you just pass through so you can get really creative. But it’s also a relatively easy DIY project for you to get stuck into next.
What you’ll need
This might seem like a very long and overwhelming list but more likely than not, you'll already have some of these things at home anyway. This is just a very exhaustive compilation to cover all the bases.
- Your best vacuum cleaner
- Primer like the Ronseal One Coat Wood Primer and Undercoat in white at Amazon
- Your chosen paint – we’re loving the Rust-Oleum floor paint in Bramwell
- Paint stripper like the Paint Predator Heavy Duty Paint and Varnish Stripper at Amazon – you only need this if your stairs are already painted
- Alternatively, you can use paint scraper as this Rolson one at Amazon
- Wood filler to fill in any nail holes and cracks like the Everbuild Multi Purpose Wood Filler at Toolstation
- Electric sander like the Challenge Corded Palm Sander, available at Argos
- Sandpaper that’s either 80-grit for unpainted surfaces or 120-grit sandpaper for previously painted stairs – this Amazon set of 40 sanding pads contains multiple grit grades
- Respirator mask like the VEVOX respirators at Amazon
- Work gloves like the Durabull work gloves at Amazon
- Safety goggles like these Dewalt clear goggles at Amazon
- Cleaning solution like the ASDA degreaser cleaning spray
- Cleaning cloth
- Masking tape like this one at Amazon
- 1-inch or 2-inch paint brush like these ones from Amazon
- Paint roller with a tray like this one at Amazon
Top tips before you get started
- Start early or when the rest of the household are in the garden or busy downstairs and don't need access for a while. Or make a start once the kids have gone to bed for the night. This means you may have to paint over the course of a few days.
- Factor in time to ensure the paint is fully dry before anyone walks on it. Because the longer you leave it to dry, the more hard-wearing it will be. If your only loo is upstairs, you’ll need to plan around it.
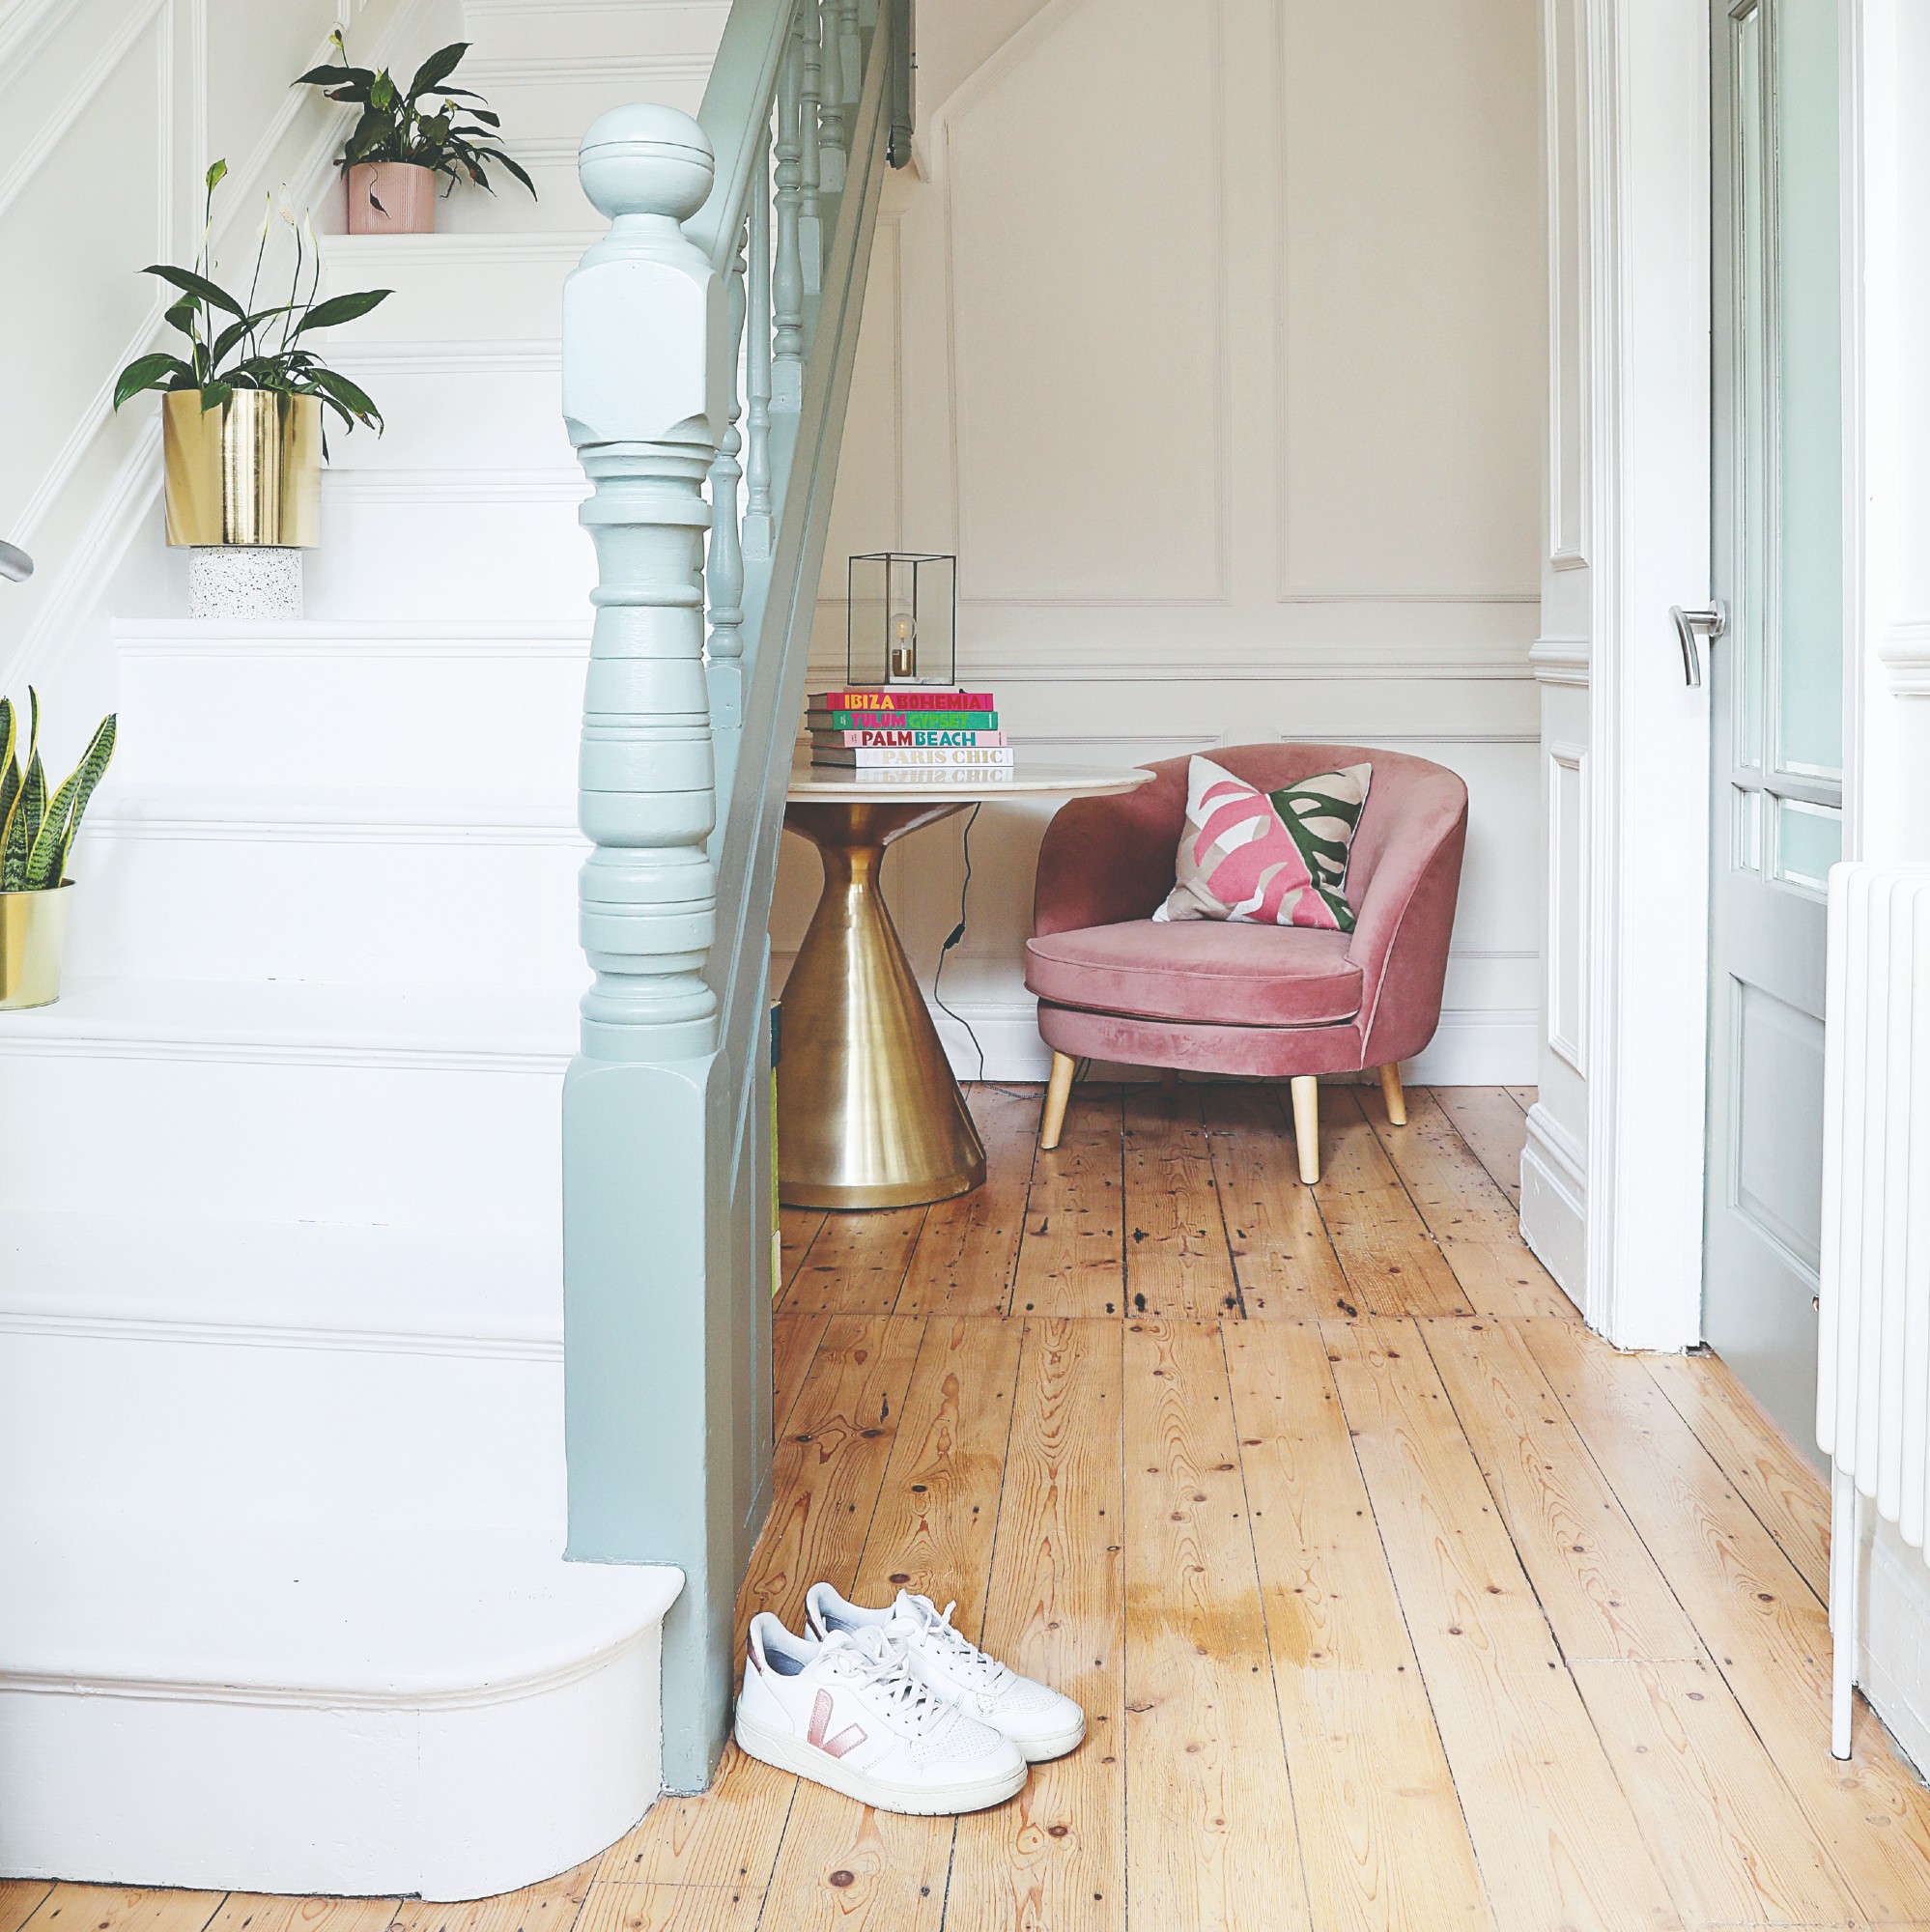
- Paint in order, so start at the top and work your way down. Or vice versa depending on where you want to finish – you don’t want to get stuck on the wrong floor. This may sound obvious, but it can be easy to get caught out.
1. Prepare the steps
Remove any old carpet from your wooden stairs. You need to make sure the surface is in good condition before you start. Repair any loose or broken areas, fill any dents or nail holes with wood filler and check for staples and nails (remove these carefully with pliers).
After that, give the area a light sand. ‘Use a medium-grade 120-grit sandpaper to sand the surface of each step,’ says Jimmy Englezos, senior brand manager from Ronseal. ‘This will help to create a rough surface for the paint to adhere to, helping it to stick better.’
Once complete, vacuum up any dust and clean with a cleaning solution and cloth.
Sign up to our newsletter for style inspiration, real homes, project and garden advice and shopping know-how
2. Apply primer
Once your stairs are all smooth and clean, it’s time to prime them.
‘As stairs are a high-traffic area in the home, they are prone to more wear and tear, meaning a good primer is crucial before painting the wood,’ says Michael Rolland, paint expert and managing director at The Paint Shed. ‘One layer will suffice, and once the primer has been applied just be sure to wait around four to six hours for it to fully dry before painting.’
3. Choose the correct paint
Whether you’re sticking to the same hallway colour scheme all over or painting a striking stair runner, when it comes to painted stair ideas choosing the right paint is crucial. Rust-Oleum chalky-finish floor paint is ideal.
If you're painting bare wood using a primer and an undercoat and only once this is fully dry should you use your chosen paint. Use a many coats as needed to get the desired coverage, usually two or three. A topcoat or varnish will then seal the paint so it lasts longer.
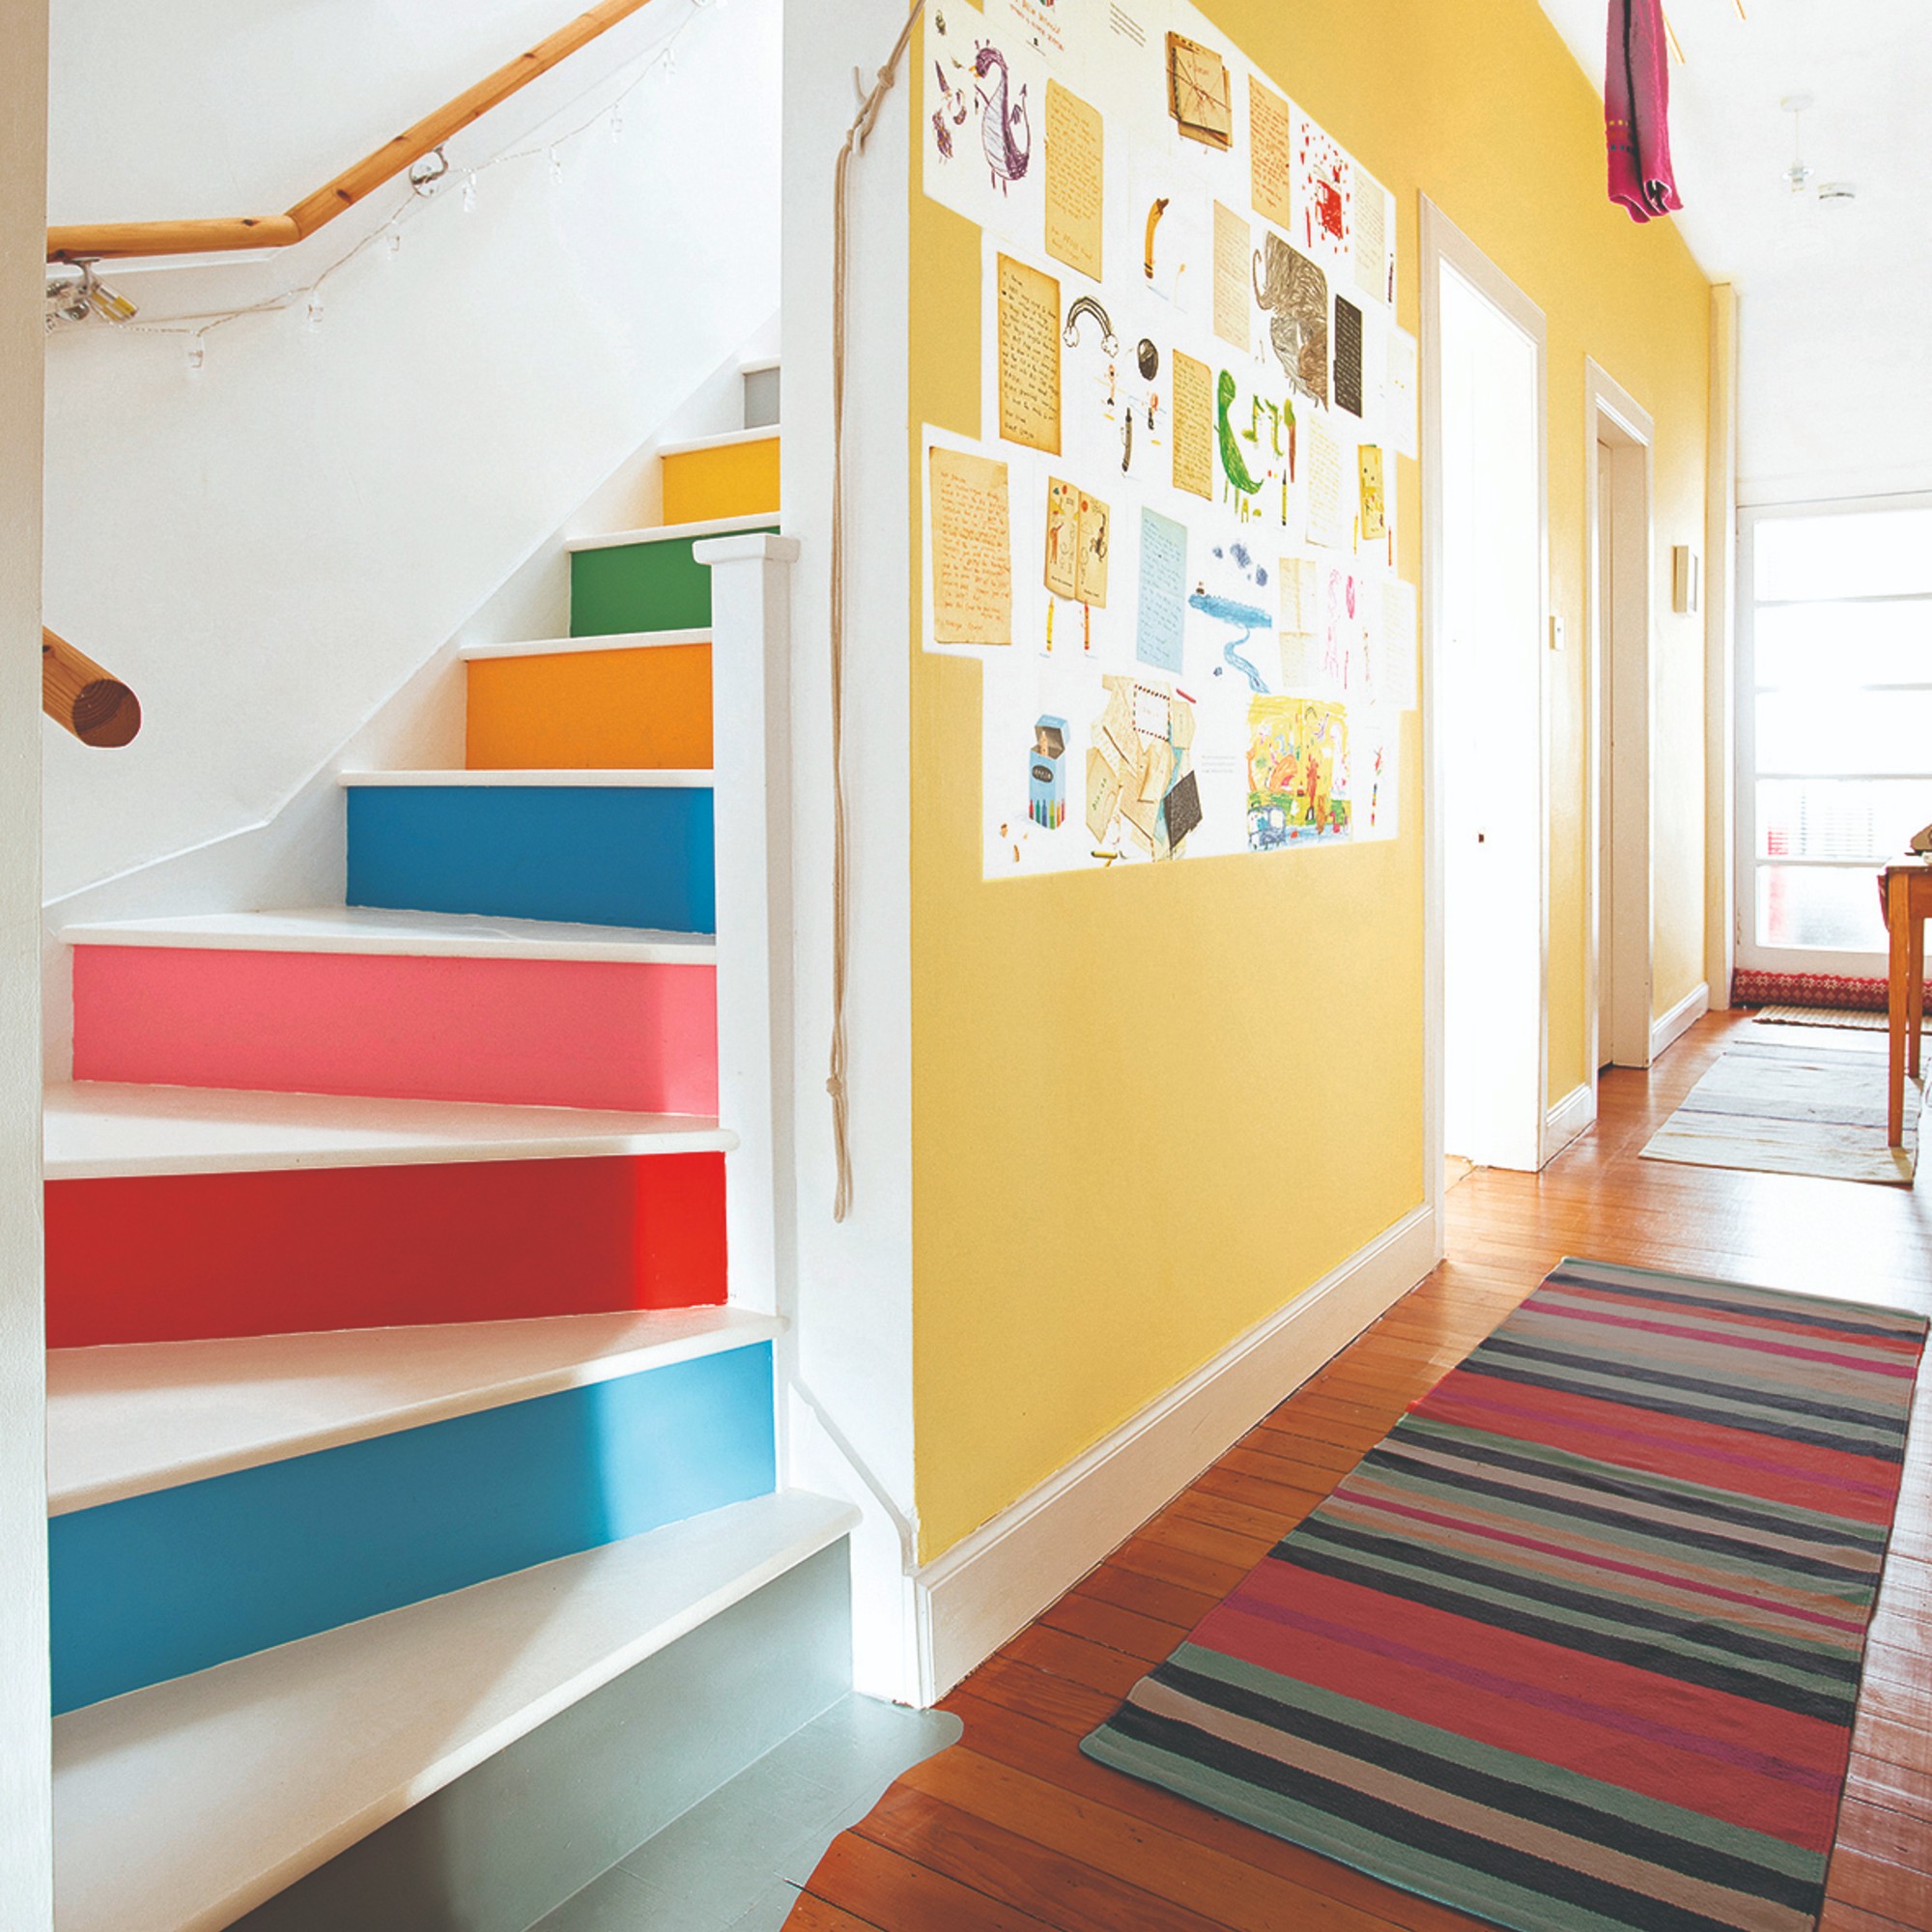
Top tip: Tape off areas if needed. If you’re painting stairs in different colours or painting a runner, mark out your design using a masking tape.

4. Start painting
Apply the paint ensuring there are no drips. Use a brush for any details and angles where stair riser and tread meet. You can use a small foam roller for any larger, flat surfaces.
'Make sure to stir the paint beforehand before applying in broad, sweeping strokes. Do not overload the brush or roller with paint as the paint will last much longer with a few thin coats rather than one thick one. Always follow the advice on the tin regarding a second coat,' Jimmy at Ronseal advises.
Then, it's time to let the paint dry. 'Ideally, you need to leave the paint undisturbed for as long as possible – usually at least 10 hours,' Jimmy says.
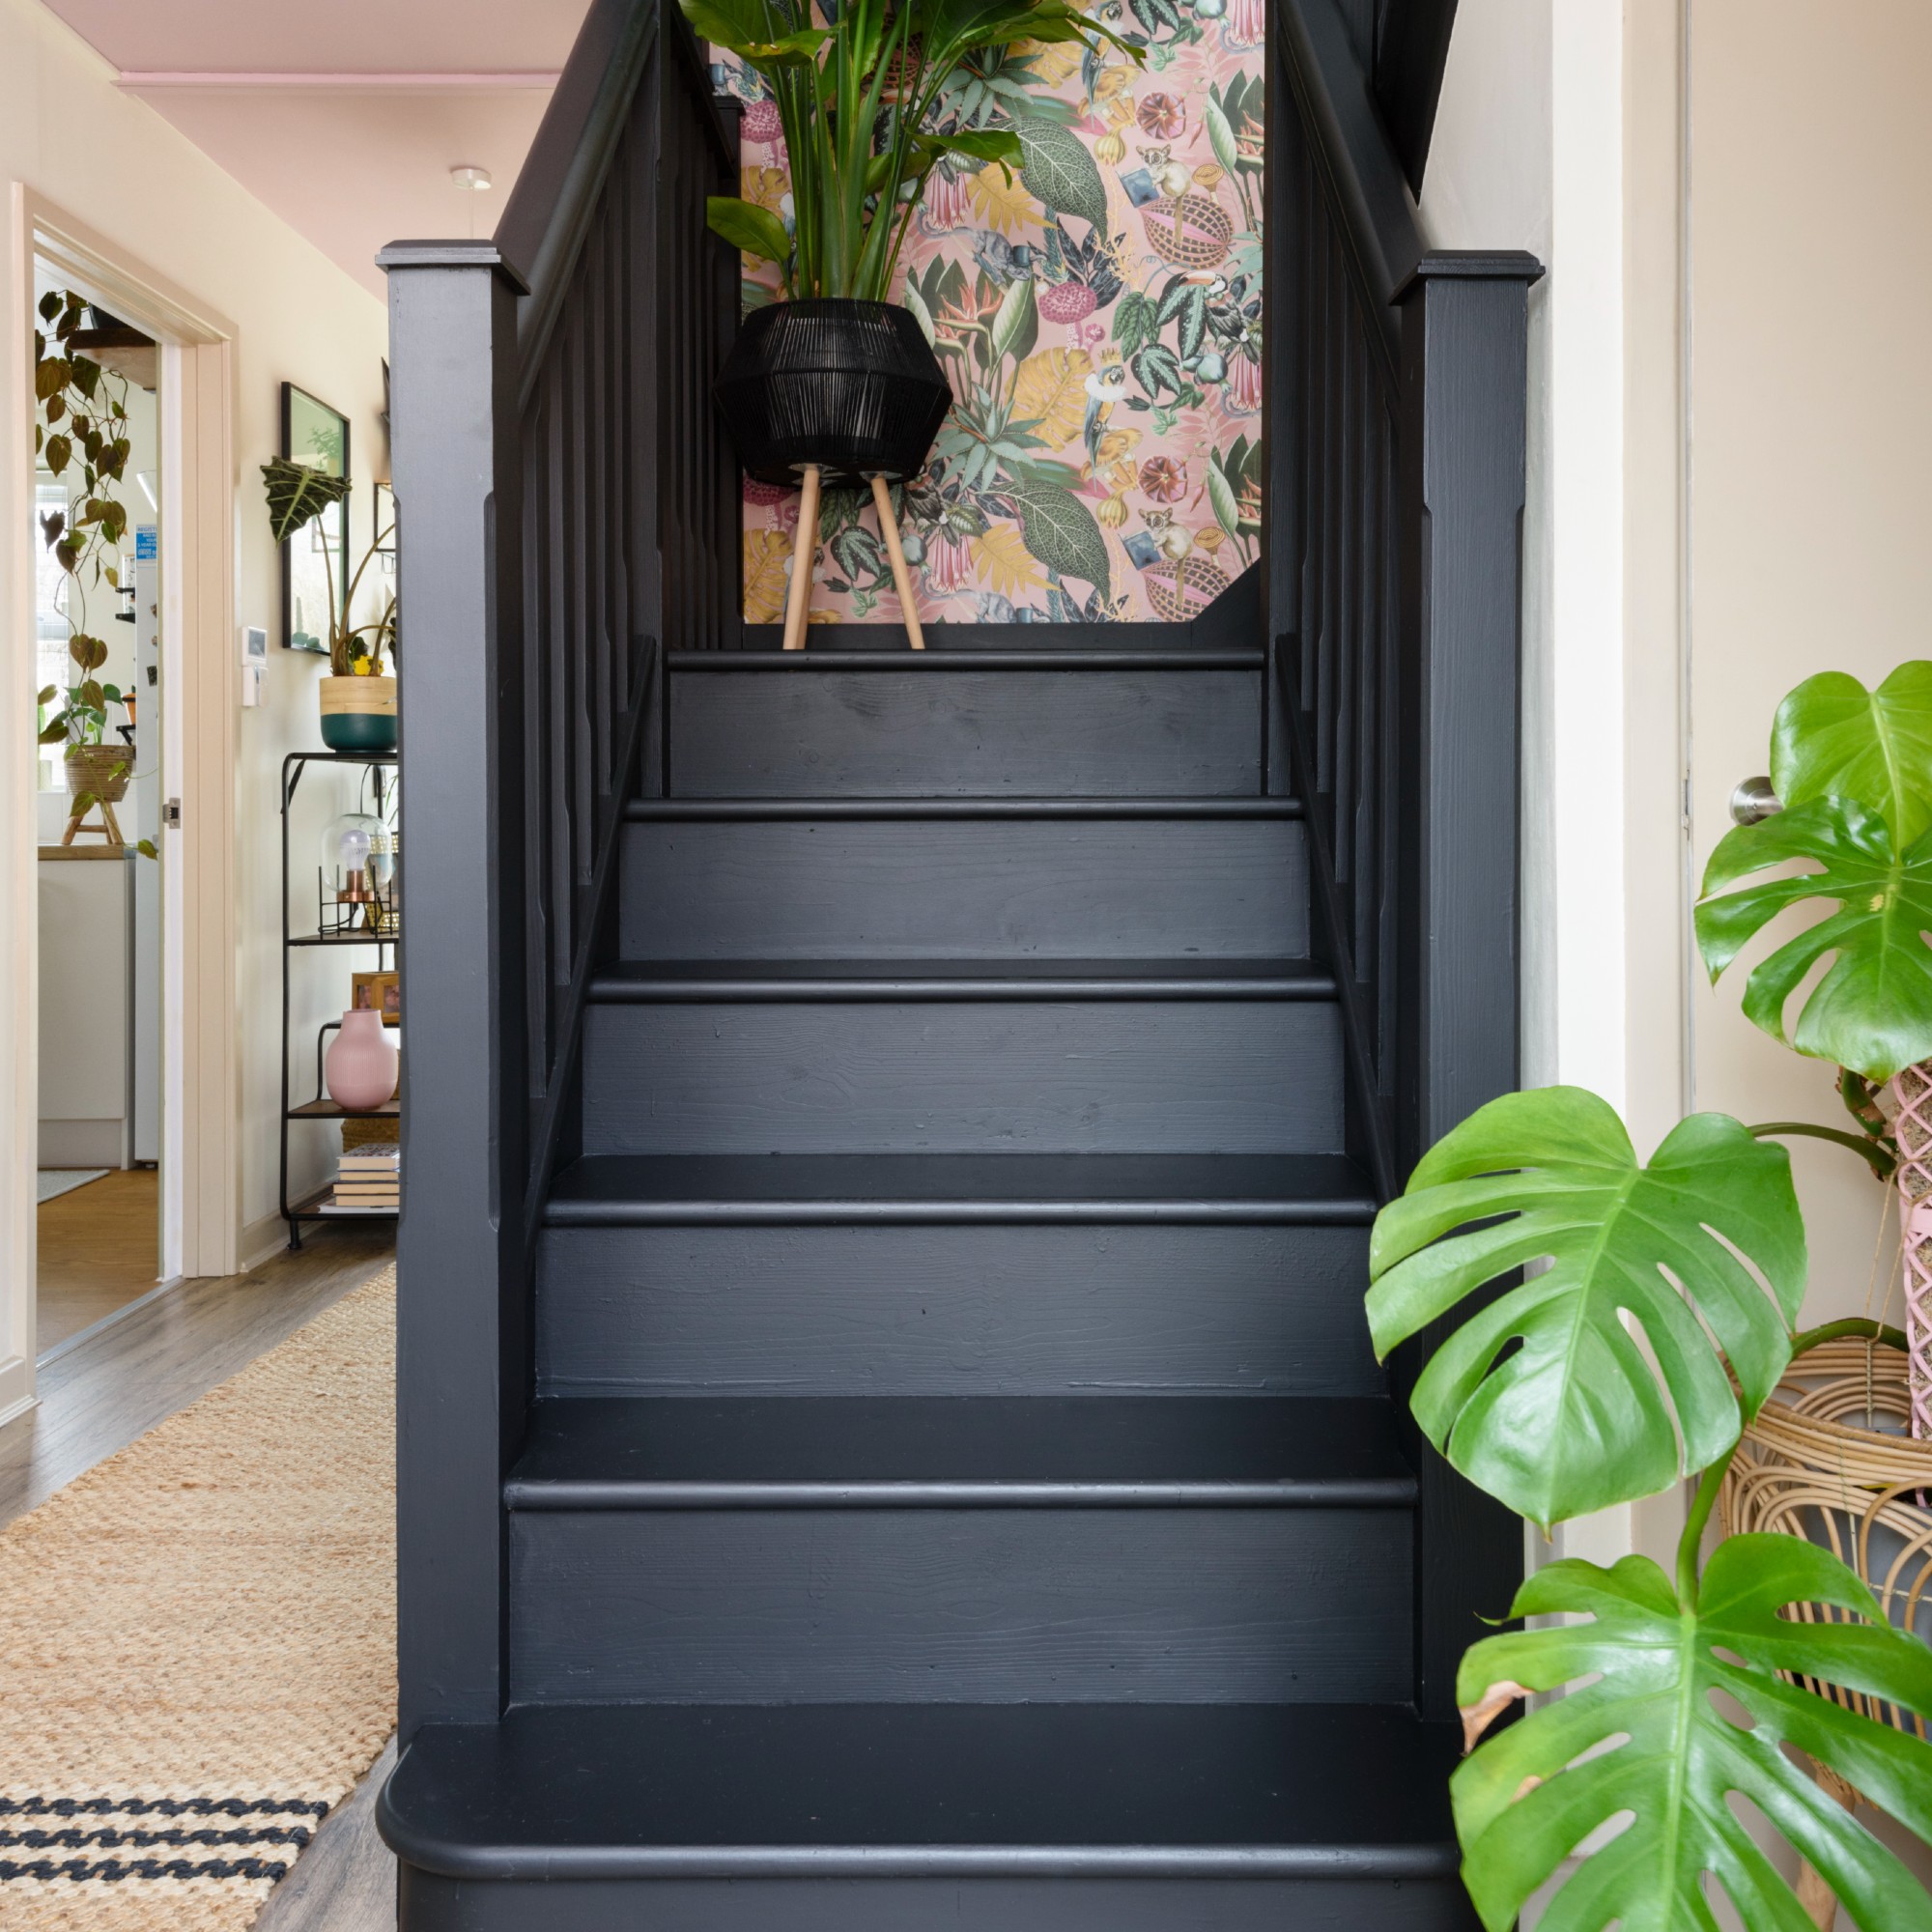
4. Take off the tape and clean
Finally, remove any masking tape. Once completely dry, give a final brush or vacuum. Then stand back to admire your handiwork!
FAQs
Should you paint stairs with a roller or brush?
Ideally, you should be using both a roller and a brush when painting your stairs, each having its own purpose in the process.
‘Use both a small radiator roller with a really good quality sleeve and a good quality 1-inch or 2-inch brush,’ says Marianne Shillingford, creative director and colour expert at Dulux. ‘Use the brush for the indentations, mouldings and corners and a roller for the bits in between. This combo is a revelation. It gets the paint on quickly and smoothly and helps you not to apply too much.’
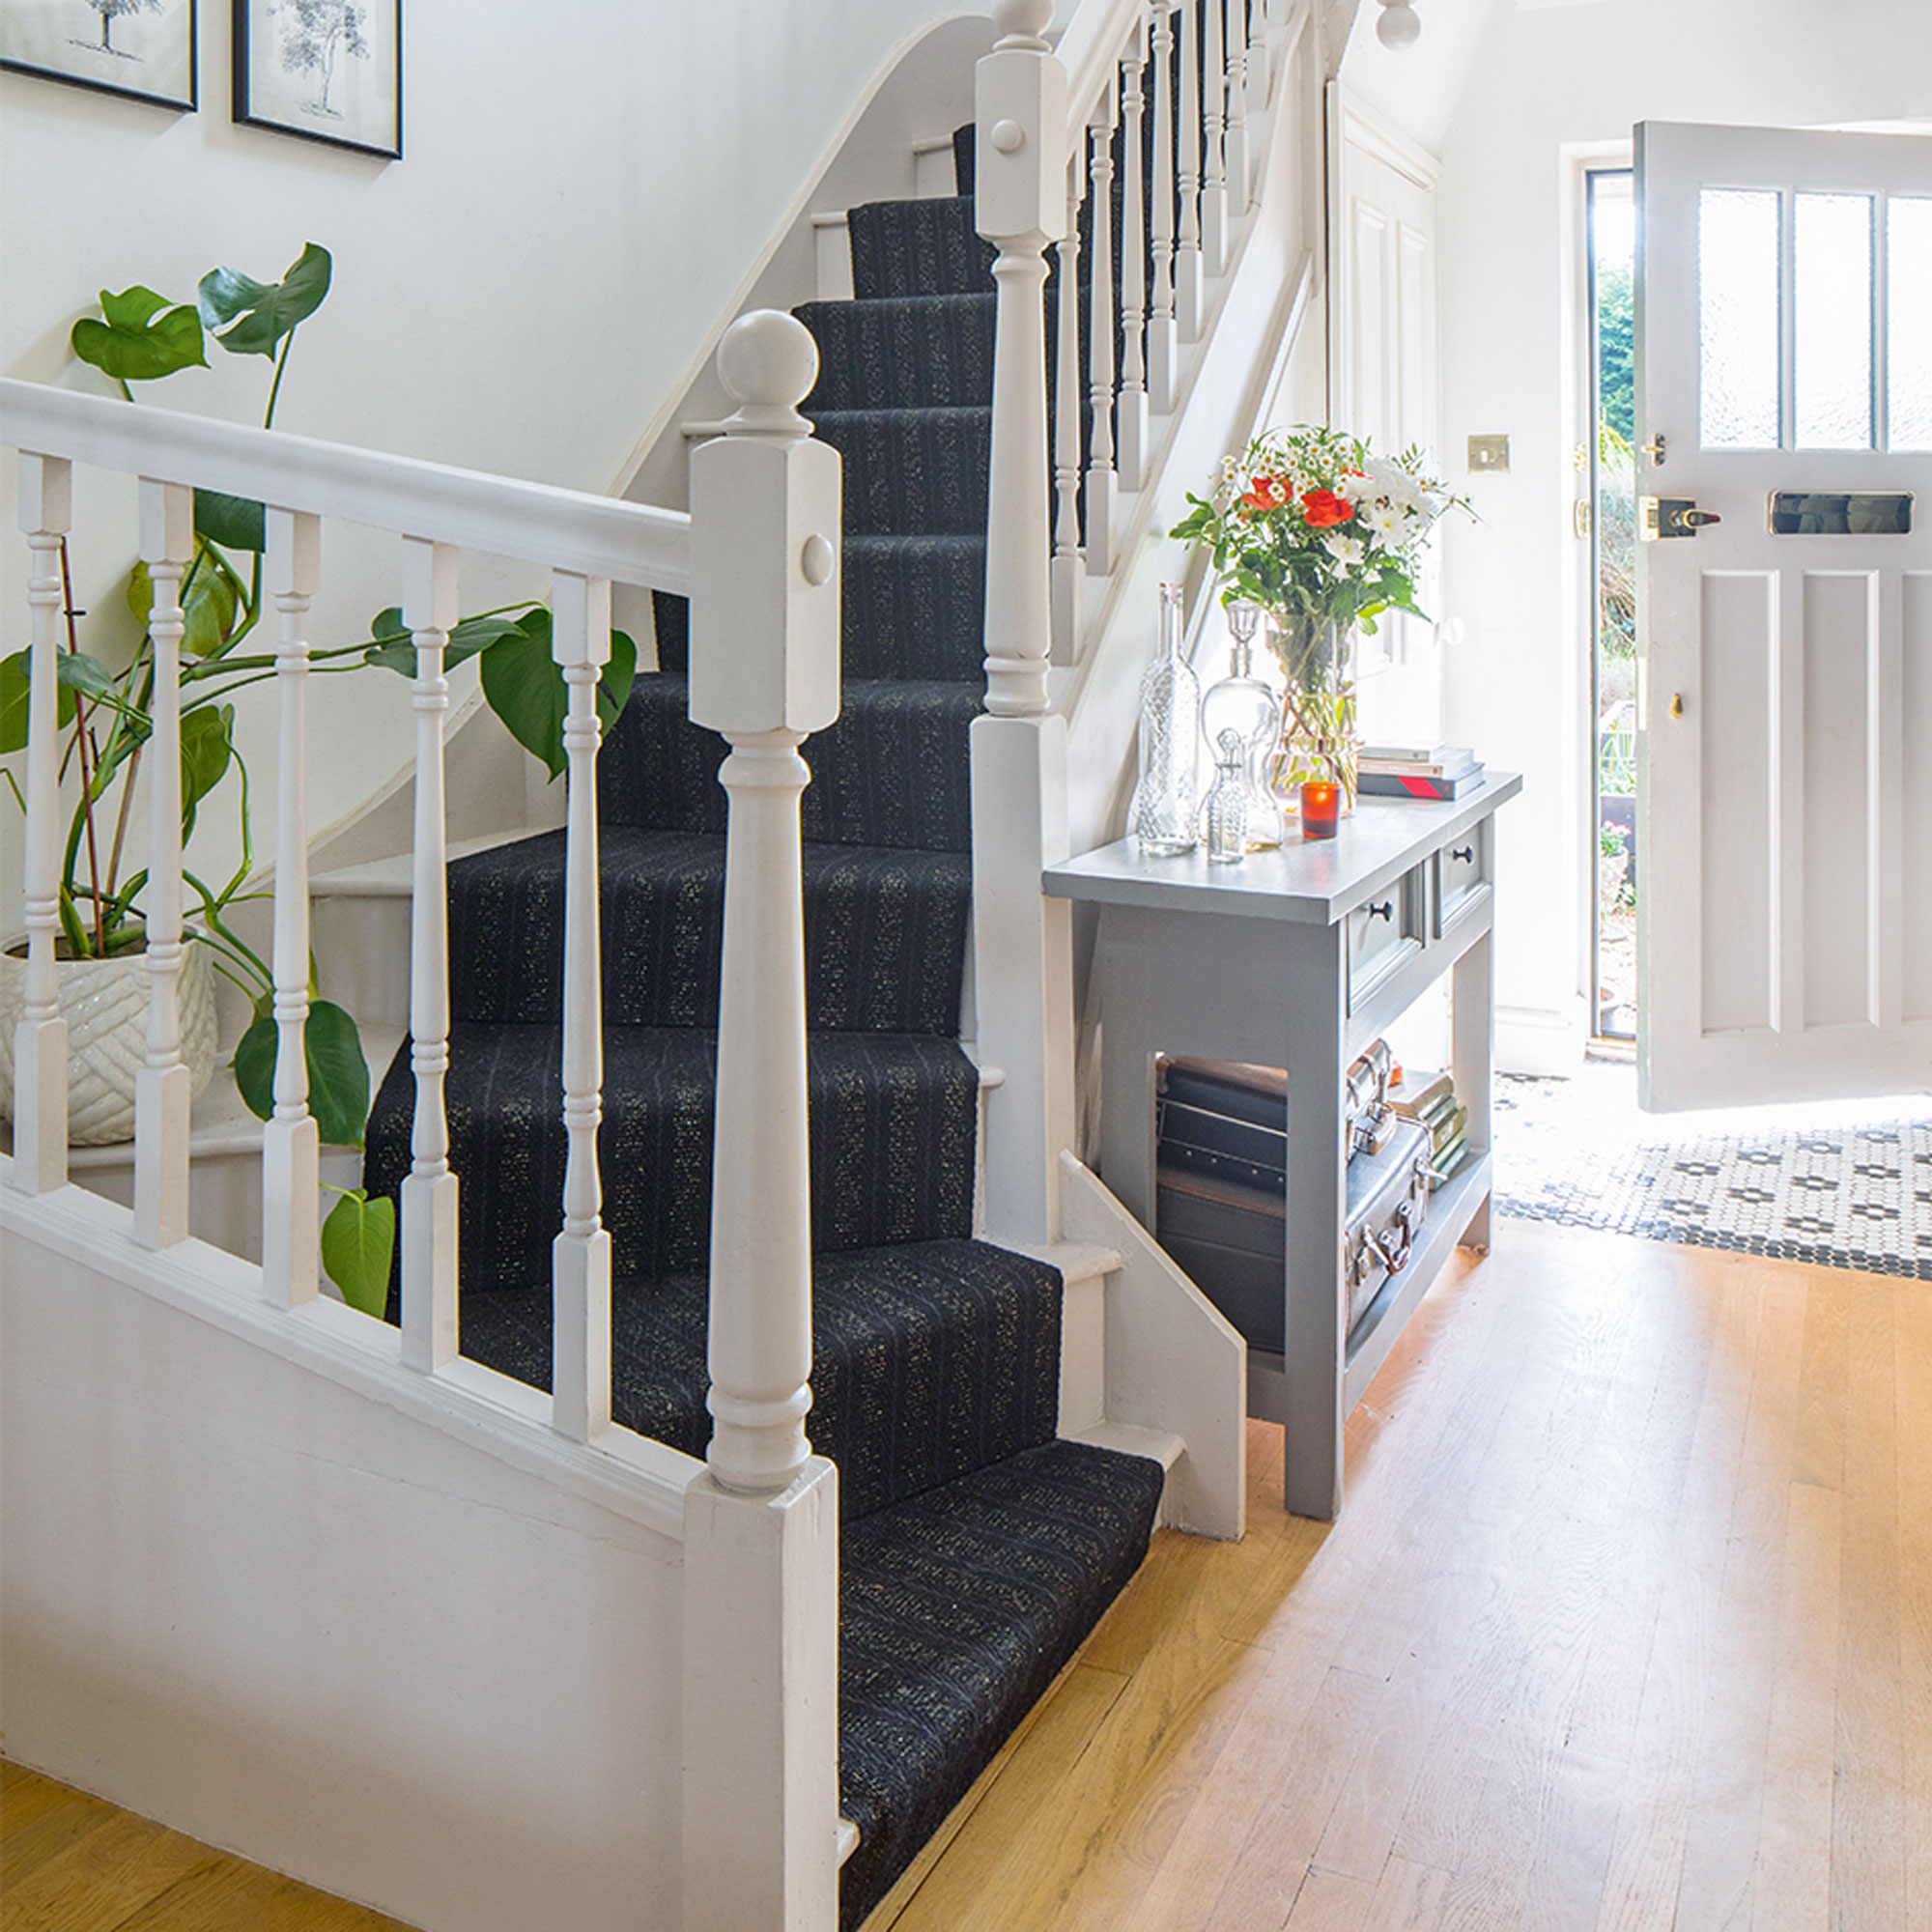
Do you need to prime stairs before painting?
Priming your stairs before painting them is not necessarily a must – but it is certainly a good idea to do so as it will make your paint job last longer.
‘It’s not always necessary with a previously painted surface if you use a paint like Dulux Simply Refresh Multi Surface but don’t skimp on the cleaning and a light sanding before you apply it,’ recommends Marianne Shillingford, creative director and colour expert at Dulux.
What is the best paint finish for stairs?
Matte, gloss, satin, eggshell…there are so many different paint finishes available on the market. So which one do experts recommend going for when painting stairs specifically?
‘Semi-gloss or eggshell paint is ideal to use for wooden stairs as it won’t be as slippery as a gloss finish,’ says Jimmy Englezos, senior brand manager from Ronseal. ‘It also should be easier to clean thanks to its stain-resistant finish.’
And now, you can give your staircase the best transformation of its (and your) life!
- Sara HesikovaContent Editor