How to paint a wall – give any room the perfect backdrop
Paint your walls like a decorating pro with our step by step guide
A fresh coat of paint can make a huge difference in any room scheme. Whether refreshing the existing colour or choosing to makeover a room with a change of colour completely, the way you prepare and how you paint is just as important as the shade you choose. While painting walls may seem like one of the easier DIY and decorating jobs, if you don't know the tips and tricks to ensure the best results it can prove disastrous.
Give your walls the love they deserve in every room of your home with our step-by-step guide, to achieve a clean and professional look. See the full tutorial on the video below:
How to paint a wall – what you'll need
- Dust sheets
- Decorator's tape or frog tape
- Sanding block and sand paper
- Sugar soap
- Polyfiller and scraper
- Paint brush
- Roller and tray
- Primer and paint
Painting a wall – step by step
1. Choose your paint
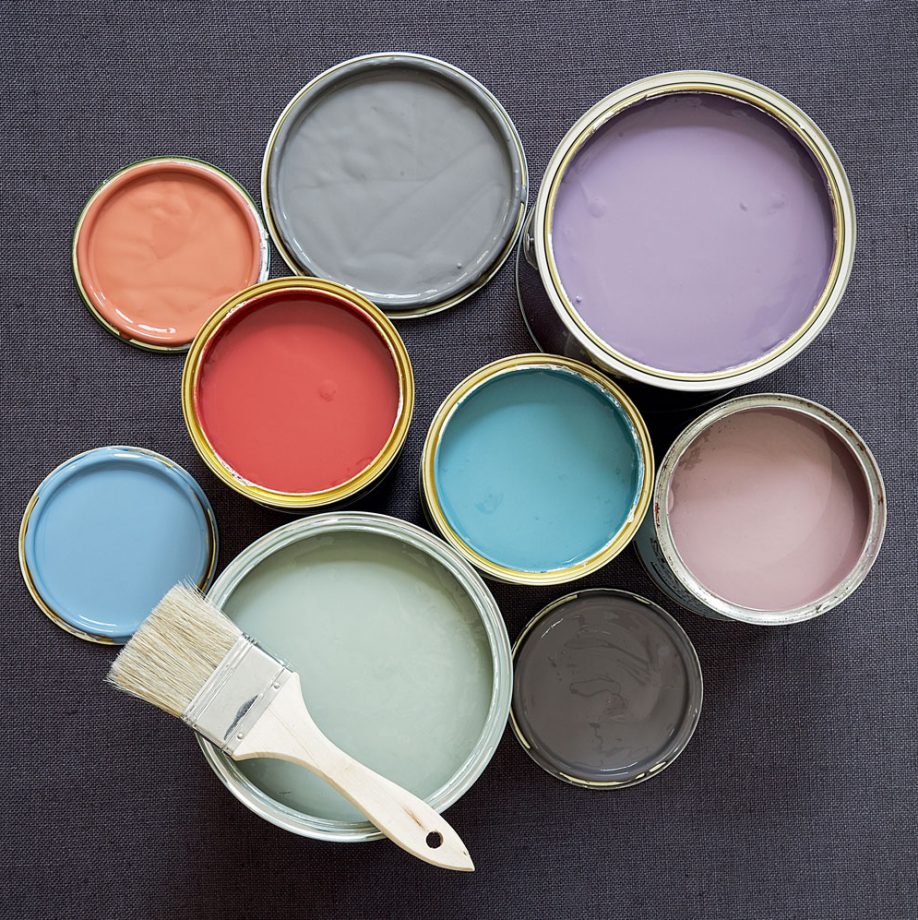
Before you start choose the paint colour and determine the best finish for the look you want. Matt is contemporary and will conceal flaws. A mild sheen is best for light colours as it captures subtle shades within the colour, especially neutrals. A silk finish will bring out the depth of the shade and will achieve a liquid when used with a dark colour.
2. Prepare the room
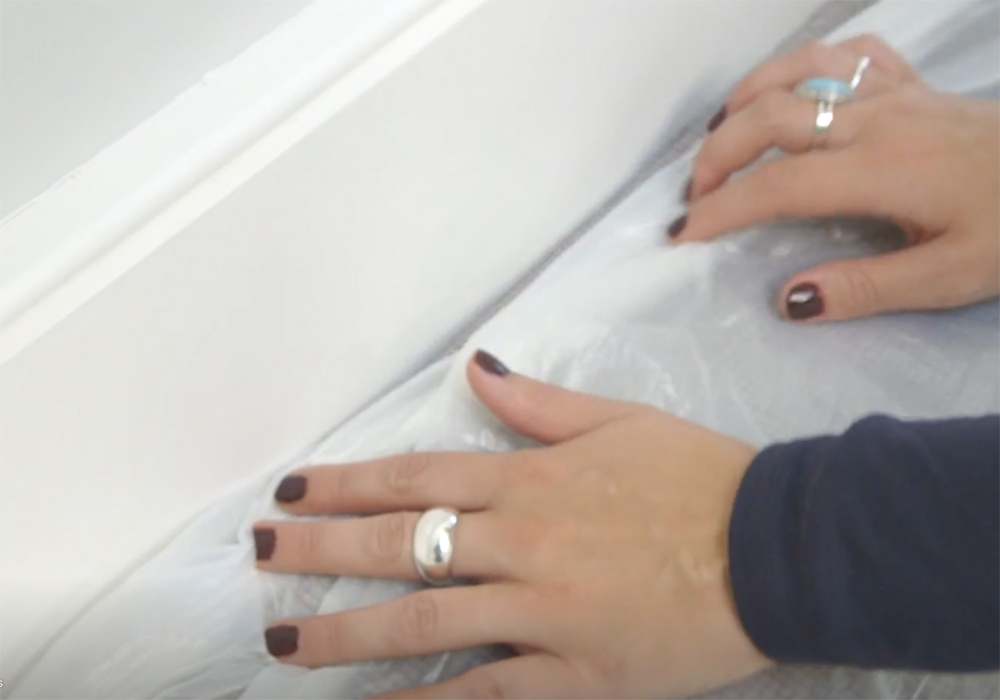
Cover and move all your furniture and soft furnishings. Cover the floors with dust sheets or newspaper. Protect your woodwork and ceilings by taping along the edges using masking or Frog tape. Next mask off skirting boards and coving with decorator's or Frog tape.
3. Repair damaged walls
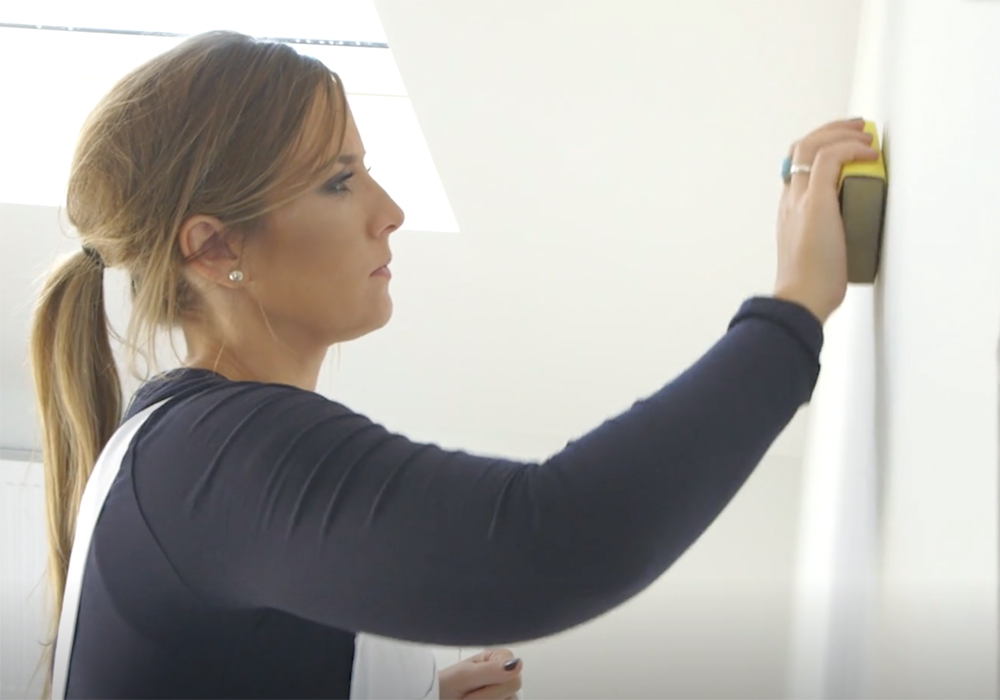
To ensure a smooth finish, sand the surface that you are going to paint.
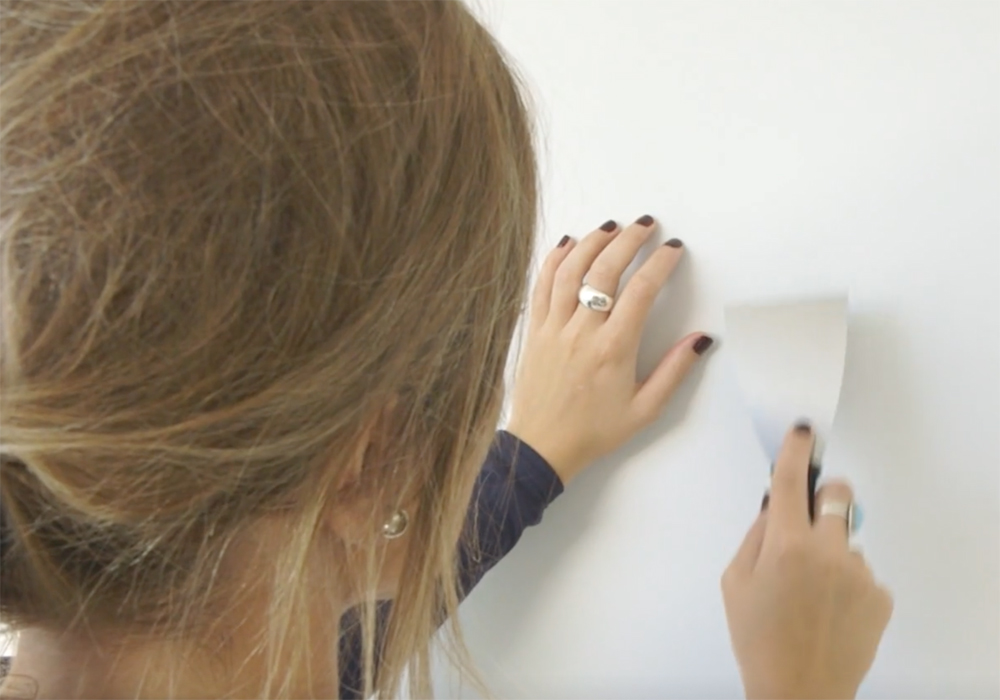
Fill in any cracks or holes using filler and a flat scraper. Allow the filler to dry, the time will be determined by the instructions on the packaging (approximately 24 hours). Then re-sand those areas once set, to ensure the wall is completely even and smooth.
5. Clean and dry the surface
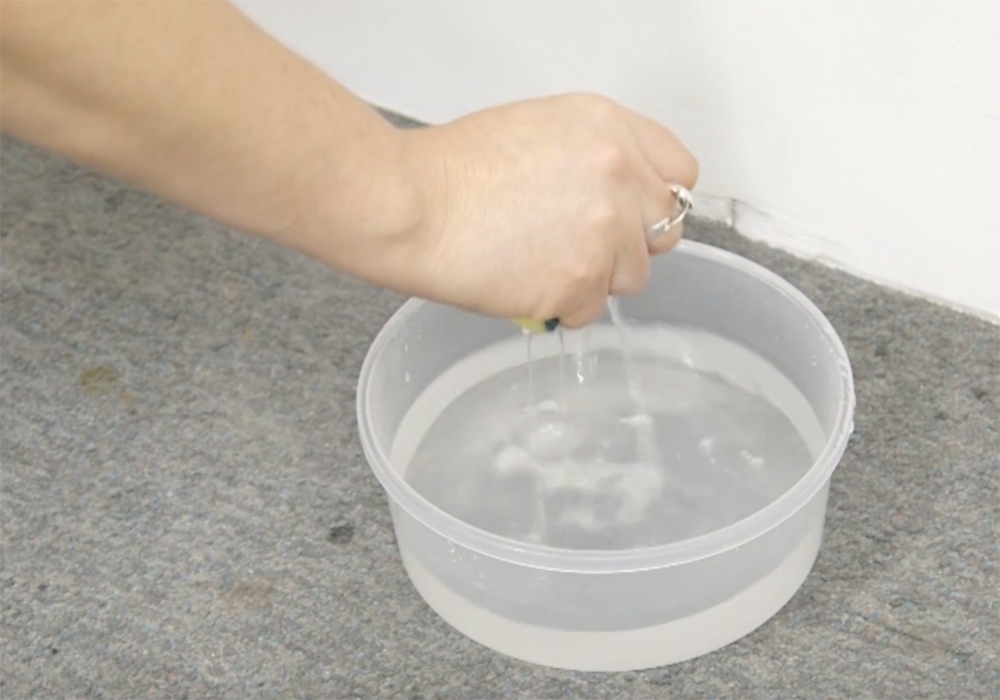
Wash all surfaces with a sugar soap solution, rinse thoroughly and dry. If your walls are in good condition and you are not going for a dramatic colour change there is no need to prime, however, it is recommended to achieve a professional-looking result.
6. Cut in with a paint brush
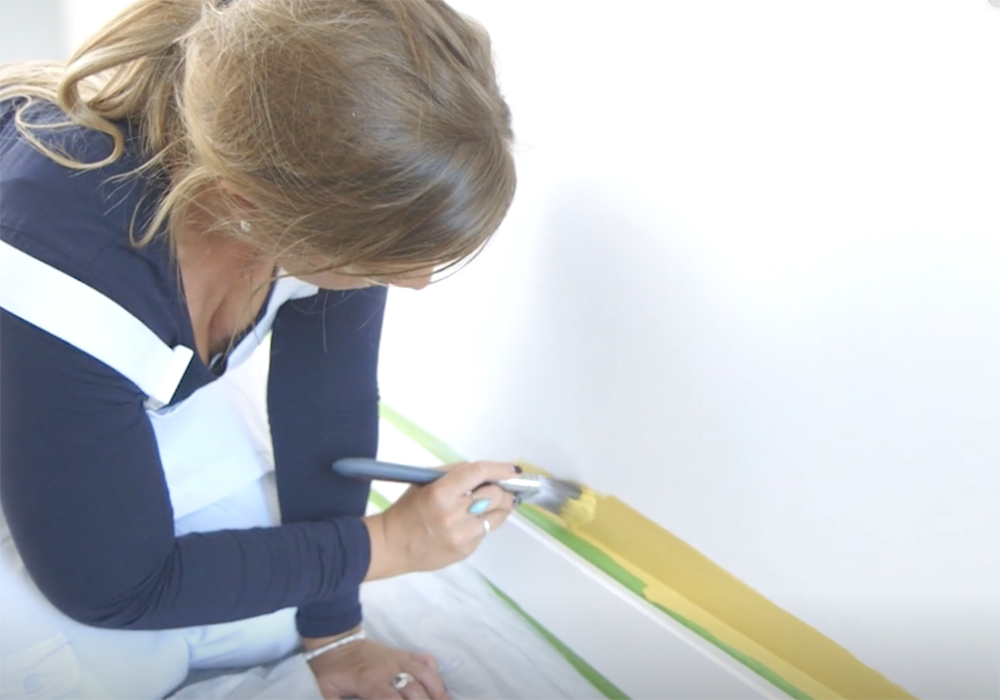
Once the primer has dried (approximately 2-4 hours) it's time to start painting. Cut in about 1 to 2 inches with a paintbrush to achieve clean lines at the edges and corners.
7. Switch to the roller
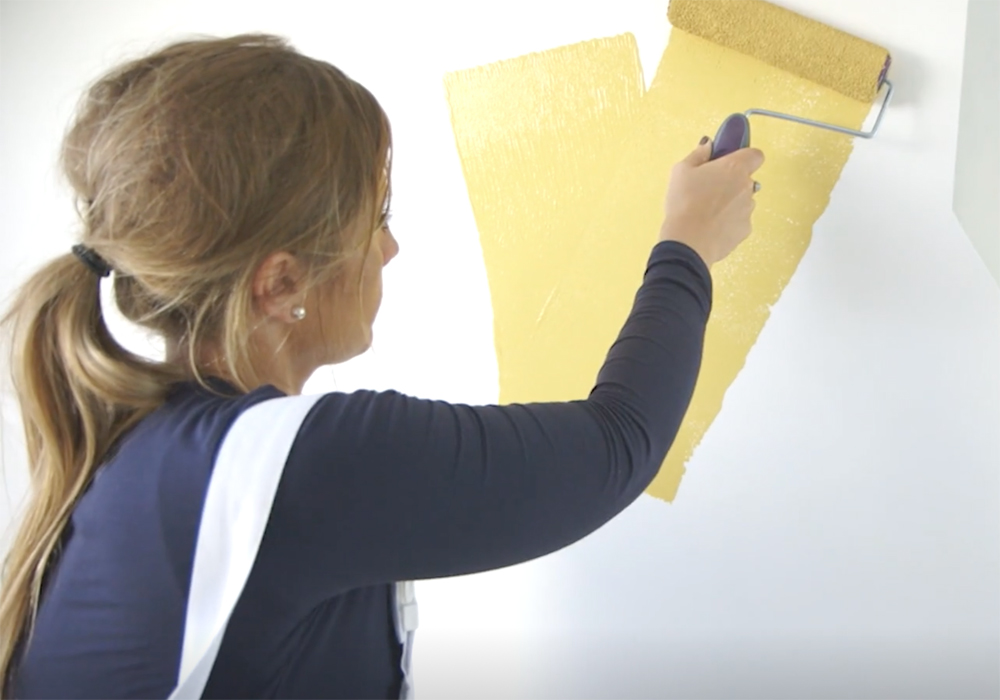
Then use a roller to paint the larger areas. Start with a large 'V' shape and fill in the areas with a roller.
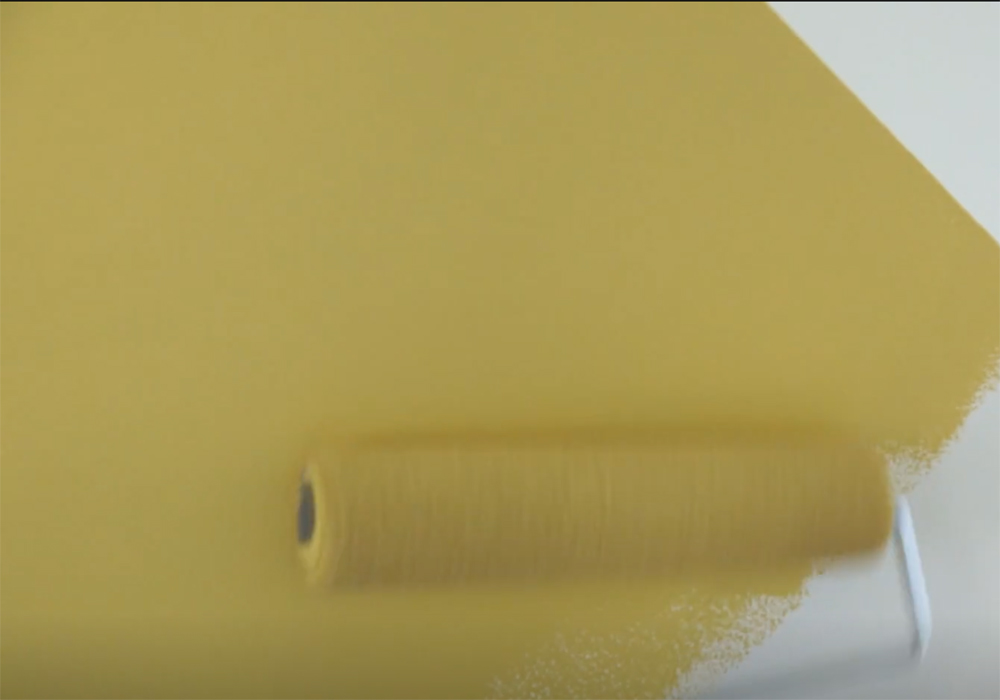
Paint the whole wall with this method and leave to dry for again approximately 2- 4 hours.
8. Add a second coat
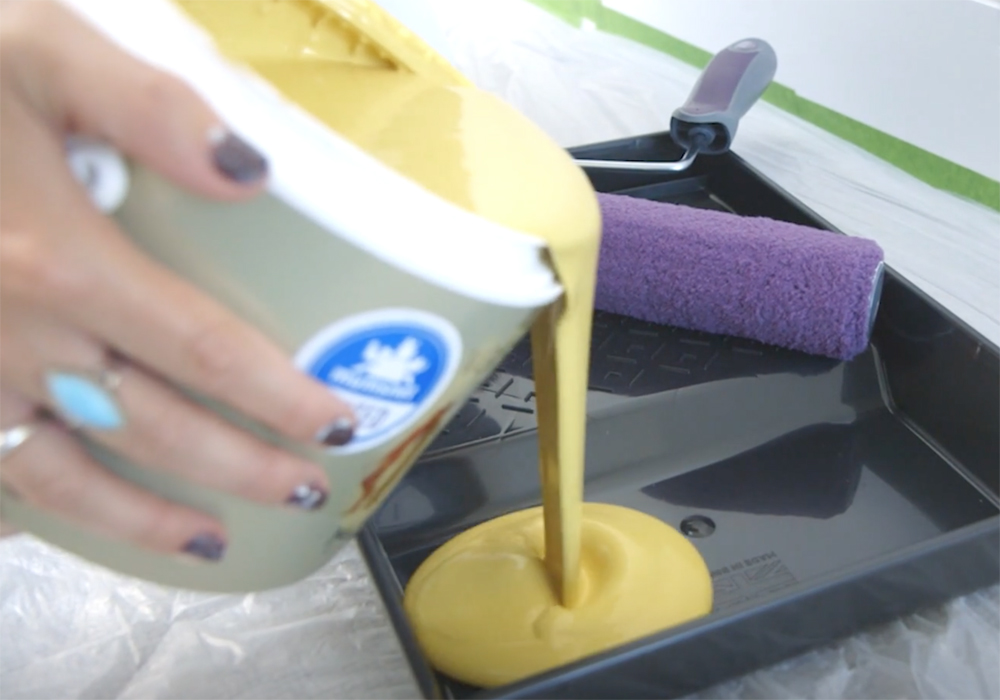
Repeat the process with a second coat and remove the decorator's tape whilst the surface is still damp.
If you're keen to do more yourself you could also watch our video on How to wallpaper for an expert guide to hanging wallpaper with ease.
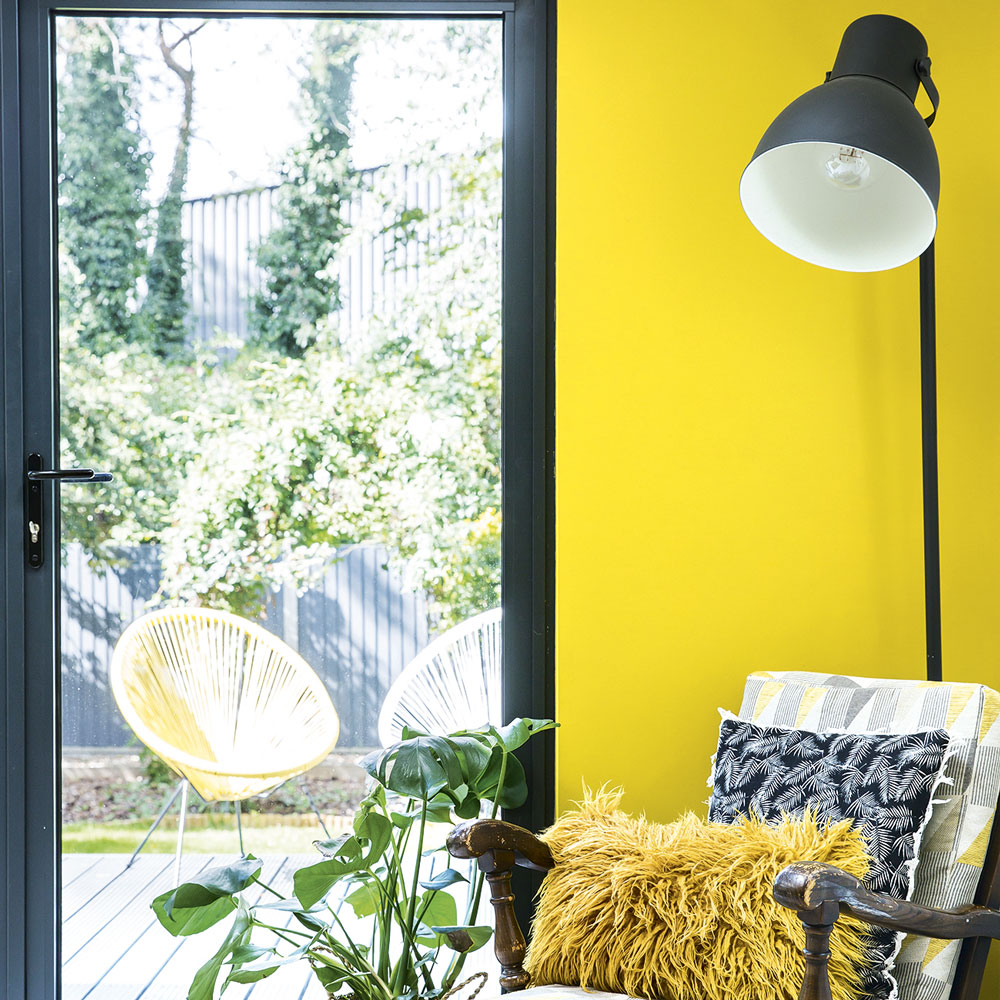
Now you know how it's done, you have the freedom to paint walls in any room – injecting colour and ensuring walls are looking fabulous.
Get the Ideal Home Newsletter
Sign up to our newsletter for style and decor inspiration, house makeovers, project advice and more.
Rachel Homer has been in the interiors publishing industry for over 15 years. Starting as a Style Assistant on Inspirations Magazine, she has since worked for some of the UK’s leading interiors magazines and websites. After starting a family, she moved from being a content editor at Idealhome.co.uk to be a digital freelancer and hasn’t looked back.
-
 Should your front door colour match your hallway? Interior experts reveal 3 reasons why it should (and 3 reasons it shouldn't)
Are you team matching or contrasting?
By Ellis Cochrane
-
 This £200 limited-time discount makes this Dyson vacuum cheaper than I’ve ever seen it - run don’t walk to Argos for this bargain
It's the most affordable Dyson on the market right now
By Lauren Bradbury
-
 Martin and Shirlie Kemp’s pastel flower beds has given their Victorian renovation a romantic look - how you can get the look
Their pastel garden is the cottage garden inspo you've been looking for
By Kezia Reynolds