How to paint floorboards – advice for sanding, painting and stencilling wooden floors
Discover how to paint a wooden floor that's damaged or dull, to transform your home

Tempted to tear up the carpet to reveal the floorboards beneath? Or simply want to revamp what you already have, our guide to how to paint floorboards should come in handy.
Painting floorboards is a quick, easy and affordable DIY and decorating job to transform floorboards – particularly when compared to carpet or the cost of replacing with brand-new hard wood.
We've also included details of how to add a pretty stencil pattern to your floorboards. Not only will this add impact to your room, but will also disguise any pesky flaws in the wood. And of course, you don't have to paint your boards white.
From pale pink to charcoal grey, you should be able to find suitable paint in any shade on the spectrum to anchor the room colour scheme.
How to paint floorboards
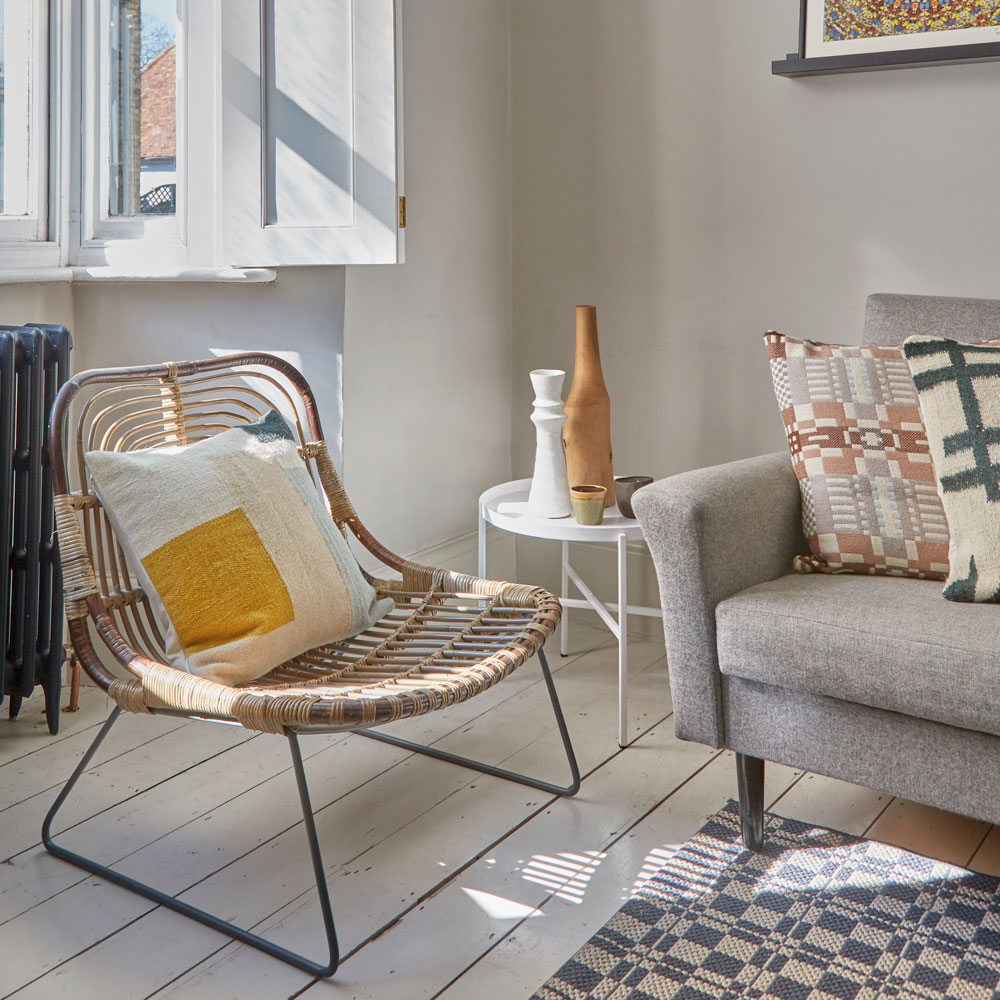
'Painting floorboards is a wonderful way to update a room on a budget, particularly if you don’t mind a little DIY' says Kathryn Lloyd, Crown Colour Specialist. 'Make sure you choose the paint carefully – it should be a product that’s specifically developed to be used on wood.'
'Preparation is key, so take your time! Start by filling in any cracks or scratches with some wood willer. If the floors have been previously painted, I’d recommend using a paint stripper product to ensure you start with a clean base in order to achieve the best finish.'
'If you’re painting bare floorboards, sand the surface using P180 or 150 sandpaper, then wash the floor to get rid of any dust. Depending on the wood paint you’ve chosen, you might need to apply a primer. If not, you can start applying the first coat of wood paint. Allow to dry overnight, then sand the surface again to ensure that the paint sticks to the floor, and follow with another coat of your chosen wood paint.'
The best type of paint to use is a chalk paint. For this project Rust-oleum Chalky Finish Floor Paint has been used. It's a hardwearing paint that can be applied directly over old paint and varnish.
What you'll need
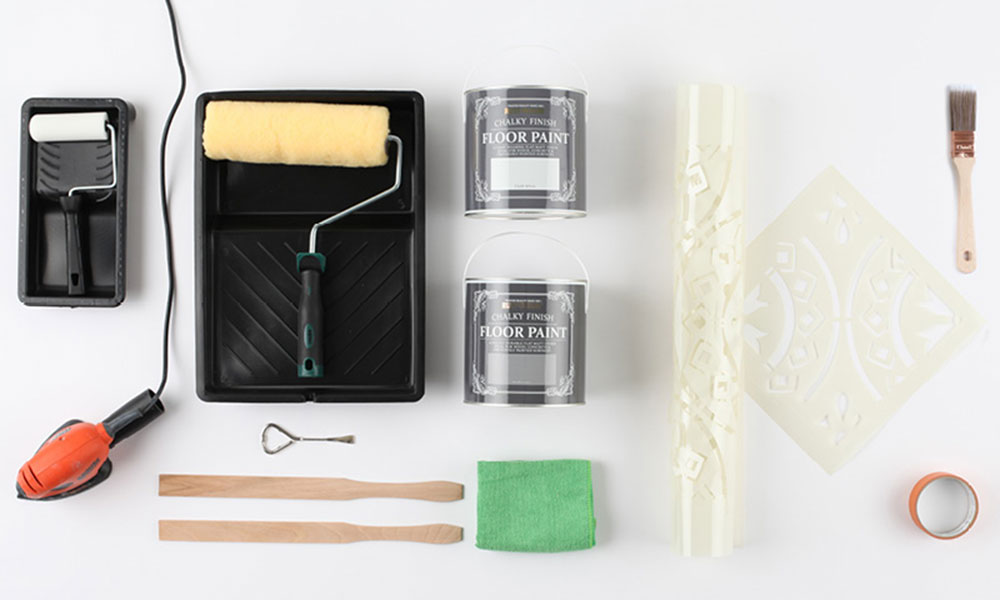
- Floor Paint (Chalk White and Anthracite Rust-Oleum Chalky Finish Paint were used here)
- Small foam roller and tray
- Large roller and tray
- Paintbrush
- Sander
- Stencil
- Sugar soap (optional)
- Cloth
- Masking tape
- Paint stirrer
- Paint can opener
1. Prepare the floorboards
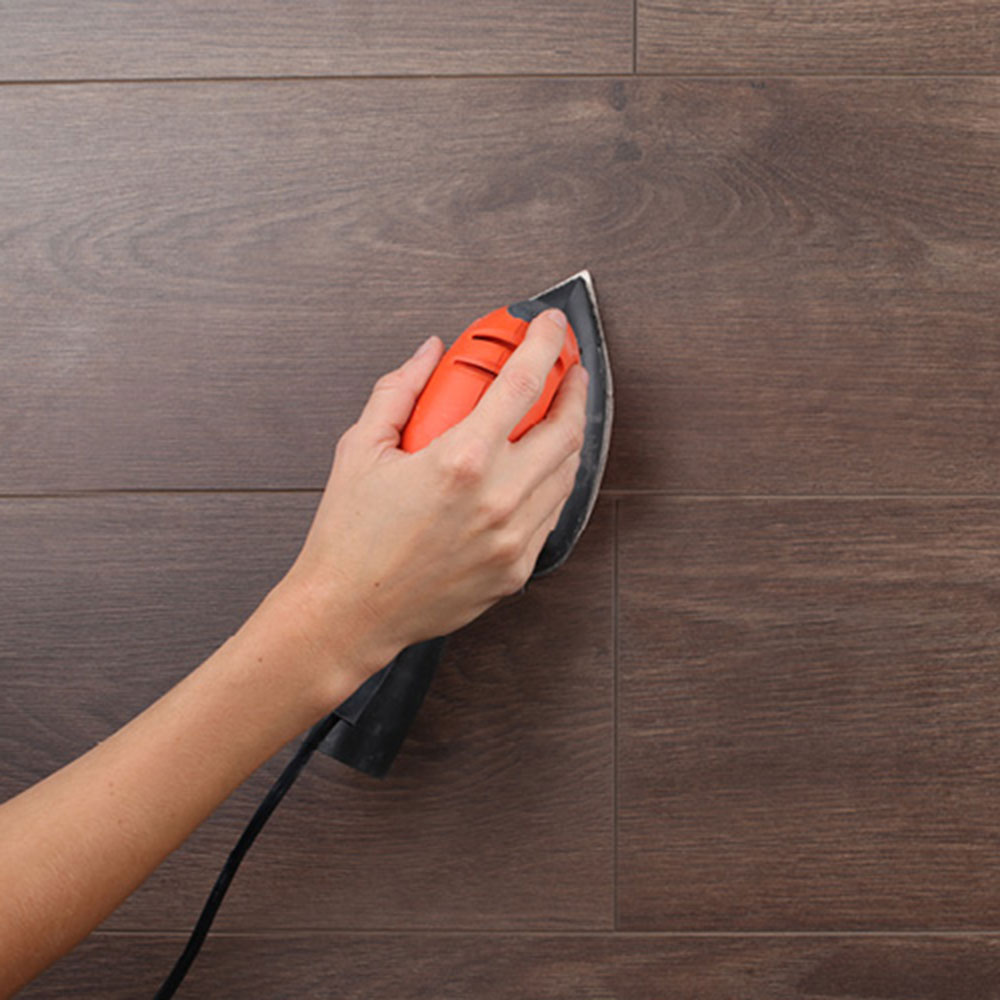
To start, give the boards a light sanding, remembering to get tight into corners with an angled sanding pad. Next, vacuum off the loose sawdust. And then, using a damp cloth (and sugar soap, if you prefer), wash off the finer particles. Leave to dry, then move on to step 2.
2. Apply the paint to the edges
Take you white paint (or choice of base colour) and paint around the edges of the room using a brush. This is known as cutting in. Cut in a few inches from the walls.
3. Fill in the floor
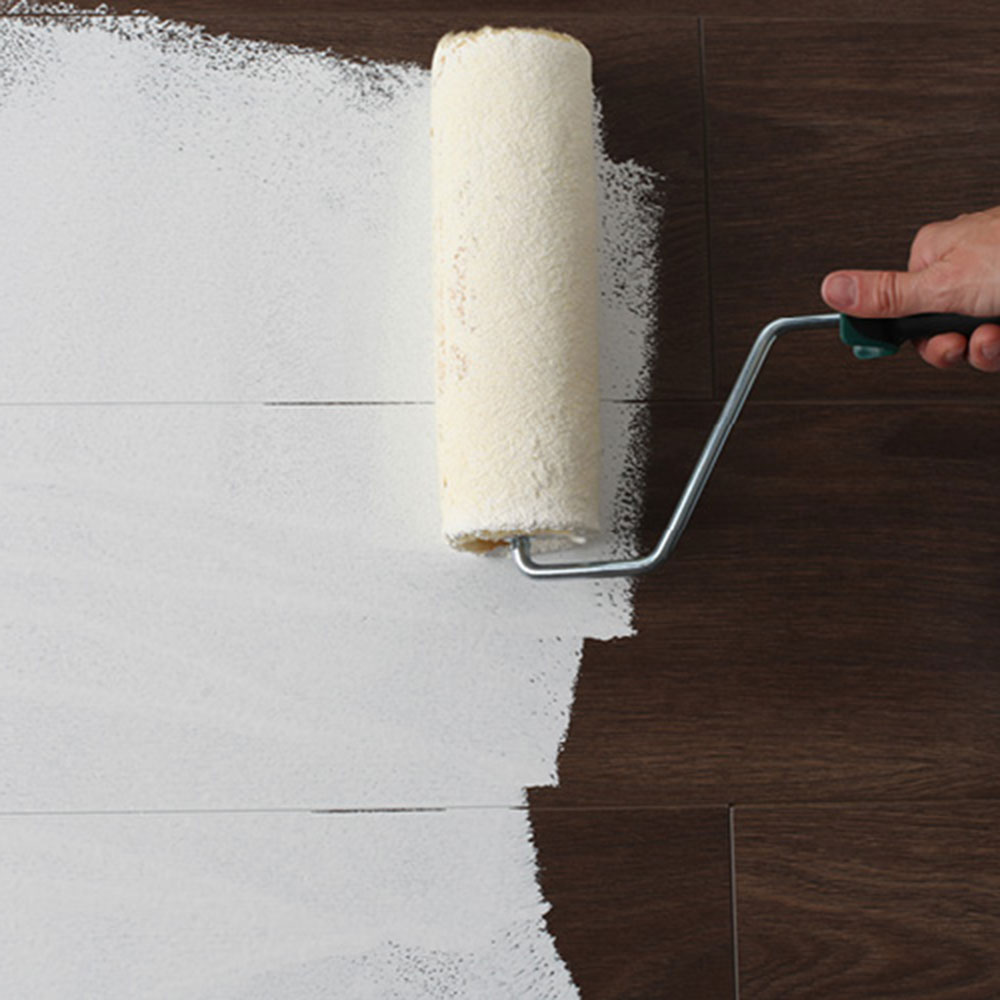
Now take your larger roller and get to work on painting the main part of the floor. Start at the farthest wall from the entrance to the room and move backwards towards the door – don't paint yourself into a corner!
You will need at least two coats of paint. In fact, it's better to paint more, thinner coats rather than one big thick coat. Thinner coats will dry harder, and are therefore more hardwearing.
4. Leave it white or go further
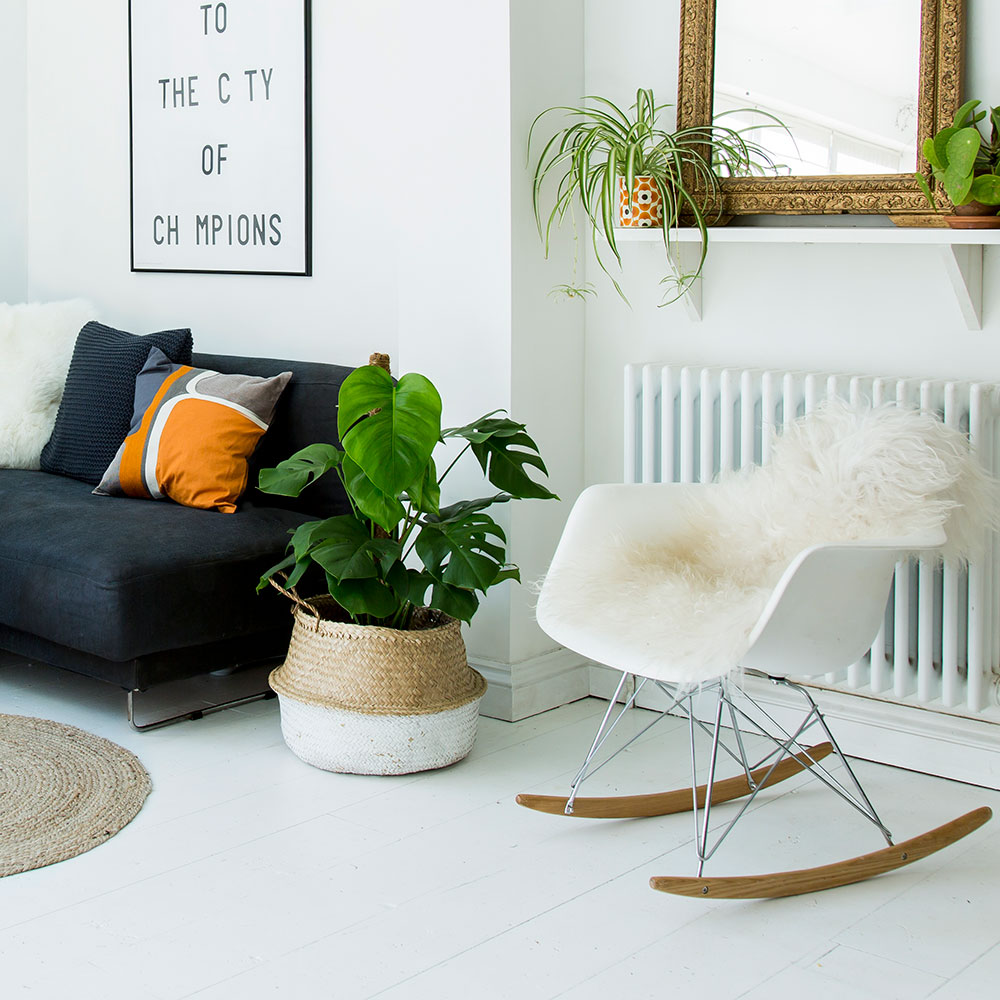
If you like the look as it is, you're all done. But if you are looking to create more impact, move on to step 5...
5. Find the centre of the floor
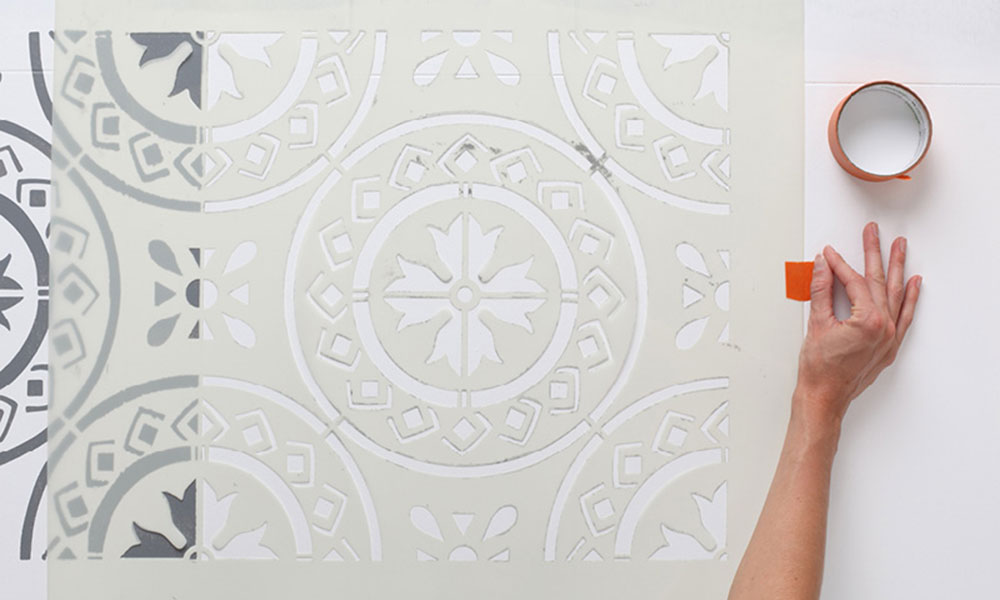
Measure the floor to locate its centre. Take the masking tape, and attach the stencil to the central point. Make sure it's stuck down tight enough that it won't move when you're applying the paint.
6. Apply the dark paint

Coat the small foam roller evenly and not too thickly with the dark paint. This will ensure the paint doesn't bleed when you apply it to the stencil.
Remove the stencil and reposition it ready to paint the next part of the floor. You might want to wait for the paint to dry before you move it along, so there's no risk of the paint smudging.
7. Repeat to cover the whole floor
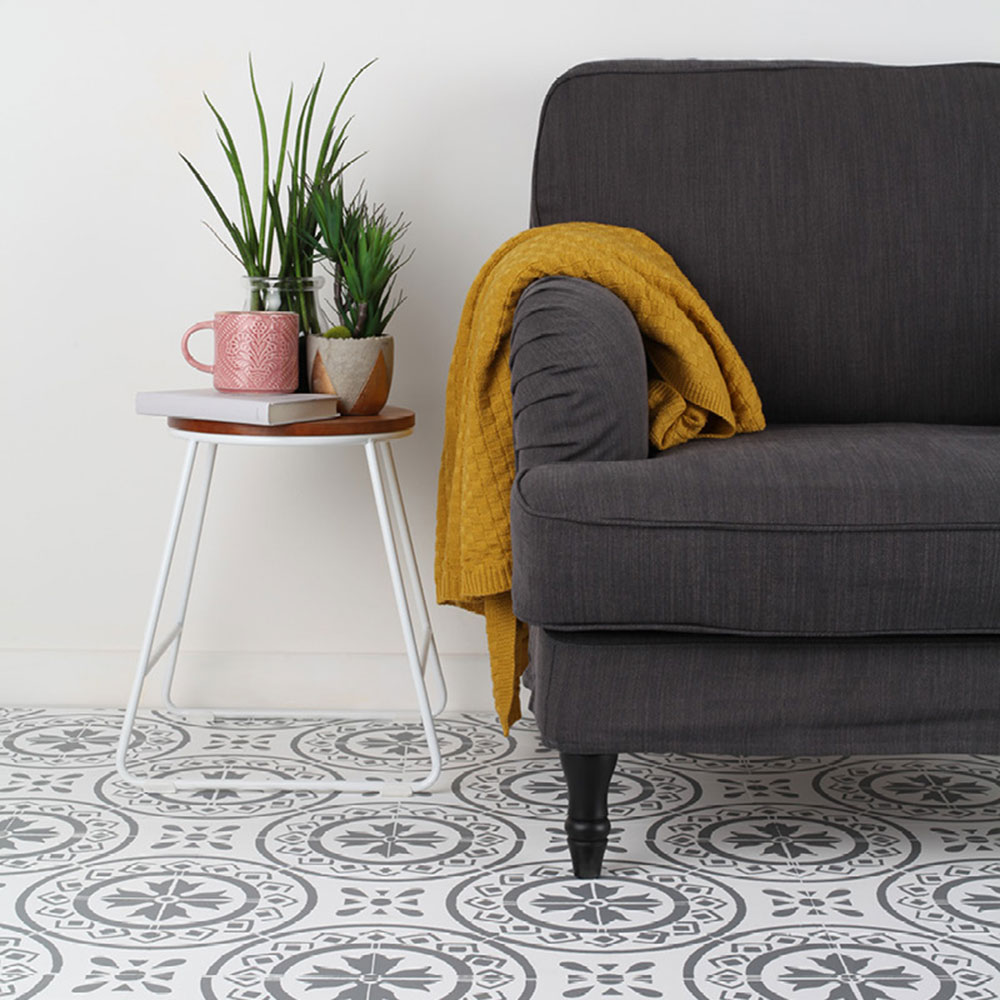
And there you have it – perfectly painted floorboards with a stunning stencil pattern. And all achievable in a weekend.
Why not tackle the stairs next? See how to paint a staircase to transform your hallway.
Happy decorating!
Sign up to our newsletter for style and decor inspiration, house makeovers, project advice and more.

Amy Cutmore is an experienced interiors editor and writer, who has worked on titles including Ideal Home, Homes & Gardens, LivingEtc, Real Homes, GardeningEtc, Top Ten Reviews and Country Life. And she's a winner of the PPA's Digital Content Leader of the Year. A homes journalist for two decades, she has a strong background in technology and appliances, and has a small portfolio of rental properties, so can offer advice to renters and rentees, alike.