
Statement floor tiles really pack a style punch, but can be rather costly if covering a large area like a kitchen or hallway. So why not update boring flooring for a snip of the cost by learning how to stencil floor tiles yourself?
As kitchen or bathroom tile ideas go, floor stencilling is one of the most affordable ways to update the look of your home. And if you're willing to take on the DIY challenge, you could customise your tiled floors for under £30 – what a bargain!
According to job-prices.co.uk, getting an expert to stencil tile your floor can cost you anywhere from £450-£750 on average. Insulation Express has spotted a 226% increase in searches for 'floor stencilling', so you won't be alone in taking on this job.
Floor stencilling – what you'll need
- Sander or sandpaper
- Degreasing detergent
- Primer (optional)
- Chalk or all-surface paint
- Paintbrush
- Foam roller
- Stencil
- Stencil brush
- Painter's tape
- Sealant

How to stencil floor tiles
1. Sand the tiles
Use sandpaper or an electric sander (for speed!) to smooth over the surface of the tiles. This will make the area more receptive to the paint. Otherwise the paint may flake off and not last as long.
2. Remove any dirt or grease
Clean the area thoroughly with a de-greasing solution like sugar soap. Rinse with warm water and leave to dry. Learn how to clean grout properly for as professional a look as possible.
3. Prime the tiles
Use a primer/sealer to prep your tiles before painting. Alternatively, if you're looking to make this an easy DIY project, cut down on time and money by using a ceramic paint that includes a primer.
Buy now: Zinsser's Bulls Eye 1-2-3 multi-surface primer, £22, B&Q
4. Apply a base coat
Apply two coats of all-surface paint or chalk paint as a base coat using a foam roller and paintbrush. Leave to dry between each coat.
5. Begin stencilling
Once your base coat is completely dry you can begin stencilling. Tape or hold down your stencil over a tile and use a small roller to cover the area. Remove the stencil before the paint starts to dry. This makes sure it doesn’t come off when you peel the stencil away.
Clean the stencil and move onto the next tile.
Buy now: Rust-Oleum Universal All-Surface paint in Satin Black, £19.25 for 750ml, Amazon
6. Protect your tiles

Once all your floor tiles are stencilled, protect your work by covering with a hard-wearing sealant.
Buy now: Rust-Oleum Clear Satin multi-surface sealer, £6 for 0.13L, B&Q
Now you have a beautiful statement tiled floor to show off for years to come. Fancy!

-
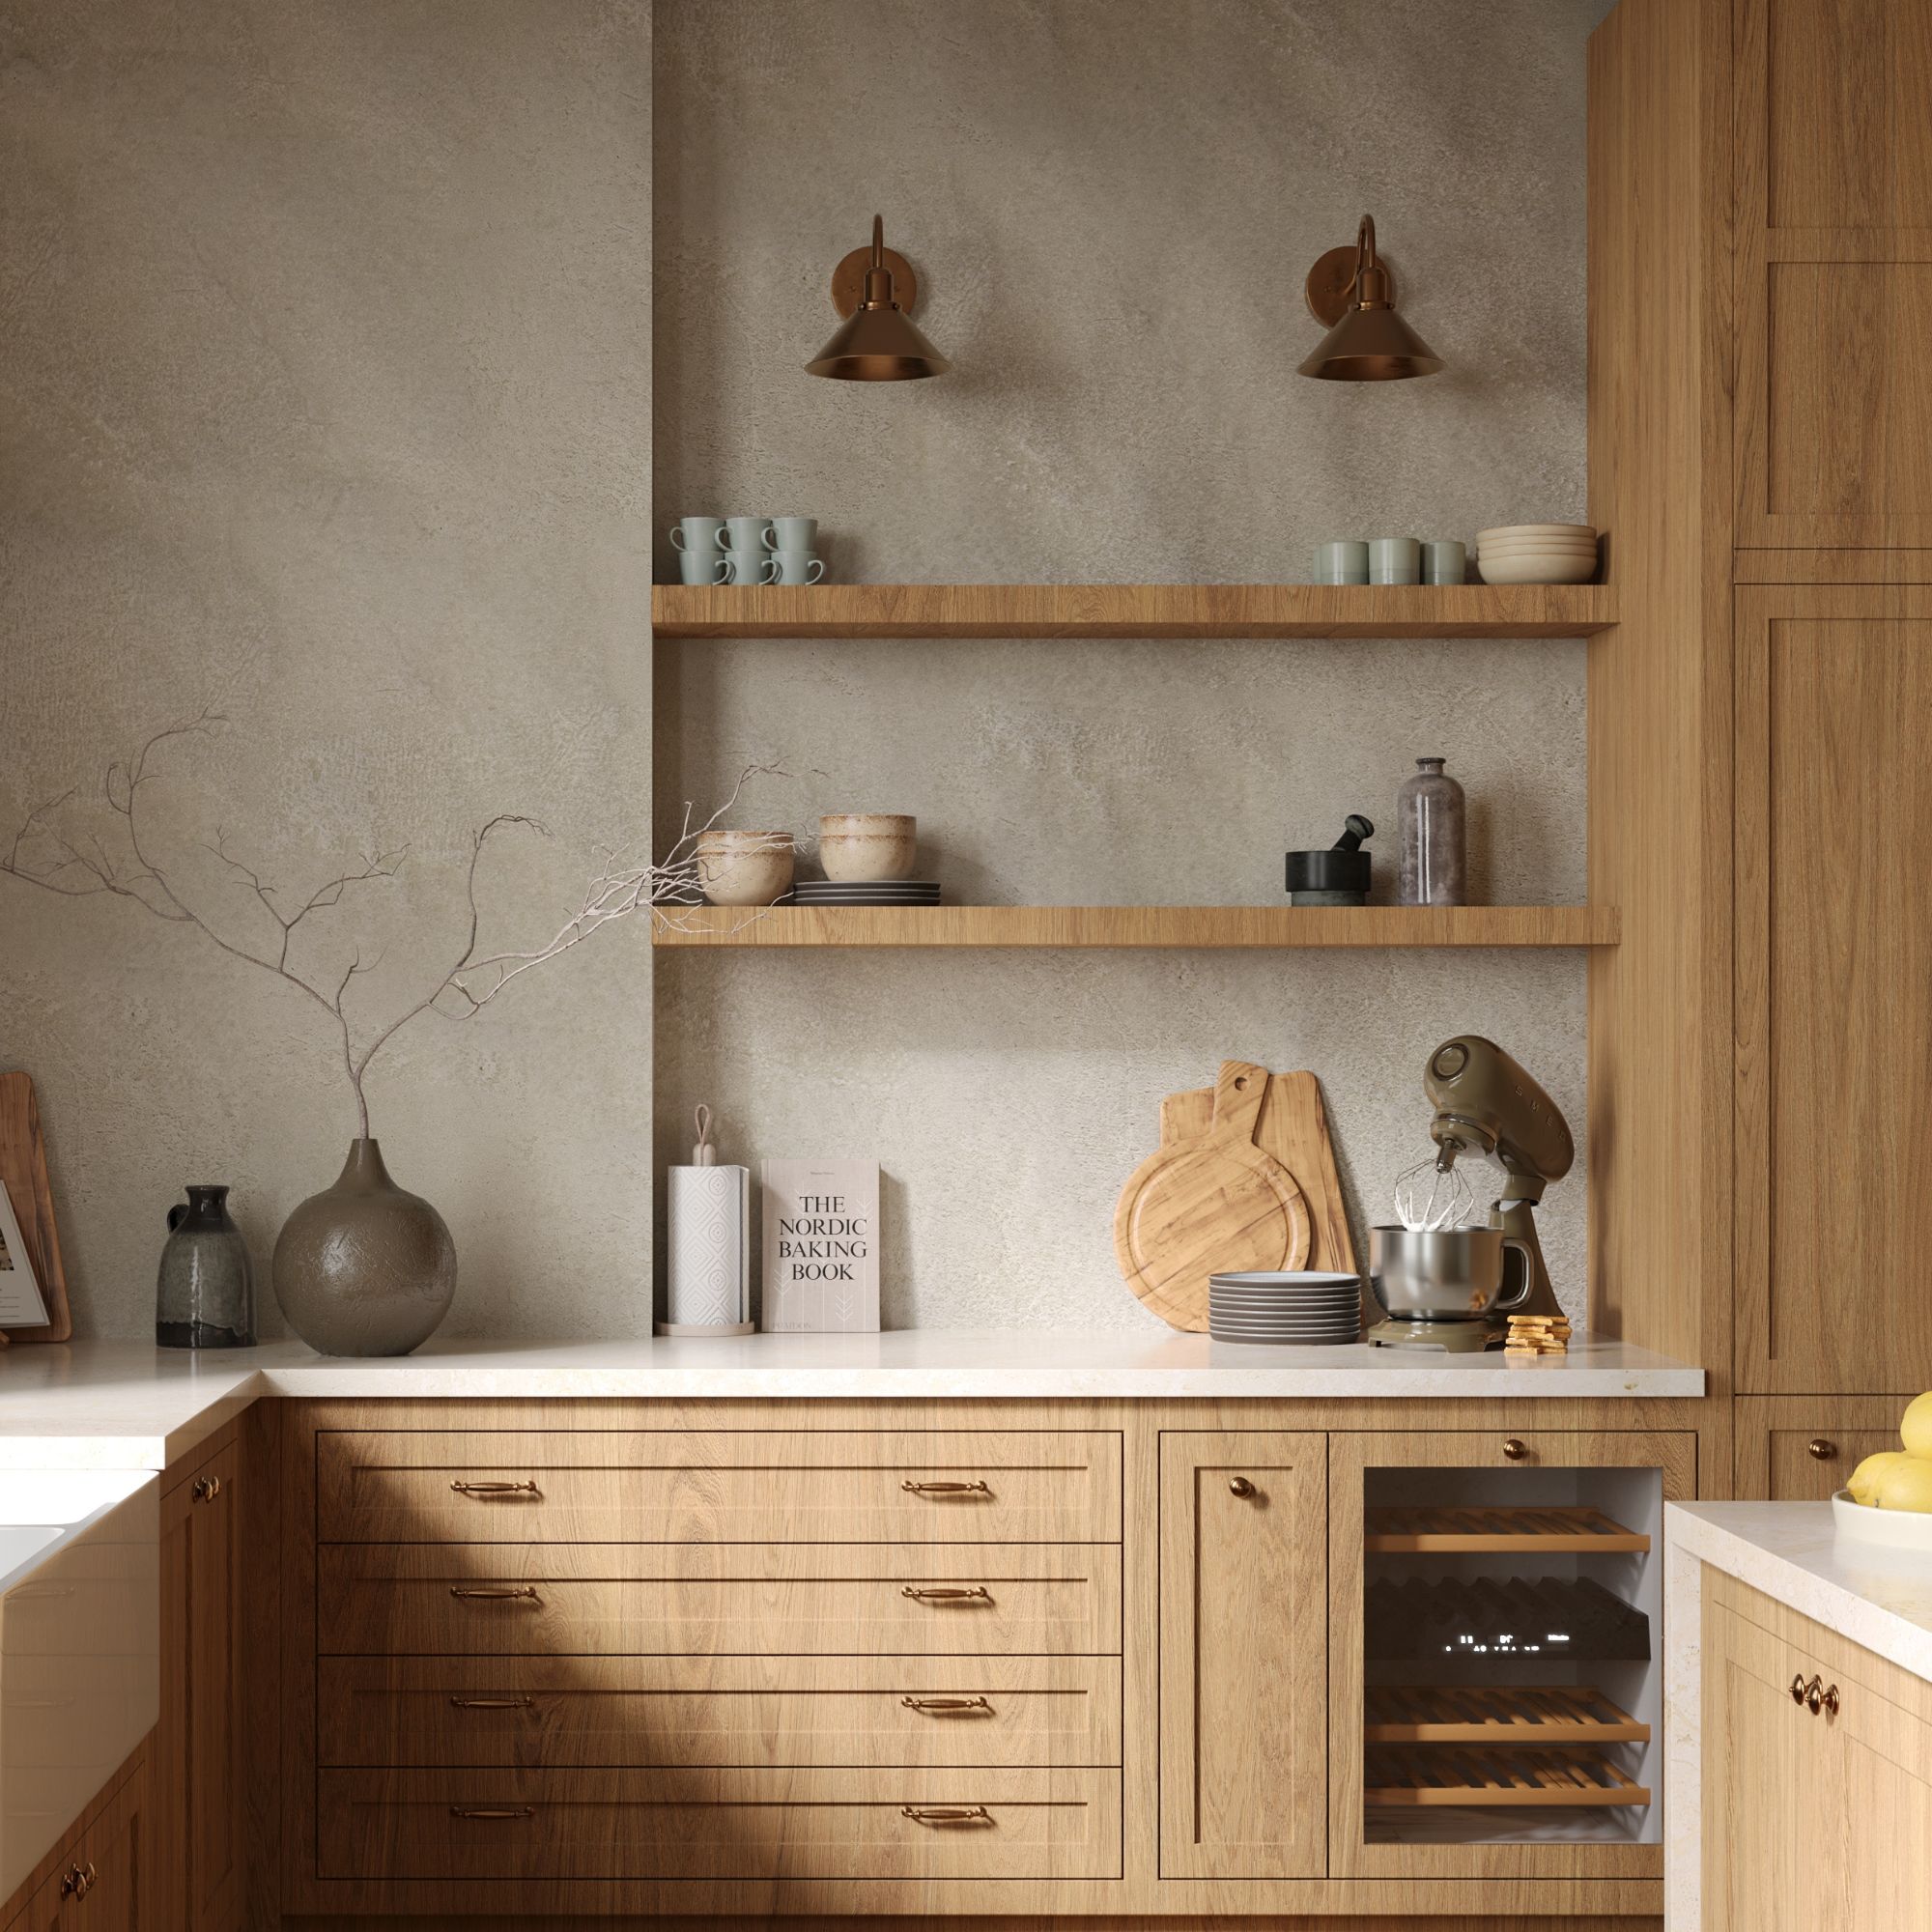 Wood drenching is the calming new twist on the colour drenching trend – here’s how to make the look work in your home
It’s easier than ever to embrace natural materials
-
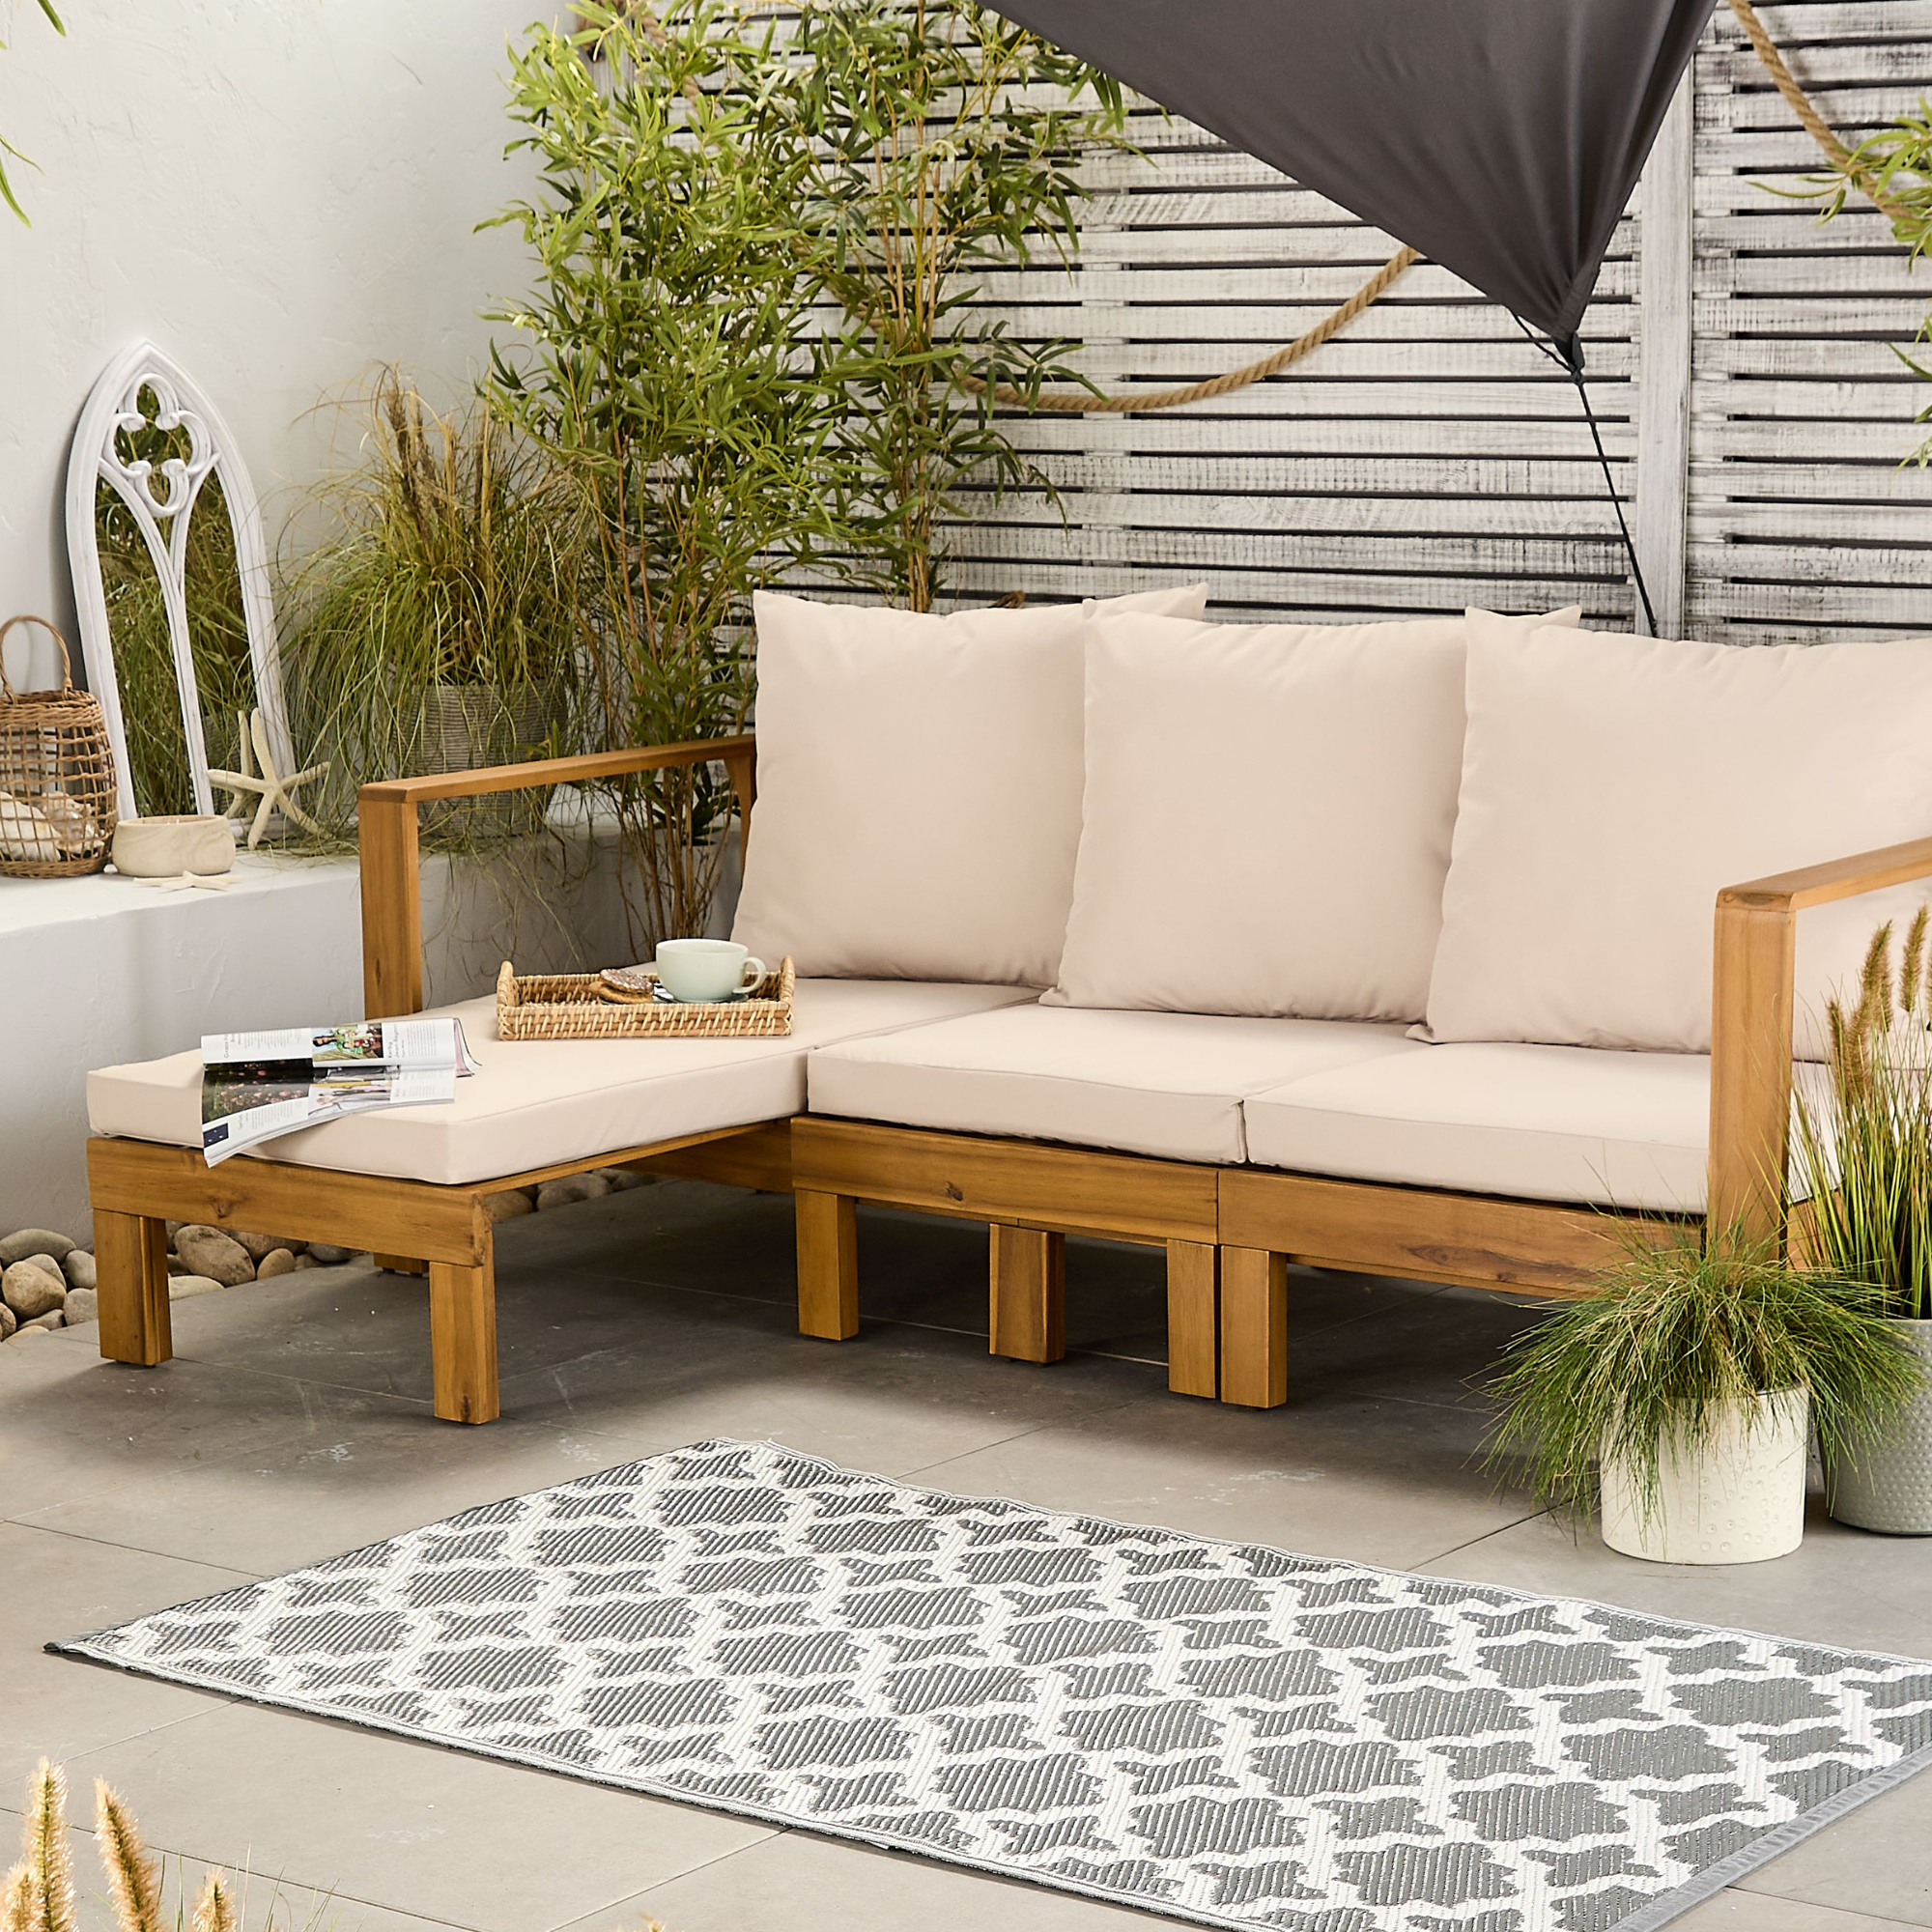 Aldi is launching a £200 day bed with four different features - its sleek design is suited to the whole family
You don't want to miss out on this Specialbuy
-
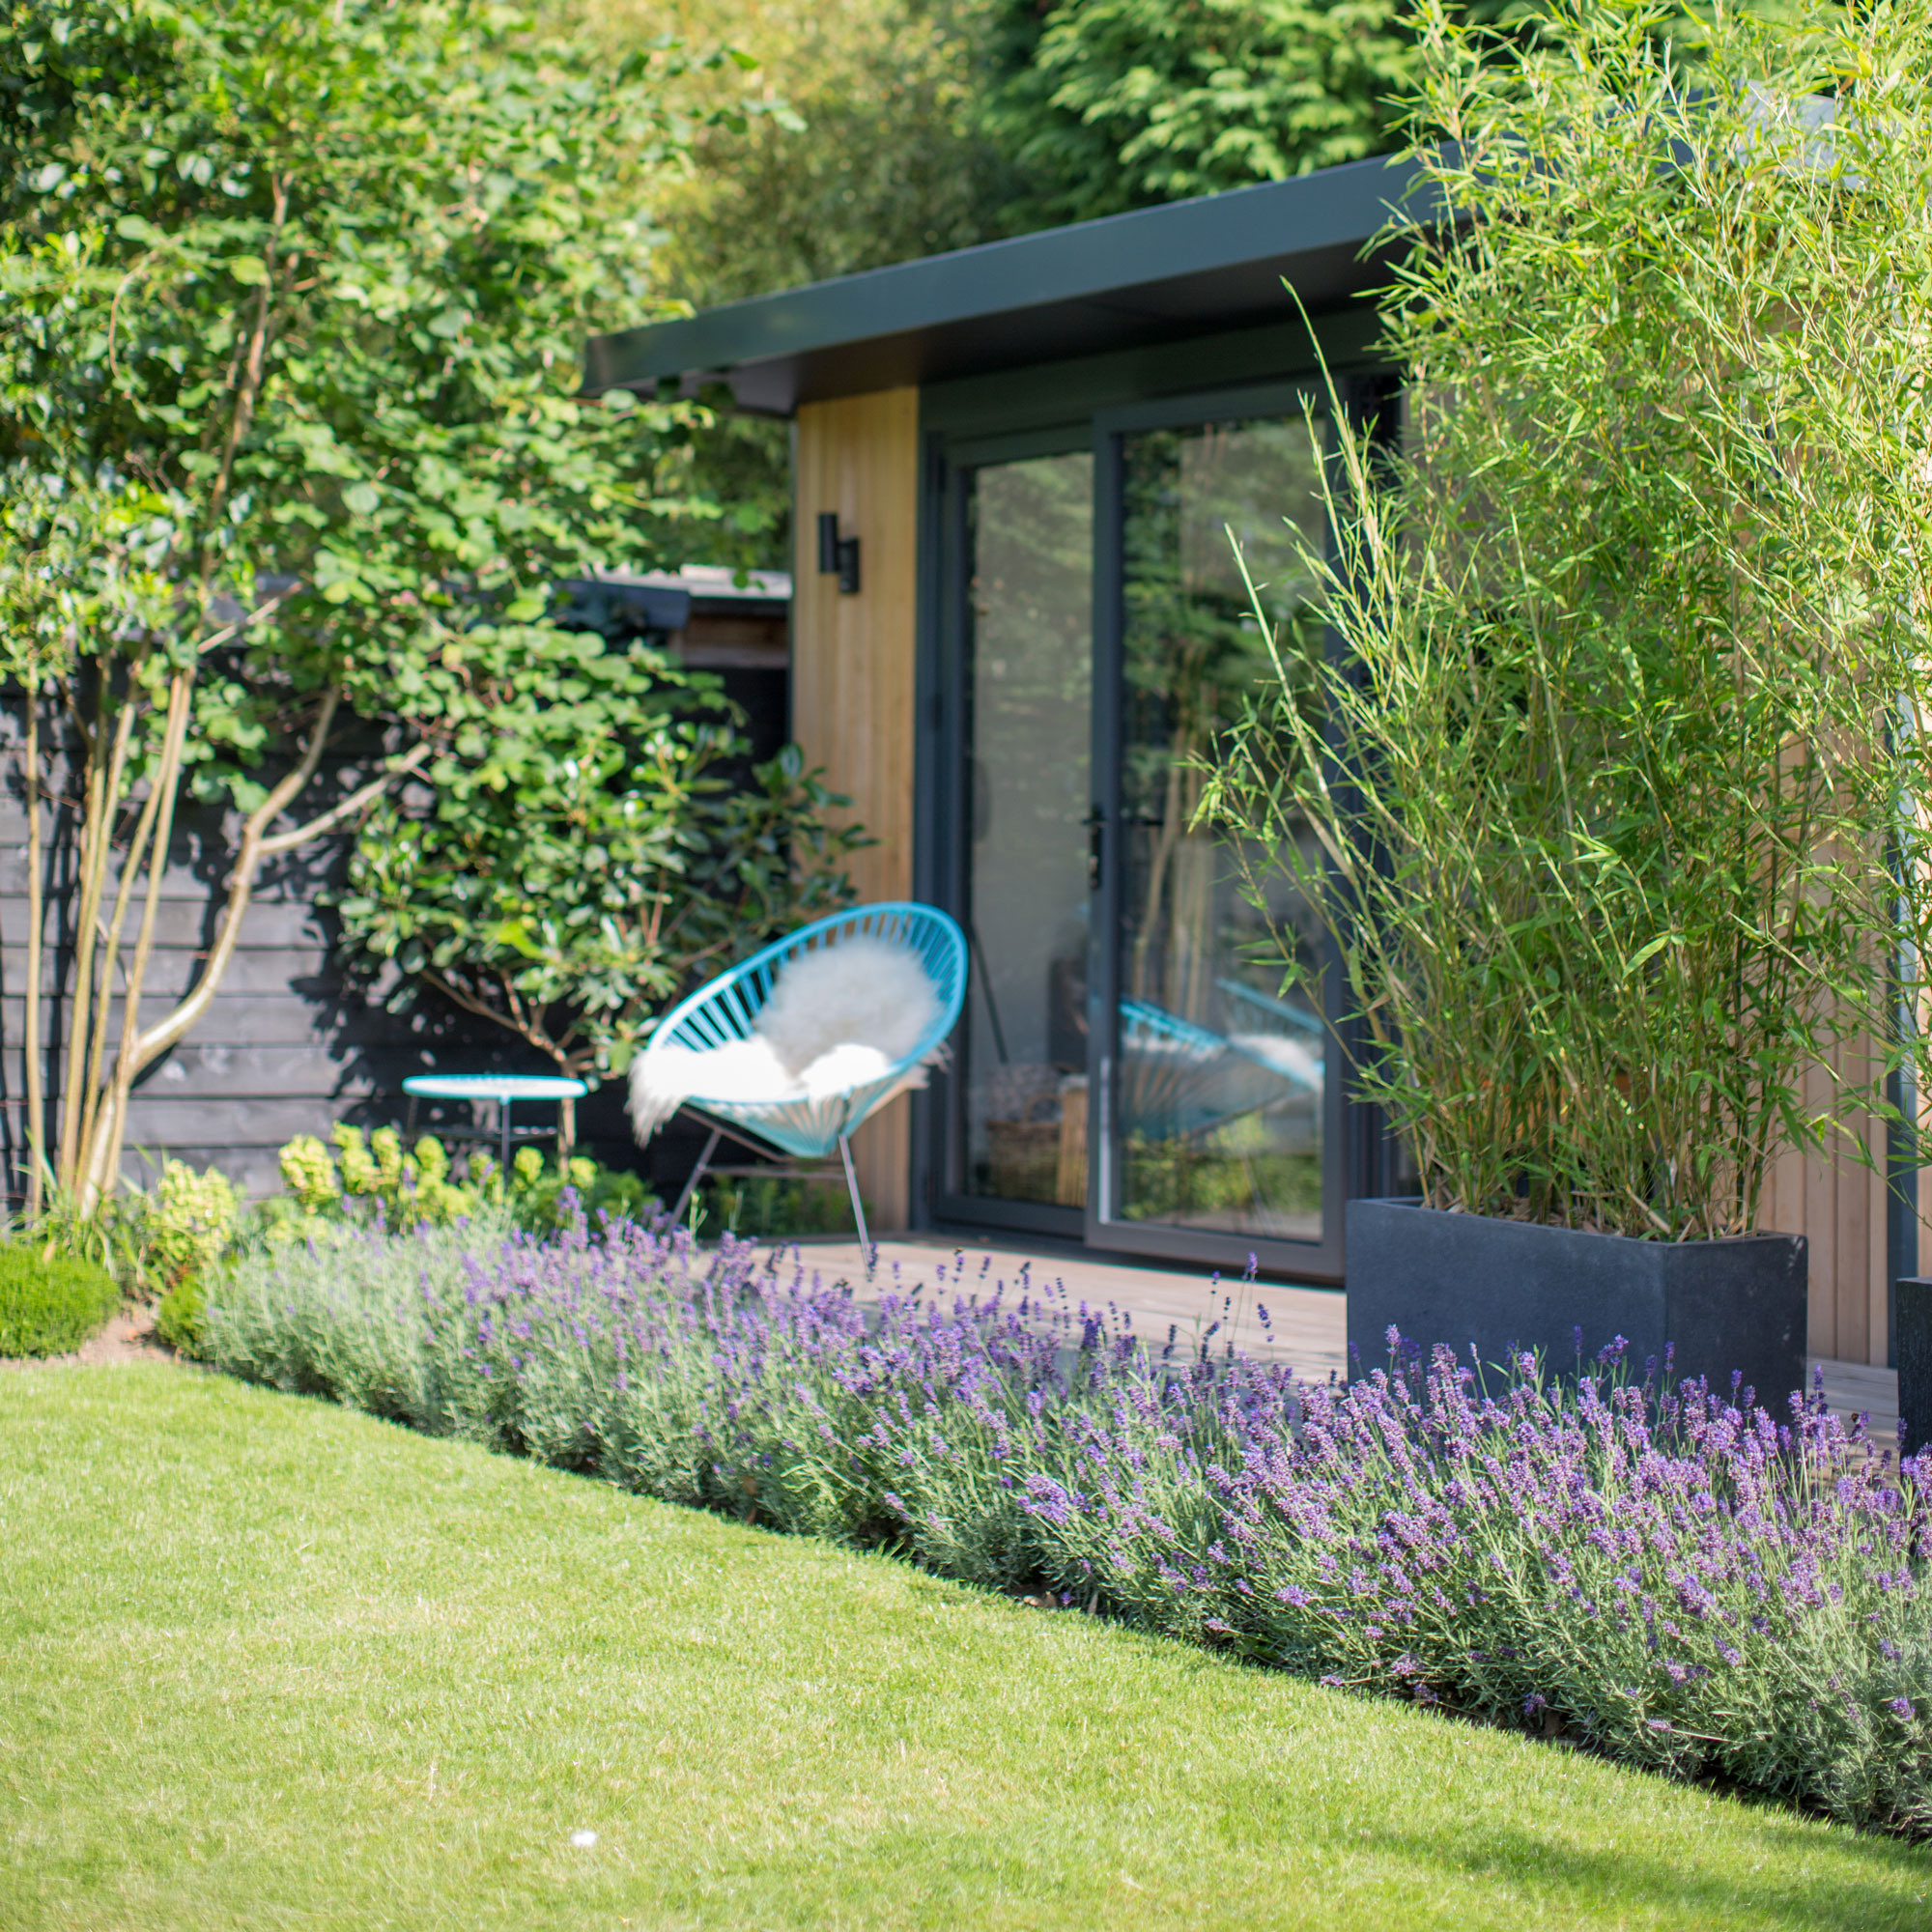 How to set up a drip watering system that saves water and a lot of effort
Keep your plants hydrated (and your water bill down) with this clever garden watering solution


