How to tile a splashback – protect walls and add decorative interest to bathrooms and kitchens
Protect your walls and turn your washbasin or cooking area into a focal point with a smart but simple tiled splashback

Want to know how to tile a splashback? If you're carrying out a home renovation project you may be considering tackling key works yourself, to save on budget. Tiling is one of those DIY and decorating jobs which is relevantly easy when you know how. We have an easy to follow video tutorial which aims to take the hard work out of any tiling task.
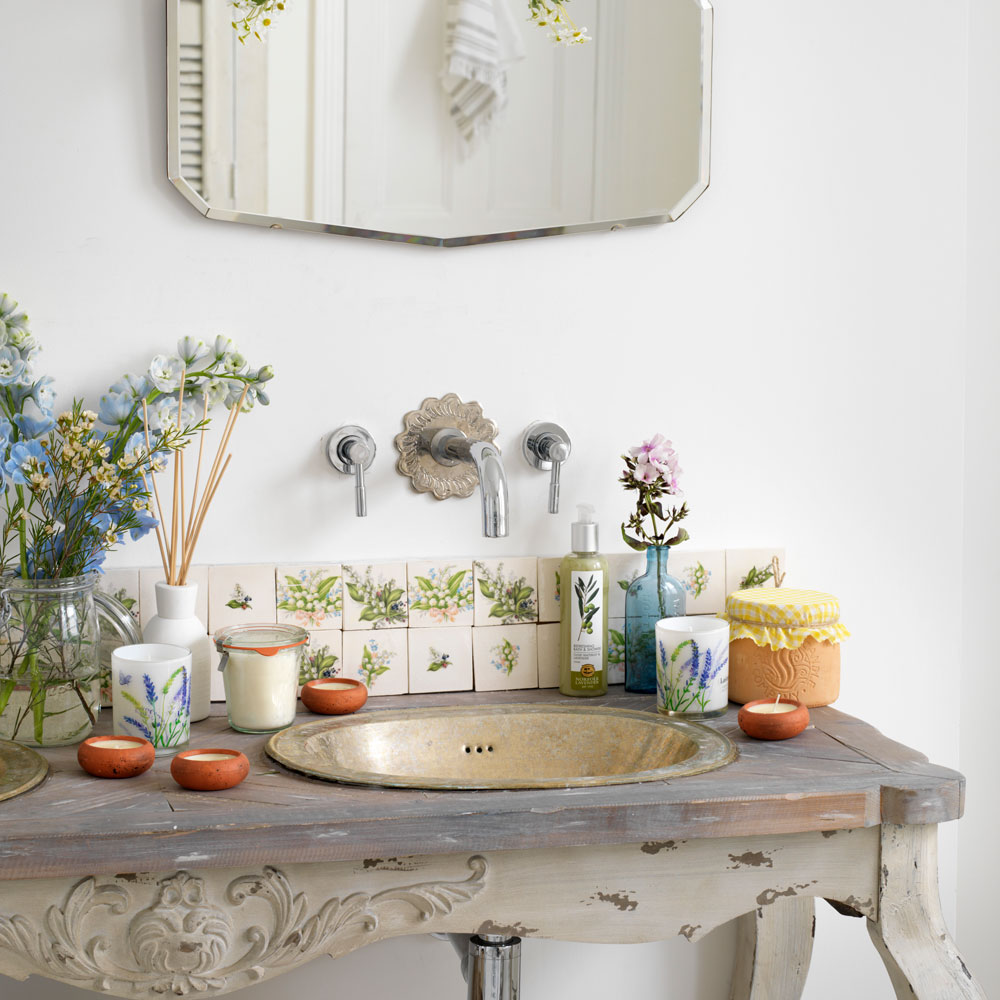
If you want to create a focal point in your kitchen or bathroom a tiled splashback is a great way to introduce a new colour, pattern or contrasting tile choice. Splashbacks are there to protect walls from any water splashes, as the name rightly suggests. But it's not only about the practical approach, an element of tiling in any room is a fun way to uplift a decorating scheme.
How to tile a splashback
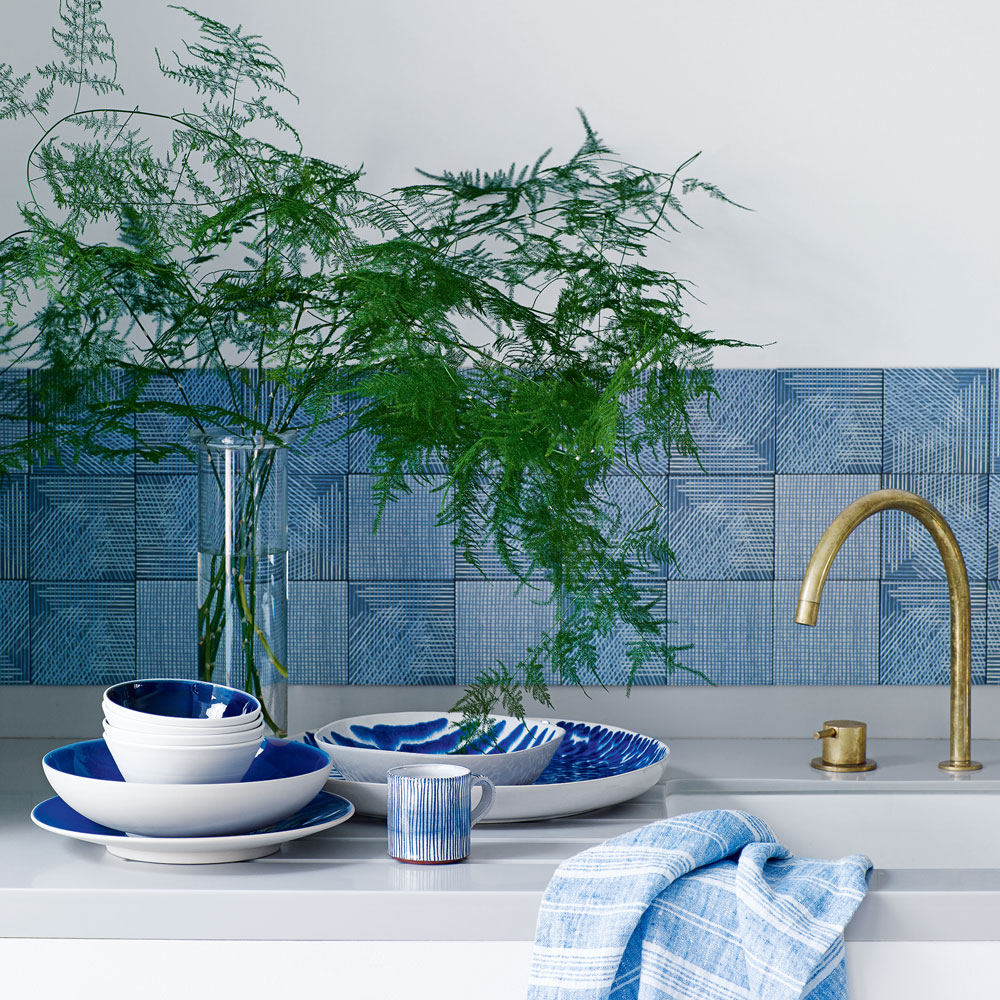
With the huge range of tiles on offer, a tiled splashback behind the basin or stove can act as a style hero in your bathroom or kitchen, as well as offering a host of practical benefits, from its durability to protecting your wall from splashes and making the area easy to clean.
Decide where you want to feature one, whether it's surrounding a sink as bathroom tile idea or behind the oven as a kitchen splashback idea to offer protection to walls – this will determine what materials you'll need.
What you will need when tiling
- Tape measure
- Ruler
- Pencil
- Wall tiles
- Tile trim
- Spirit level
- Tile adhesive
- Notched spreader
- Sponge
- Bucket
- Tile spacers
- Ready-mixed grout or powder to mix
- Grout spreader and finisher
- Trowel
1. Prep the surfaces
As with all tiling projects taking the time to prepare the walls and surrounding surfaces is vital. Make sure to clean the walls with Sugar Soap and cover worktops with plastic sheeting. Be sure to wait until the walls are completely dry before starting. You may need to prime the wall first, and inn wet areas you might need a waterproof adhesive – check with your tile manufacturer first to see what is recommended for your tile choice.
2. Work out the width
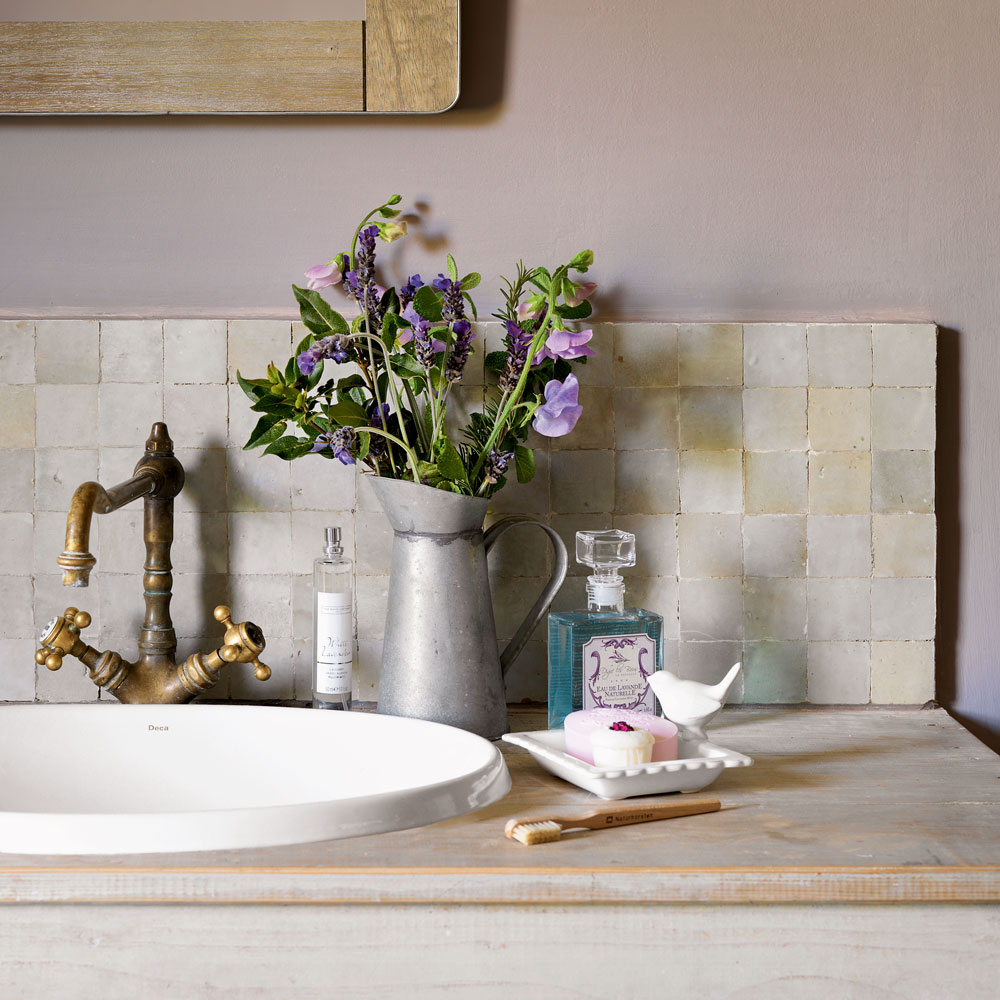
Measure the basin’s width and mark the centre point on the wall – draw another centre point at the top of the area to be tiled, and draw a vertical line between the two. Work out the width of the splashback in whole tiles, plus spacers and edging strip. Lay out the tiles and spacers flat to work out the full width. Work out where the tiles will fall to give you a guide to work with.
Top tip: Use a spirit level to see if the basin is straight. Start by lining up the centre of the first tile with the centre line. If it’s not even, fix a horizontal batten above the basin to create a starting point. Centre it on the vertical line and position the top edge half a tile from the basin. Check it is level.
3. Apply the adhesive to walls
Select an adhesive to suit your tile choice. You can either use a ready mix type or a cement-based adhesive which you'll need to mix yourself, according to the packet instructions.
Top tip: Remember to use a waterproof adhesive for wet areas, such as by sinks or in showers.
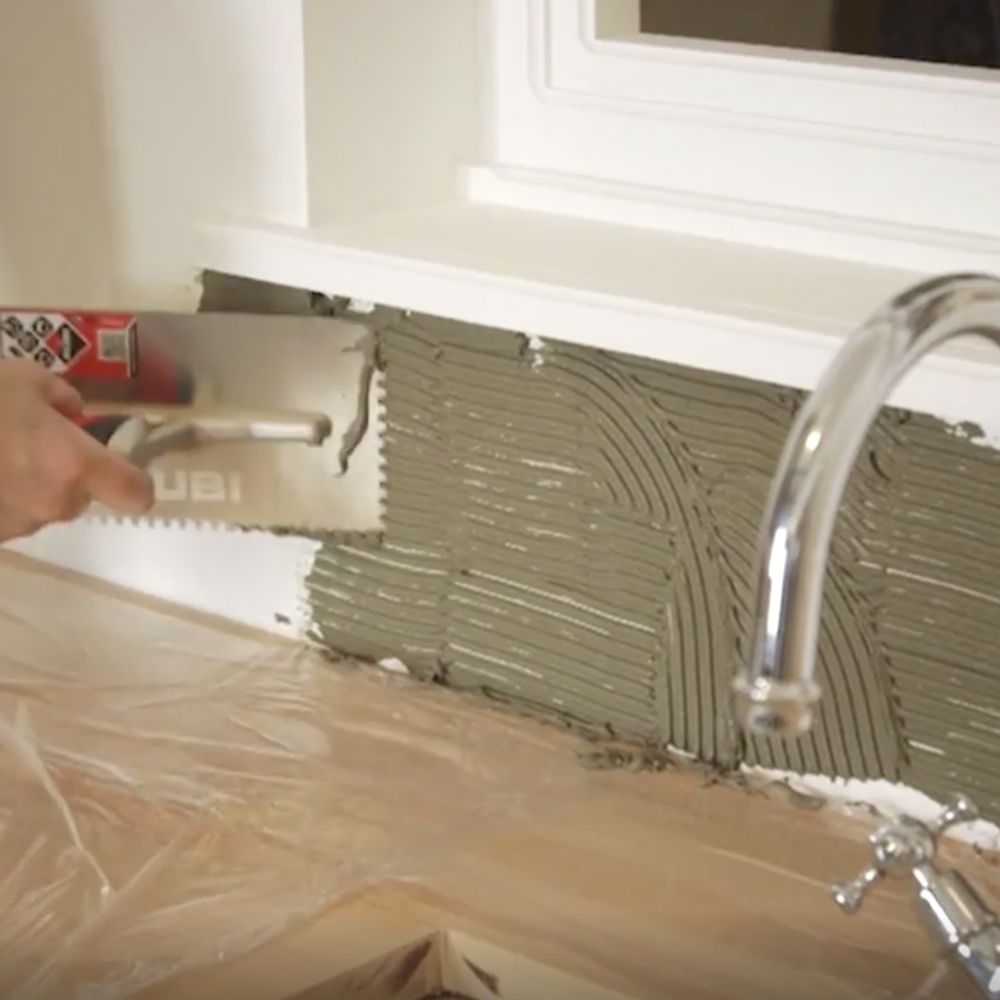
Start at the bottom and spread the adhesive in horizontal strokes, using a notched trowel. Apply a generous layer and create grooves or notches in the same direction which will help the tiles stick. Making sure to only do a small area at a time, no more than 1m sq, as the adhesive sets quickly.
4. Position the tiles
Place the tiles onto the prepared wall. Working from the centre, place your first tile, pressing it firmly against the wall. Add a tile above it and one next to it, spacing them evenly and pushing them firmly into the adhesive. Continue until you’ve tiled the whole area, wiping off any stray adhesive as you go.
Once you reach the edges you may need to cut the tiles to fit, for these you should use a specialist tile cutter.
5. Fill in the gaps
Put spacers into the corners between the tiles, adjusting tile positions as needed. Push them in firmly, flush against the wall so you can grout over them. When all rows are tiled and the adhesive has set, remove the batten (if using). Cut and fix the remaining tiles into the bottom gap.
6. Get grouting
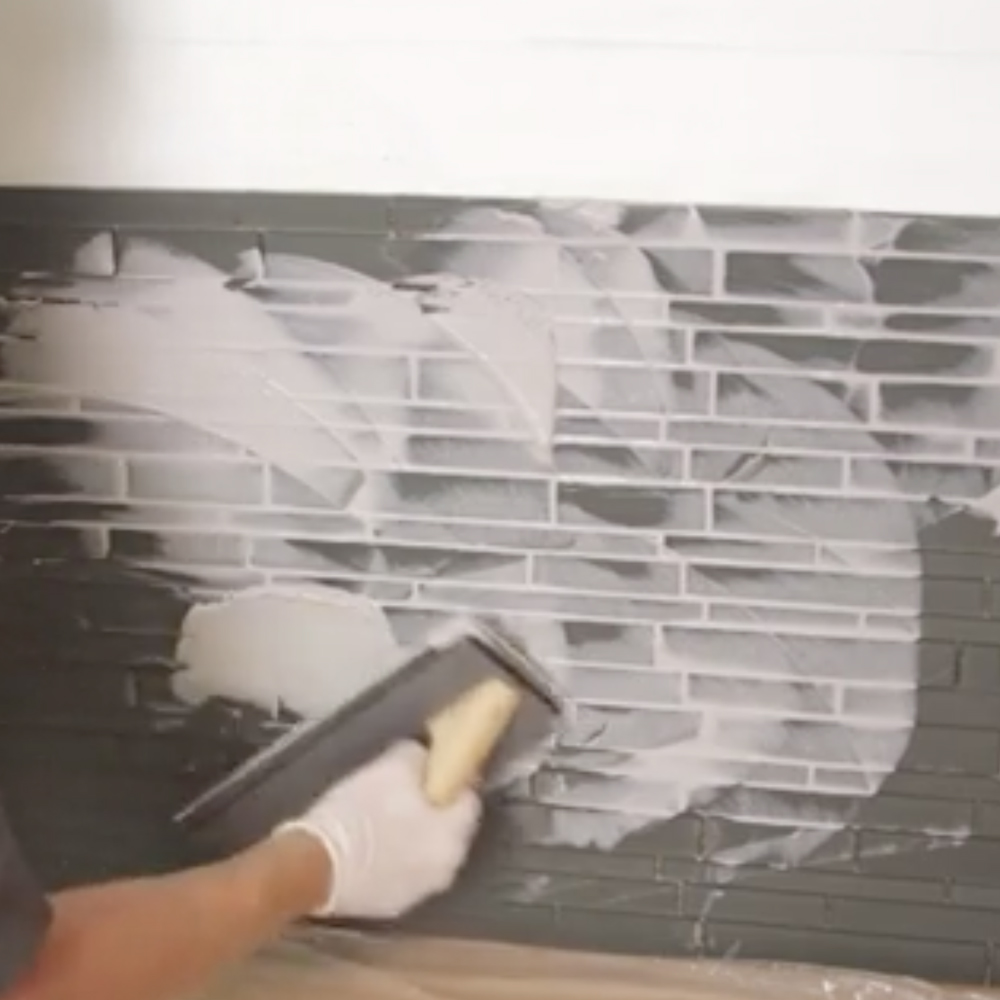
Grouting begins after the tiles have been left to set for at least two hours, but we say even better leave them overnight. You can use either a ready-mix solution or mix your own, it depends on your preference and tile choice – our guide to how to grout tiles has more details.
Starting bottom left, press a small amount of grout on to the face of the tiles using a trowel. Using a grout spreader, work it into the joints, in long, upward diagonal strokes. Once all the joints are grouted, immediately wipe the tiles with a slightly damp sponge to remove excess.
7. Wipe clean
As the grout hardens, use a grout finisher to neaten the joints. Let the grout dry. As it does, a powdery film will appear on the tiles – wipe with a soft, clean cloth.
8. Seal the tiles
Run a bead of sealant along the tiled area. Smooth and leave to dry.
Now you know how to tile a splashback, we hope you have fun making your kitchen or bathroom space unique and eye-catching! And don't forget to keep your tiled area looking at its best with our guide on how to clean grout.
Get the Ideal Home Newsletter
Sign up to our newsletter for style and decor inspiration, house makeovers, project advice and more.

Heather Young has been Ideal Home’s Editor since late 2020, and Editor-In-Chief since 2023. She is an interiors journalist and editor who’s been working for some of the UK’s leading interiors magazines for over 20 years, both in-house and as a freelancer.
-
 When to plant out annual flowering plants for vibrant, colourful garden borders – and give them the best start, according to experts
Not sure when to plant out annual flowering plants? We've got you covered...
By Kayleigh Dray
-
 I'm a kitchen decor editor and didn't like this tableware trend - until I saw H&M Home's designer-look plates
They made it easy to justify a new crockery set
By Holly Cockburn
-
 Garden expert reveals when to mow new turf and the 3 tell-tale signs your new lawn is ready to be cut
If you want a lush, green lawn, you mustn't mow new turf too soon
By Kezia Reynolds