Marble flooring – how to choose, install and clean your tiles
If there’s one thing that’s storming the style charts and shaking up interiors, it’s the return of marble. So if you’re after a hot new look that’s bang on trend, a splash of marble is the way to go
Looking to introduce a little luxury to your home? Consider this sought-after stone that adds glamour with ease. Marble has been associated with quality and luxury for thousands of years. Each piece is different, and it’s this that makes it so desirable. The wide variety of tile shapes and sizes means marble is versatile, too.
Choose your surface: Kitchen flooring – everything you need to know
Is marble hard-wearing?
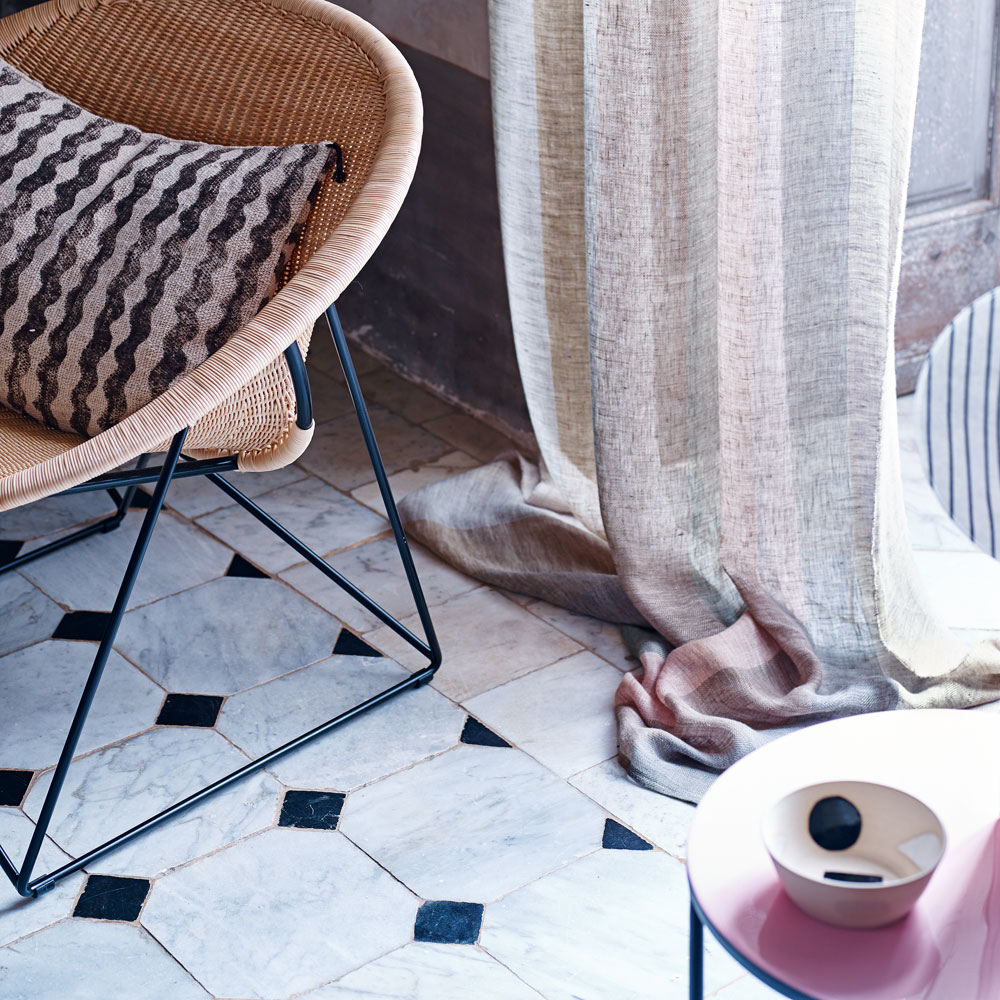
Hard-wearing yet beautiful, marble has been used for flooring for centuries and makes a striking first impression. Marble is a beautiful materials to use in your home as it’s completely natural, which means that each piece is uniquely different. It’s also easy to clean and extremely durable.
Are there any disadvantages to using marble?
Unprotected, marble is a relatively soft stone that will soak up stains. It’s also easily etched by acidic materials; even a bar of soap can leave a mark. ‘We always recommend sealing marble once before installation and once after grouting,’ says Sophie McKay of Floors of Stone. Use cleaners designed for natural stone and avoid bleach and chemicals. For safety, use honed marble on floors.
Can marble be used on walls and floors?
Generally, floor tiles can be used on walls but not vice versa. Also, weight can be an issue, as wall tiles must be no more than 12mm thick. Check with your tiler/installer before you buy.
What are the latest trends in marble?
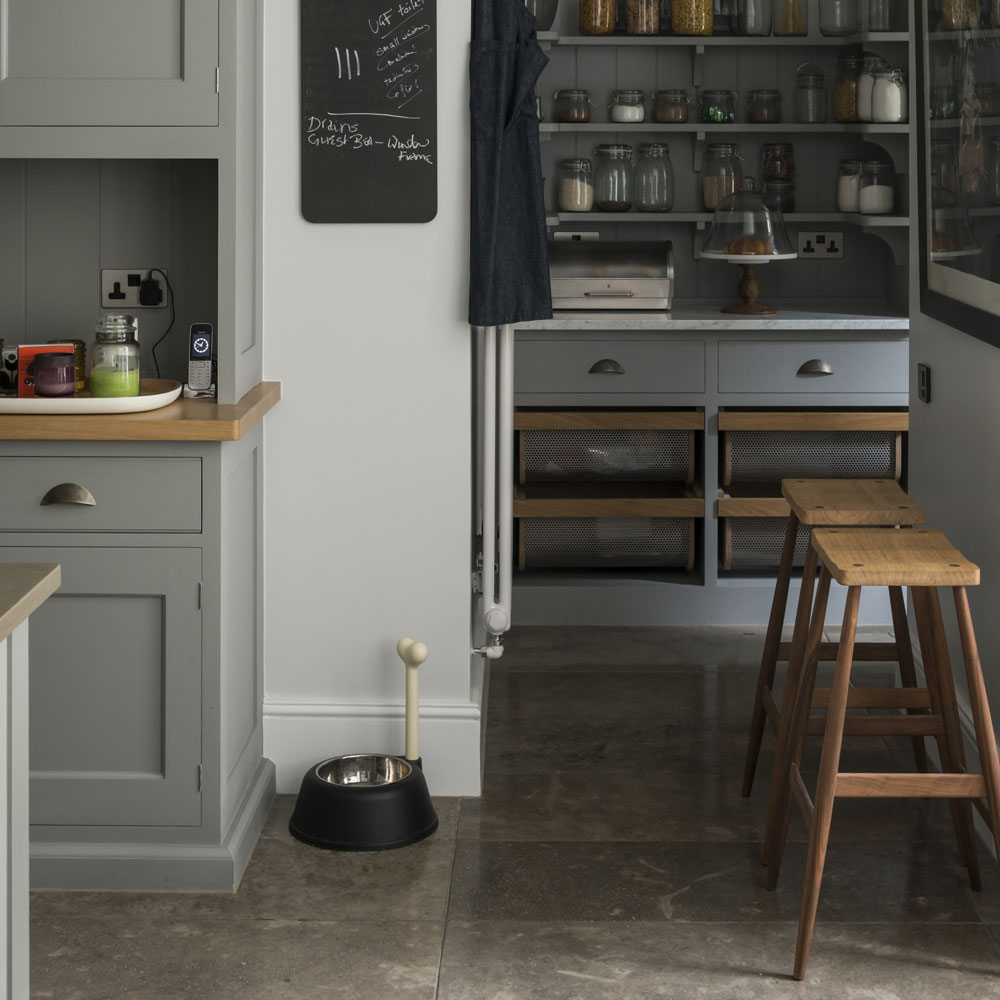
Marble offers an unrivalled sense of opulence. We predict a move towards coloured marbles in 2018. The general trend is for large-format flags of 60 x 60cm (or more), which enhance the feeling of space due to fewer grout lines and create a more impactful result.
What should I look for?
Although marble famously comes from Italy, there are hundreds of types of marble from quarries all over the world, each with its own unique look. There a few things you should consider before choosing marble. Marble floors have a tendency to be slippery and the type of marble can affect the slip resistance. When choosing marble floor tiles, it is important to keep the slip resistance in mind.
Marble requires more maintenance than other types of natural stone because it is very porous. All marble tiles should be treated with a surface finish upon installation as well as a below-surface sealer for extra protection.
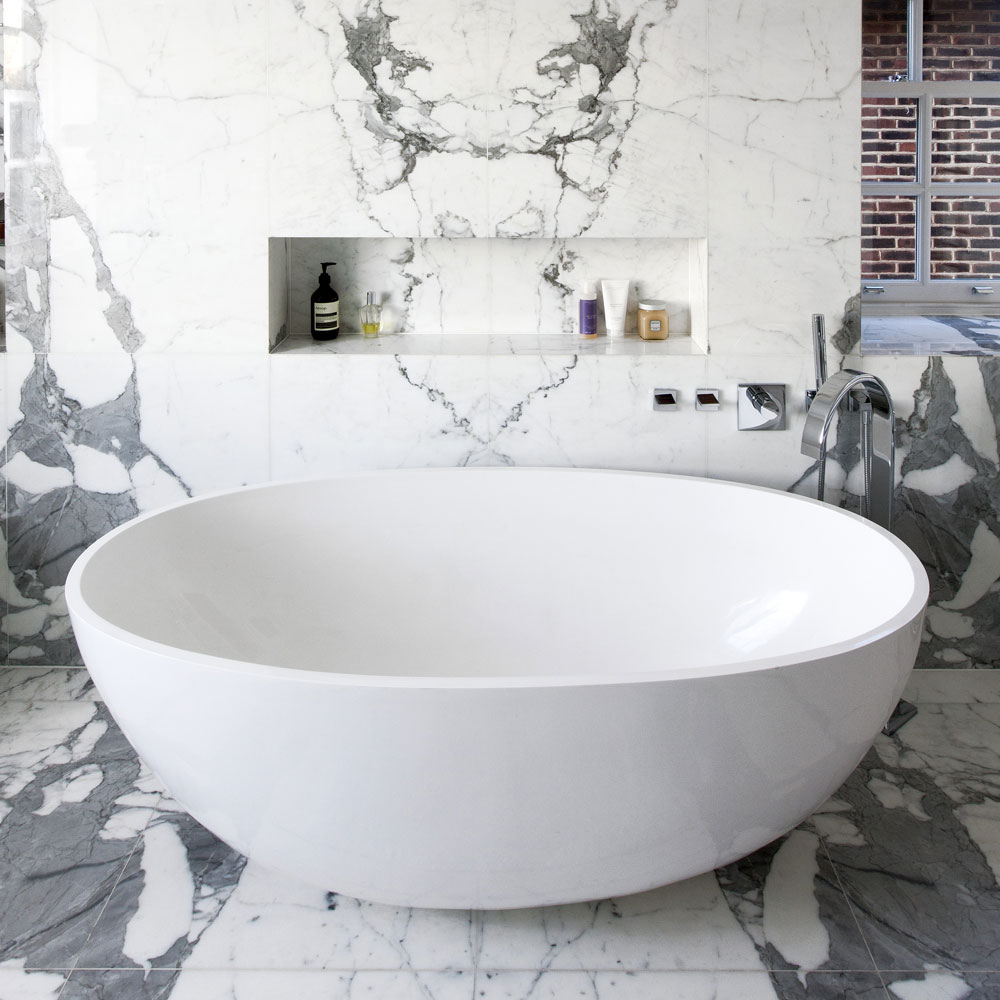
Part of the draw of marble is the unique veining and patterns but this also makes it possible to lay marble tiles next to each other that do not match well. Book matching – a process in which a stone slab is split down the centre to produce a mirror image of two identical grains – takes the decorative possibilities of marble to a new level, turning the elaborate graining into a work of art.
How can I boost its impact?
Use large-format slabs with book-matched veining to create a statement above a bath or inside a shower. Mosaics can be equally impressive on a vanity splashback or to lift the flooring in a compact space. A heavily striated marble like Striato Olimpico or Calacatta will make more impact than one with subtler, feathery veining such as Carrara or Thassos.
How much does marble flooring cost?
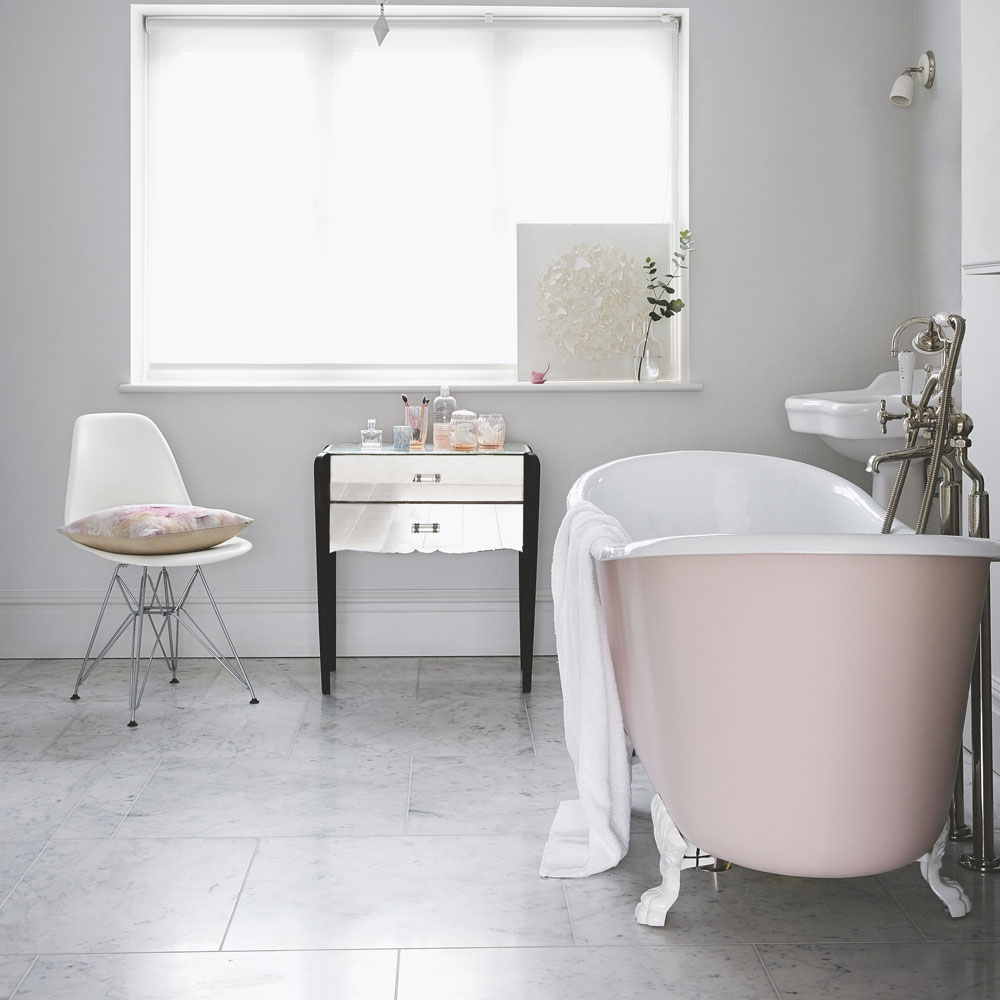
Natural marble is invariably more expensive than man-made tiles, especially if you add in the cost of sealants and maintenance. The larger the slab, the higher the price tag. Marble mosaics, which can be made using offcuts, are often more affordable. One trick is to use marble in a small area to create a striking focal point, with less expensive tiles elsewhere.
Are marble-look tiles okay?
Marble-look porcelain and ceramic tiles are good alternatives. Many designers recommend man-made marble as a more durable option in showers and on floors. Avoid repeating the vein pattern to ensure a realistic finish.
Can I install marble flooring myself?
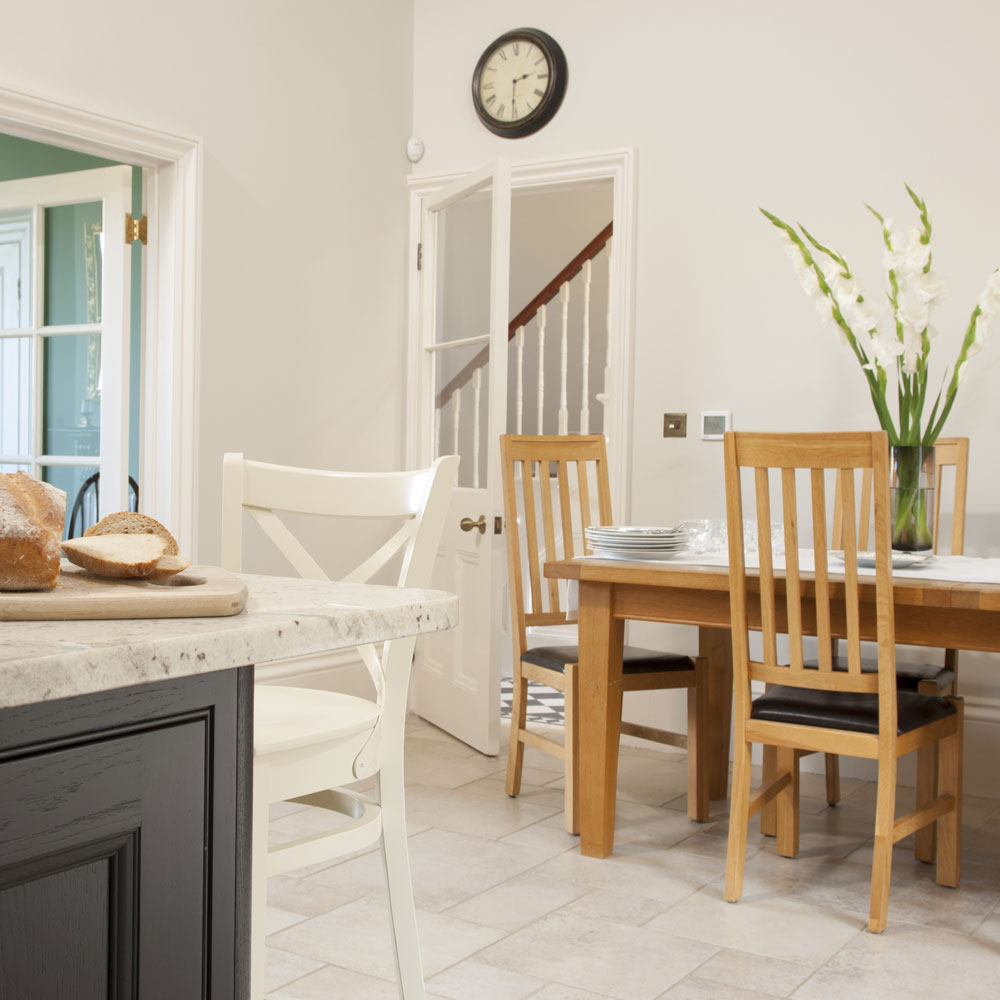
We wouldn't recommend that you lay marble yourself due to the complicated process, but it can be done if you have the patience and know how.
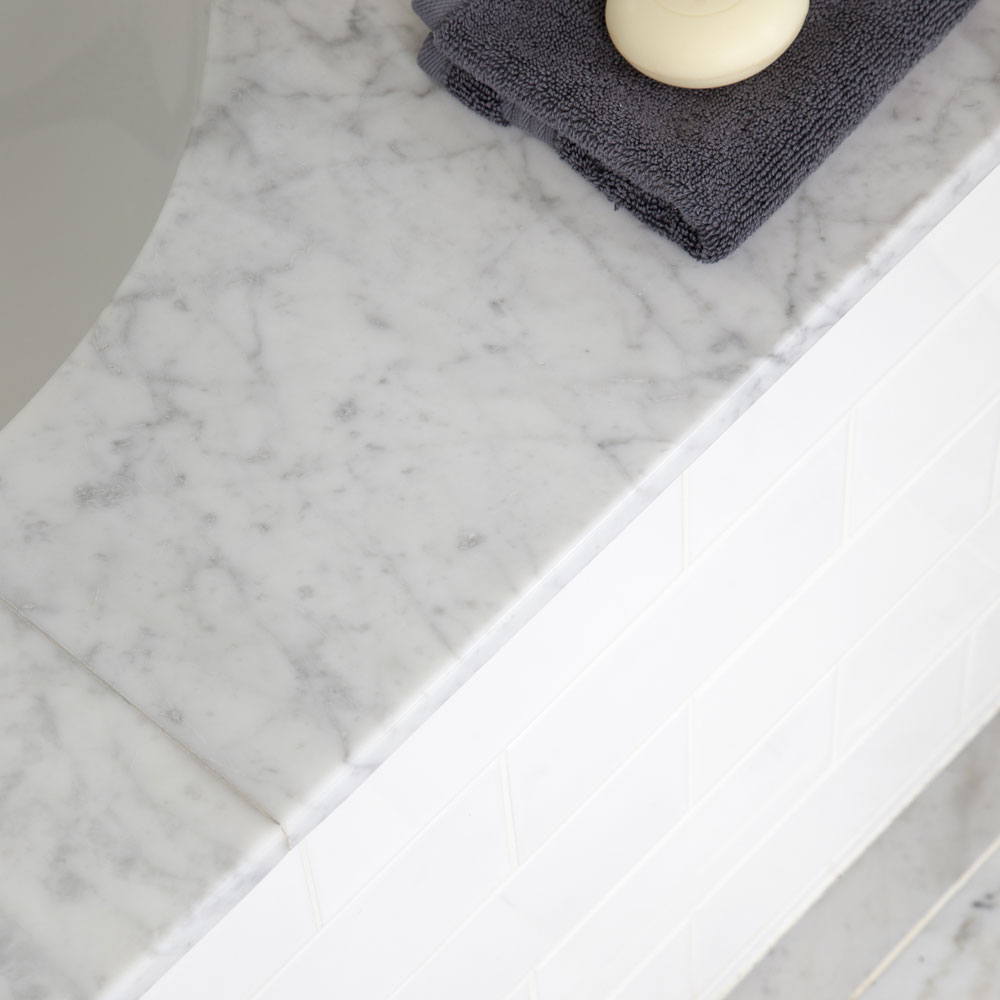
1. Level the floor
As with most DIY projects, preparation is key. Make sure the surface you are laying the tiles on is even, clean and dry.
2. Create reference lines
Next, you need to mark out the position of the tiles. Find the middle points of the two longest walls, and draw a chalk line across the floor joining them. Then do the same with the shorter walls, so that they cross.
Lay tiles along the two lines, making sure you work out the best position as you go. It's good to use as many whole tiles as possible - so adjust the layout accordingly. When you're positioning tiles around a fireplace or similar, keep them symmetrical, and avoid having cut tiles along the wall that faces you as you enter the room.
3. Mix and spread the mortar/adhesive
Spread approximately one square metre of mortar/adhesive into one of the corners created by the chalk lines on the floor, taking care to spread evenly. Work outwards, gently pressing tiles into place, and add plastic spacers to each corner to ensure the grouting is even.
4. Lay down the first tile
When you reach the wall, measure and use the tile cutter to cut tiles to shape to fill any gaps, not forgetting to leave space for grouting. Wear safety goggles and gloves when cutting tiles. Check the tiles are level with the spirit level. Once you've laid all the tiles on one side of the line, continue on the other side of the room.
5. Use tile spacers
Use spacers to create the correct spacing between the tiles and keep them even with straight lines along the rows and columns. You should use 1/8 inch (3 mm) marble tile spacers.
6. Cut tiles with a wet saw
Use a wet saw to cut the tiles to fit in the edges along the walls or special spaces.
7. Remove excess mortar/adhesive
If you have put too much adhesive beneath the tiles then you must take a small knife to cut out these extra bits.
8. Seal the marble
Marble is very soft and prone to damage so it is important to apply a coat of high quality marble sealing agent before proceeding with the grout. This seal is also important because marble is very porous and grout can cause stains in the tiles.
9. Grout the tile
Once you've finished tiling your floor, wait 12 hours for the mortar to set, before sealing the surface. Allow the sealer to dry for at least 2 hours, and then you're ready to grout the tiles. Dampen the spaces between the tiles using a moist sponge to prepare the surface for grouting. Be sure to wear a dust mask, safety goggles, and heavy-duty work gloves.
10. Wipe the tile clean
Use a clean sponge to wipe down the surface of the marble tiles. Use a damp sponge to remove any excess grout.
11. Seal the grout
Use a disposable sponge applicator to paint the grout with a grout sealer. This will help prevent stains and dirt from permanently discolouring the grout.
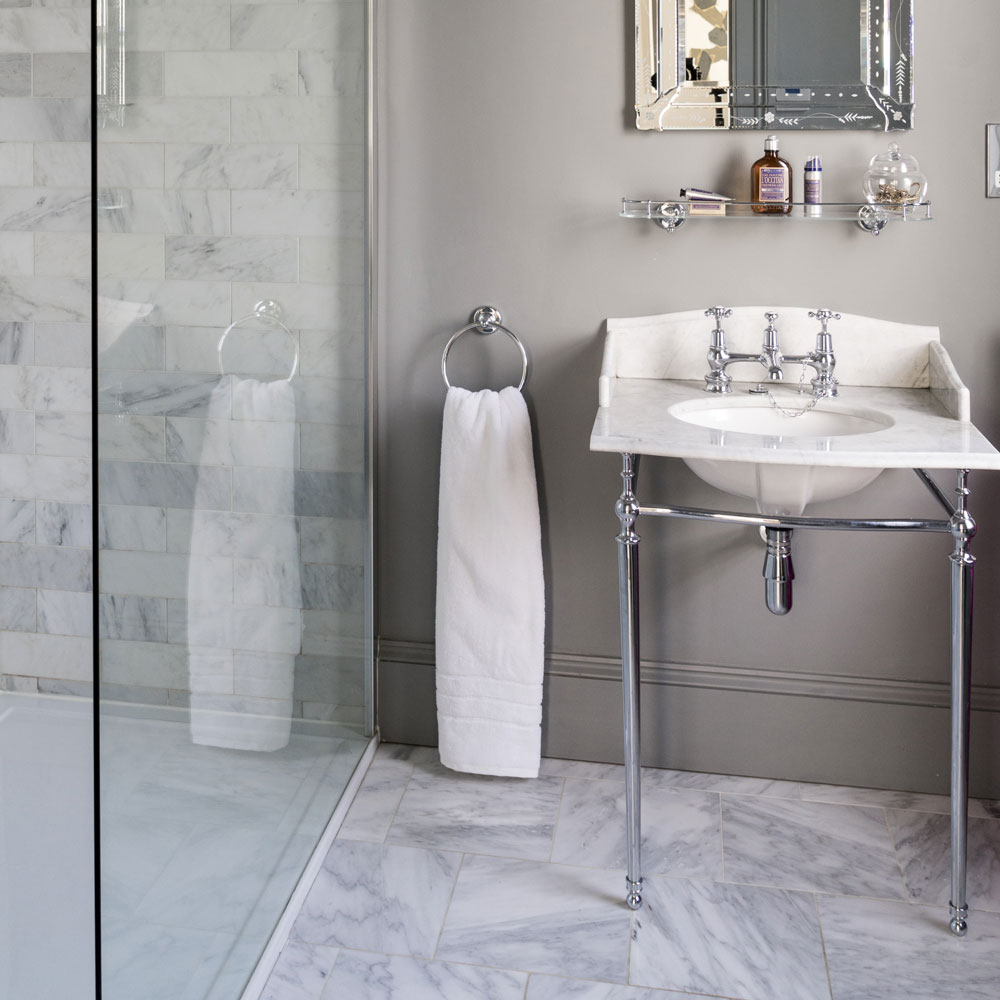
How to care for marble flooring
Get the Ideal Home Newsletter
Sign up to our newsletter for style and decor inspiration, house makeovers, project advice and more.
Jennifer is the Deputy Editor (Digital) for Homes & Gardens online. Prior to her current position, she completed various short courses a KLC Design School, and wrote across sister brands Ideal Home, LivingEtc, 25 Beautiful Homes, Country Homes & Interiors, and Style at Home.
-
 Who is responsible for repairing a party wall?
How to find out who should be organising and paying for the work
By Natasha Brinsmead
-
 Overcoming limited space and doing away with an awkward layout, this couple created a family kitchen filled with elegant touches
The symmetrical layout is full of luxurious details
By Holly Reaney
-
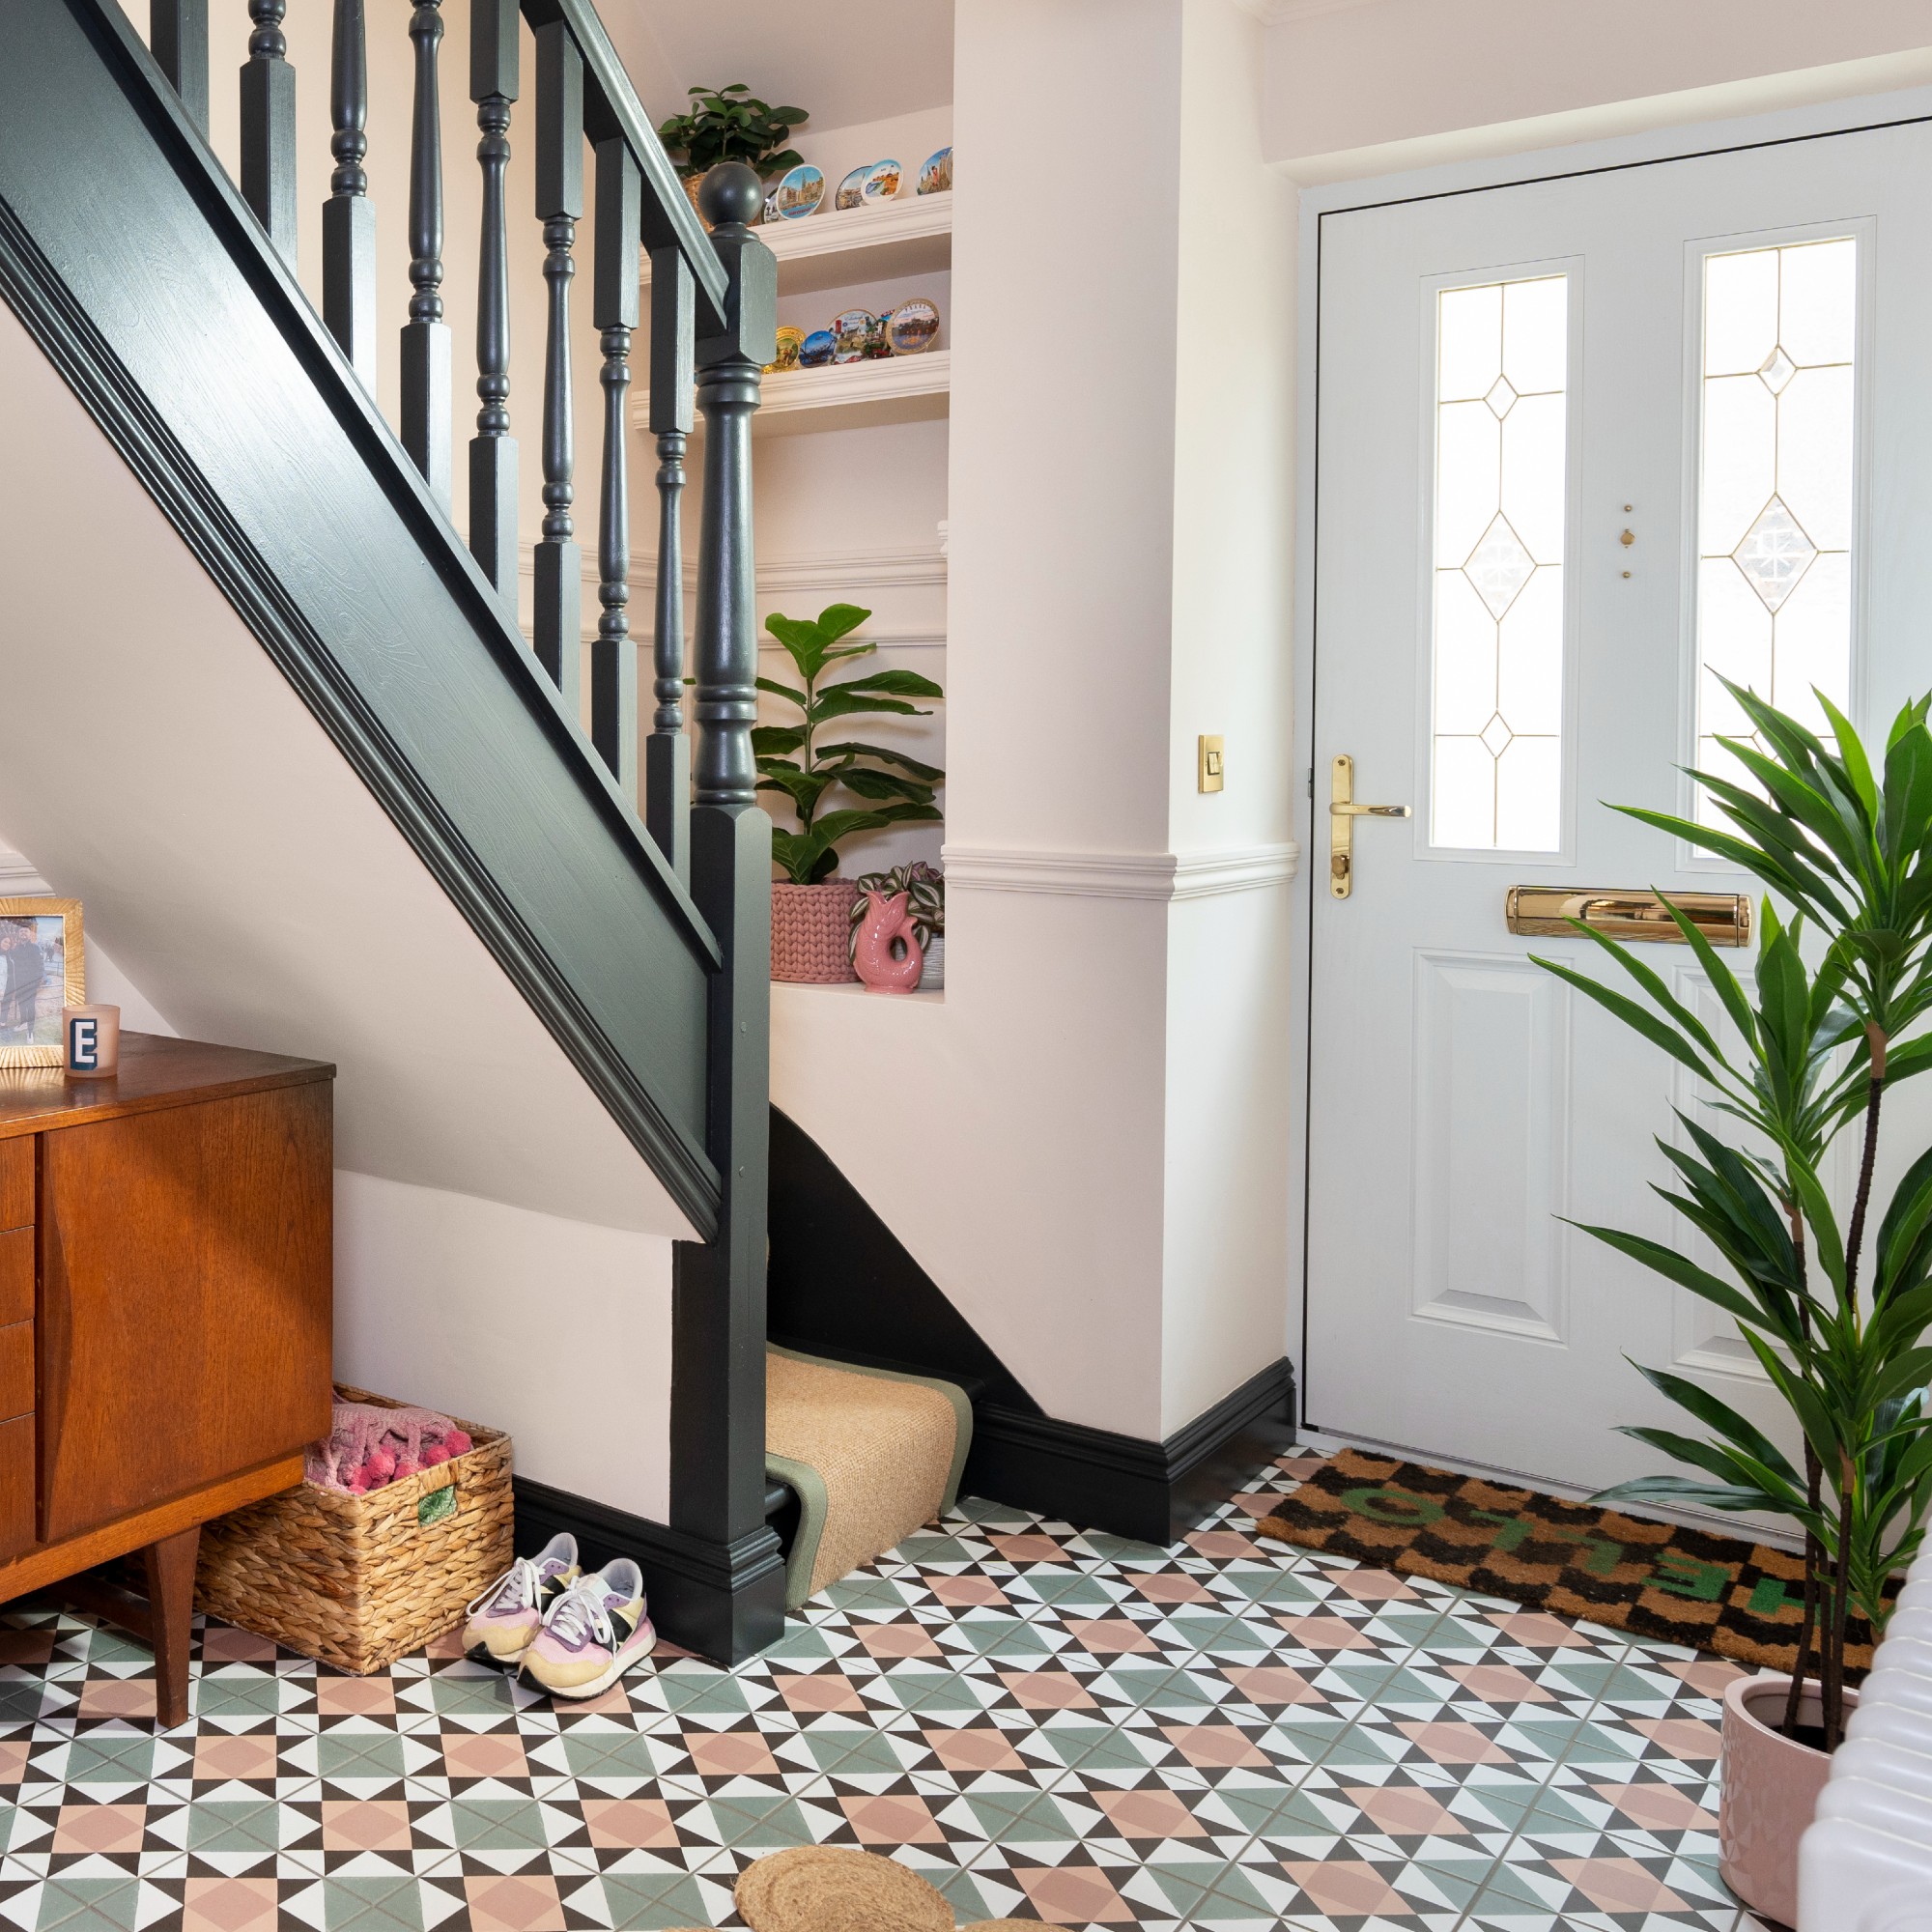 Should your doormat go inside or outside the front door? According to experts I've been getting it wrong for years
Experts reveal the best spot for a a doormat based on your preferences and where you live
By Sara Hesikova