How to make pallet furniture – DIY your garden furniture this spring
Build a two-seater garden bench from wooden pallets
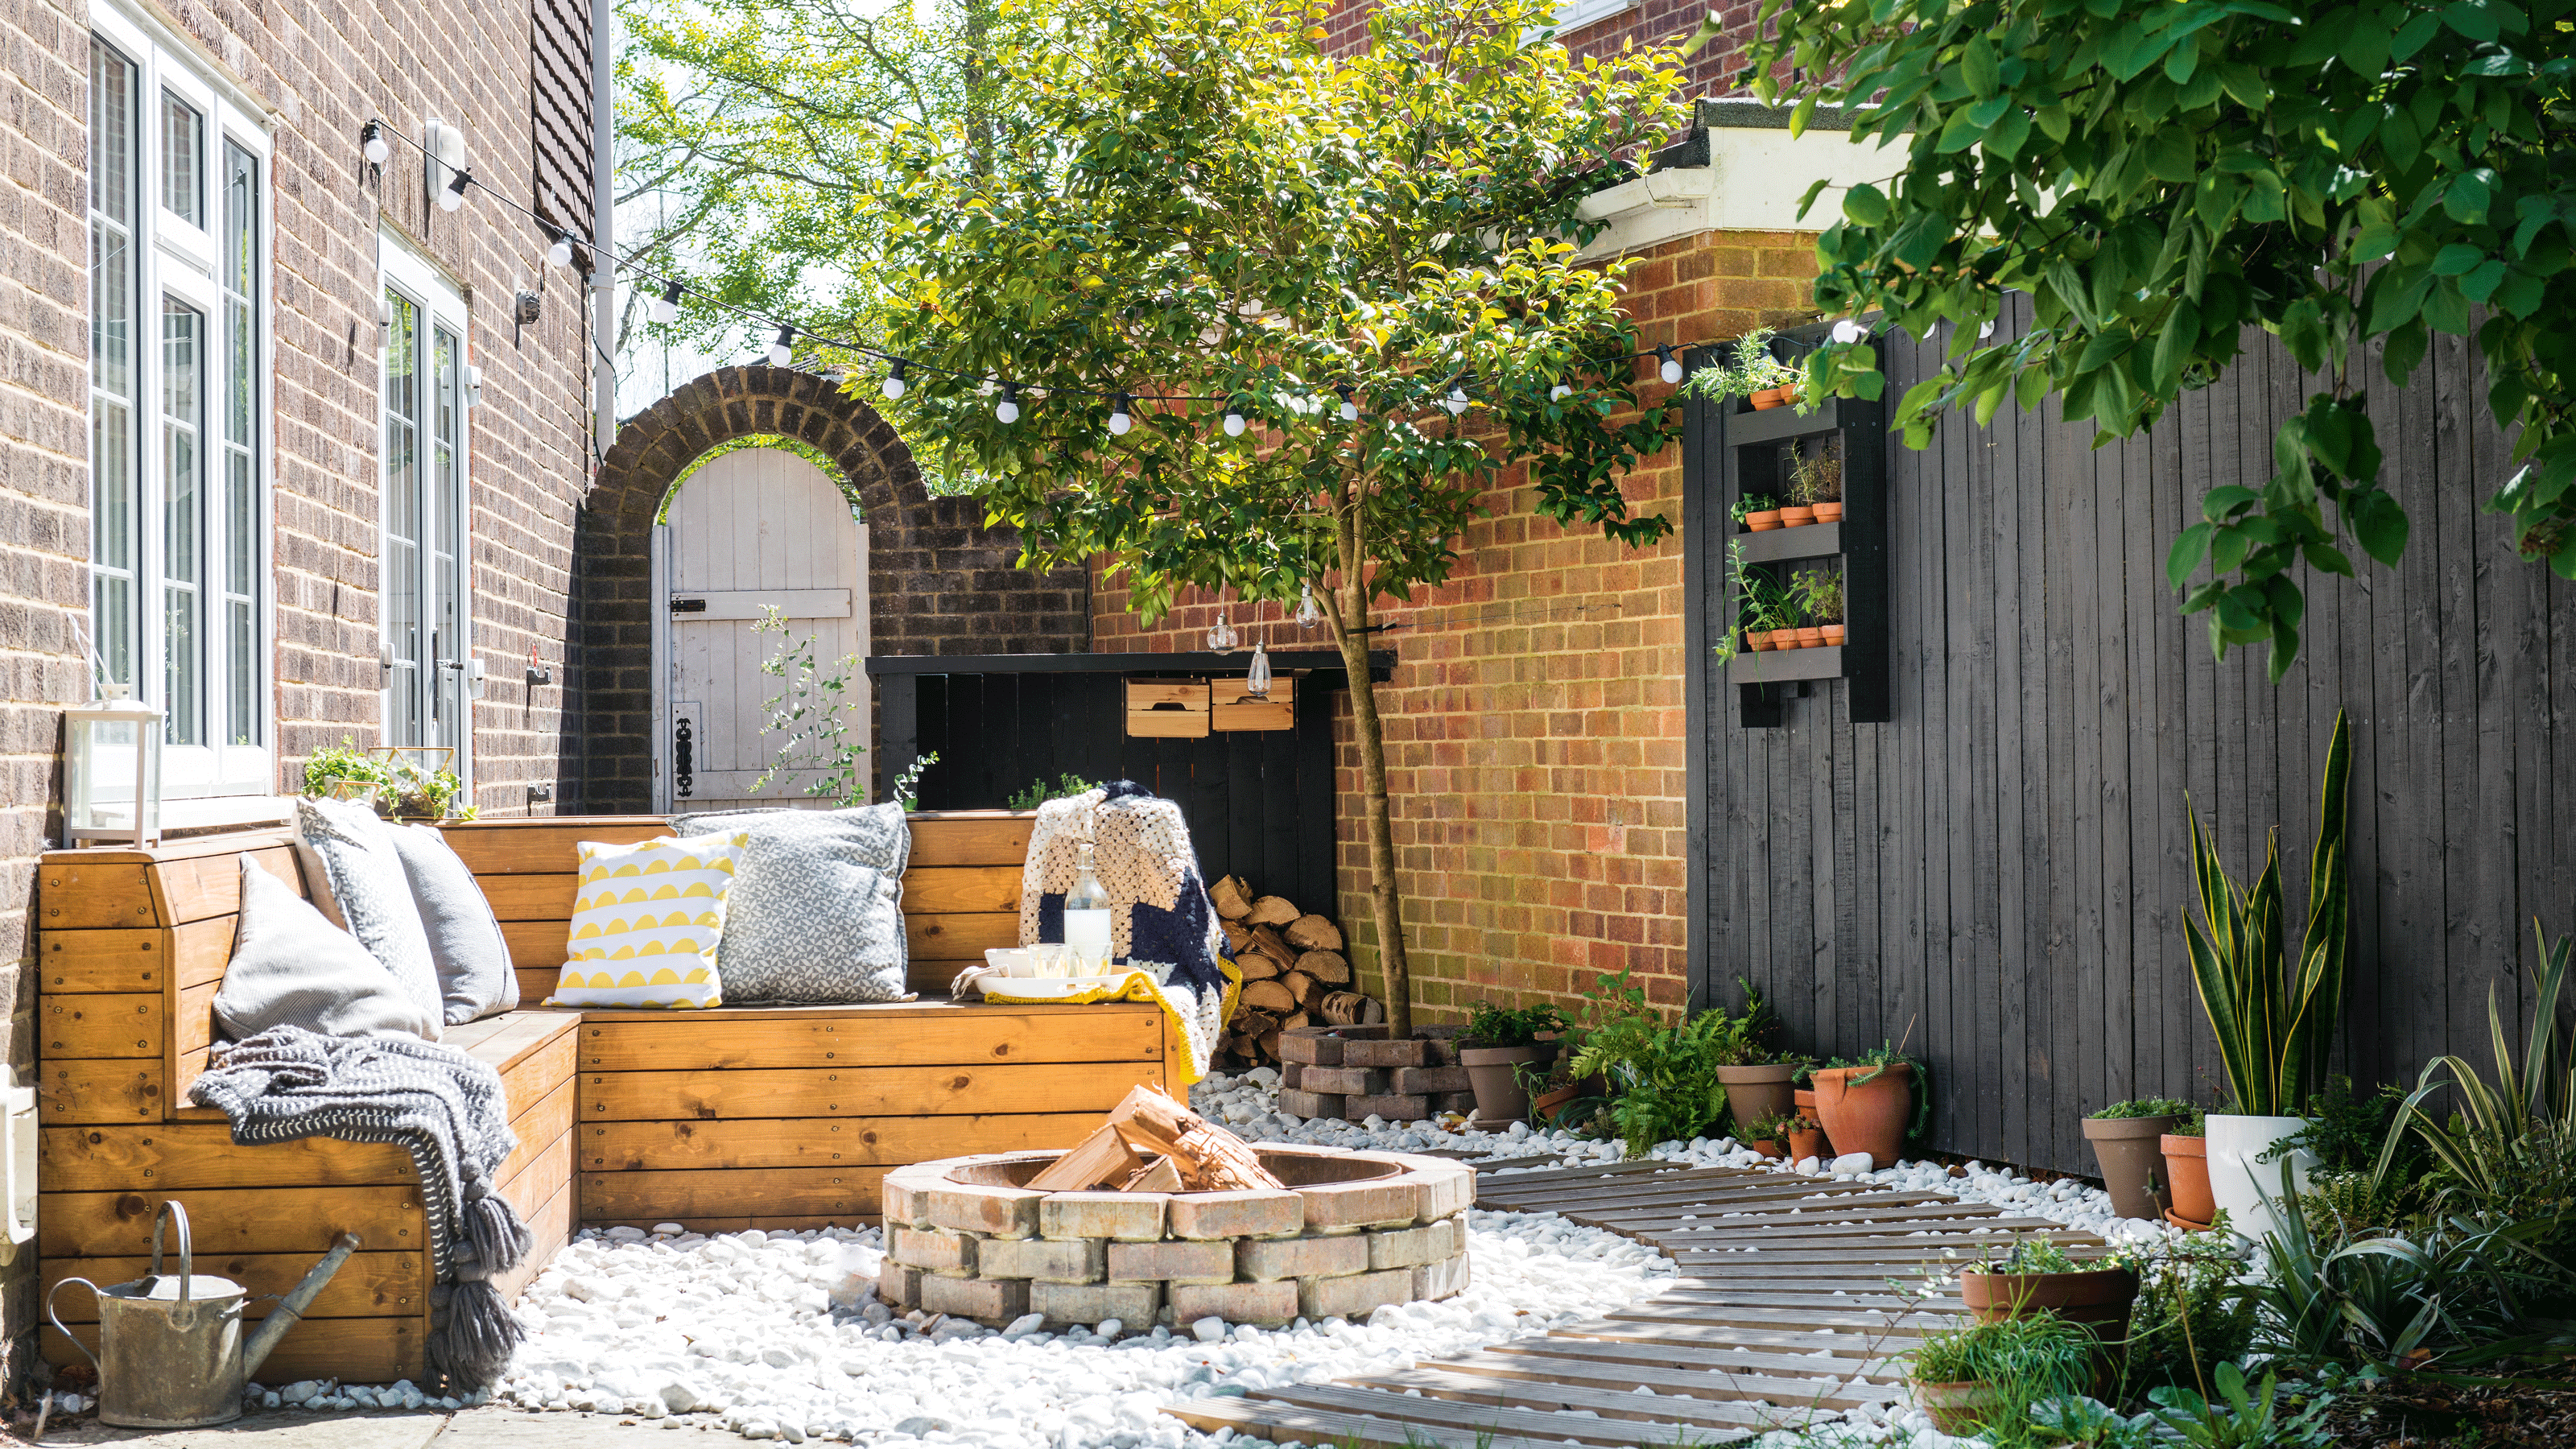

If you’re looking to give your garden an update without spending a lot of money, have you considered making pallet furniture? While it may seem like a daunting task, even DIY novices can learn how to create and build pallet furniture, so we've complied an easy step-by-step guide to make it as easy as possible.
As far as budget garden ideas go, pallet furniture is up there with one of the cheapest projects you can embark on, especially as you can often acquire the bulk of your materials for little to nothing. Pallet furniture can also add an interesting and rustic appeal to your patio, balcony or garden.
Now, even though there are a number of things to know before making pallet garden furniture, you can make everything from benches and tables to loungers, storage boxes and even raised flower beds out of wooden pallets. So, it’s time to get building, to give you a place to sit back, relax and enjoy all summer long.
How to build pallet furniture
'Upcycling pallets and turning them into furniture is not only incredibly easy, but it’s also extremely rewarding as a little bit of hard work can result in some beautiful furniture pieces in a relatively short amount of time,' says James Green, Joinery Expert, Housetastic.co.uk. 'Plus, by creating your own furniture, you have the freedom to choose the right size, shape, and colour to suit your exact needs.’
‘Pallets are often made with pine or oak and these types of wood absorb paint well and are easy to work with when it comes to jobs like drilling, gluing, and sawing,’ adds Jimmy Englezos at Ronseal.
While there are plenty of pallet ideas you can DIY, our guide primarily focuses on making a simple two-seater bench. The results will still be impressive and once you've nailed this piece, you'll be able to create bigger pieces of furniture following the same method. So, here's how to build pallet furniture that is sure to be the envy of your neighbours this summer.
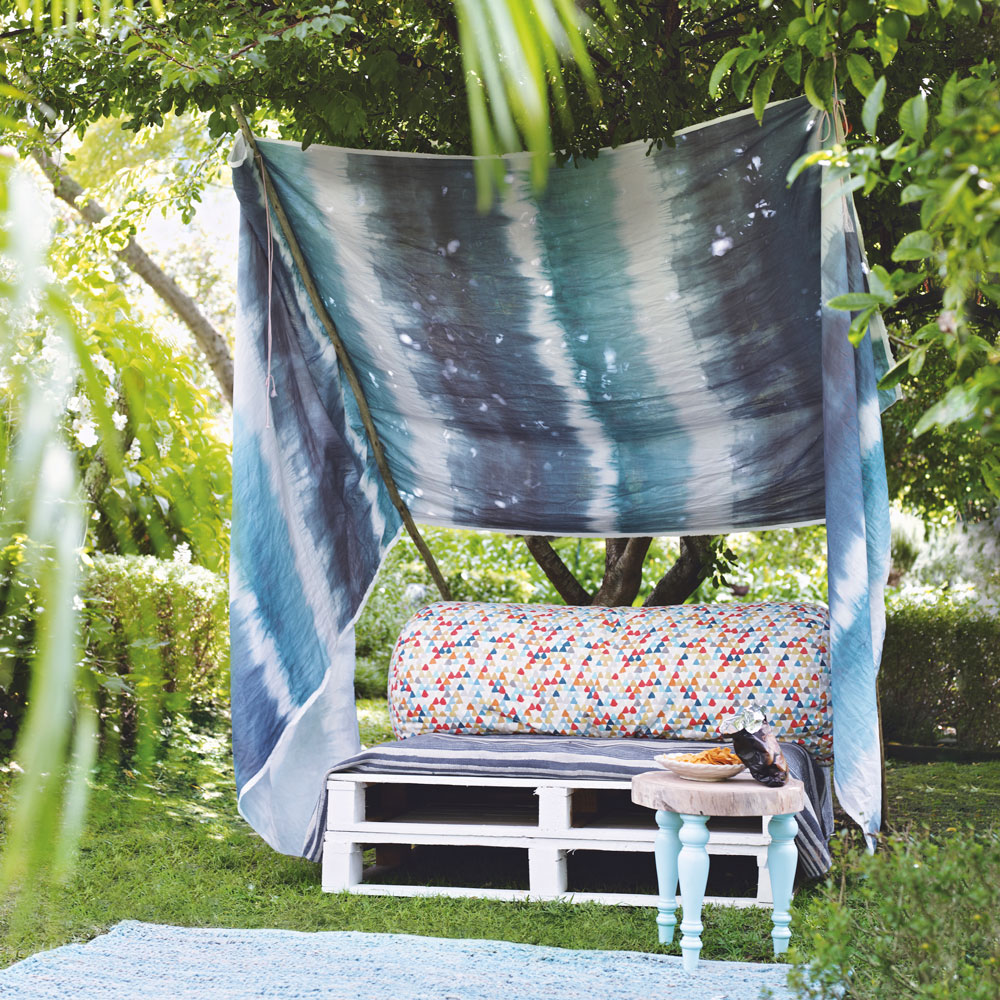
What you'll need
- Three wooden pallets
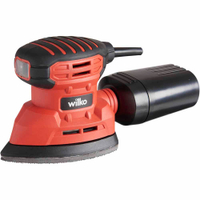
- Electric sander; like this one from Wilko
- Wood preserver; we suggest Ever Build Triple Action Wood Treatment
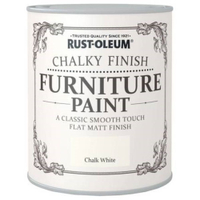
- Garden furniture chalk paint; Rustoleum works well
- Small roller and tray; this Harris Essentials 4 Mini Roller Set from Dunelm is a great option
- Paintbrush; try this Nicholas Jack Professional Decorating Wooden Paint Brush from Amazon.co.uk
- Scatter cushions; John Lewis & Partners have a fantastic range of indoor/outdoor cushions
- Electric drill with screws;
- Metal joining plates for each pallet; these OMIDEAS 10 x Flat Joining Plates have thousands of 5-star reviews
- Goggles
- Protective gloves
How to build pallet furniture: Step-by-step
1. Pick your pallets
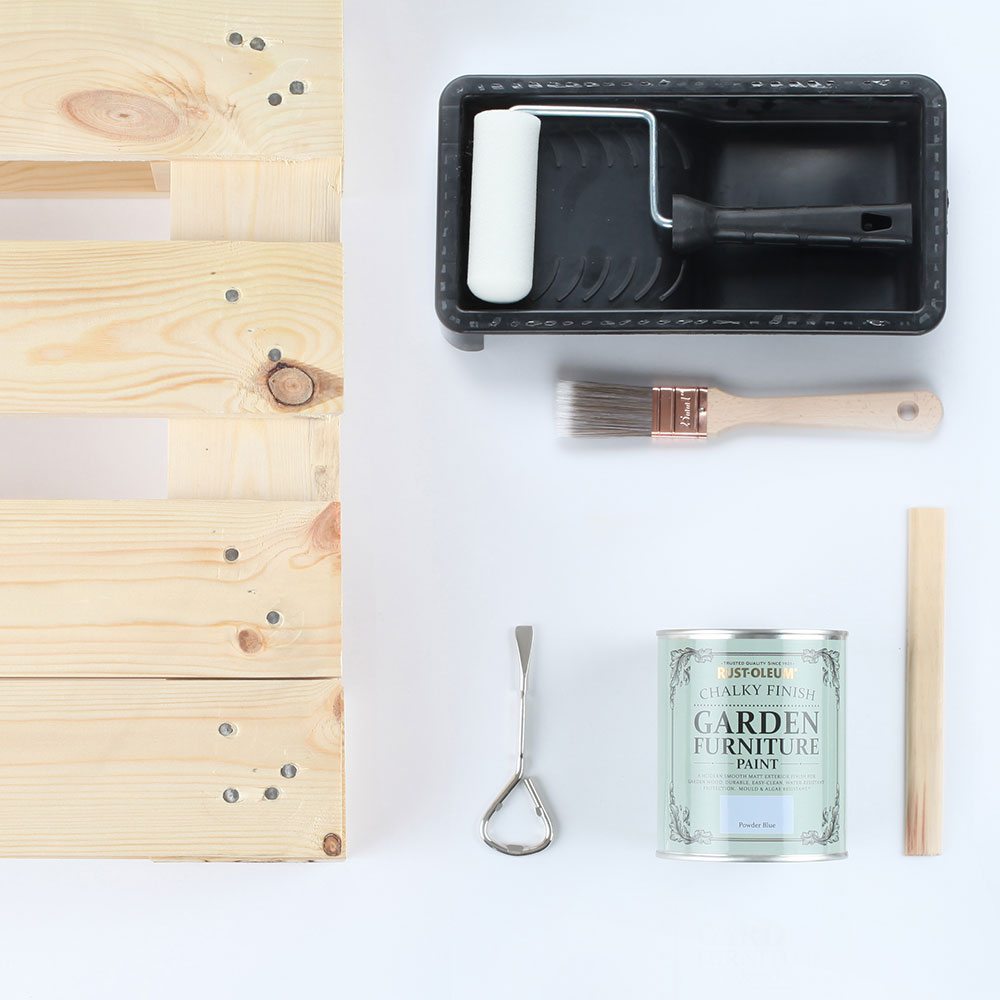
Pallets can often be sourced for free - it’s worth asking at supermarkets, construction sites, and hardware shops. Alternatively, you can pick them up cheaply from online selling sites, like these wooden pallets from eBay for £1. Most sellers will ask for these to be collected in person.
For the DIY outdoor furniture idea in this guide, you want three pallets that are in good condition - avoid any that have cracks, splintering, and rot.
2. Get prepped
Taking the time to prep your pallets will ensure much better results. Check the condition of the pallets; there may be nails that need removing, and the surfaces will need sanding down if they're uneven.
'Preparing your pallets involves sanding down the pallet well with a sanding tool, ensuring all sides, edges and surfaces of the pallets are smooth and lack any splintered wood,' says Michael Rolland, DIY Expert, The Paint Shed.
'Always ensure you are working in the direction of the wood grain. Sanding across the grain will leave scratches which will become obvious if you choose to paint or stain your furniture after.'
An electric sander will create a really smooth finish, but if you don't fancy investing in one, sandpaper will work just fine. Always wear goggles and protective gloves when using a sander.
Tri-Palm Sander 230v 130W | £27 at Wilko
For a perfectly smooth finish, this Tri-Palm Sander from Wilko is a budget and beginner friendly option. It comes with 10x sanding sheets and a dust extraction adaptor. Always read instructions before use.
3. Add wood treatment
For a long-lasting finish, experts recommend applying a coat of wood preserver to the pallets first.
A wood treatment will remedy any current rotting and prevent further rot from occurring. Apply as per the manufacturer's instructions and wait for it to dry before moving on to the next step.
4. Start painting

Having the correct paint is important when learning how to build pallet furniture. The best paint for furniture can be oil-based or water-based, and they come in a variety of finishes. Chalky finishes have a charming rustic effect that works well on pallet furniture.
Stir your chosen paint thoroughly and then apply in the direction of the wood grain. We recommend using a mini roller for an even finish, but you might need to use a brush for the harder-to-reach areas. You'll need a couple of coats, leaving the paint to dry for a good few hours before flipping the pallet over and painting the underside.
'It’s worth thinking about the weather conditions when painting,' says Matthew Brown from Sadolin & Sandtex. ‘In early Spring, the mornings can be damp and the evenings can still see dramatic temperature drops, increasing humidity levels which at best, will slow down drying times but at worst and can allow moisture to get trapped in the film coating.'
'In summer, direct sunshine can create very hot conditions, particularly on dark colours or surfaces,' adds Matthew. 'So if possible, avoid decorating in direct sunlight during the hottest part of the day if you are able to decorate in better shadier conditions later on.’
Rust-Oleum Chalky Finish Furniture Paint 750ml | £19 at Homebase
Transform the look of your pallets with this chalky finish furniture paint from Rust-Oleum. It has a smooth touch and flat matt finish, and can go directly onto the wood without a primer.
5. Secure the base
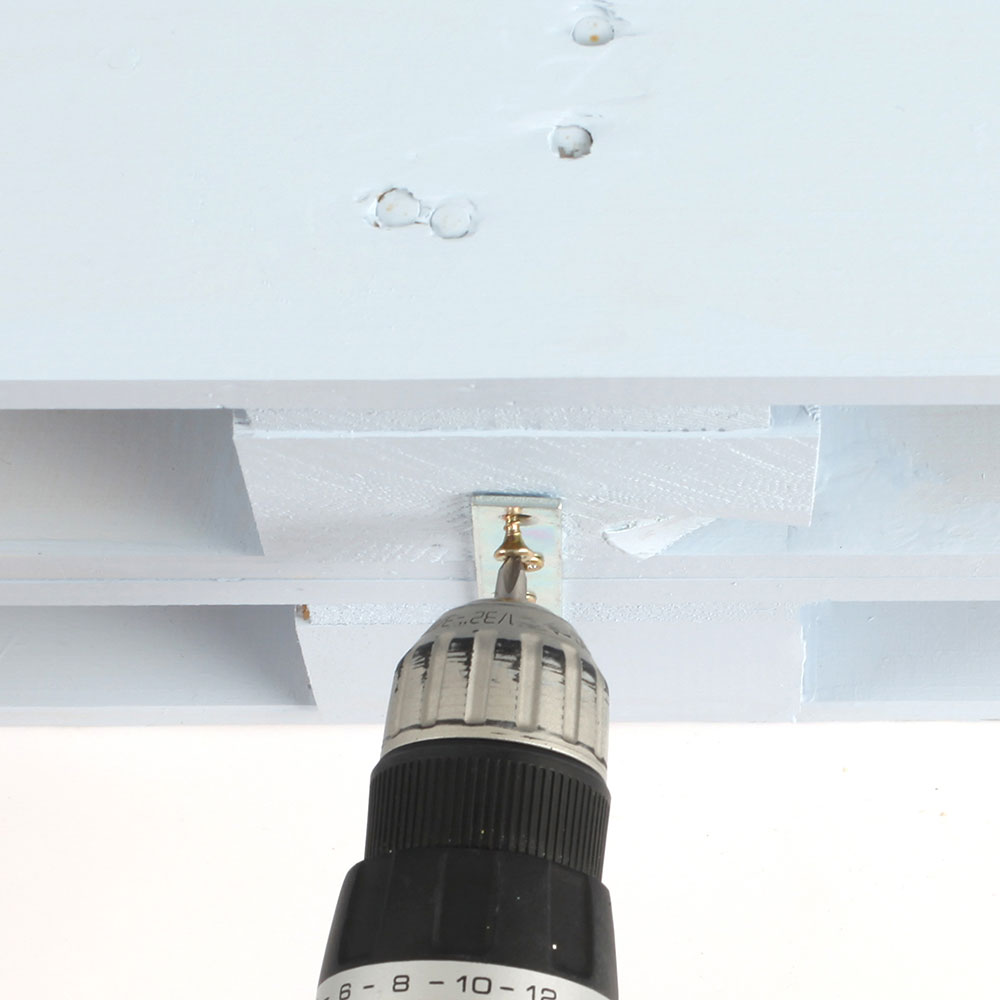
'Put the pallets on top of one another, then using either metal or wooden panels connect both pallets by drilling a screw through the panel, through one pallet then into the other pallet,' says Michael from The Paint Shed.
'Use a panel on each corner and use four screws per corner to make sure that it’s secure.'
Creating the base is a case of stacking your pallets to the right height, then screwing them in place when you're happy.
6. Form the back
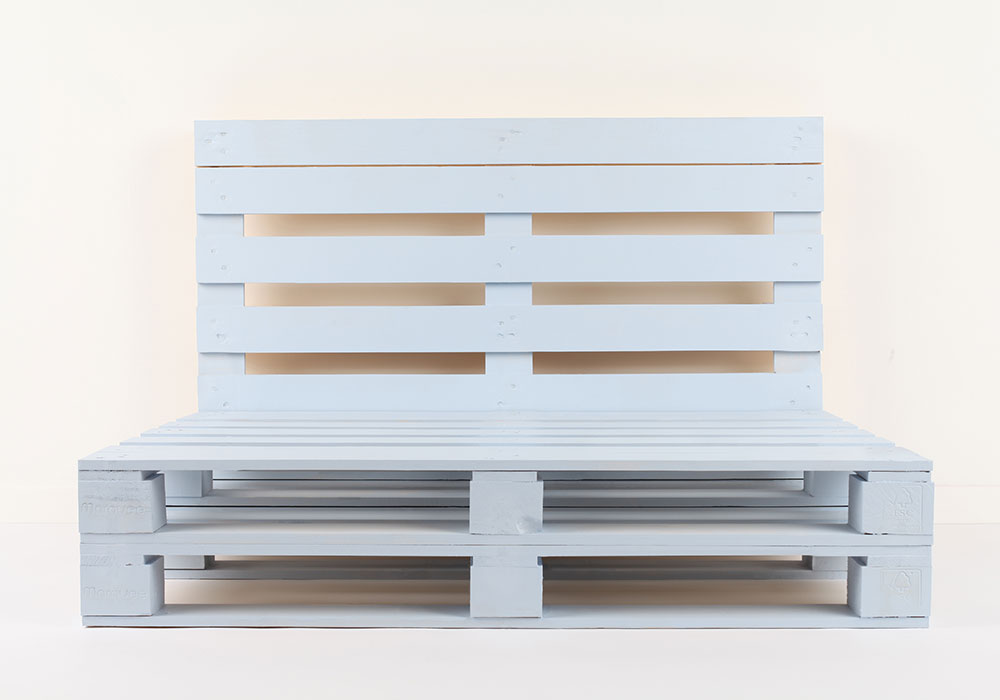
Add another pallet propped in a vertical position to create the back of your chair. Again, secure it in place with a drill and screws.
7. Dress your pallet bench for comfort
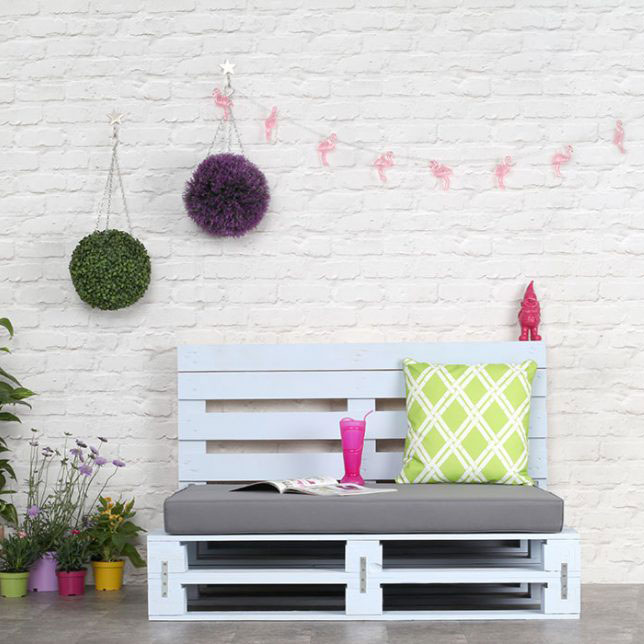
Homebase and many other retailers sell special pallet furniture cushions that fit perfectly on top of the pallets. Add colour with more scatter cushions and pot plants. If one bench isn't enough, you could think about placing two side by side to accommodate more people. Bring on the sunshine!
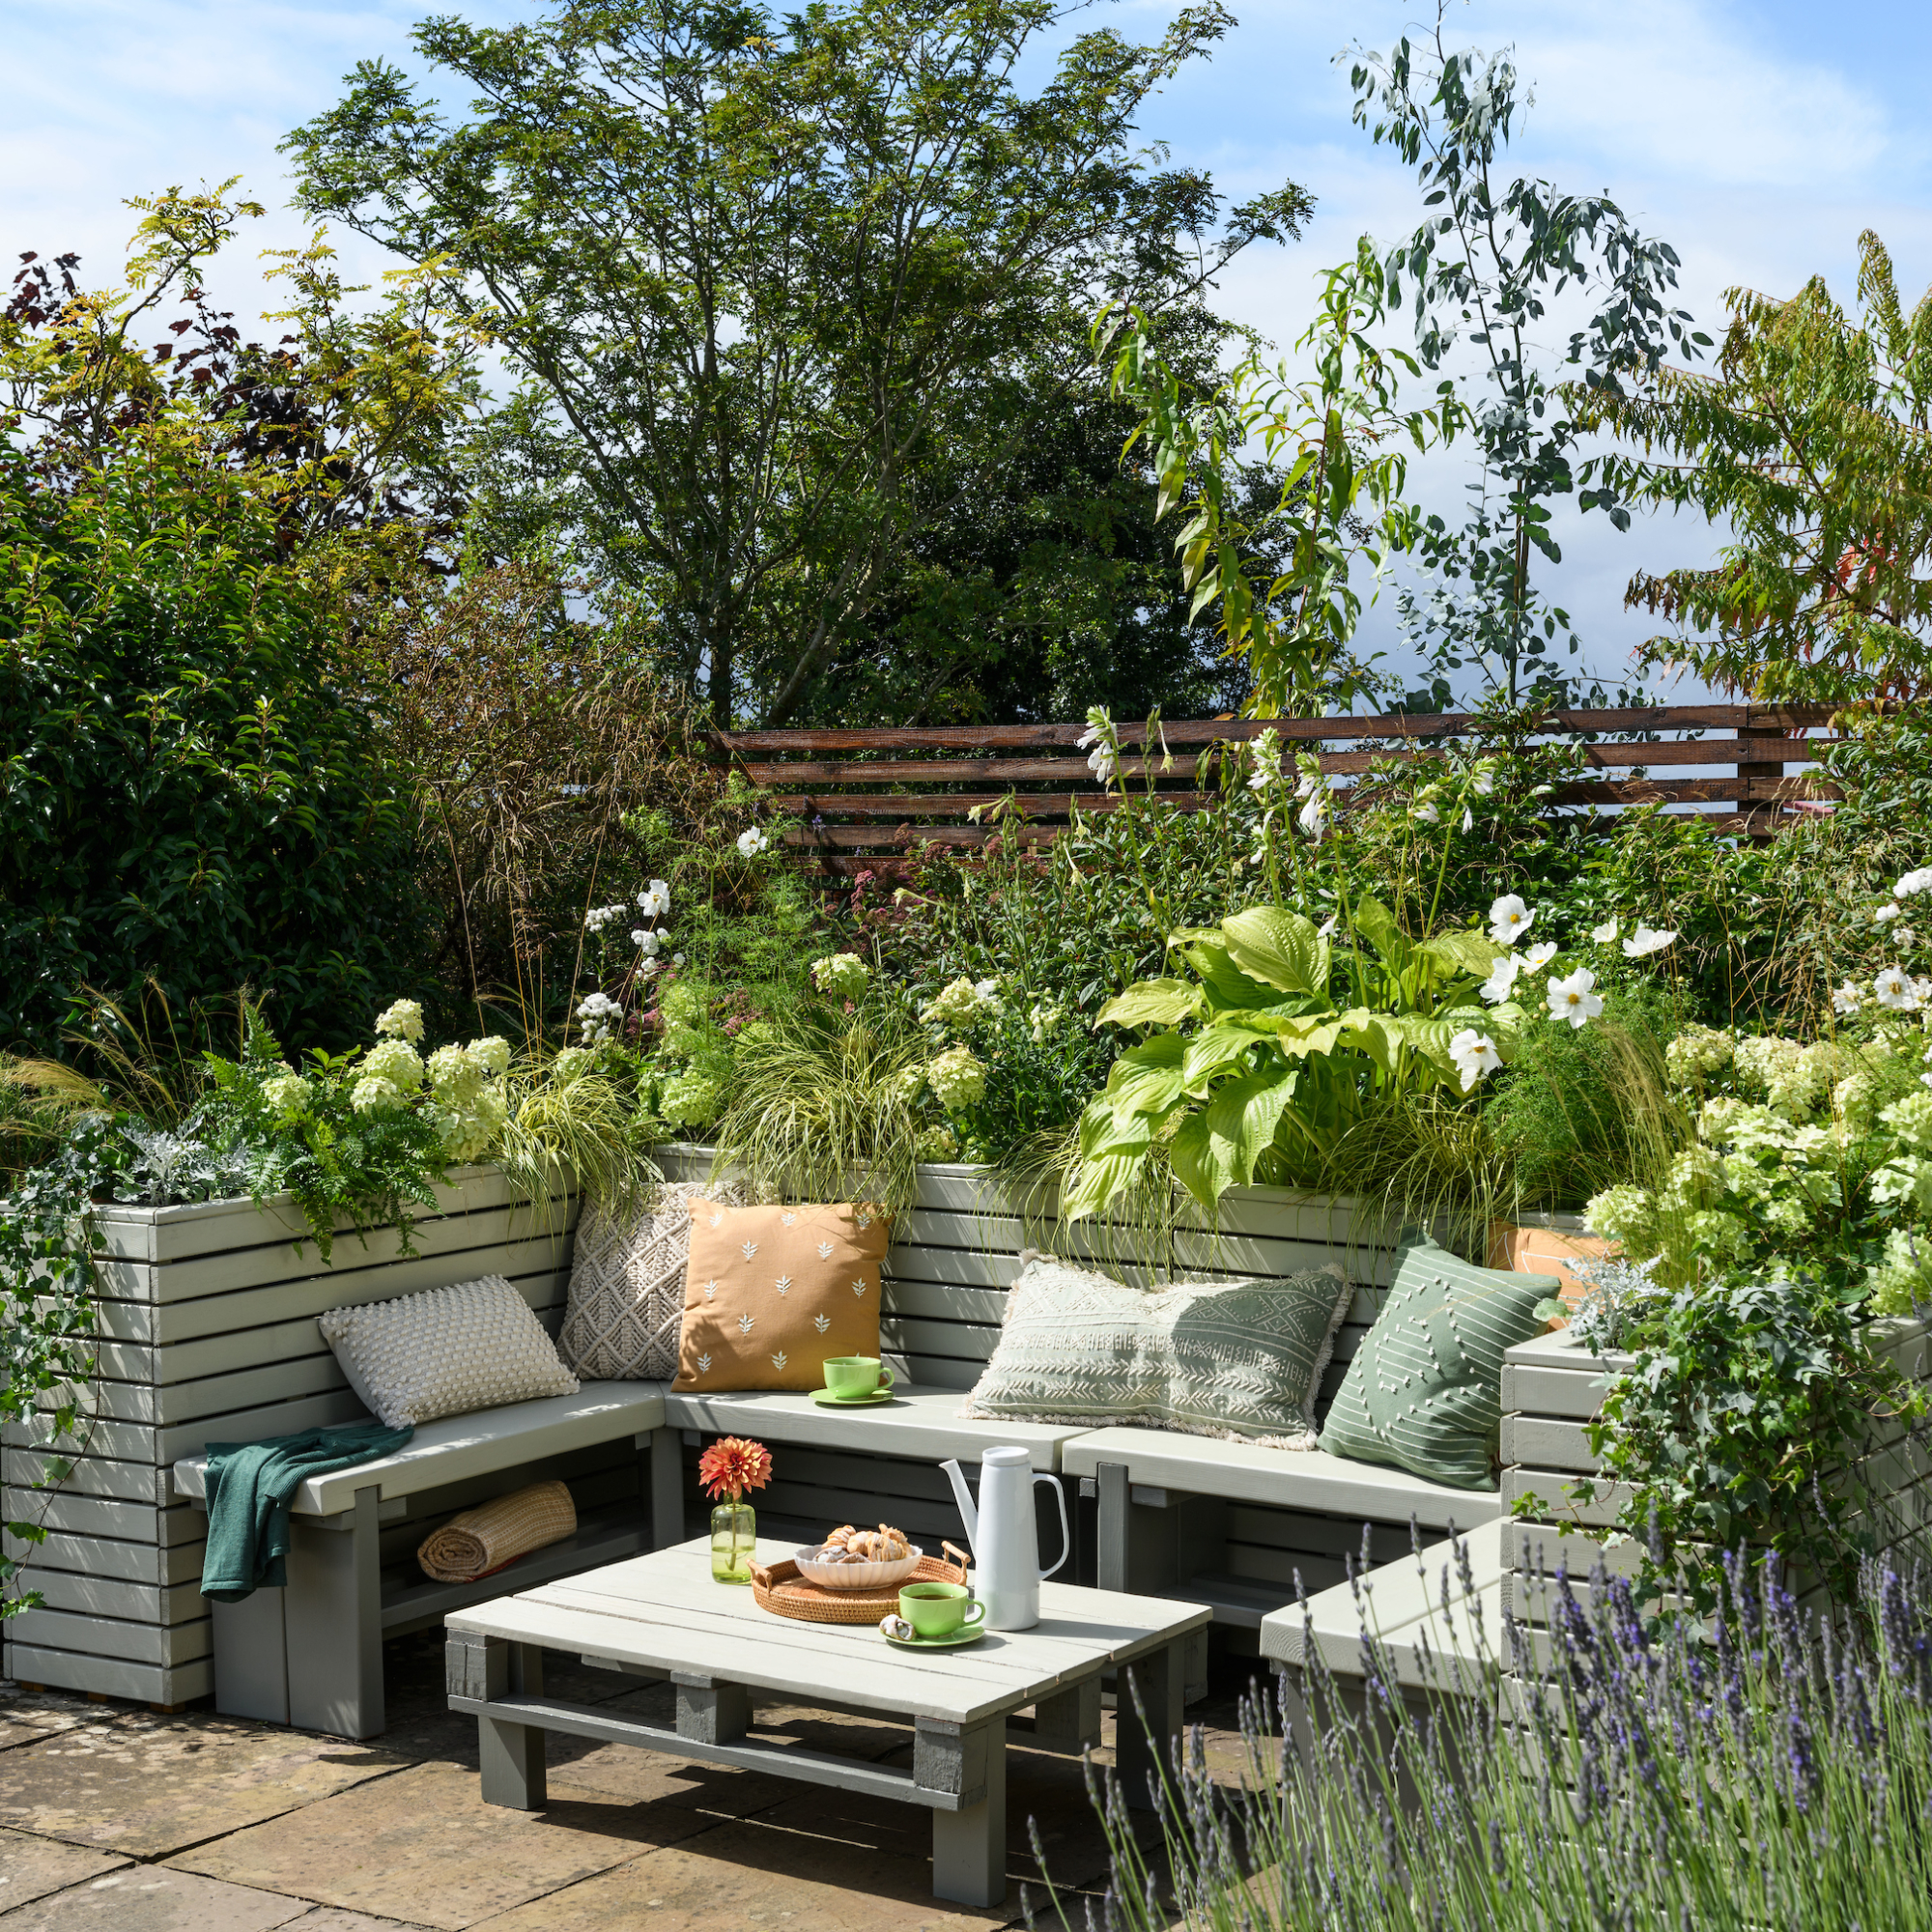
You could even go one better and make a corner sofa… Collect a cluster of pallets to build this outdoor take on a corner sofa, carefully deconstructing them and nailing them to a bespoke wooden framework.
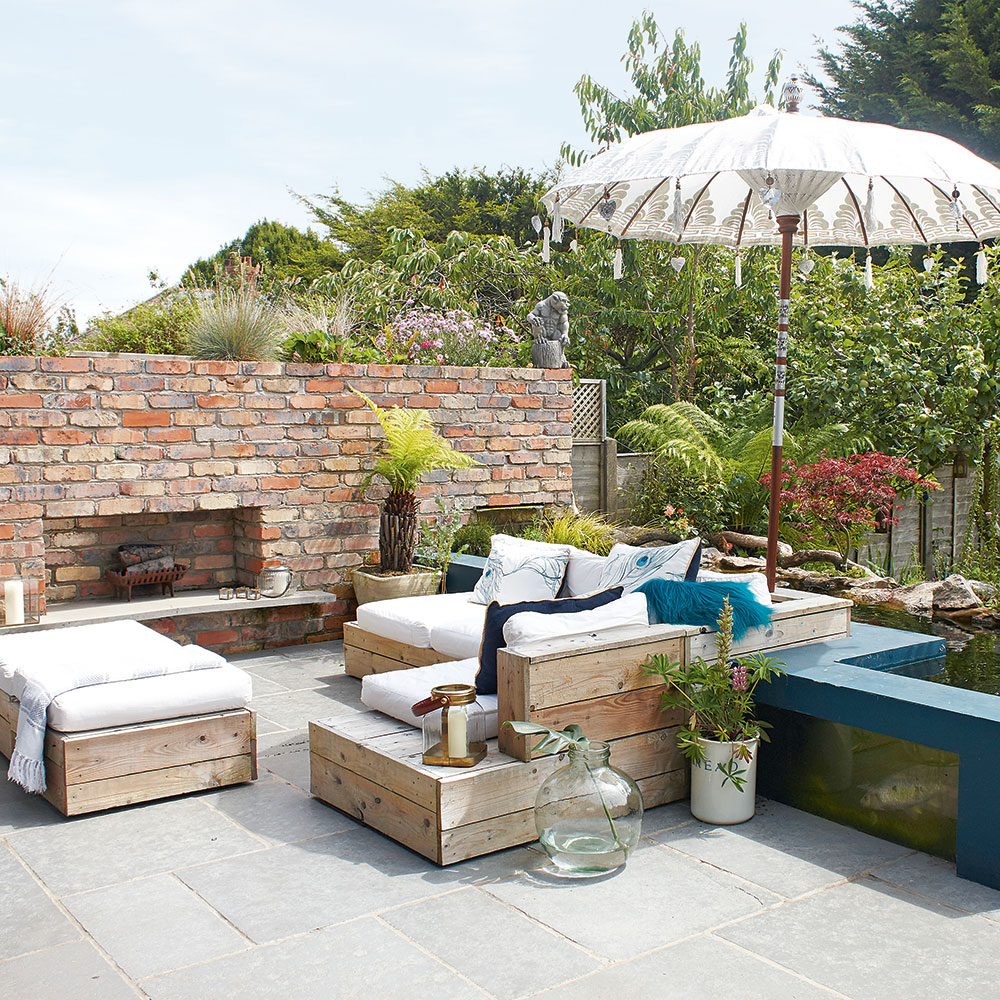
This classy look will take your timber garden furniture to the next level. Fashion a matching coffee table using the same method. Finish the look in style with sumptuous cushions to ensure this on-trend seating area is as comfy as it is stylish.
FAQs
What are the disadvantages of pallet furniture?
Despite their versatility, there are a number of drawbacks to using wooden pallets to make outdoor furniture. ‘For example, If it is not sanded properly, pallet furniture can have rough surfaces that may cause splinters or snag clothing,’ admits Aleksandar Kolarov, PR Specialist for Fantastic Services.
You also need strong sturdy wood, if you plan on putting any kind of weight on the pallet furniture, which is bound to happen if you’re making chairs, benches, tables or even garden swings.
‘Unfortunately not every pallet you come across will be as sturdy as you need it to be,' warns GardeningExpress.co.uk’s Founder, Chris Bonnett. 'It can take some time to gather several strong pallets.'
How long will pallet furniture last outside?
‘Untreated pallets will probably not last for long outside, as they can become damp and develop mould or fungus,’ notes Adkwik’s DIY Expert, Tim Warren. Other factors ‘such as weather, quality of wood, maintenance and construction,’ can affect them over time, Chris agrees.
Essentially, you don’t want all your hard work going to waste. That’s why it’s important to treat and weatherproof the wooden pallets once you’ve put them together.
How do you weatherproof pallet furniture?
Given the changeable weather that we routinely experience here in the UK, from rain and sleet to sunshine and fluctuating temperatures, it’s important to protect your pallet furniture from these different weather conditions. And if it is treated correctly, you’ll be able to enjoy your outdoor pallet furniture for years to come.
‘A good outdoor wood sealant or varnish can significantly extend the life of your furniture and maintain its aesthetic appeal,’ explains Robert Quinton, DIY Expert and Owner of Construction Megastore.
‘To weatherproof your pallet furniture, start by thoroughly cleaning the wood surfaces before allowing them to dry completely. Then, apply a suitable outdoor wood sealant or stain using a brush or roller, making sure to cover all exposed areas. And remember to pay special attention to joints and edges where moisture can penetrate.’ Depending on the treatment that you use, you’ll want to allow it to cure fully before exposing it to the elements, if you can.
If you’re looking to protect your pallet furniture further, you could cover it with a tarp or furniture cover when it’s not in use. You will also need to reapply treatments such as paint, varnish or sealant as and when needed to ensure that it maintains weatherproofing properties.
How many pallets does it take to build a couch?
As a general rule of thumb, you will need just three pallets in order to create a unique piece of outdoor furniture that will seat two people, and six pallets for a four-seater sofa.
'Two pallets on top of one another will make sure the couch isn’t too low to sit on,' says DIY expert Michael. 'Then put one pallet in a vertical position behind the two pallets on top of each other, to form the back of the couch. From there you are free to add whatever cushions you fancy, to make the couch more comfortable.'
'For a large corner sofa, you’ll need ten pallets,' says joinery expert James. 'Six for the base and four to make the backrests. A simple chair only needs three pallets.'
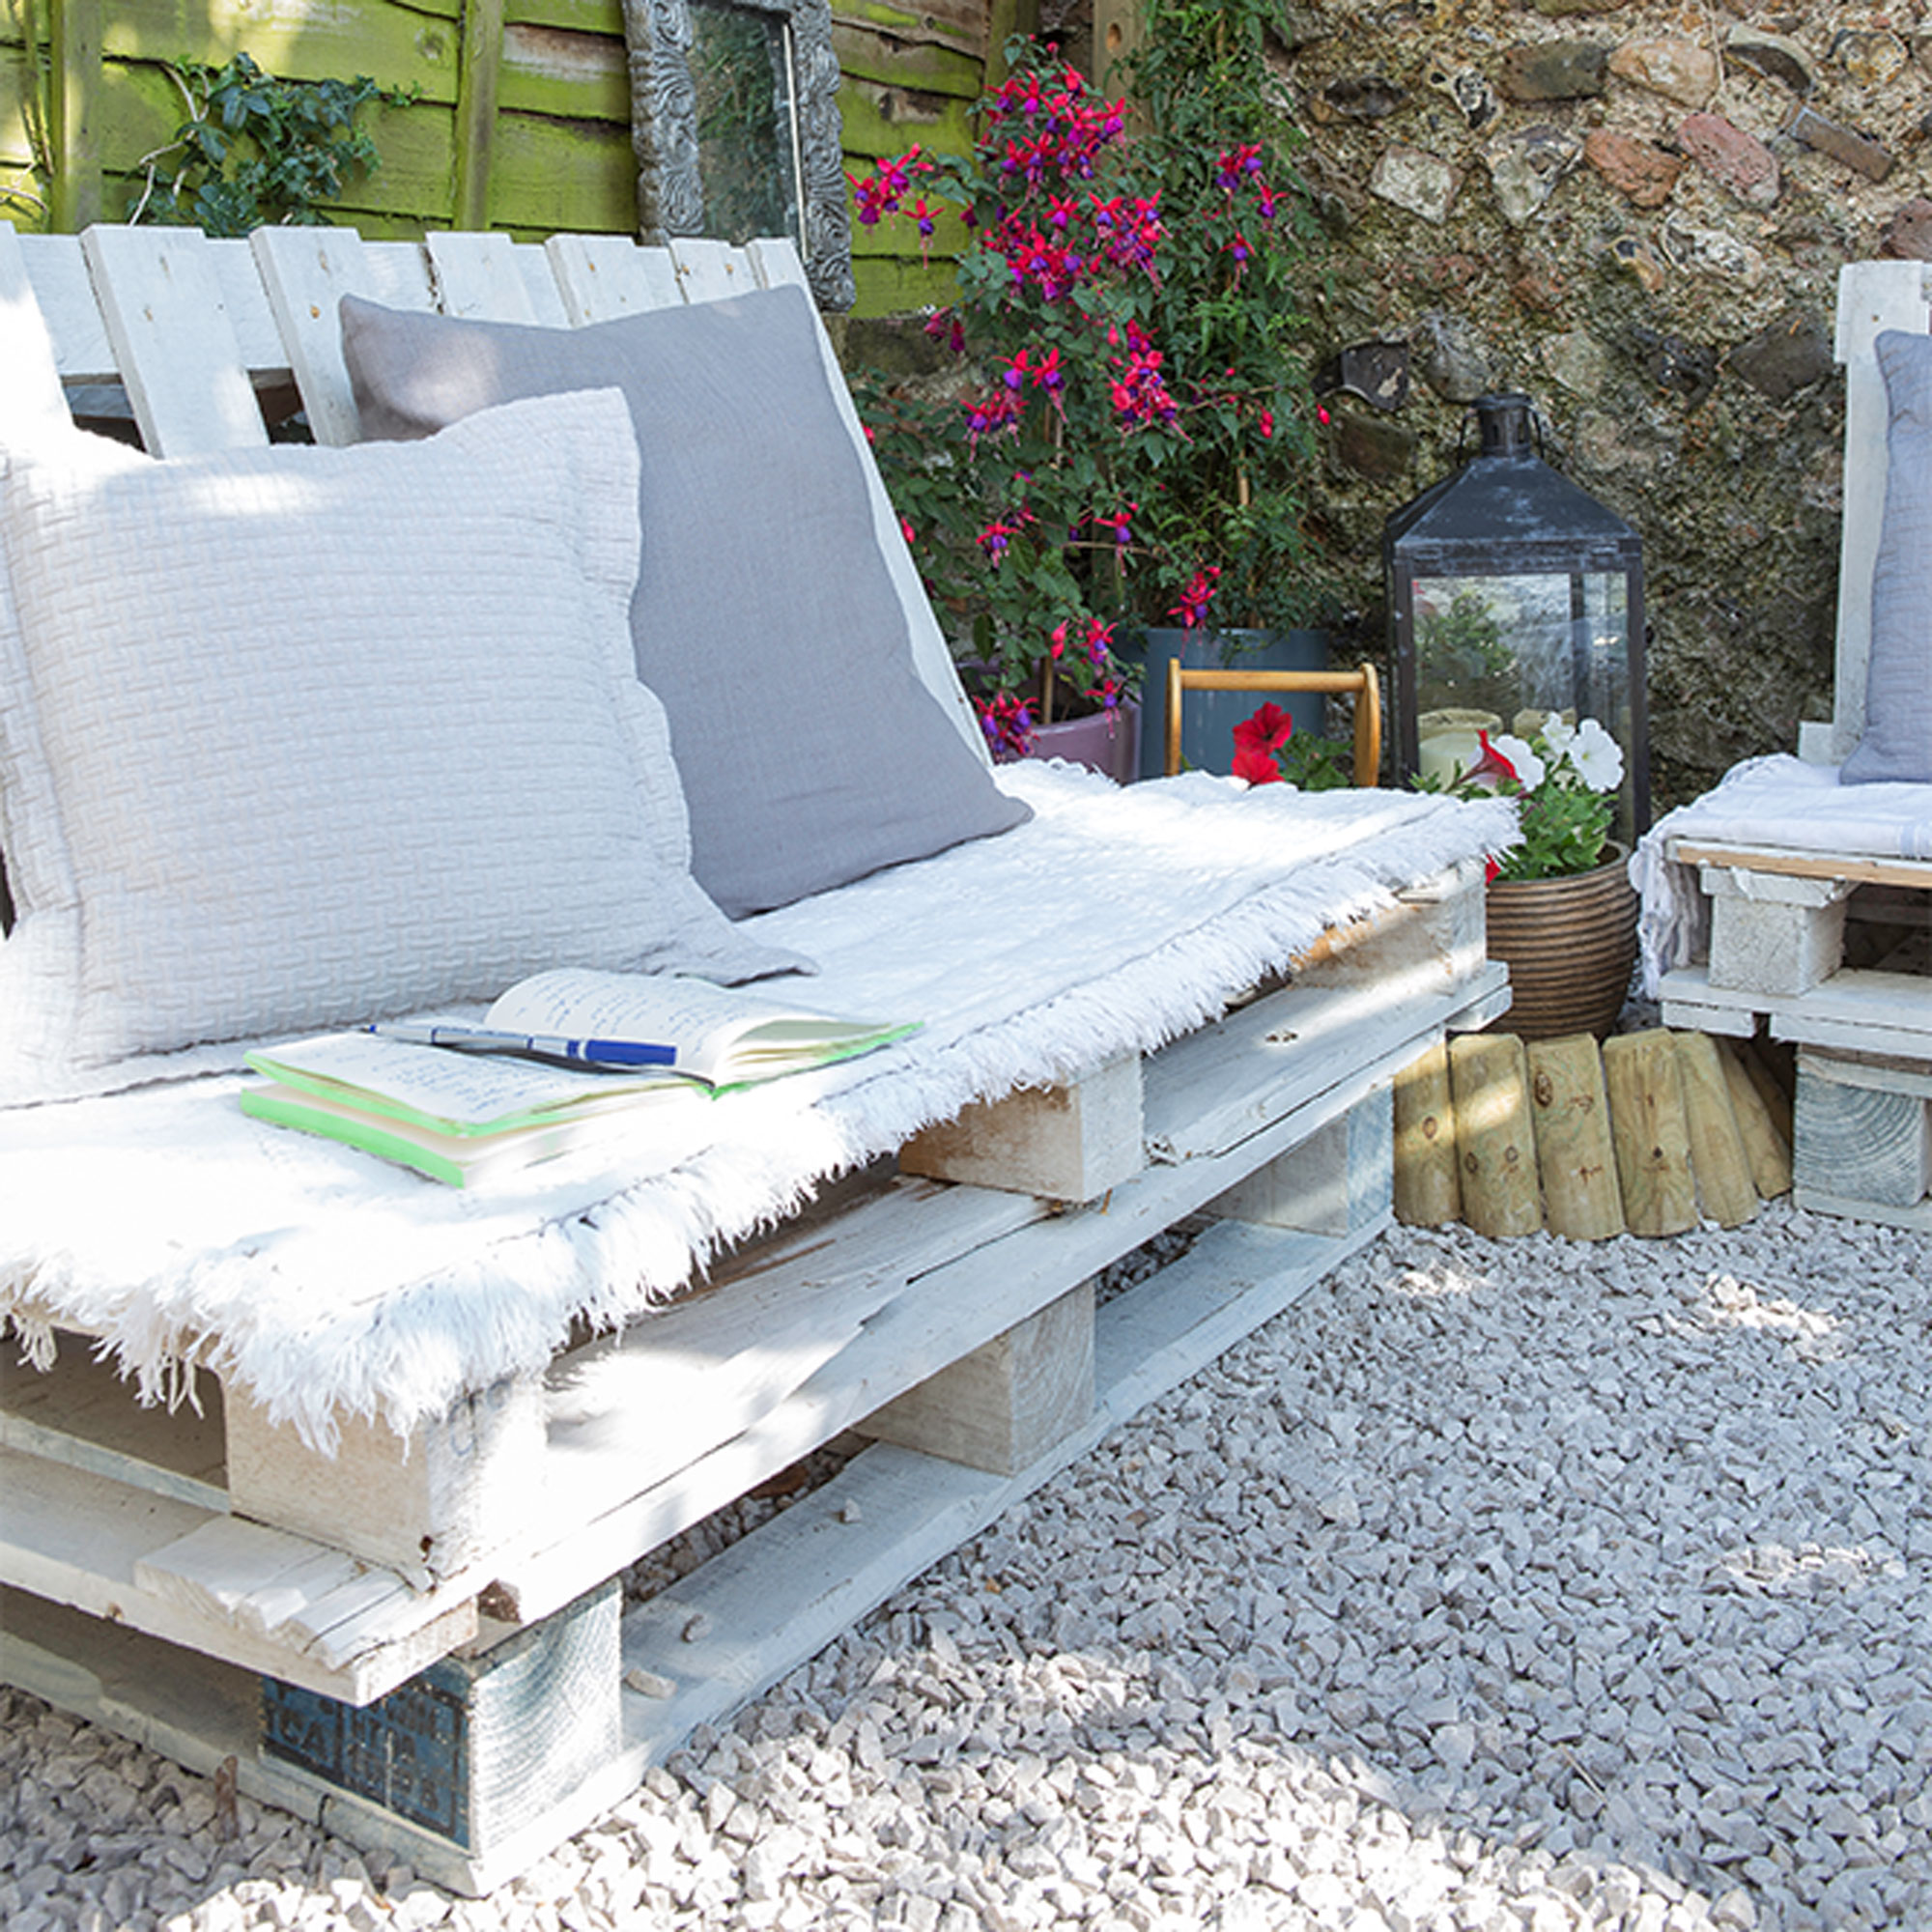
Of course, there are plenty of wooden pallets you can upcycle for free, but just keep an eye for the things mentioned above. It's always a good idea to treat the wood to ensure it's suitable for outdoor furniture use.
Get the Ideal Home Newsletter
Sign up to our newsletter for style and decor inspiration, house makeovers, project advice and more.

Amy Cutmore is an experienced interiors editor and writer, who has worked on titles including Ideal Home, Homes & Gardens, LivingEtc, Real Homes, GardeningEtc, Top Ten Reviews and Country Life. And she's a winner of the PPA's Digital Content Leader of the Year. A homes journalist for two decades, she has a strong background in technology and appliances, and has a small portfolio of rental properties, so can offer advice to renters and rentees, alike.
- Millie HurstSenior Content Editor
- Ellis CochraneContributor
-
 Should your front door colour match your hallway? Interior experts reveal 3 reasons why it should (and 3 reasons it shouldn't)
Are you team matching or contrasting?
By Ellis Cochrane
-
 This £200 limited-time discount makes this Dyson vacuum cheaper than I’ve ever seen it - run don’t walk to Argos for this bargain
It's the most affordable Dyson on the market right now
By Lauren Bradbury
-
 Martin and Shirlie Kemp’s pastel flower beds has given their Victorian renovation a romantic look - how you can get the look
Their pastel garden is the cottage garden inspo you've been looking for
By Kezia Reynolds
