How to make a beach mat
Follow Country Homes & Interiors’ step-by-step guide to making your own beach mat
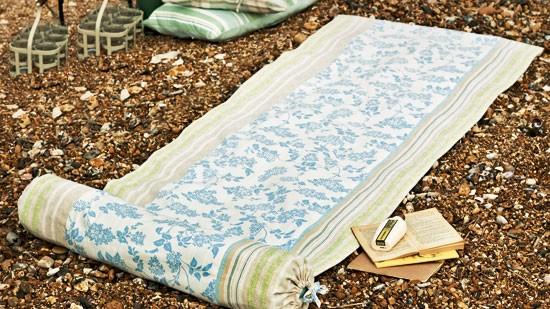
Planning a trip to the seaside this summer? Why not sew this stylish beach mat so that it's ready for when you head to the coast.
You will need
- Main floral fabric (we used Lilac print cotton, col Cobalt, Laura Ashley)
- Striped border/backing fabric (we used Carey Stripe, col Chalk Blue, Laura Ashley)
- Matching thread
- Taking thread
Step 1) For the front, cut out one floral panel, 2.5m by 50cm;
and two striped strips 2.5m by 20cm. For the back, cut one striped
panel 2.5m by 80cm. For the bolster channels cut two striped strips 53cm by 15cm.
Step 2) For the bolster ties, cut two 4cm by 30cm strips of floral
fabric. For the wrap-around tie, cut one 4cm by 80cm length of floral
fabric, joining pieces as necessary. To make the ties, place fabric
wrong side face up and fold in each long edge so that they meet in the
middle. Press, fold in half lengthways and press again. Tuck in the raw
edges at each end, then top stitch all round.
Step 3) Join the three front sections together along the long edges taking 2.5cm seams. Press open seam allowances.
Step 4)
Take one bolster channel piece and overlock then turn under 2.5cm along
each short edge. Press and tack in place. Turn under 2cm then 3cm along
one long edge. Machine stitch close to the fold to form a channel for the bolster tie. Repeat with the second bolster channel piece.
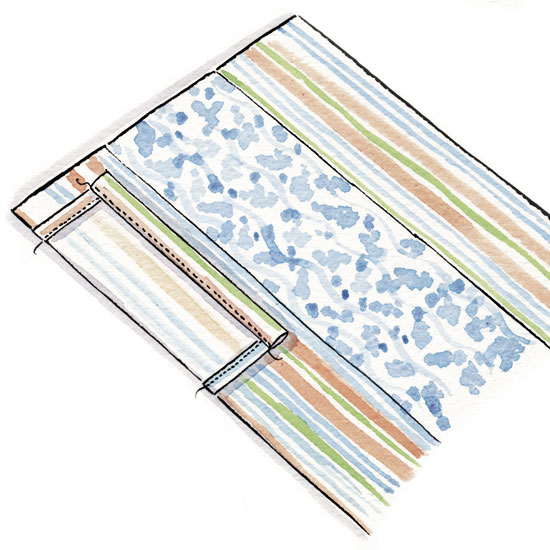
Step 5) To join all the pieces, place the three-piece
front section right side up on a flat surface. Right sides facing and
matching raw side edges, place one bolster strip at the top left-hand
corner, 3cm down from the top raw edge (see illustration).
Position the second bolster strip in the same way on the top right-hand
side. Tack in position along seam lines. Wrong side up and matching raw
edges all round, place the back striped piece on top. Pin and tack along
the side edges, stitch taking a 2.5cm seam, trim seam allowances, turn
through and press.
Step 6) To make the bolster section at
the top of the beach roll, turn under 2.5cm along the top raw edge then
fold down again by 24cm, aligning the two halves of each bolster piece,
and tack along the folded edge. Machine stitch along tacking through all layers as close to the folded edge as possible. Remove tacking.
Step 7)
Take one of the shorter ties and push and fasten a small safety pin
through one short end. Push into one bolster channel and, using the
safety pin to help, manoeuvre the tie through the channel and out the
other end. Holding both ends of the tie, gently gather up the fabric.
Secure the tie with a bow. Repeat to fit the second short tie into the
other side of the beach roll. Remove safety pins and unpick tacking
along overlocked edges.
Step 8) To hem the bottom edge of
the beach roll, turn under the raw edges by 2.5cm and press. Tack the
two pressed edges together, sandwiching the wrap-around tie, folded in
half, centrally in between as you go. Top stitch close to the folded
edge. Remove all tacking and press to finish.
Step 9) When
using, undo one of the bolster ties and stuff bolster section with a
towel to form a cushion. Re-tie to hold in place. Lay beach roll on top
of another towel for extra comfort.
Illustration Michael A Hill
Liked this? Find more of our craft ideas on Country Homes & Interiors' new website. Plus, be first to hear about our favourite buys and exclusive competitions on Facebook and Twitter.
Get the Ideal Home Newsletter
Sign up to our newsletter for style and decor inspiration, house makeovers, project advice and more.
-
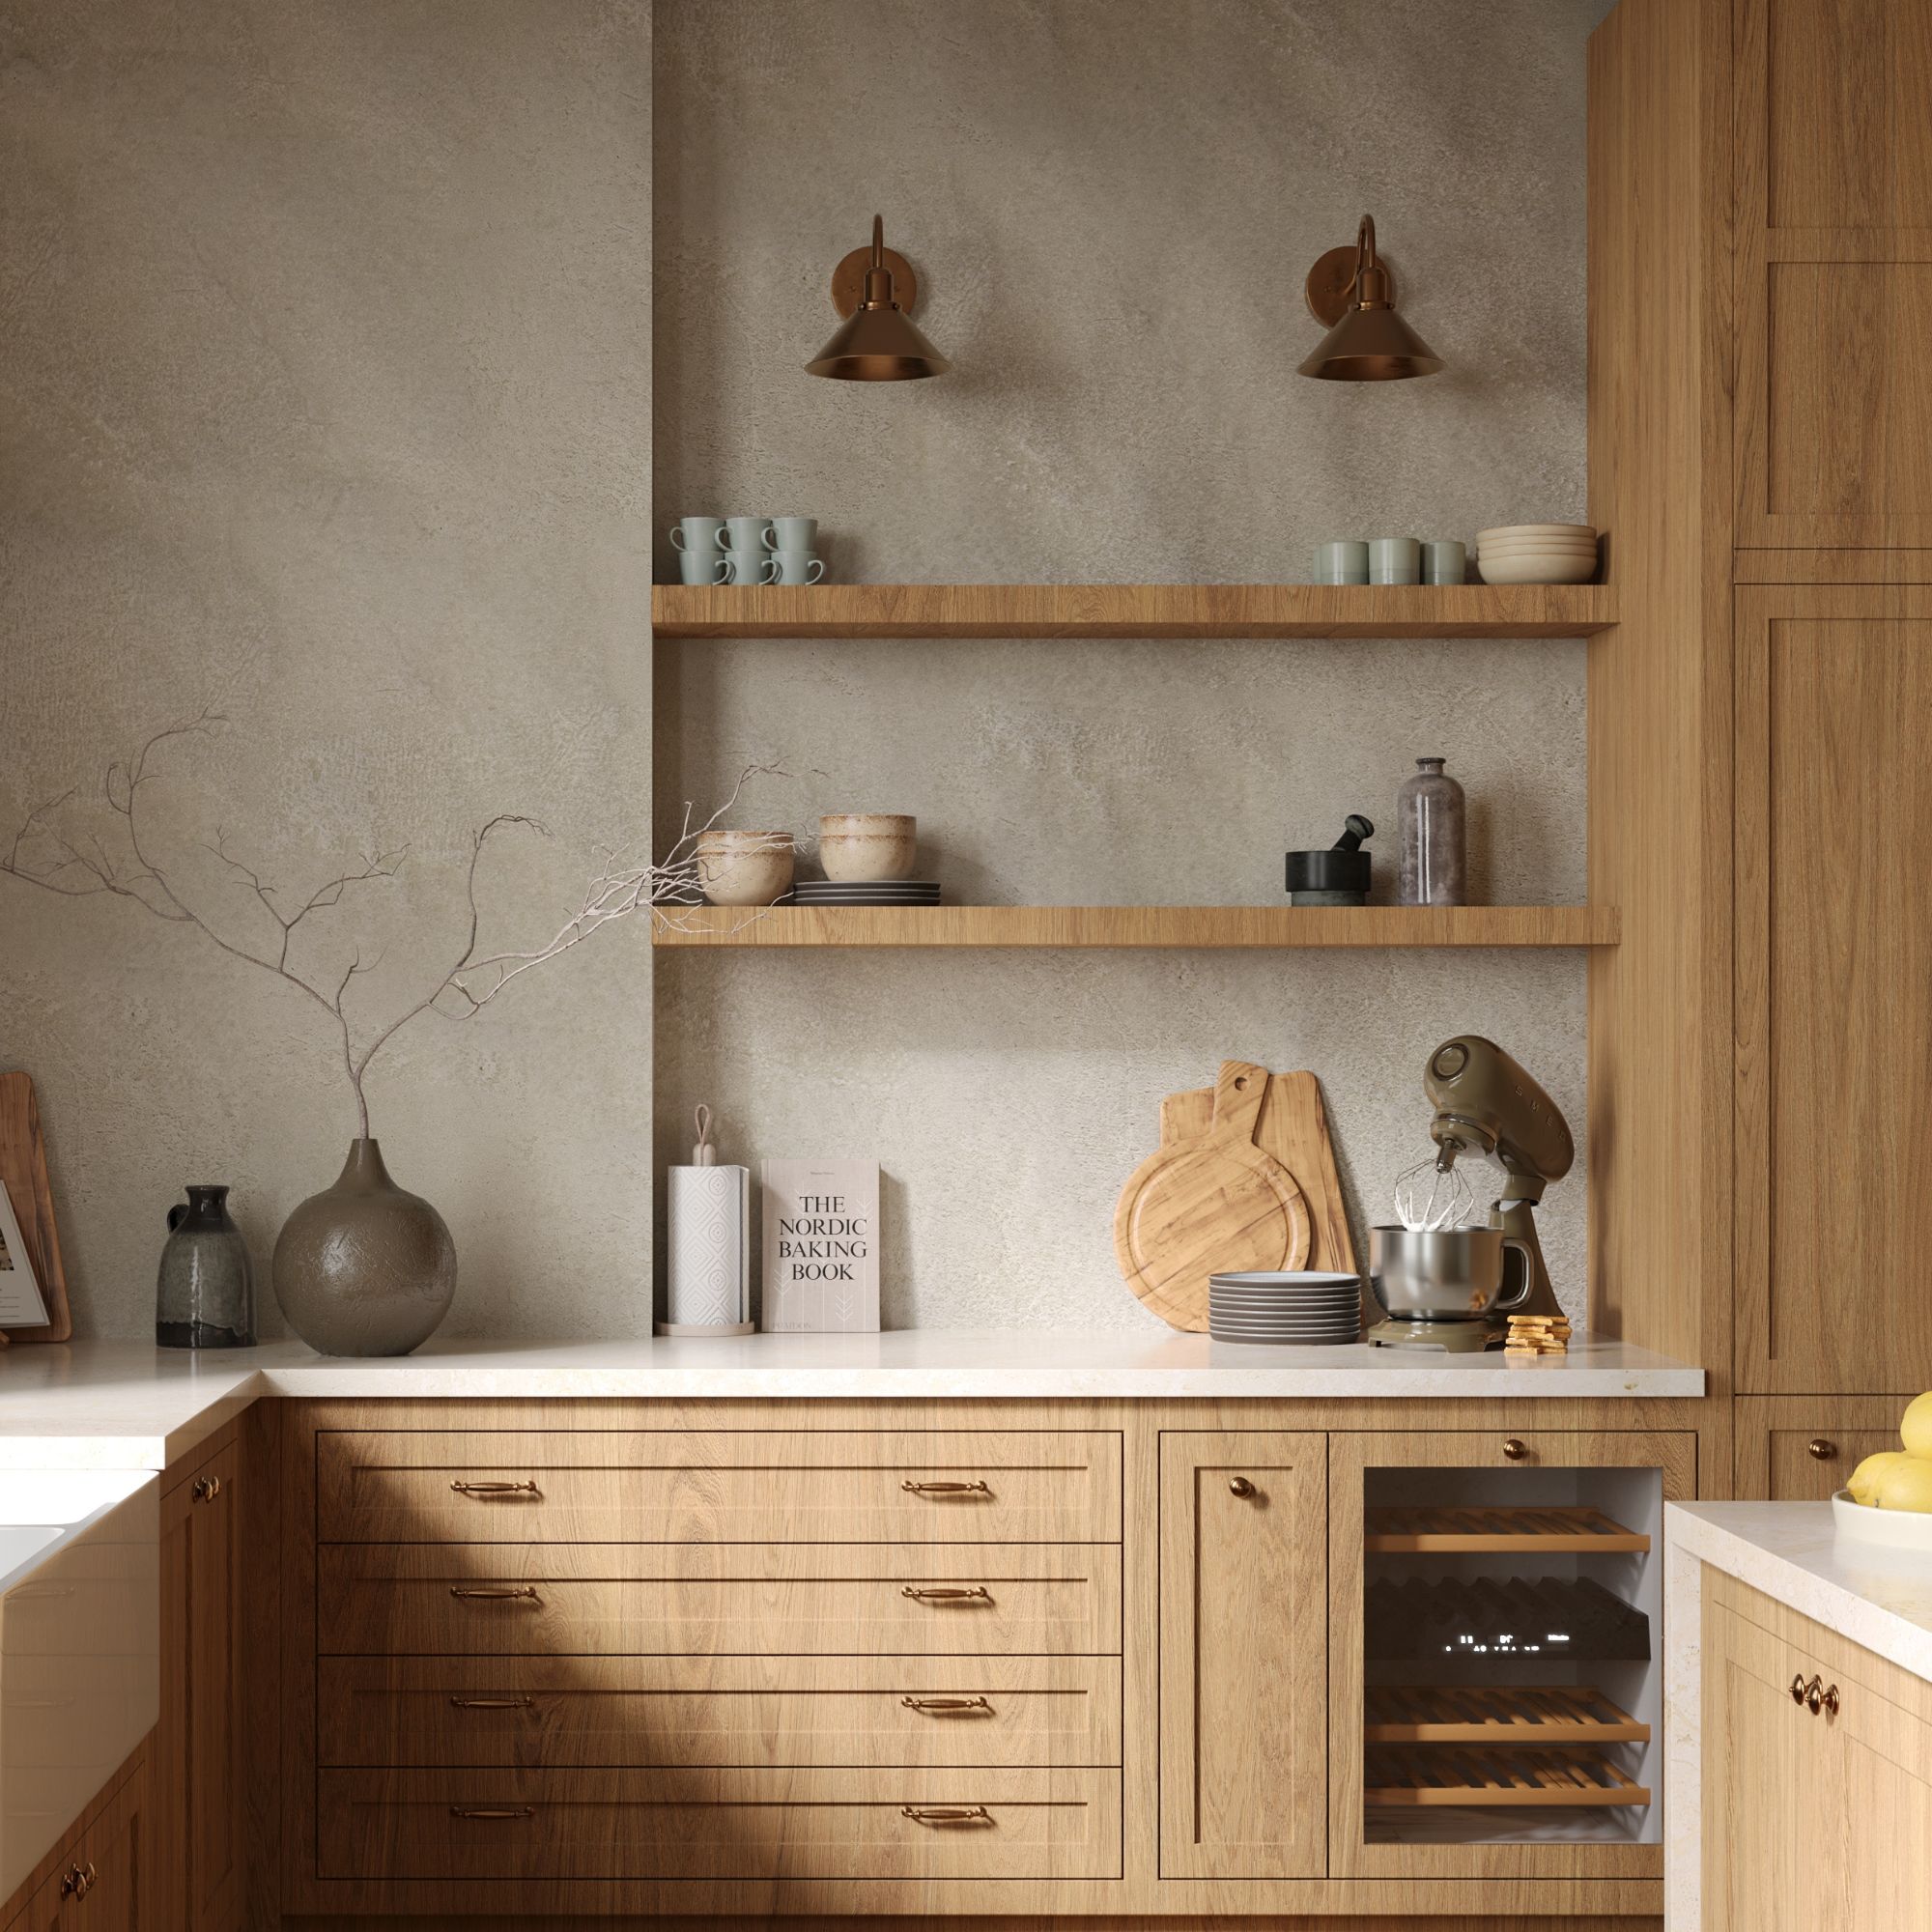 Wood drenching is the calming new twist on the colour drenching trend – here’s how to make the look work in your home
It’s easier than ever to embrace natural materials
By Maddie Balcombe
-
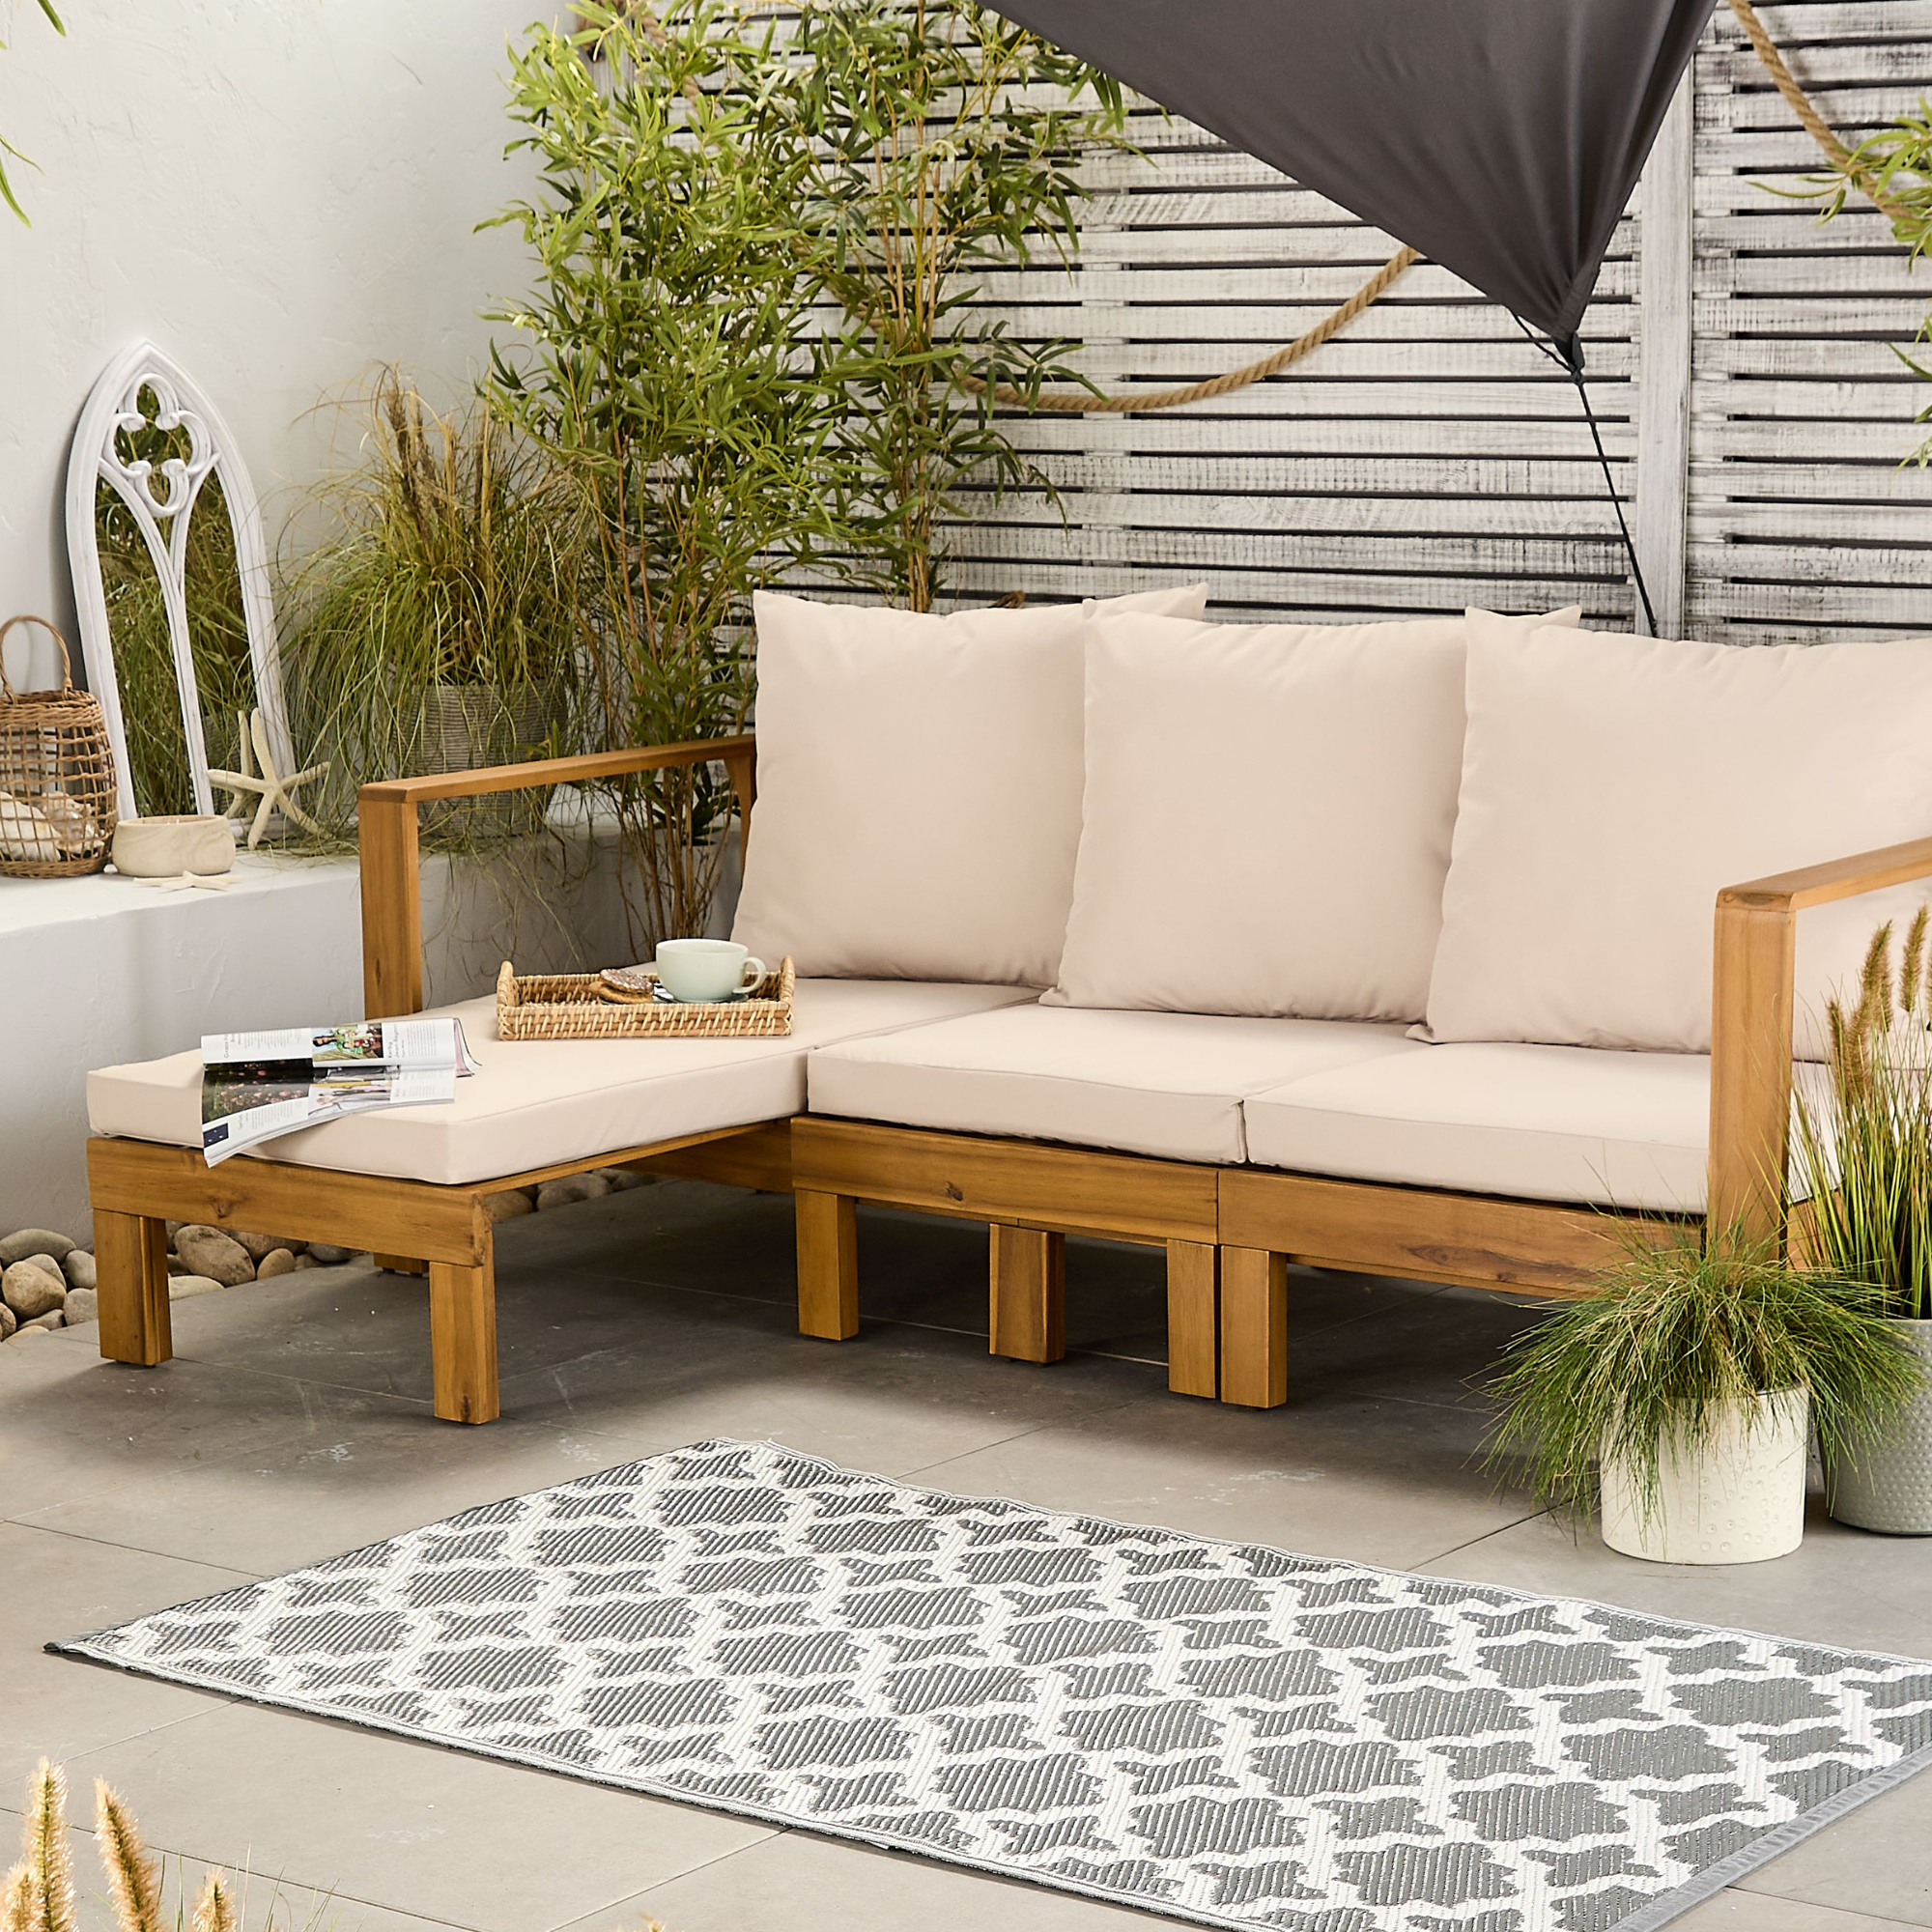 Aldi is launching a £200 day bed with four different features - its sleek design is suited to the whole family
You don't want to miss out on this Specialbuy
By Kezia Reynolds
-
 How to set up a drip watering system that saves water and a lot of effort
Keep your plants hydrated (and your water bill down) with this clever garden watering solution
By Natalie Osborn
-
How to make a cushion cover – 5 easy envelope cushion cover designs
Wondering how to make a cushion cover? Give a room an instant lift by sewing one of these cushion cover designs with our step-by-step guide.
By Charlotte Duckworth
-
 How to make a Christmas present sack
Embracing the craft trend? Follow Country Homes & Interiors' step-by-step guide on how to make a Christmas present sack
By Heather Young
-
 Blackboard paint craft ideas
Make a statement in your home with blackboard paint
By Heather Young
-
 6 ways to organise your craft room
Get your craft room in order so you have the perfect space to work on your projects.
By Amy Hodge
-
 Handmade just-for-you gifts
Get into the festive spirit by handcrafting a special gift for a loved one
By Sara Bird
-
 How to cover a drum lampshade
Take a look at Country Homes and Interiors simple instructions for covering a drum lampshade with fabric
By Sara Bird
-
 How to make Halloween trick-or-treat pots
Make something special for the little trick-or-treaters who knock at your door this Halloween
By Jennifer Drew
-
 4 upcycling ideas that take less than 1 hour
Fancy getting crafty this weekend? These fab upcycling ideas will take you no time at all.
By Amy Hodge