3D stencilling is trending on TikTok and Instagram – this is how to recreate the hottest DIY trend of the moment in your home
This is how content creators give their walls a sculptural look on a budget
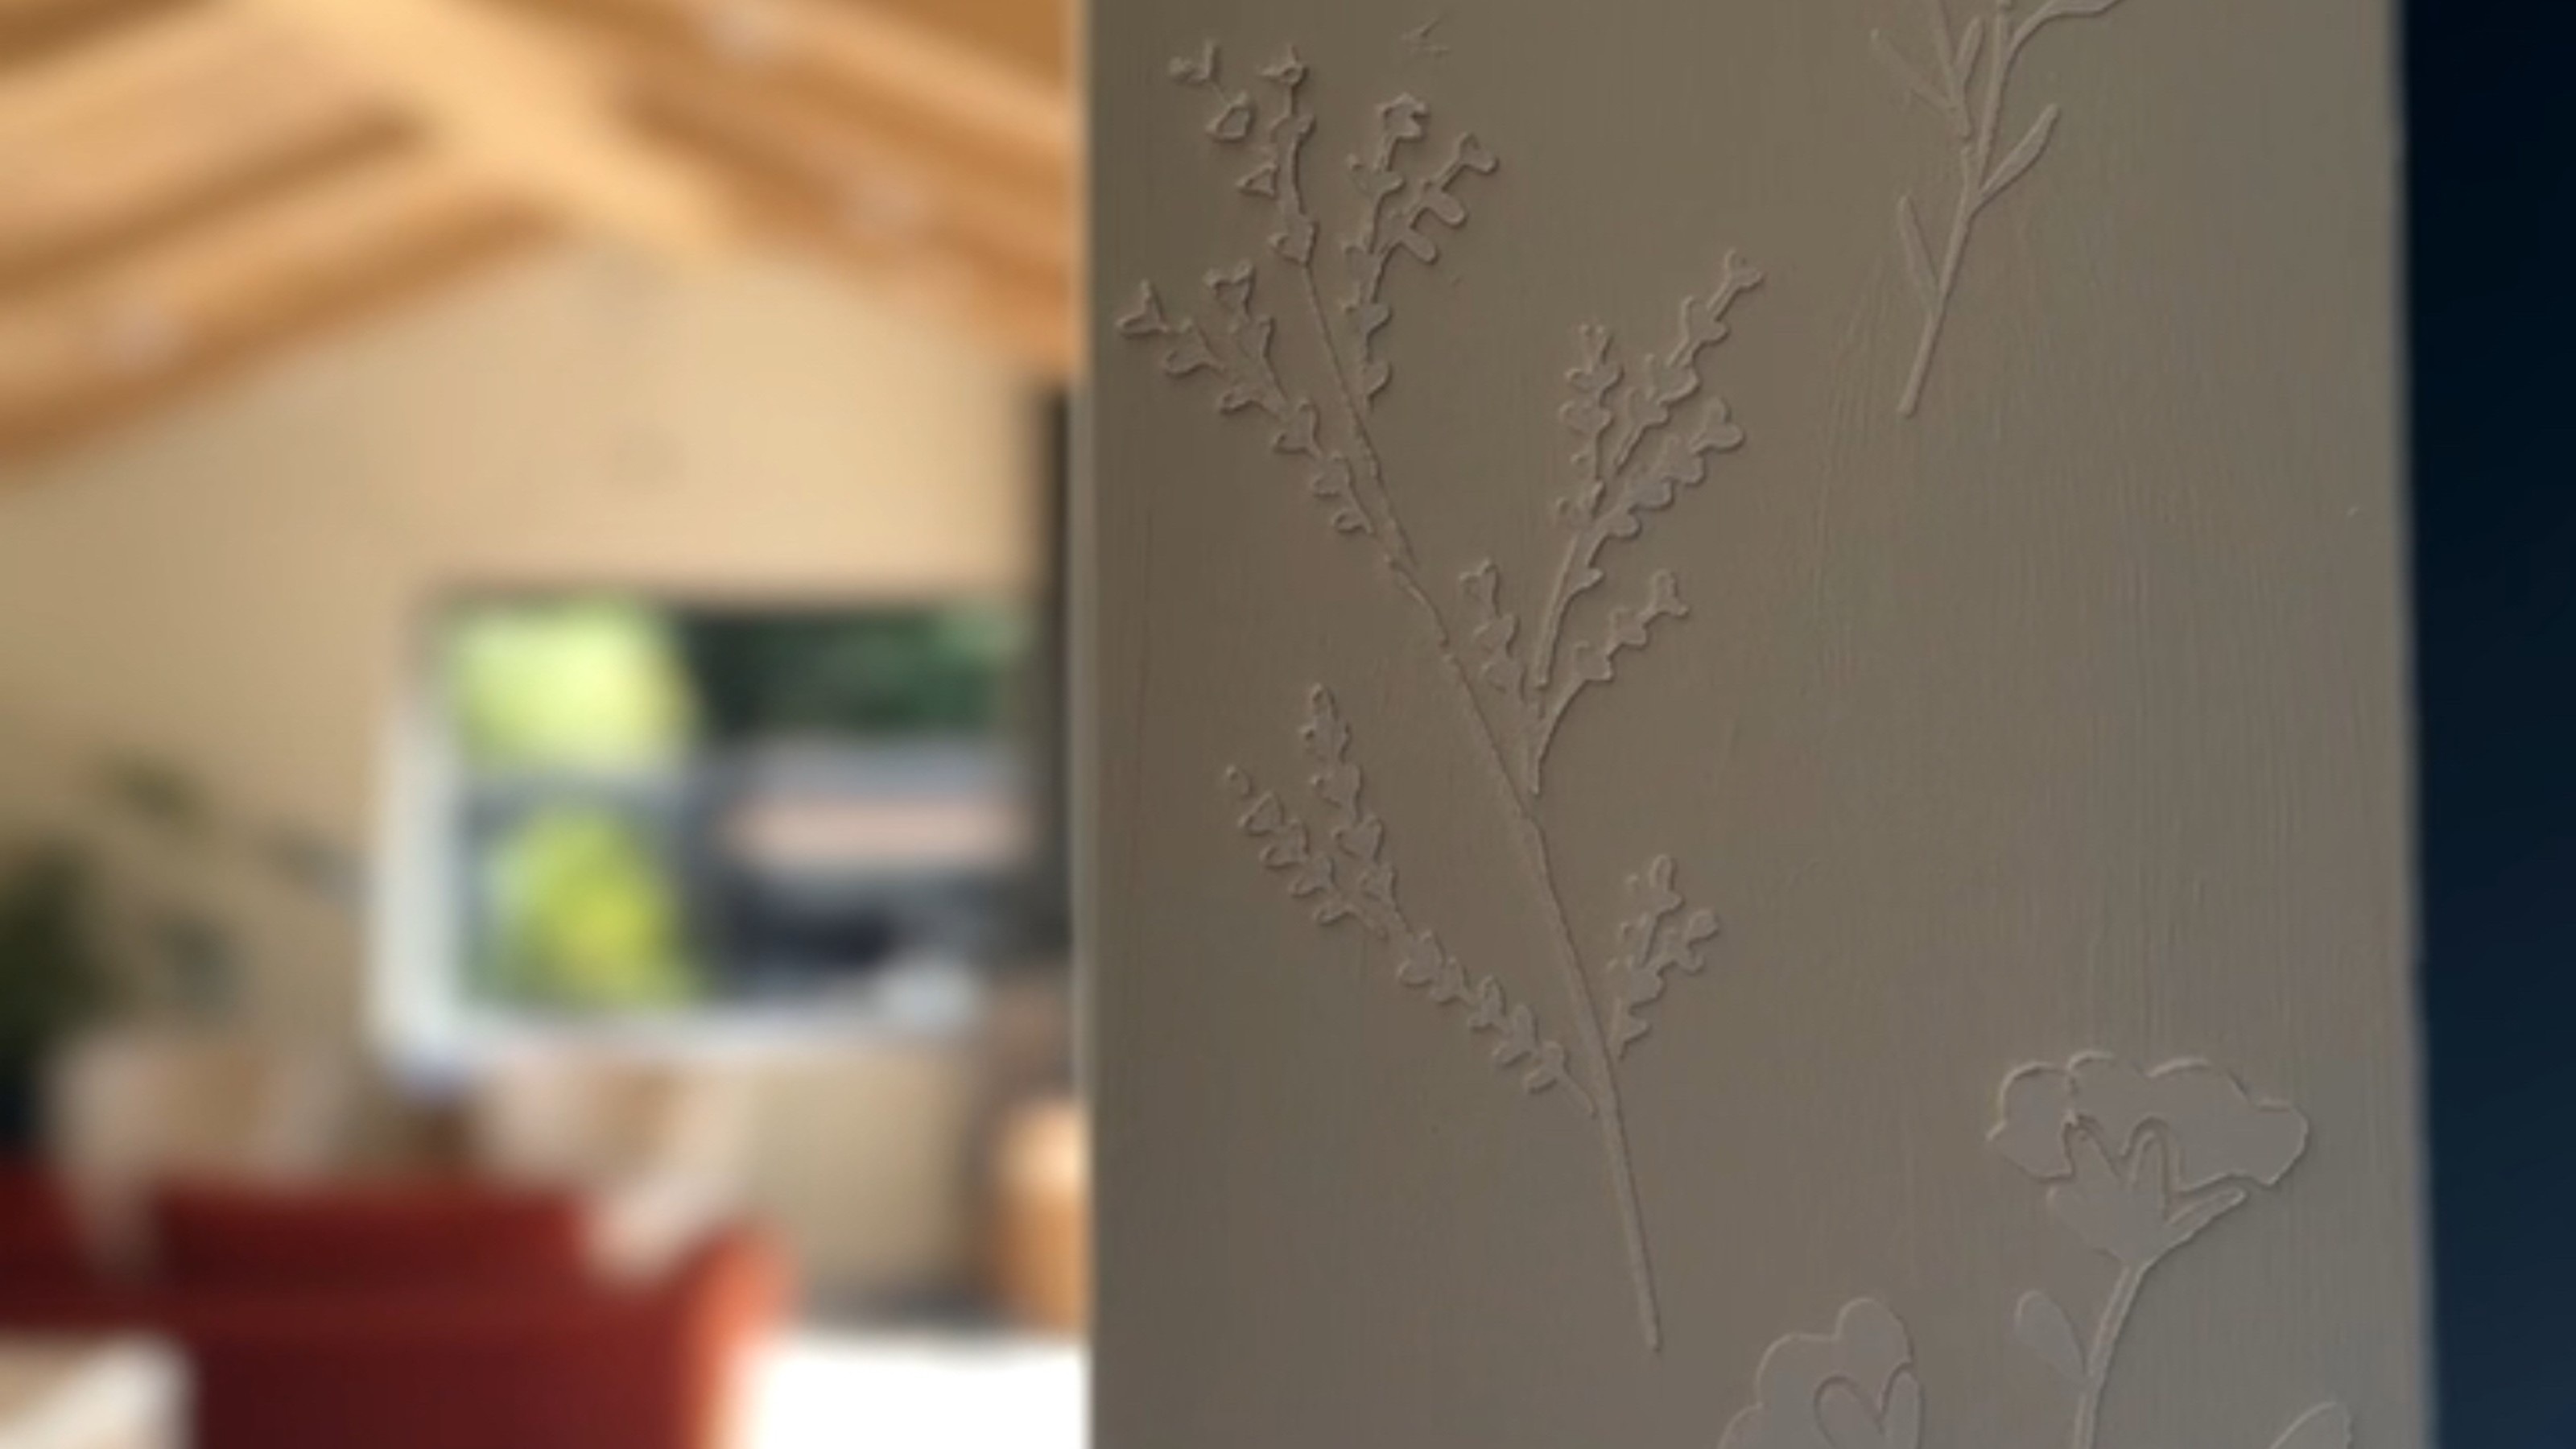

We all know and love wall stencilling - the quite self-explanatory technique of using a stencil to bring a motif or a pattern on walls to life with the help of paint. But as lovely as it is, wall stencilling is getting an upgrade as the DIY trend blowing up on Instagram and TikTok is 3D stencilling.
This easy DIY project idea pioneered by the likes of Instagram content creator Kate Hewitt of @our_bears_home is popping up all over social media – and if you’re into DIY and interiors, more likely than not you would have come across it, too.
‘I wanted to add a unique, eye-catching detail that would welcome people into my snug, so I came up with the idea of creating plaster flowers using polyfilla and stencils,’ Kate says of her entrance makeover. ‘The result is these beautifully embossed, intricate floral patterns that draw the eye immediately. It was a quick, DIY-friendly project that adds such a special touch to the space as you walk in.’
And the best part is that it’s not only easy to do, but it’s also the perfect budget decorating idea as all you need are three things that are all very affordable, each under £6 and some of which you might already have at home.
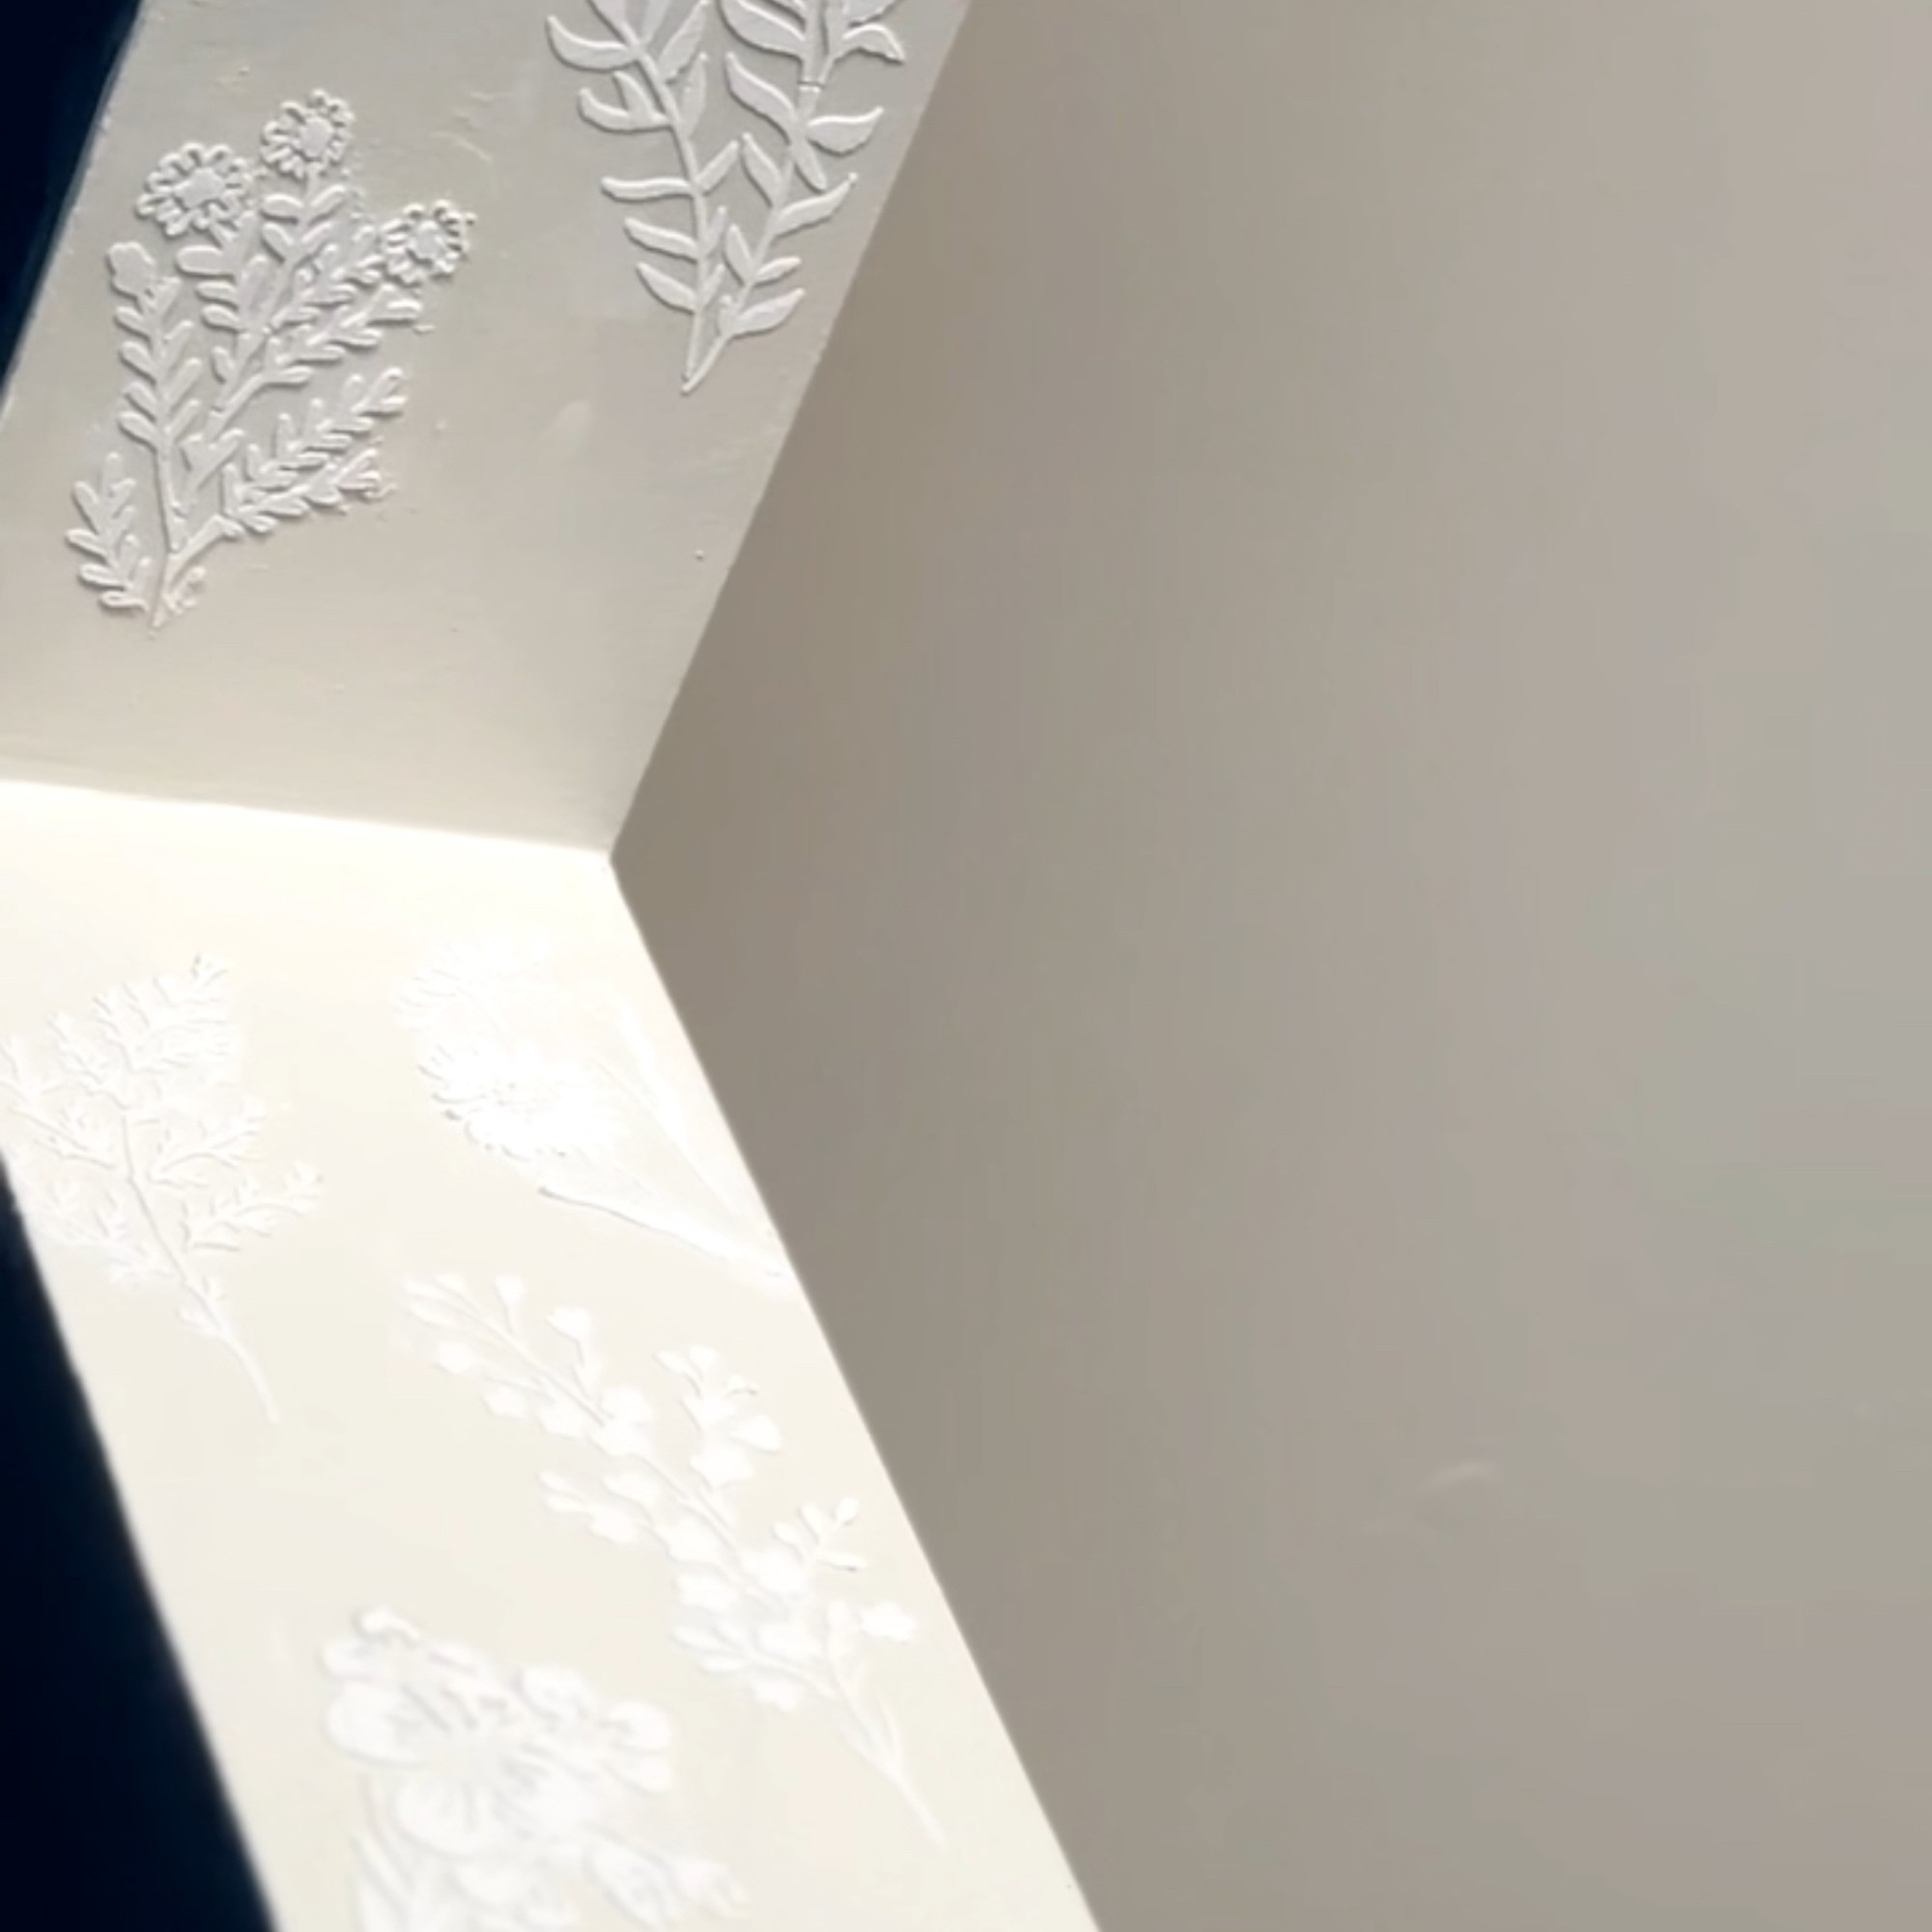
What you’ll need
- Stencils like these floral ones at Amazon – these are the same ones that Kate’s used
- Any plaster, filler or polyfilla like the Volden Ready Mixed White Paste Multi-purpose Filler at B&Q
- Paint and wallpaper scraper like this one at Amazon for spreading the filler
Step-by-step guide
Ideal as a living room or bedroom wall decor idea, 3D stencilling is a timeless design feature that will bring more depth, dimension and texture into your space. Who can say no to that? Especially since texture is one of the most important elements in any room, even according to interiors queen Kelly Hoppen.
‘3D stencilling is taking off now because it’s a fun and customisable build on the popular DIY trend of wall stencilling, adding a unique, textured look that transforms plain walls into eye-catching, artistic and sculptural designs that look expensive,’ says Gill Baker, interiors expert at B&Q.
‘I can also see that it’s growing in popularity because of how accessible it is, making it a great low or no-damage DIY for enthusiasts at any level. It’s a surprisingly easy DIY, with only a few steps to achieve a polished look, and requires only a couple of very affordable tools.’
Get the Ideal Home Newsletter
Sign up to our newsletter for style and decor inspiration, house makeovers, project advice and more.
This is what you need to do.
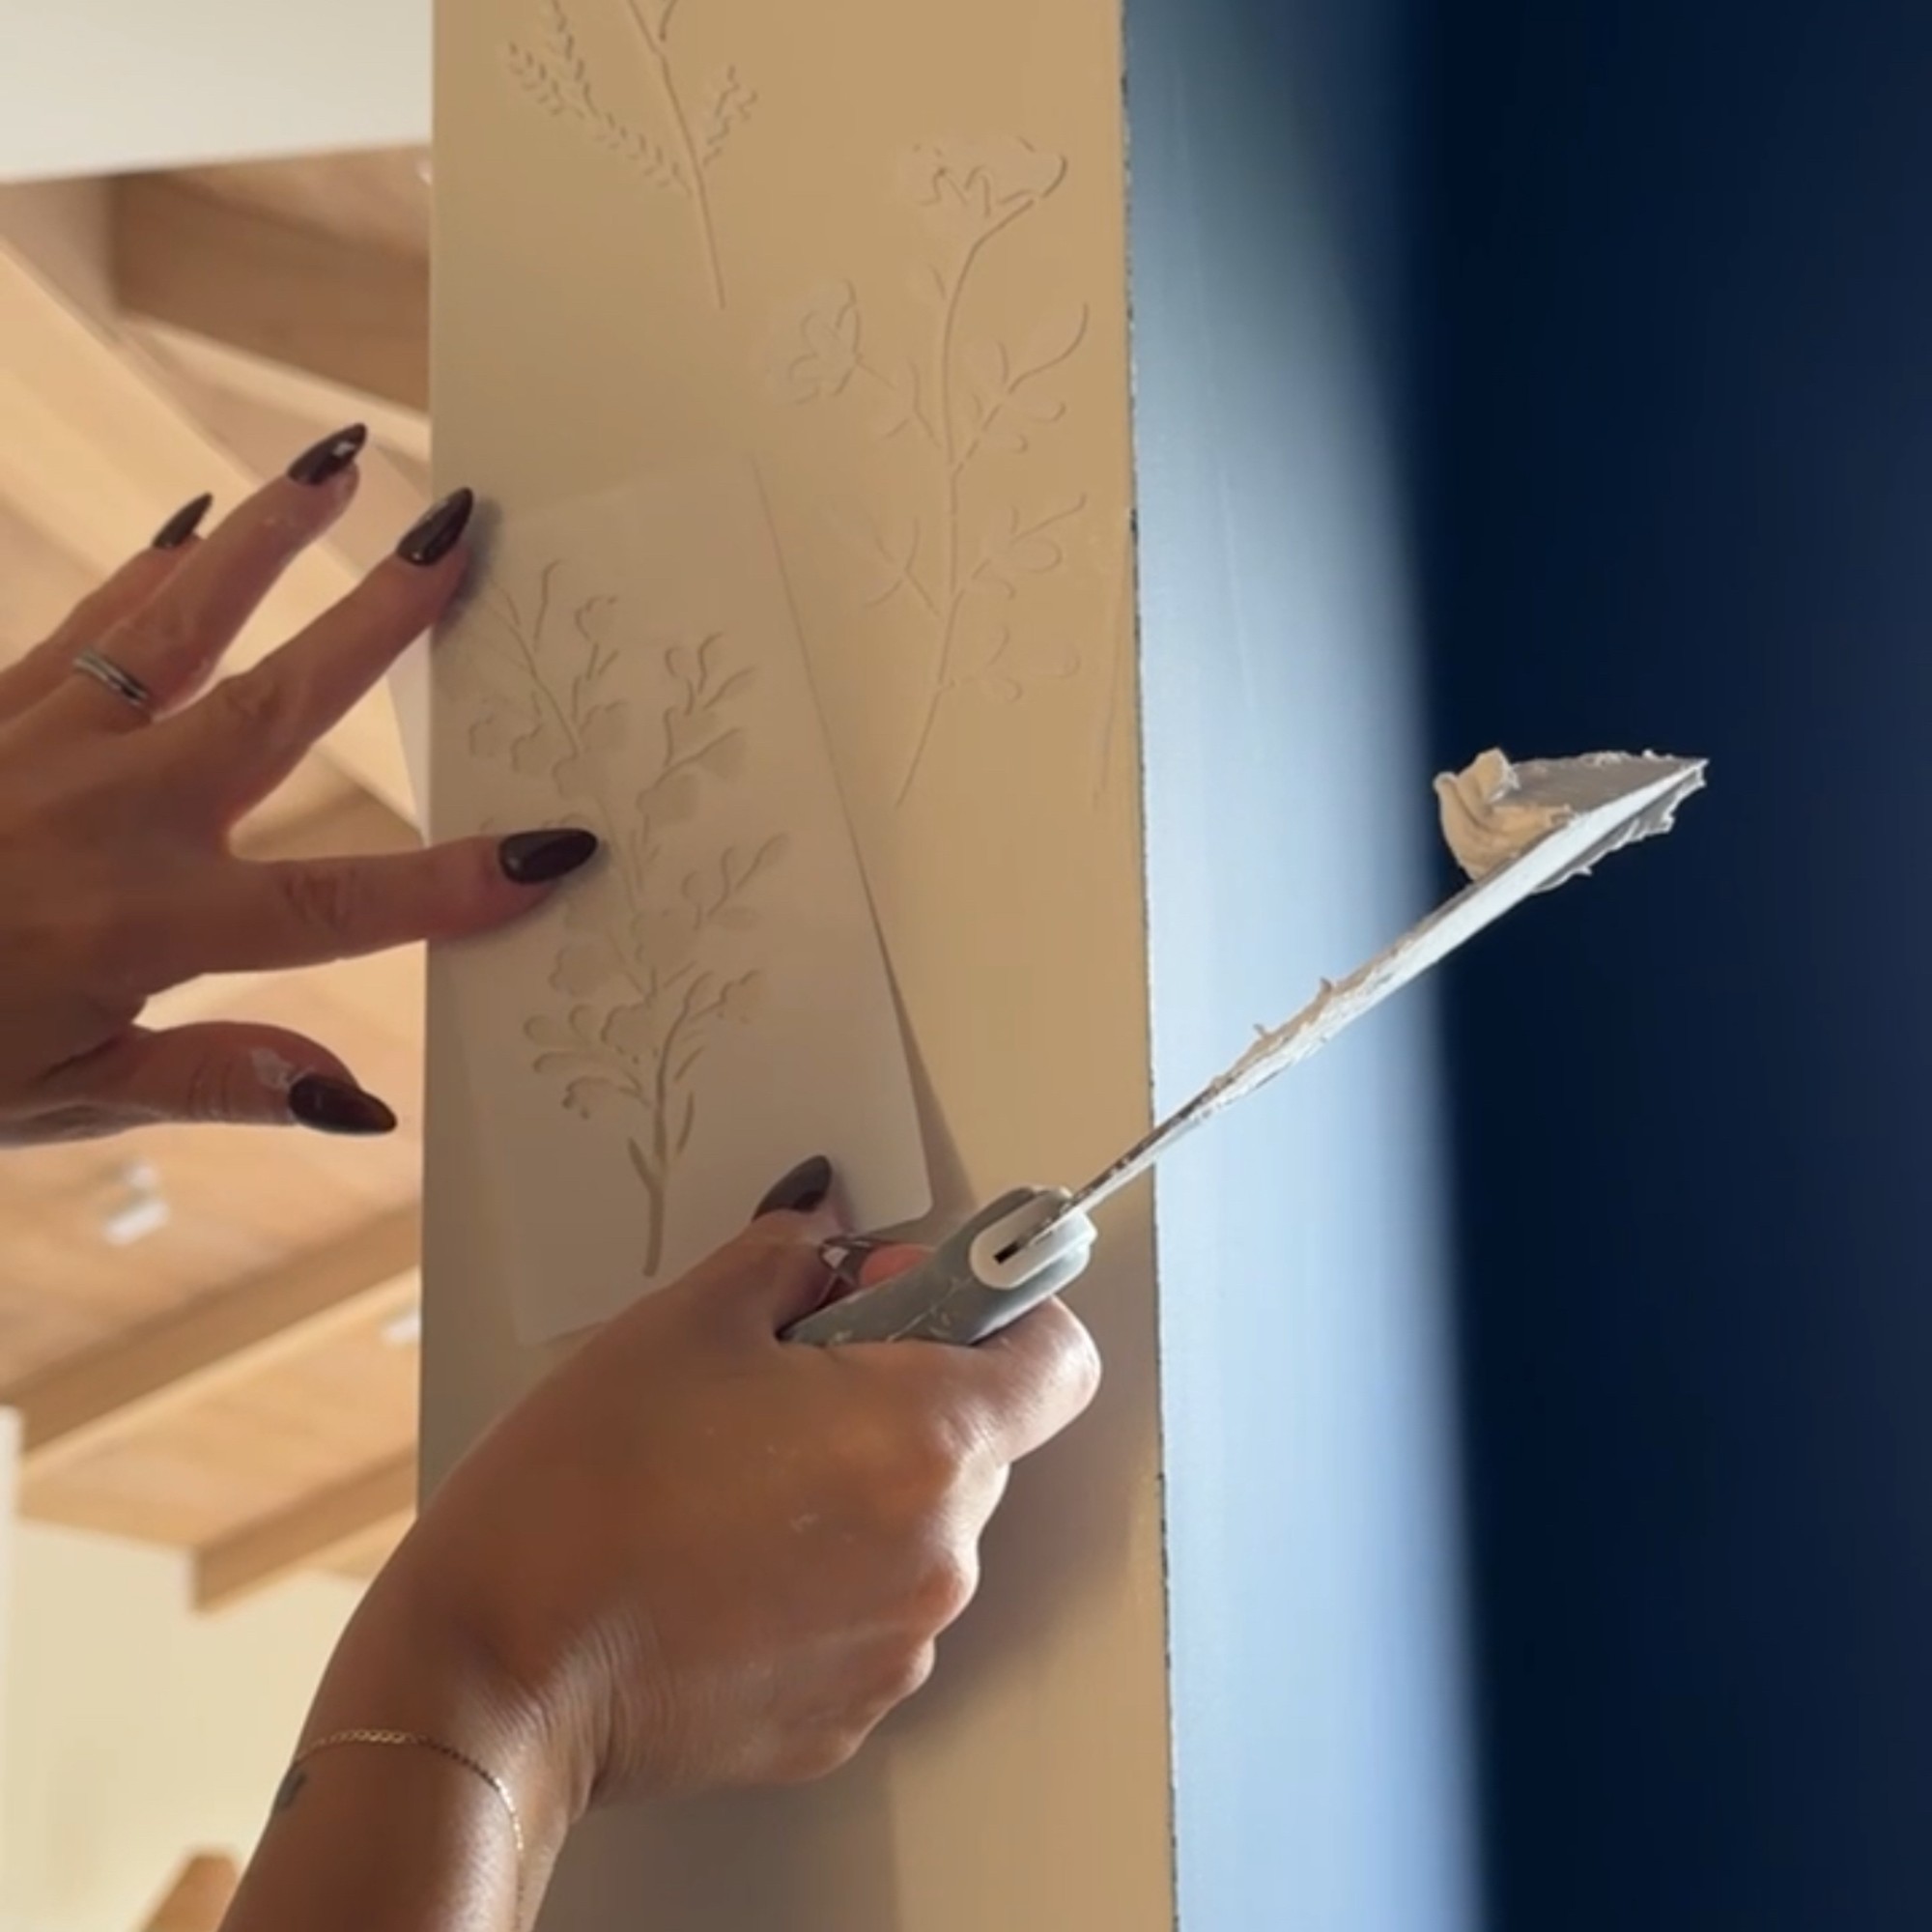
1. Prep the wall
As with any wall paint ideas or wall decor, you need to start with clean smooth walls so make sure you give them a wipe. And if your wall is too rough or textured in spots, you can even sand it down a little.
2. Choose your stencil design
You might choose to repeat the same stencil design across the whole wall. But most people opt for a mix of florals and botanicals as most stencil packs come with a few different styles anyway.
Once you know which stencil design you want to imprint onto your wall and where, lay it flat against the wall in the designated spot.
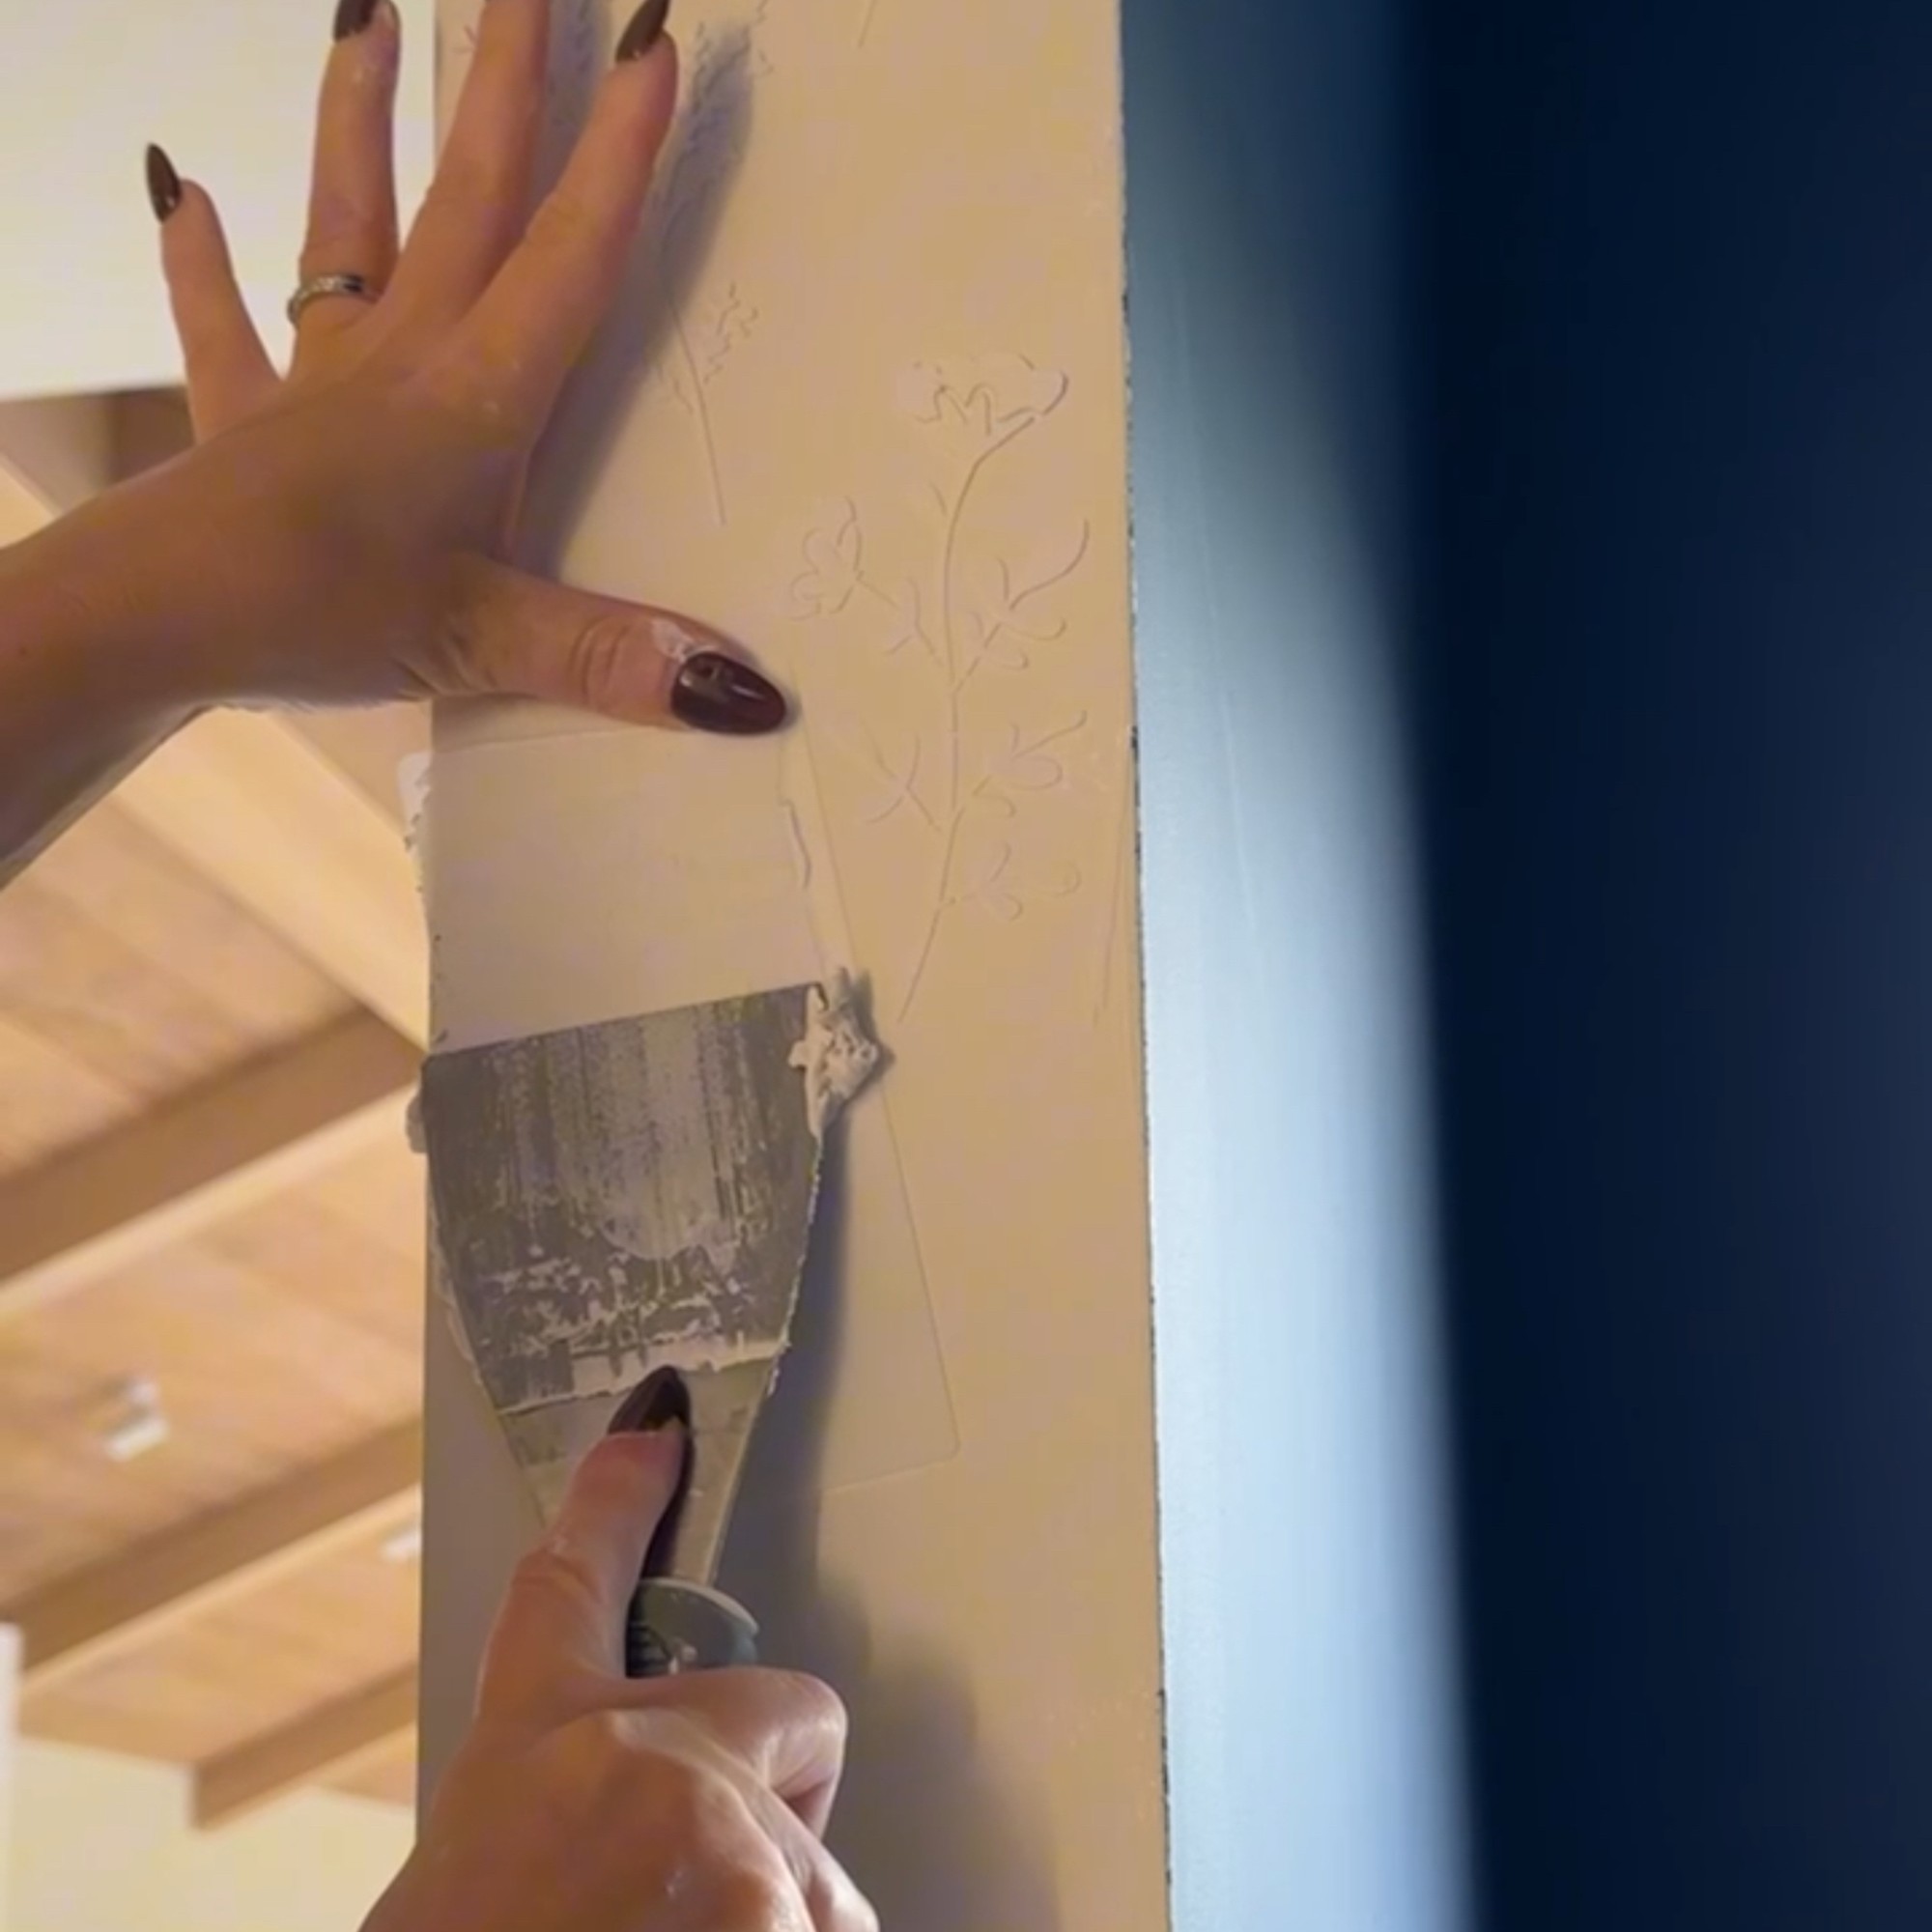
3. Apply filler
Now, take your scraper or putty knife and put some filler on it. Once it’s on the scraper, apply it evenly across the stencil, filling in the whole design.
4. Remove stencil
Once the filler’s on, slowly and gently remove the stencil once the paste is still wet to reveal your 3D stencil design. Now leave it to dry.
Repeat across your chosen wall until you are fully satisfied with the final result. You can also do multiple coats of filler on each stencil, depending how prominent you want the 3D effect to be.
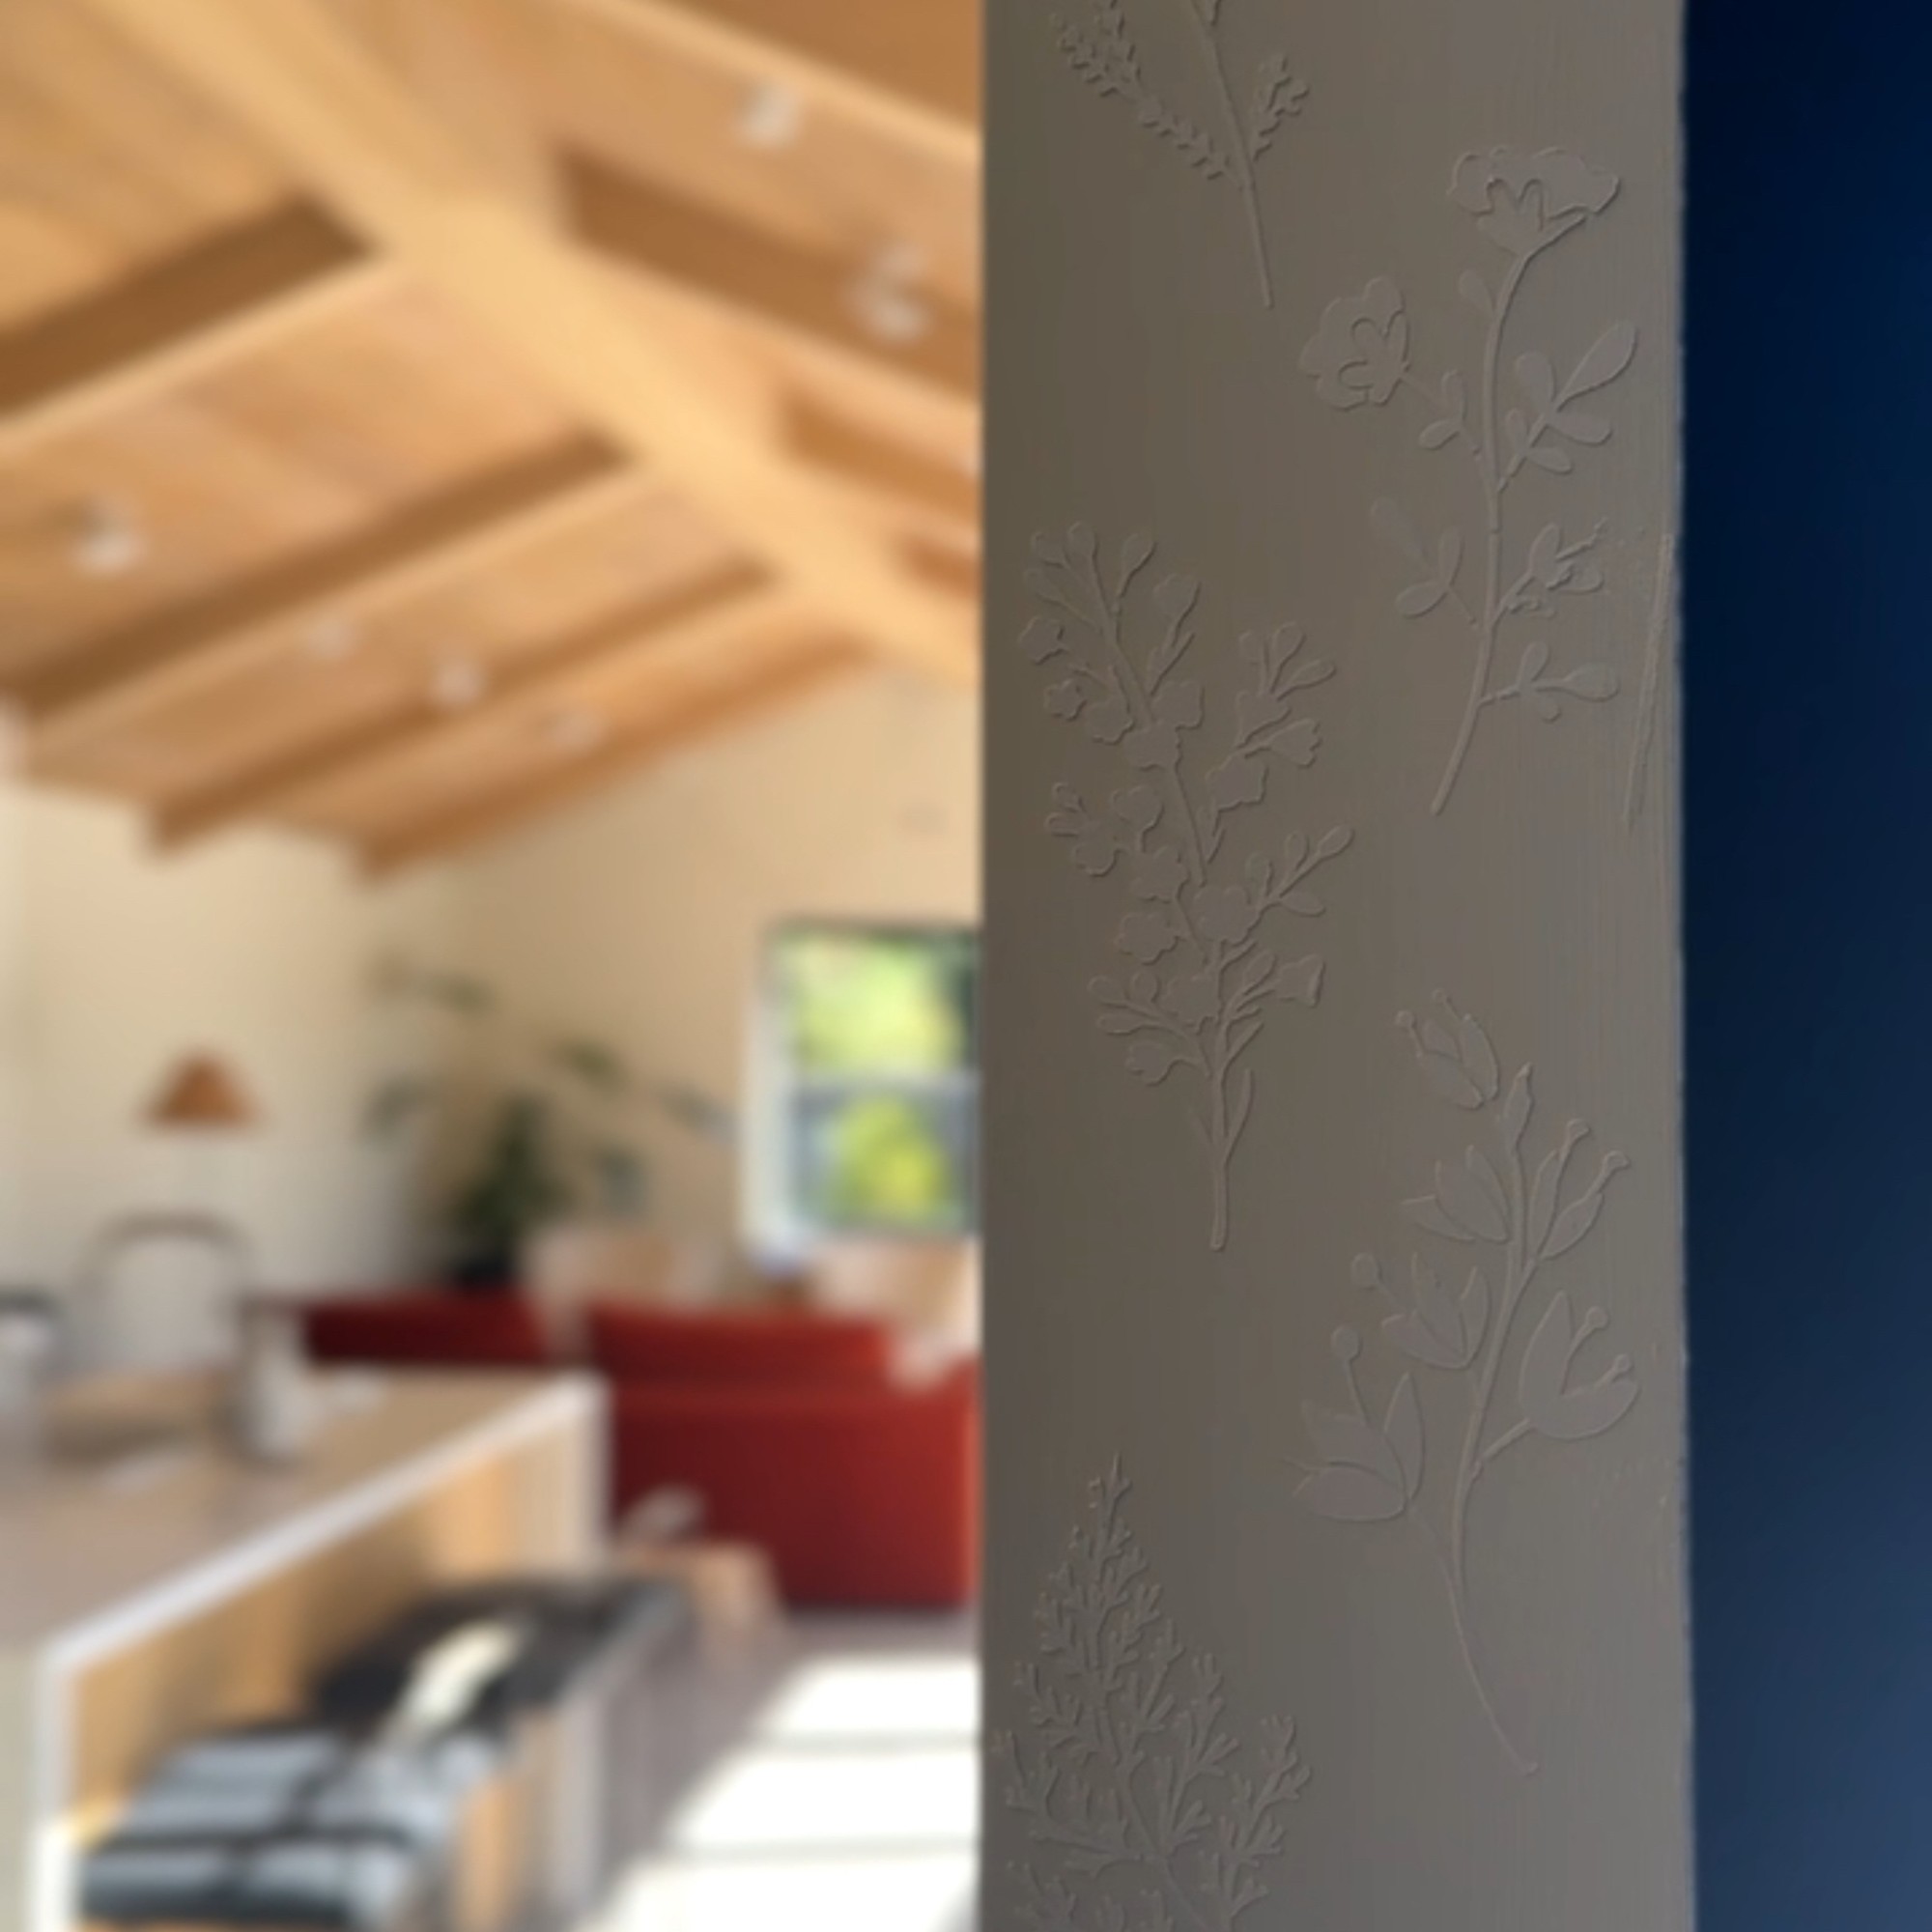
Once dry, you can also paint your stencils. But for a more sculptural and pared-back look, you can leave it as it is.
And if you ever get tired of the design and want it gone, all you need to do is sand it down with sanding paper.
We said it was super easy! And given how stylish the result is, this is a social media trend that we can certainly get behind.

Sara Hesikova has been a Content Editor at Ideal Home since June 2024, starting at the title as a News Writer in July 2023. She is now also the Ideal Home Certified Expert in Training on Furniture, and so far has tested over 150 different sofas.
Graduating from London College of Fashion with a bachelor’s degree in fashion journalism in 2016, she got her start in niche fashion and lifestyle magazines like Glass and Alvar as a writer and editor before making the leap into interiors, working with the likes of 91 Magazine and copywriting for luxury bed linen brand Yves Delorme among others.
-
 George Home's designer look £40 garden lounge chair sold out twice last year - it's back in stock, but not for long
Don't miss it this time around
-
 3 colours to avoid when painting window frames – experts say they might draw the eye, but not in a good way
These are the colours to avoid if you want to transform your window frames from drab to dazzling
-
 What do you do with stuff in your loft if you want to convert it? I’ve got 5 expert-approved solutions for you to try
If you use your loft for storage, what on earth do you do with all the stuff if you want to turn it into living space?