

For the past year or so, my Instagram feed has been inundated with people and DIY influencers taking up air dry clay and making lovely home decor pieces with it, as well as a fun activity with friends, family or their partners. So when the DAS air hardening modelling clay came up on Amazon as one of the top-selling and trending products, I took it as a sign to finally give it a go myself.
Who doesn’t love a little arts and crafts session or an easy DIY project? I sure do. Especially since I’ve been coming across some excellent (and viral) air dry clay craft ideas – whether it’s the ghost-shaped tea light covers from @sibster (and other craft influencers) or the flower frog by @woodlark. So I decided to try and recreate them myselfy, along with a few other ideas.
The clay comes in a 500g pack, selling for £4.75 but it’s also available in a 1kg pack if you have larger group crafting. But the 500g was plenty for the two of us and each of us managed to make multiple items – so a little goes a long way. I opted for the white finish but if you want to replicate the more traditional ceramics look, you can go for the terracotta or the ‘stone’ colourway which is more grey.

What you’ll need
- DAS air hardening modelling clay at Amazon
- Modelling tools – you don’t necessarily need pottery tools, I just happened to have them. You just need a knife and something to make holes with, a straw is ideal.
- A piece of string for cutting off big chunks of the clay (but you can also use a knife)
- A little pot of water to dip your fingers in
- A rolling pin
- Tin foil
- Fine sandpaper – I used 60 grit
- Acrylic paints and a small paint brush – this is optional and applies only if you want to paint your pieces
- Varnish like the Sculpd Varnish for Air Dry Clay Pottery at Amazon – this is also optional but a varnish will protect your pieces from dirt and water. I used clear nail polish on one of my pieces which worked ok but a varnish would have created a more even finish.

What you need to know
The clay makes for an extremely easy craft project, you don’t need to have any artistic skills to have fun with this. I think it would make for a great activity or friends or for a hen do. Even children can get involved but the brand recommends this only for children that are 12 years old or older.
You will need a little pot filled with water by your side at all times so that you can dip your fingers or potentially even a brush to help you mould your pieces. Water will help you keep the clay easy to work with without drying out and/or cracking. You don’t want that.

The only downside of the product is the drying time. While the product states that it should take between 12 and 24 hours for the pieces to completely dry, 24 hours later, our pieces were still slightly wet and soft in certain areas. So even though this is meant to be a non-bake formula, I ended up having to put the pieces in the oven for 10 minutes or so on the lowest heat to speed up the drying process.
This drying delay could also be down to the fact that it’s quite a wet and humid time of the year, even though I have my best dehumidifier going for a large portion of the day in an effort to combat the humid conditions.
Needless to say, this is an activity that will take up the majority of a weekend. I recommend starting as early as possible on Saturday and finishing with painting and varnishing on Sunday evening so that the clay has enough time to dry.

What I made
Ghost tea light cover

Since Halloween is just around the corner, I wanted to attempt the ghost tea light cover I’ve been seeing everywhere, similar to the DIY ghost candles. And it was, in fact, one of the easiest pieces I made.
All you need to do is roll out a piece of the clay, lay a small bowl on top and cut around its diameter. Then drape the cut-out circle on top of something like a shot glass (or something similarly sized) and a ball of tin foil on top. Then cut out the eyes – a straw is perfect for this. And once it dried, I sanded it down for a perfectly smooth finish. In the name of safety, it’s best to only use electric tea lights or fairy lights with this cover.
Flower frog

A flower frog at the bottom of a vase or really any vessel is the secret hack of every florist’s perfect arrangements. But lately, there’s been a new iteration of the hack going around made with air dry clay, one that you put on top of the vase opening, rather than on the bottom. But just like the traditional flower frog, it ensures that your flower stems don’t fall to the side, but instead, stay in place exactly where you put them.

To make it, I again rolled out a piece of the clay and placed my vase upside down on top of it to cut around the diameter. Then I used five little balls of tin foil to place underneath and create a slightly ruffled effect – but this step is completely optional and decorative more than anything, you can also just keep your flower frog flat.
Then I made a few holes for the stems to go through for which you can again use a straw. Once dry, I again sanded down the surface and also applied clear nail polish to create a glaze-like finish. But a specialised varnish would have been better, in my opinion. But it does the job either way.
Incense holder

For my incense holder, I was inspired by this Etsy clay incense holder which looks similar to a ribbon with a natural little wave to it. So I decided to recreate it. I started by modelling a piece of the clay into a ‘noodle’-like shape before rolling it out. Then I cut out a long rectangular shape which I then shaped into that wavy silhouette with my fingers, supporting each of the peaks with a little ball of tin foil. I made a little hole for the incense to go and let it dry.
Once dry, I sanded any ‘imperfect’ areas and painted the edges like in my inspiration image.
If you are going to attempt this one, I definitely recommend varnishing the holder. I learned this the hard way as the fallout from the incense stick actually ended up staining the naturally white colour of the clay. Oh well.
I made more than these three things since we had plenty of clay to go around. But these are the standout pieces in my mind. What are you excited to make?

-
 Want to cook like Jamie Oliver? Here's the top-rated pan from his collection
Jamie's collaboration with Tefal has led to this casserole dish getting the best user reviews I've ever seen
-
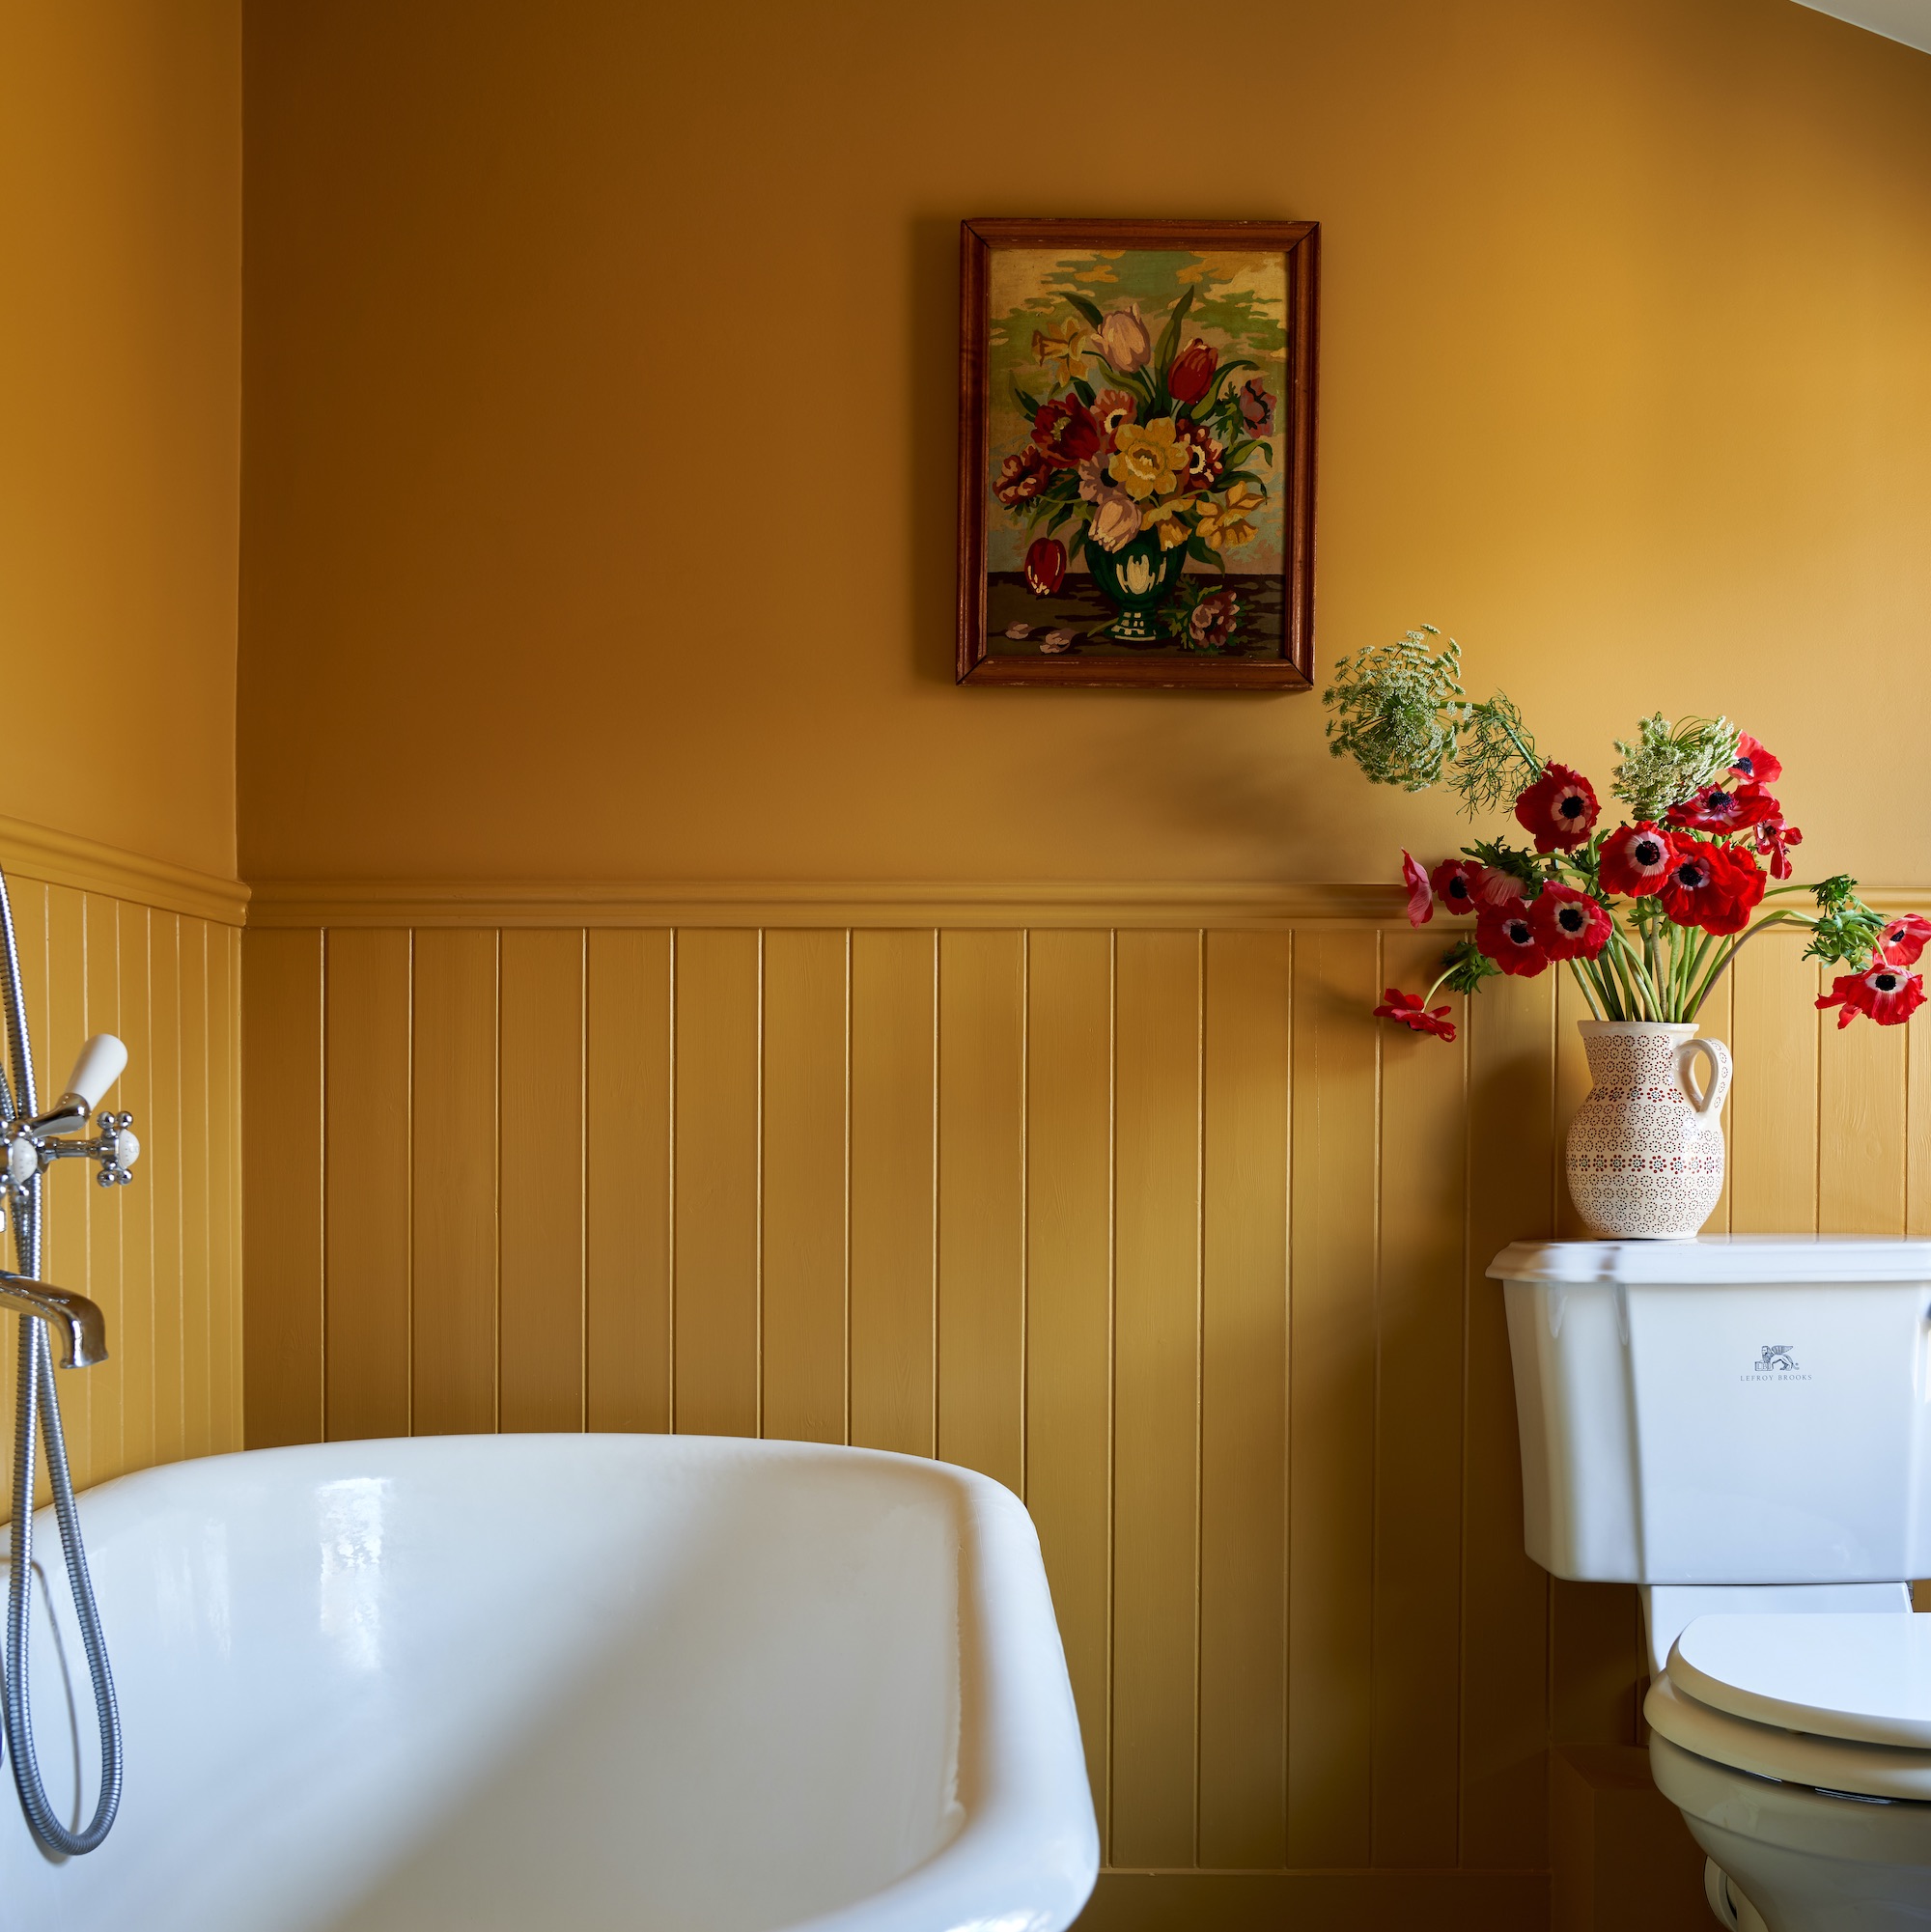 7 best colours to paint a windowless bathroom that will transform the mood of a dark wash space
A bathroom without a view needn’t sink your plans for a warm and welcoming retreat
-
 I’ve found a stunning £40 buy that rivals Le Creuset at Wilko - this casserole dish is a dead ringer for one of the most summery colourways
You just can't beat finding a great Le Creuset alternative


-
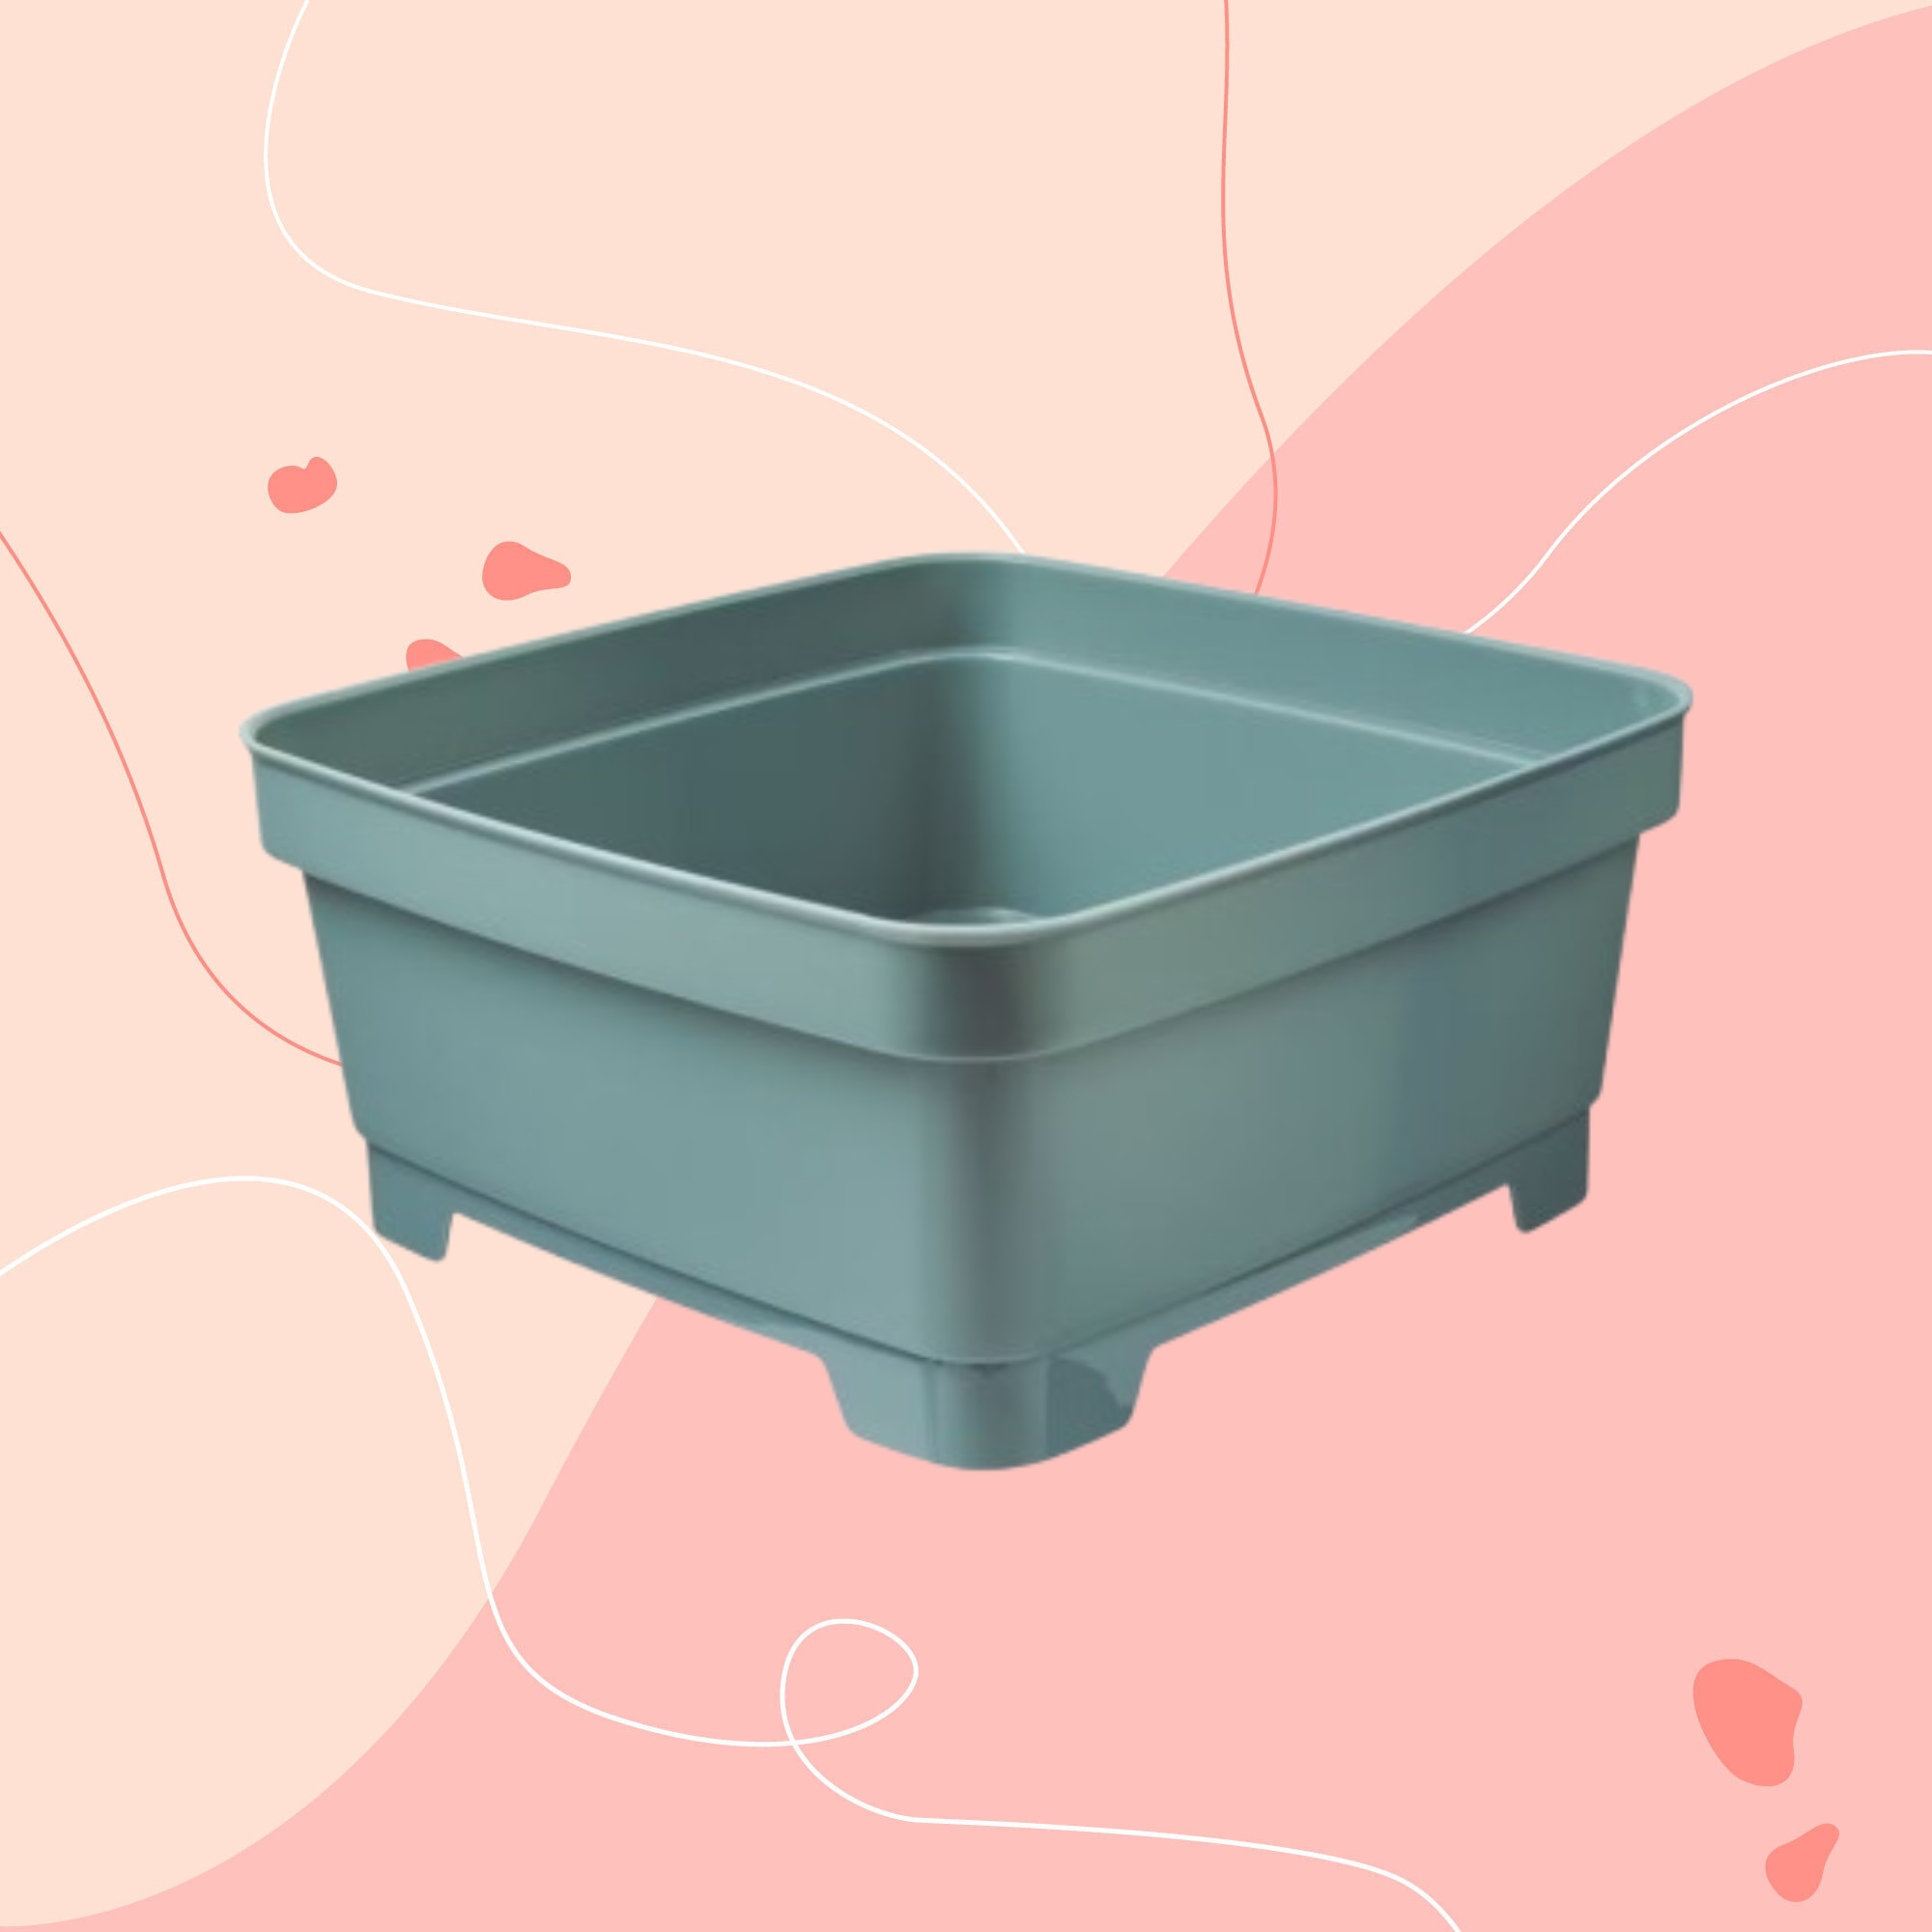 Aldi is releasing a budget alternative to the cult Joseph Joseph washing up bowl – it’s just £4.99
The Joseph Joseph washing up bowl is an Ideal Home favourite - now we can't wait to try Aldi's alternative
-
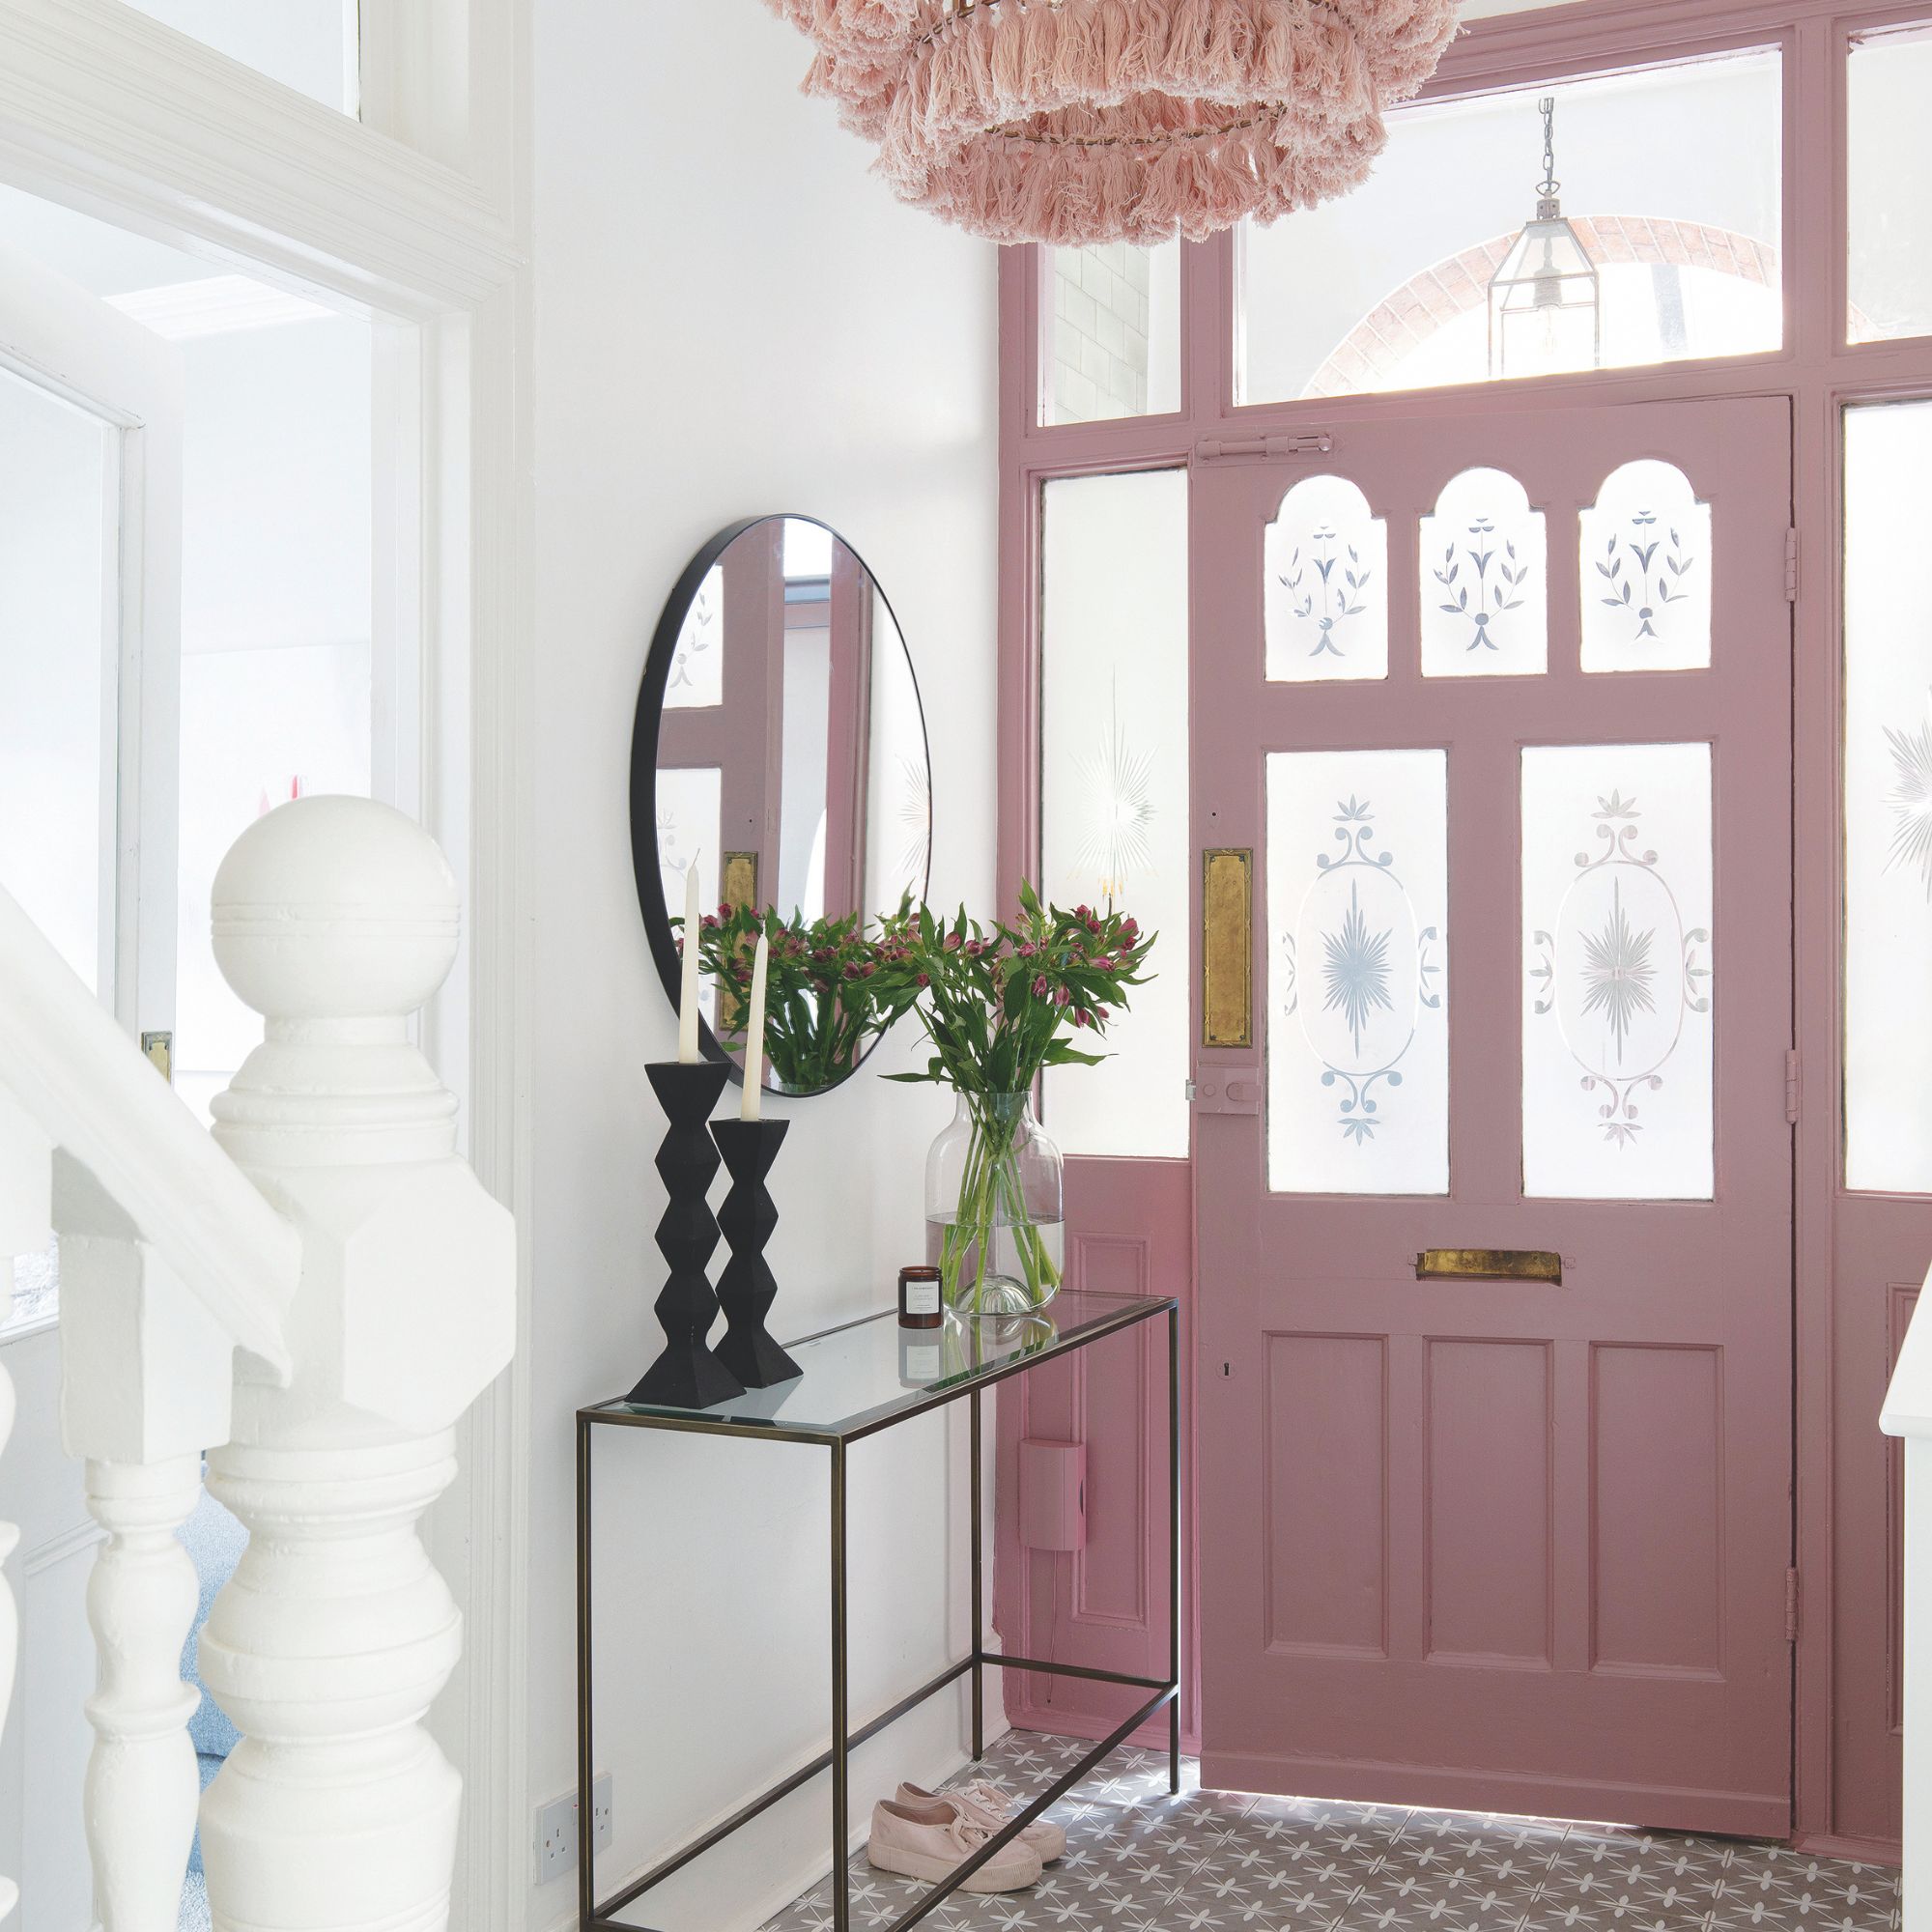 I just bought my first home, and this £10 buy was the very first thing I bought for it to make it feel warmer and secure
If I did it all again, this would still be my very first buy
-
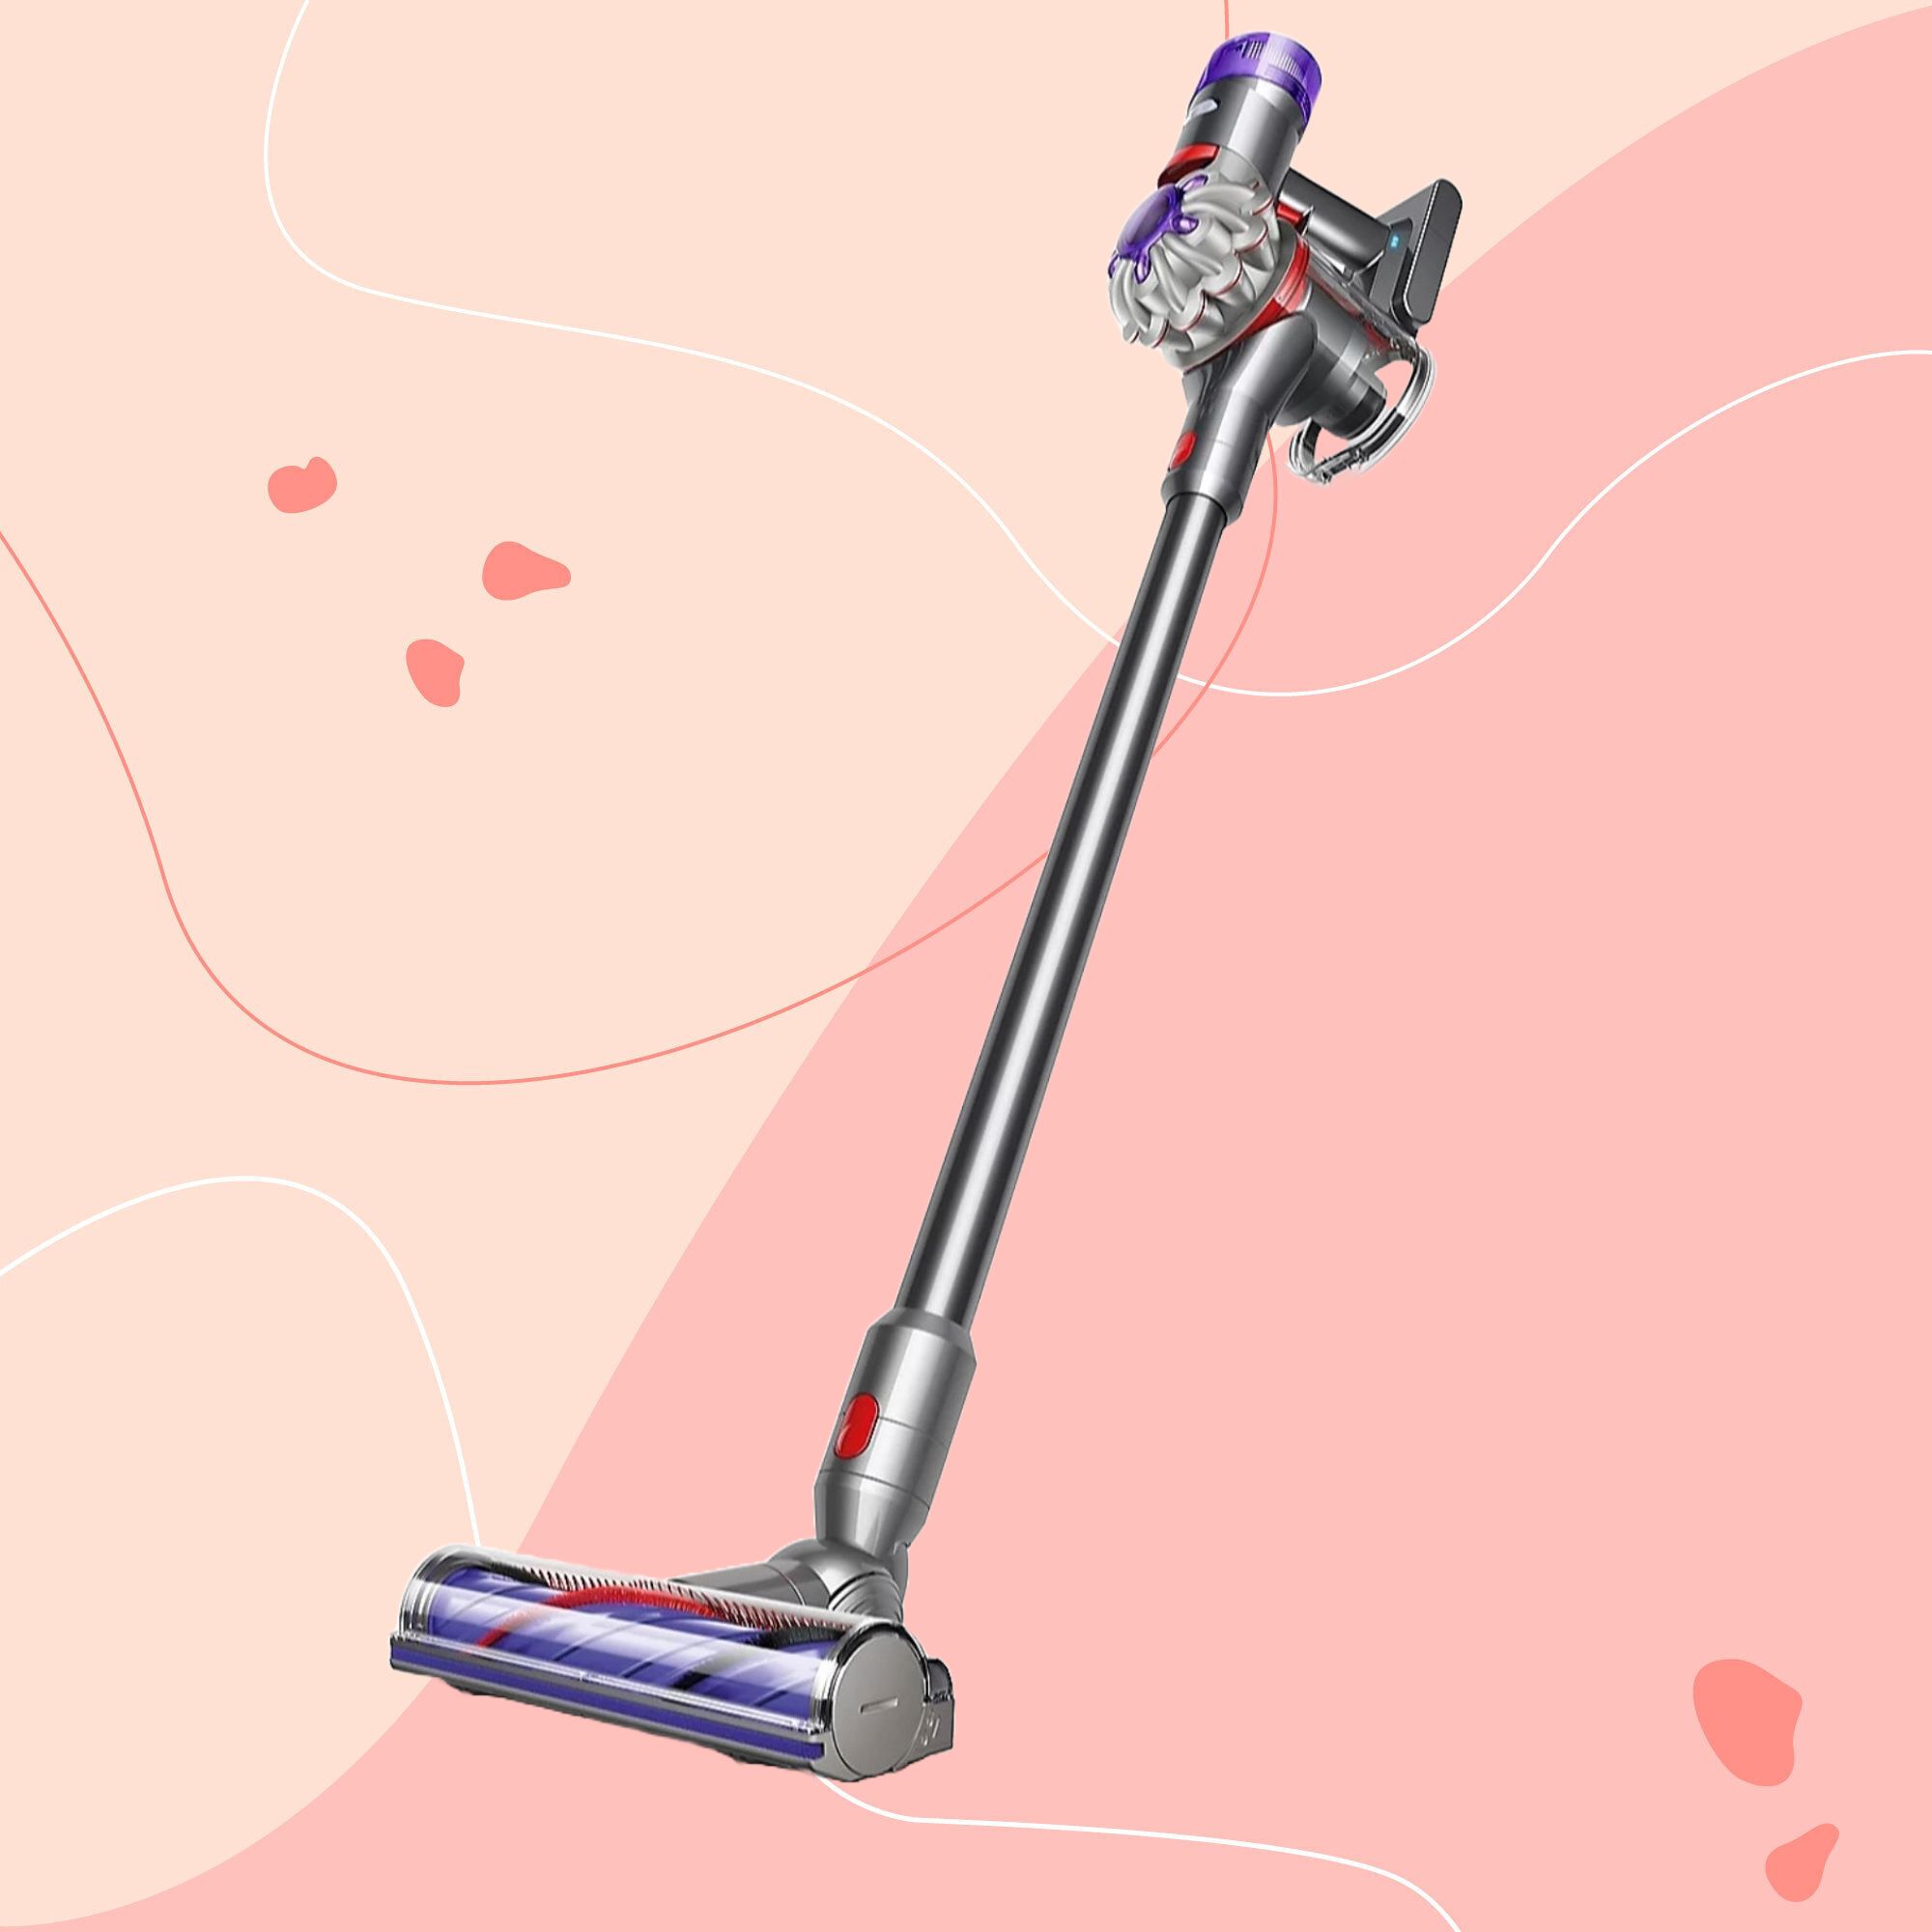 It’s normally impossible to find a Dyson vacuum for under £250 — but QVC has slashed the price of their bestselling models for a limited time
Run don’t walk to pick up the brand’s bestselling model for under £230 before it sells out
-
 Catherine Zeta-Jones has revealed the cleaning product she swears by to keep her home fresh - and it’s just £8 on Amazon
'I use it on my counters. I use it on my walls. I use it on my doors. When I smell it, I know my house is clean.'
-
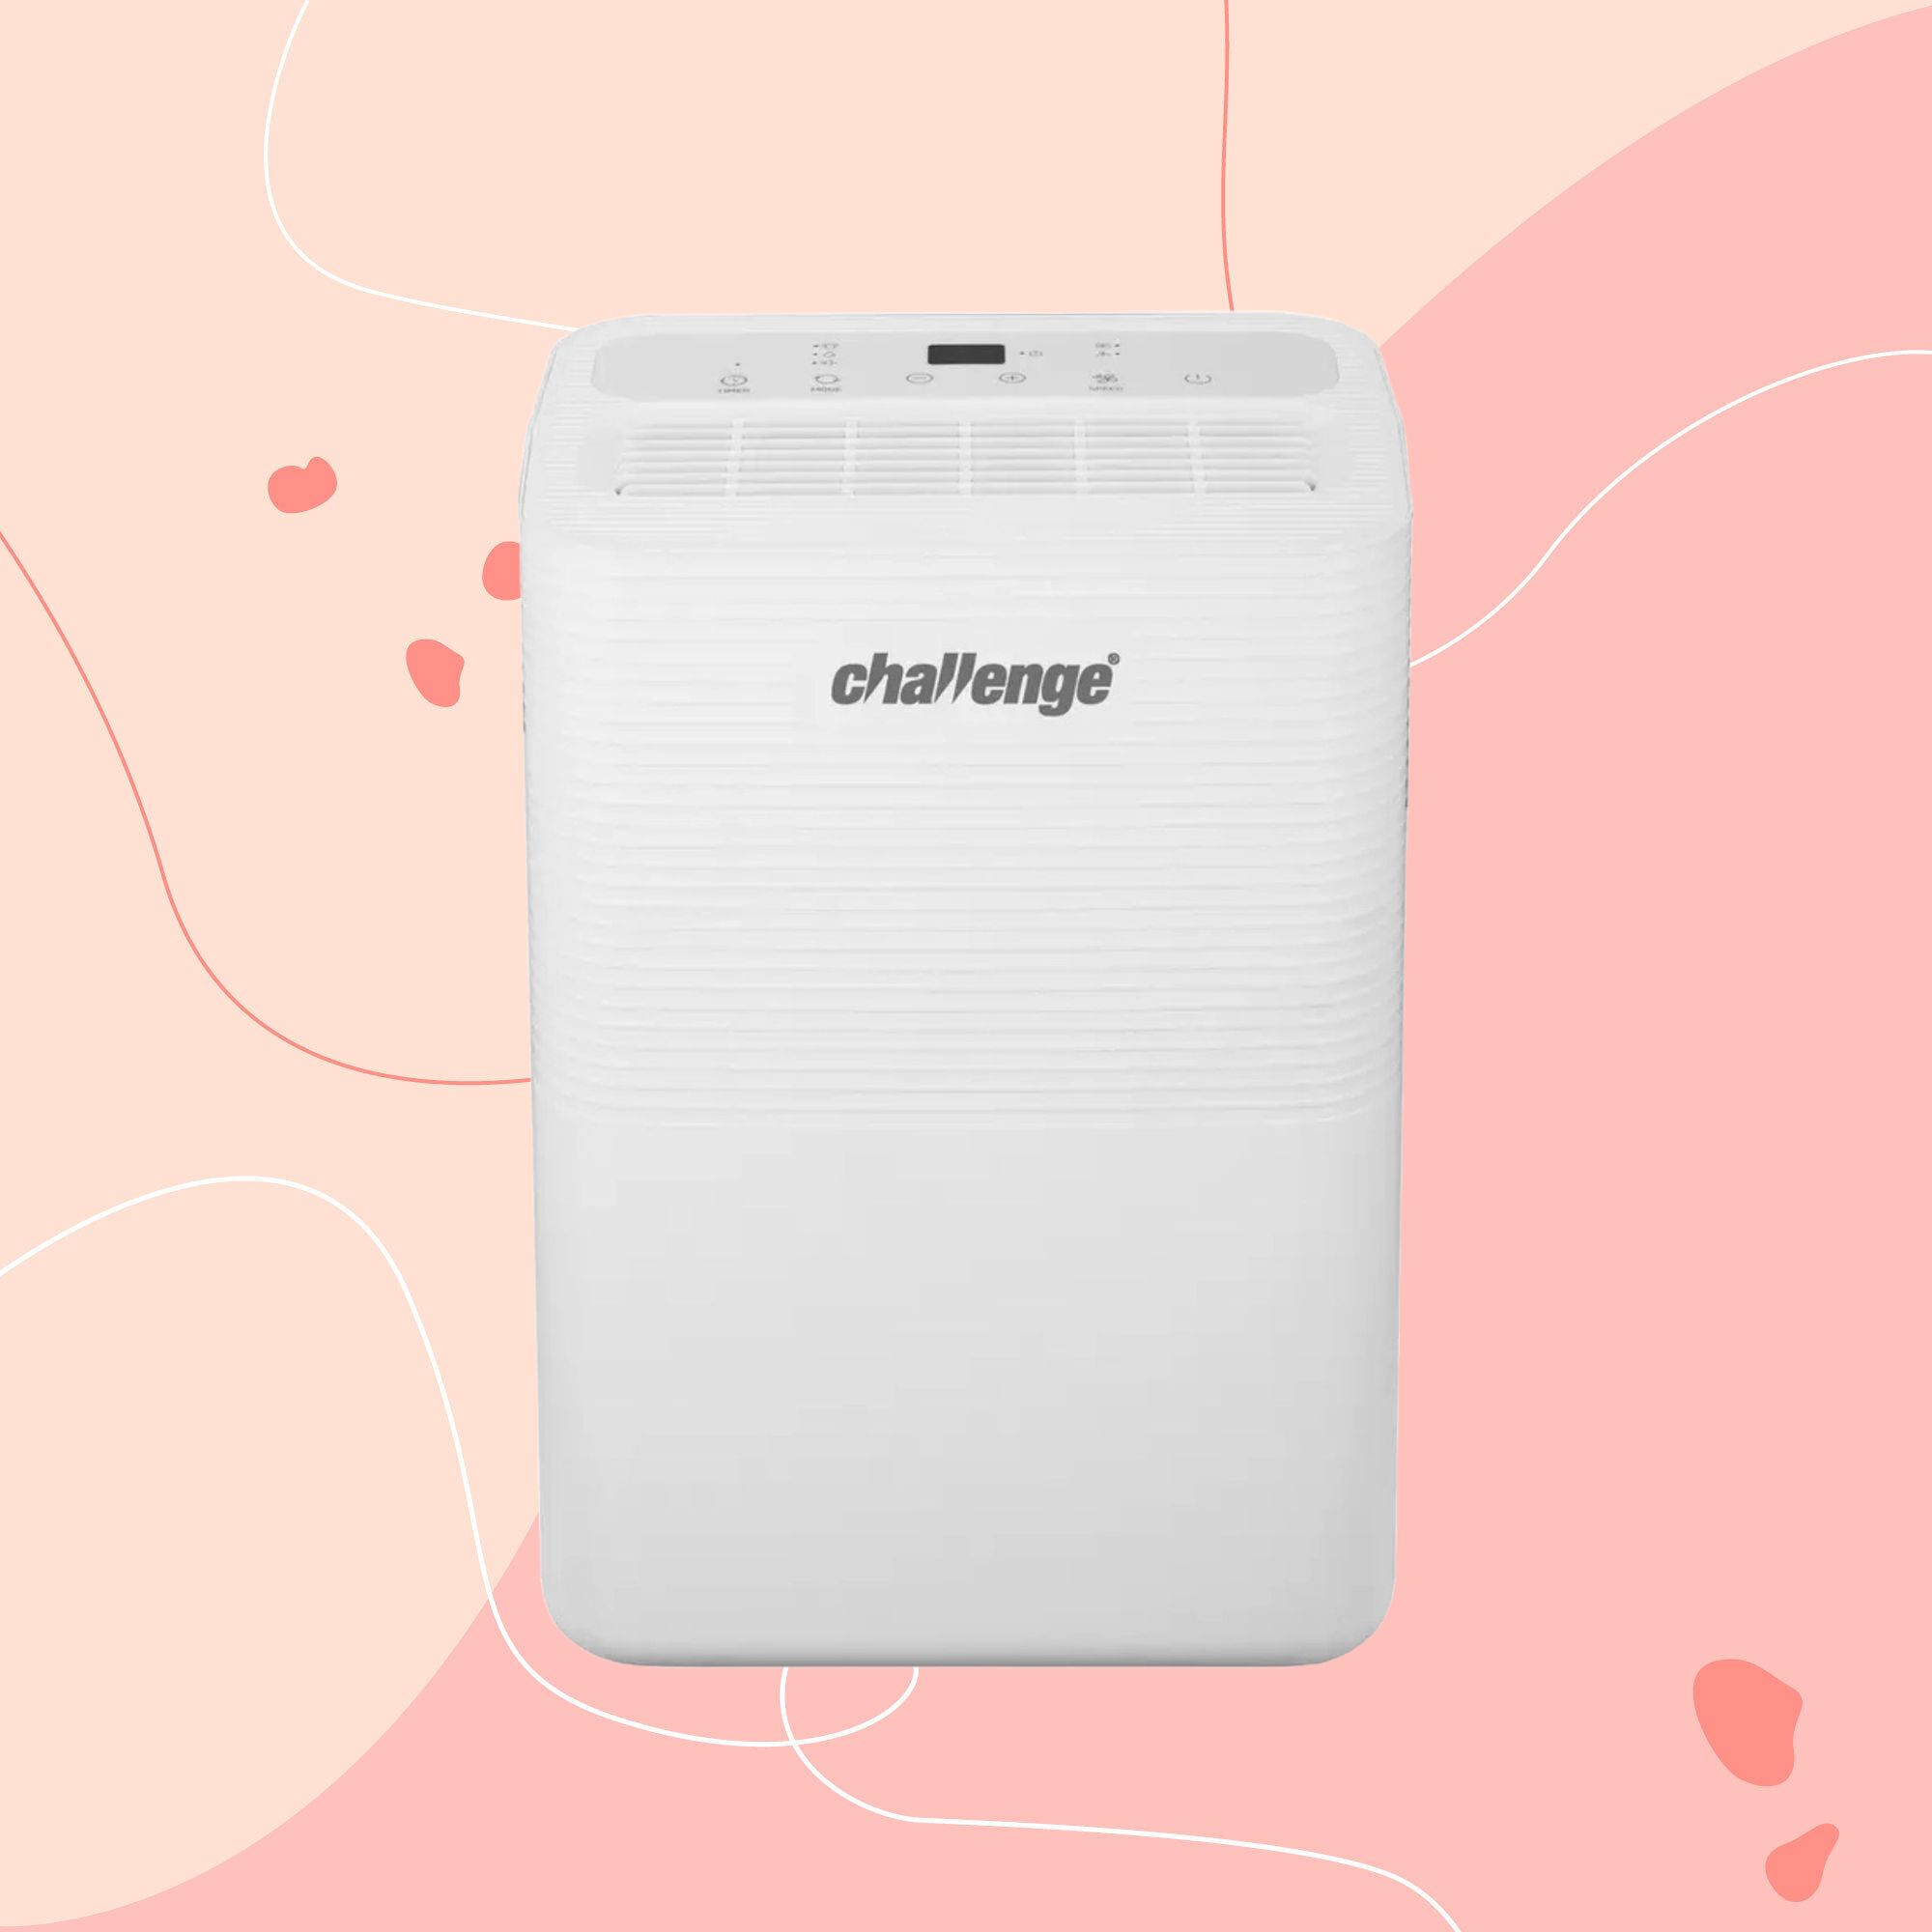 I tested the 12L Challenge dehumidifier in my damp Victorian home over winter — I haven’t spotted any signs of mould for the first time in five years
The Challenge 12L dehumidifier doesn’t have too many bells and whistles, but I can already see the difference it’s made to my damp home
-
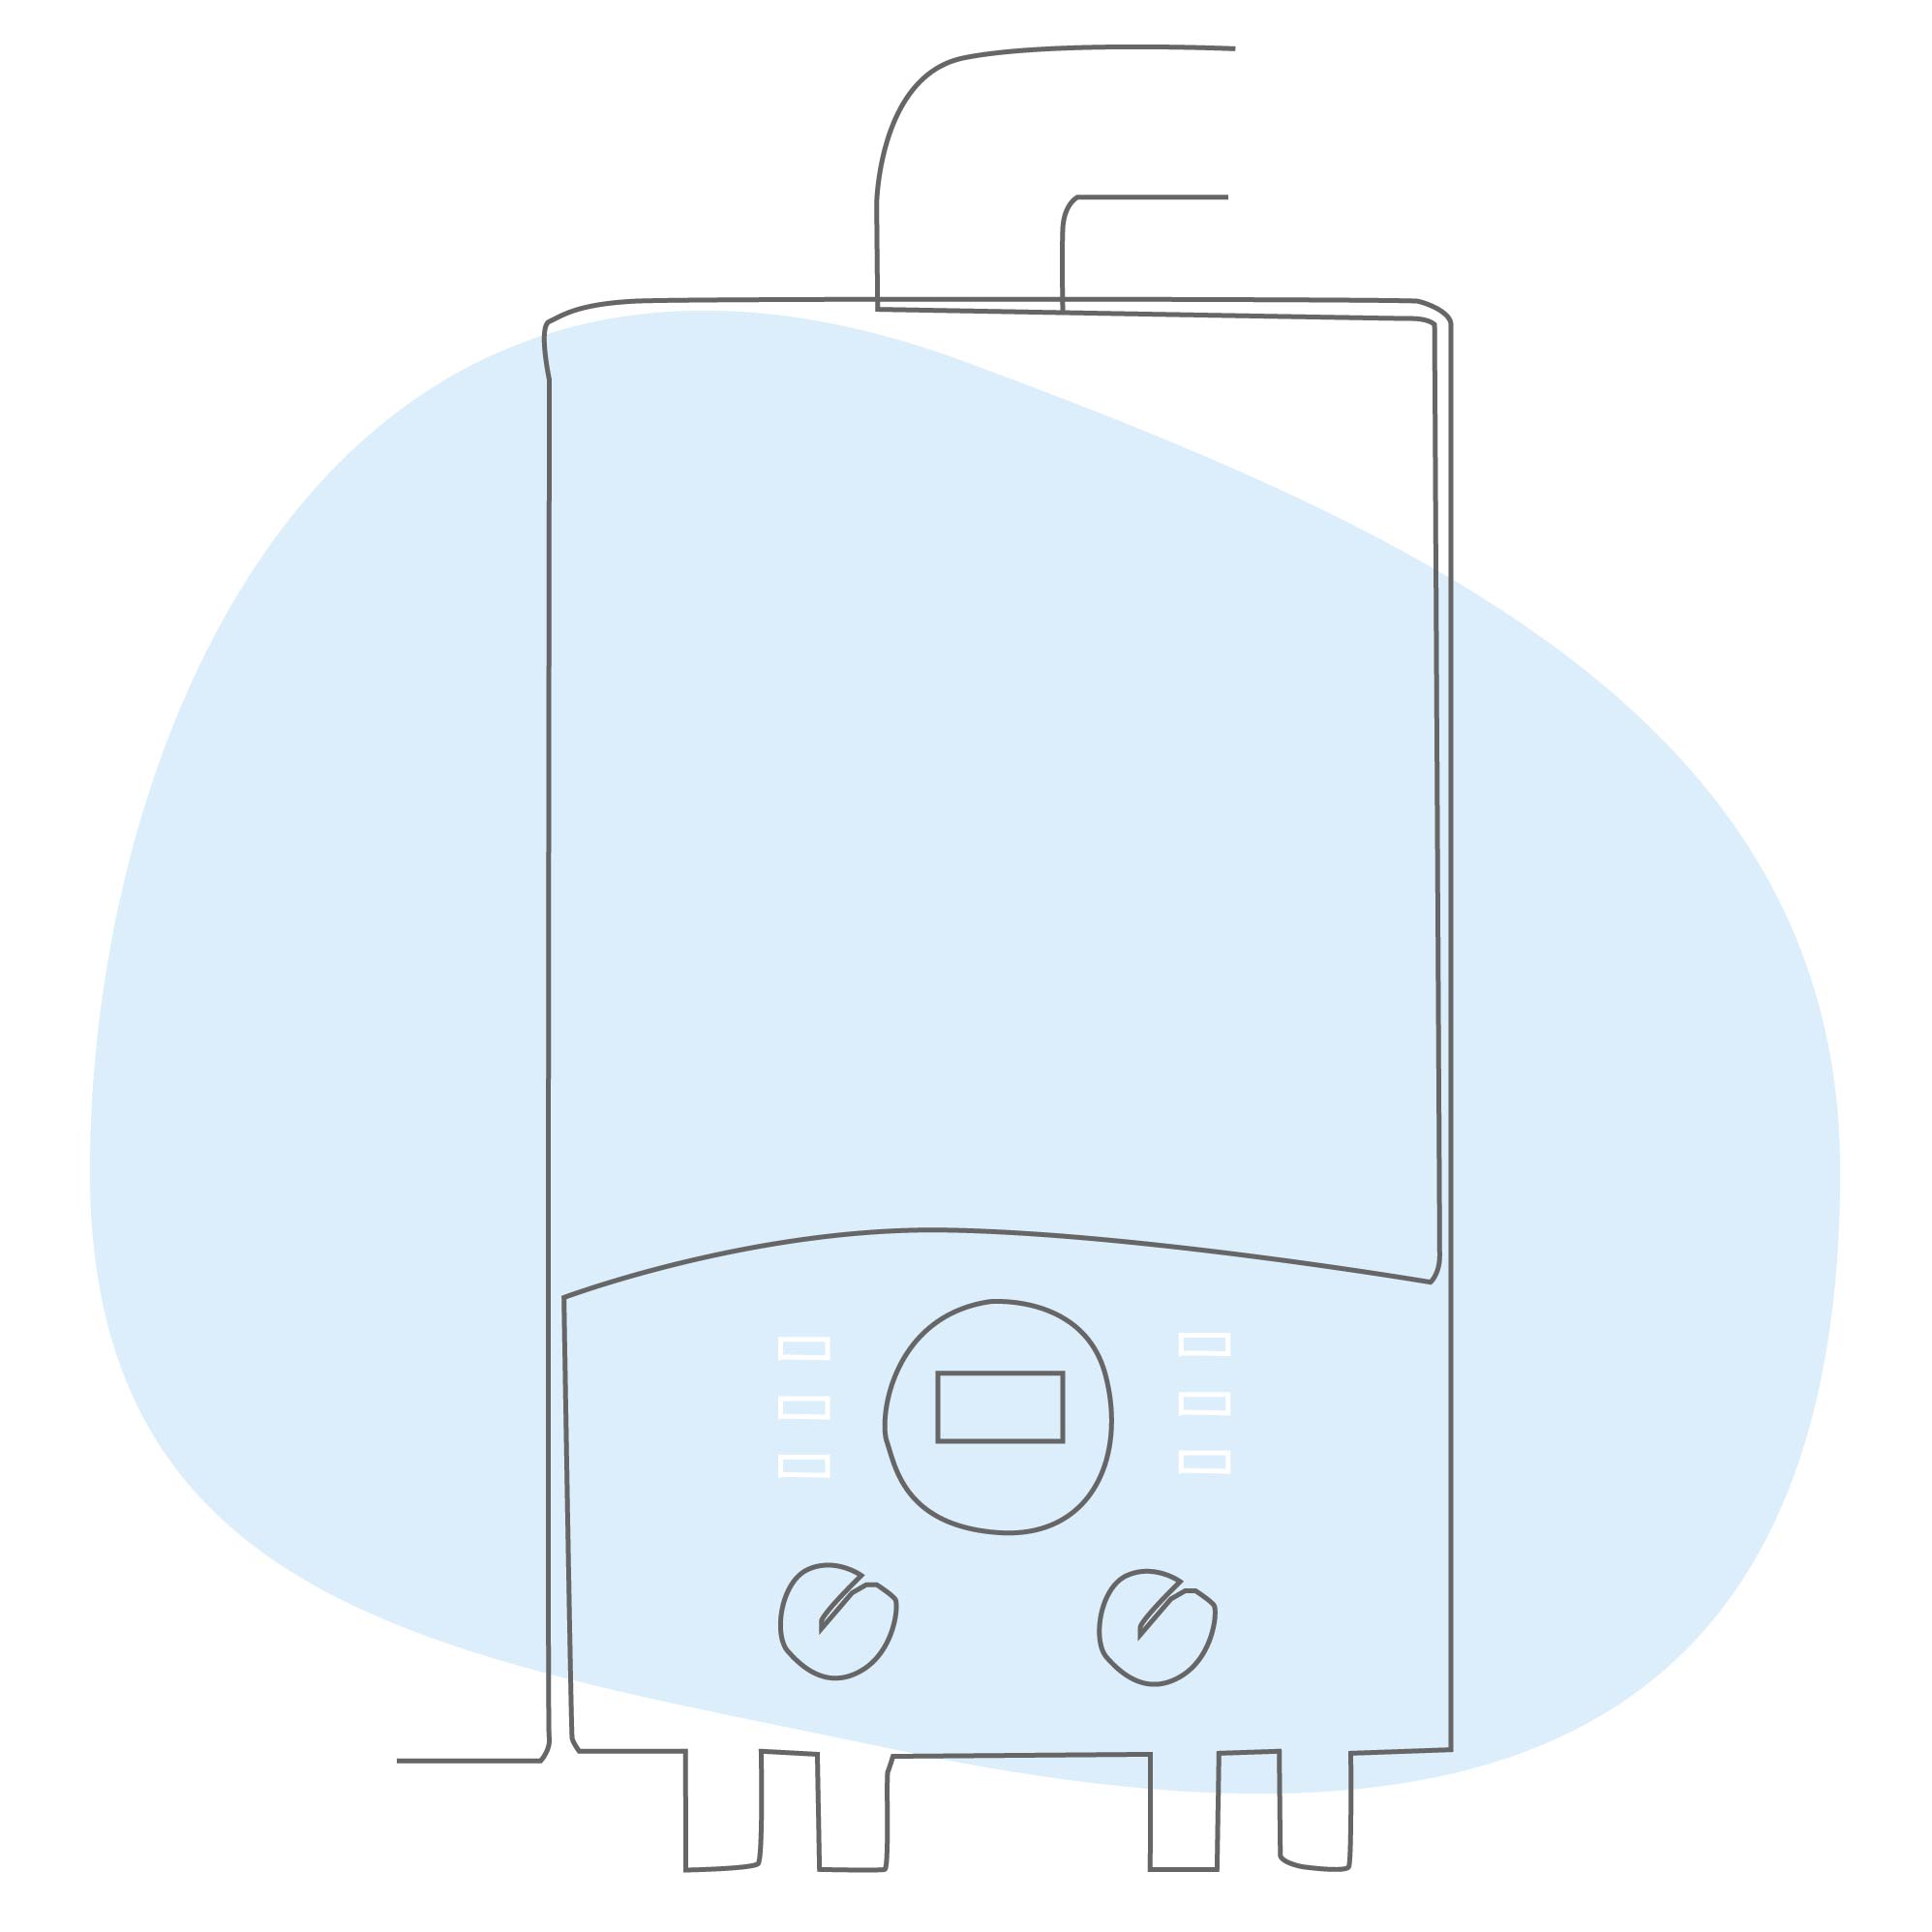 What is boiler flow temperature? Heating experts urge you to check yours now as you could be overpaying on your energy bills
Turning this little-known number down just a few degrees can result in some serious savings
-
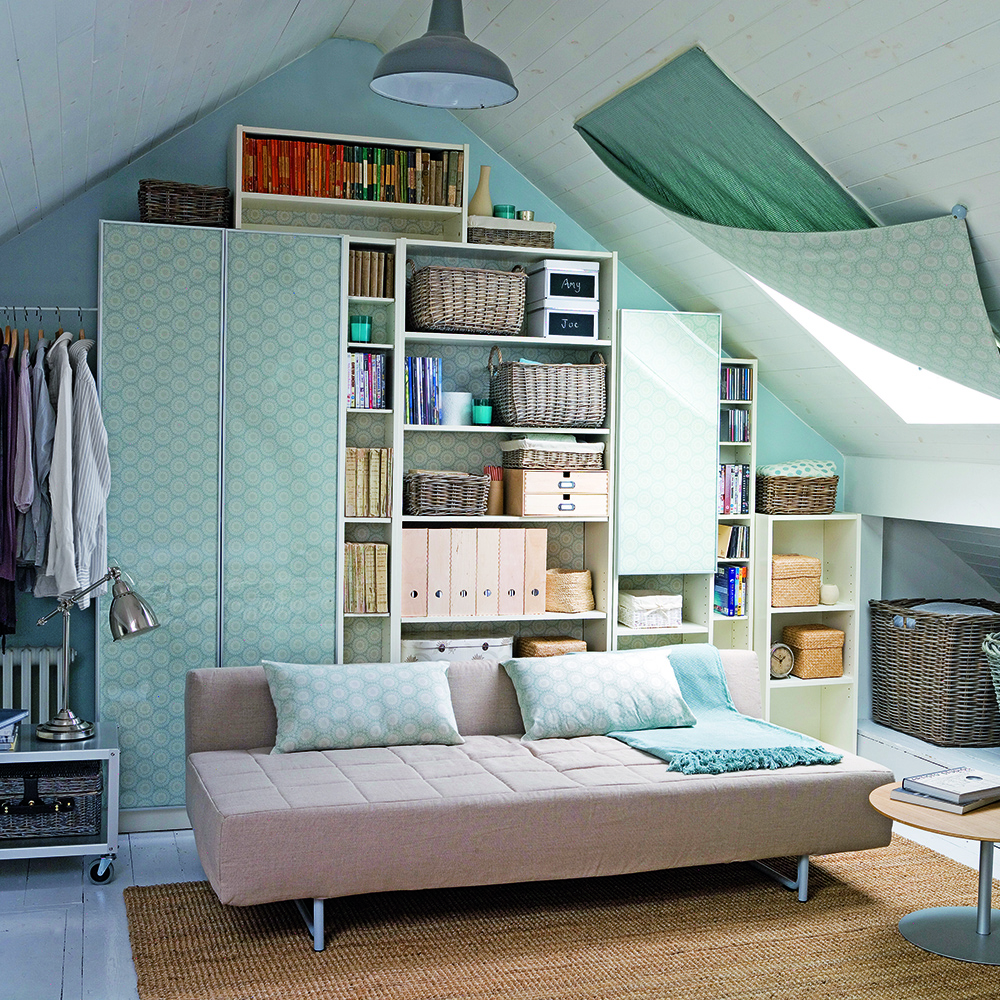 Stacey Solomon has shared 5 nifty wardrobe storage hacks to make getting ready in the morning easier — and they're genius
These five wardrobe storage hacks are a gamechanger
-
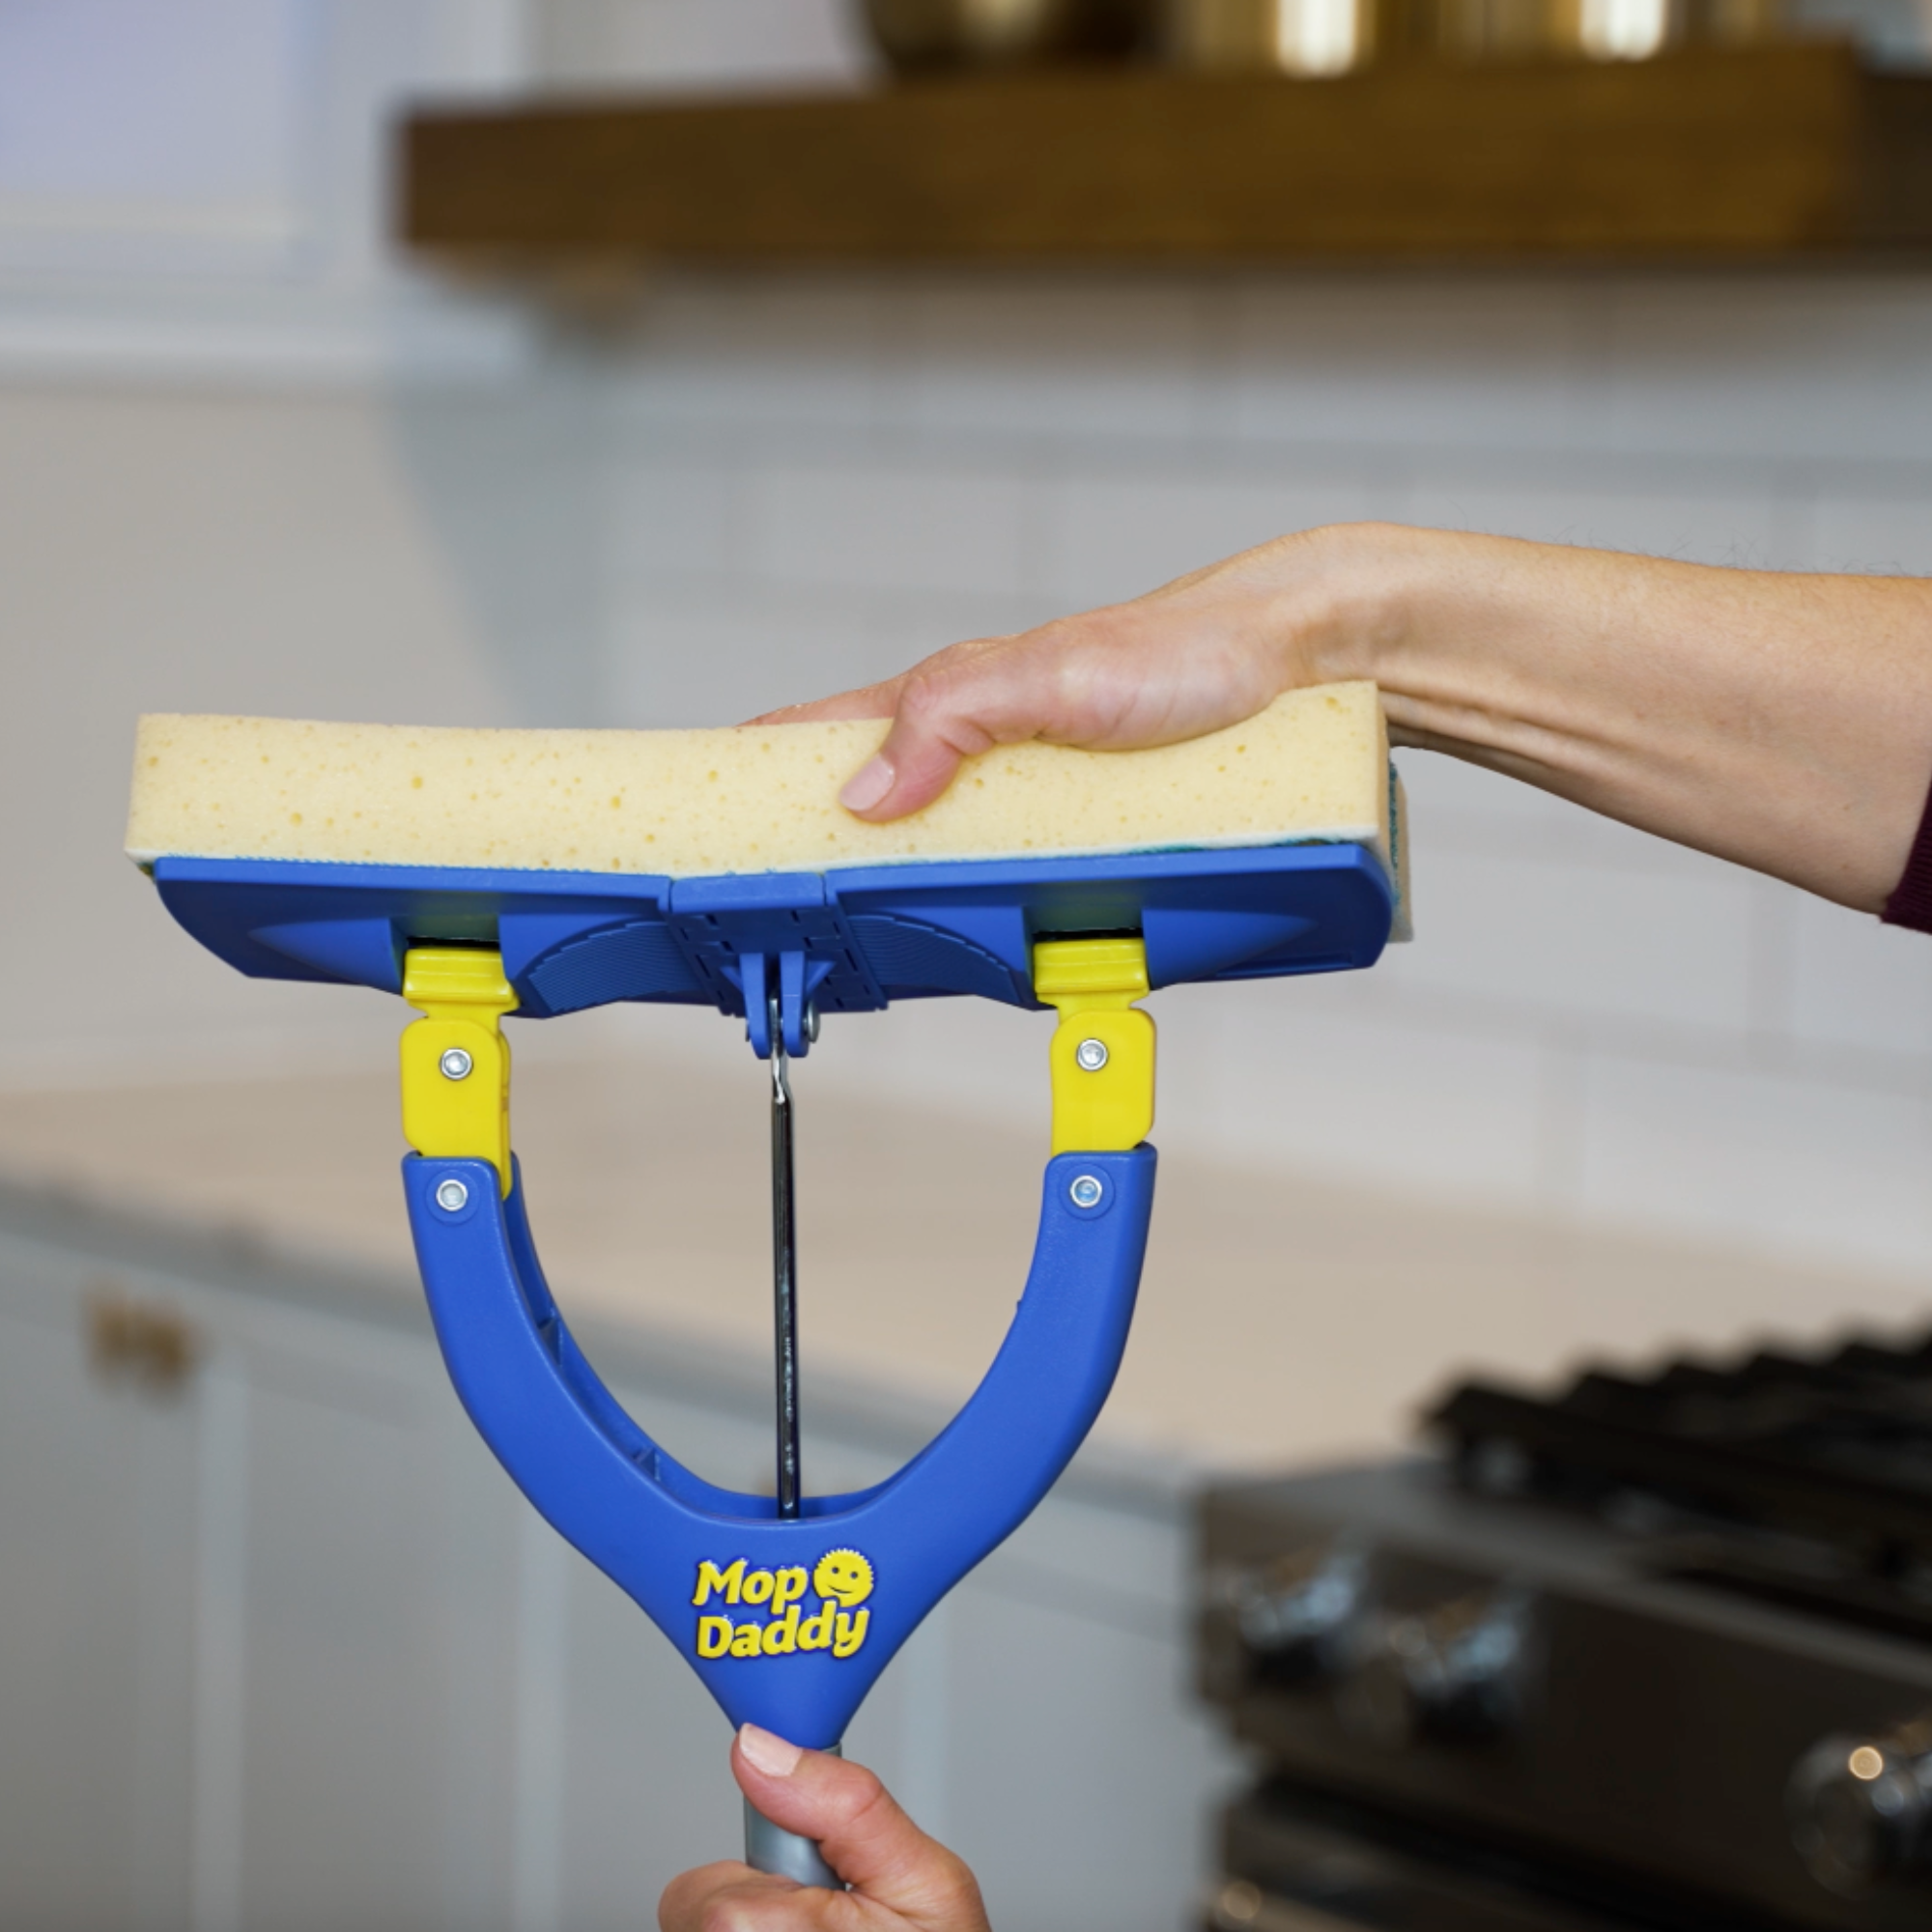 Cult cleaning brand Scrub Daddy has just launched a brand new butterfly mop — could it be the ultimate solution for banishing stubborn marks on your floor?
We're obsessed with all things Scrub Daddy


