Can you paint block paving? This is the TikTok-approved way to pimp up your outside path or driveway on a budget
No, you don’t need to replace your whole driveway to boost your curb appeal


If you’re wondering whether you can paint block paving, consider us your block paving fairy godmothers. We’ve found the perfect way to pimp up your block paving without having to sell your soul in the process.
After all, first impressions count - especially in the property world. Having a dilapidated driveway or a boring front path can take away any chance of having any curb appeal, and they can make your home feel dated and out of touch. But if you’re looking for a new garden path or driveway idea, you’ll be happy to know that you don’t have to spend thousands ripping up your driveway just because you’ve fallen out of love with the traditional red bricks.
In fact, it seems as though more and more social-media-savvy homeowners are ditching complete driveway remodels and opting for a DIY option instead. The latest TikTok craze? Painting block paving! And we’ve got the low-down on everything you need to know about this budget hack.
Can you paint block paving?
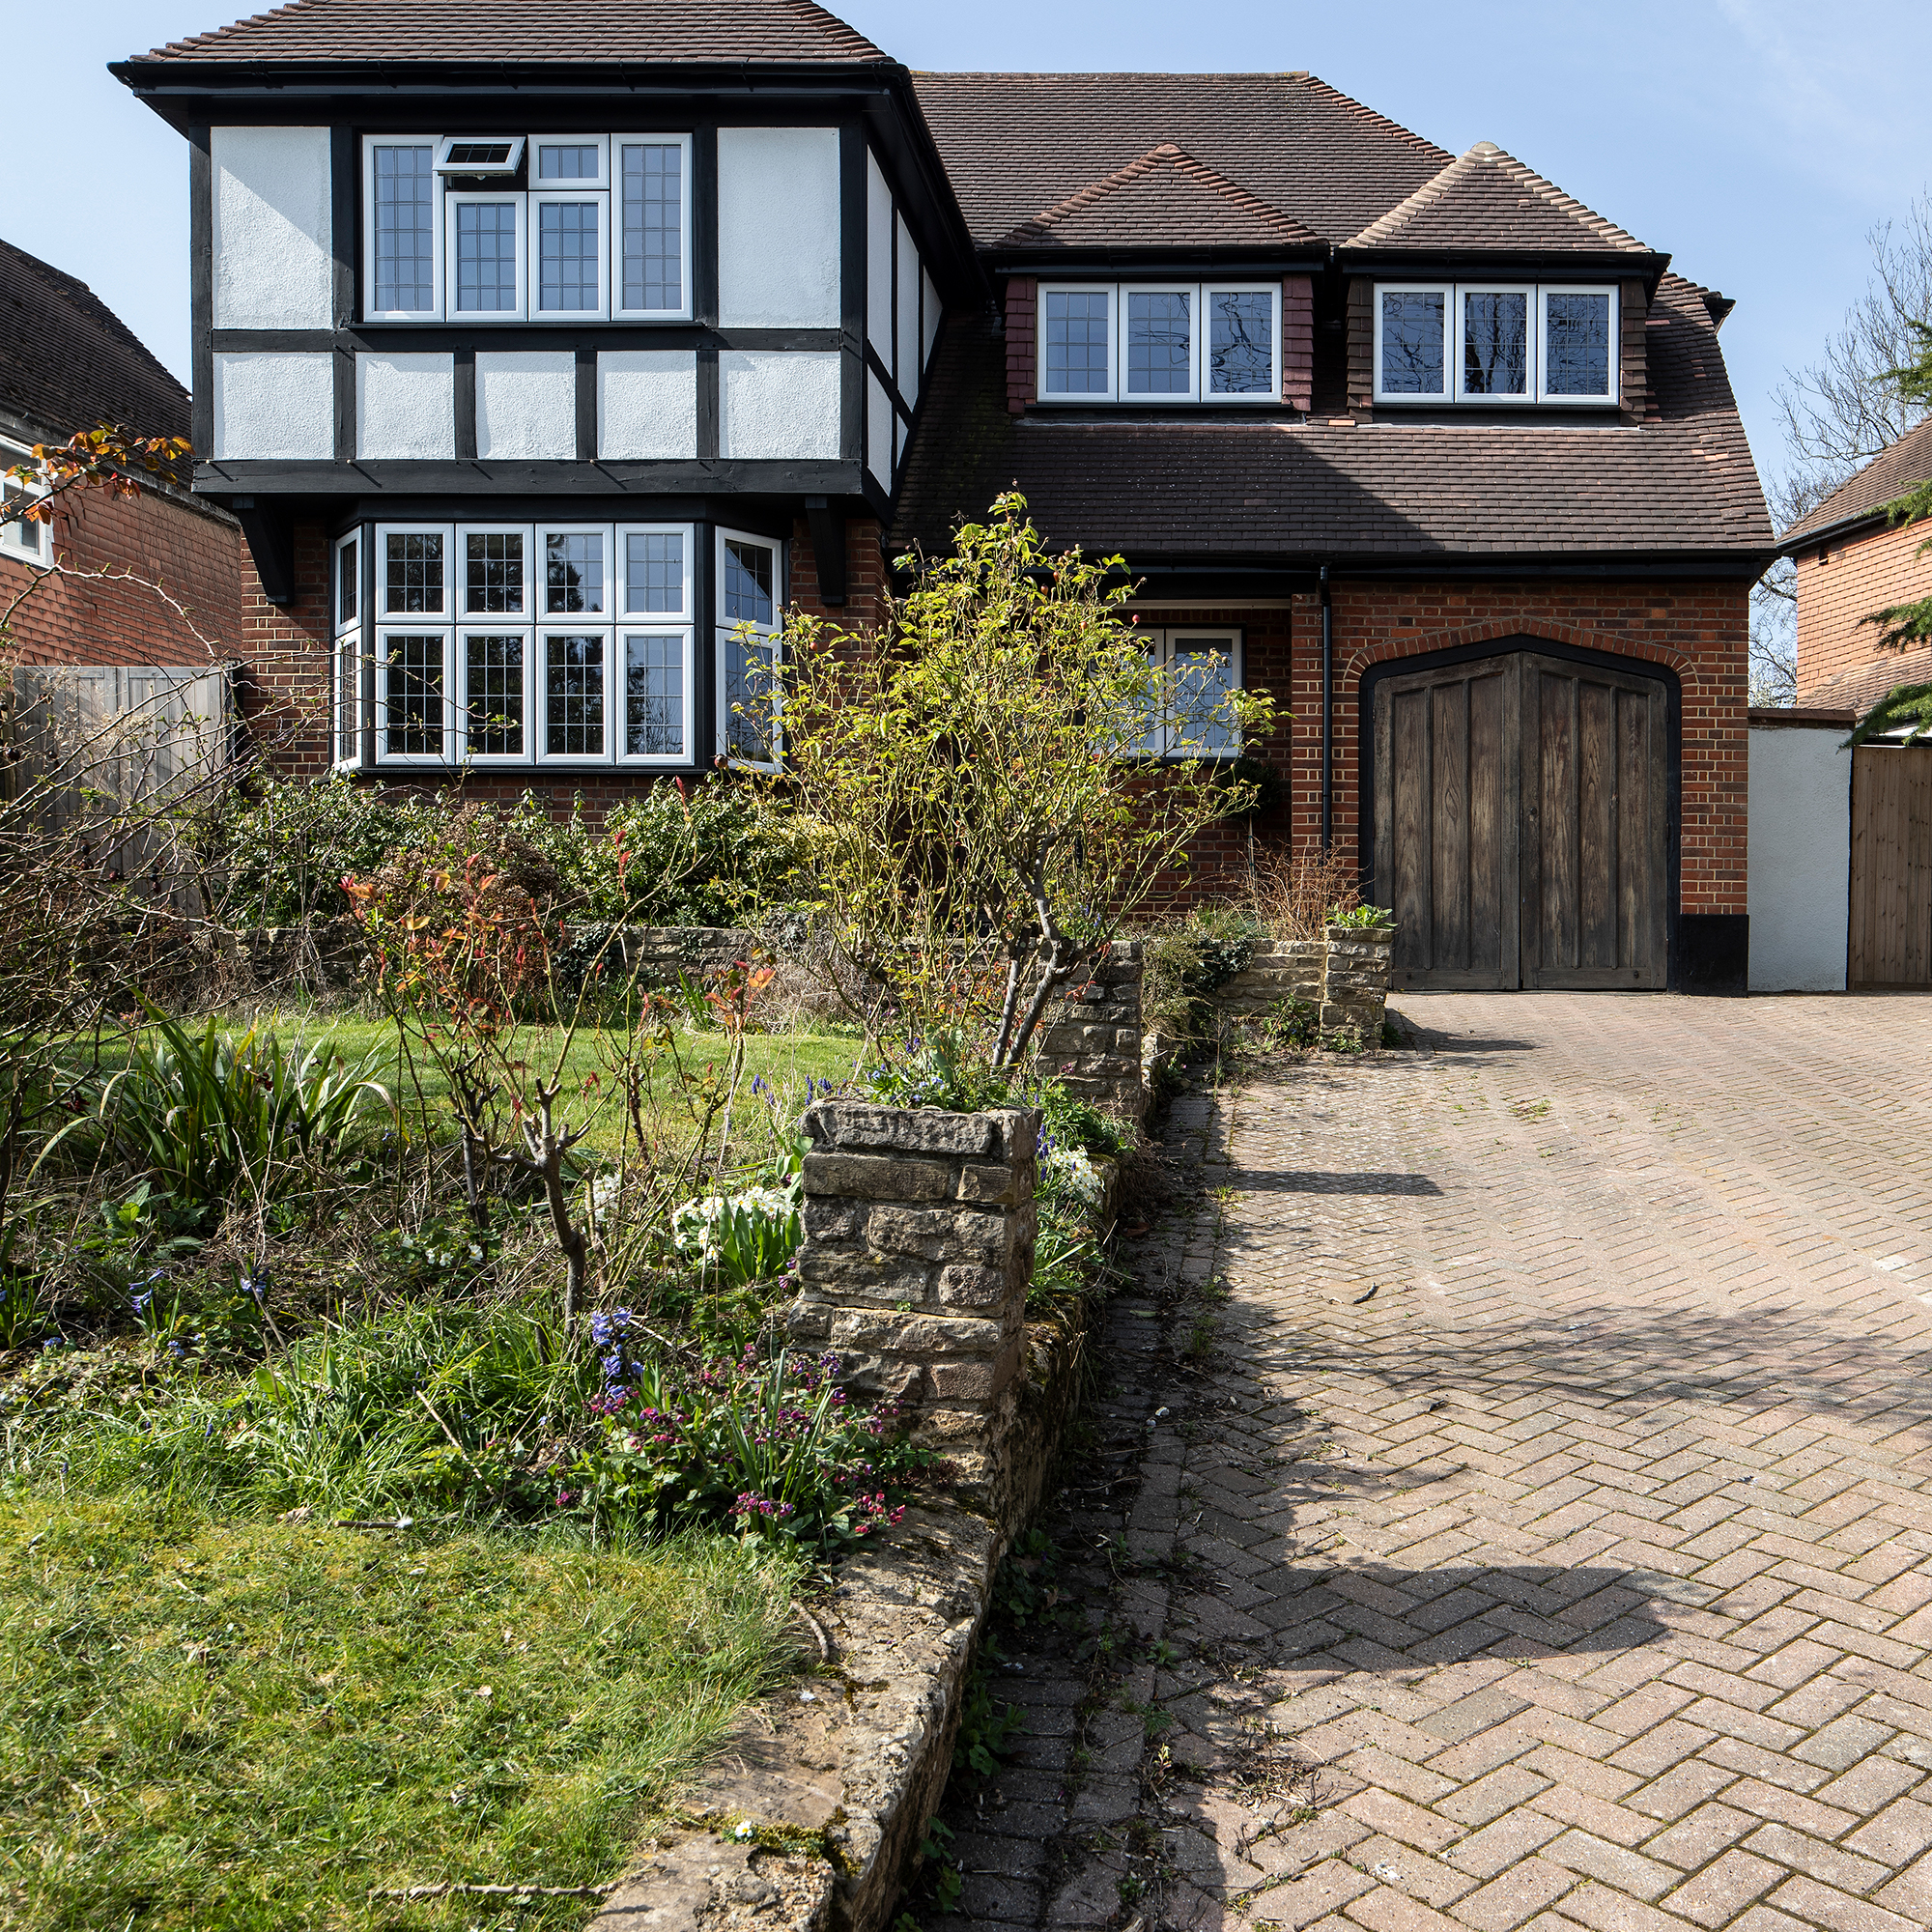
Yes, it’s possible to paint block paving! Doing this can be a great way to pimp up your outside path or driveway on a budget, and TikTok DIY legend kjg_home completely transformed her driveway for just £300 - a huge amount cheaper than the £10,000 a professional quoted her. You can check out our more detailed instructions below.
What you’ll need
- Pressure washer - like this Kärcher K3 Corded Pressure Washer from B&Q
- Block paving paint - like this Smartseal ‘Block Magic' from Amazon
- Block paving sealer - like this Smartseal Block Paving Sealer from Amazon
- Extendable roller
- Bucket
- Sand
- Broom
Step-by-step
1. Clean the surface
Before you get started on any easy DIY project that involves the painting of any surface, you should always clean and prepare that surface first. And this is no different when painting block paving. This step ensures that you have a clean and flat surface for the paint to stick to.
‘Sweep up any loose debris and use a pressure washer to remove stubborn dirt and algae, or use a patio cleaner,’ explains driveway expert Eric Williams at HomeAdviceGuide.com. Doing this will leave you with a great starting point.
But if you’ve ignored your driveway or outside path for a little longer than you should, you might need to have a few pressure-washing sessions to really loosen those stubborn spots of dirt and grime.
Sign up to our newsletter for style inspiration, real homes, project and garden advice and shopping know-how
2. Apply the block paving paint
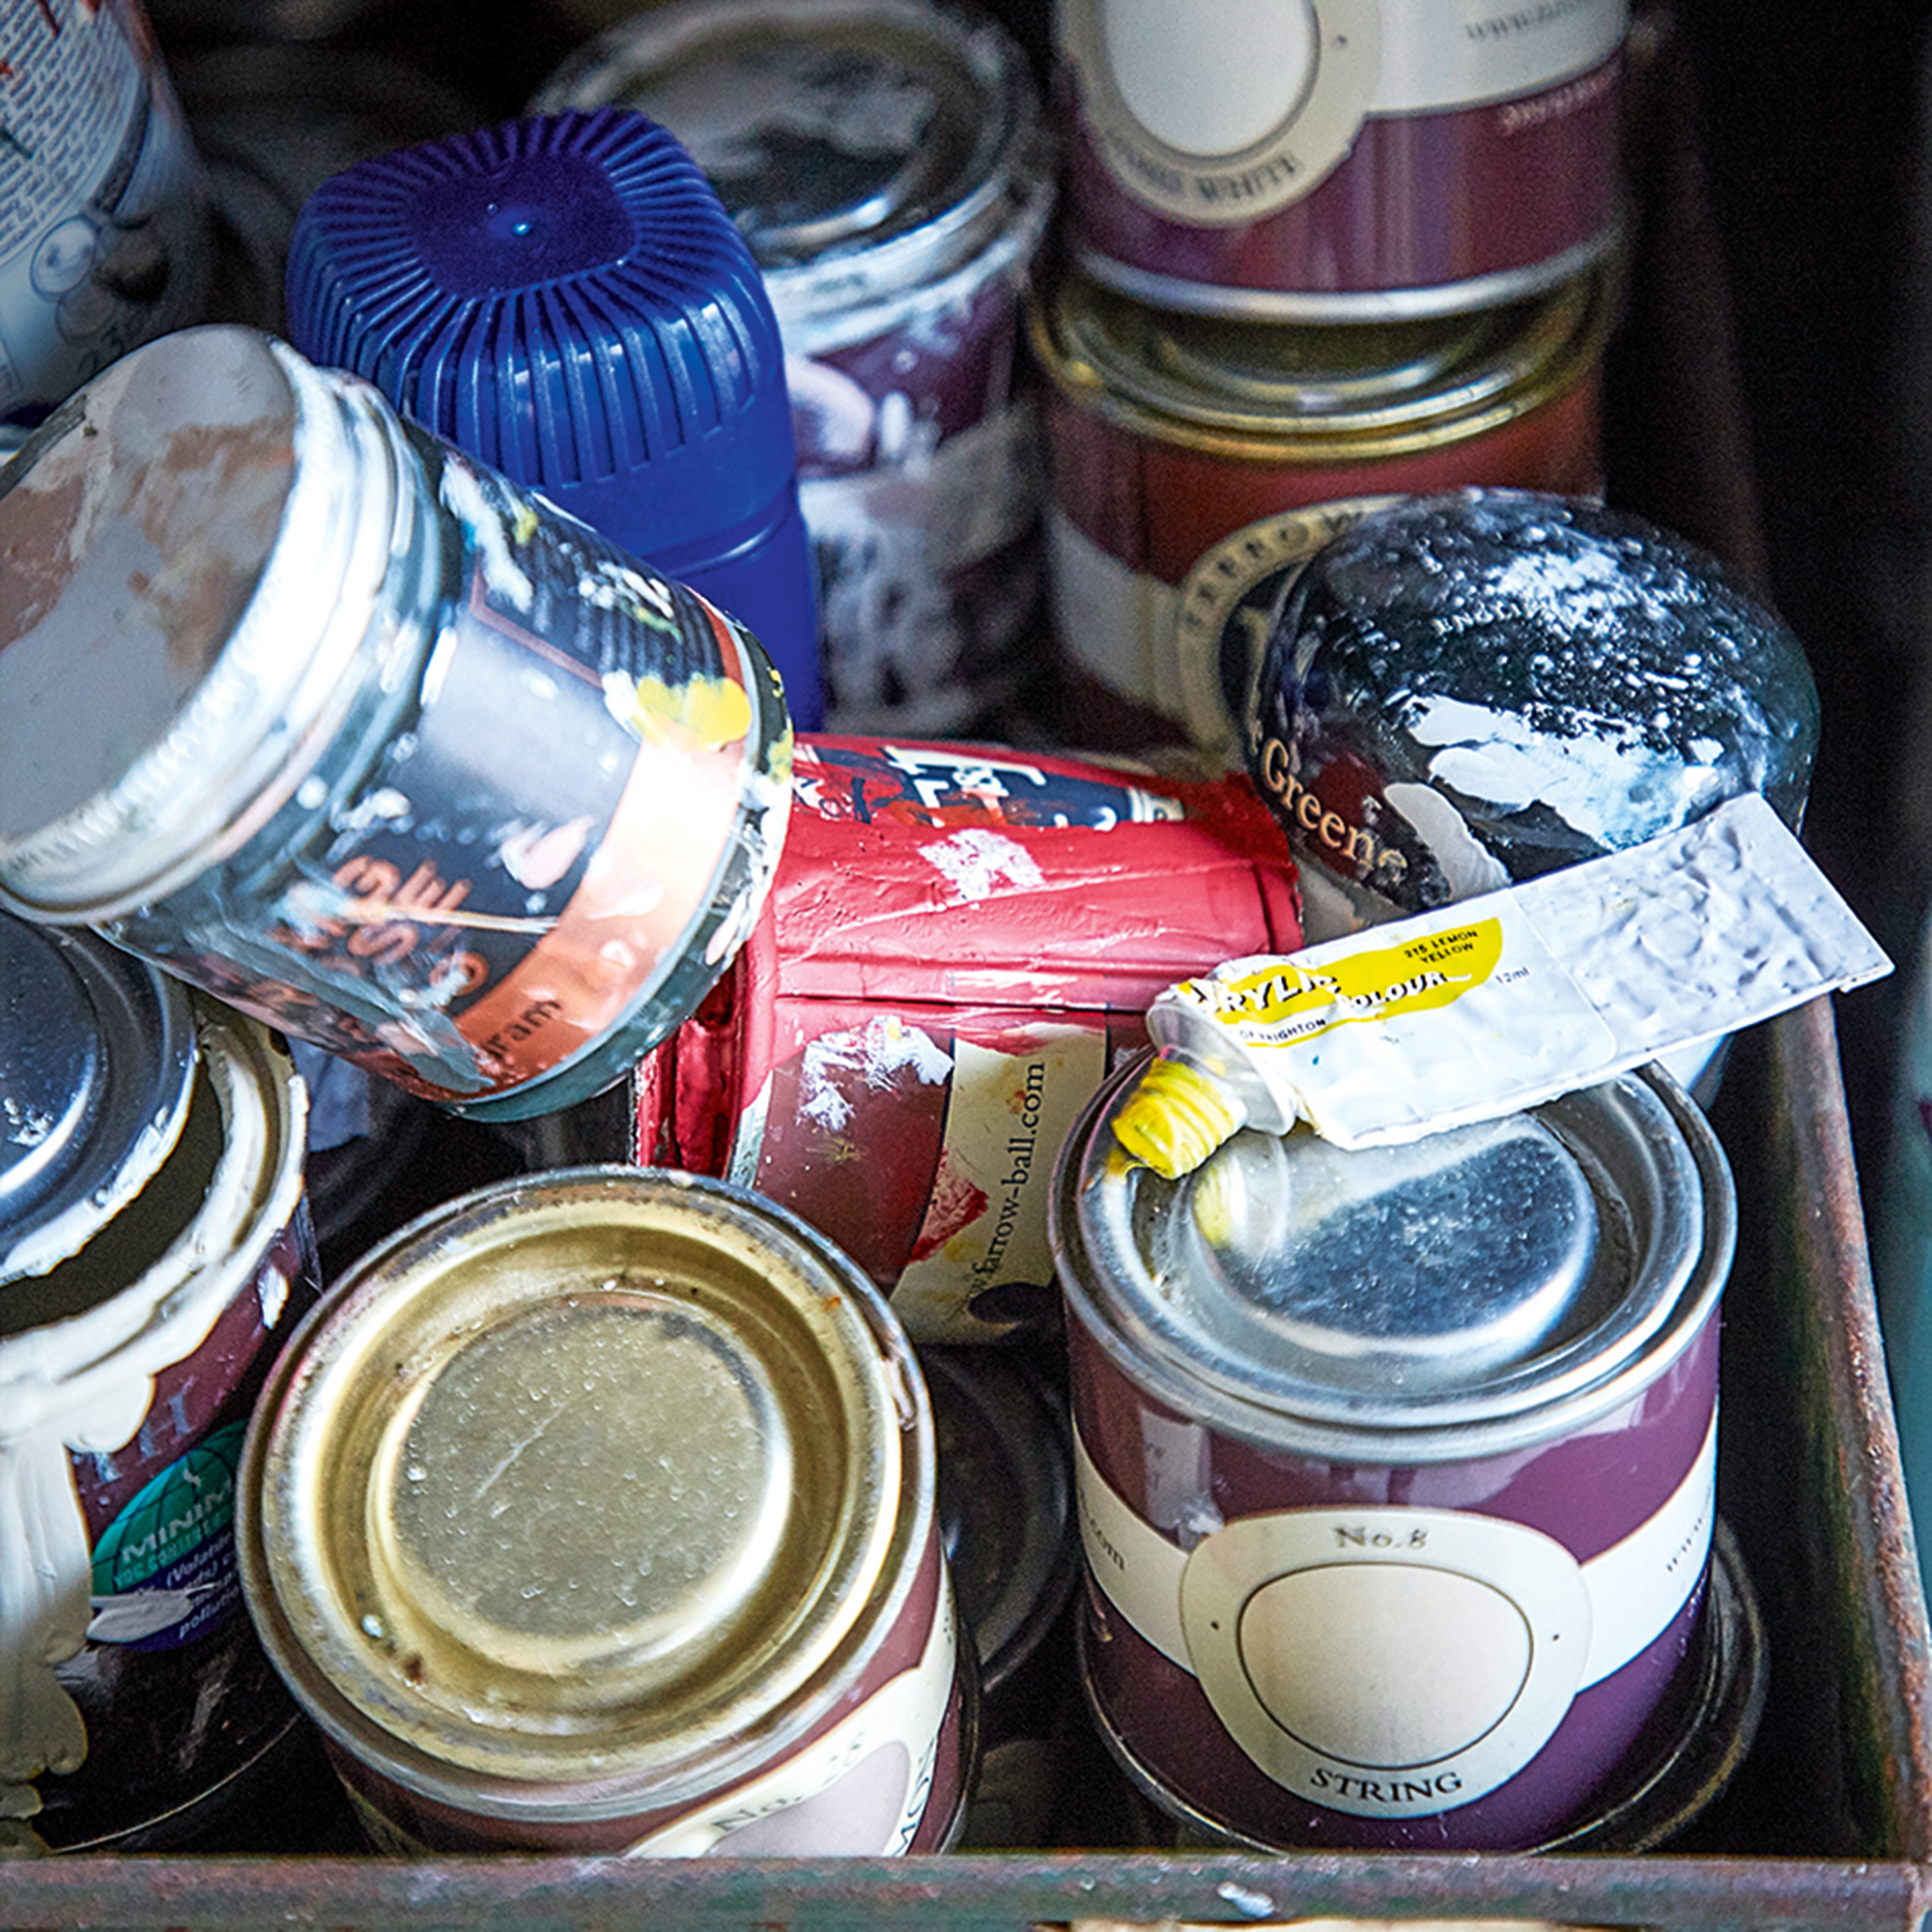
When you have a clean surface to work with, the next step is simple. All you have to do is paint! However, it’s important to note that you can’t just use any paint for this job. And while it might be easy to assume that masonry paint could do the trick, it’s actually best to use a product that has acrylic in it.
Thankfully, you can buy specific block paving paint, which makes things a whole lot easier. Then, you can pour it into a bucket, grab your extendable paintbrush roller, and go to town on your driveway or outside path.
Due to the high-traffic nature of these pathways, though, it’s best to apply two coats of this paint. Not only will this make it more durable, but it will also enhance the colour. Just remember to let the first coat dry before applying the second.
3. Fill the gaps with sand
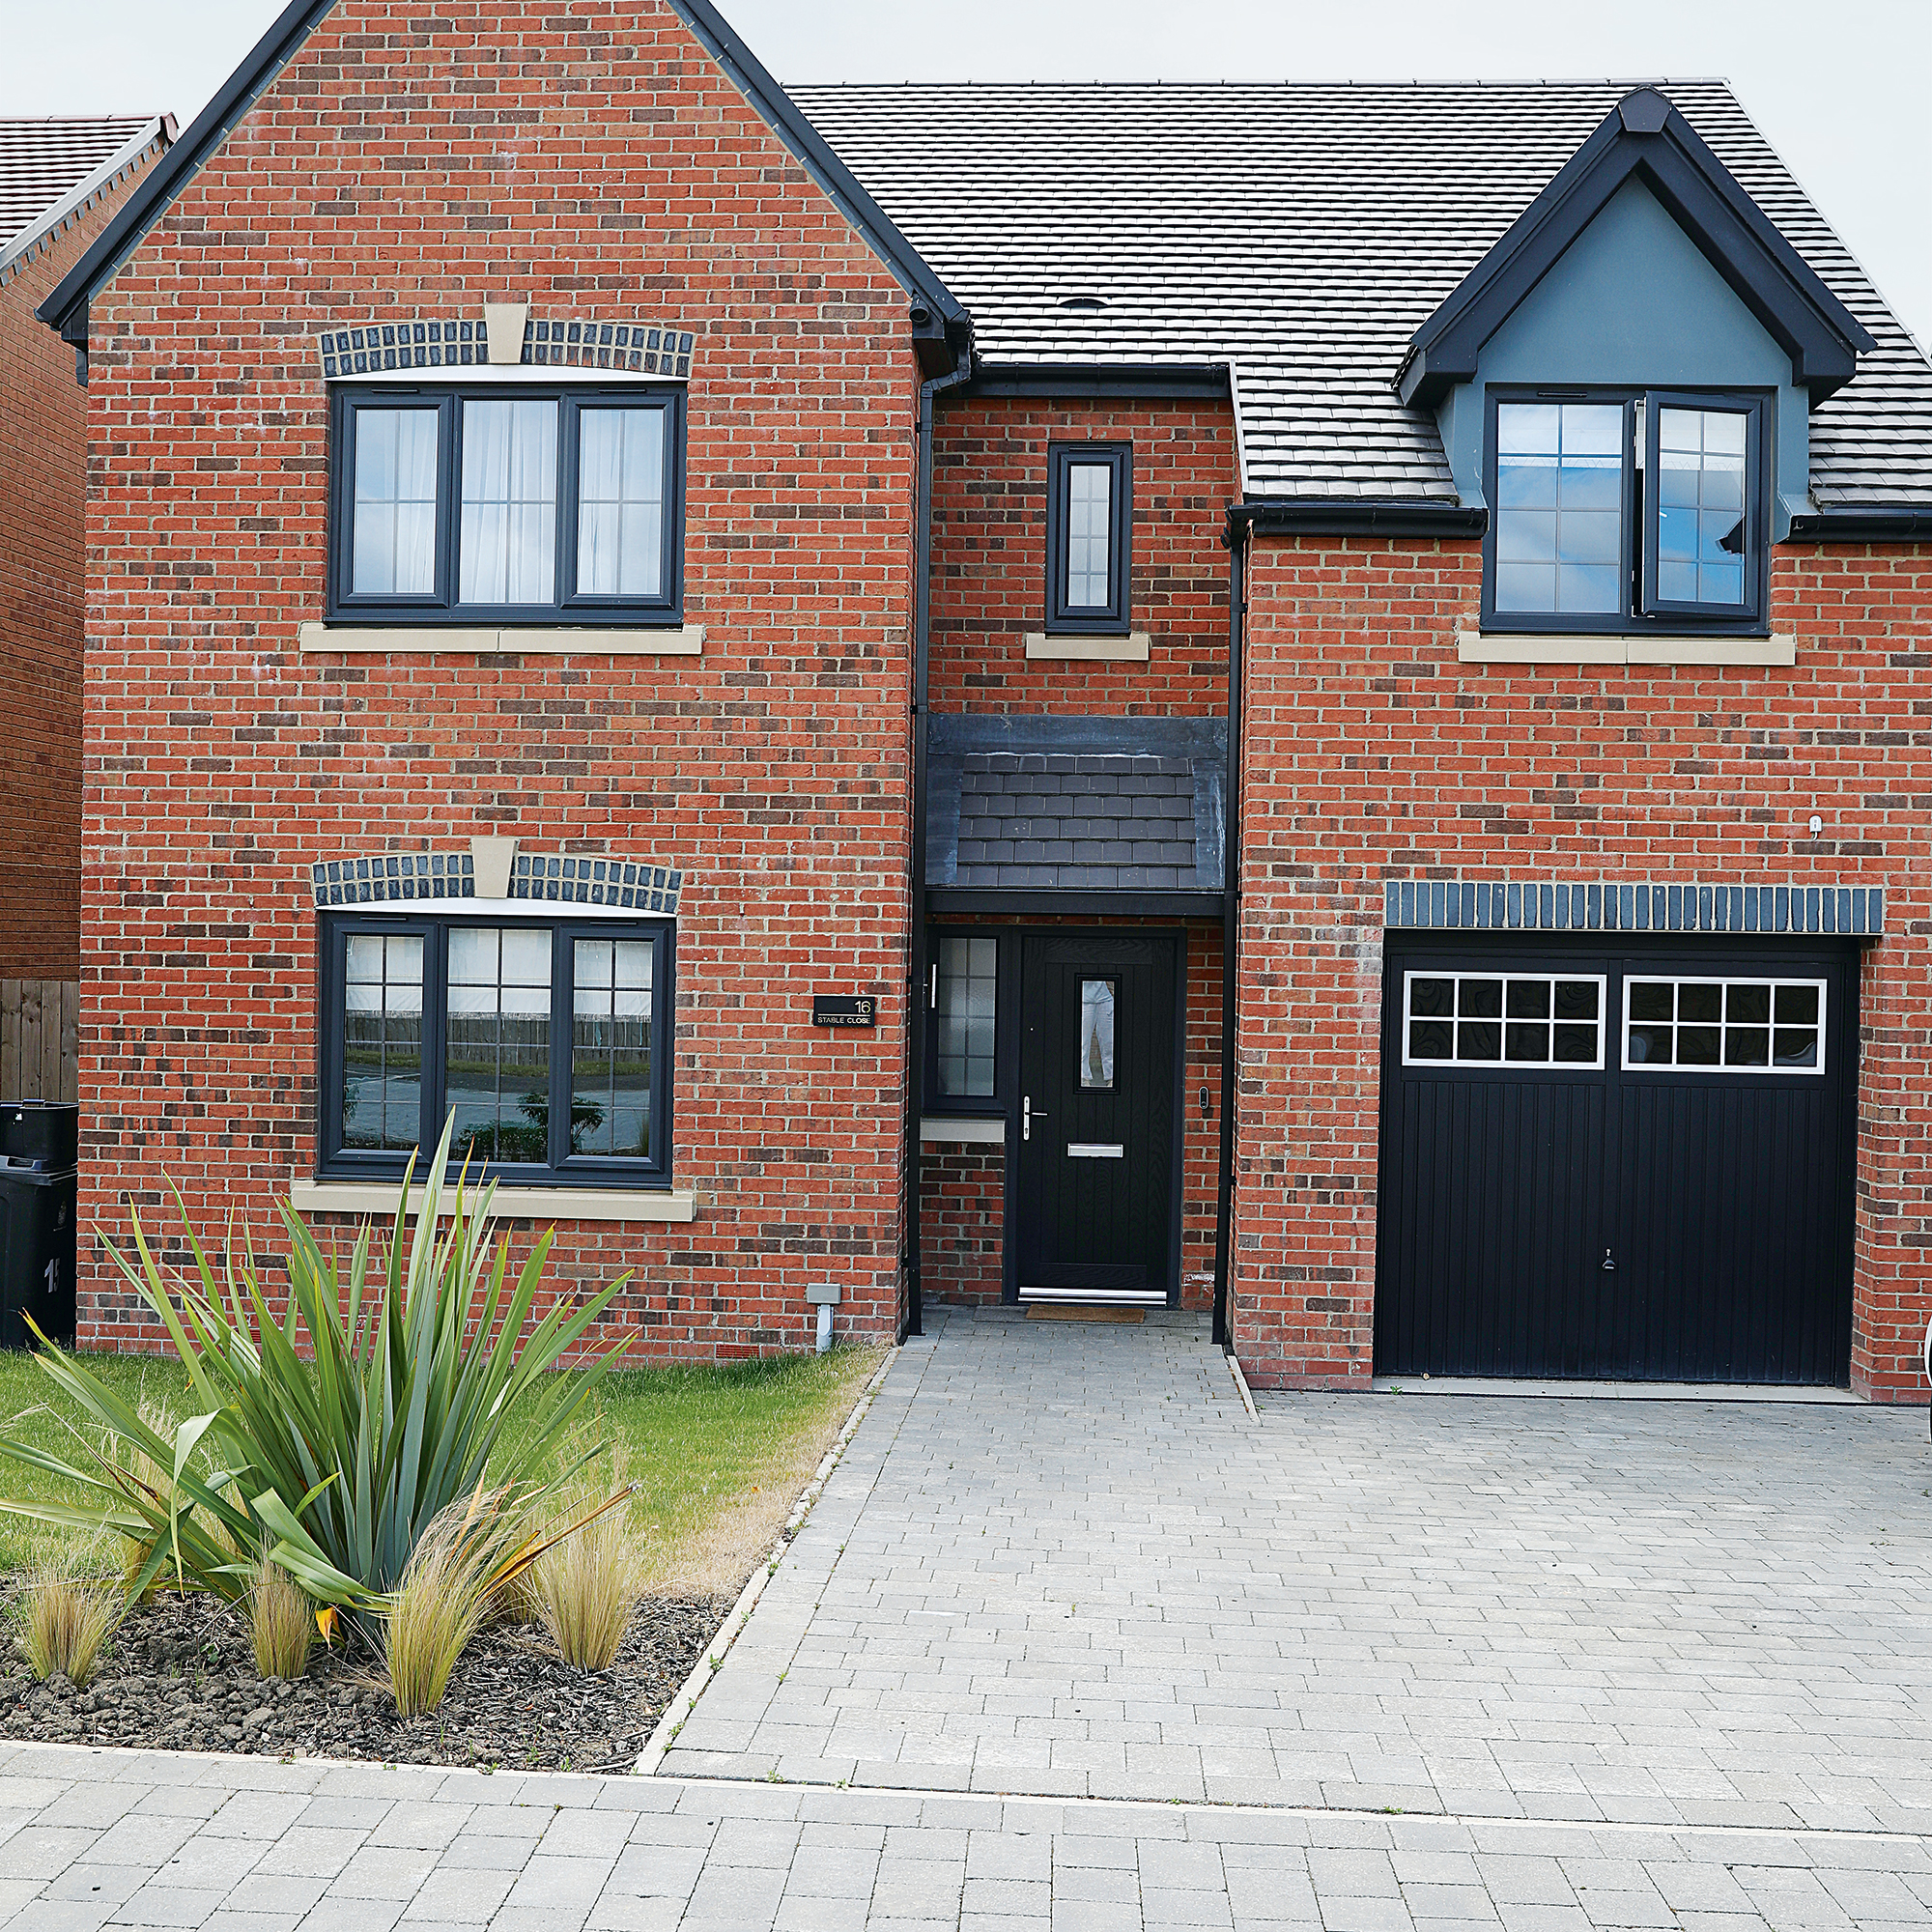
Any block paving professional would then fill in the gaps with sand, and there’s good reason for that. While the sand acts as a barrier between the bricks to stop them from moving, it can also act as a weed barrier - which is perfect for those who are constantly struggling with how to kill weeds.
This step isn’t difficult, though. Simply dump a few bags of sand onto the newly painted but dry driveway and use a broom to brush it into the gaps.
4. Apply a clear sealant
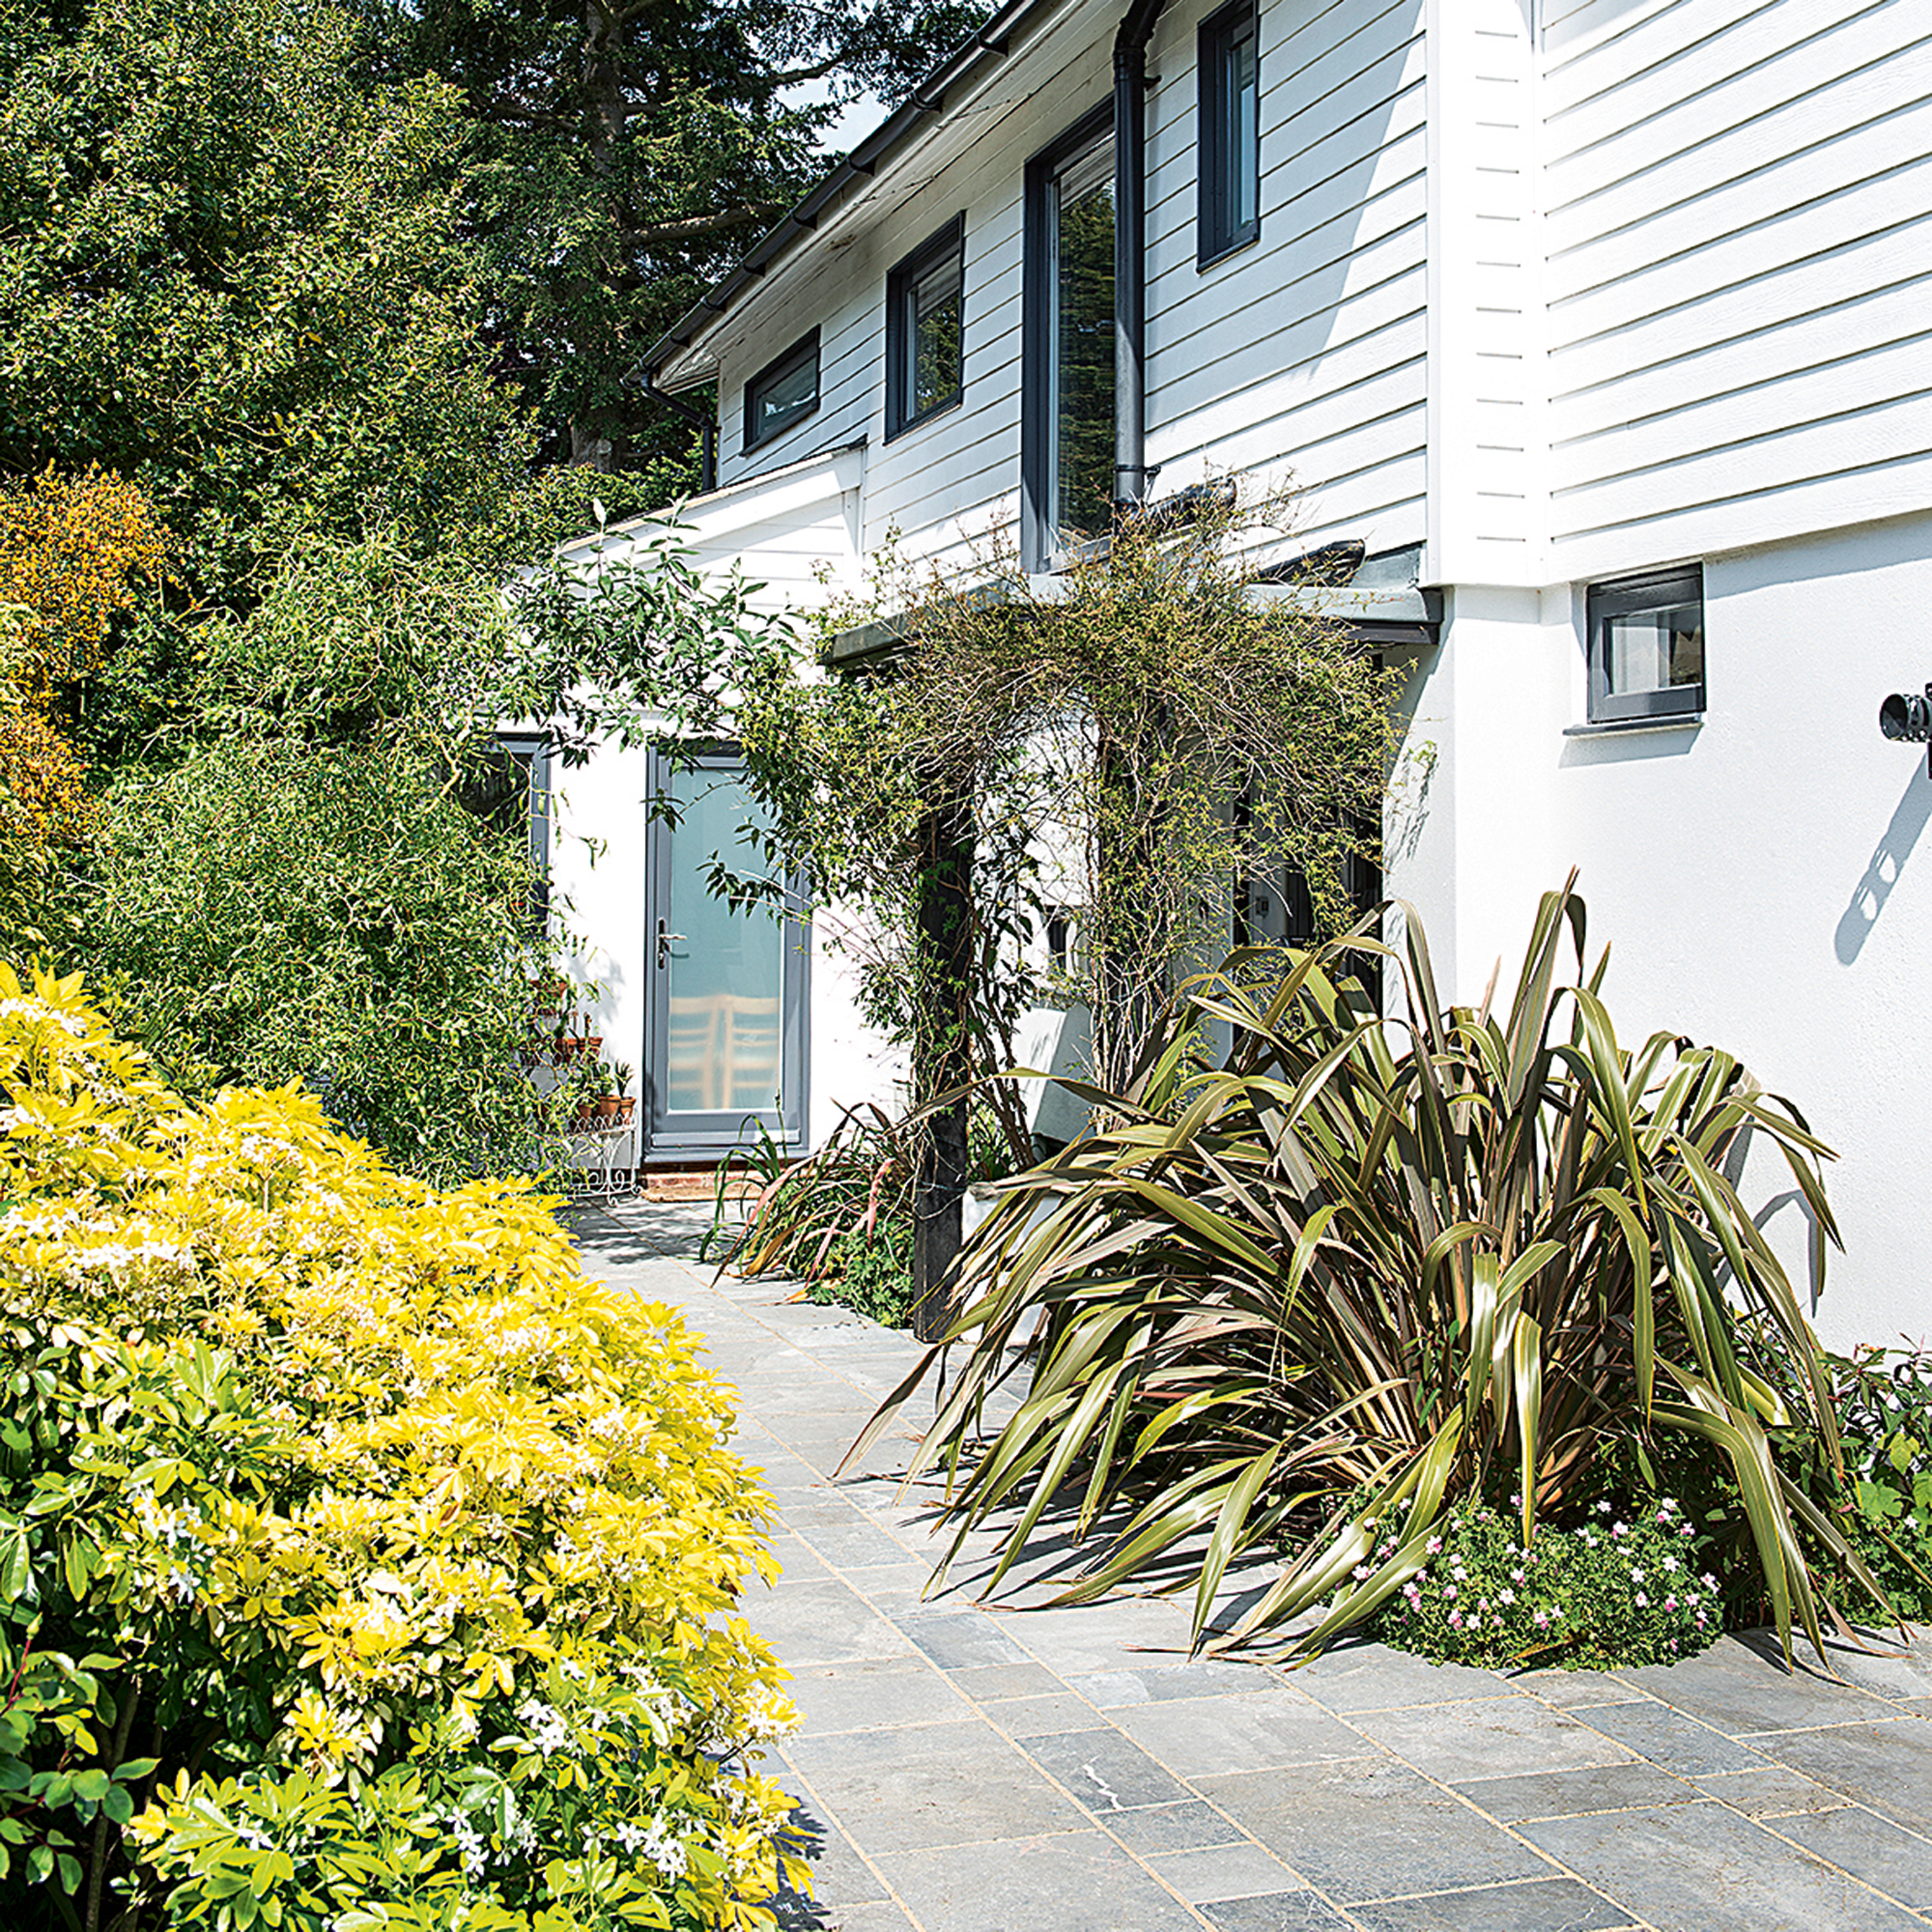
When your bricks are painted your desired colour, and the gaps are filled with sand, you then need to make sure your new driveway or outdoor path can withstand high traffic, unpredictable weather, and UV damage. And that’s where a clear sealant comes into play.
By painting a layer of this clear sealant on top, you can harden the sand within the gaps and add another layer of protection from weeds.
Then, that’s it! Obviously, this is just a basic guide on how to paint block paving. If you’re looking for something fancier, you can let your creative juices fly and opt for different coloured paint or even stencils to create patterns on your driveway. The opportunities really are endless.
FAQs
Is painting block paving any good?
If you’re looking for an affordable way to update your driveway or an outdoor path, painting is a great option. A lick of paint can transform a red brick driveway into a modern masterpiece and is a much cheaper alternative to replacing your driveway.
Of course, you do need to be careful. If your driveway is damaged in any way, painting it will only temporarily hide the issues. So, it’s always best to consult a professional if your driveway or any outside path could be unsafe.
How do you change the colour of block paving?
The easiest way to change the colour of block paving is to paint it. It’s easy to find paints specifically designed for block paving, and while there isn’t a wide variety of colours available, a small change can make a huge difference.
To do this, though, you need to make sure that you prepare the driveway for painting. This involves sweeping and pressure washing to ensure that any loose dirt or debris has been removed. Then, you can go ahead and paint the bricks with an extendable roller.
For a finished look, apply a clear sealant on top. This will protect the paint and keep your driveway free from weeds.

Lauren Bradbury has been the Content Editor for the House Manual section since January 2025 but worked with the team as a freelancer for a year and a half before that. She graduated with a Bachelor’s degree in English and Creative Writing from the University of Chichester in 2016. Then, she dipped her toe into the world of content writing, primarily focusing on home content. After years of agency work, she decided to take the plunge and become a full-time freelancer for online publications, including Real Homes and Ideal Home, before taking on this permanent role. Now, she spends her days searching for the best decluttering and cleaning hacks and creating handy how-to guides for homeowners and renters alike, as well as testing vacuums as part of her role as the Ideal Home Certified Expert in Training on Vacuums, having spent over 110 hours testing different vacuum models to date!