How to build a fire pit – everything you need to know to ace this garden DIY, according to experts
An expert guide to building a homemade fire pit to stay warm during those chilly summer nights
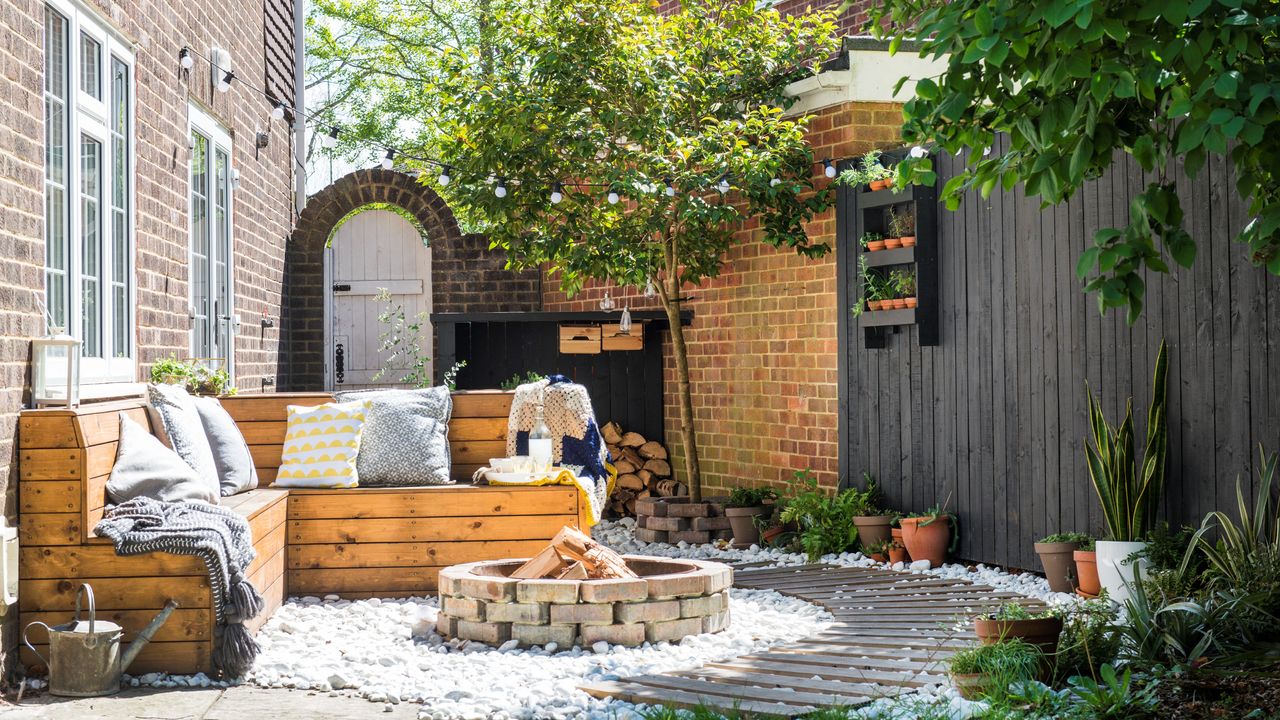

A fire pit is a staple centrepiece for hosting and staying warm on a chilly summer evening. Although there are plenty of options on the market, if you're up for a DIY challenge to prep your garden for summertime soirees, it's more than possible to learn how to build a fire pit to enjoy all season long.
The best fire pits are second to none in adding that cosy vibe we all crave when relaxing outdoors during the warmer months. With its atmospheric glow, relaxing crackling sound, and distinct smell, there's a reason they're the preferred outdoor heating solution when pitted against even the best patio heaters.
We've asked experts for their top tips on building a fire pit – complete with their list of everything you need and a comprehensive step-by-step guide to help you flesh out your desired fire pit ideas for the peak of summer relaxing.
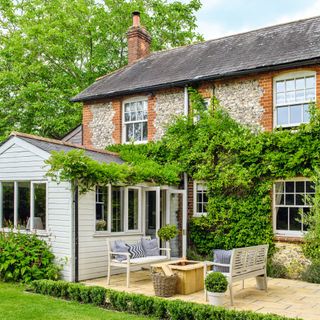
How to build a fire pit
What you'll need
Tools list
- Shovel – like this Steel Digging Shovel, at Amazon
- Spirit level – like this Minotaur Trade Spirit Level 600mm, at Toolstation
- Trowel – like this Stainless Steel Garden Trowel, at Amazon
- Bucket – like this Black 14L Bucket, at B&Q
- Measuring tape – like this Retractable Tape Measure 5m, at Amazon
- Rubber mallet – like this Minotaur Rubber Mallet 16oz, at Toolstation
Materials list (subject to variation)
- Concrete paving slabs (base) – 4-6 slabs depending on desired base size
- Fire bricks (lining) – 20-30 bricks depending on the desired fire pit size
- Standard bricks or concrete blocks (outer wall) – 40-60 pieces
- Sand (mortar) – 1 bag (25kg)
- Cement (for mortar) – 1 bag (20kg)
- Gravel (drainage) – 1 bag (20kg)
- Metal fire pit ring (optional)
Step-by-step guide
1. Choose a location
First things first, choosing the right location for your fire pit is crucial.
'I would recommend taking some time to weigh up the pros and cons of different areas in your garden and assess which spot suits your needs the best,' advises Robert Quinton, DIY expert and owner of Construction Megastore.
As a general rule of thumb, you should aim to select a flat, open area in your outdoor space, away from overhanging trees, garden fencing, and other structures for safety reasons. Additionally, ensure the chosen location is away from anything flammable and that there is plenty of ventilation for smoke (unless you opt for a smokeless fire pit), per what we've learned about using a fire pit on decking.
'It's also recommended that you keep the fire pit at least 10 feet (10 metres) away from the house, and seven feet (2.1 metres) away from your outdoor furniture,' urges Adam Oldfield, director at StovesAreUs.
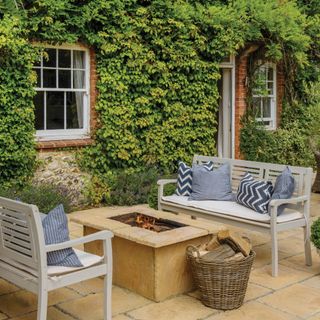
2. Mark out the fire pit
Once you've chosen a location for your fire pit, you now mark out its structure.
'Use a tape measure to mark out your firepit's diameter. A diameter of around one metre is typically the size most people opt for,' notes Robert.
'All you need to do to mark out the fire pit is place a stake in the centre, tie some string to it, and use it to draw or mark a circle on the ground.'
3. Dig the pit
After marking out and measuring the pit, it's time to start digging.
Dig out the marked circle to a depth of about 15-20cm, as this will form the base of the fire pit. While you're digging, be sure to remove any excess debris, grass, and roots for a smooth finish.
'Make sure to pat the soil in this hole down so it is level and fully compacted, which you can do with a soil tamper,' advises Adam.
4. Create a solid base
As with any garden building idea (even more so a DIY one), ensuring solid foundations is paramount to its structural integrity. So, when building a fire pit, creating a firm base is vital.
Fill the hole you dug out with a 10cm layer of gravel for drainage, spreading it evenly and compacting it down by standing on it firmly. 'This will help assist with drainage to ensure that the fire pit doesn't collect water when it rains,' explains Tom Clifford, garden landscaping expert from Gardenstone.
Follow this up with a 5cm sand layer over the gravel, using a level to ensure it is evenly spread and smooth.
5. Lay the first row of bricks
Once you've sorted the inside of your fire pit by laying a layer of gravel and sand to form the base, it's time to start focusing on building up the exterior.
'Start laying your fire bricks or pavers around the edge of the sand base, and use a level to check that each brick is even. Once you have done that, apply concrete adhesive or mortar to secure them in place,' says Robert.
6. Build up the walls
Naturally, one layer of bricks won't be enough, so after laying the first layer of bricks down, it's time to continue stacking and staggering the joins for stability.
'A fire pit typically requires three to four layers of bricks, depending on your preferred height,' notes Robert.
7. Add a metal ring or fire pit bowl (optional)
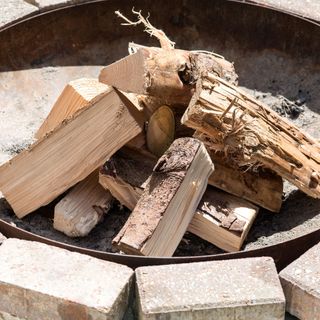
This is the only optional stage of the process, but if you want your fire pit to have some extra durability, you can place a metal ring or bowl inside the brick structure.
'This helps protect the bricks from extreme heat and prolongs the firepit's life,' explains Robert.
If you choose to add a metal ring or bowl to your fire pit, Tom advises adding this after all the bricks have been laid and waiting a minimum of 24 hours before using the fire pit to ensure all the adhesive or cement has had time to fully set.
8. Add finishing touches
With everything in place, it's time to add the finishing touches to your fire pit before you can enjoy the fruits of your labour to help you stay warm while dining outside this season.
'Now that the bricks are in place, use a rubber mallet to ensure they are securely set and fill any gaps with sand or mortar. Just remember to let it dry according to the manufacturer's instructions, and then you're ready for your test run,' says Robert.
9. Test the fire pit
After allowing the fire pit to set post-construction, it's recommended that you test it before attempting to fire it up for the first time at a garden party or if you plan to use it in replacement of (or alongside) your best BBQ for a summer gathering.
You can simply test the fire pit by lighting a small fire. 'This will ensure everything is set up correctly and safely, and allow you to use it freely for many years to come,' assures Robert.
FAQs
What fuel is best for a fire pit?
'When it comes to choosing your fire pit, there are a variety of fuel types to consider,' begins Adam Oldfield at StovesAreUs.
'Wood-burning fire pits are a great choice for those looking for a more authentic option, and they can be made more sustainable by using seasoned hardwoods for a cleaner burn, while gas fire pit tables are a good choice for those looking for something more sleek and modern.'
What to put in the bottom of a wood burning fire pit?
To create a solid, sturdy foundation for a wood burning fire pit, it's important that you lay a foundation of gravel and sand for both drainage and safety purposes.
Do you need sand at the bottom of a fire pit?
As a general rule of thumb, it's always recommended to add sand when creating the base of your fire pit.
Adding sand to the bottom of your fire pit will help protect it from the heat of the fire and extend the lifespan of your fire pit.
How deep should a handmade fire pit be?
'A fire pit should be between four to nine inches (4cm-22cm) deep depending on the desired depth of your fire pit,' advises StoveAreUs' Adam.
Now you know how to build a fire pit, you can get to carving out time to get stuck into this DIY project. We think it's an addition that will certainly elevate the look and feel of your outdoor space, serving a worthy purpose not only during the summer months, but all year round, too.
Get the Ideal Home Newsletter
Sign up to our newsletter for style and decor inspiration, house makeovers, project advice and more.

Jullia was Ideal Home’s Junior Writer from 2022-2024 and the Ideal Home Certified Expert in Training on Vacuums having spent over 60 hours testing different models. She’s always loved all things homes and interiors, graduating with a bachelor’s degree in Architectural Studies from the University of Nottingham where her love for writing blossomed following her internship at ArchDaily. Now focused on home tech and cleaning, Jullia works on writing features and explainers to help people make the most of their home appliance investments, putting the newest launches through their paces. When she isn’t writing, she loves exploring the city, coffee shop hopping, and losing hours to a cosy game or book.
-
 'Dirty kitchens' are the luxury kitchen trend with practical appeal - here's why you need one
It's much more appealing than it sounds
By Holly Cockburn
-
 Can you divide dahlia tubers in spring? Experts share their golden rules to get even more beautiful blooms this year but you need to act fast
Get this one right, and you'll be rewarded with plenty more dahlias come summer...
By Kayleigh Dray
-
 The White Company is embracing Mamma Mia core with its new summer collection - these are the stunning pieces to watch
These sun-soaked styles are not ones to miss
By Kezia Reynolds