How to clean a paint roller - remove water and oil-based paints with this expert guide
Cleaning a paint roller can be tricky... but it doesn't have to be
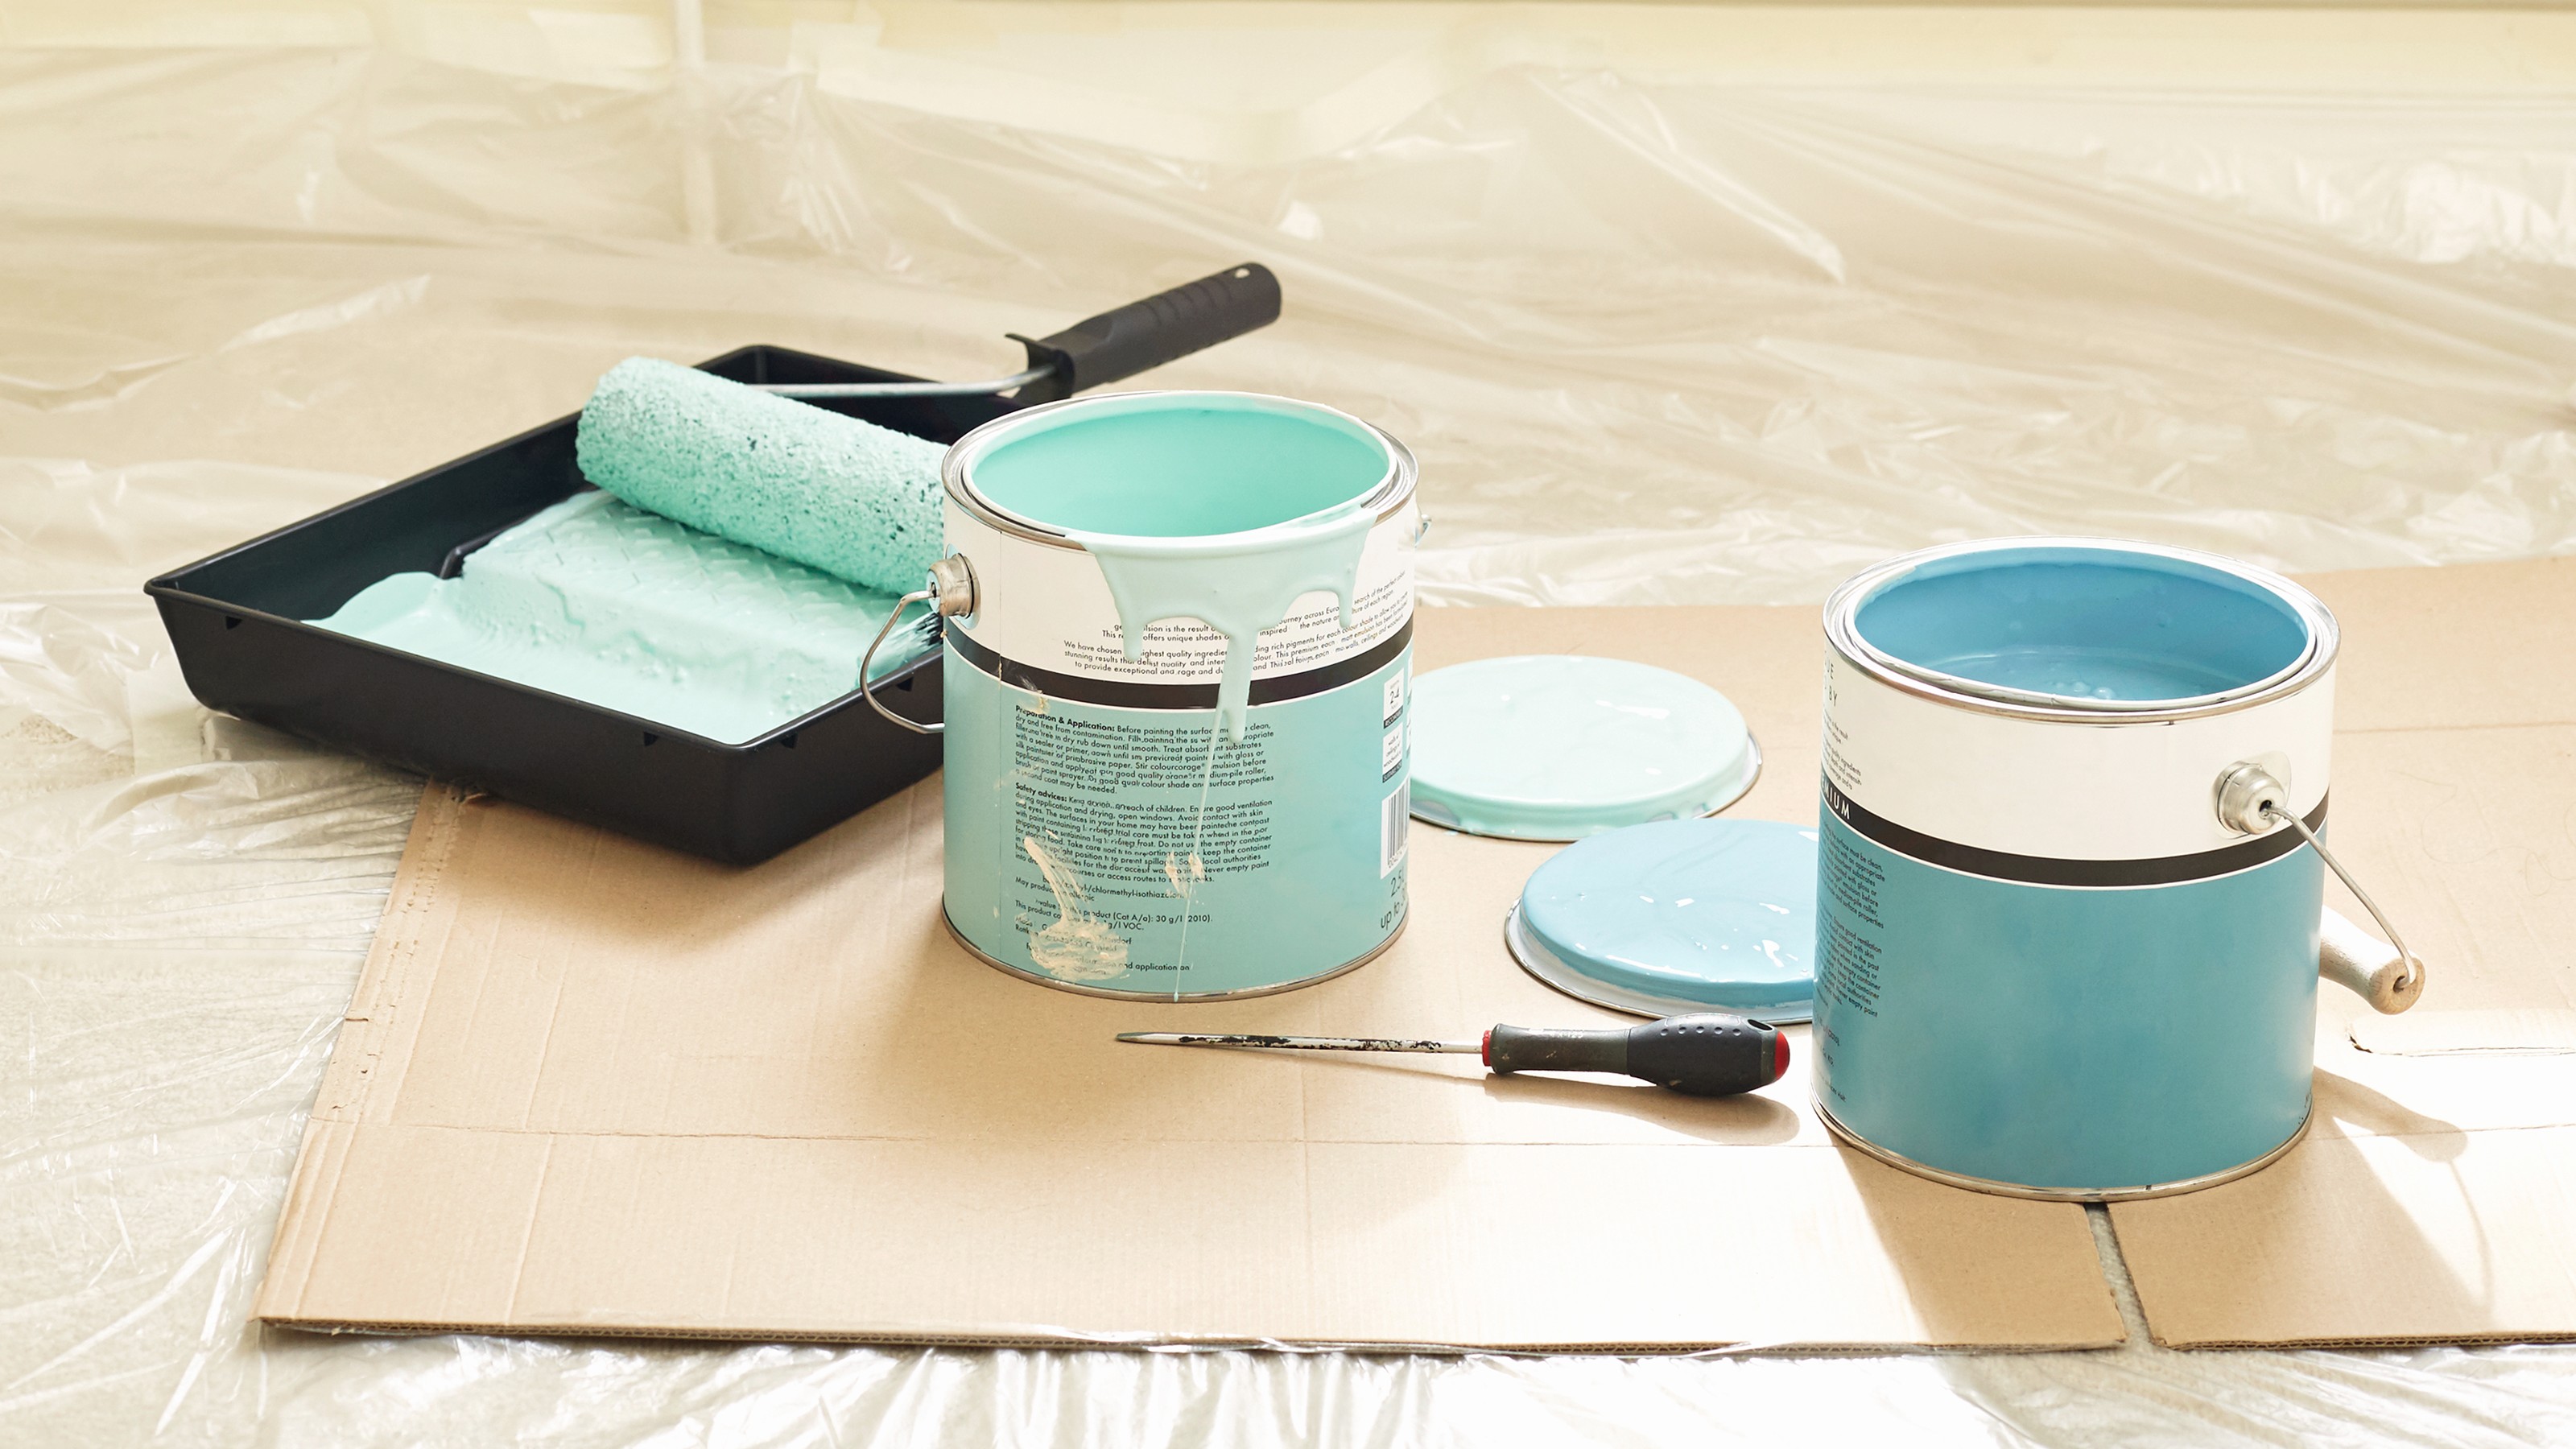

Whether you’re mentally preparing yourself to paint a wall or currently holding a paint-covered paint roller and wondering what to do with it, we get why knowing how to clean a paint roller is something you’d want in your back pocket.
After all, cleaning a paint roller is very different to cleaning paint brushes. Sure, they can both help you bring your paint ideas to life, but they’re two very different tools used for two very different painting tasks. In fact, knowing how to use a paint roller can help you paint a wall in minutes, while paint brushes can help with smaller projects and corners.
And as Emma Bestley, Creative Director and Co-Founder of YesColours explains, ‘By properly cleaning and storing your paint roller, you will be able to reuse your roller for future DIY projects, alongside keeping them dust and debris-free.’ So, this is how to clean a paint roller.
What you’ll need
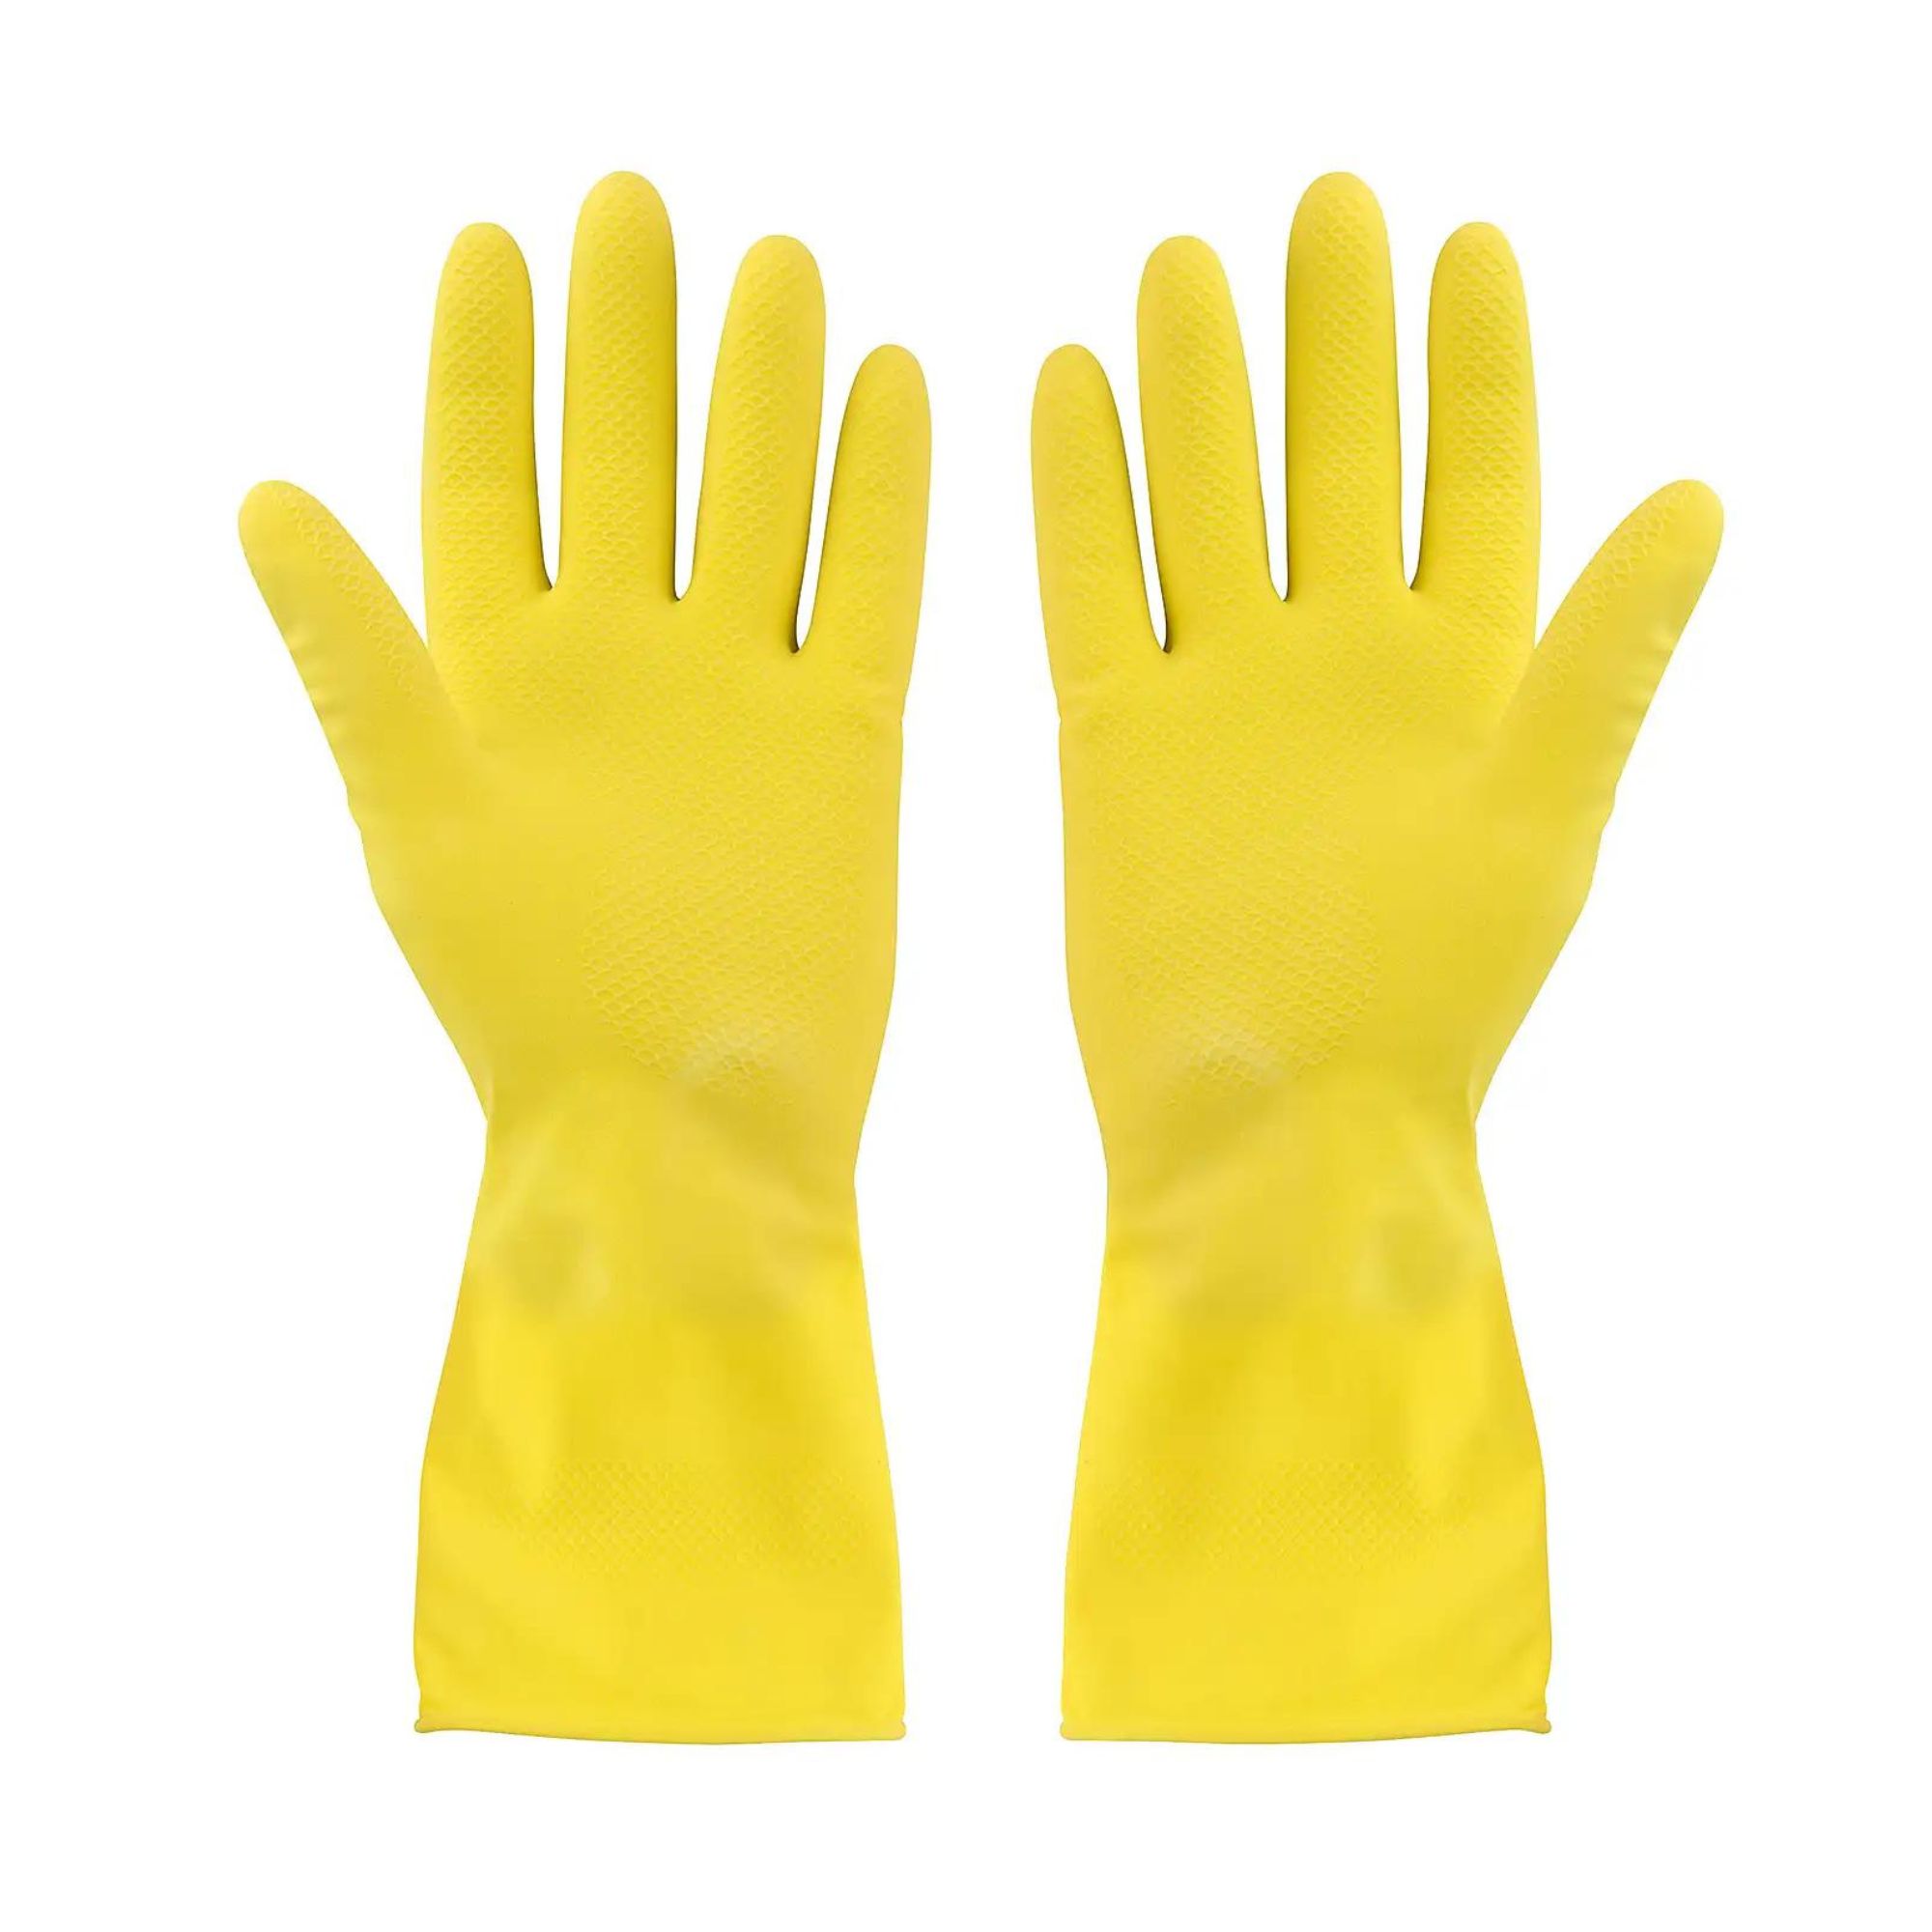
Cleaning a paint roller can be a messy business, which is why it's essential to wear gloves. And while you could opt for disposable ones, we prefer these reusable gloves.
Step-by-step
1. Scrape excess paint back into the tin
While it’s important to know how much paint you need to avoid excess, it’s often hard to avoid paint build-up on a paint roller. That’s because they’re often made from porous fibres that absorb a lot of paint throughout the painting process.
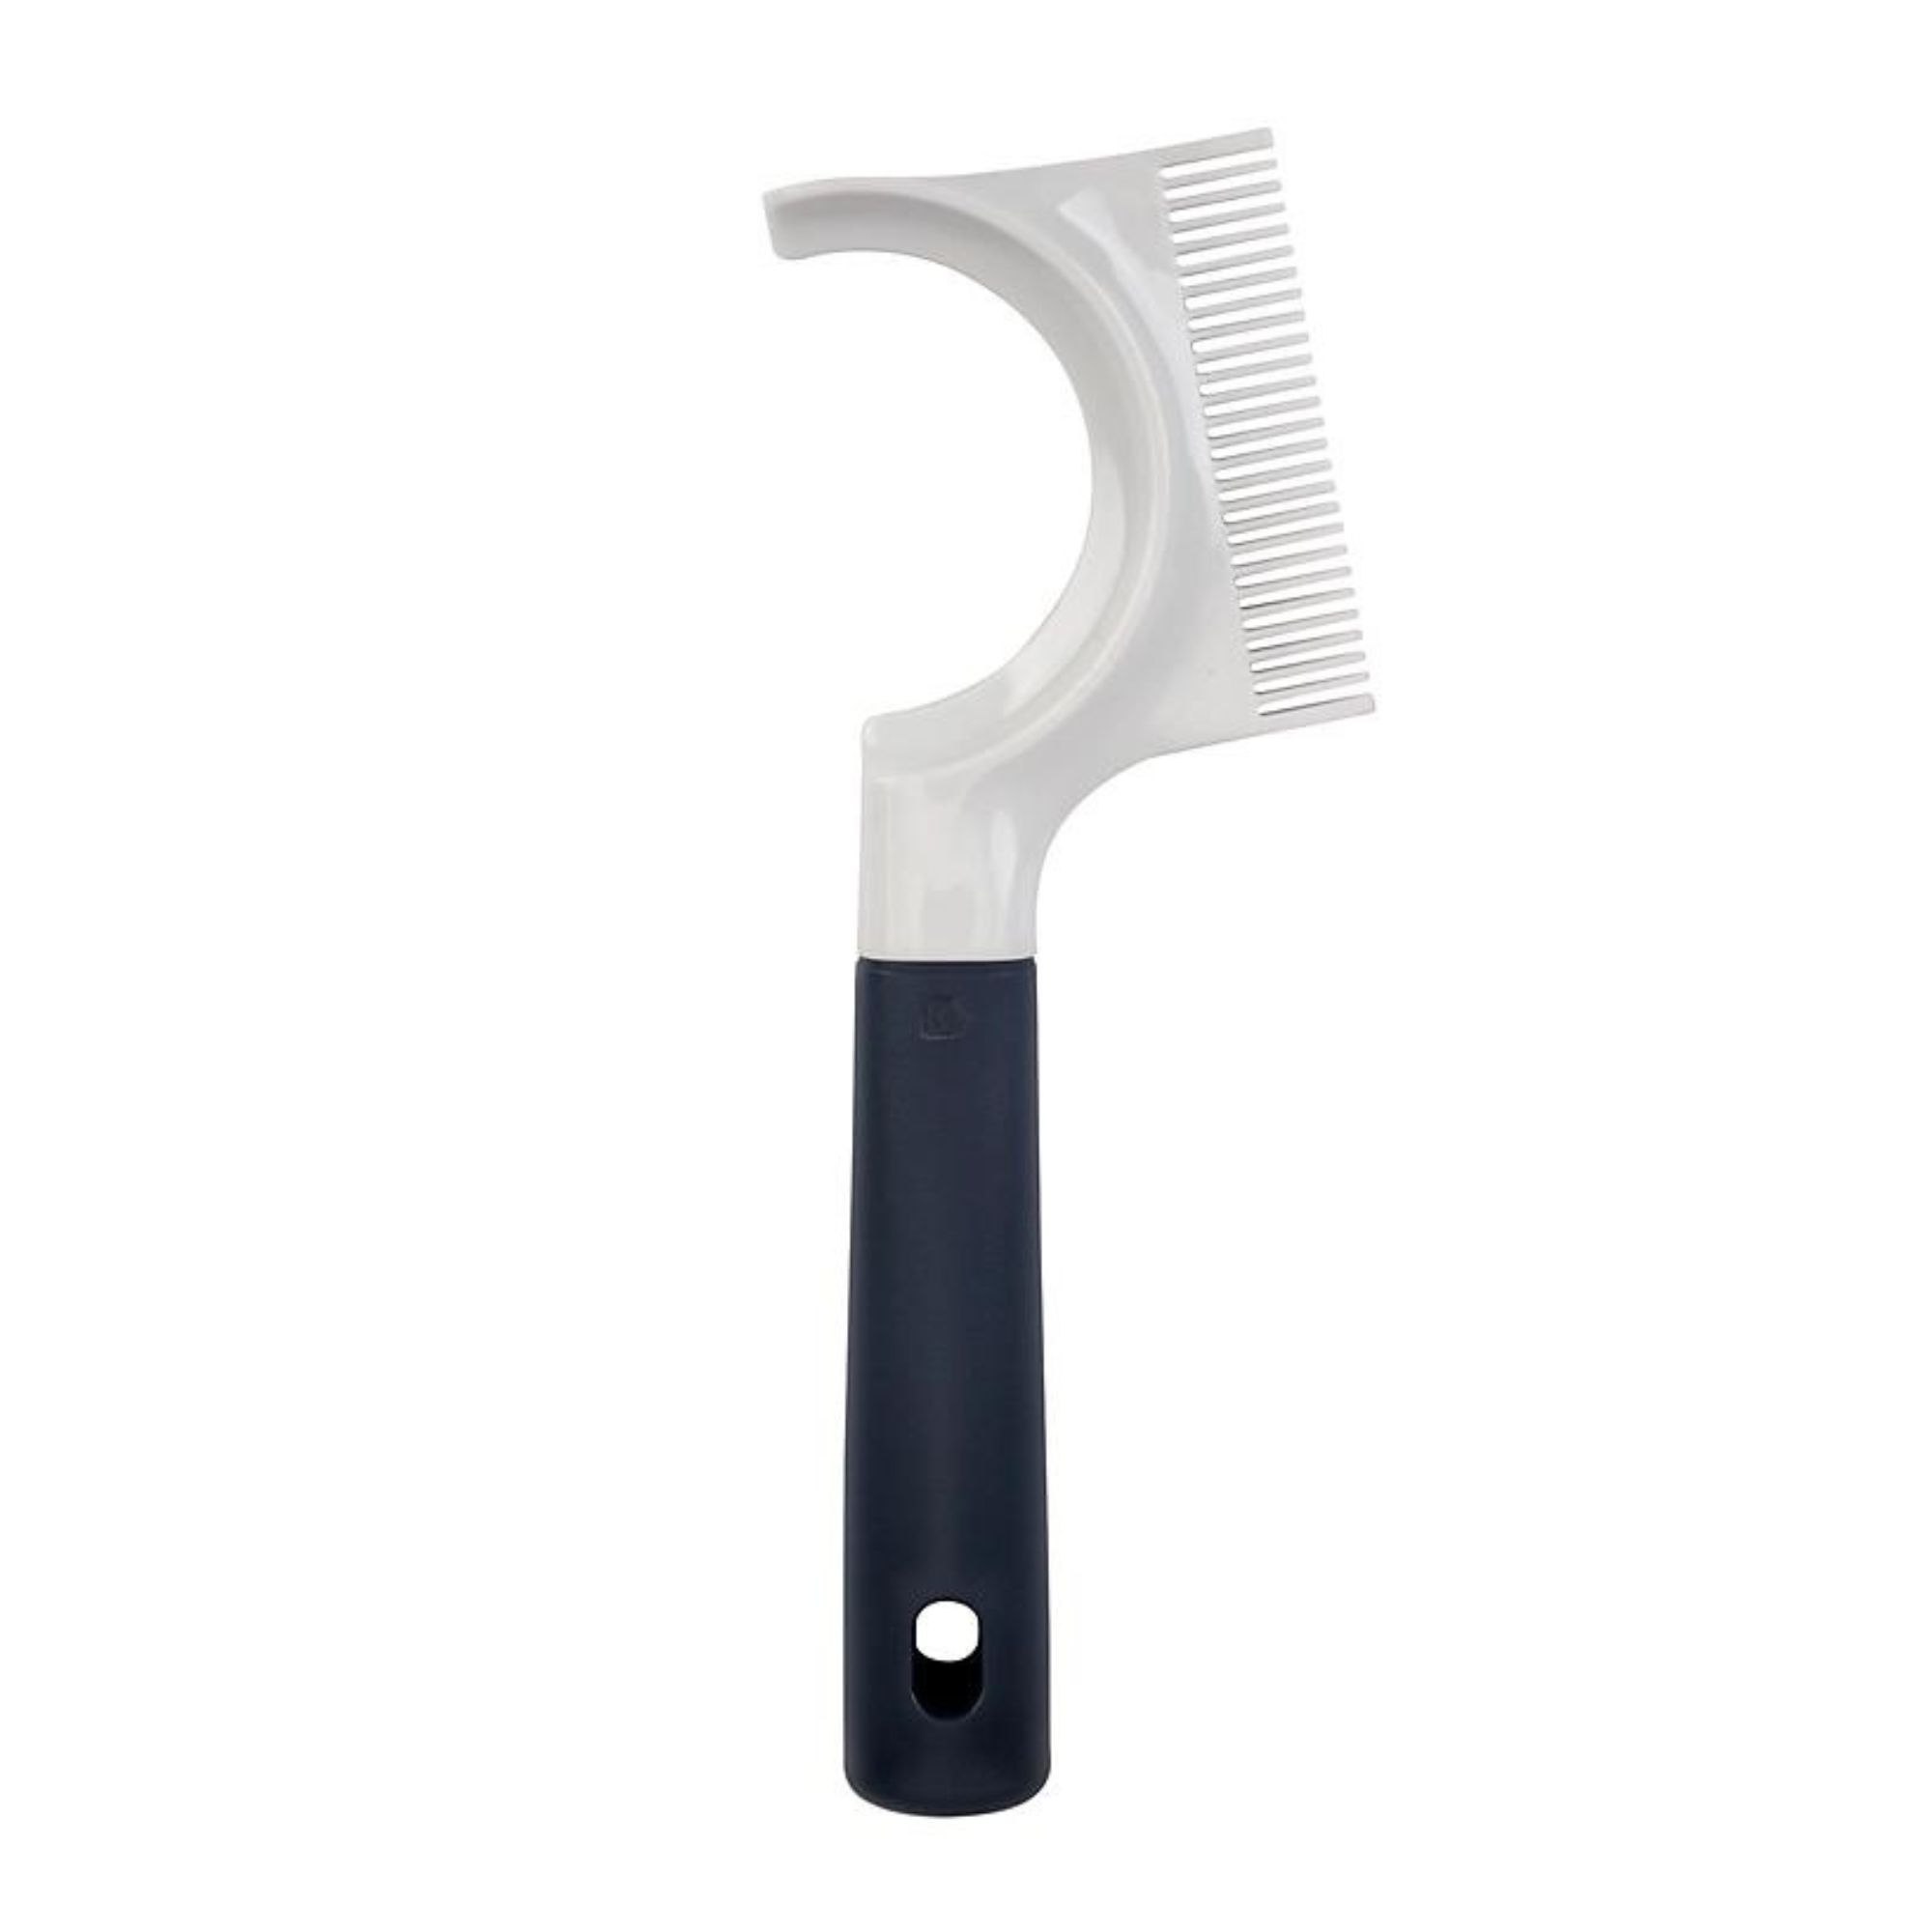
So, your first step is to scrape off excess paint and put it back into the tin. To do this, hold the roller upright over the tin and use a filling knife - like this Harris Seriously Good Filling Knife 2.5inch from Dunelm - or a dedicated paint roller scraper to scrape the excess back into the tin. Then, you can decide what to do with the leftover paint.
Make sure you do this as soon as possible, though. As Sophie Smith of Zhoosh Paints says, ‘The key is to clean the roller immediately after use, when the paint is still wet.’
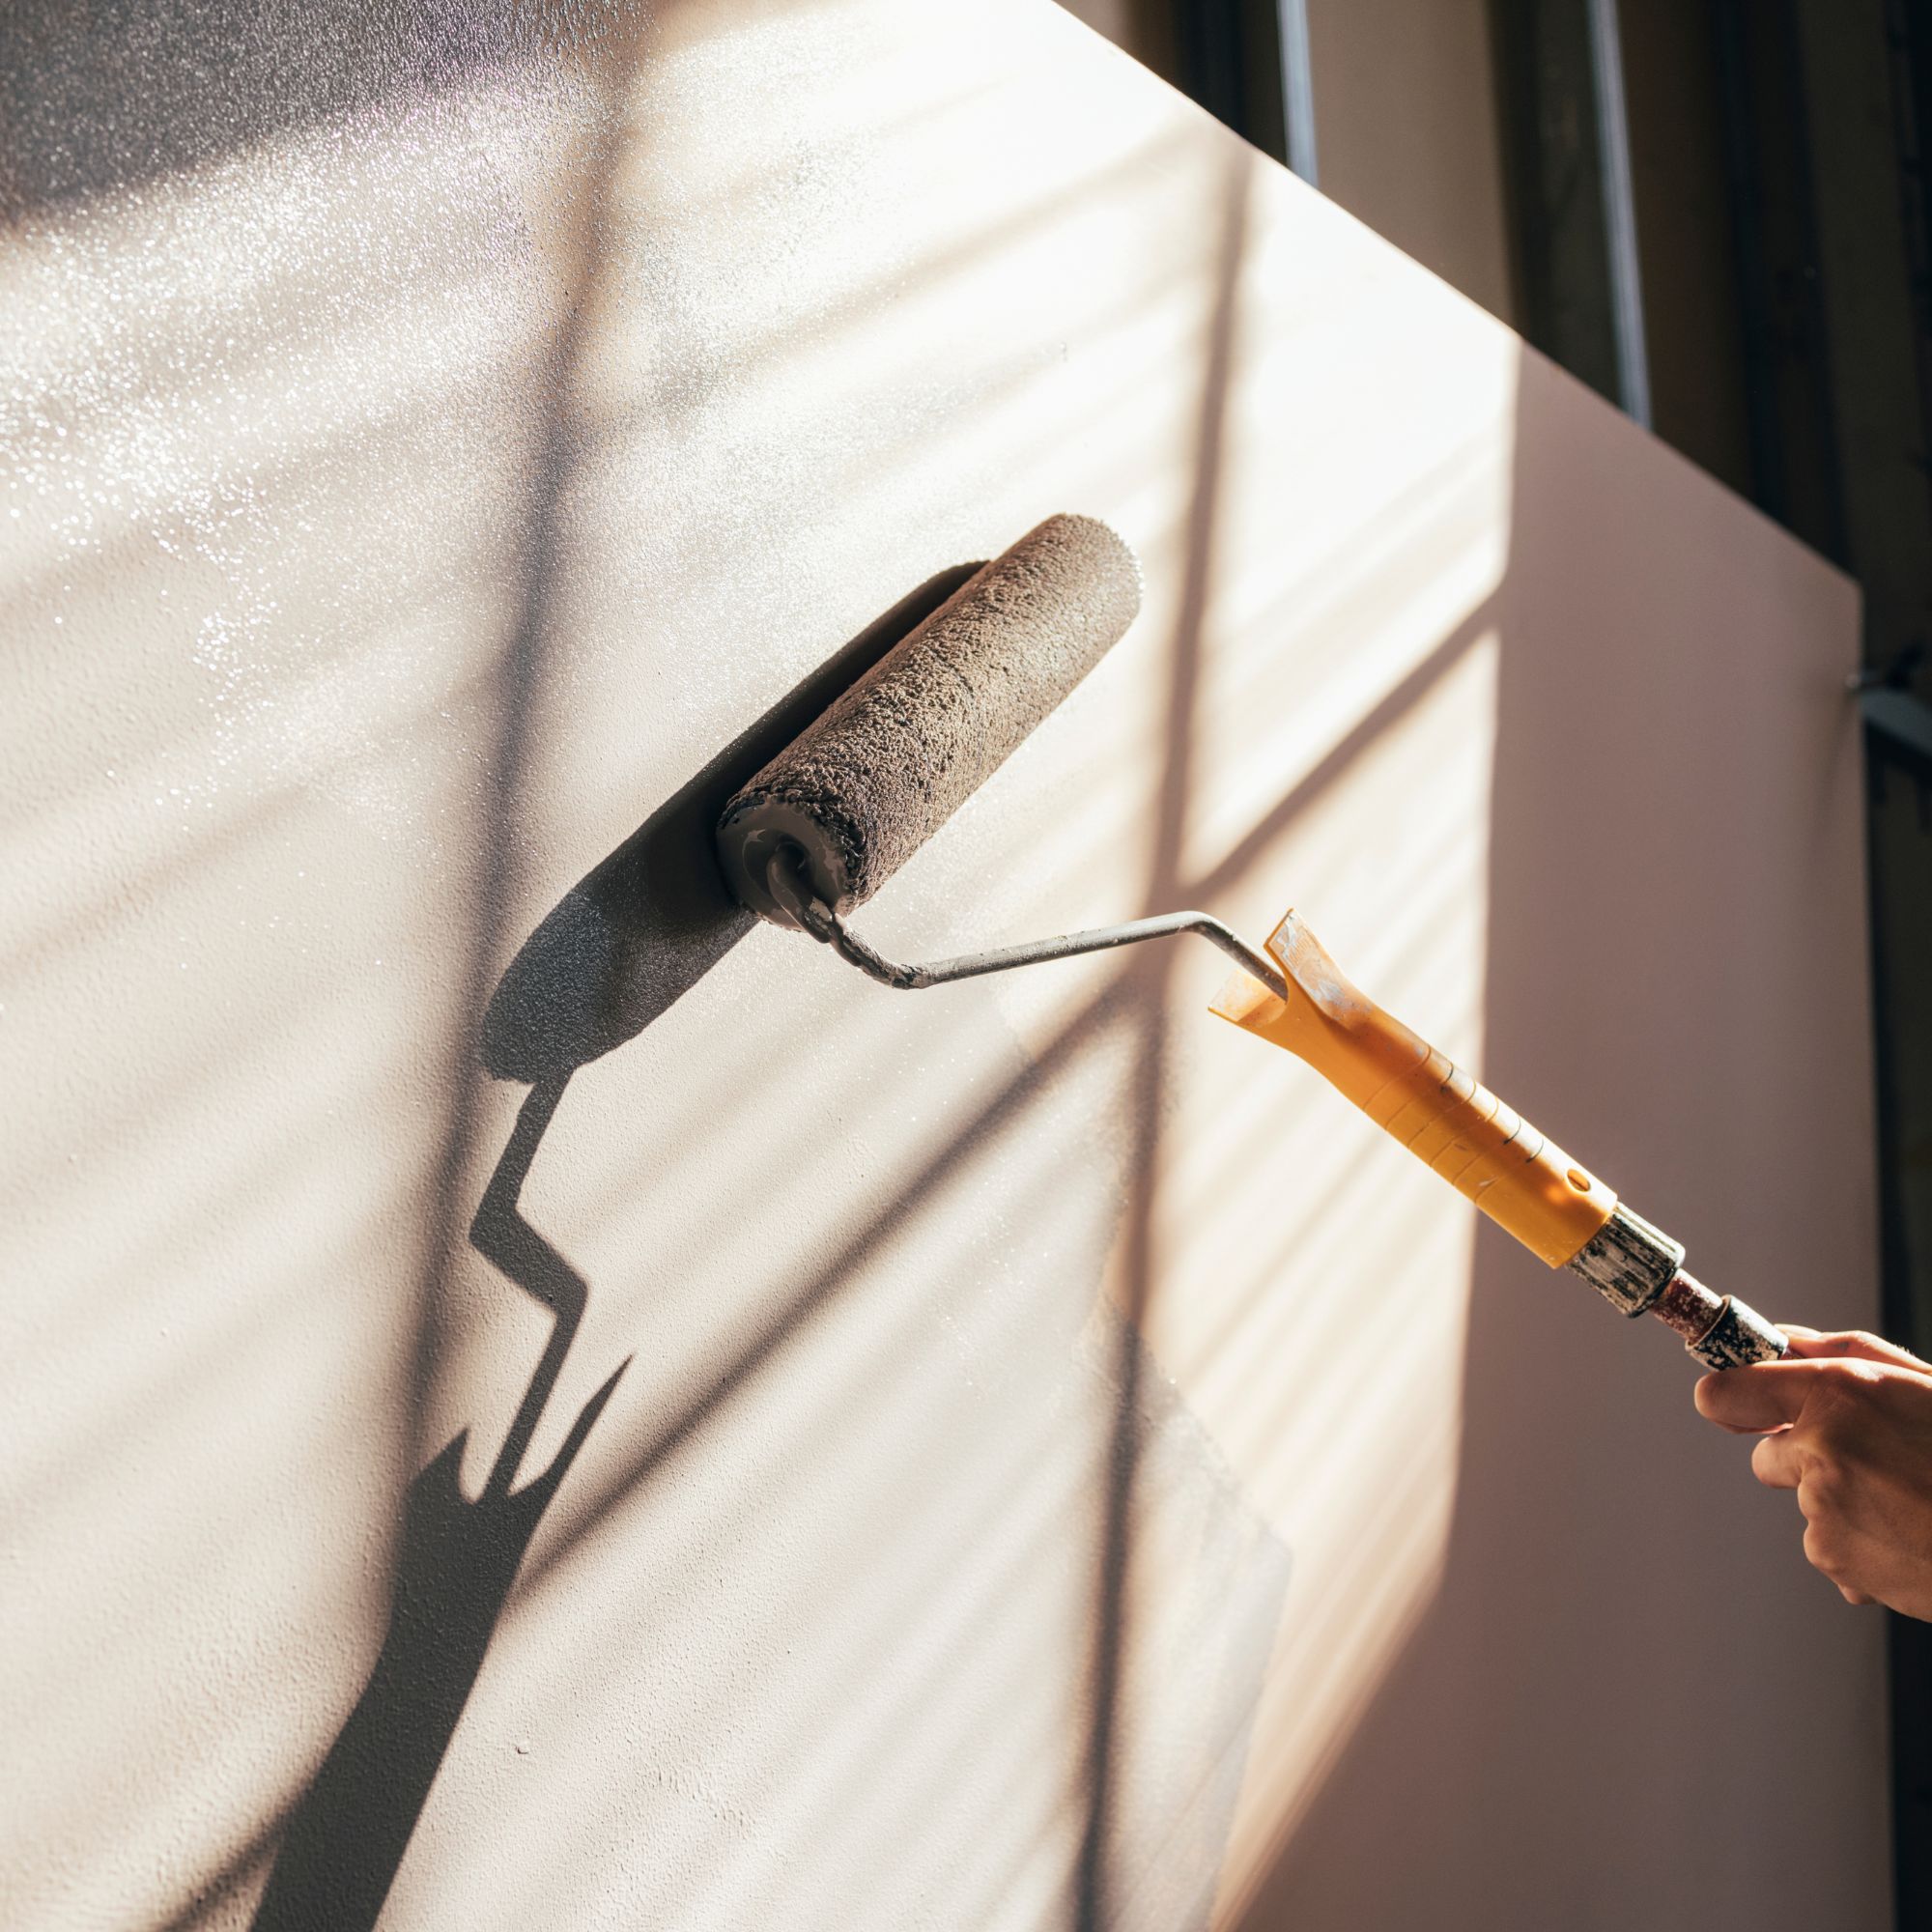
2. Disassemble the roller
If you want to work smarter and not harder while cleaning a paint roller, it’s then a good idea to disassemble the whole thing. By that, we mean sliding the roller off the handle and setting the handle aside.
If the handle is relatively clean, you may be able to get away without cleaning it. But if it’s also covered in paint, you can set it aside to clean it later. For now, we’re focusing just on the roller itself.
3. Wash water-based paint off the roller
Paints typically come in two different forms: water-based or oil-based. Water-based paints are the most common, and you’ll be happy to know they’re also the easiest to clean when cleaning a paint roller.
To wash water-based paint off the roller, you’ll need to rinse it under some warm water and then squeeze some washing-up liquid onto it.
Emma says, ‘Add a few drops of dish soap as required and slowly work the roller into a lather, massaging out the paint under the tap and continue rinsing until the water runs clean.’
Of course, you can also do this in a bucket or roller tray to avoid getting your kitchen or bathroom sink too dirty. Personally, I always do this in my bath - but it’s all down to personal preference.
As time goes on, you should see the water start to run clear, and you should be able to feel that the roller brush is much cleaner. When you’re confident you’ve cleaned off as much of the paint as possible, you can move on to the next step (skipping the oil-based paint section).
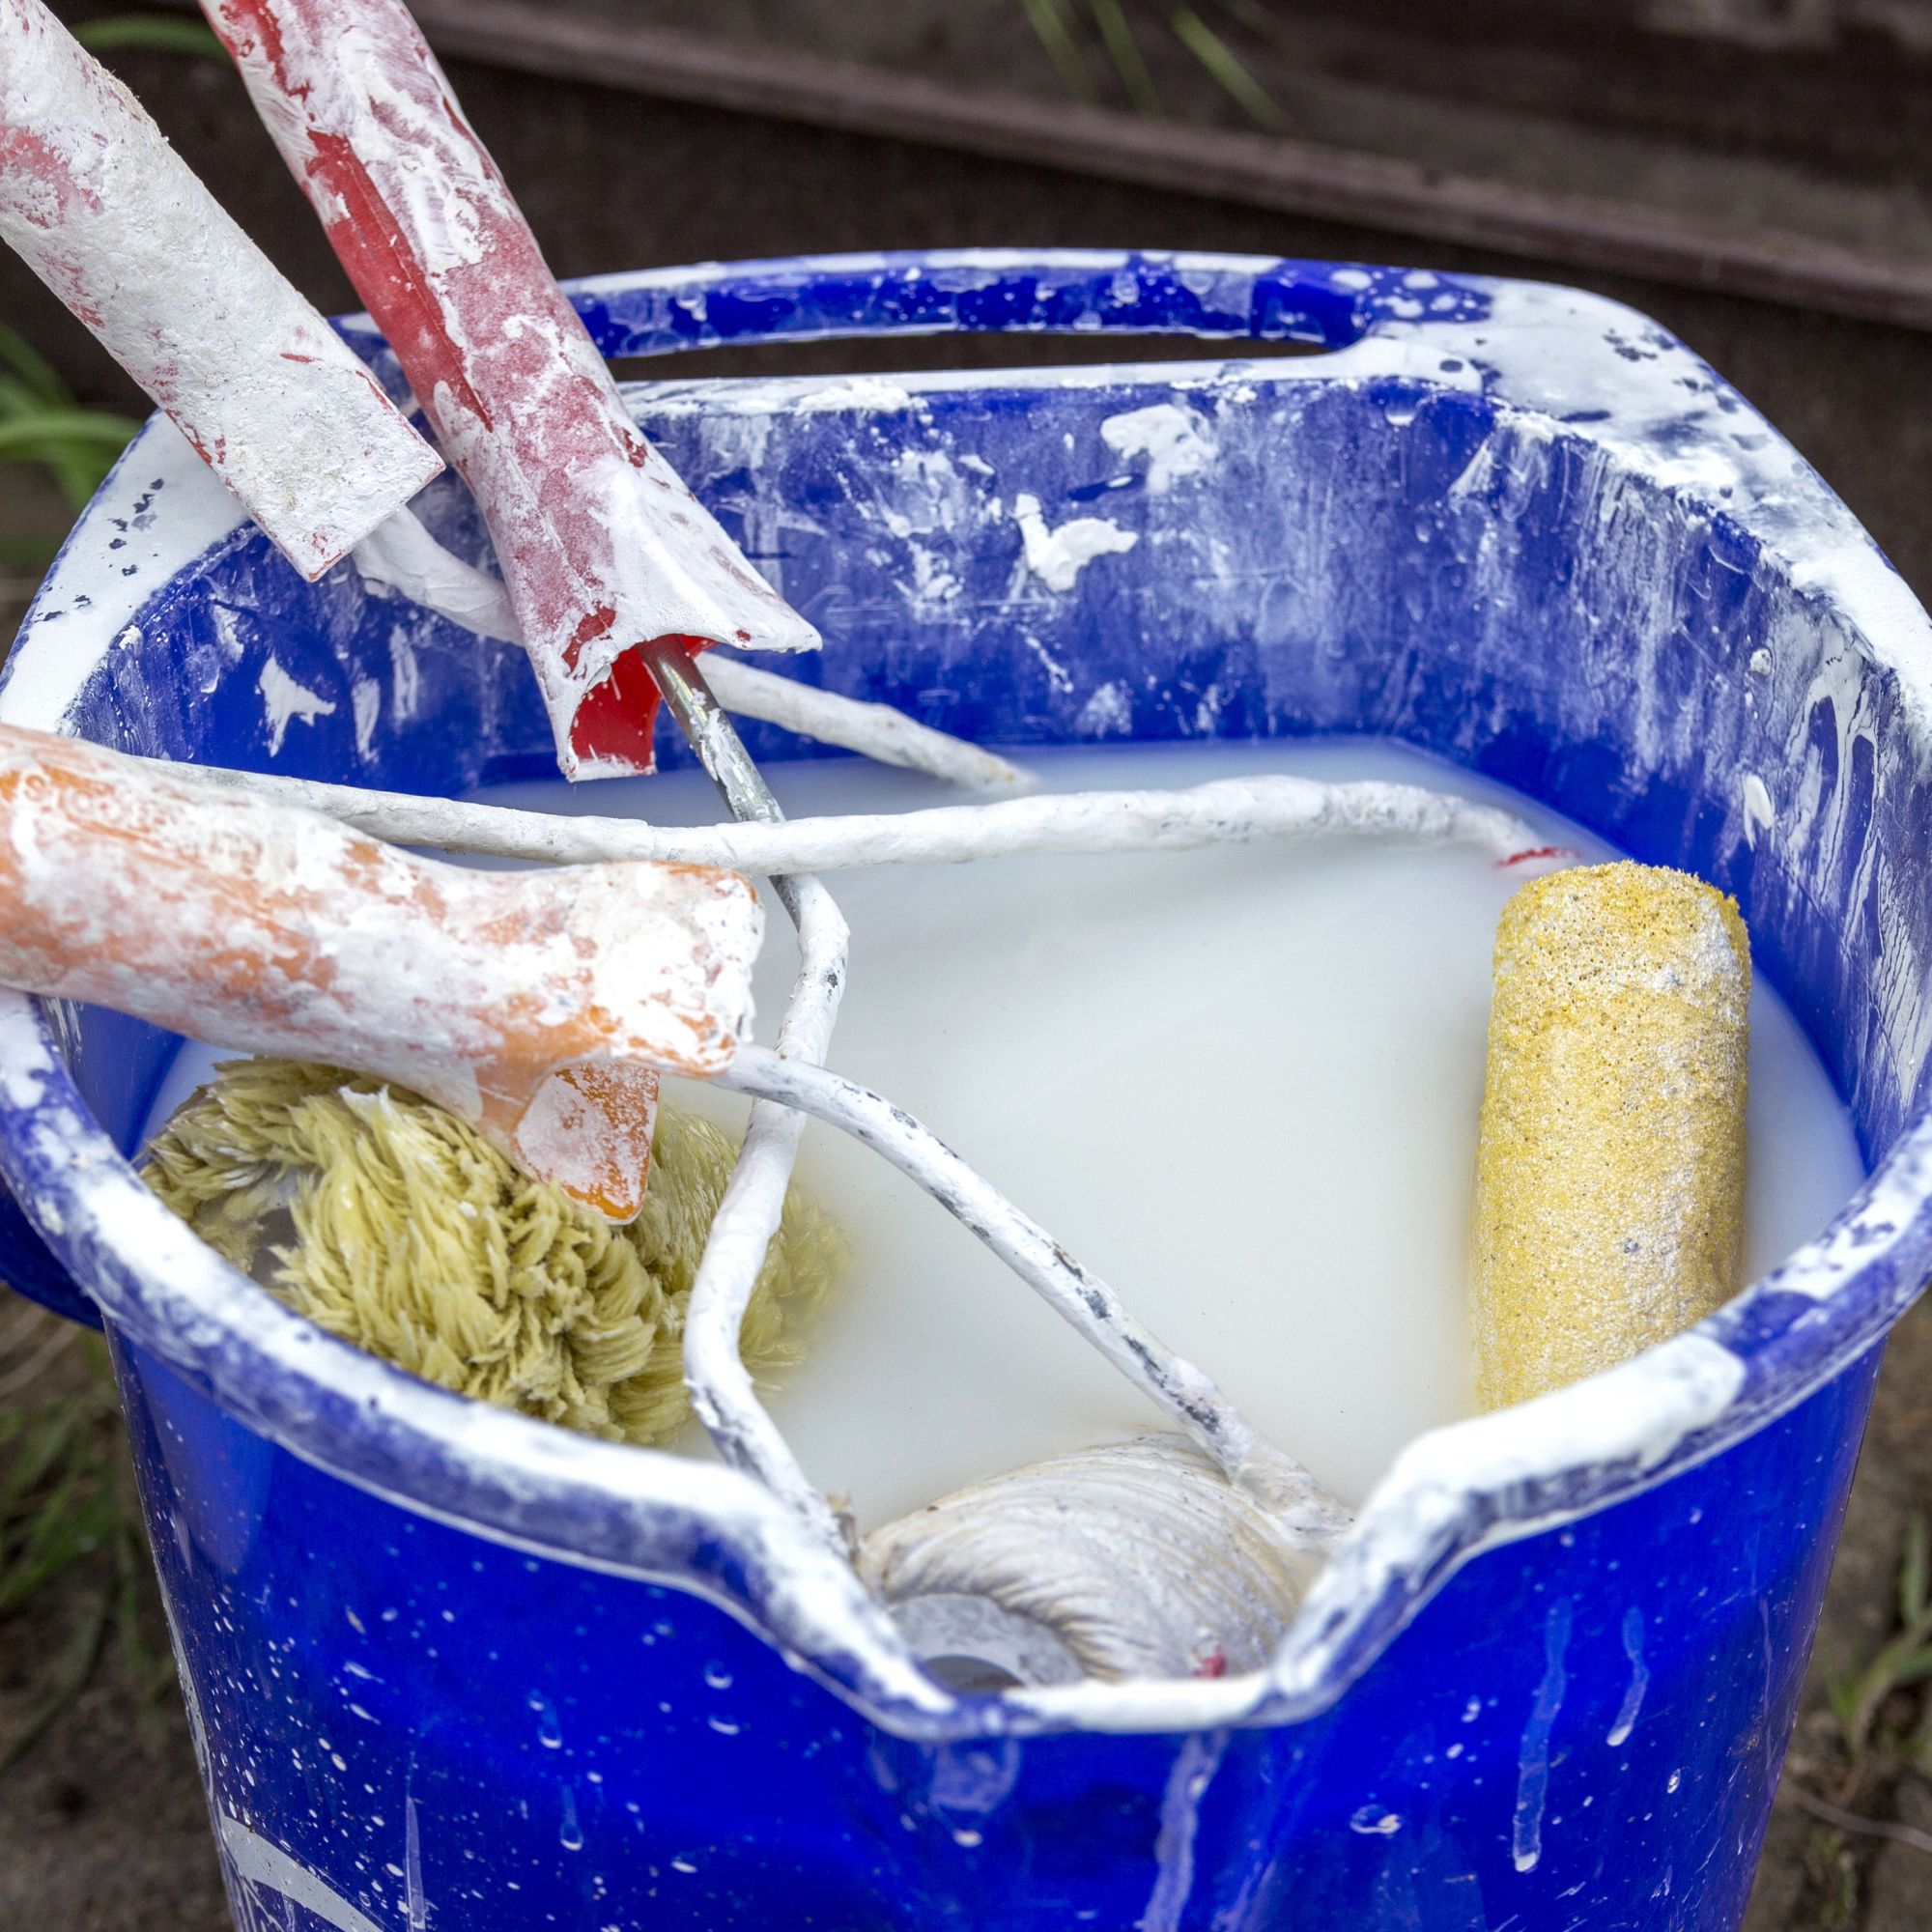
4. Soak the roller to remove oil-based paint
Although knowing how to clean a paint roller is easy when you use water-based paint, it’s a little more difficult when you use oil-based paint. It’s also less eco-friendly, which is why we’d always urge DIY-ers to lean more towards water-based paints.
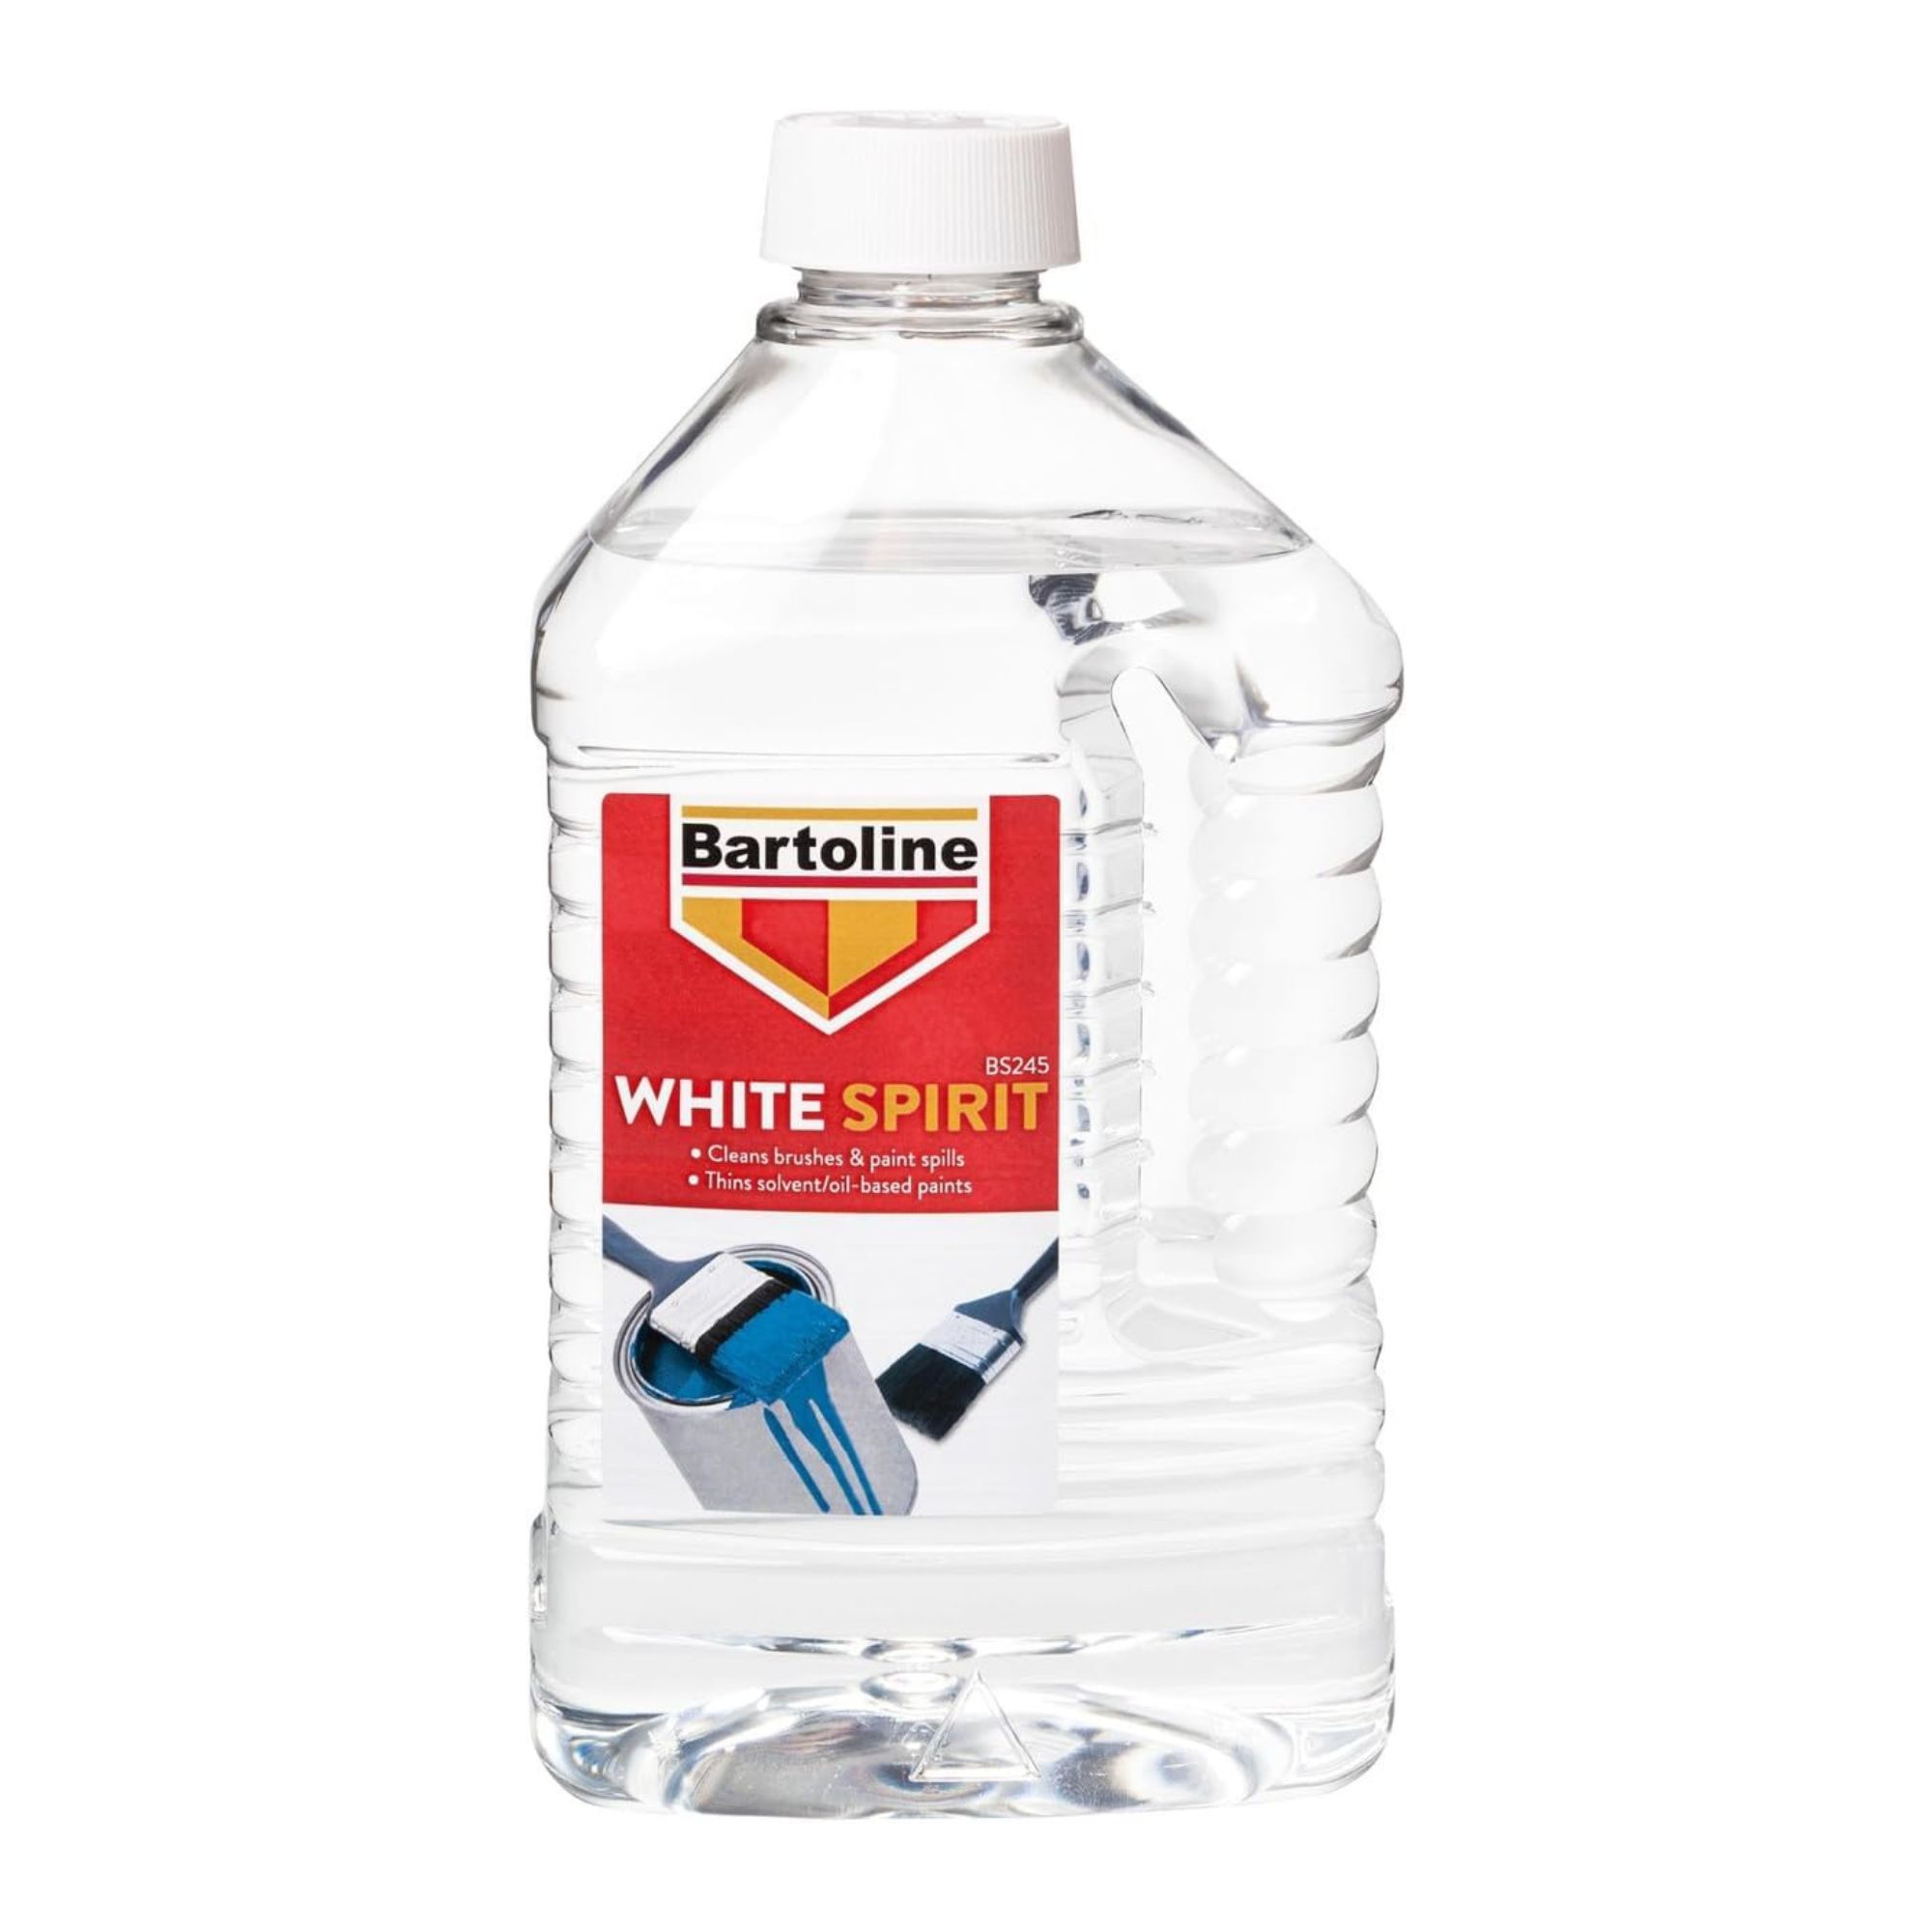
Unfortunately, washing up liquid won’t work in this instance, so it’s better to soak your roller in white spirit instead. Pour some white spirit into your paint tray or bucket and let the roller soak in the solution for a few minutes.
You can then work the white spirit through the roller, removing as much paint as possible. And while one pass might be enough to clean the paint off the roller brush, you may also have to switch out the dirty white spirit with fresh white spirit to repeat the process.
However, it’s important to note that you must never pour white spirit down the drain. Not only does it have the potential to harm your plumbing, but most councils also class white spirit as a hazardous substance. Because of this, you need to contact your local authority to find the best way to dispose of it.
5. Rinse the roller and let it dry
When you’ve cleaned the paint from your paint roller, finish by rinsing it under a tap for a few seconds. During this stage, the water should run clear. If it doesn’t, you may want to run your hands up and down it to remove any residual paint.
Then, all you need to do is leave it to dry. Don’t be tempted to lay your roller flat on your kitchen counter or your draining board, though, as this can flatten and damage the fibres. This will make it impossible to use in the future.
Instead, Sophie says, ‘Dry the roller by standing it upright on a draining area so that the fibres remain nice and fluffy once it has dried.’
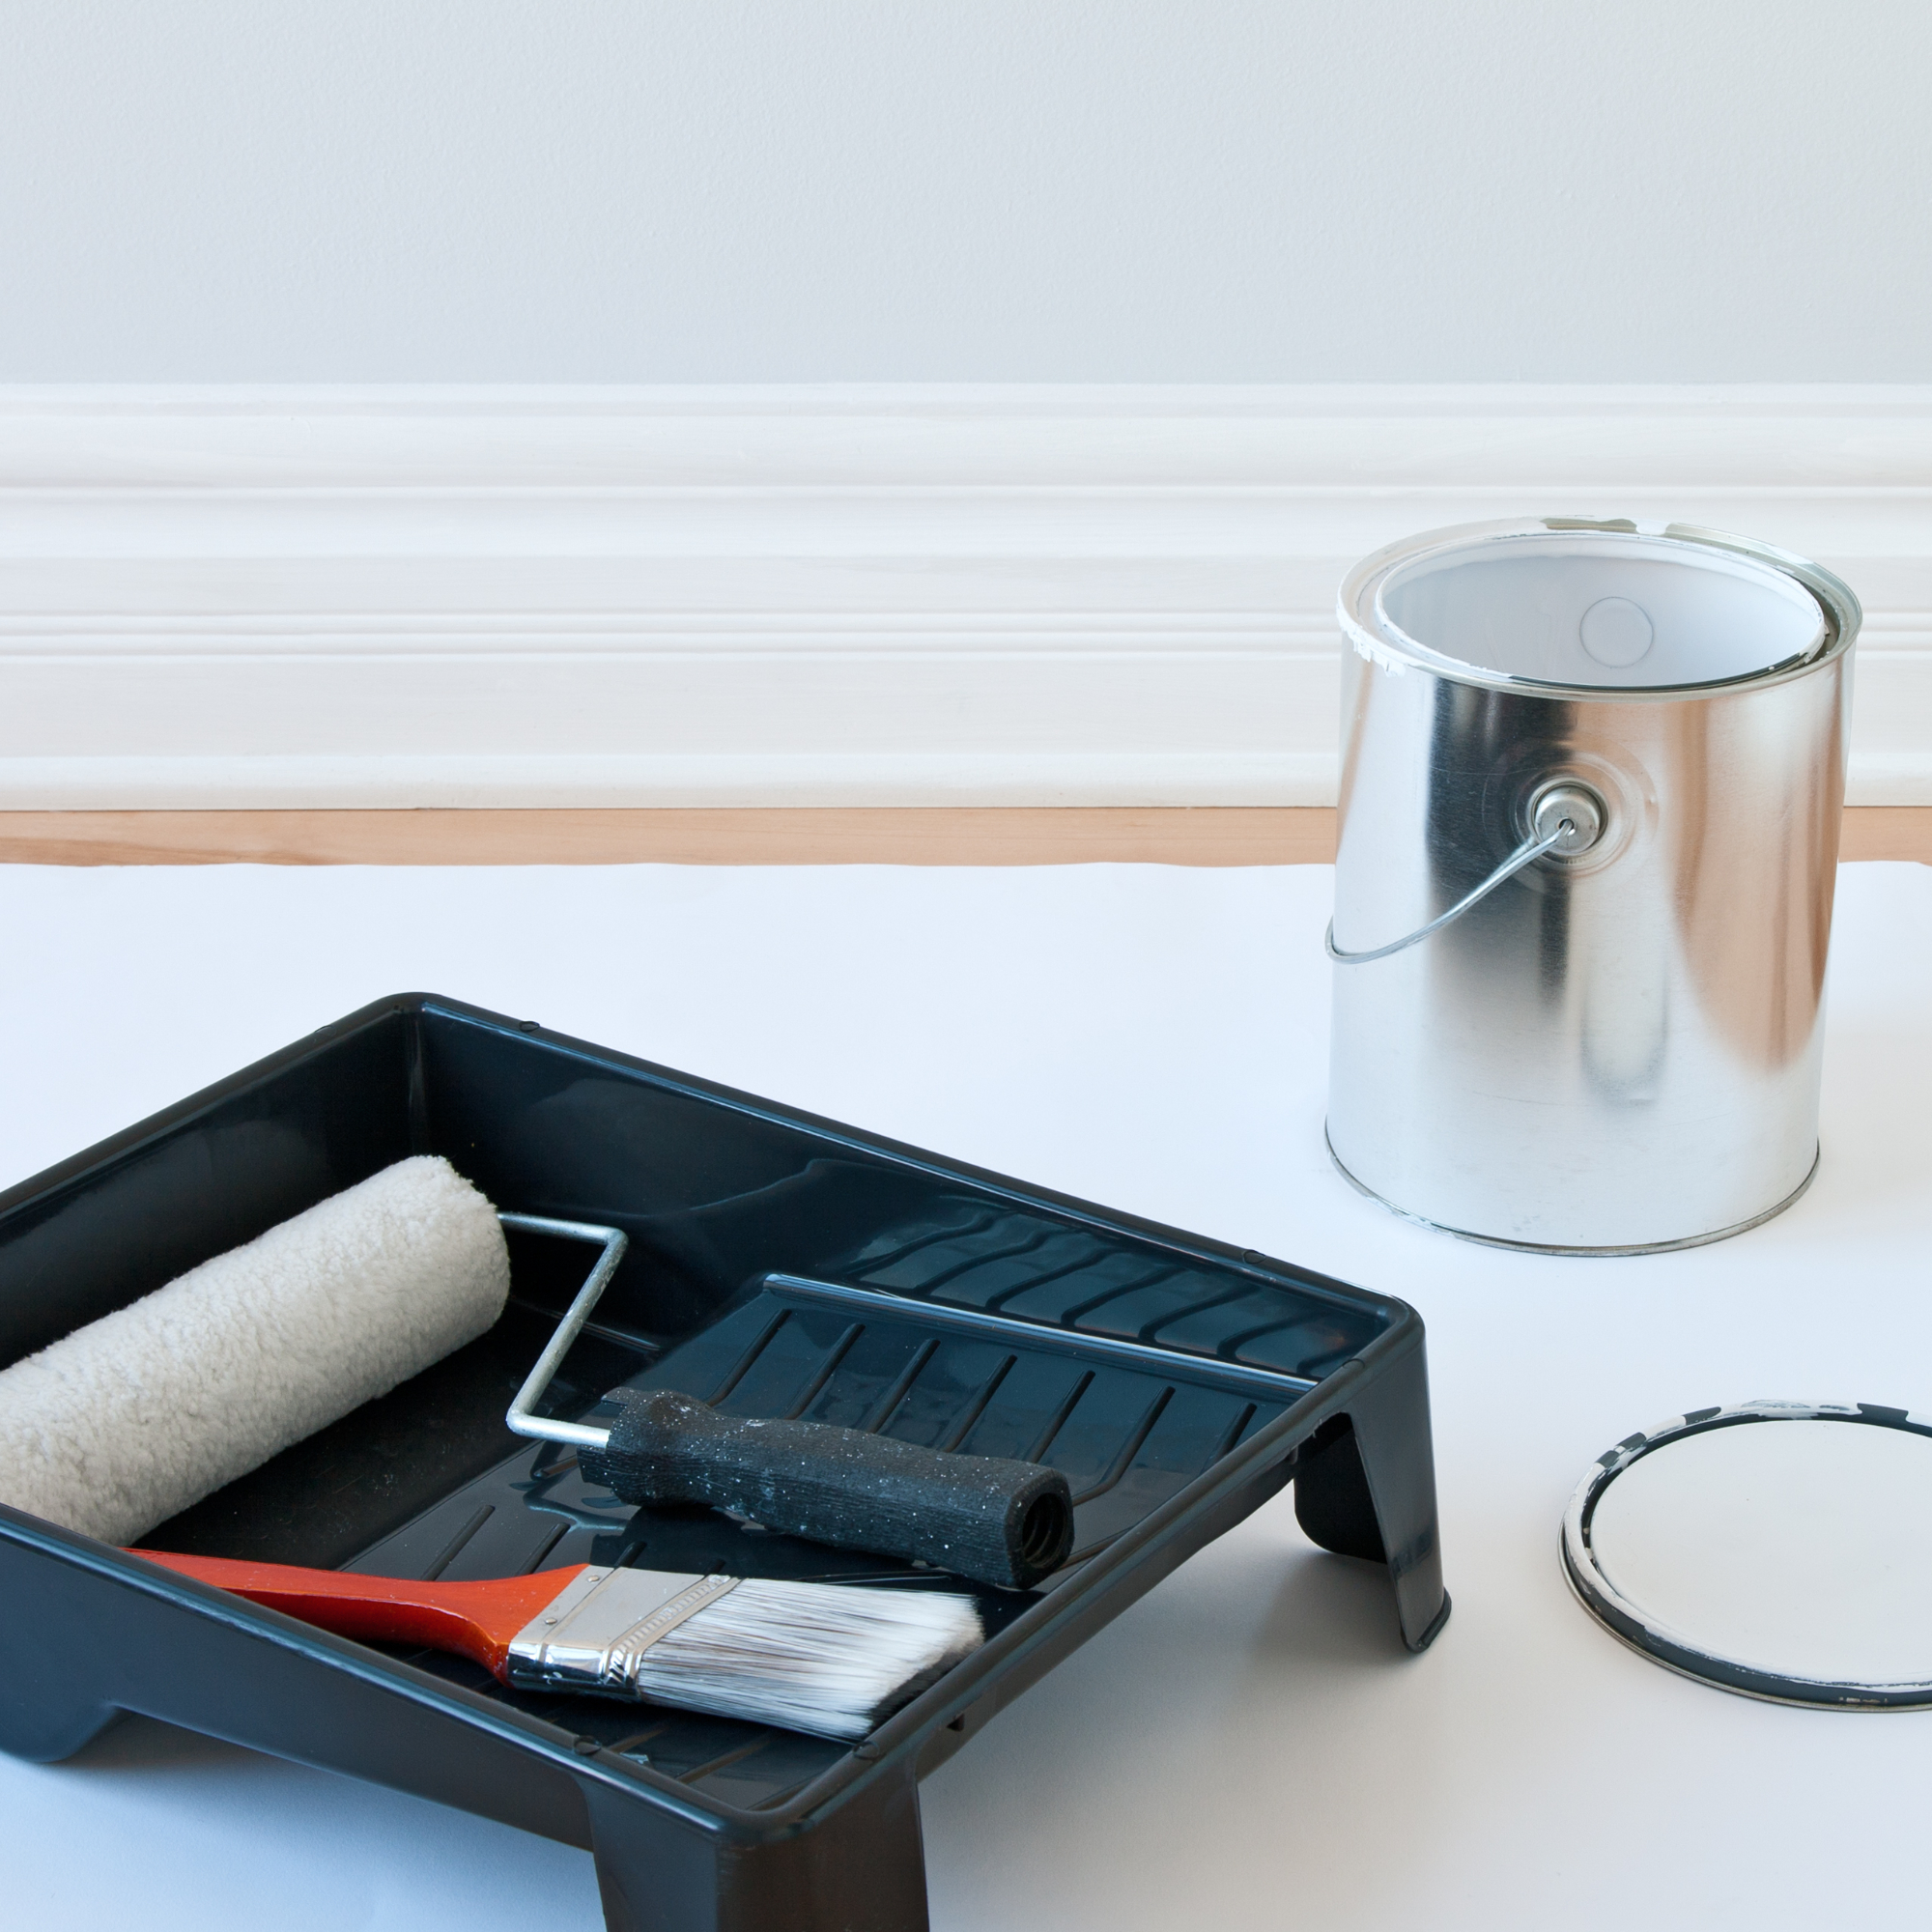
6. Clean the tray and roller handle
Although knowing how to clean a paint roller is essential for those who want to use it repeatedly, it’s also important to clean the tray and roller handle. However, some people find that wrapping their tray in cling film (or a plastic bag) and then throwing it away is a great way to bypass the cleaning of the tray.
If you need to clean the tray and roller handle, though, you shouldn’t need as many products as the roller itself. Sophie echoes this, saying, ‘Clean the handle thoroughly under the warm water tap, which should be enough to remove fresh paint. If the paint has dried you may need to give it a scrape with an old knife first.’
Again, you should leave everything to dry fully before using it once more.
FAQs
Can I wash paint rollers in the washing machine?
Yes, you can! If you’re looking for an alternative way to clean a paint roller, you can pop it in the washing machine. That doesn’t mean that it’s necessarily the right option, though.
You should never wash your paint rollers in a machine with anything else, so you’ll have to dedicate a whole cycle to your rollers. This can be expensive and time-consuming.
Additionally, most experts would still suggest removing the excess paint from your roller before putting it in the washing machine to prevent any clogged pipes. As you’re doing that, you might as well clean the whole thing by hand.
How many times can you wash a paint roller?
If you clean a paint roller after every use and store it properly (i.e. upright rather than lying down), you should be able to use and wash a paint roller between 3 and 5 times before needing to replace it.
If you don’t wash your paint roller regularly or wash it too harshly, you may find that it disintegrates faster than you’d like.
So, always ensure you know how to clean a paint roller - especially if you’re using oil-based paints.
Well, there you have it. That’s how to clean a paint roller!
Get the Ideal Home Newsletter
Sign up to our newsletter for style and decor inspiration, house makeovers, project advice and more.

Lauren Bradbury has been the Content Editor for the House Manual section since January 2025 but worked with the team as a freelancer for a year and a half before that. She graduated with a Bachelor’s degree in English and Creative Writing from the University of Chichester in 2016. Then, she dipped her toe into the world of content writing, primarily focusing on home content. After years of agency work, she decided to take the plunge and become a full-time freelancer for online publications, including Real Homes and Ideal Home, before taking on this permanent role. Now, she spends her days searching for the best decluttering and cleaning hacks and creating handy how-to guides for homeowners and renters alike, as well as testing vacuums as part of her role as the Ideal Home Certified Expert in Training on Vacuums, having spent over 110 hours testing different vacuum models to date!
-
 Will a conservatory add value to your home and how can you maximise it?
This is what the pros say
By Amy Reeves
-
 I’ve been looking for a new signature scent for my home and The White Company's new fragrance is the exact summer holiday smell I needed
Santorini smells fresh, summery and sophisticated
By Kezia Reynolds
-
 How to remove algae from garden walls in five steps – and the cleaning product experts rave about for tackling it fast
Experts share their top tips for getting garden walls algae-free
By Katie Sims
-
 Aldi is releasing a budget alternative to the cult Joseph Joseph washing up bowl – it’s just £4.99
The Joseph Joseph washing up bowl is an Ideal Home favourite - now we can't wait to try Aldi's alternative
By Kezia Reynolds
-
 I just bought my first home, and this £10 buy was the very first thing I bought for it to make it feel warmer and secure
If I did it all again, this would still be my very first buy
By Rebecca Knight
-
 It’s normally impossible to find a Dyson vacuum for under £250 — but QVC has slashed the price of their bestselling models for a limited time
Run don’t walk to pick up the brand’s bestselling model for under £230 before it sells out
By Lauren Bradbury
-
 Catherine Zeta-Jones has revealed the cleaning product she swears by to keep her home fresh - and it’s just £8 on Amazon
'I use it on my counters. I use it on my walls. I use it on my doors. When I smell it, I know my house is clean.'
By Kezia Reynolds
-
 I tested the 12L Challenge dehumidifier in my damp Victorian home over winter — I haven’t spotted any signs of mould for the first time in five years
The Challenge 12L dehumidifier doesn’t have too many bells and whistles, but I can already see the difference it’s made to my damp home
By Lauren Bradbury
-
 What is boiler flow temperature? Heating experts urge you to check yours now as you could be overpaying on your energy bills
Turning this little-known number down just a few degrees can result in some serious savings
By Lauren Bradbury
-
 Stacey Solomon has shared 5 nifty wardrobe storage hacks to make getting ready in the morning easier — and they're genius
These five wardrobe storage hacks are a gamechanger
By Katie Sims
-
 Cult cleaning brand Scrub Daddy has just launched a brand new butterfly mop — could it be the ultimate solution for banishing stubborn marks on your floor?
We're obsessed with all things Scrub Daddy
By Kezia Reynolds
