How to clean paint brushes – keep your tools pristine with our step-by-step guide
Extending the life of your tools will stretch your budget too
Jullia Joson
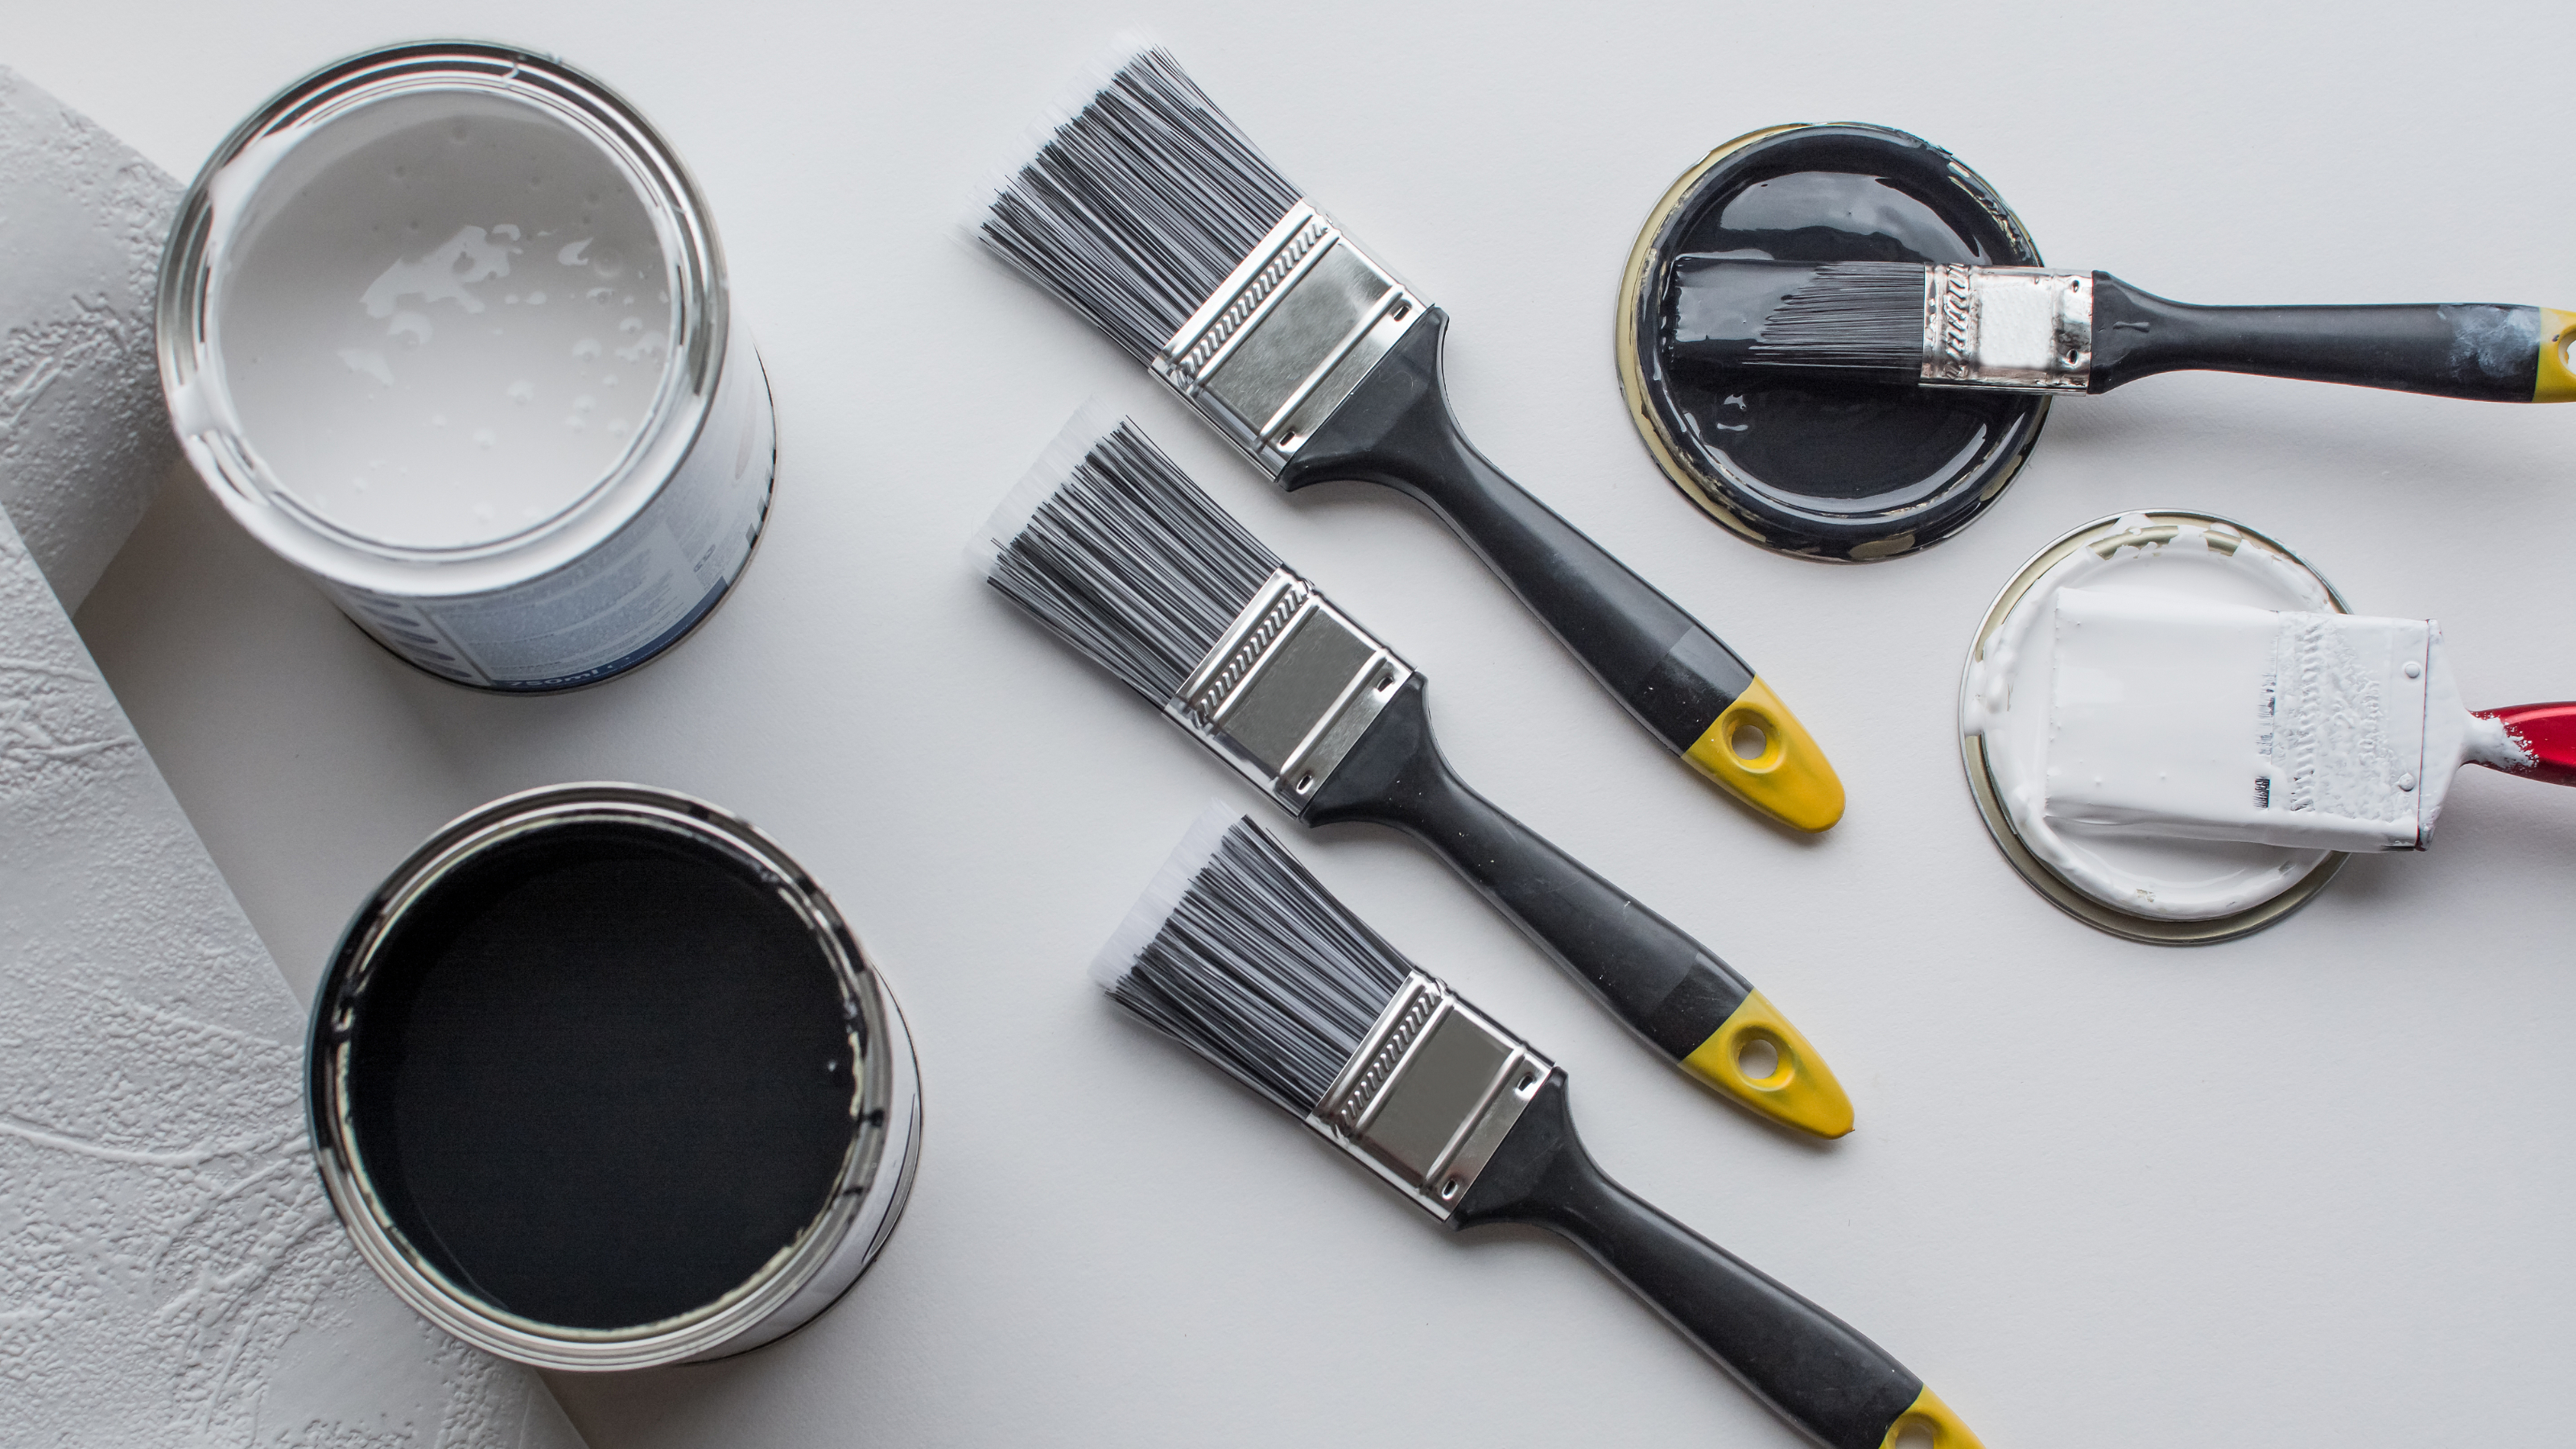
Knowing how to clean paint brushes properly is a skill set that's guaranteed to prolong the lifespan of your decorating kit. This means the next time you decide to embark on the task of bringing any new paint ideas to life, you can rest assured knowing there'll be no need to replace tools damaged by dried paint, saving you time and money.
Whether it's living room paint ideas or your bedroom paint ideas that are in need of a refresh, knowing how to clean paint brushes thoroughly will ensure that you can switch from task to task seamlessly, upholding the quality of your DIY tools.
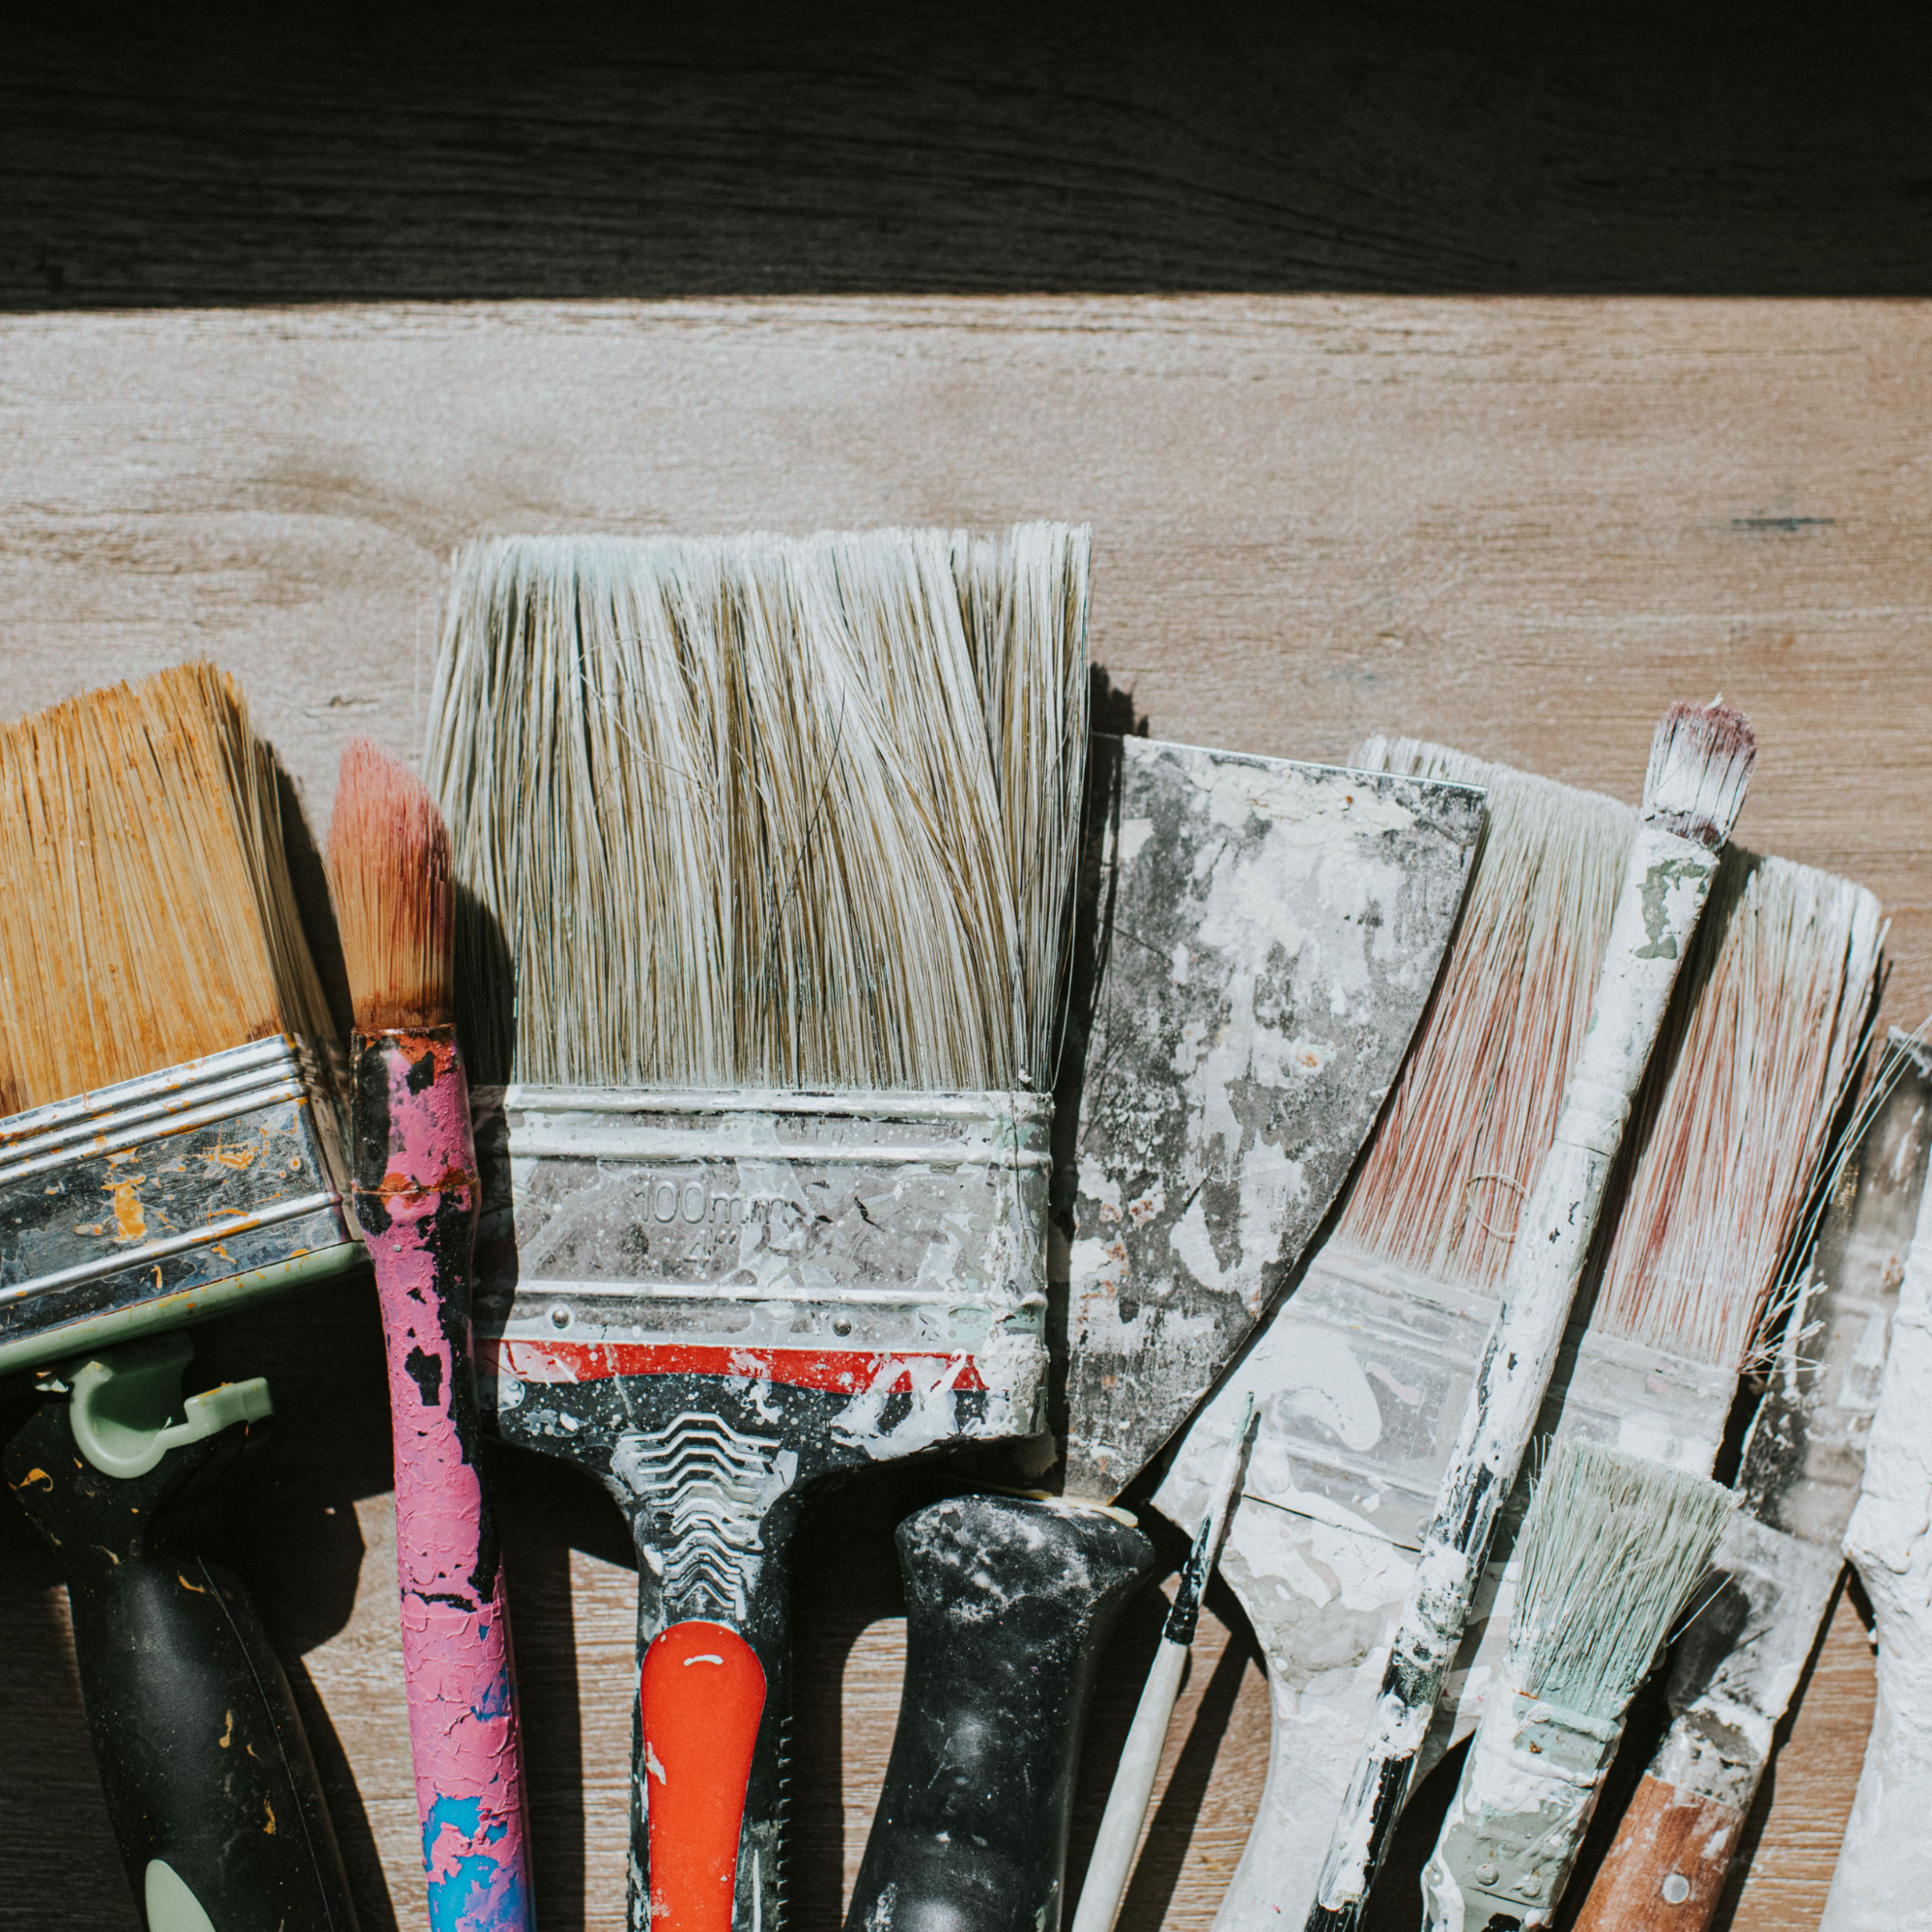
'It sounds obvious, but paint brushes and rollers are not a single-use product,' starts Joel Buckley, head of decorator tools at Lick. 'They’re designed to be used again and again. In fact, as professional decorators will know, you have to break in a brush to get the best performance.'
'If they are a good brand, paint brushes can last professional decorators months or even years,' says Alin Micle, a painter at Rated People. 'They have to be of a premium quality to begin with, as cheaper brushes will not provide as good a finish and will not last nearly as long.'
How to clean paint brushes
As you probably know, it's all too easy to cheat the clean-up process once the hard work is done. However, much like thorough preparation, it pays to also be thorough in cleaning up the aftermath – and no, we don't mean just giving them a quick rinse under some water. We mean really cleaning them.
'Your paintbrush might look clean but there can be dried paint near the base or, hidden among the bristles, which can cause them to go stiff once dry,' warns Sarah Lloyd, interiors and paint specialist at Valspar Paint. 'To give your brushes the best chance of keeping soft and supple, you need to clean them thoroughly.'
Not only will you save time and money, but you'll also always have a good-to-go kit (not to mention it's way less wasteful than buying new every single).
Sign up to our newsletter for style inspiration, real homes, project and garden advice and shopping know-how
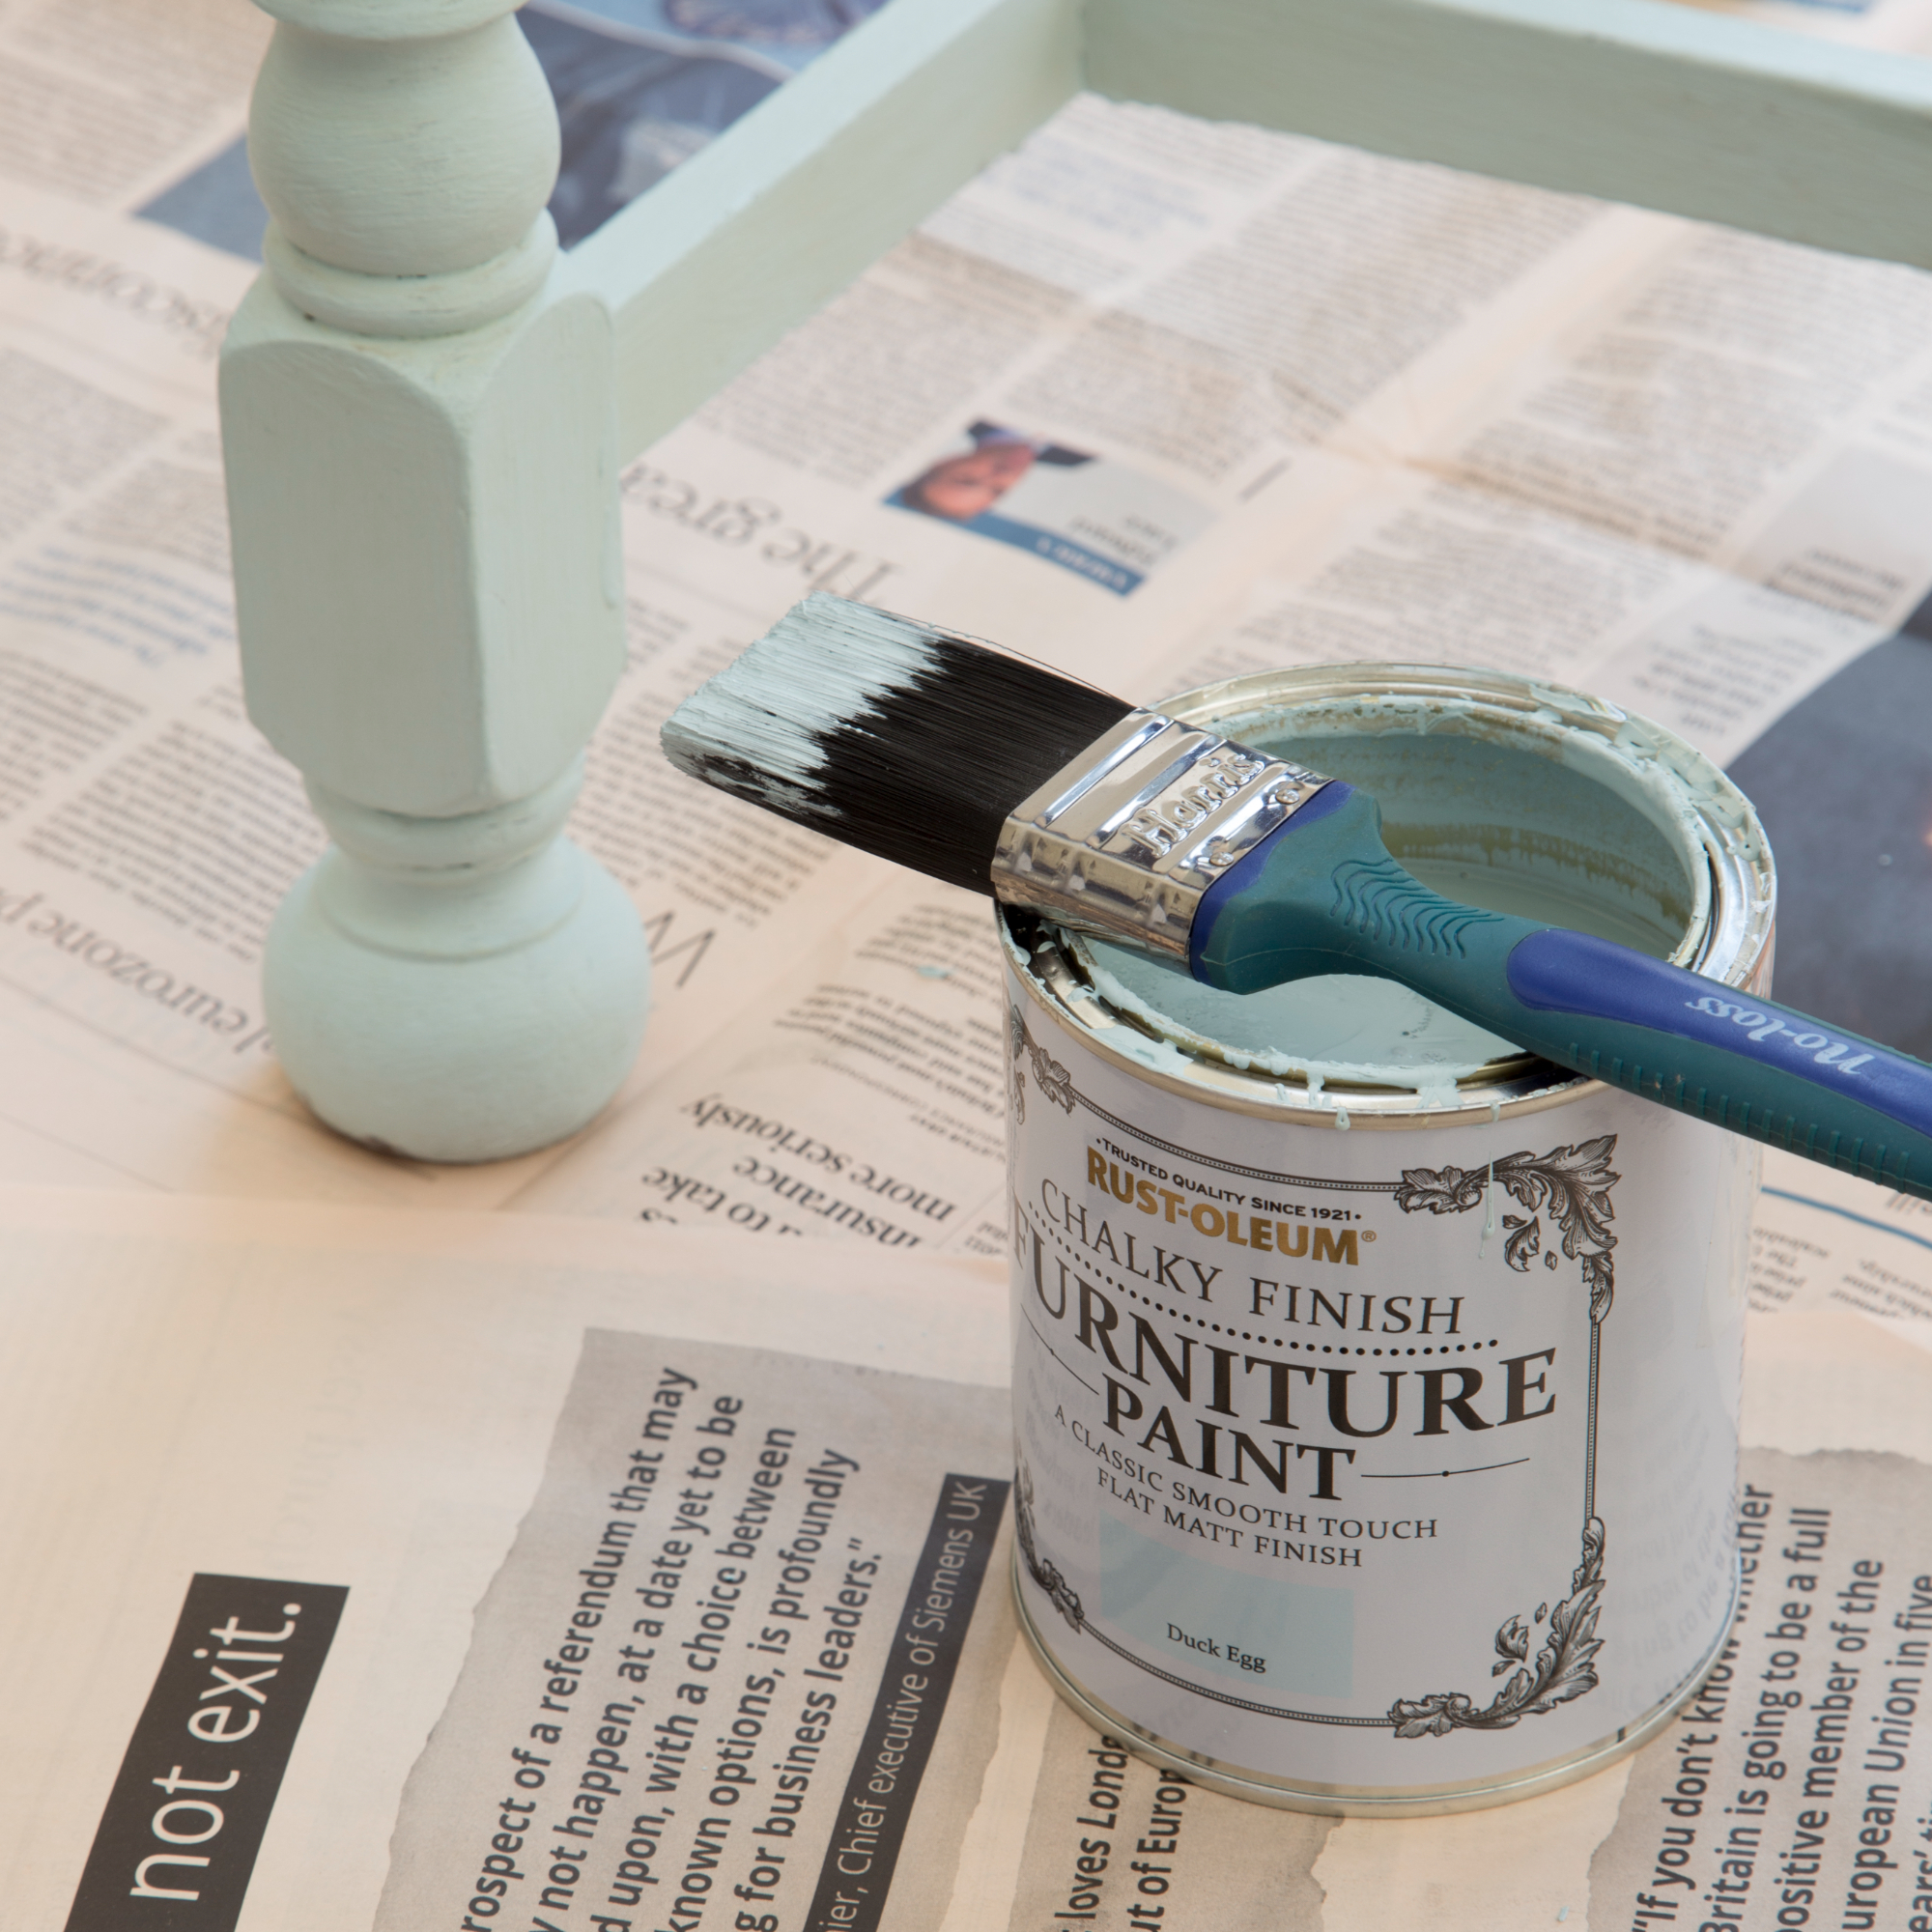
'If you clean your brushes and rollers well, you will only need 2 or 3 brushes of varying sizes,' says Rob Abrahams, co-founder of COAT Paints. 'An angled brush is useful for cutting in and corners. Plus two rollers should do the job; a large one for bigger surfaces and a small foam roller for more detailed, intricate areas.'
Step-by-step guide
So, here's the right way to treat paint brushes and rollers, so you can enjoy their lifespan for longer.
1. Don't overload the brush
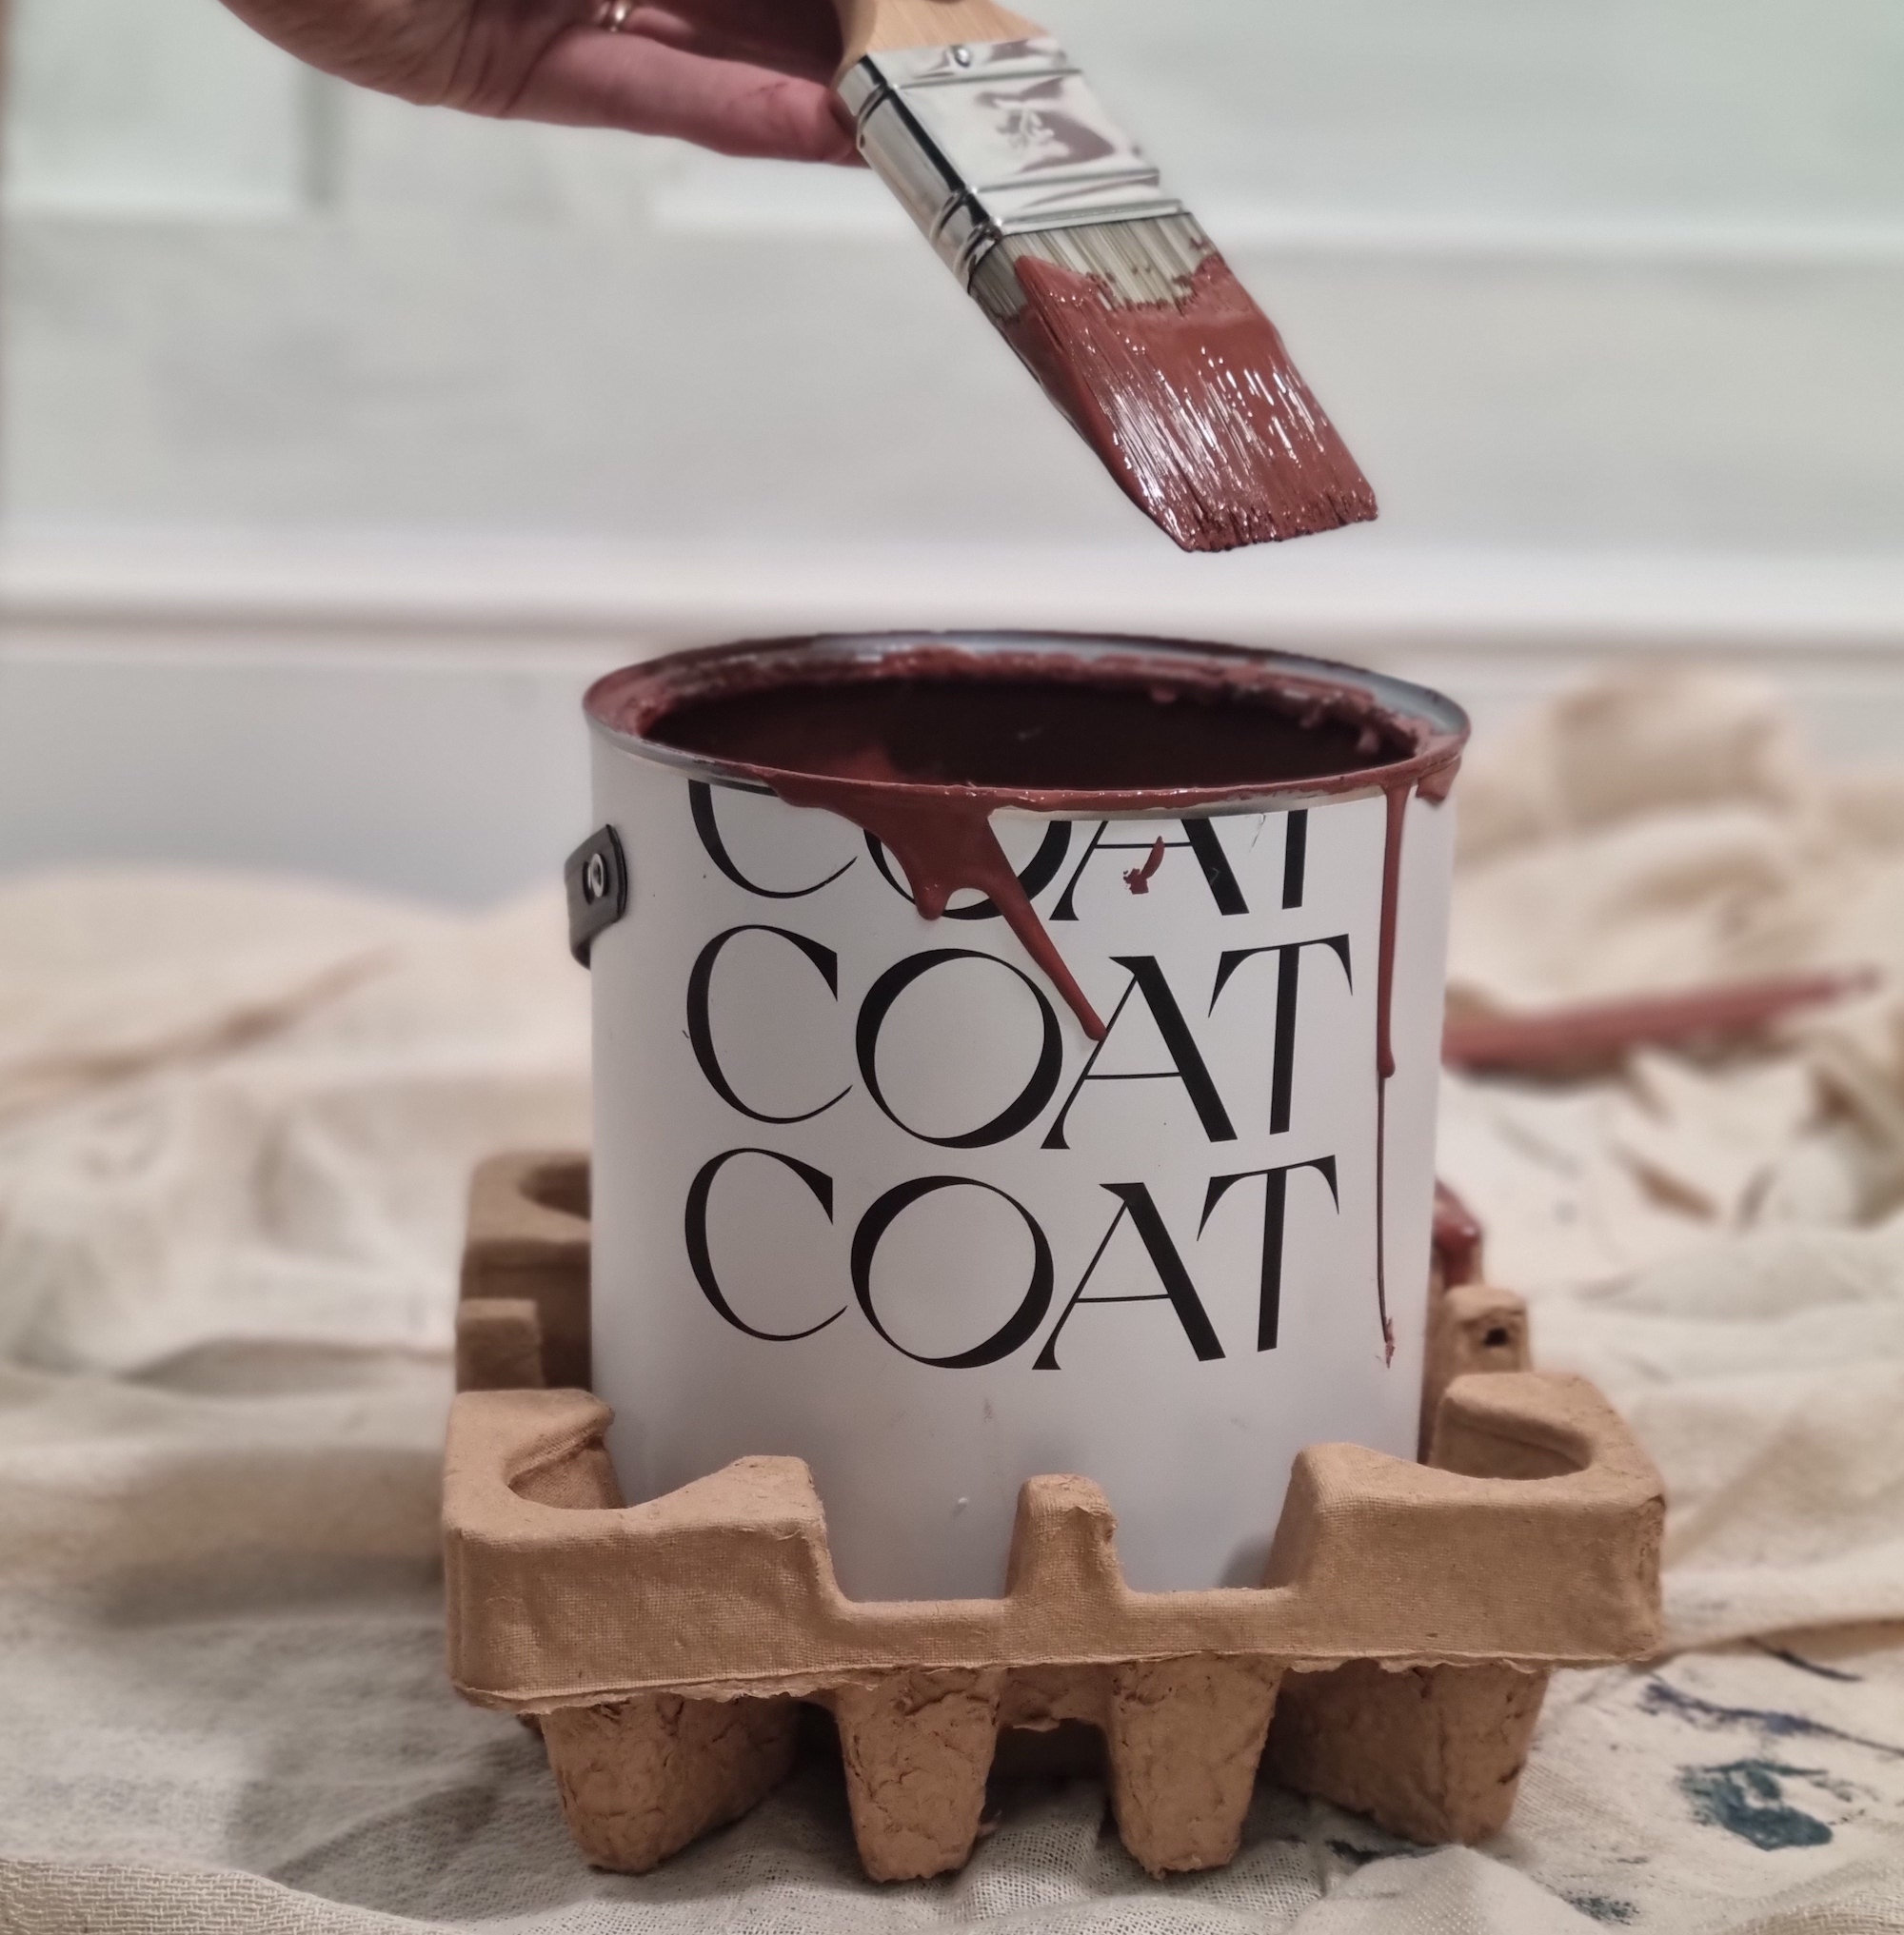
Whether you know how to paint a wall or not, the best way to keep your brushes pristine (and achieve a good paint finish) starts when you begin painting.
'When painting, don’t overload your brush,' says Joel at Lick. 'Only dip the bristles in about 4 cm, about the width of 2 fingers.'
By only using what you need, you'll prevent paint from running down the handle and getting into the depths of the bristles, potentially ruining the brush and resulting in a messy paint job.
2. Keep the paint on brushes wet
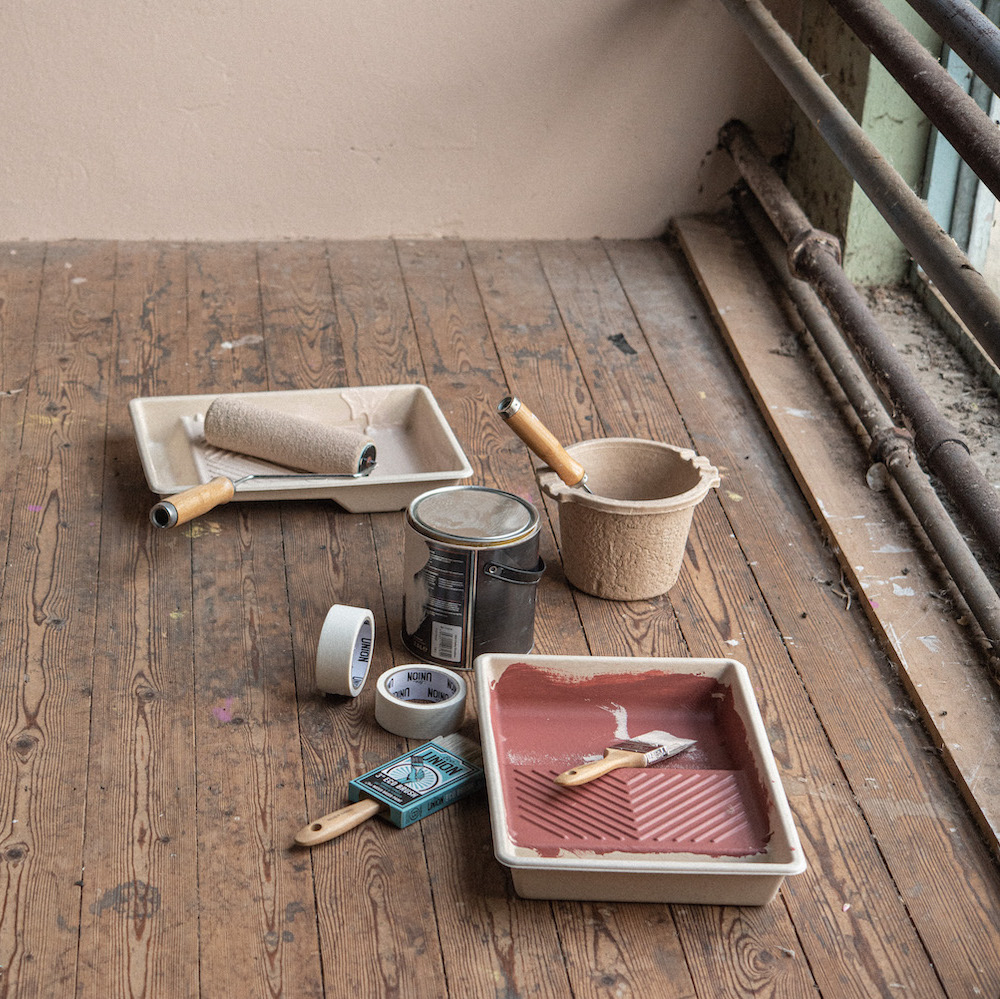
While you're in the middle of your paint job, it pays to keep a close eye on your paint brushes to ensure you're not letting any paint dry on them between paint sessions.
'Dried paint is the quickest way to spoil a brush, which means introducing chemicals, which we really don't want,' explains Joel at Lick. 'To prevent this, wash them once you're done and protect them in between times.'
'Ziplock or plastic bags tied so they're airtight will keep your brushes and rollers fresh between painting sessions when nipping out for lunch, or overnight,' he advises.
Sarah at Valspar Paints adds, 'Just don’t leave it wrapped or sealed up for too long, it won’t stay wet forever.'
3. Remove as much paint as possible
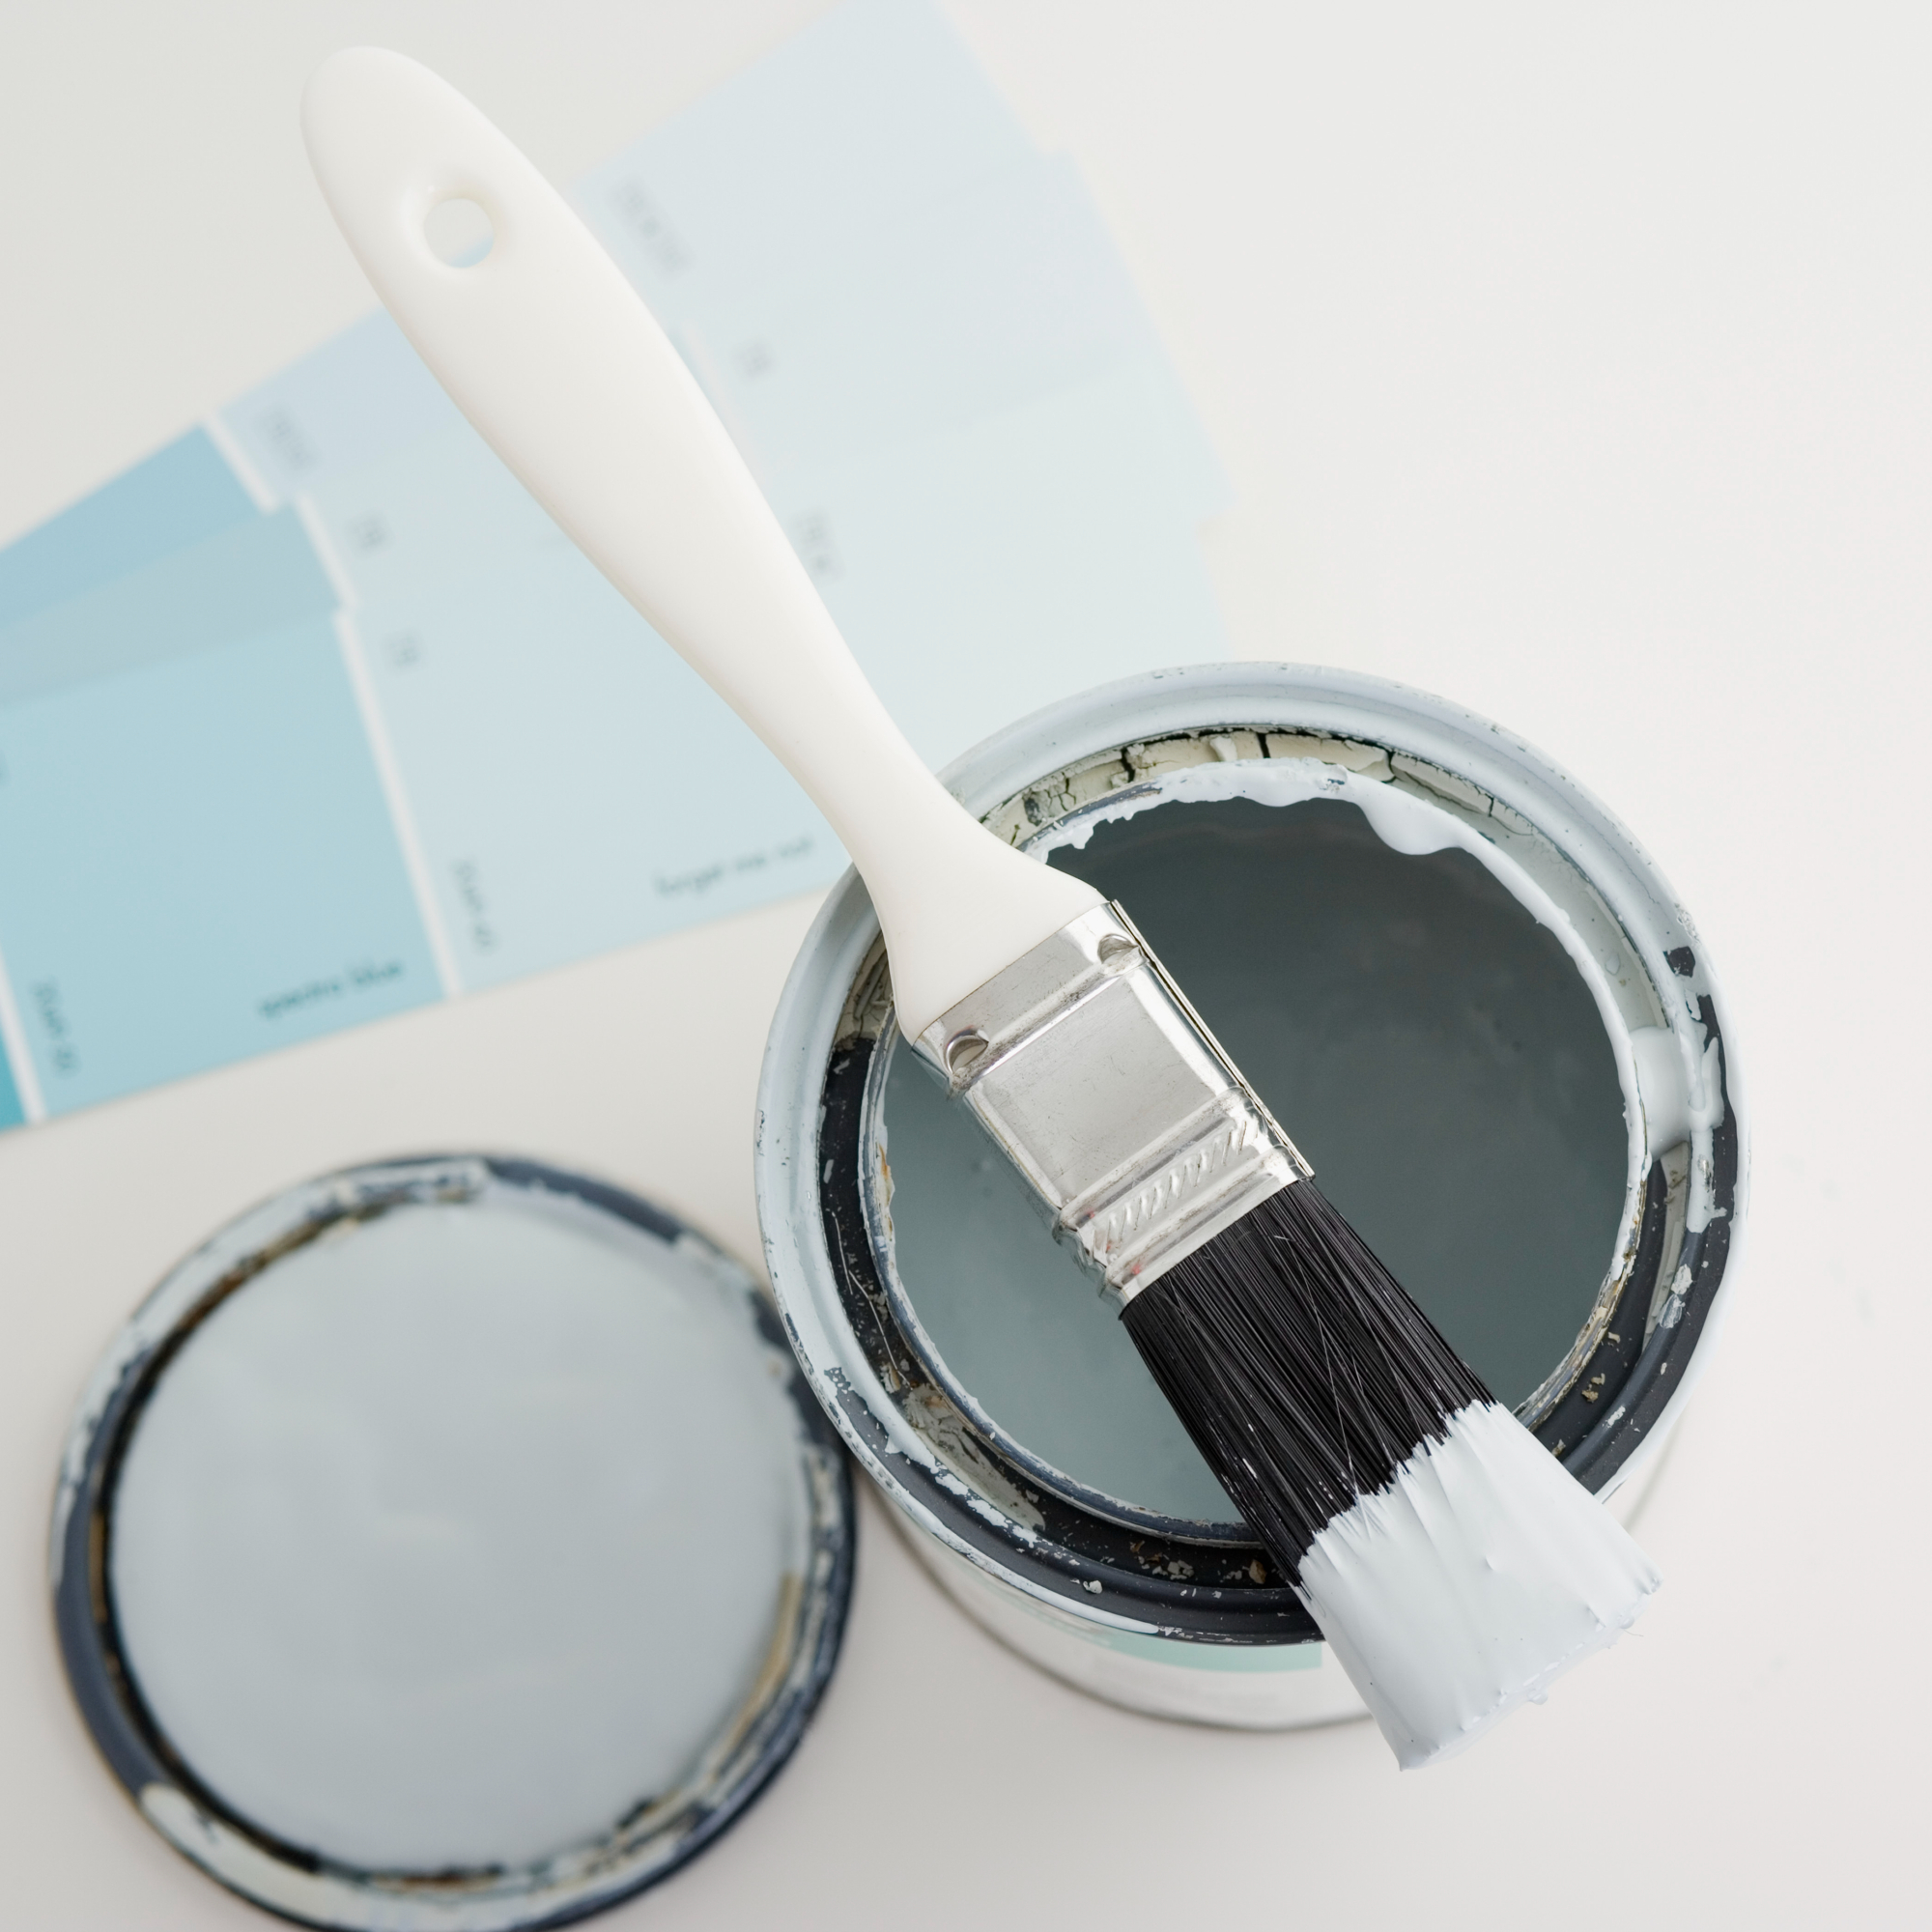
Now comes the part you've probably been waiting for: the actual process of how to clean paint brushes. To begin cleaning your brushes, it's important to remove as much paint as possible, first and foremost.
'When you clean water-based paint from your paintbrushes, the aim is to make sure the least amount of paint goes down the sink,' starts Marianne Shillingford, creative director and colour expert at Dulux. 'Get rid of as much paint as possible by firstly wiping the bristles on the edge of the can and secondly using some kitchen towel to soak it up.'
'Only then should you run it under the tap until the water runs clean. Give it a swing in the garden to remove most of the moisture and store the bristle up or flat in a cool dry place.'
4. Rinse the bristles in warm water
Now you've wiped off as much of the paint as possible off of your paint brushes, rinse them in a bucket of warm soapy water.
'When washing brushes, always point the brush downwards and never fill the head with water,' explains Joel at Lick. 'Just massage the paint down the bristles holding the handle and pointing down. This is for two reasons.
'Firstly, if water gets inside the ferrule (the metal bit) it will find its way to the small wooden blockers hidden in the centre of the brush. These give the brush shape, but if wet they will expand and potentially distort the brush.
'Secondly, it will push paint down into the depths of the bristles where they will dry out. This will stiffen the bristles over time and lose any bounce in the brush.'
5. Use a wire comb
'Use can also use a wire brush or a brush comb to separate the bristles, when you’ve done as much as you can using your fingers,' adds Rob at COAT.
'Wash the brush again in a separate or fresh bucket of water. It isn’t super important that the water be warm at this stage. Then finally rinse the bristles in a bucket of clean water.'
6. Rinse paint brushes under cold water
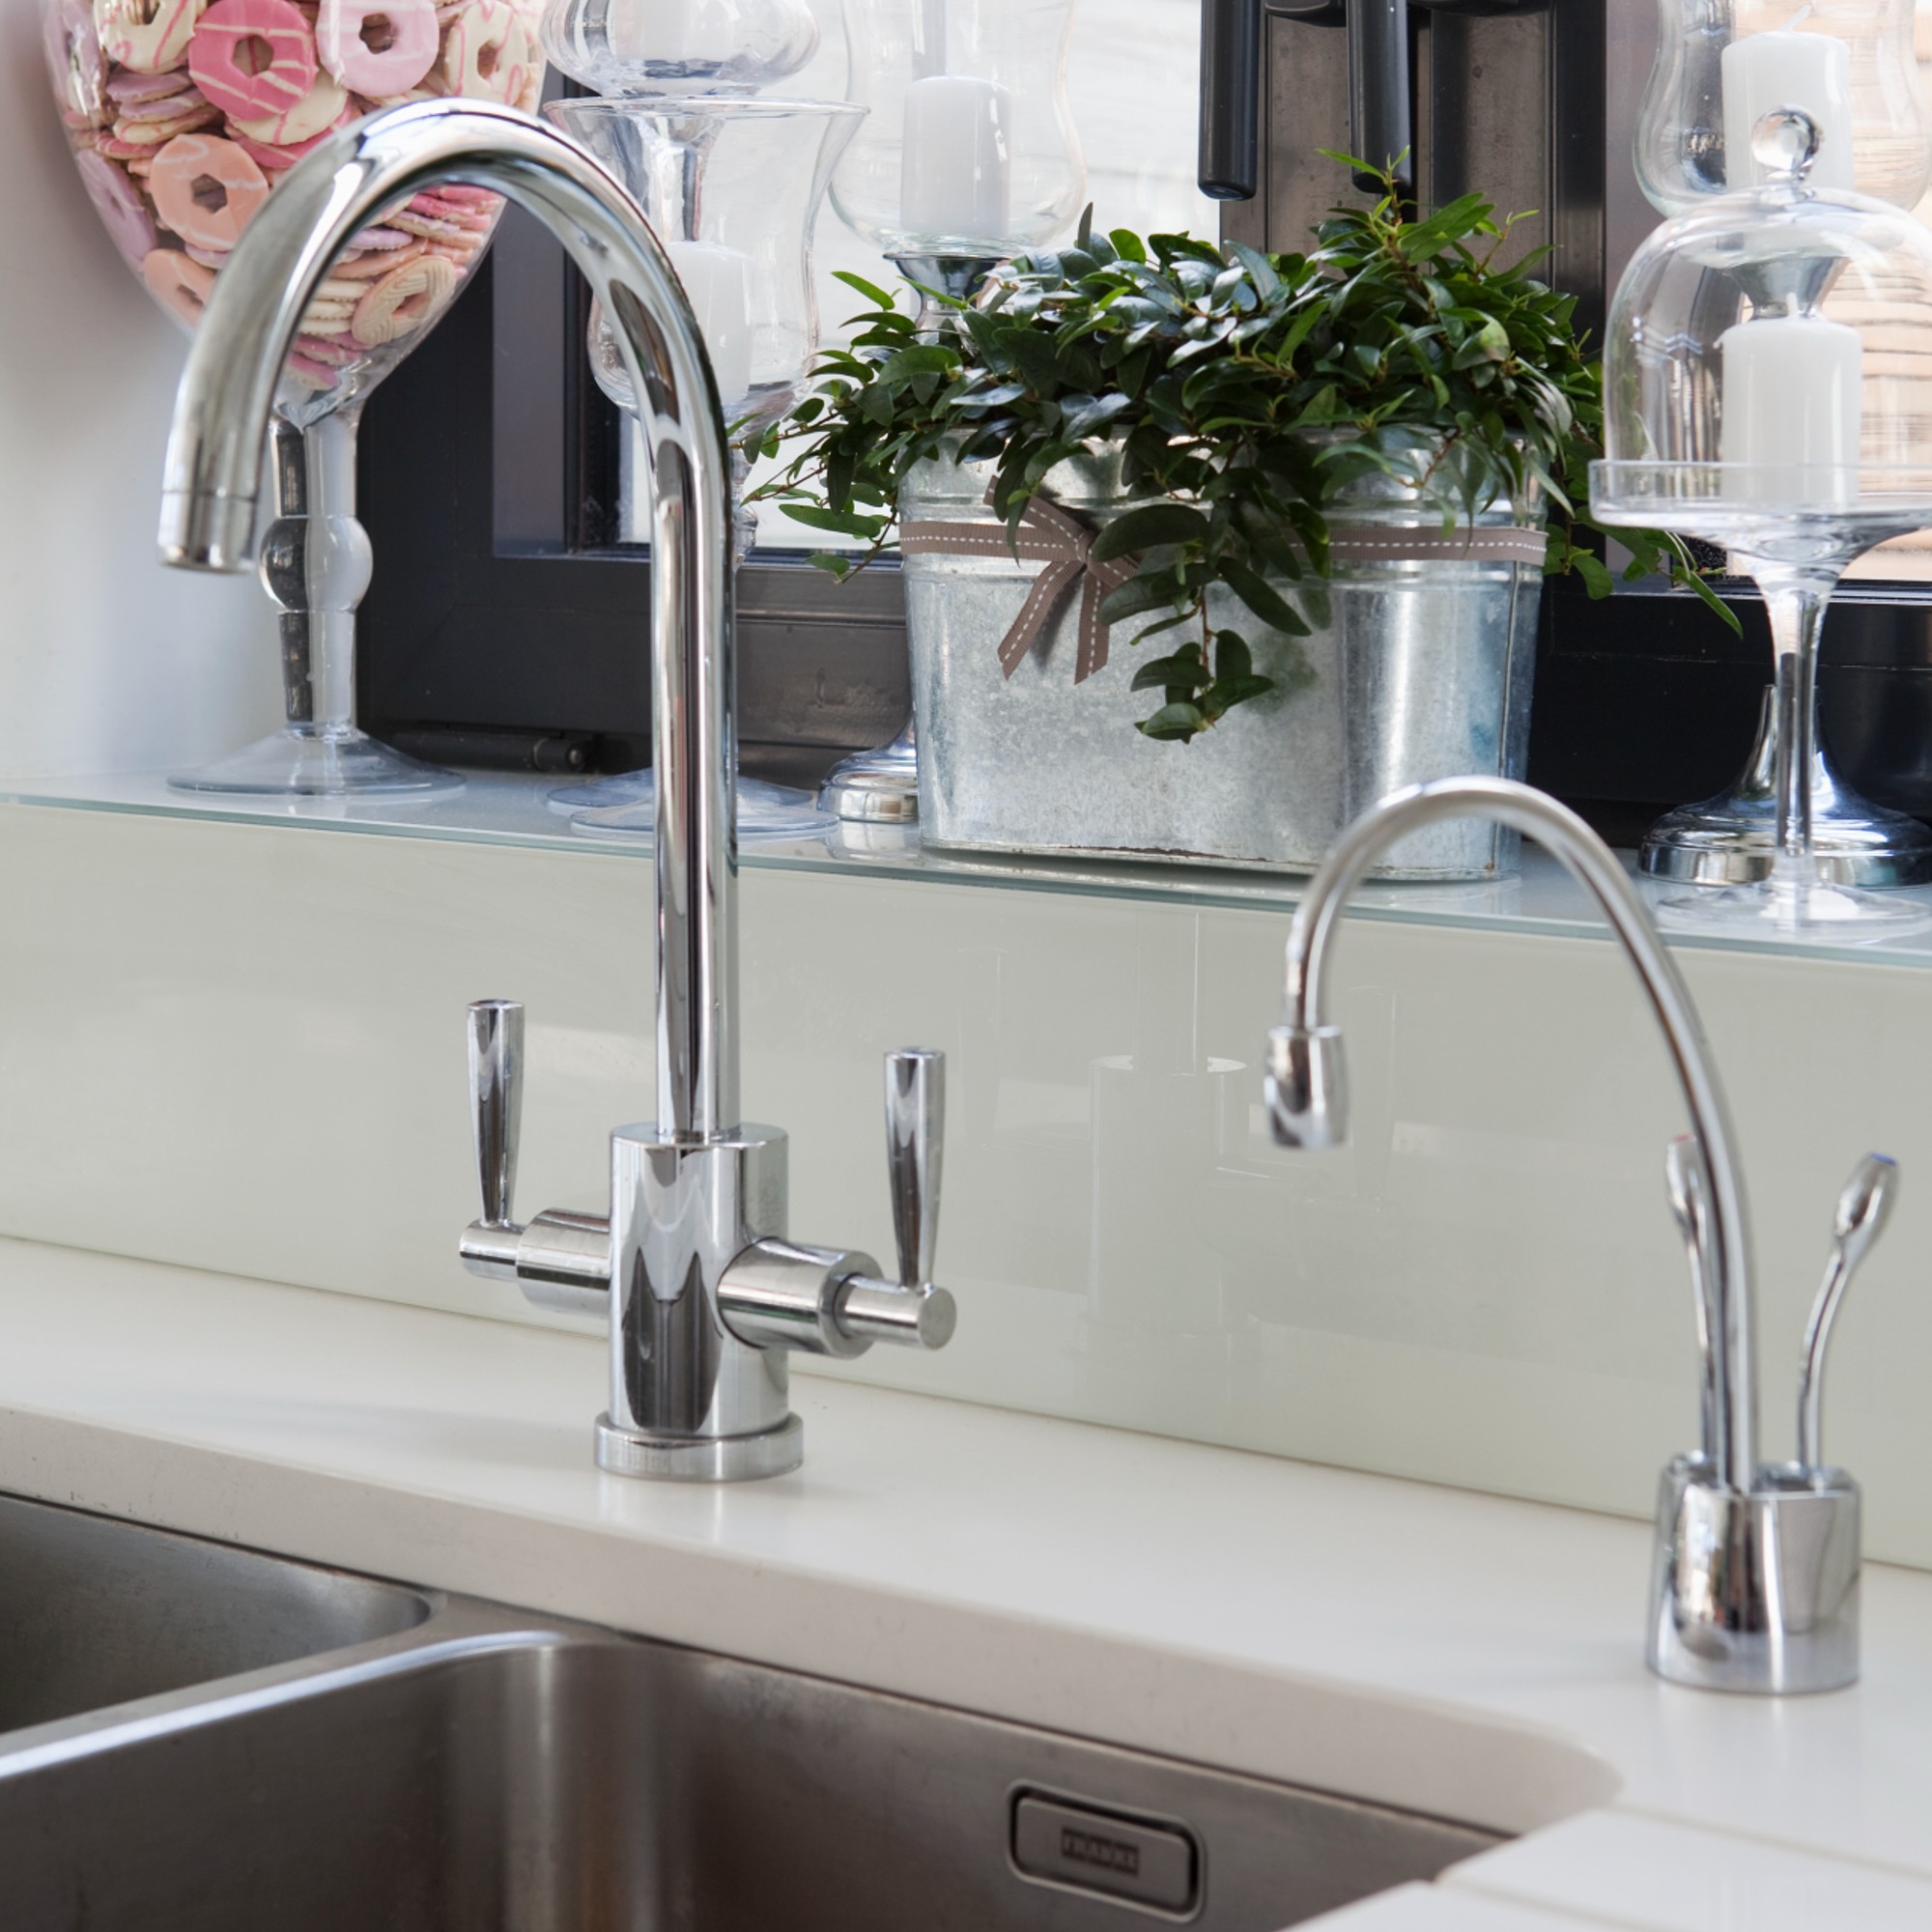
Now, it's time for the last rinse of water in the process of cleaning your paint brushes.
'Once all the paint is gone, rinse it under cold water so it's thoroughly clean,' advises Sarah at Valspar Paint. 'This helps to remove the paint plus soap residue which might be left behind and can make the bristles inflexible.'
7. Dry paint brushes properly

This step is all about maintaining the shape of your brushes for the next time you use them. Of course, the rules are different depending on whether you've cleaned paint rollers or paint brushes.
'Don’t leave a roller sleeve to dry on its side, but stand it on its end. This will keep the pile (material) nice and soft,' advises Joel at Lick.
'With brushes, dry them with a cloth, as if you were painting the cloth, so you paint the water off the brush. Then with the bristles wrapped in a dry cloth, spin it between your palms, as if you were rubbing sticks to start a fire. If it's still damp, dry it again with another cloth.'
8. Protect brushes with a cover
'When you've finished cleaning the brush, it will still be slightly damp so it's important it retains the shape,' says Joel at Lick. 'Pop it back into its original cover and it will stay perfectly shaped for next time.'
If you don't have the cover, there are other ways to maintain the brush's shape.
'Either fold up an old, raggy towel, or some newspaper and wrap it around the bristles, making sure you maintain the rectangular shape you need,' says Rob at COAT. 'Then tie the towel or paper with string (or sticky-tape) and it'll be ready when you need it next.'
FAQs
How to clean paint brush with dried paint?
Although, it's not ideal to let paint dry on brushes. It is actually possible to remove it and extend the life of your paint brushes even if paint is dried on.
'If your paint brush has dried paint on it, you should use a Brush Restorer to help recover it, which is a thin solvent-based liquid that melts hardened paints enough so you can rinse clean with water,' says Marianne at Dulux.
'Use a jam jar and soak the bristles in the liquid until soft again then rinse. Invest in a metal paint brush comb that helps to separate the bristles too so the liquid can work more effectively.'
How to clean solvent based paint off brushes?
'Solvent based paints can be harder to clean off paint brushes than water-based paints,' starts Marianne at Dulux.
'Most of the paint back into the can and soak up as much as possible with kitchen towel (wear gloves for this bit) before using a brush cleaner like Polycell Brush Cleaner. It contains powerful detergents to break down the paint so you can rinse it clean with water rather than white spirit. '
Can you wash paint brushes in the sink?
Yes, you can – but only if you've used water-based paints and have removed as much of the paint as possible prior to running the brushes in water.
However, if you've been using solvent-based paints, it's a different story.
'If you have to use white spirit, never pour it down the sink,' urges Marianne at Dulux. 'Use an old plastic tub or big glass jar to rinse the brush and let the dirty white spirit settle overnight.'
'Hard particles of paint will settle to the bottom of the jar and the clear, often orange-tinted liquid left on top is perfect for using again.'
Jacky Parker is a freelance interiors & lifestyle journalist, specialising in modern interiors, design and eco living. She has written for Future’s interior magazines and websites including Livingetc, Homes & Gardens, Country Homes & Interiors and Ideal Home for over fifteen years, both as a freelance contributor and inhouse, with stints as Acting Digital Editor, Livingetc and Acting Style Content Editor, Country Homes & Interiors. Her work also features in national and international publications including Sunday Times Style, Telegraph Stella, The Guardian, Grand Designs, House Beautiful and more. With years of experience in the industry Jacky is privy to the insider view and the go-to places for interior inspiration and design-savvy décor.
- Jullia JosonJunior Writer