How to clean walls without removing paint - for pristine walls without ruining your decor
From general cleaning to more stubborn stains, we’ve got you covered

If you’re looking to learn how to clean walls without removing paint, you’ll be happy to know that it’s possible. And, actually, it’s a lot easier than you’d think.
After all, there’s nothing more annoying than seeing scuffs and stains ruin your paint ideas - and lingering dirt and debris even have the potential to cause all kinds of paint problems if left untreated. However, many people are afraid to clean their walls just in case they remove this paint in the process. And it’s a valid concern, as it’s easily done.
But no matter whether you want to refresh your walls in your new house or if your child gets a little overexcited with their crayons, you shouldn’t be scared of cleaning your walls. You can clean your walls without removing the paint - and this is how.
What you’ll need
- Duster or cleaning cloth - like these SEEP Eco All Purpose Bamboo Cloths from Amazon
- Two buckets - like these Lakeland Collapsible Buckets
- Washing-up liquid - like this Ecover 950ml Lemon & Aloe Washing Up Liquid from Dunelm
- Cleaning sponges - like these Jumbo Sponges from Amazon
- Mop - like this Vileda Easy Wring and Clean Turbo Spin Mop and Bucket Set from Argos
- Water
Step-by-step
1. Understand the paint you have
To ensure you can clean walls without removing paint in the process, you first need to understand the paint you have on your walls. That’s because you may have to tailor your cleaning methods - especially if you haven’t used the option that offers the best paint finish for walls.
If you have hardier paints on your walls, including gloss or semi-gloss, you’ll be happy to know you can follow the steps below without too much of a second thought.
However, you'll need a lighter touch if you’ve covered your walls in matte, satin, or eggshell finishes.
These three paint options are incredibly delicate - and one wrong move could result in chipped or peeled paint. If you have these finishes on your wall, work on a tester area before cleaning your whole wall. This will allow you to understand how it reacts before you ruin your whole wall.
Sign up to our newsletter for style inspiration, real homes, project and garden advice and shopping know-how
2. Dust your walls
Then, your next port of call is dusting your walls - something you should do if you want to prepare your walls for painting, too.
This is echoed by Anne Puukko, Founder of Superdwell, who says, ‘The best thing (and often forgotten or skipped) is to start with dusting. This ensures you're not rubbing or smearing any dirt into the wall once you get to the cleaning phase.'
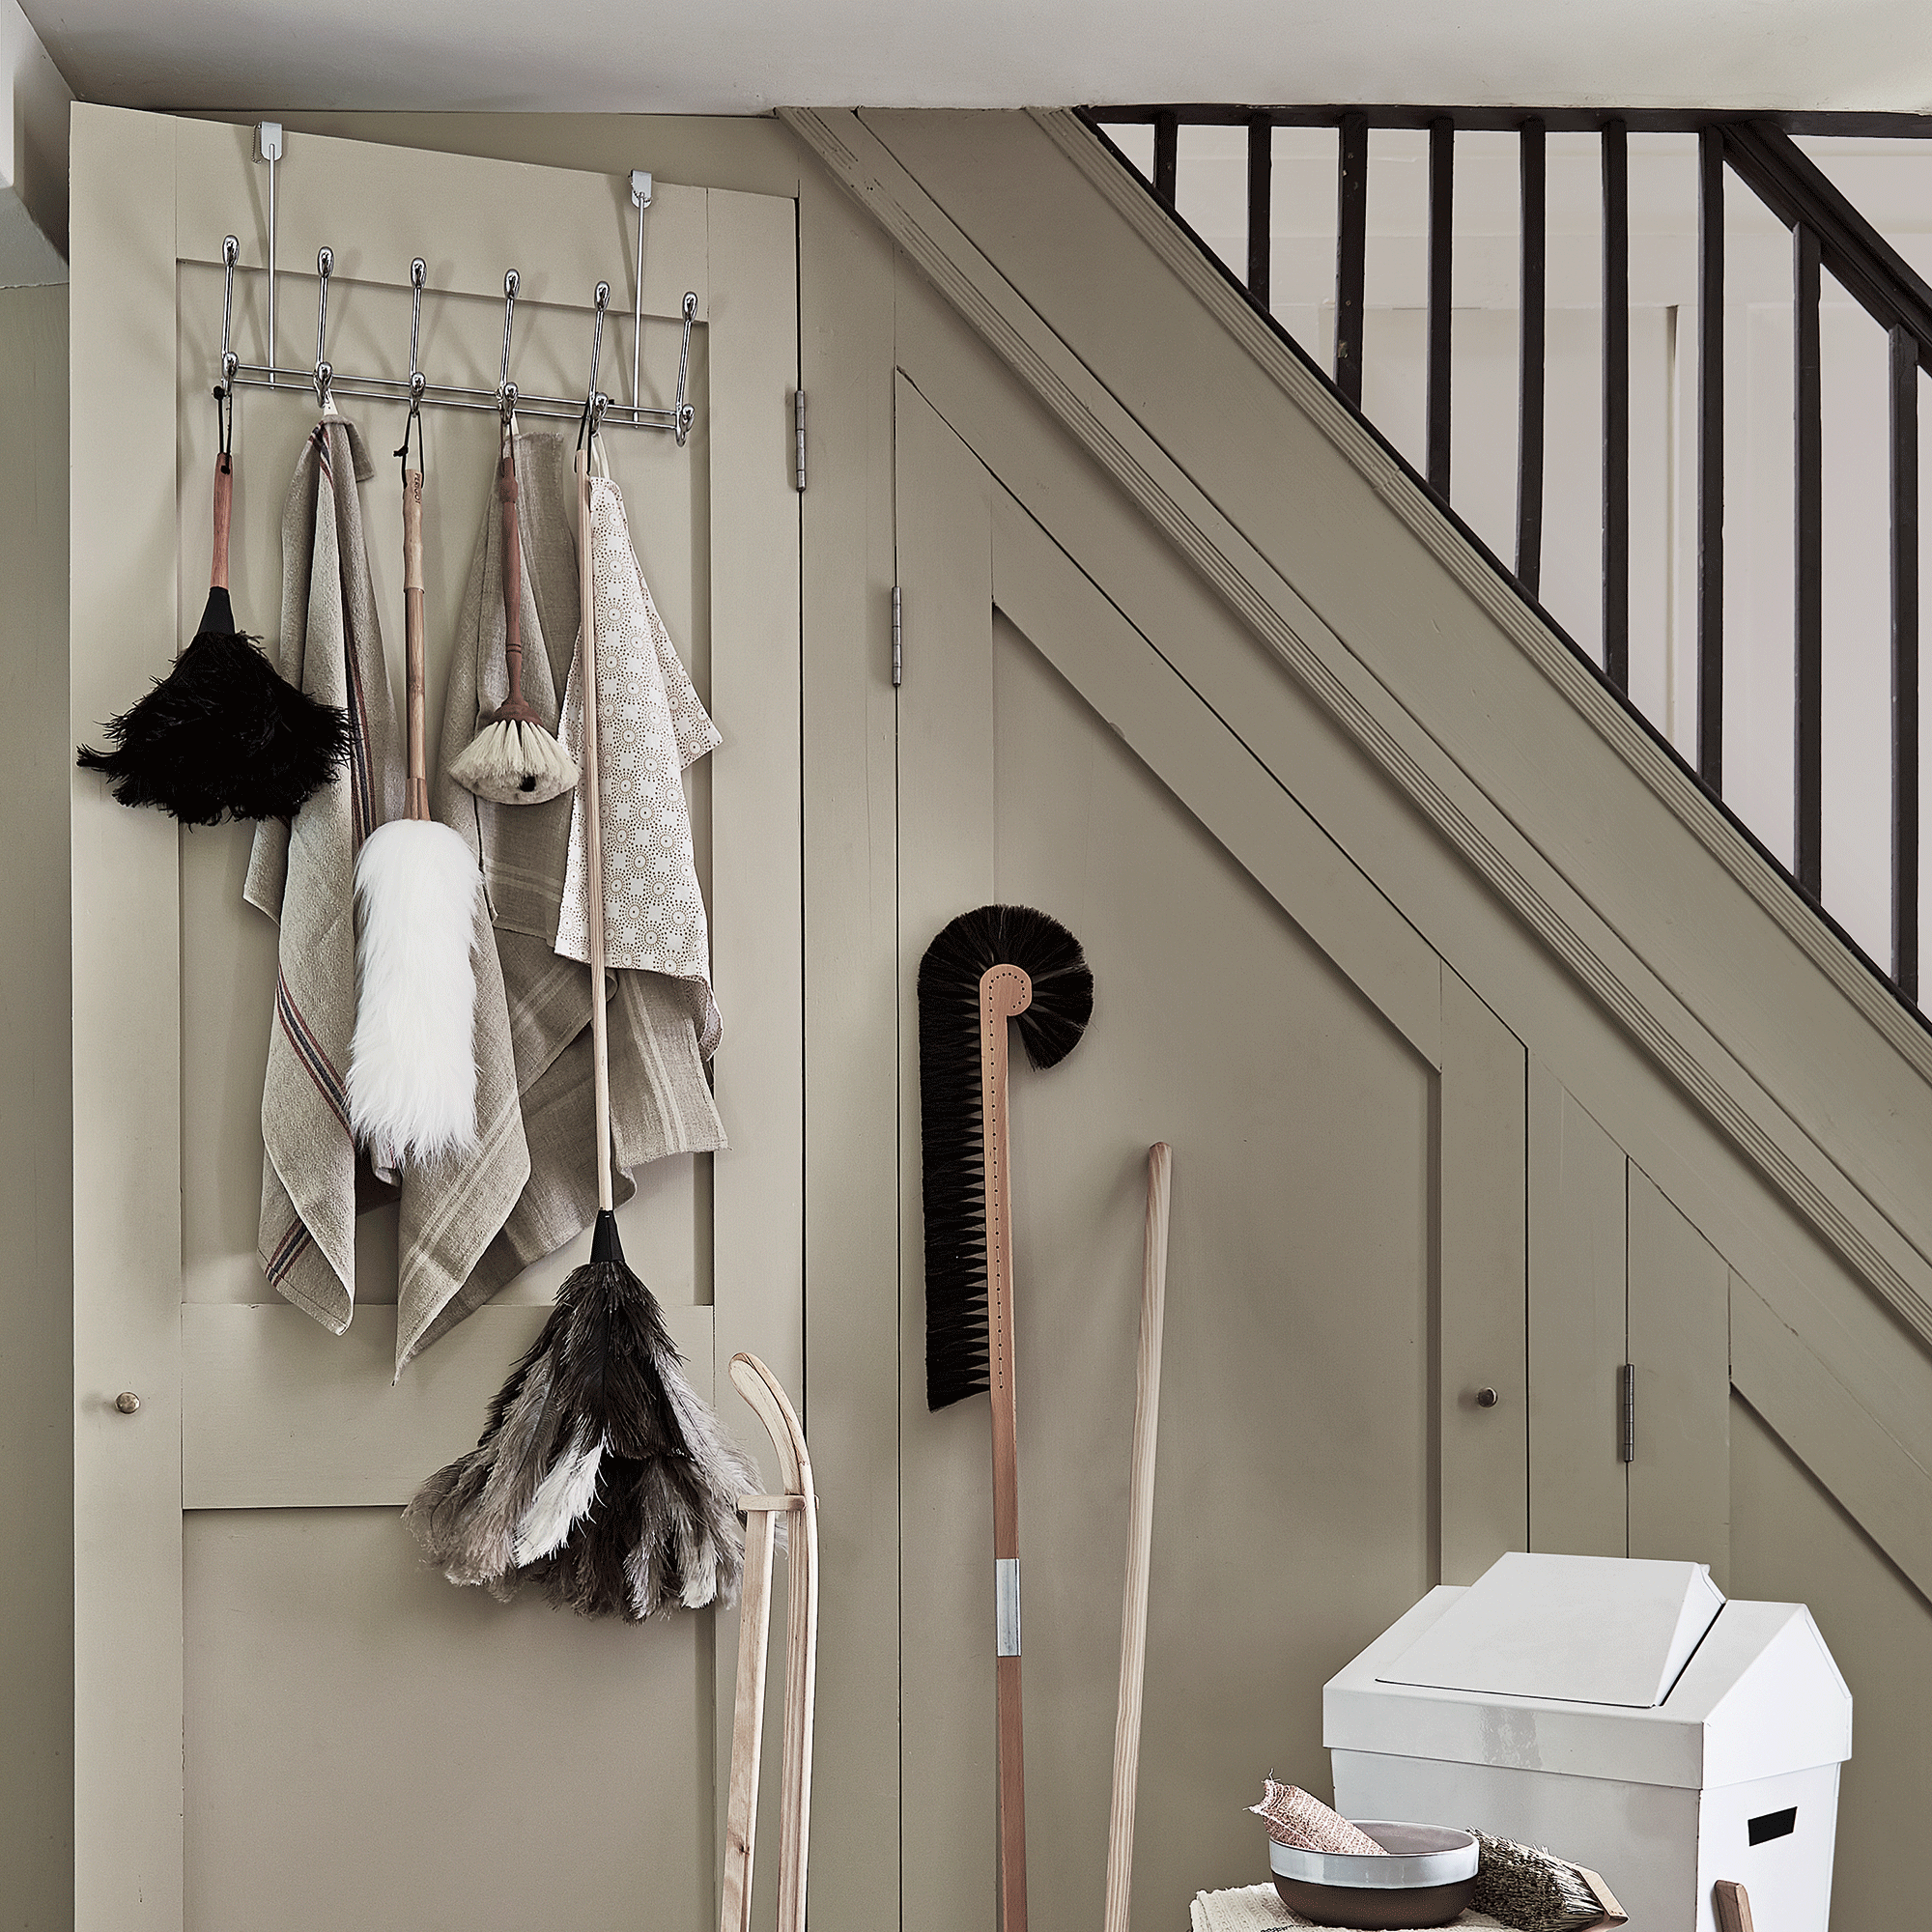
She adds, 'To dust, just use a soft brush or a dry microfiber cloth to gently wipe away any loose dust or dirt from the wall.’
Dusting before you start washing them is a must, and regularly dusting your walls can also help to improve the general appearance of your walls.
3. Spot-clean tougher stains and marks
Tougher stains and marks on your walls are inevitable, and it’s always best to spot-clean these before you clean the wall as a whole. That’s because these areas often need a tougher touch.
One of the best ways to do this is to clean with white vinegar, and dabbing at any stains with a cloth dipped in white vinegar should be enough to restore these areas to their former glory. If you think you need something a little more abrasive, though, bicarbonate of soda should do the trick.
In fact, this is what Ideal Home’s Deputy Digital Editor, Rebecca Knight, uses. She says, 'I swear by using baking soda for tough wall marks. I've used it on the walls when trying to get my deposit back. Just make sure you use it carefully and gently to leave the paint intact.'
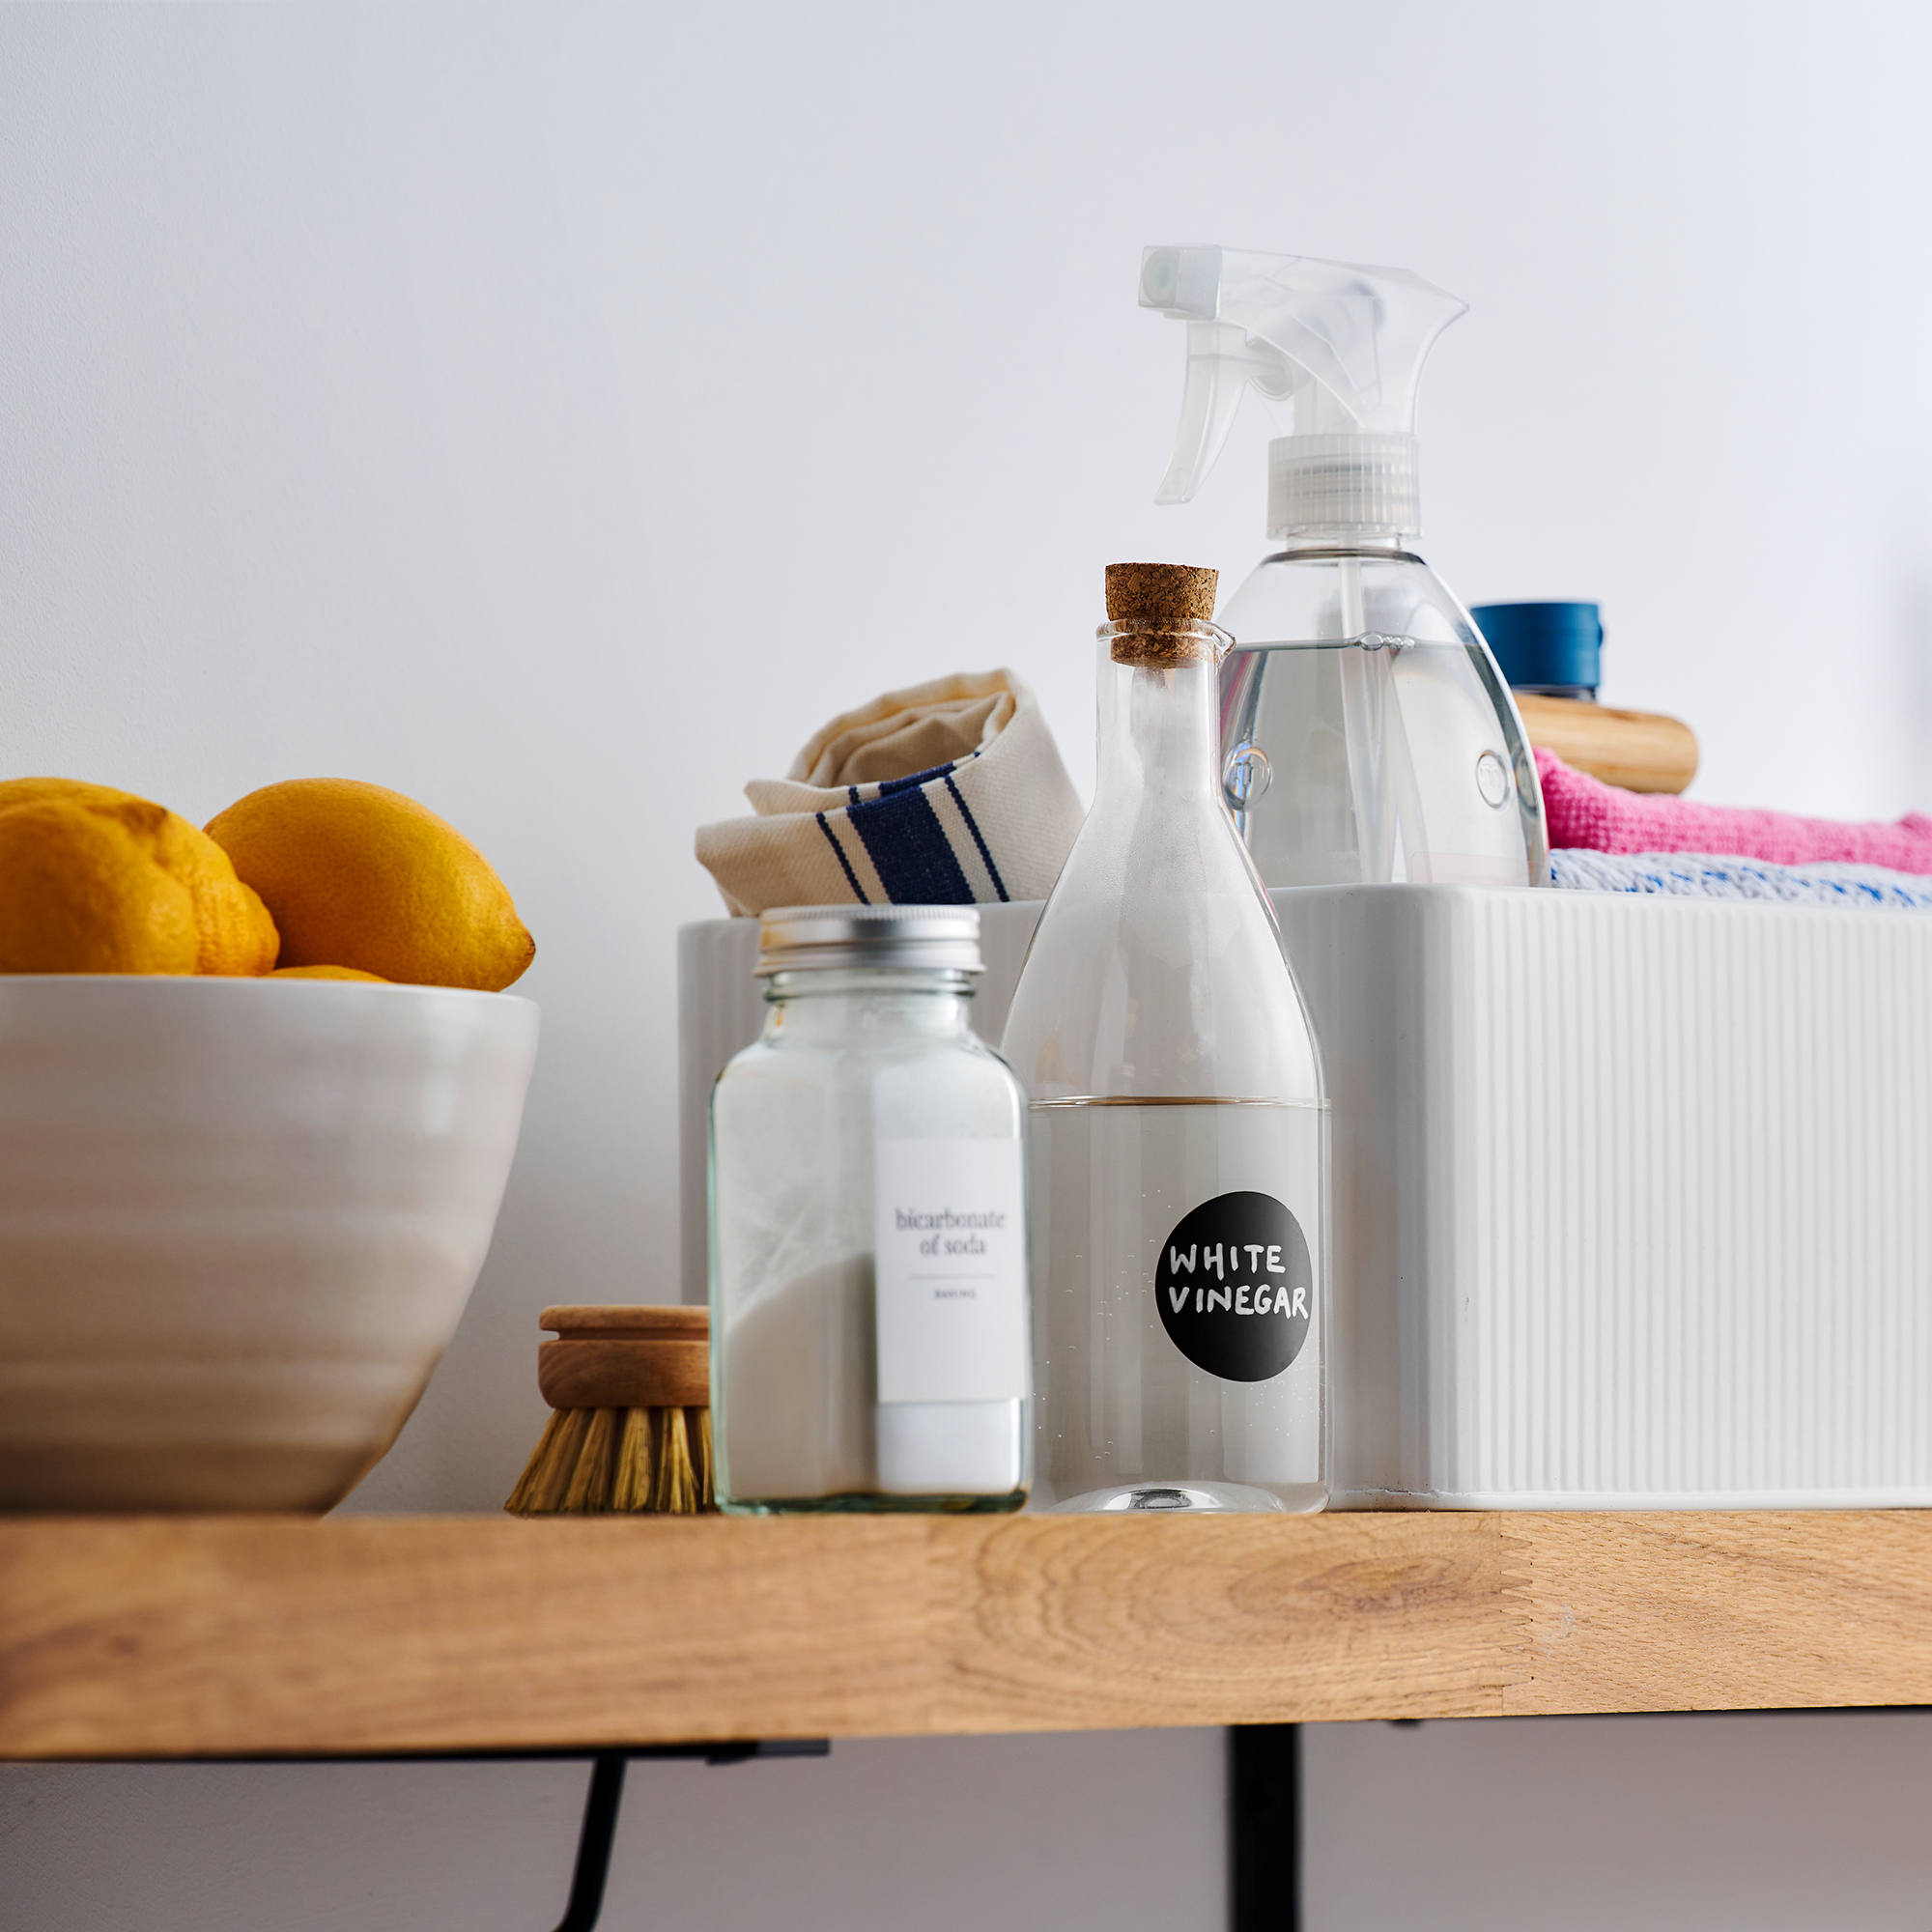
However, these aren’t the only options. Alongside cleaning walls with a tennis ball, I personally always find these Flash Ultra Power Magic Eraser Sponges from Amazon to be extremely effective in cleaning my walls without removing paint. The Pink Stuff is one of the internet’s favourite cleaning products, and if you use a gentle touch, it can also be a great way to remove these scuffs. However, it is abrasive, so you’ll need to be careful.
So, choose which method you want to use and focus on these dirtier areas before moving on to the next step.
4. Give the entire wall a wipe down
With these tougher stains treated, it’s then time to clean the painted wall in its entirety. All you have to do is grab a bucket and fill it with warm water and washing up liquid. Then, fill another bucket with clean water.
Sophie Smith at Zhoosh Paints says, ‘Then use warm soapy water - not too hot - and squeeze the mop or sponge thoroughly before applying with gentle pressure to clean the wall in slow circular or sweeping motions. You don’t need to wipe it dry, as long as there is not too much water it can dry quickly, naturally
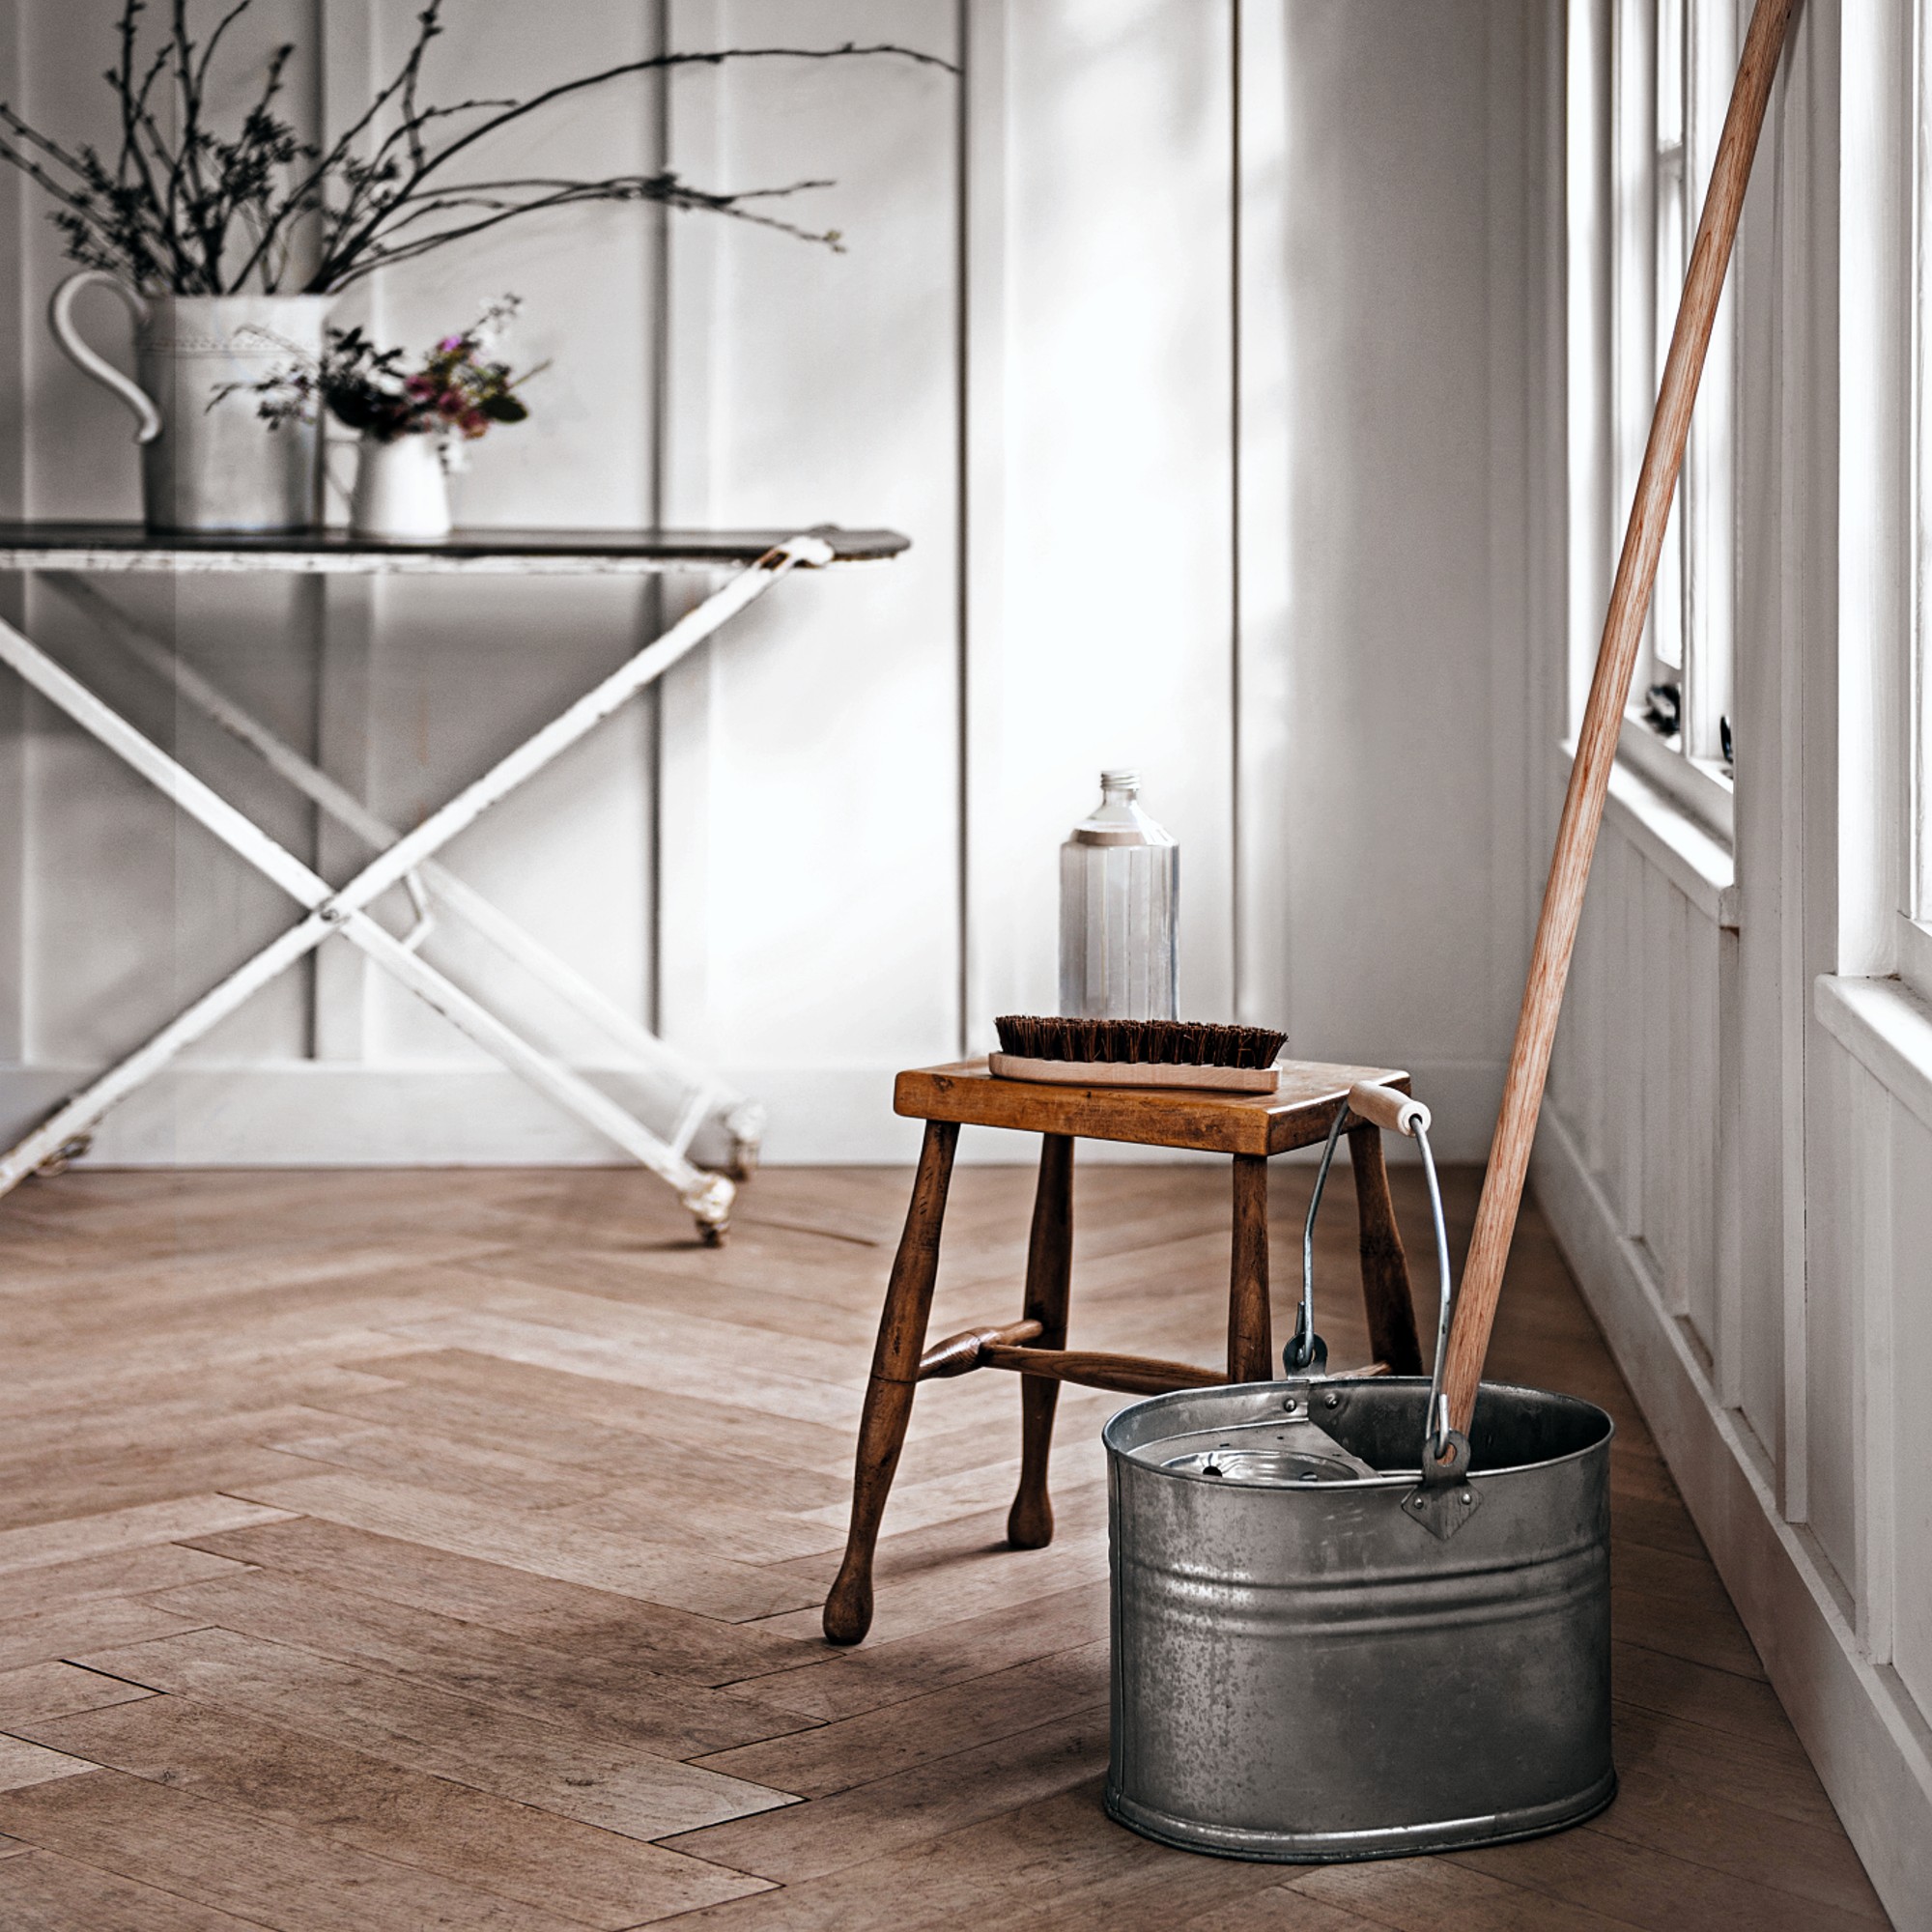
Of course, using one of the best mops is ideal if you have a larger area to cover and can’t quite reach the top. Just make sure you use a mop like this Minky Opti Clean Spin Mop from Argos that allows you to control how much moisture you clean with, so it doesn’t lead to mouldy walls.
Sophie adds, ‘As long as you have good quality paint it should be able to withstand cleaning and retain its colour and lustre.’
FAQs
How do you clean dirty walls without damaging the paint?
If you want a gentle wall cleaner, warm water and washing up liquid will do the trick. This concoction will remove general scuffs and marks without damaging the paint in the process, leaving you with clean walls that are still in pristine condition.
But if you have tougher stains that you want to tackle, you’ll need to incorporate even more products. What you use is down to you, though. You could opt to use vinegar, baking soda, sugar soap, or products designed specifically for such tasks, including Magic Erasers and specific wall cleaners.
Is sugar soap good for cleaning walls?
Sugar soap is regularly used for cleaning walls before painting, but it can also be used for general cleaning. This detergent can successfully remove grease, stains, and dirt from your walls incredibly easily.
However, it's important to note that sugar soap is not actually a soap, so while it may remove imperfections on your walls, it won't clean them properly.
Now you know how to clean walls without removing the paint, you can figure out what to do with your leftover paint. After all, you won't need to re-paint anytime soon!

Lauren Bradbury has been the Content Editor for the House Manual section since January 2025 but worked with the team as a freelancer for a year and a half before that. She graduated with a Bachelor’s degree in English and Creative Writing from the University of Chichester in 2016. Then, she dipped her toe into the world of content writing, primarily focusing on home content. After years of agency work, she decided to take the plunge and become a full-time freelancer for online publications, including Real Homes and Ideal Home, before taking on this permanent role. Now, she spends her days searching for the best decluttering and cleaning hacks and creating handy how-to guides for homeowners and renters alike, as well as testing vacuums as part of her role as the Ideal Home Certified Expert in Training on Vacuums, having spent over 110 hours testing different vacuum models to date!