How to fix a door jamb - repair your door jamb so it's good as new
Problems with your door jamb? Fix it yourself with our step-by-step guide
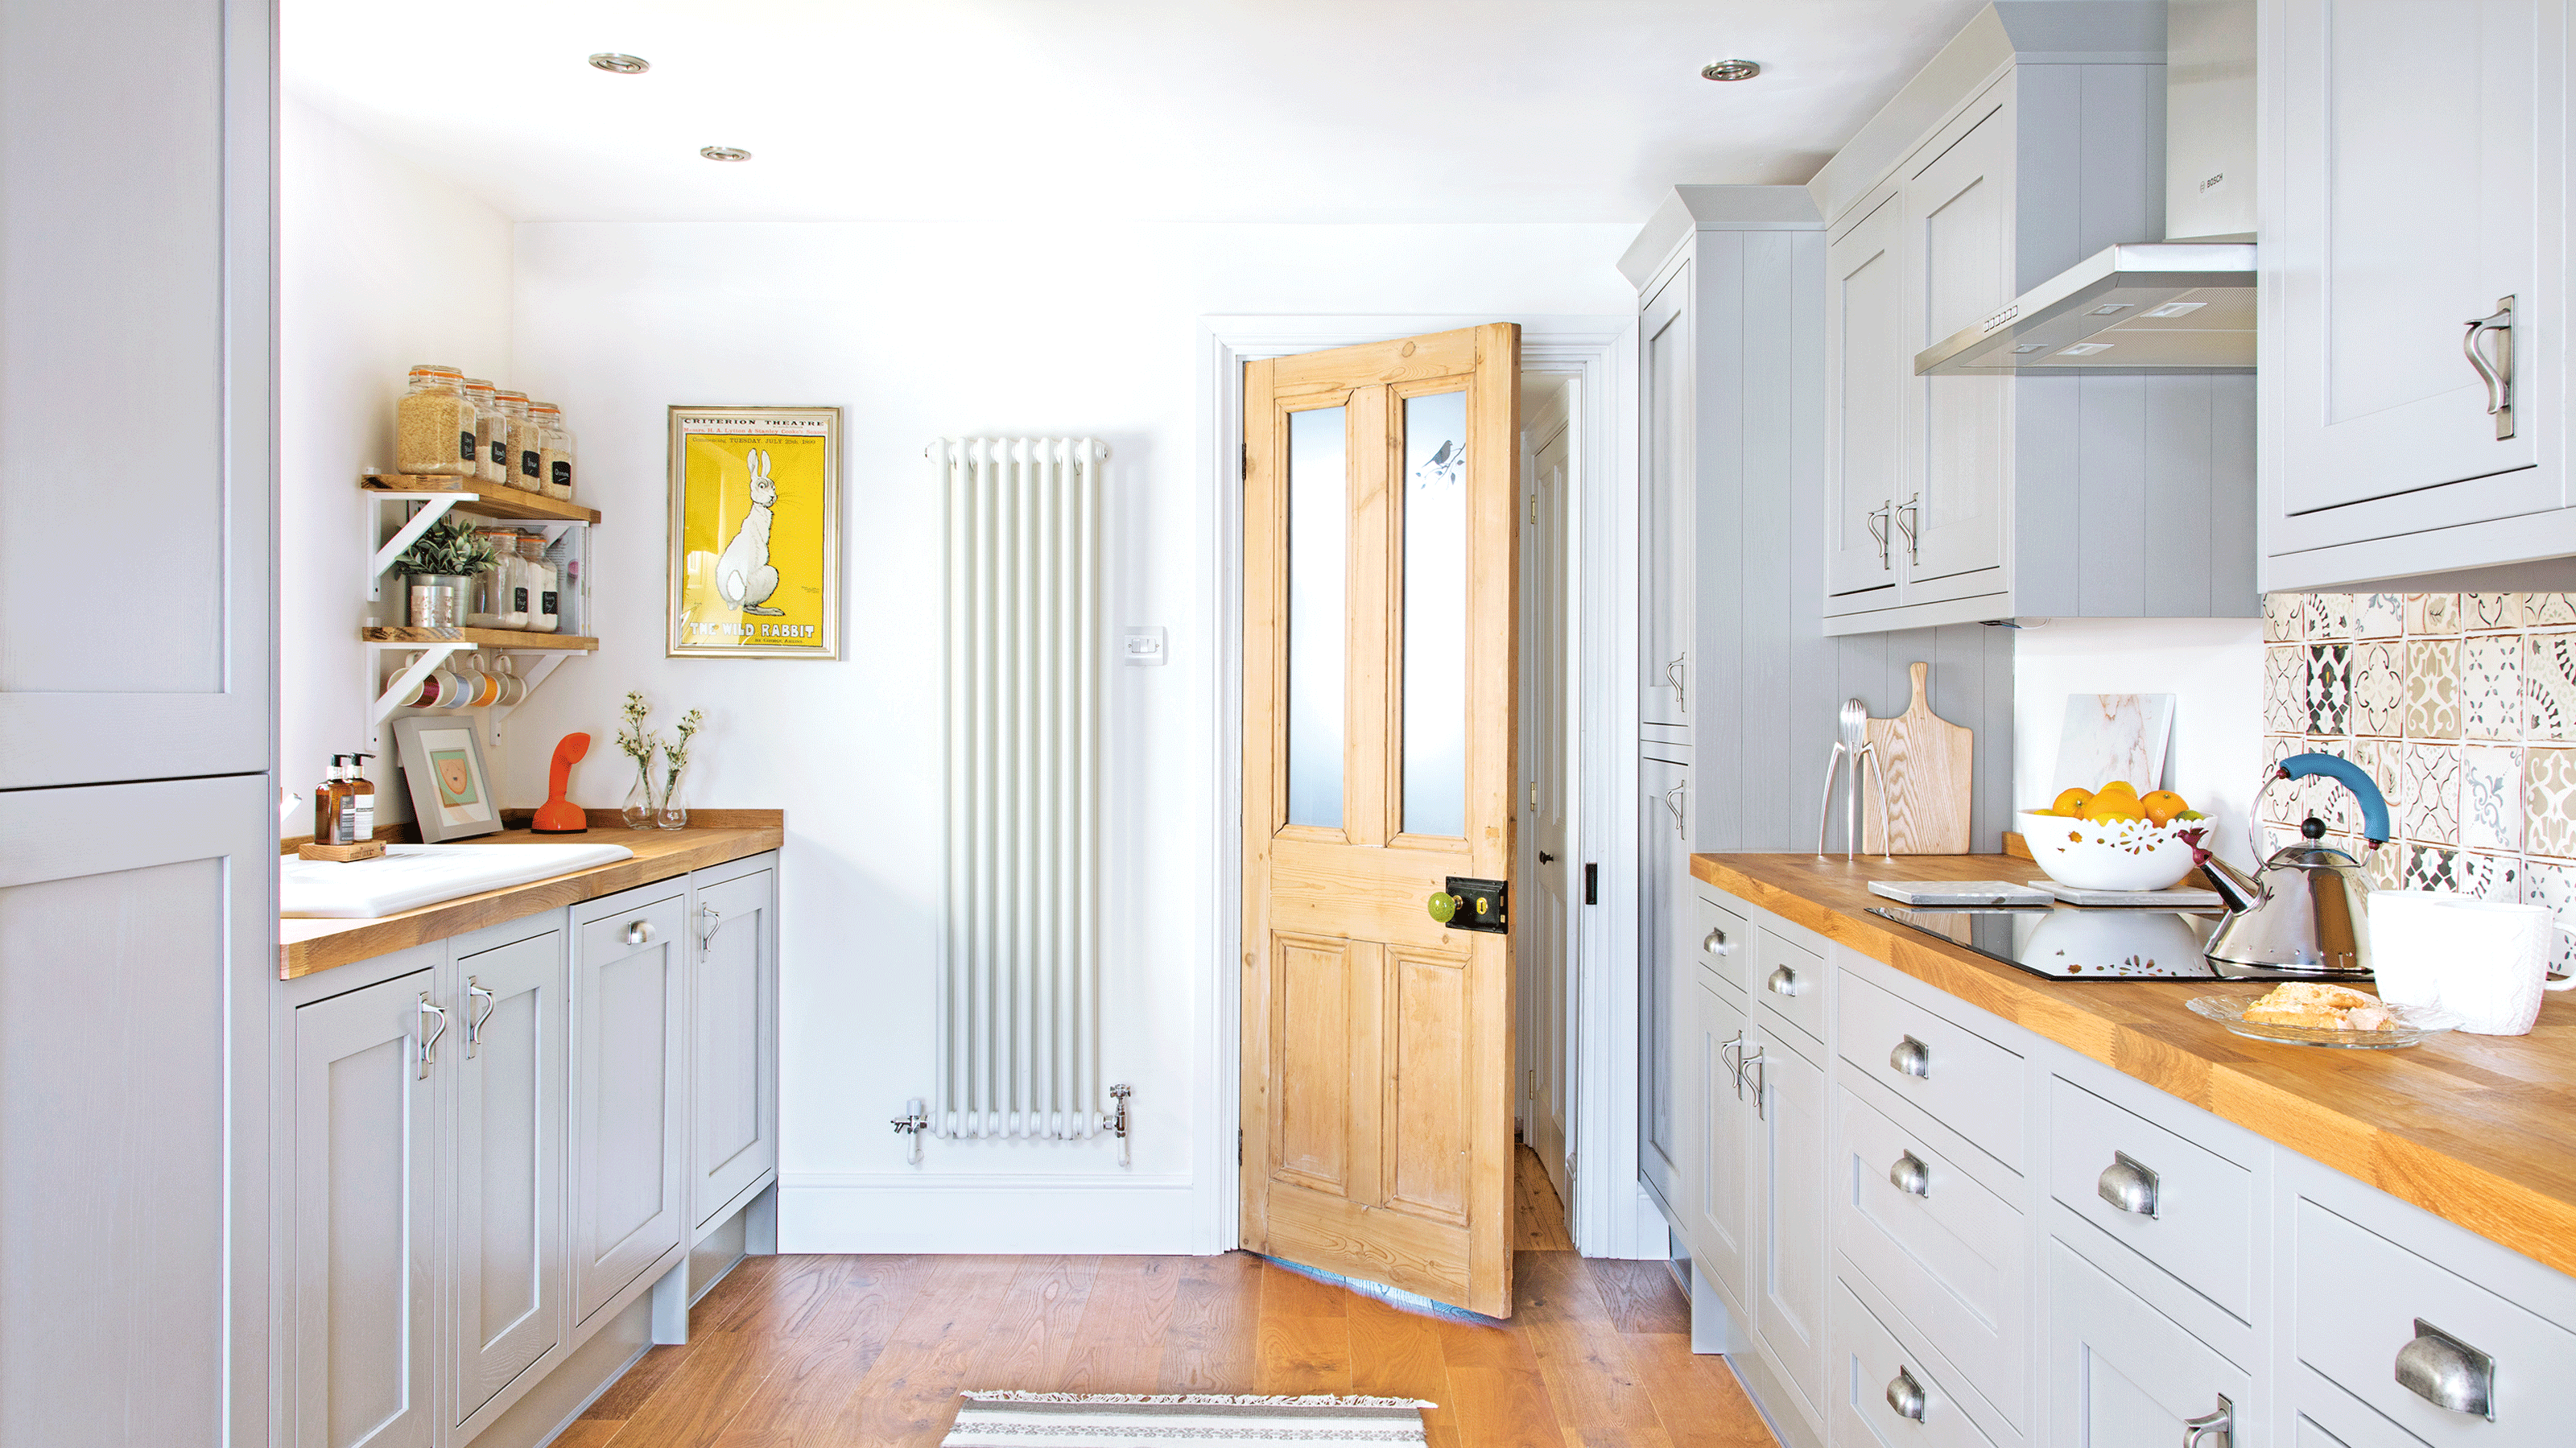

If you're experiencing problems with your door jamb, it's a good idea to get it fixed now and prevent further issues occuring down the line. Learning how to fix a door jamb is also a good way to stop draughts from doors, and will help keep your house warm this winter.
The door jamb is the side post of the door, and forms the vertical portion of a door frame. Wooden door jambs can often splinter, and in some parts, break off from the rest of the frame completely.
Your door jamb may be suffering from broken and splintered wood in just one area, or there may be several sections showing signs of wear and tear. We've asked the experts for advice and rounded up their tips so that you can learn how to fix a door jamb yourself, and get your door back to tip top condition.

How to fix a door jamb - step by step
'There are two common problems with door jambs', says Thomas Goodman, Joinery Expert, MyJobQuote. 'The first is a defect in the wood and the second is natural movement or poor fitting causing it to be wonky. Both can affect the opening and closing of a door.'
Our guide will take you through how to fix a door jamb step by step, explaining the best methods to tackle the different issues so that your door jamb wil be good as new in no time.

Thomas Goodman has worked as a property and construction expert for MyJobQuote for six years and has worked in the construction industry for over twenty years. Thomas continues to work on building projects, while also providing expert construction and property advice to industry professionals and DIY enthusiasts.
How to fix a door jamb with uneven woodwork
1. Remove any loose splinters
Start by removing any loose splinters from the wood with a putty knife. It's a good idea to wear protective gloves as you do this.
2. Apply wood filler
Using a putty knife, apply wood filler to any dents or holes in the door jamb. 'Check the filler is suitable for internal use and can either be painted or has a tint that matches your woodwork,' advises construction expert Thomas Goodman. 'Fill deep holes or dents using thin layers of filler, allowing each application to dry.'
3. Lightly sand the area
Once filled and dry, lightly sand the area using a fine grit sandpaper. This will leave a flush finish, meaning you should be able to move your fingertips over the surface of the door jamb without any sections feeling more raised than others. An uneven surface of the jamb can lead to your door sticking.
4. Finish up
Finally, you may need to add a new layer of paint or varnish to the jamb so it matches the rest of the woodwork.

How to fix a door jamb in the wrong position
A wonky door jamb or a door jamb in the wrong positon is a slightly more complex issue, but it can still be fixed.

1. Remove the door from the frame
First, remove the door from the frame by taking out the hinge pins. Use a nail and hammer to tap them out of the place if they're tight. You might want to call on an extra pair of hands to help you with the weight of the door once it's loose. Move the door to one side.
'If your door has an architrave, gently prise this away from the frame using a bolster chisel and mallet,' says Thomas. 'Work carefully along the lengths of the architrave to prevent it from splitting.'
2. Tap the jambs back into place
The two door jambs and header should now be exposed, and you should be able to see more clearly if your jambs have moved forwards or backwards.
Tap gently on the edges of the jambs with a rubber mallet. This should shift them back into position. If there any screws or nails holding your jamb in position, you'll need to remove these first.
3. Reinstall the door
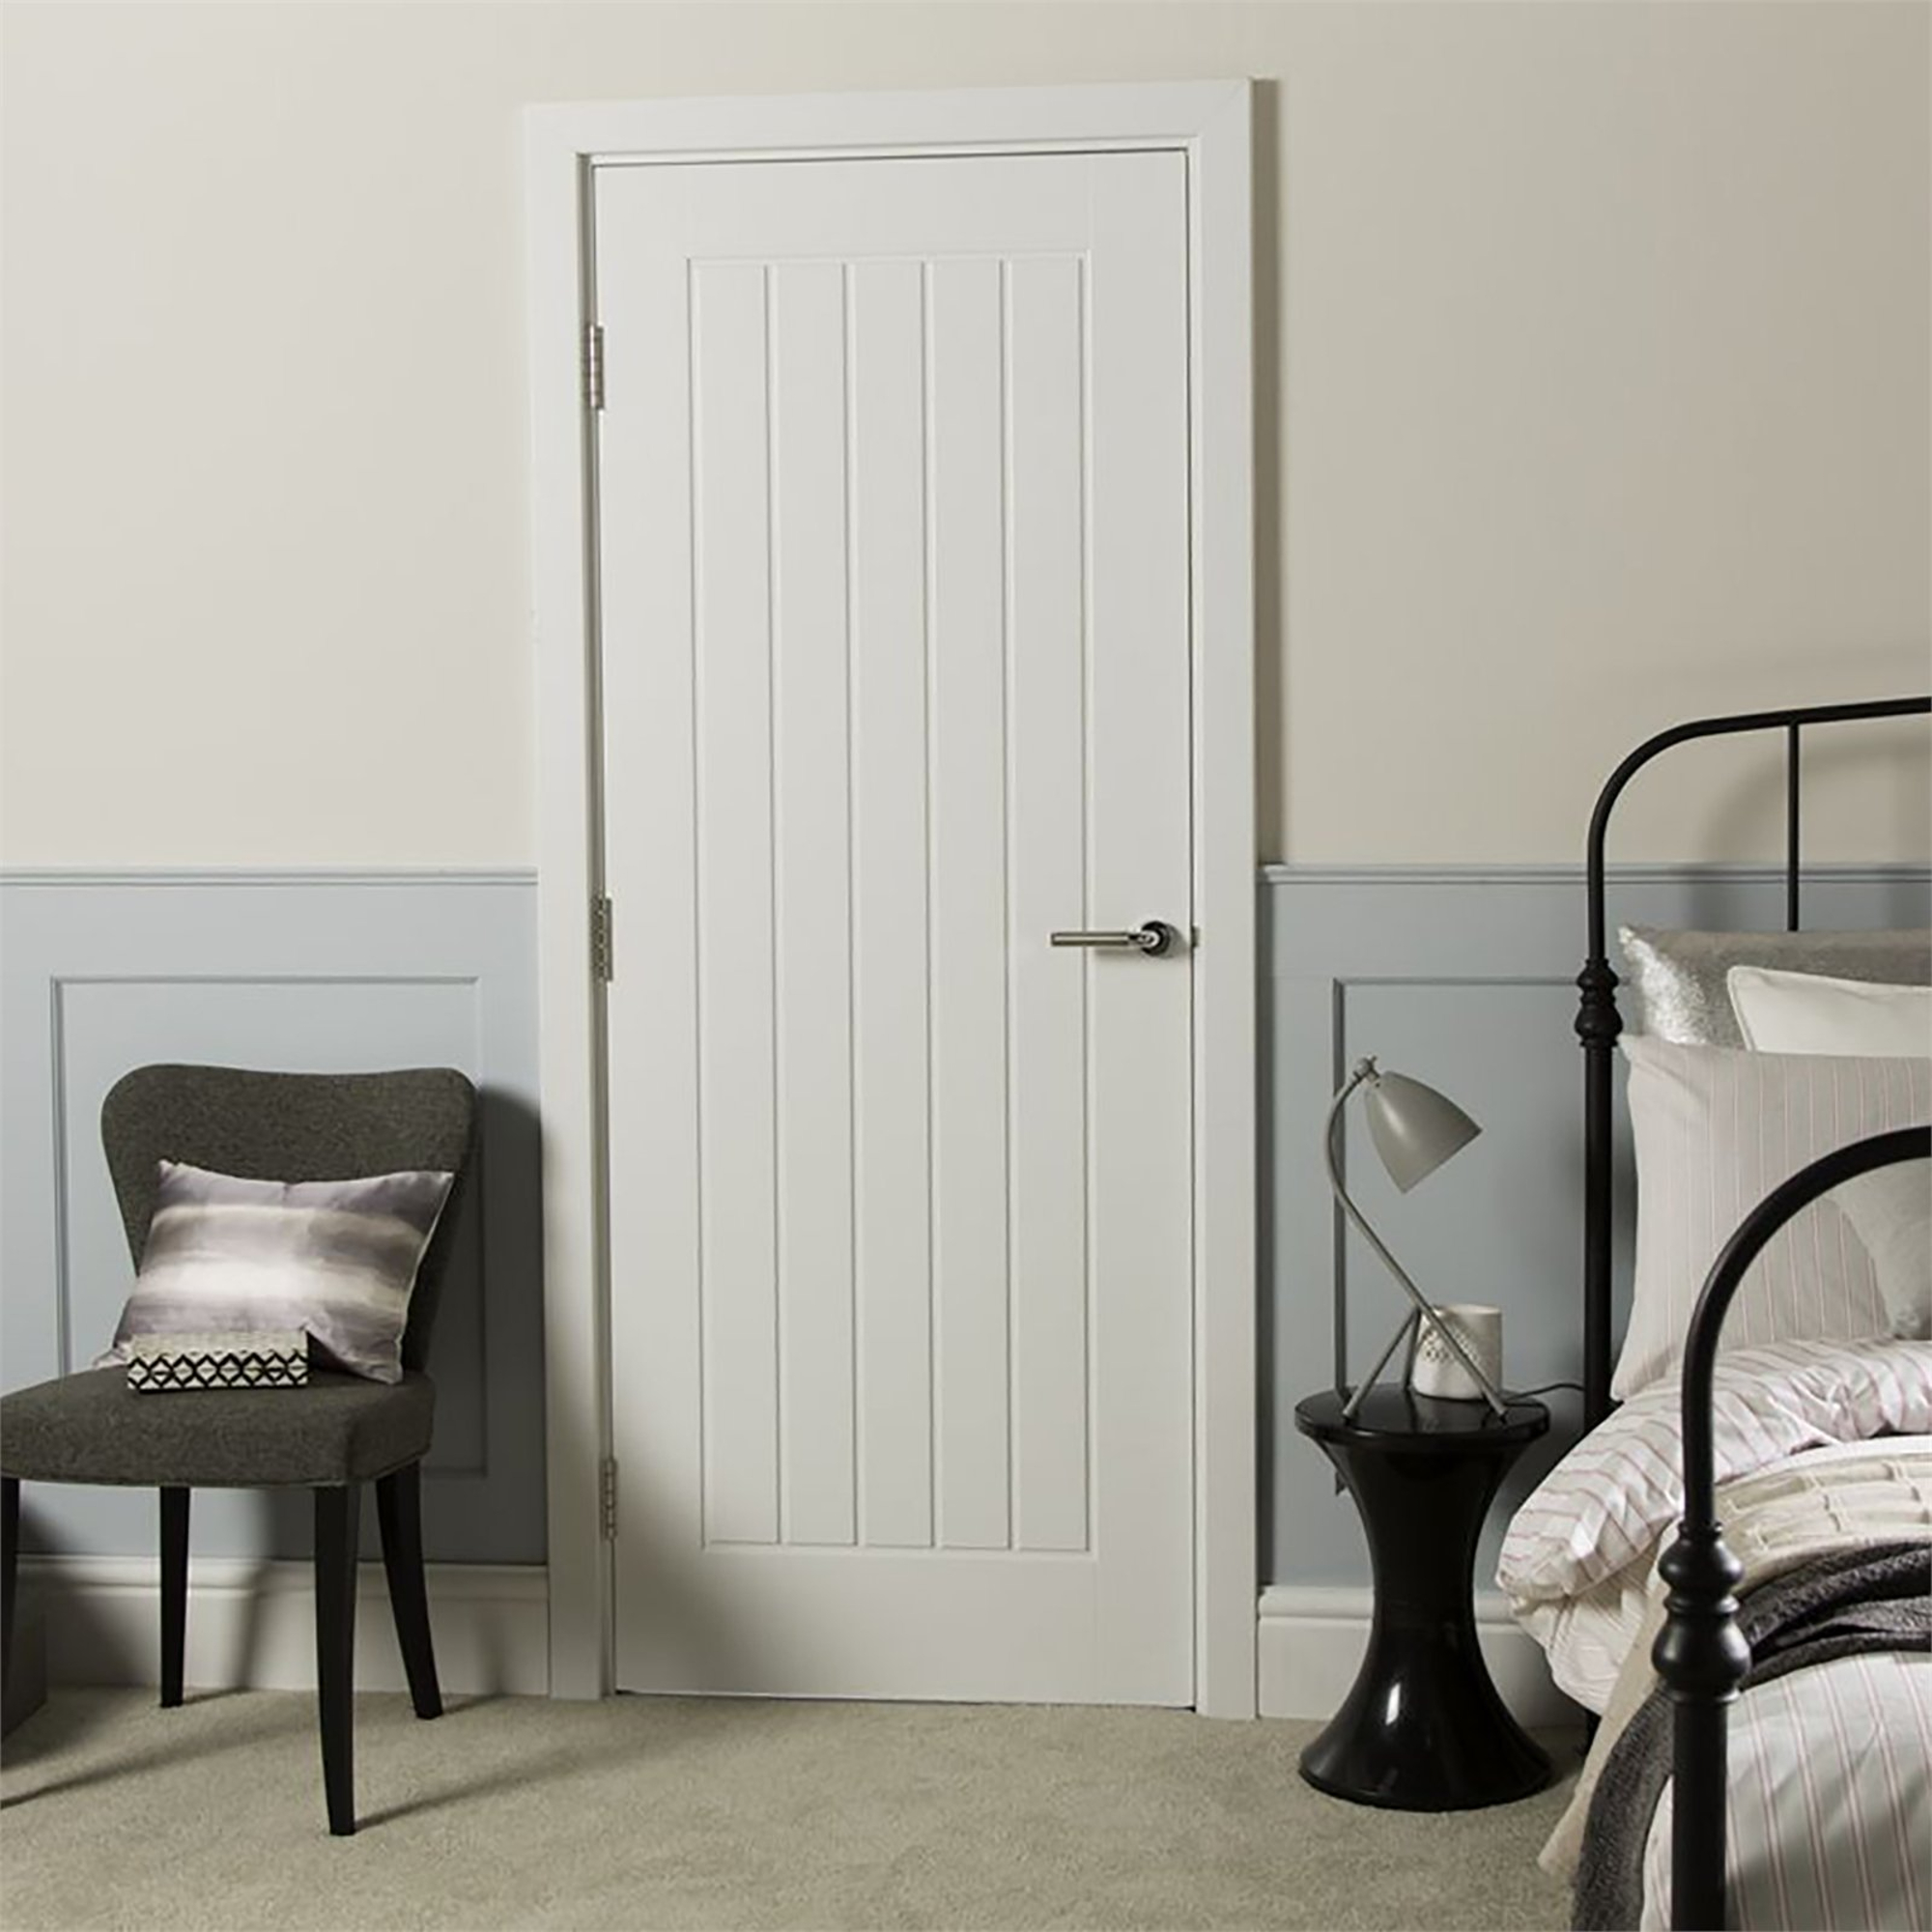
Put the door back into its place, by attaching it to the hinges and tapping the pins to secure it.
How to fix a door jamb that is warped
A warped door jamb occurs when the jamb is still fitted in its original place, but part of the wood has come away from the frame. Learning how to fix a door jamb that is warped is relatively straightforward.
1. Remove the door from the frame
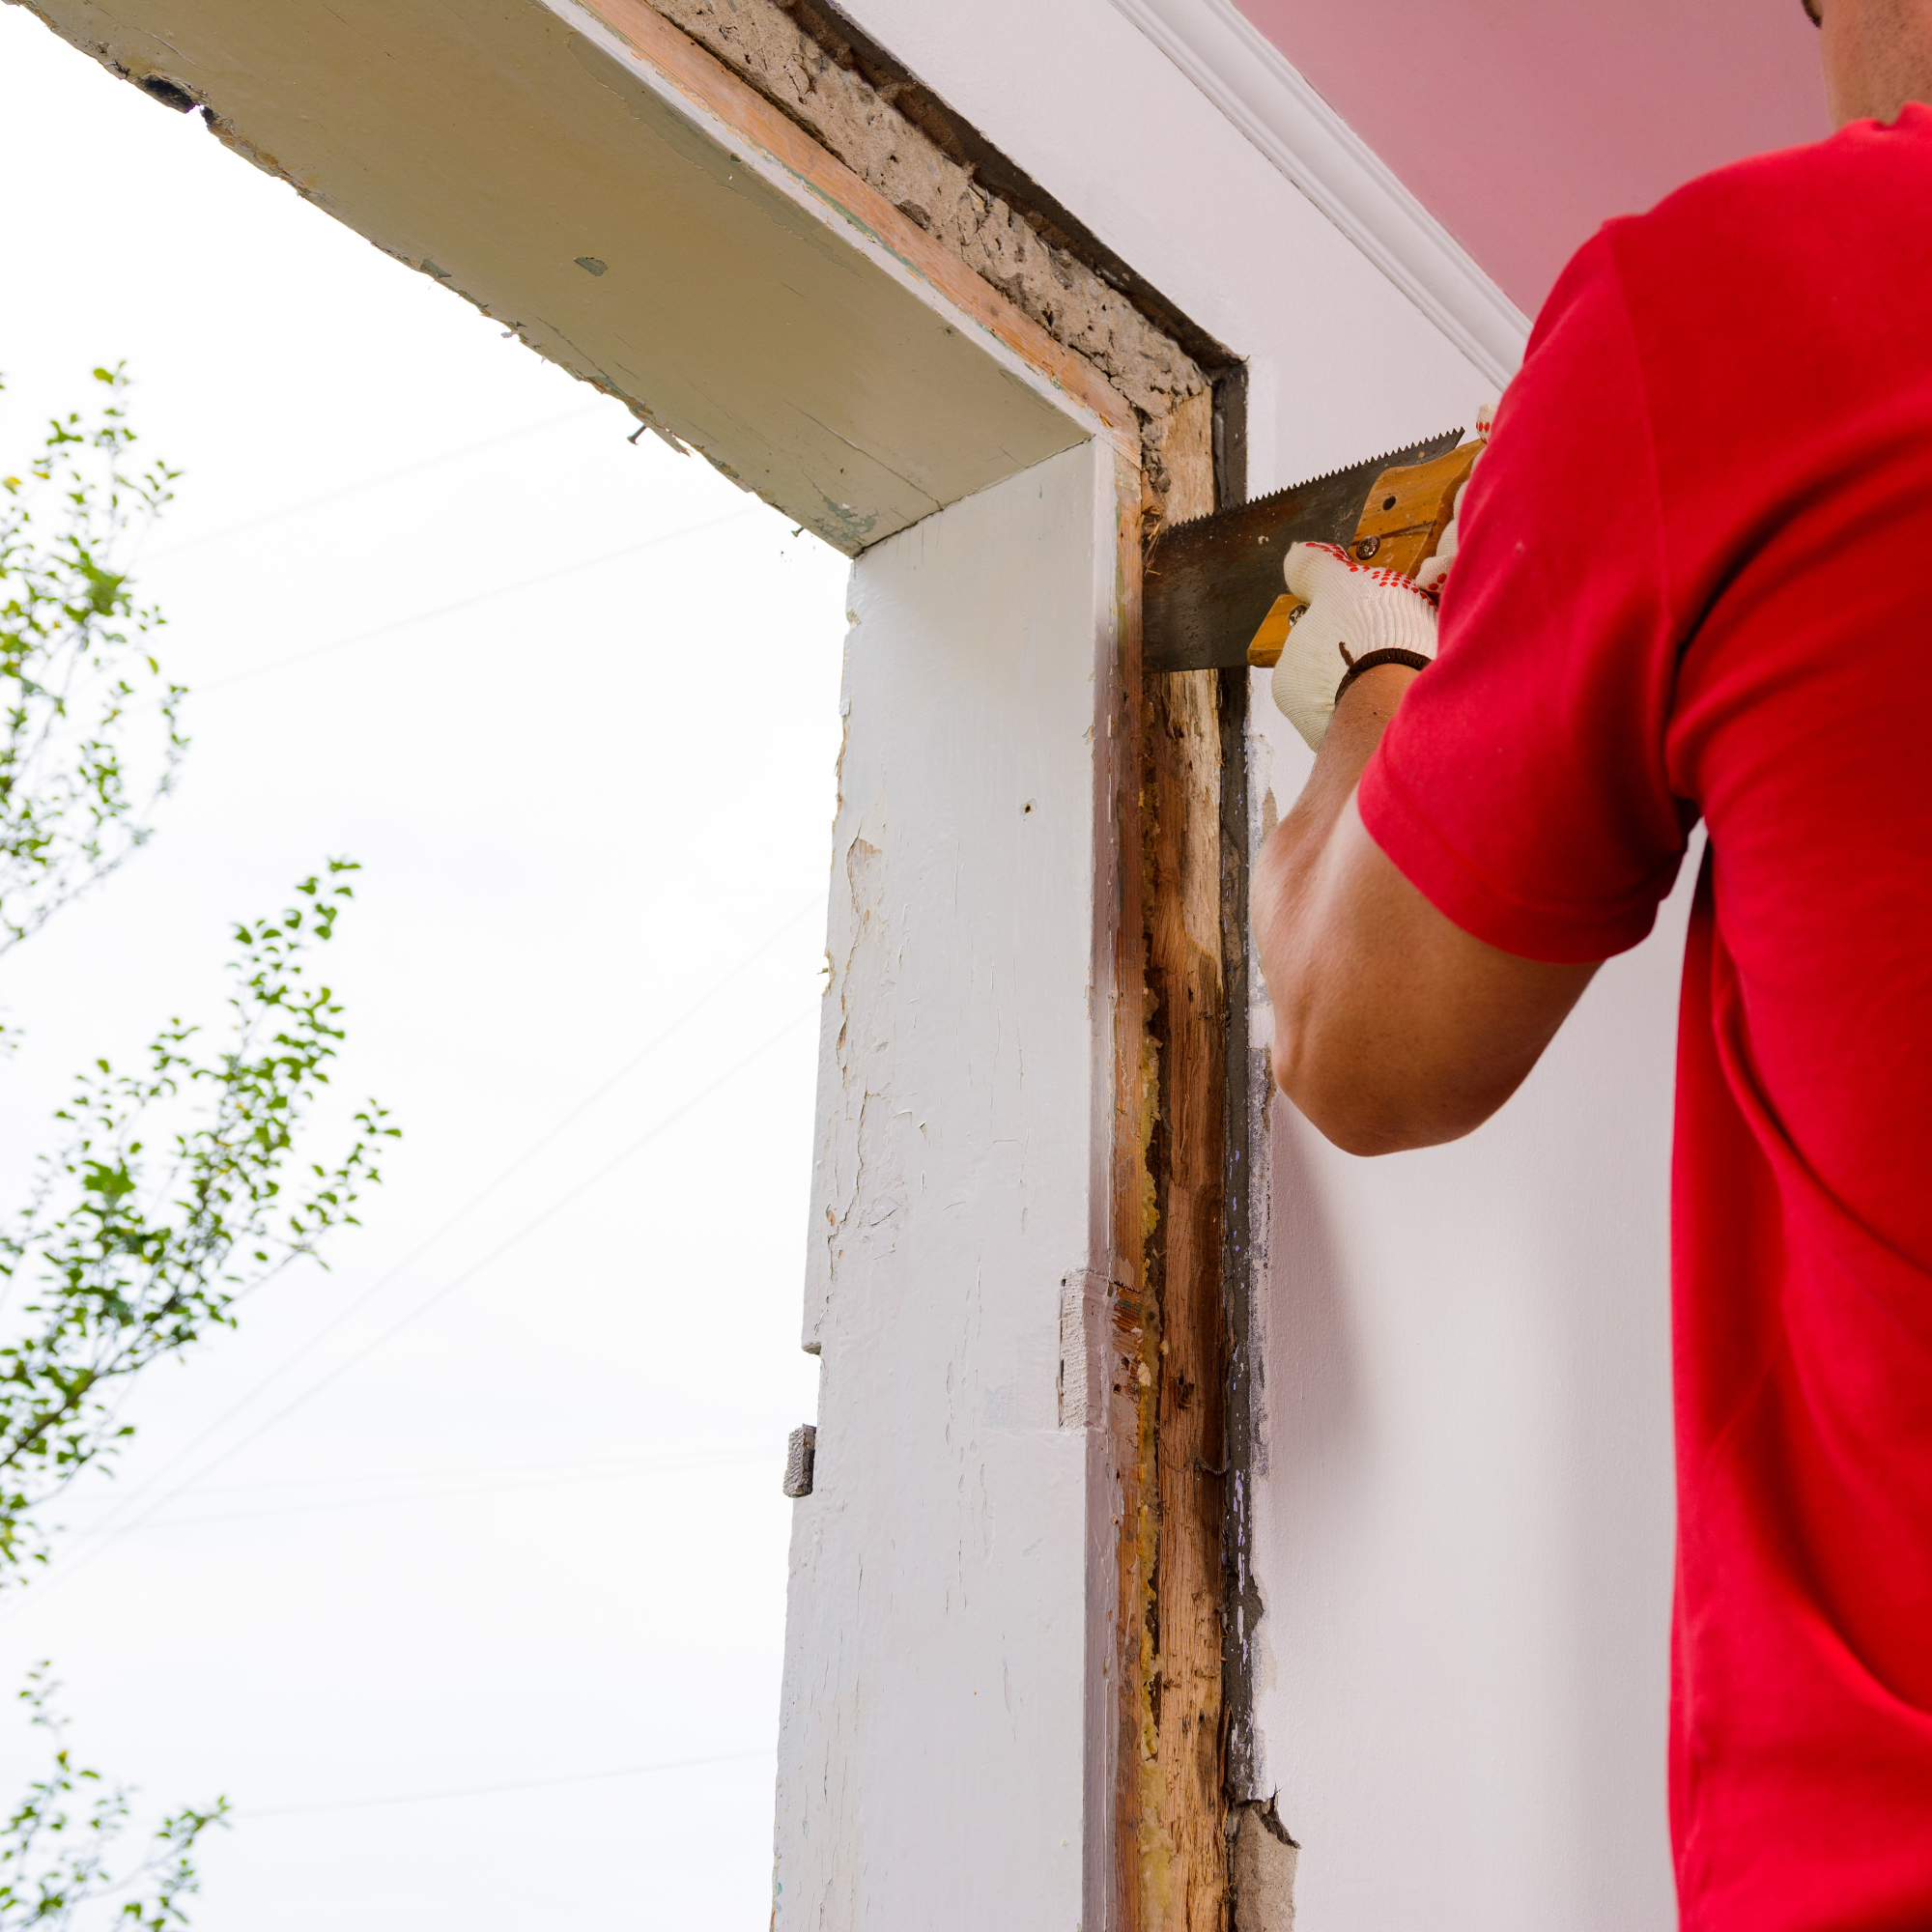
For a warped door frame, you'll need full access to the jamb, so remove the door from the frame by taking out the hinge pins. Once you can see the door jambs, you should notice where the jamb has become warped.
2. Add some shims
If your door jamb is warped at the top or bottom, you'll need to add some shims to push it back out. 'Shims are pieces of wood wedged between the jamb and the wall frame to keep the jamb correctly positioned', explains Thomas. 'You can buy additional shims in a pack from your local DIY store.'
Place the shims in the warped areas of the door jamb, then nail these in place.
3. Or, remove the existing shims
If the middle part of the jamb is bowing outwards, you may need to remove or adjust the shims already in place. Using a chisel or utility knife, place this behind the shim, being careful not to damage the woodwork underneath. Push gently until the shim breaks away.
4. Check the jamb is level
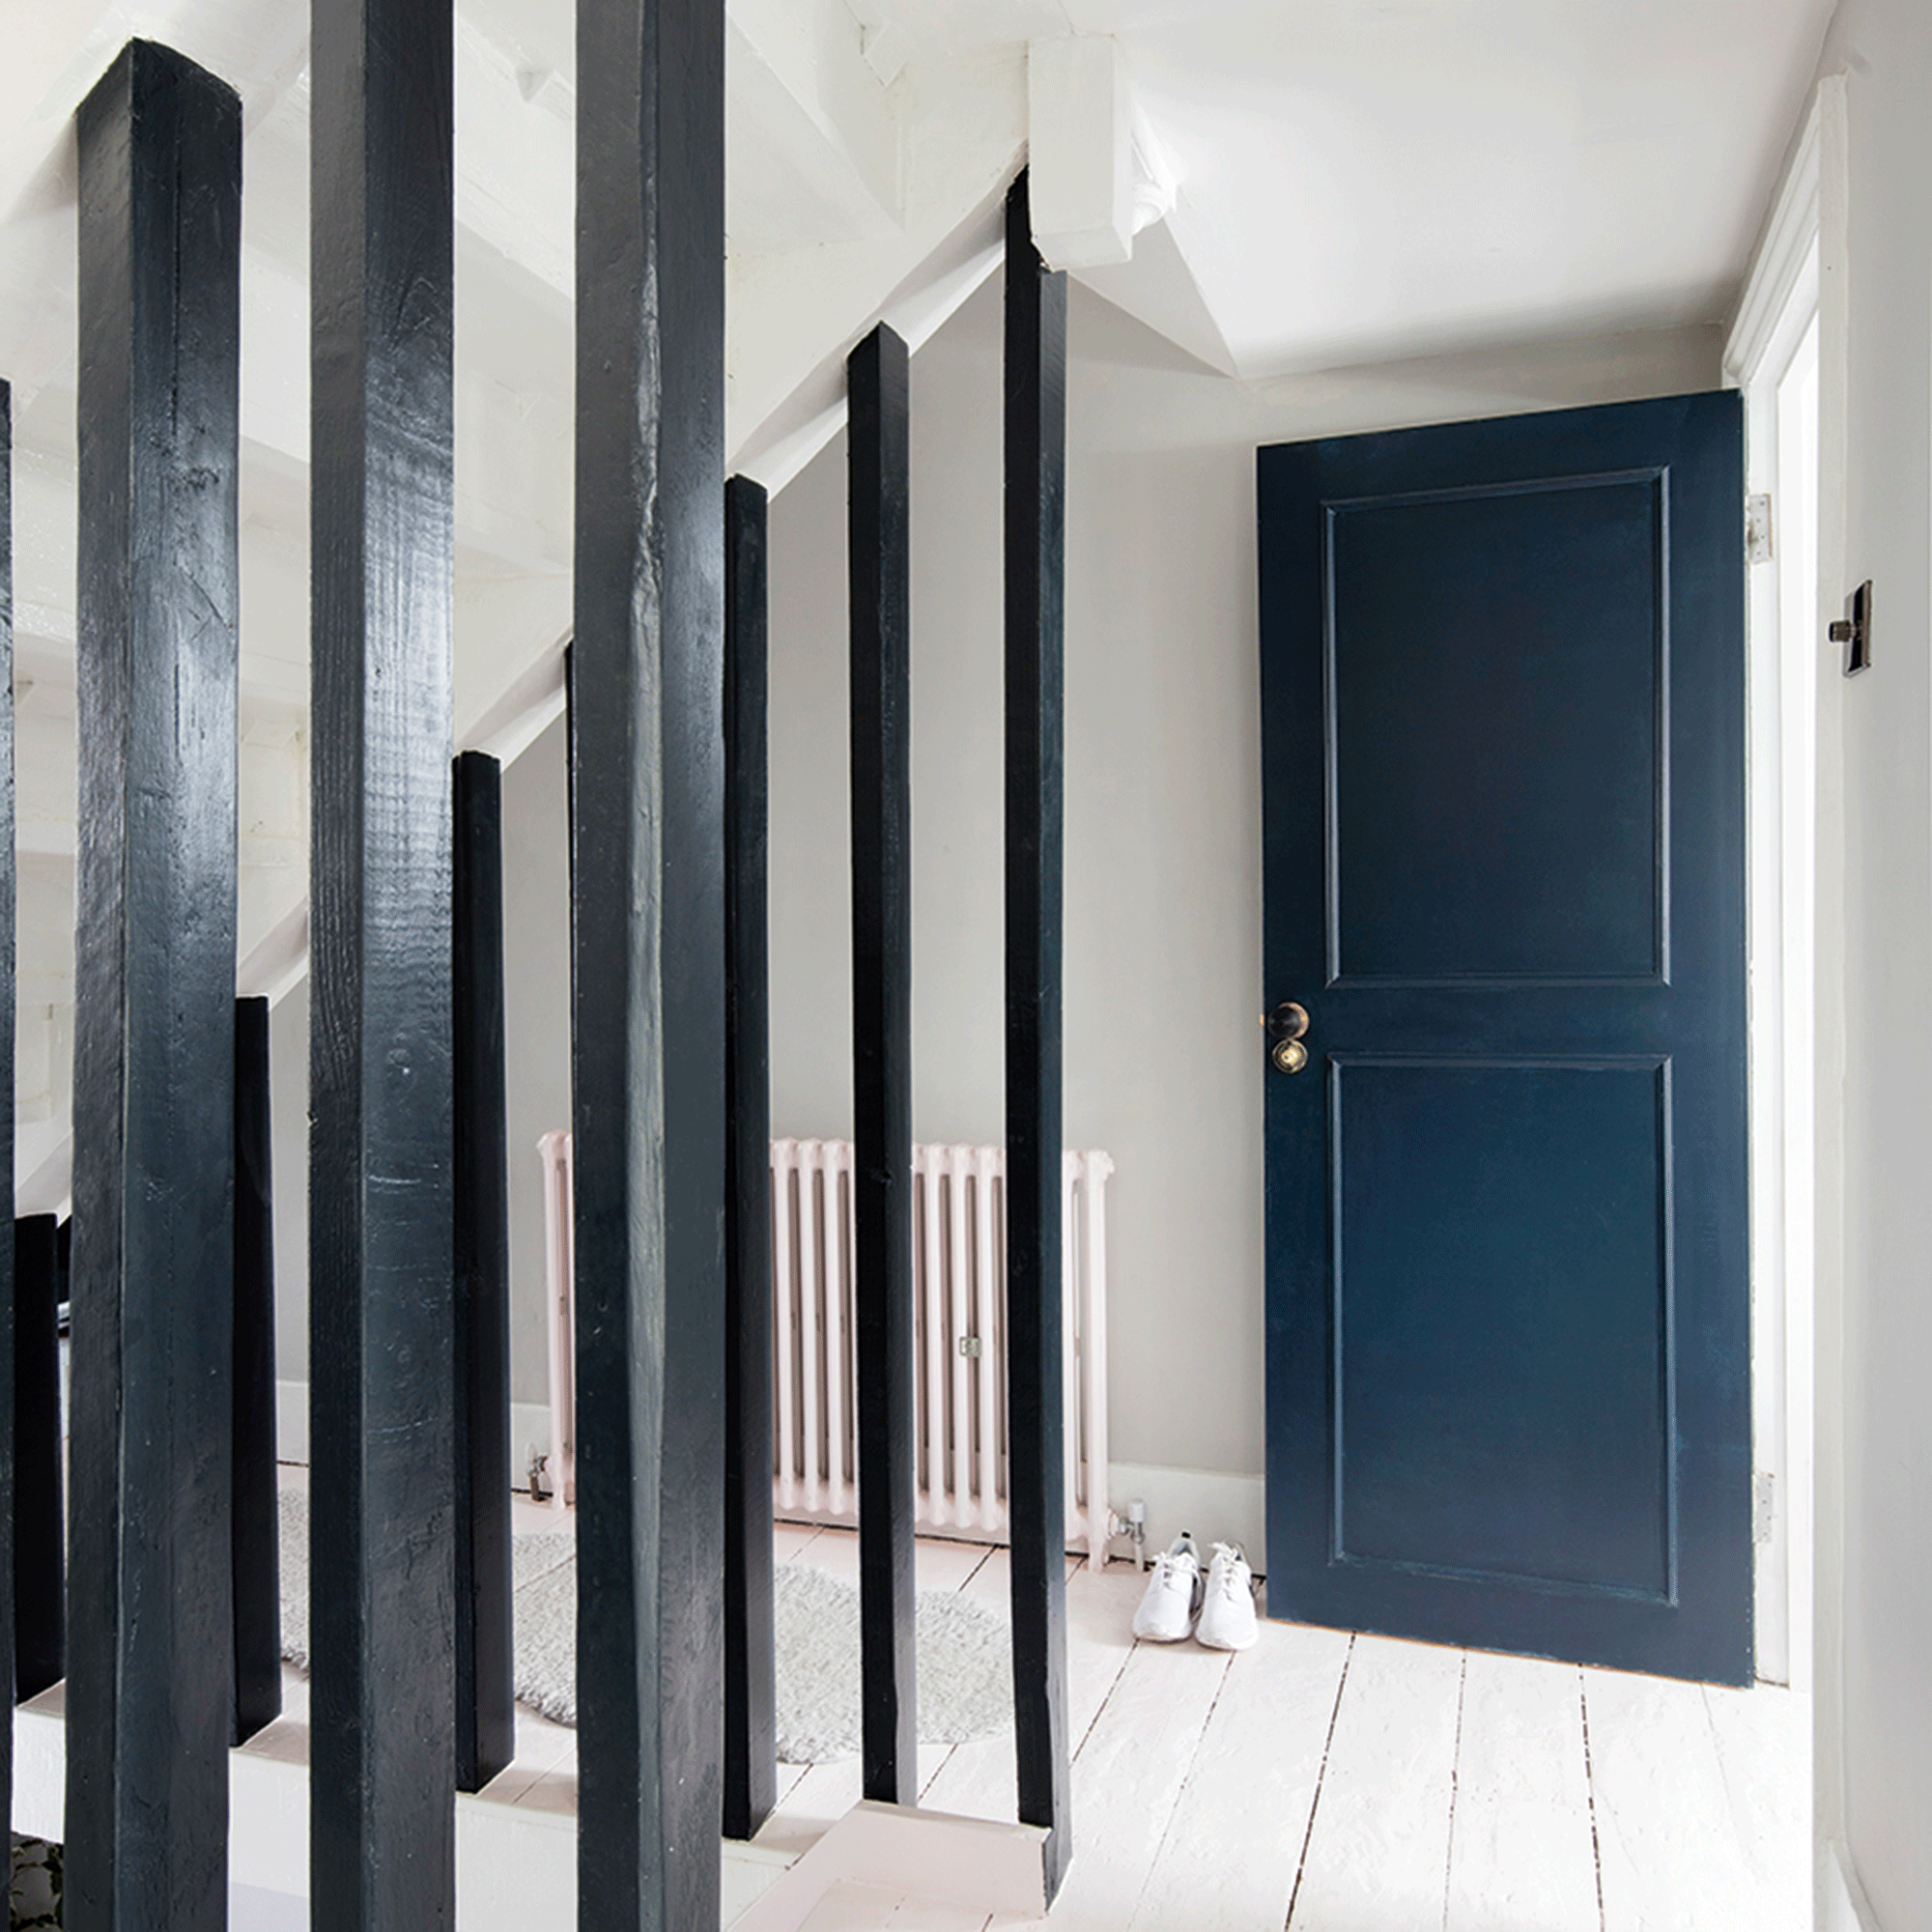
Once you've added or removed the shims, check the jamb is flush, meaning it has a level surface all the way down.
'This may take a bit of trial and error to get right, but once you’re happy that the jambs are now back in shape, you can secure the door,' says Thomas. 'You may find it better to use wood screws rather than nails, as they’re easier to remove if the framework needs future adjustments.'
How do you fix wood rot in a door frame?
There is a method to fix wood rot in a door frame, without replacing the entire jamb or jambs. If there are signs of wood rot in your door jamb, such as wet or soft wood, or darkened patches, follow the steps below to fix the rot and prevent it coming back in the future.
- Remove the door from the door frame.
- Using a pencil, mark out the areas where the wood rot is present on the frame.
- Use a chisel to remove the rotted areas, making sure to take out all the wood rot that is present.
- If the wood rot is quite shallow, fill it with a folded wire mesh in the appropriate size. Then screw the mesh into place
- Cover the mesh with epoxy filler and allow this to dry overnight.
- Once the filler is dry, sand it down until it is smooth.
- Finish off the repaired part of the frame by applying a coat of primer followed by two coats of paints.
You should finish up with a rot-free, smooth door jamb, though whether or not this method is suitable does depend on how much wood rot there was to begin with. 'If the rot goes all the way through the frame or covers over a third of the frame, it’s best to replace the door frame and jambs with new ones,' says Gregory Smith, Property and Construction Expert, PriceYourJob.
Can you replace one side of a door jamb?
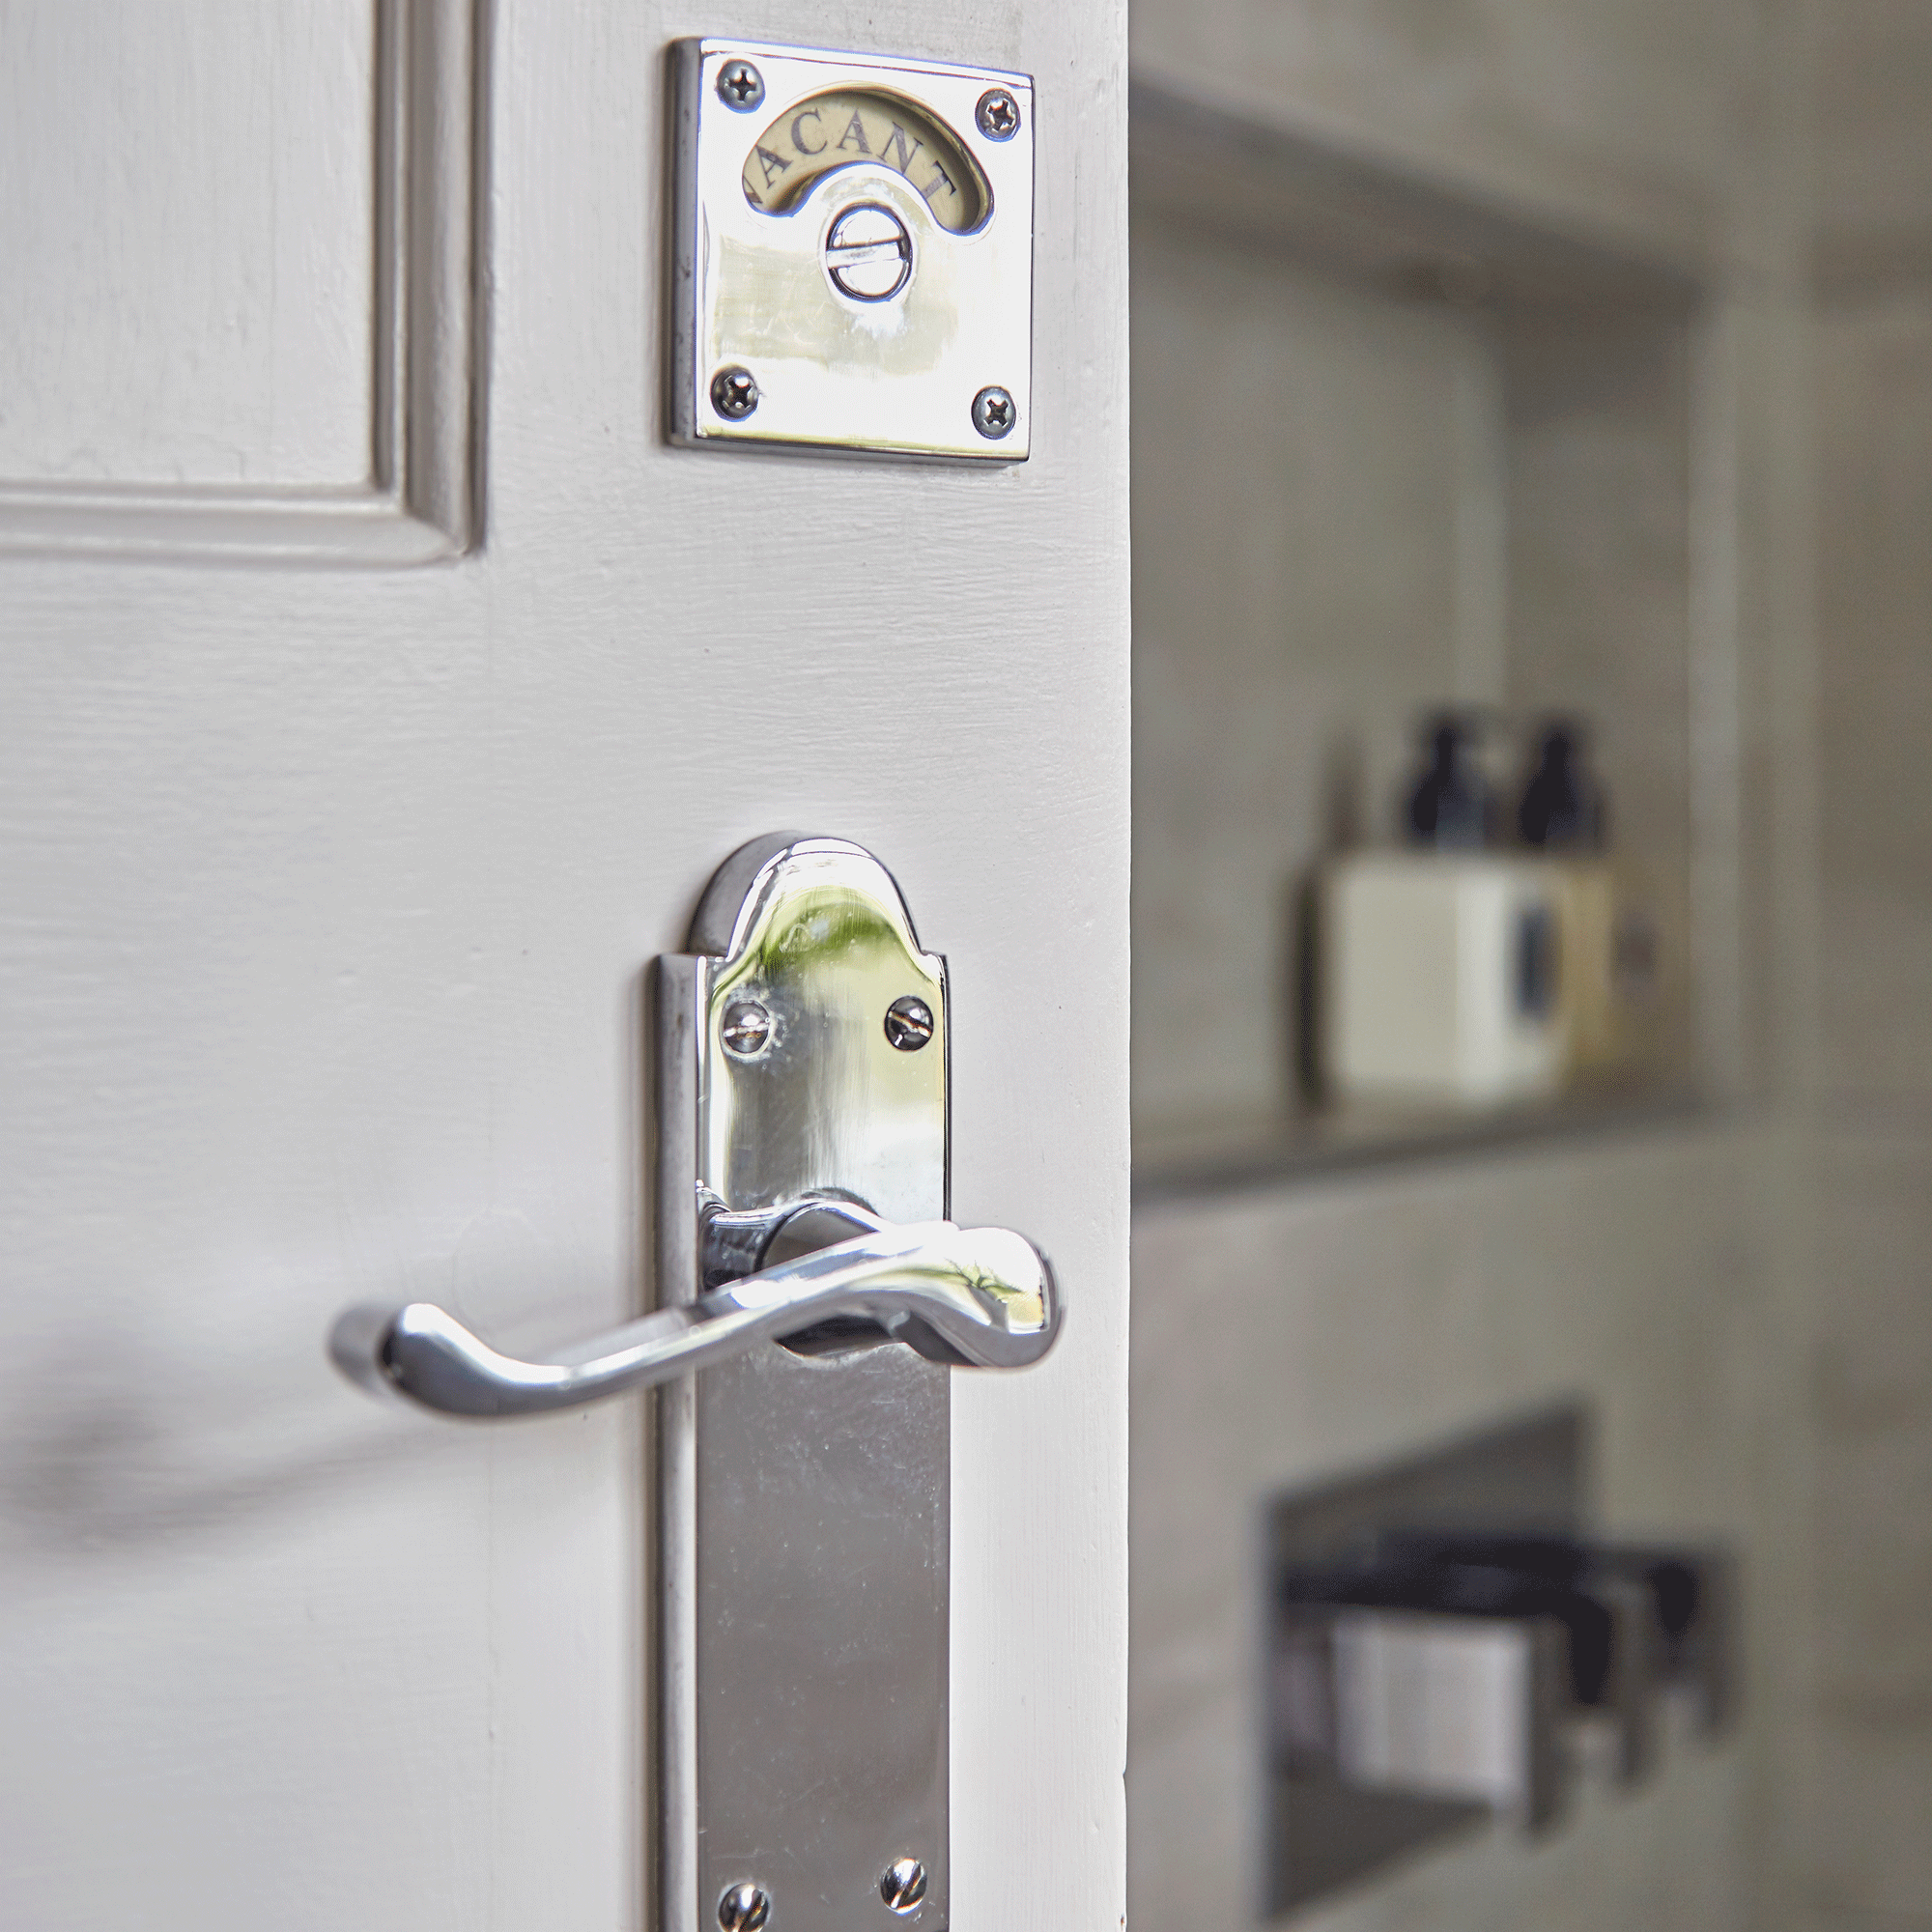
'You can replace one side of a door jamb, however, it's not recommended as door frames are predominately bought as a set and work together,' says Paul Gibbens, Property Expert, Housebuyers4u. 'In addition, replacing just part of it may cause further issues in the future.'
He adds, 'it's best practice to replace all of the jamb as these usually last for many years without needing to be replaced.'
So if the damage to your door jamb on either side is significant, it's better to replace all of it than half of it.
Get the Ideal Home Newsletter
Sign up to our newsletter for style and decor inspiration, house makeovers, project advice and more.

Katie has been writing freelance since early 2022, specialising in all things homes and gardens, following achieving a Masters in Media and Journalism. She started out writing e-commerce content for several of Future’s interior titles, including Real Homes, Gardeningetc, Livingetc, and Homes and Gardens. Since then she’s been a regular contributor on Ideal Home’s digital team, covering news topics, how-to guides, and product reviews.
-
 Wood drenching is the calming new twist on the colour drenching trend – here’s how to make the look work in your home
It’s easier than ever to embrace natural materials
By Maddie Balcombe
-
 Aldi is launching a £200 day bed with four different features - its sleek design is suited to the whole family
You don't want to miss out on this Specialbuy
By Kezia Reynolds
-
 How to set up a drip watering system that saves water and a lot of effort
Keep your plants hydrated (and your water bill down) with this clever garden watering solution
By Natalie Osborn