How to fix a dripping tap - easy steps to rid yourself of this leaky annoyance
Stop the drip drip drip and get your tap back to tip-top condition
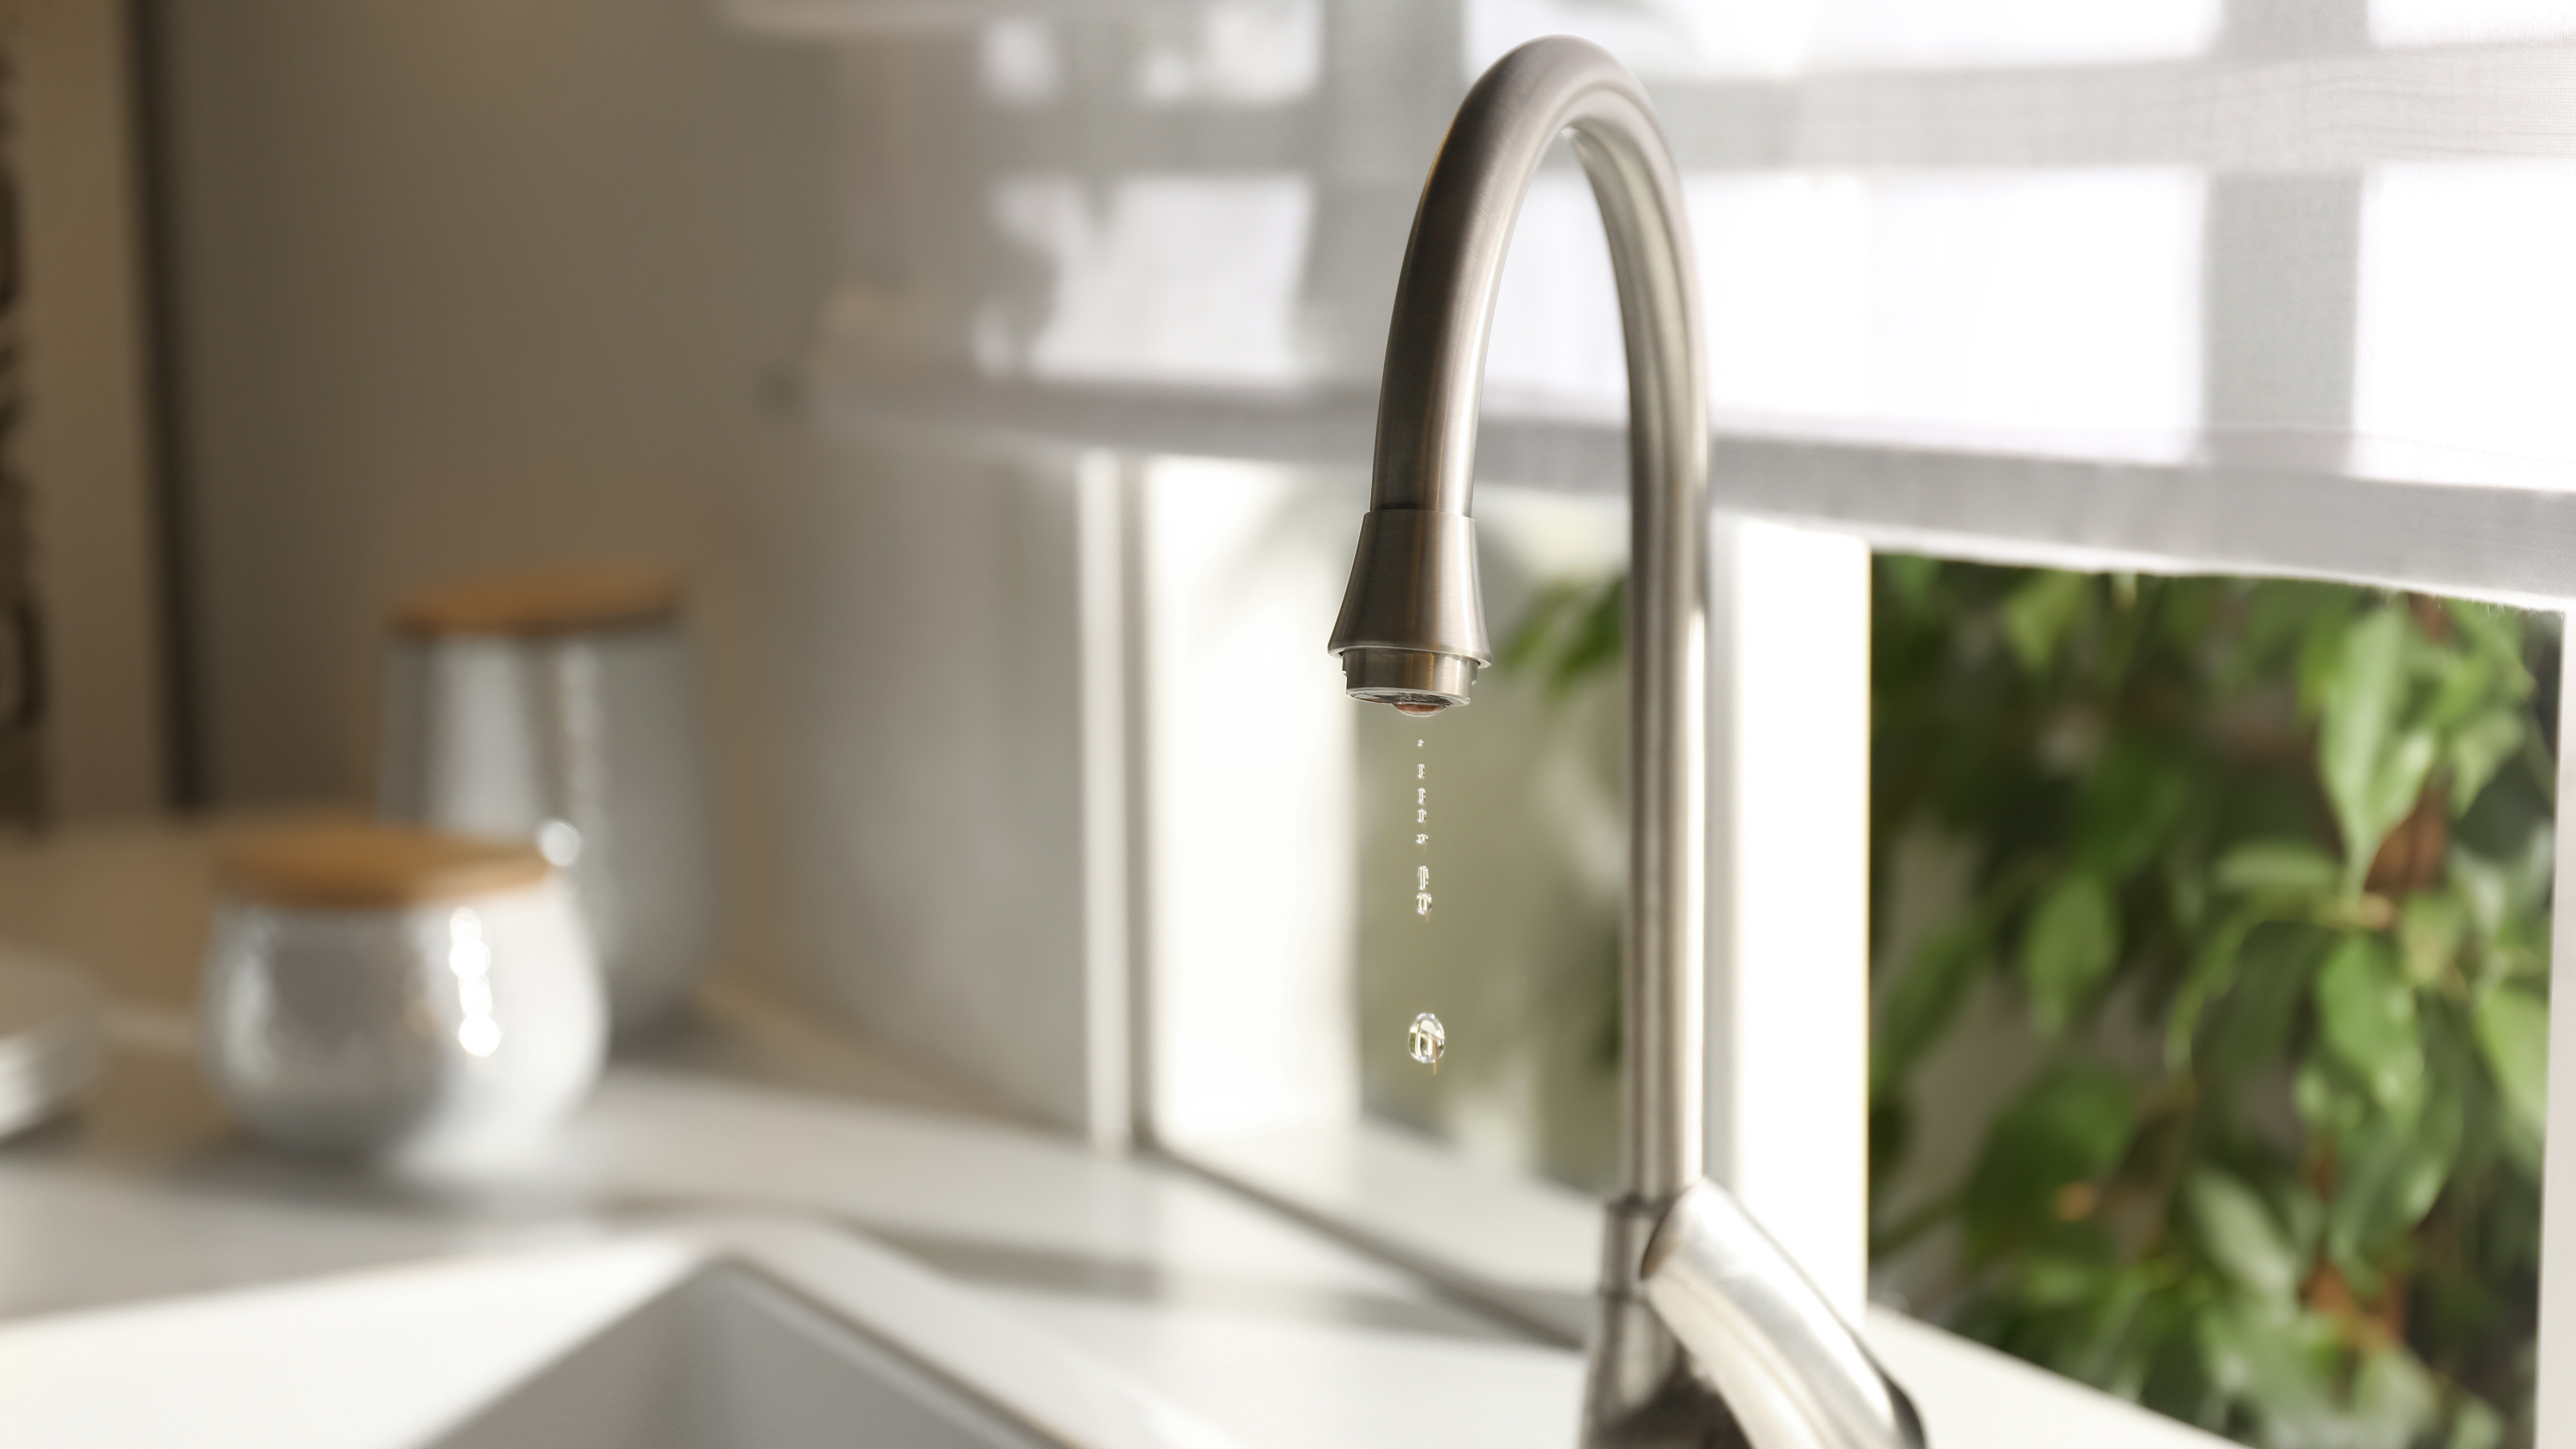

A dripping tap can quickly become one of the most frustrating sounds in the world. No matter how much we turn the tap to 'off', a little bit of water manages to leak its way out, and the steady drip drip drip in the kitchen or bathroom is our reminder that we haven't yet got round to ticking this issue off our to do list.
'A dripping tap can become a real inconvenience as not only are they annoying but they can waste a significant amount of water and money', says Barrie Crutcher, Design Director at BC Designs. 'The good news is though that it can be rectified pretty easily, and most people can do it themselves.'
Learning how to fix a dripping tap yourself can save you a lot of time and money, which is true of most DIY ventures, like learning how to change a tap washer yourself. Our comprehensive guide will show you how to fix your dripping tap with minimum hassle, so that you can get back to enjoying your sinks and bathtubs as they should be.
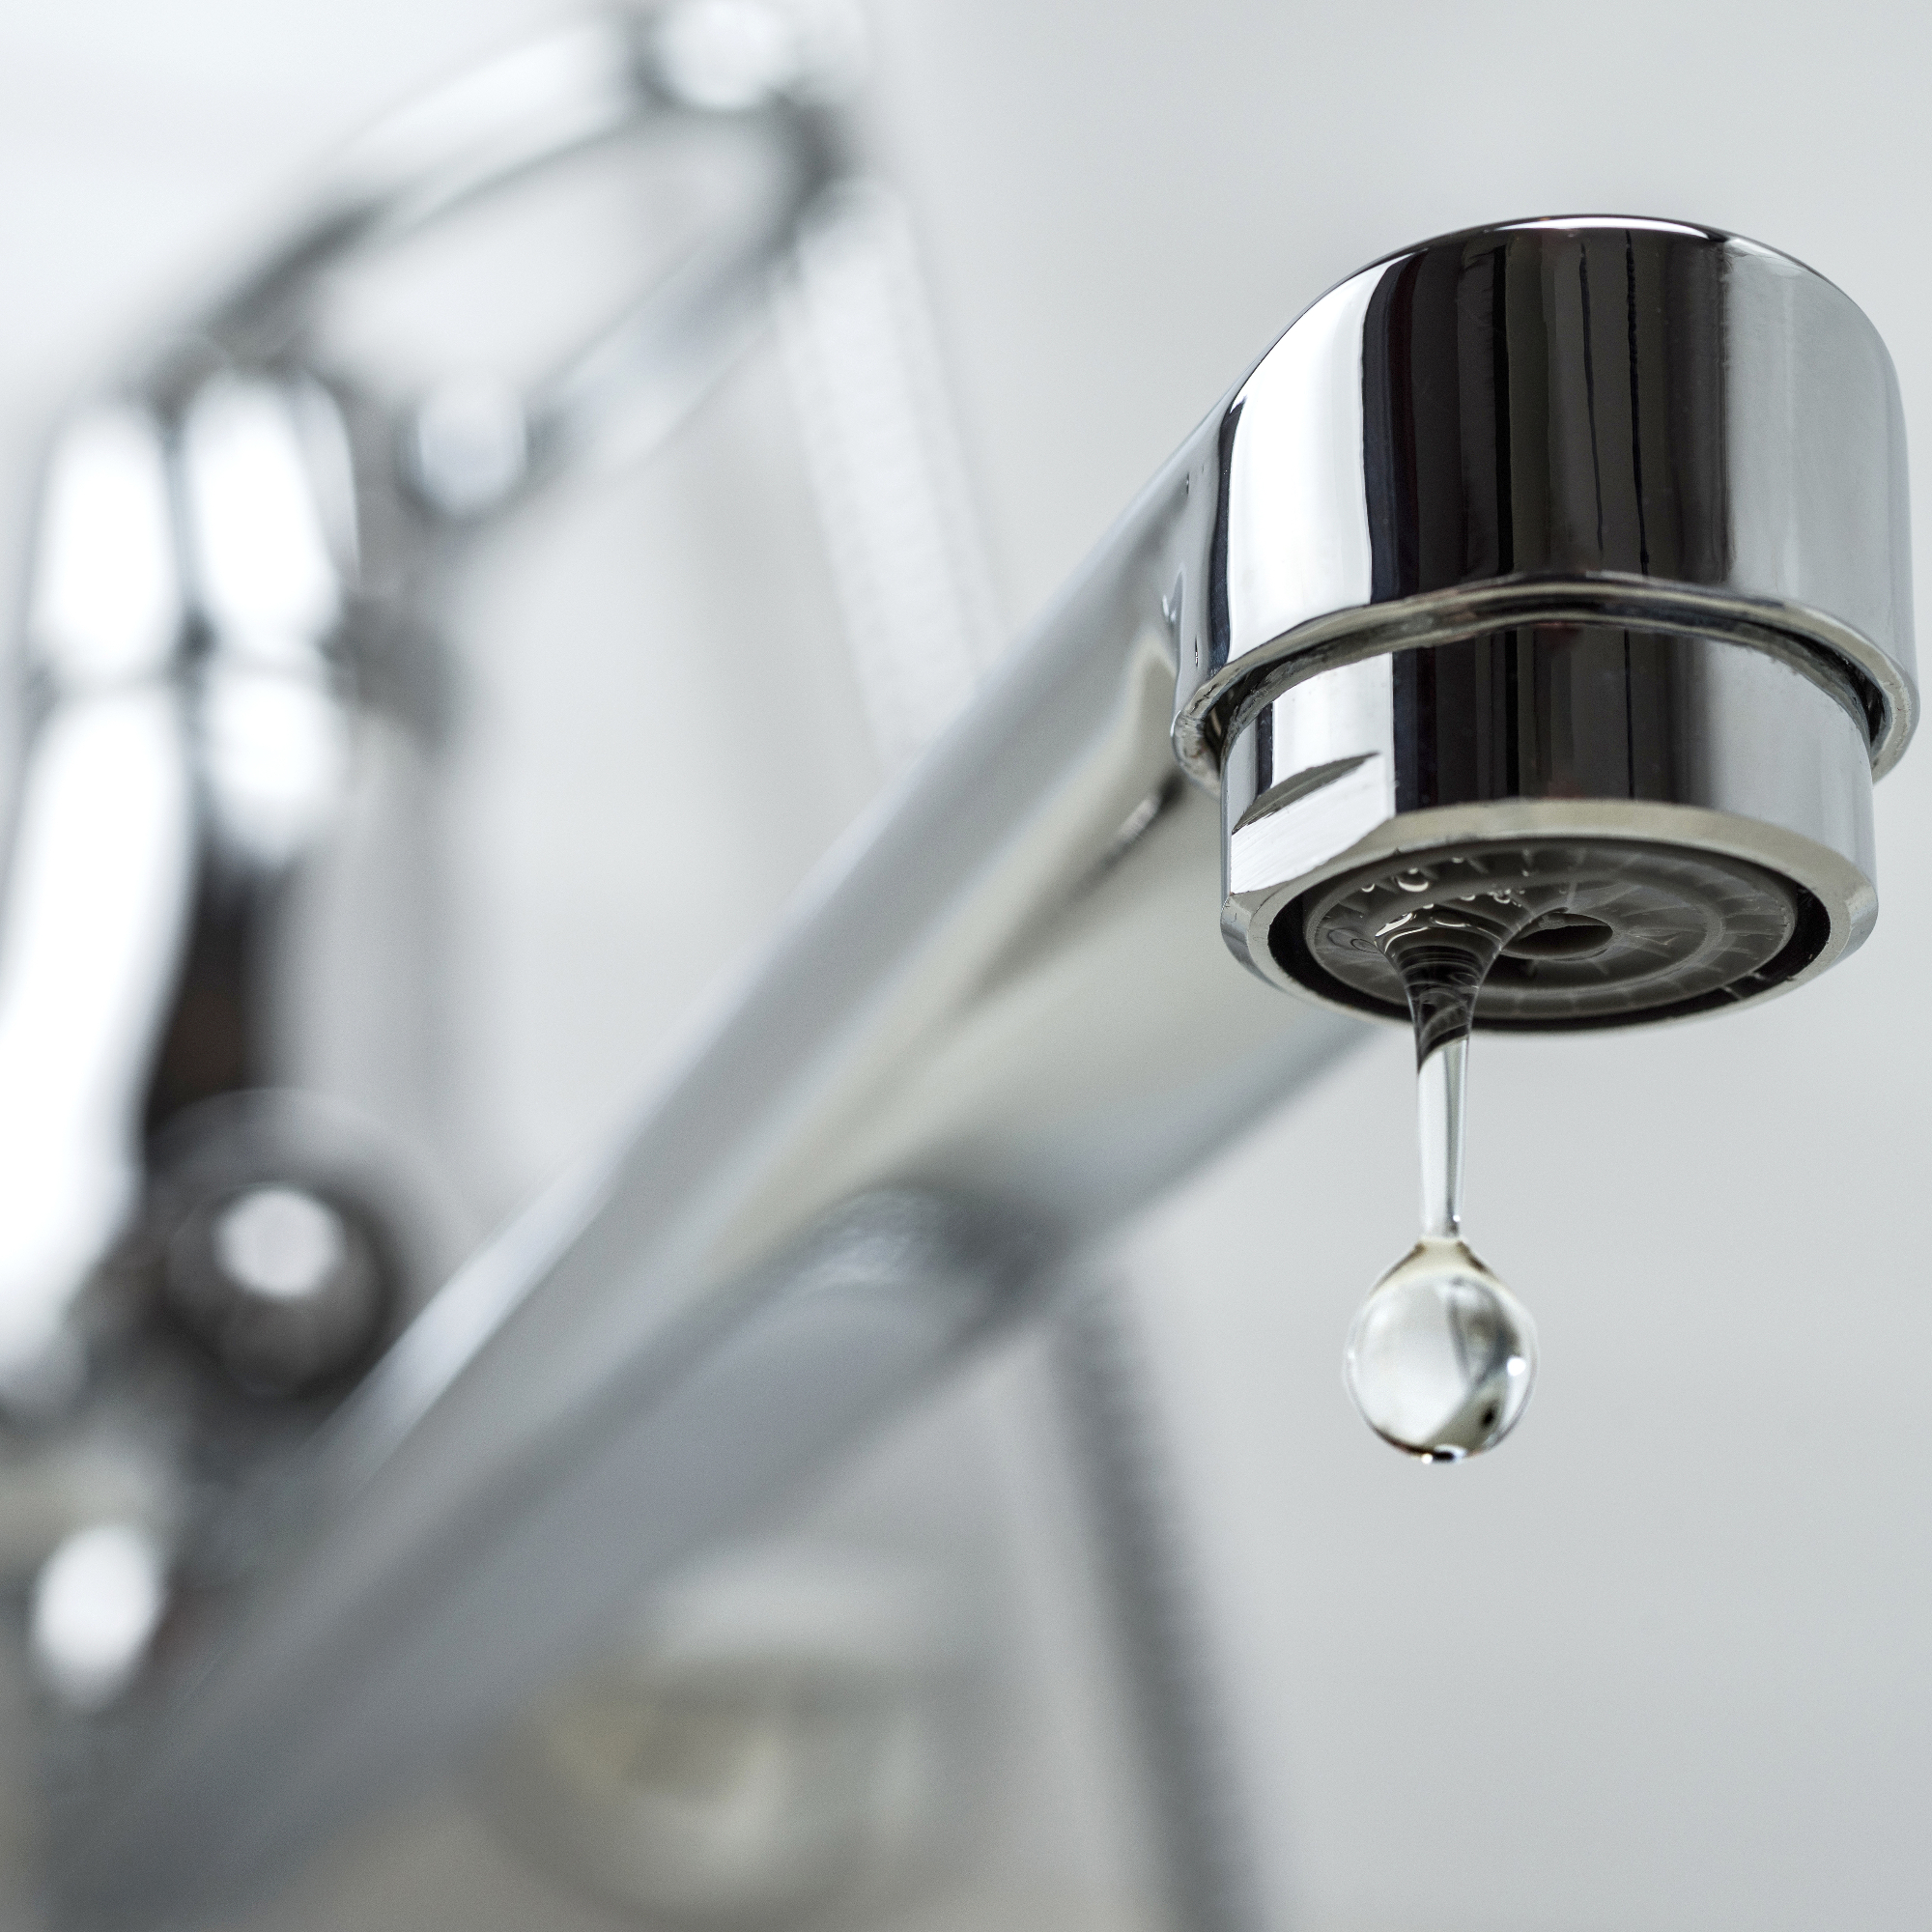
Our taps are a fundamental part of our home, and it's only once we have an issue with them that we realise how much we rely on them functioning fully. Whether we're filling the kettle up, washing our hands or taking a bath, we need our taps in tip-top condition, and any that are dripping need to be sorted.
Leaving a dripping tap can also lead to bigger issues in the long run, so the sooner you get it fixed, the better. 'The dripping water can lead to structural damage, as it may cause the floor and walls to deteriorate', explains Richard Southern, plumbing expert at PriceYourJob. 'It will also lead to a buildup of mould and mildew which can be hazardous to health.'
Our guide will take you through the easiest route to fixing your leaky tap, so you can rid yourself of this hindrance and save yourself a lot more trouble in the future with your kitchen or bathroom ideas.
How to fix a dripping tap: a step by step guide
What you'll need
- Adjustable spanner
- Flathead screwdriver
- Allan key
- Tap seat insert kit or grinder tool
- Rubber washer
- Replacement O-ring
- Cleaning supplies
1. Turn off the water
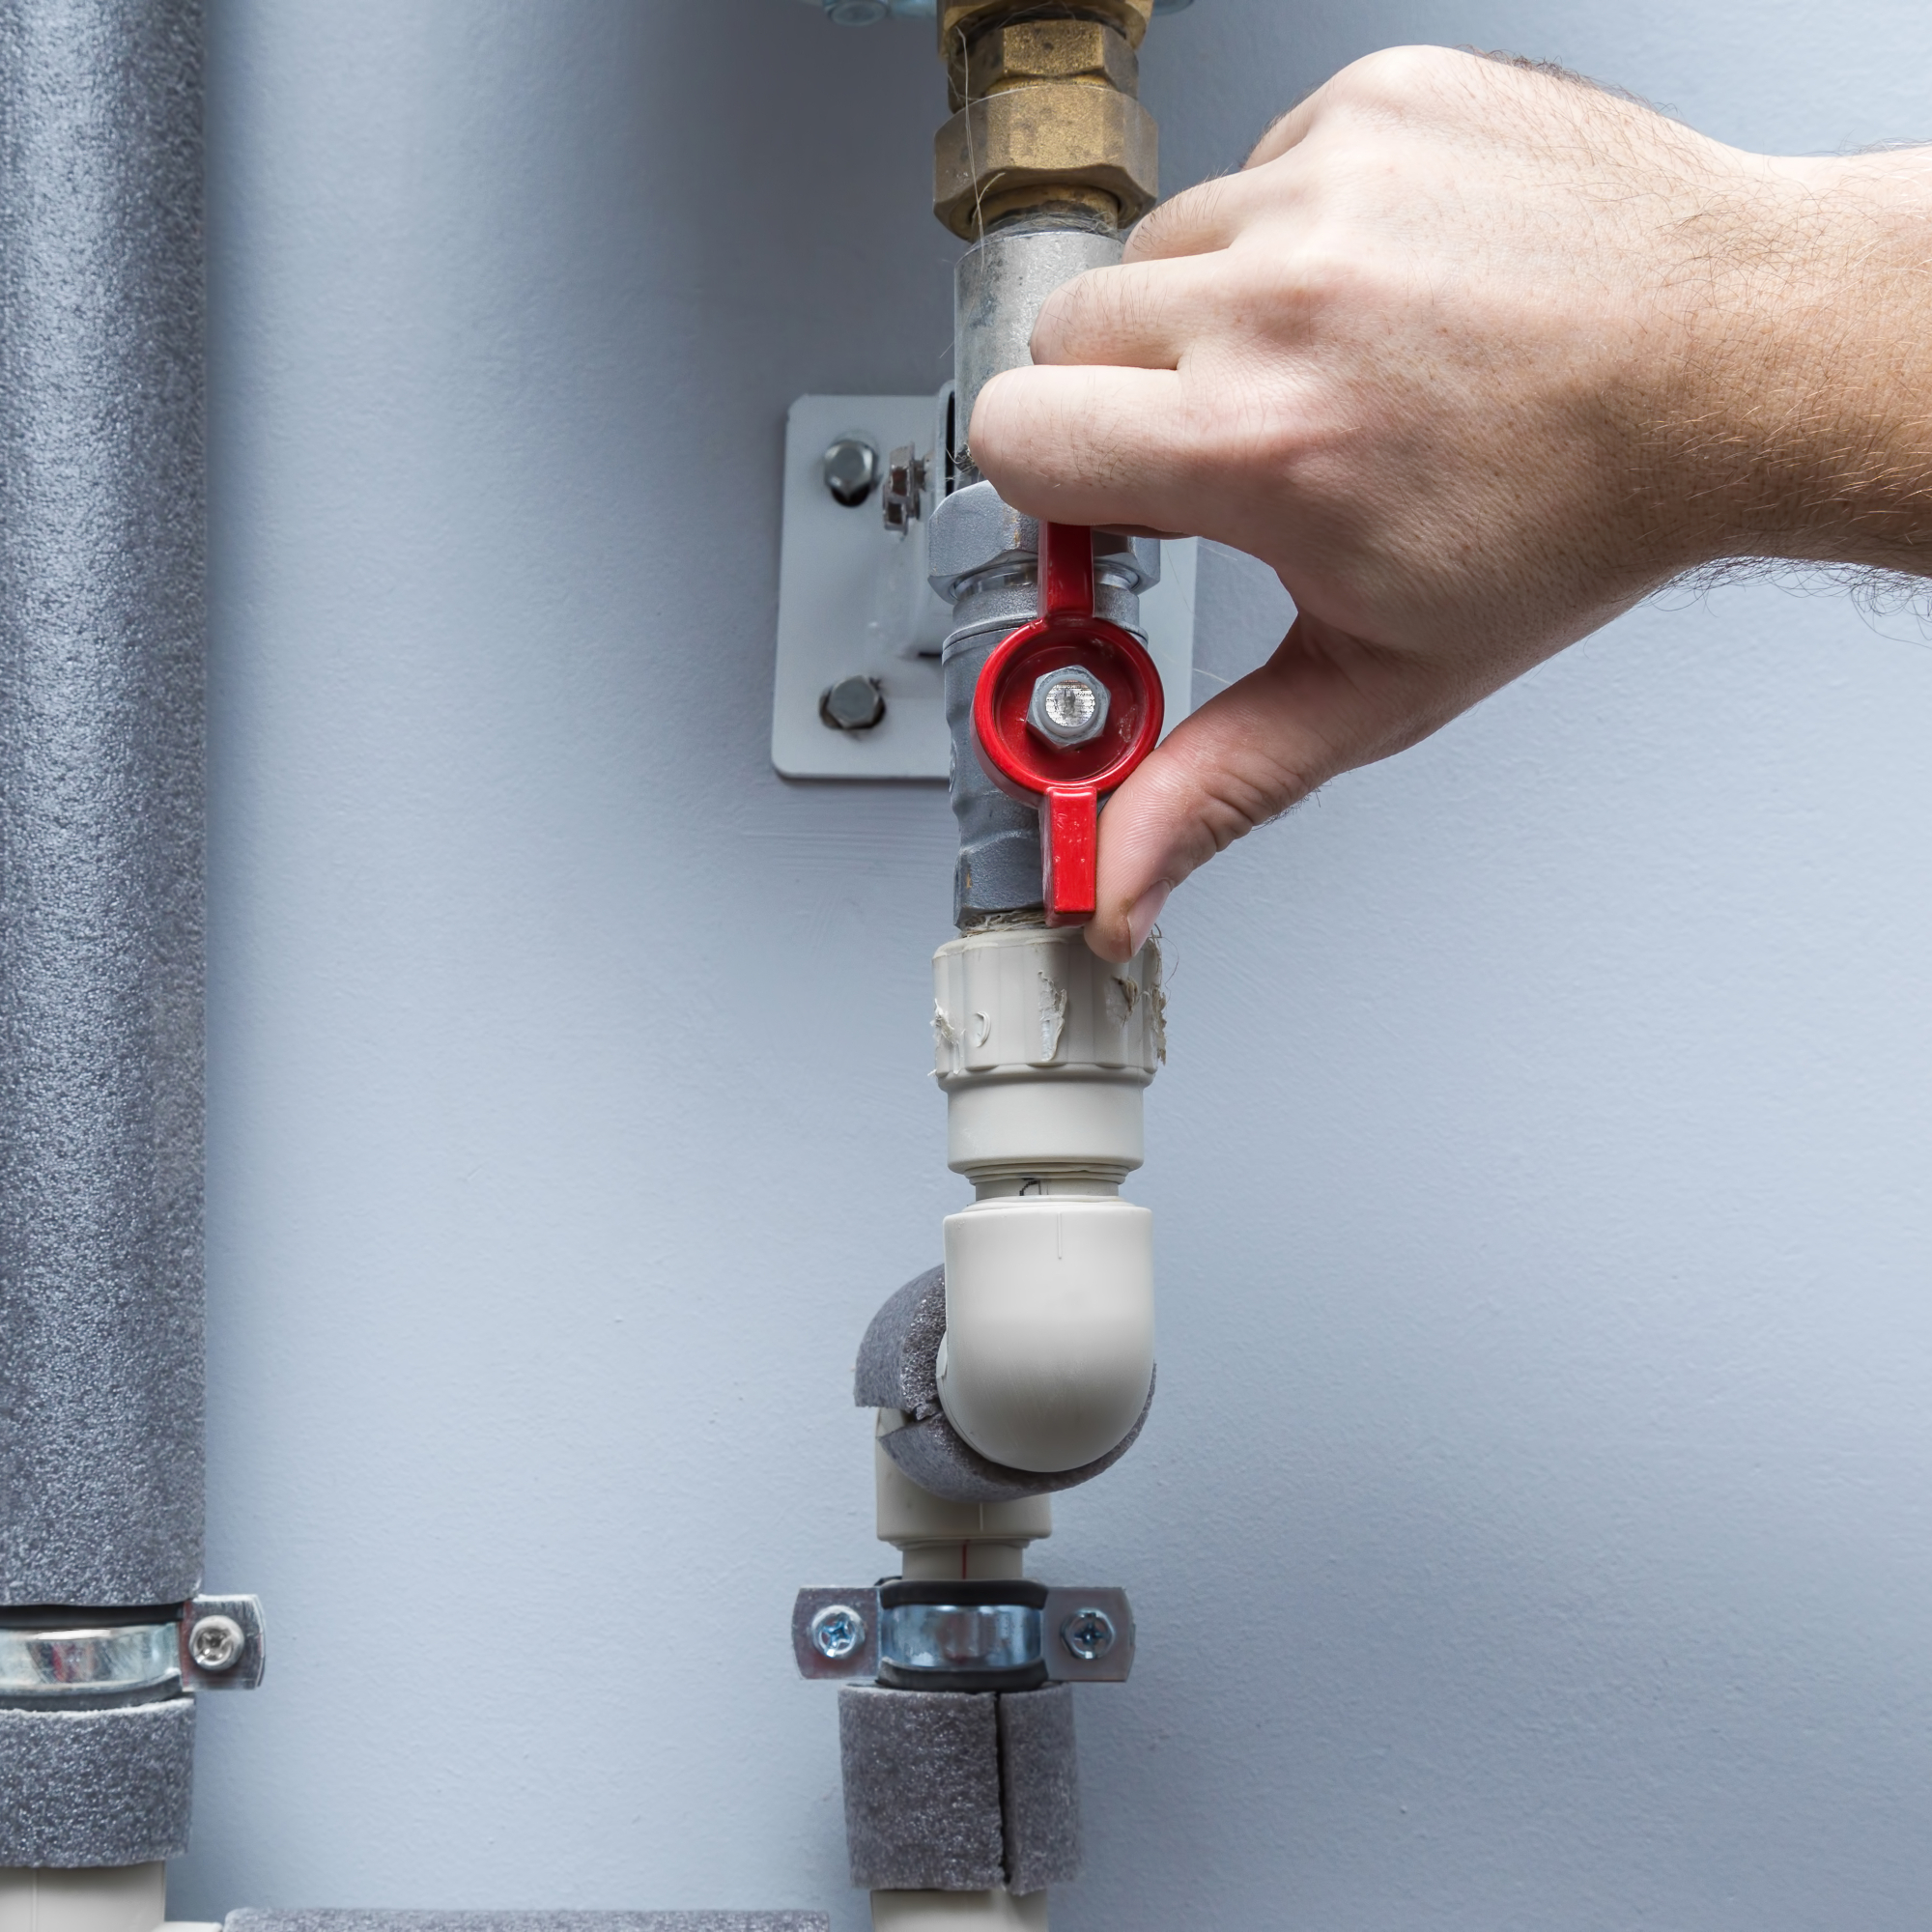
Before you start trying to fix your tap, it's essential that you turn the water off, using your separation valve or stopcock. If you're wondering where is my stopcock, try looking under the kitchen sink as this is where they're commonly located.
Turn this clockwise to isolate your water, then turn your tap on to drain any water left in it. Wait until the water has stopped flowing before moving on to the next step.
2. Remove the tap head
The visible components of your tap are held together by a screw, which is usually hidden beneath the decorative tap head. You should be able to unscrew the tap head by hand, but you may need to use a flathead screwdriver or Allan key if it feels tight.
3. Take your tap apart
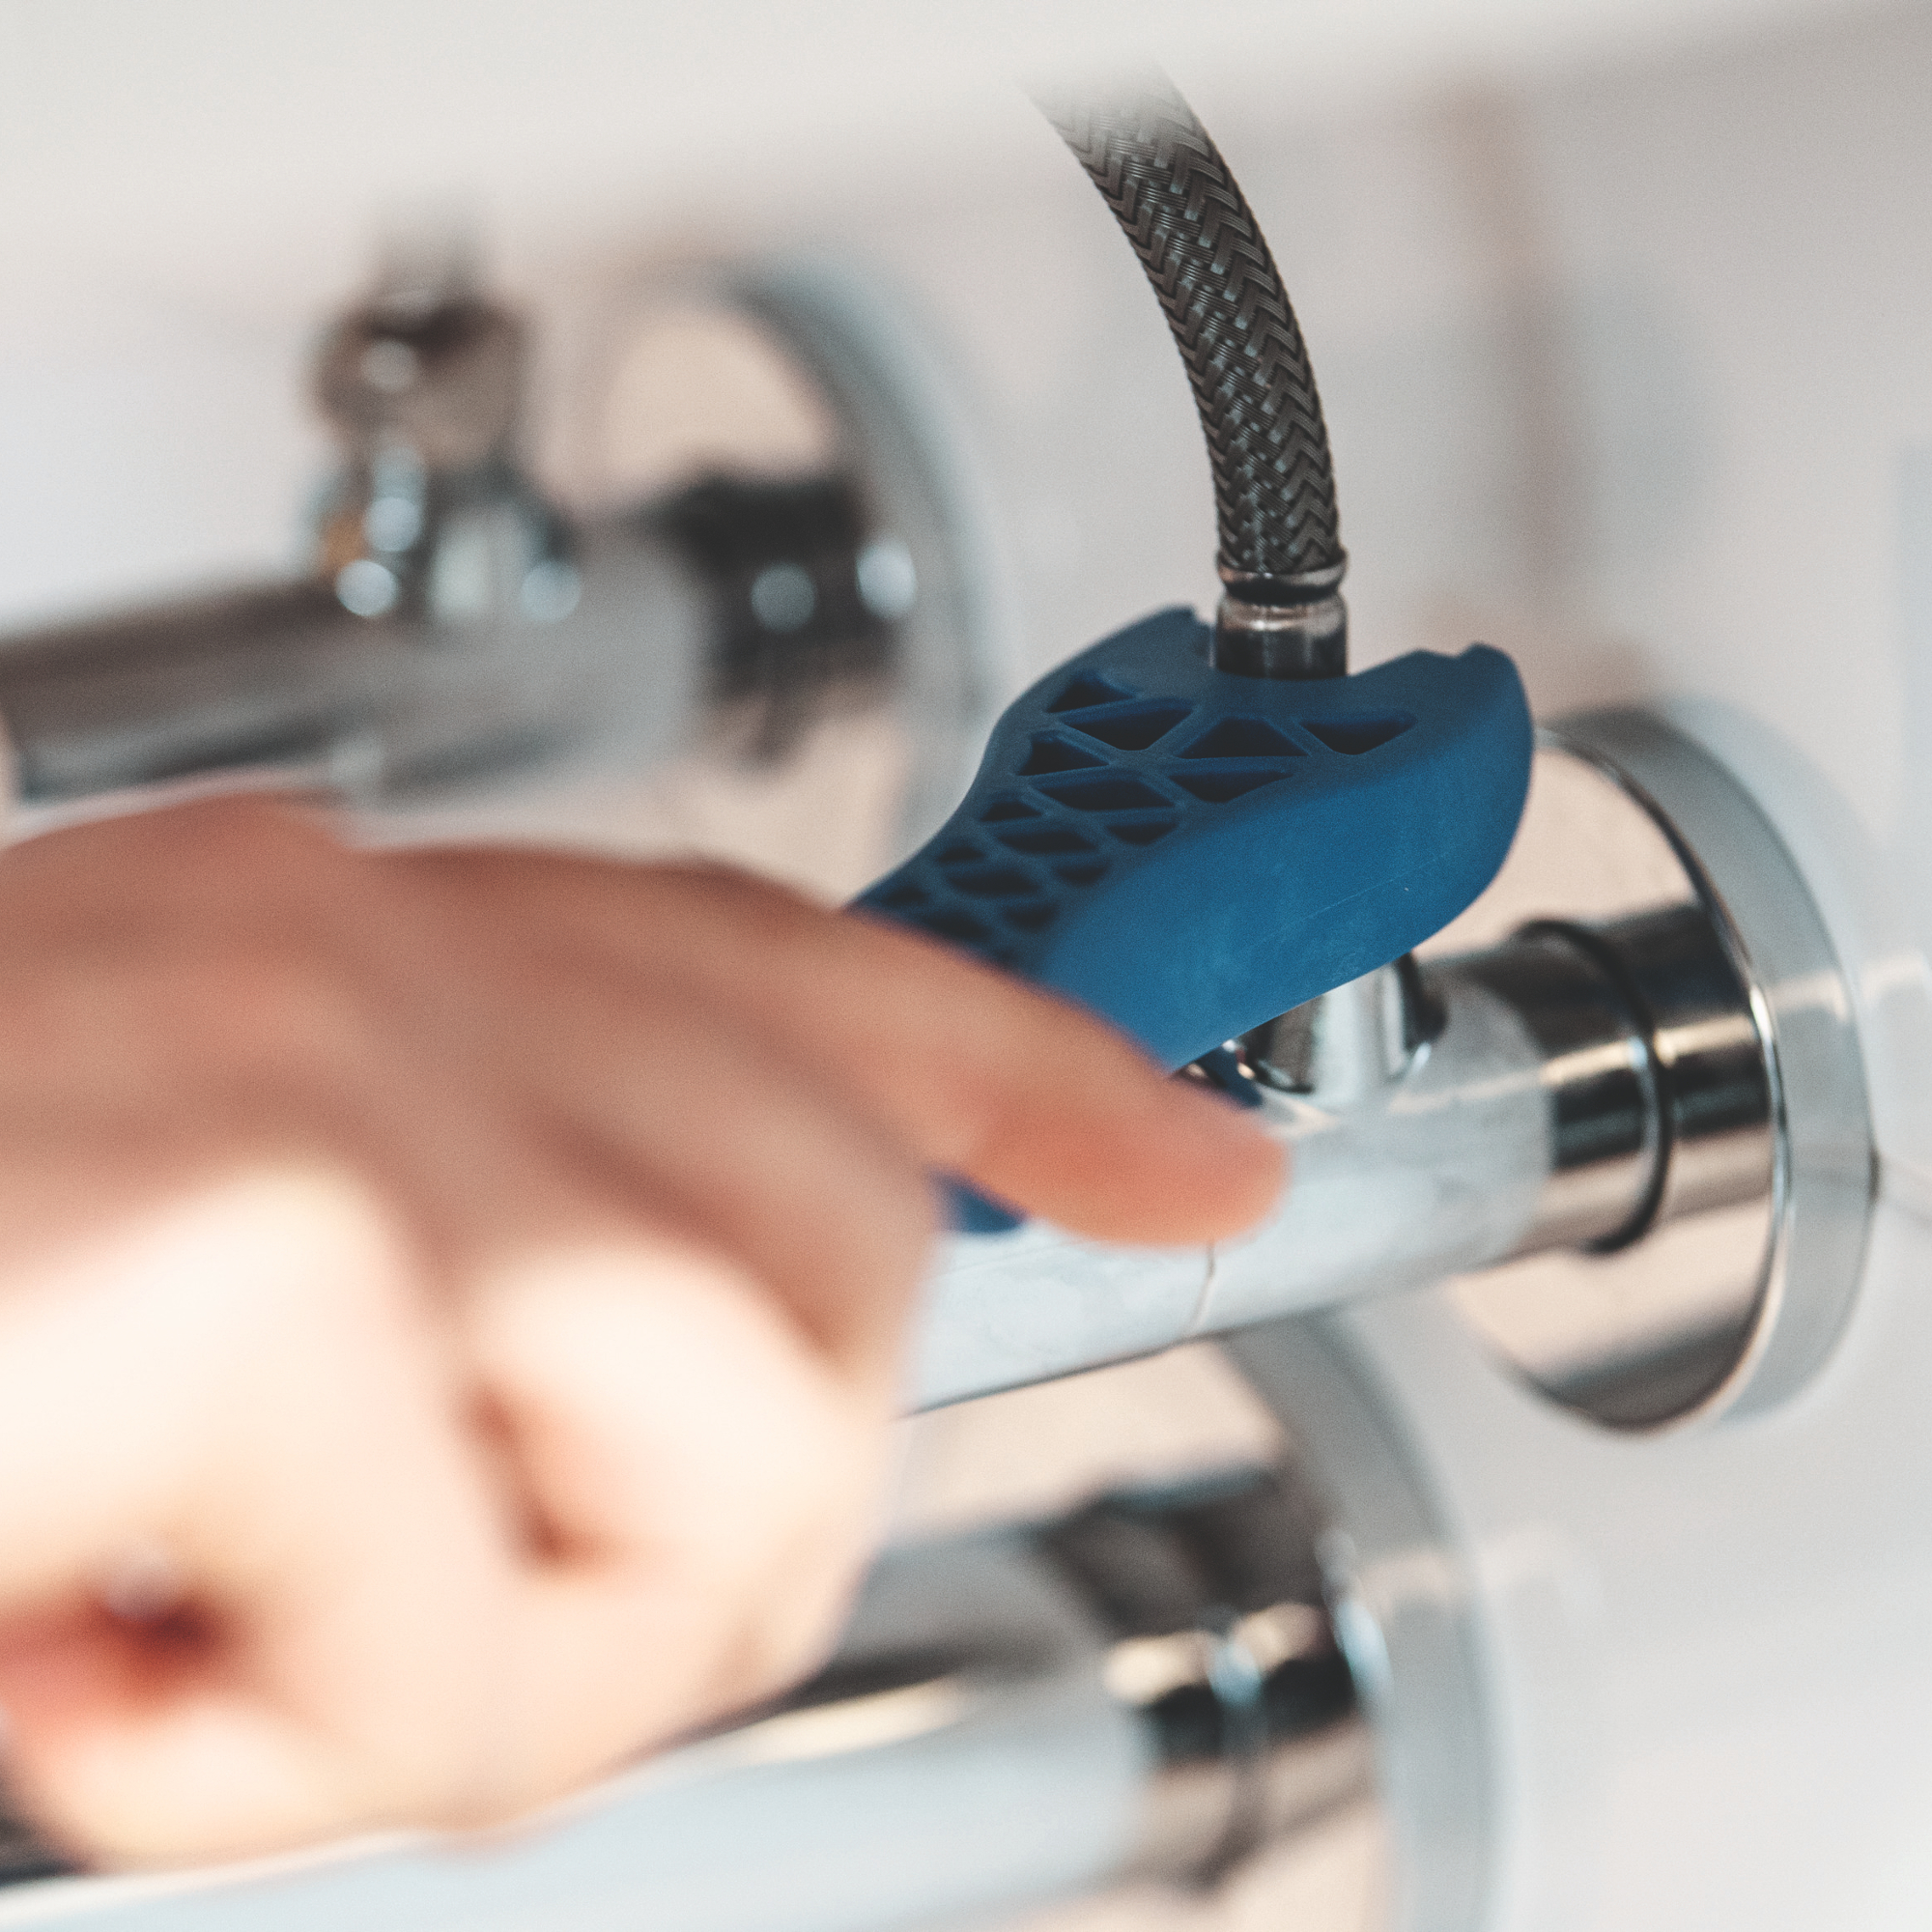
You can then loosen the screw holding the tap together using an adjustable spanner or screwdriver. Remove the valve cover with the spanner, followed by the nut and washer to reveal the tap seat. Set aside all the tap's components in the order you took them apart. This will make it easier to reassemble the tap at the end.
4. Check the tap seat
The tap seat will often be the cause of dripping taps, so check for any limescale or waste that has built up. Sometimes giving this a good clean can stop the dripping without having to replace any of the tap's parts. Or replace with a new tap seat using a seat grinder tool or seat insert kit to seal the flow of water, which should prevent the tap from leaking in the future.
5. Replace the rubber washer
Next, replace the worn-out rubber washer with a new one. It is easy enough to know how to change a tap washer it can be done by unscrewing it or sliding it off, depending on whether it is pressed into place or held in position with a nut. Clean the stem of the tap before you slot your new washer in place.
6. Replace the O-ring if you need to
You may need to replace the O-ring depending on where your tap is dripping from. 'If water is leaking from beneath the handle then the valve O-ring will need replacing', explains Barrie from BC Designs. 'Whereas if the leak is coming from beneath the spout then the spout O-ring will need replacing.'
You can get at the O-ring by removing the grub screw at the spout's base and lifting it. Locate the O-ring at the base, then slide it off by loosening it. If necessary, you can also cut it off with scissors. The spout can now be returned to its original location, then you can insert the replacement O-ring and tighten the screws.
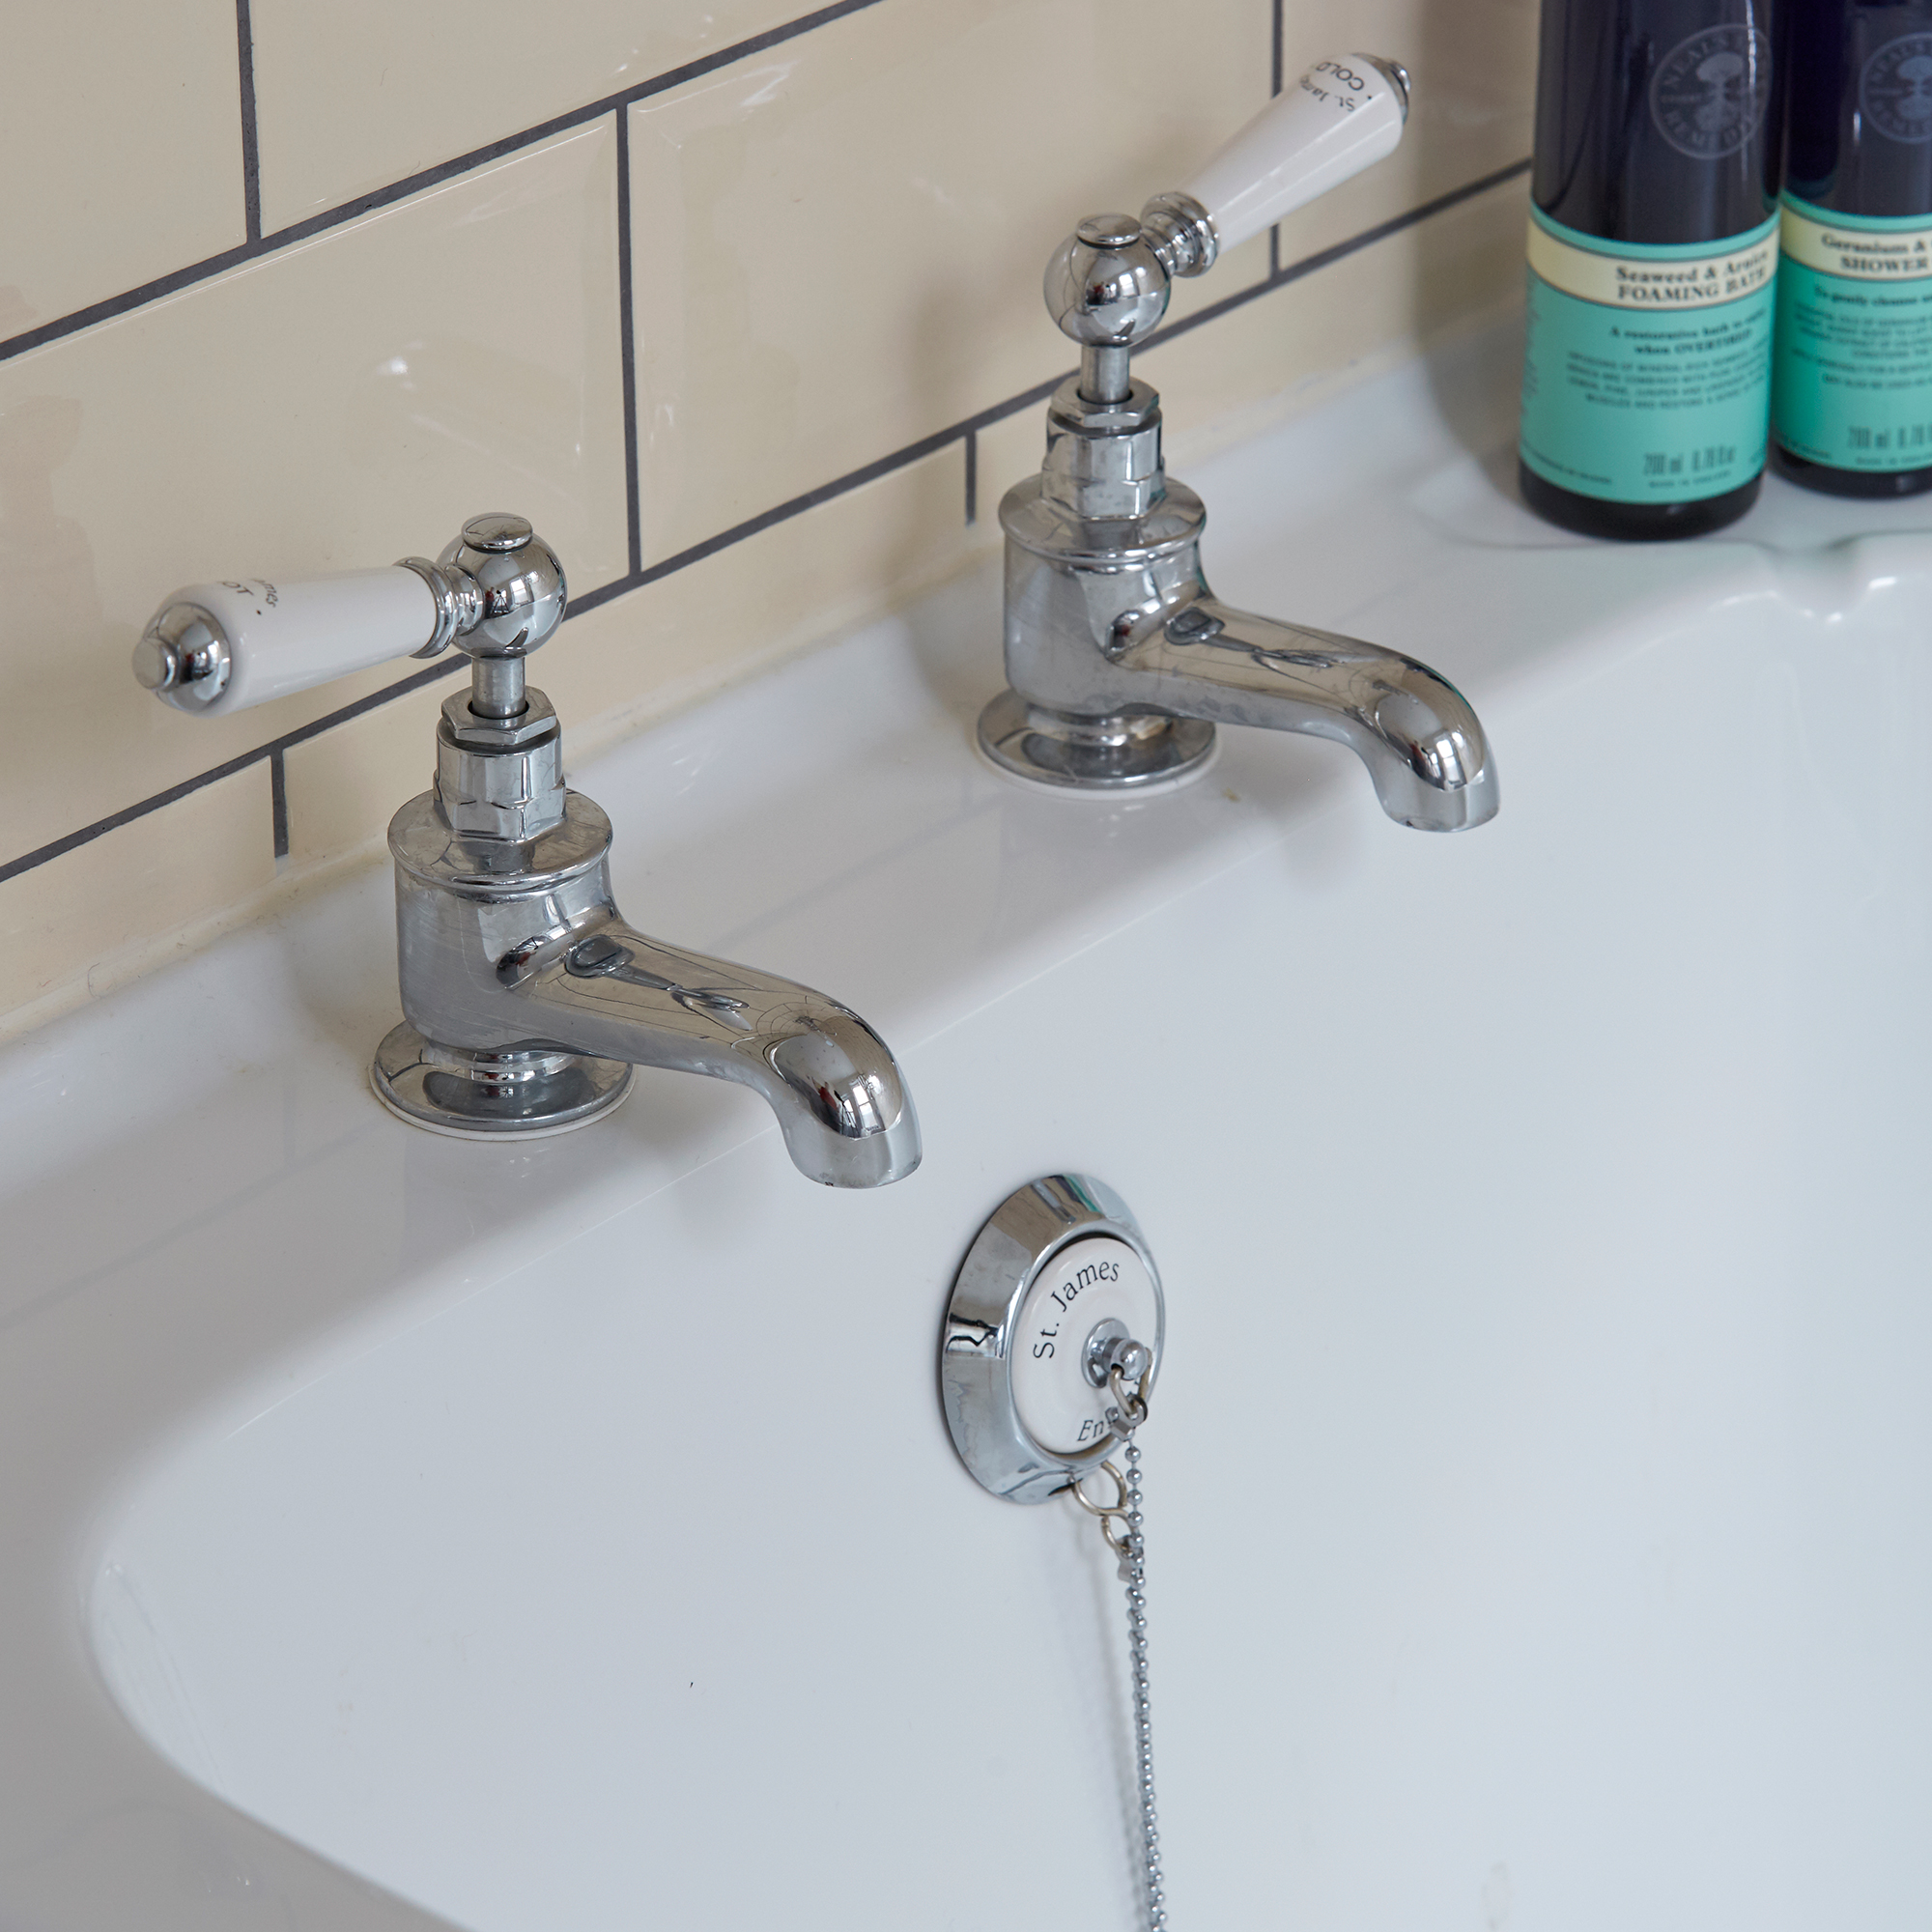
7. Reassemble your tap
Once you've repaired or replaced any damaged parts, it's time to reassemble your tap. Put the parts back together in the same order you took them apart (see step 3).
8. Turn the water back on and check for drips
Reinstate your water using the stopcock, then test your tap by turning it on and off. Give it a minute or two, but all being well the dripping will have stopped.
What causes a tap to drip?
Generally, a damaged tap seat is the cause of most dripping taps. The tap seat wears away when water flows around it and it is left wet, so wiping round your taps after using them will help prevent this.
Another common cause of dripping taps is the tap washer. These wear and tear over time, and there's little you can do to prevent this. Monobloc mixer taps (taps with a single spout and one or two handles) have ceramic discs rather than washers, which are much more hardwearing. If you want to avoid dripping taps in the future, it might be worth switching your tap set next time you're upgrading your kitchen or bathroom.
It's important not to let the dripping continue as this can lead to more issues over time. 'The stagnant water in and around your tap may attract insects and could lead to an infestation, which will cost a significant amount to fix', says Richard from PriceYourJob. Maintaining good cleaning habits around all your taps and drying them down after use will prevent leakages and further issues.
Can I fix a dripping tap myself?
'Repairing a dripping tap can be a simple task, depending on the age of the taps in question', says Rob Pearson, Network Operations Manager at Rightio. You can definitely do it yourself providing you have the necessary tools, which include a spanner, screwdriver, and your replacement water seal, washer, and O-ring. You'll be able to pick all these up at your local DIY store.
'Just be careful not to overtighten any washers or valves when you replace them, as this can cause excessive stress and will lead to dripping again', advises plumbing expert Barrie.
If you’re still experiencing issues after following this guide, it’s likely that you’ll need to contact a plumber to come and investigate your dripping tap further.
Get the Ideal Home Newsletter
Sign up to our newsletter for style and decor inspiration, house makeovers, project advice and more.

Katie has been writing freelance since early 2022, specialising in all things homes and gardens, following achieving a Masters in Media and Journalism. She started out writing e-commerce content for several of Future’s interior titles, including Real Homes, Gardeningetc, Livingetc, and Homes and Gardens. Since then she’s been a regular contributor on Ideal Home’s digital team, covering news topics, how-to guides, and product reviews.
-
 5 signs you’ve taken decluttering too far — and how you can pull yourself back, according to organisation experts
You might have to start resisting the urge to purge
By Lauren Bradbury
-
 What is the Party Wall Act 3m rule and is it something you should be worried about? This is what the experts say
Don't get caught off-guard by the Party Wall Act 3m rule — our expert guide is a must-read
By Natasha Brinsmead
-
 Shoppers can’t get enough of The Range’s lemon tree, but I’ve found an even cheaper bestseller at B&Q - it’s perfect for a Mediterranean look
Welcome the summer with this glorious fruit tree
By Kezia Reynolds