How to flush a radiator to stay warm and keep energy bills down
Find out how to clean your heating system with our easy-to-follow guide

Lauren Bradbury
Learning how to flush a radiator is a common household task that should be a top priority on your to-do list if you’re experiencing heating troubles or if you’re turning your heating on for the first time this year.
If your radiator is not heating up, when you finally flick that central heating switch on to keep your home warm in winter, you will need to either bleed the radiator or flush it. The signs that you need to flush the radiator are if you have cold patches at the bottom of your radiator, you can hear strange gurgling noises coming from your walls, or your bleeding efforts have gifted you with brown liquid.
This task can not only have your radiators working in tip top condition, but it can even save energy in the home. ‘If you don’t flush your radiators, it could mean that you are paying a higher heating cost for inefficient radiators that are not providing adequate heating for your home,' says Jessica Steele, heating technology specialist at Best Heating. 'With rising energy costs, this is the last thing any homeowner needs'.
We know what you’re thinking, though. Why should you flush a radiator, and how?
Why should I flush a radiator?

Flushing a radiator simply means flushing fresh water through the heating appliance to clean it and remove the build-up of sludge and dirt that is preventing it from doing its job properly.
'Sludge is made up of dust particles mixed with scale that circulates throughout the whole radiator system,' says Steven Pester of Resolve Plumbing Services LTD at Rated People. 'It normally happens when your radiator is really old or hasn’t been maintained properly'.
'As the sludge builds up it puts a strain on your boiler and can be one of the biggest causes of boiler breakdowns. However, by flushing your radiator, you can get rid of this build-up which allows for an even distribution of heat, helping your home heat up quickly and efficiently,' he says.
Sign up to our newsletter for style inspiration, real homes, project and garden advice and shopping know-how
How to flush a radiator
Confident DIYers should be able to flush the radiators in their home themselves by following our straightforward 10-step guide below.
If you don’t feel comfortable carrying out the job yourself, always seek professional help from a Gas Safe Registered engineer.
1. Get the right equipment
To be able to flush a radiator, make sure you have the following tools:
• A radiator bleed key - like this Merriway (2 Pcs) Easigrip Clock Type Radiator Key from Amazon
• A rubber hammer - like this Rubber Mallet with Wooden Handle from Amazon
• A spanner - like this STANLEY MAXSTEEL Adjustable Wrench from Amazon
You’ll also want old sheets and/or towels to mop up any sludge or water spillages that come out of the radiator and a bucket to catch water and dirt when you drain the heating system.
2. Turn off your heating
Next, you need to turn off the heating and allow your radiator to cool down to prevent burning yourself.
'Factor in an hour and a half for your radiators to cool down properly after you’ve switched them off,' says Matthew Jenkins at MyJobQuote.
It’s important that you don’t skip or rush this step. If you don’t wait for the radiator to cool down completely, you could be greeted with a boiling hot shower of sludge.
3. Switch off the valves
Shut the radiator off from the rest of your central heating by turning off the valves at either end of the radiator.
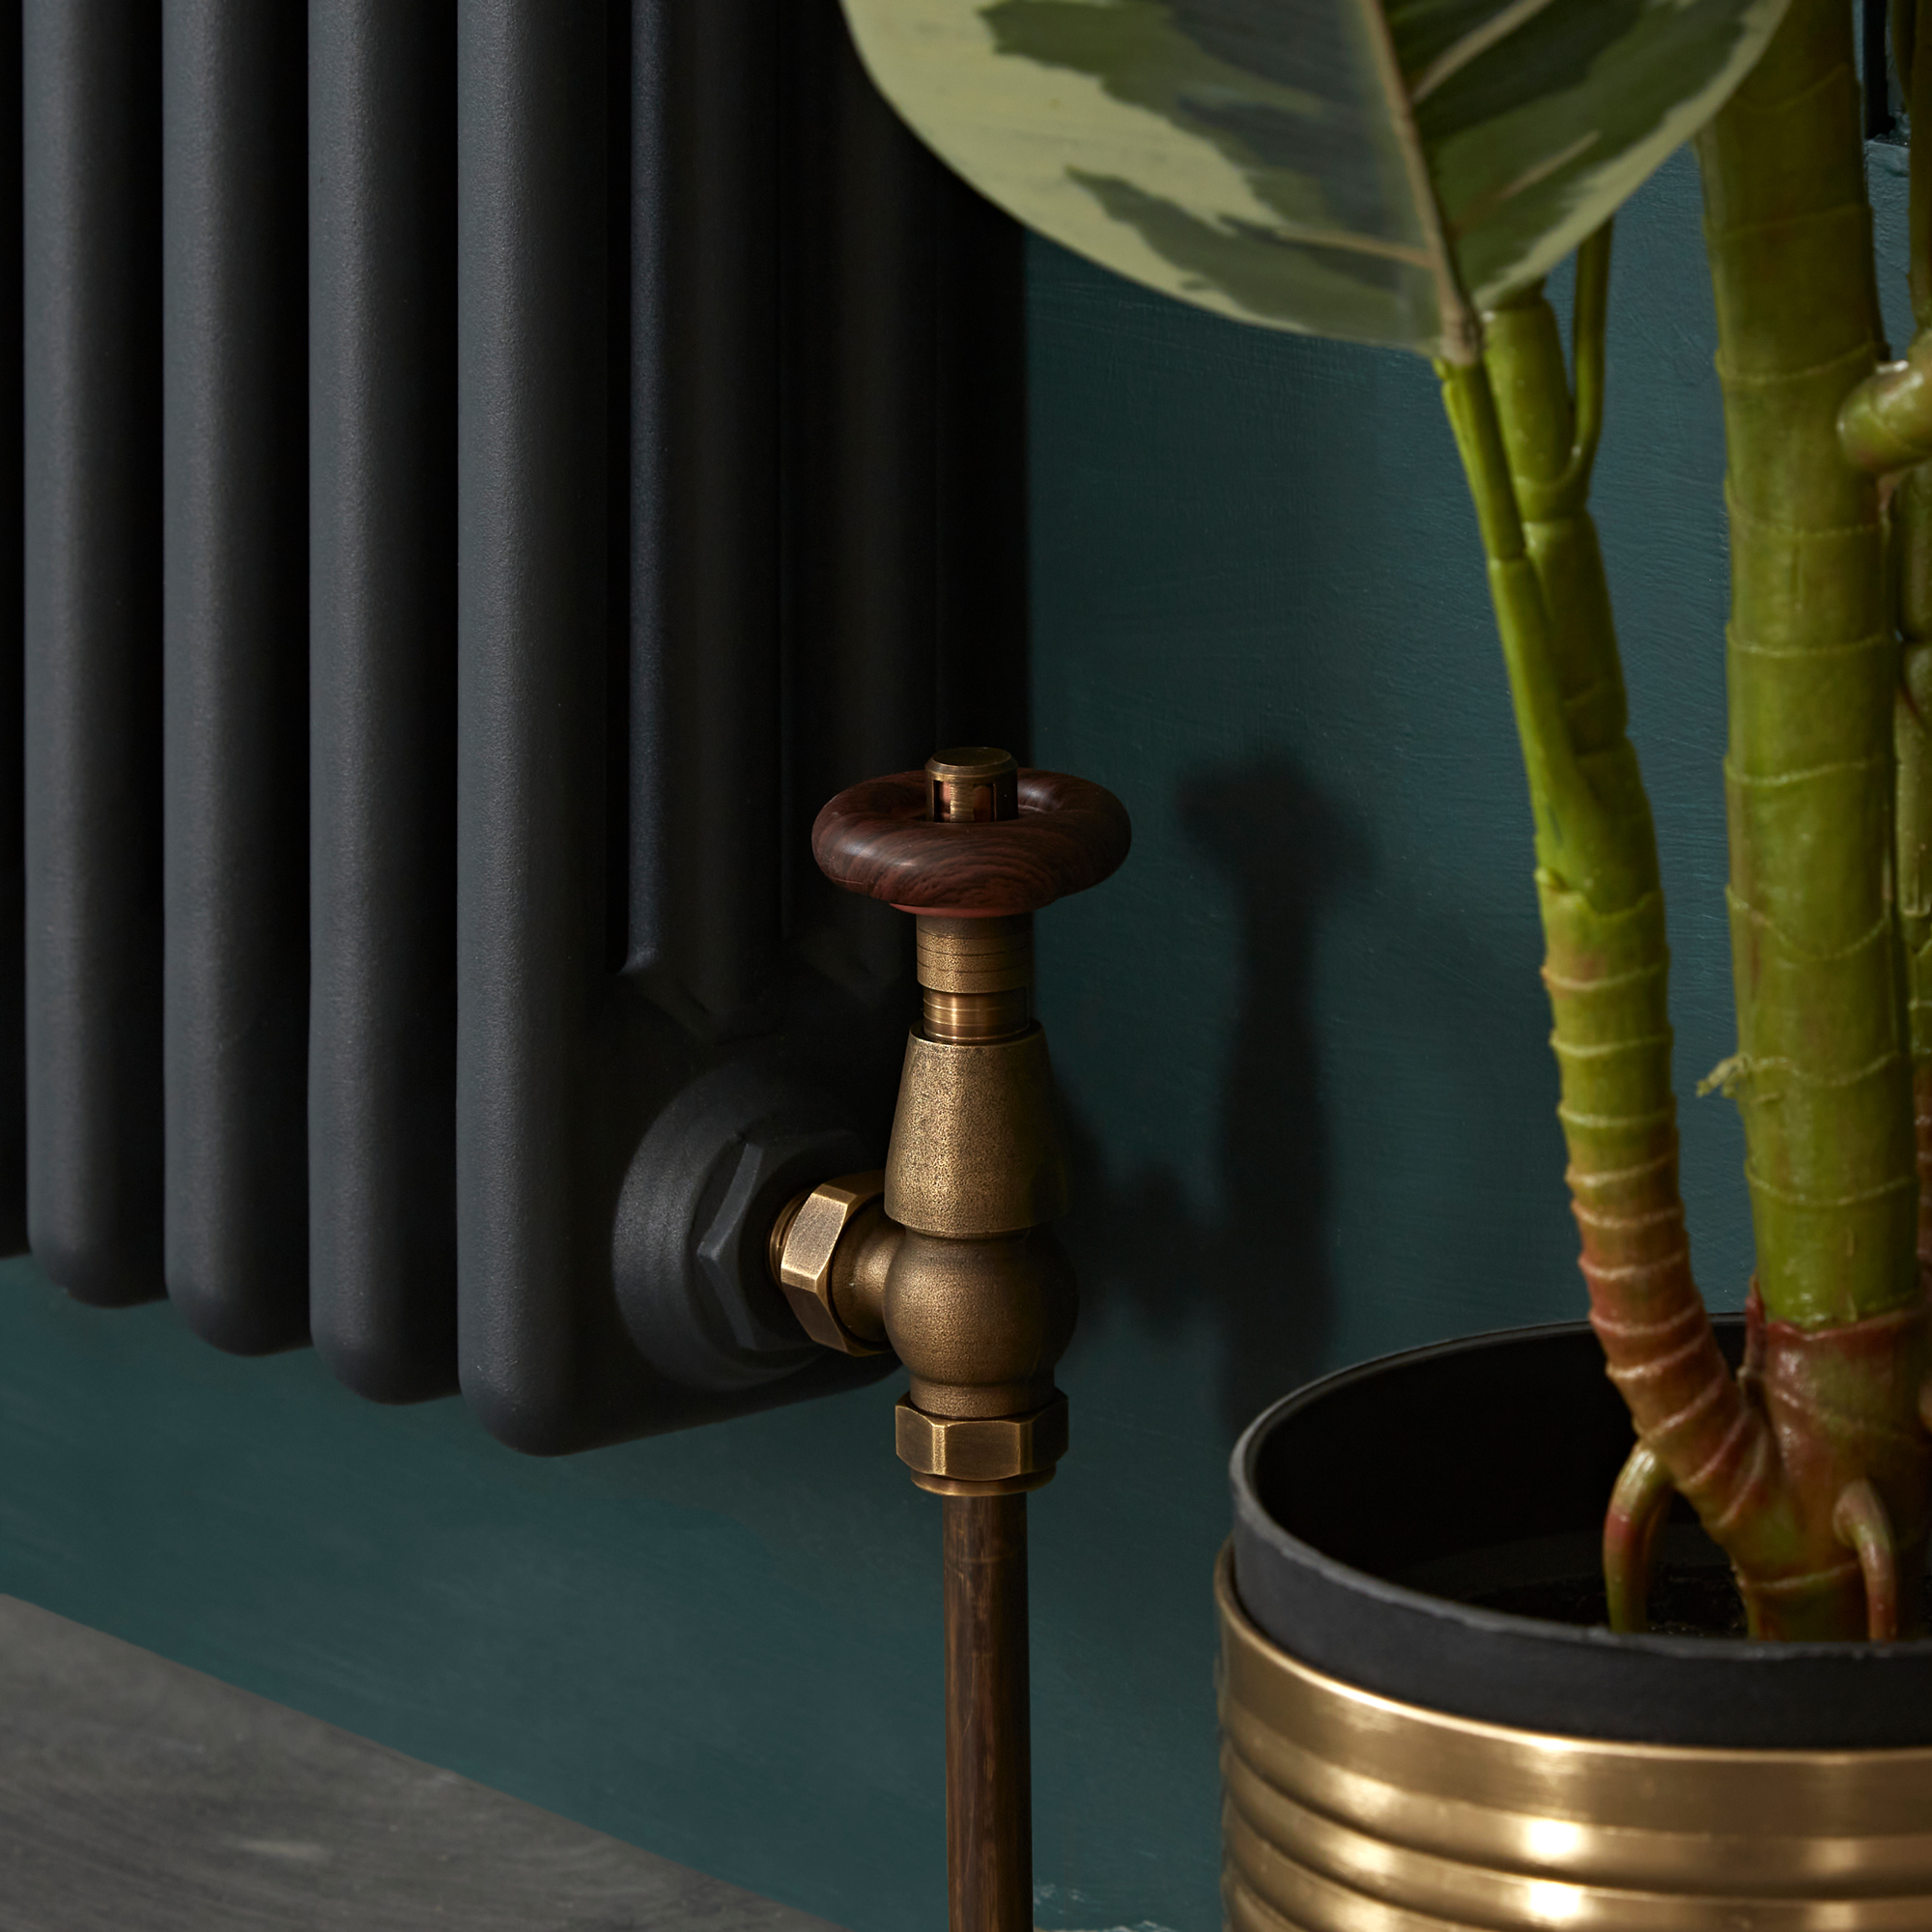
To do this, turn the TRV (thermostatic radiator valve) off by hand by twisting it clockwise or to the ‘0’ position.
To turn the lockshield valve off, you will need to remove the plastic cap then use a spanner to turn the valve clockwise all the way.
'Make a note of how many turns it took to turn the lockshield valve off as you’ll need to turn it the same number of times the other way when you put the radiator back on the wall,' advises Matthew Jenkins.
Next, use a spanner to loosen the nut that joins the radiator to the TRV.
4. Use a bucket to catch water
Water may drip from the TRV, so place a bucket underneath to catch excess liquid. Next, use a radiator bleed key to open the bleed valve and remove any air pressure. 'Once all the air has been removed, water should start to leak out of the bleed valve,' says Jessica Steele.
5. Drain the radiator
Wait until all the water has drained from the TRV, making sure all the sludge and dirty water has been removed. Then loosen the nut on the lockshield valve with your spanner and tilt the radiator to catch any water out of that side too. Once drained, close the bleed valve with your bleed key.
6. Take the radiator off the wall
Now take the radiator off of the wall and move it outdoors where you can hose it down.
'It’s a messy job, so make sure you cover the radiator inlets with a towel or plastic bags while you carry it through the house as it will probably still have some dirty water and sludge inside,' says Jessica Steele.
CIPHE also advises asking a friend to help you carry the potentially heavy radiator outdoors, too, to avoid injury.
7. Flush the radiator
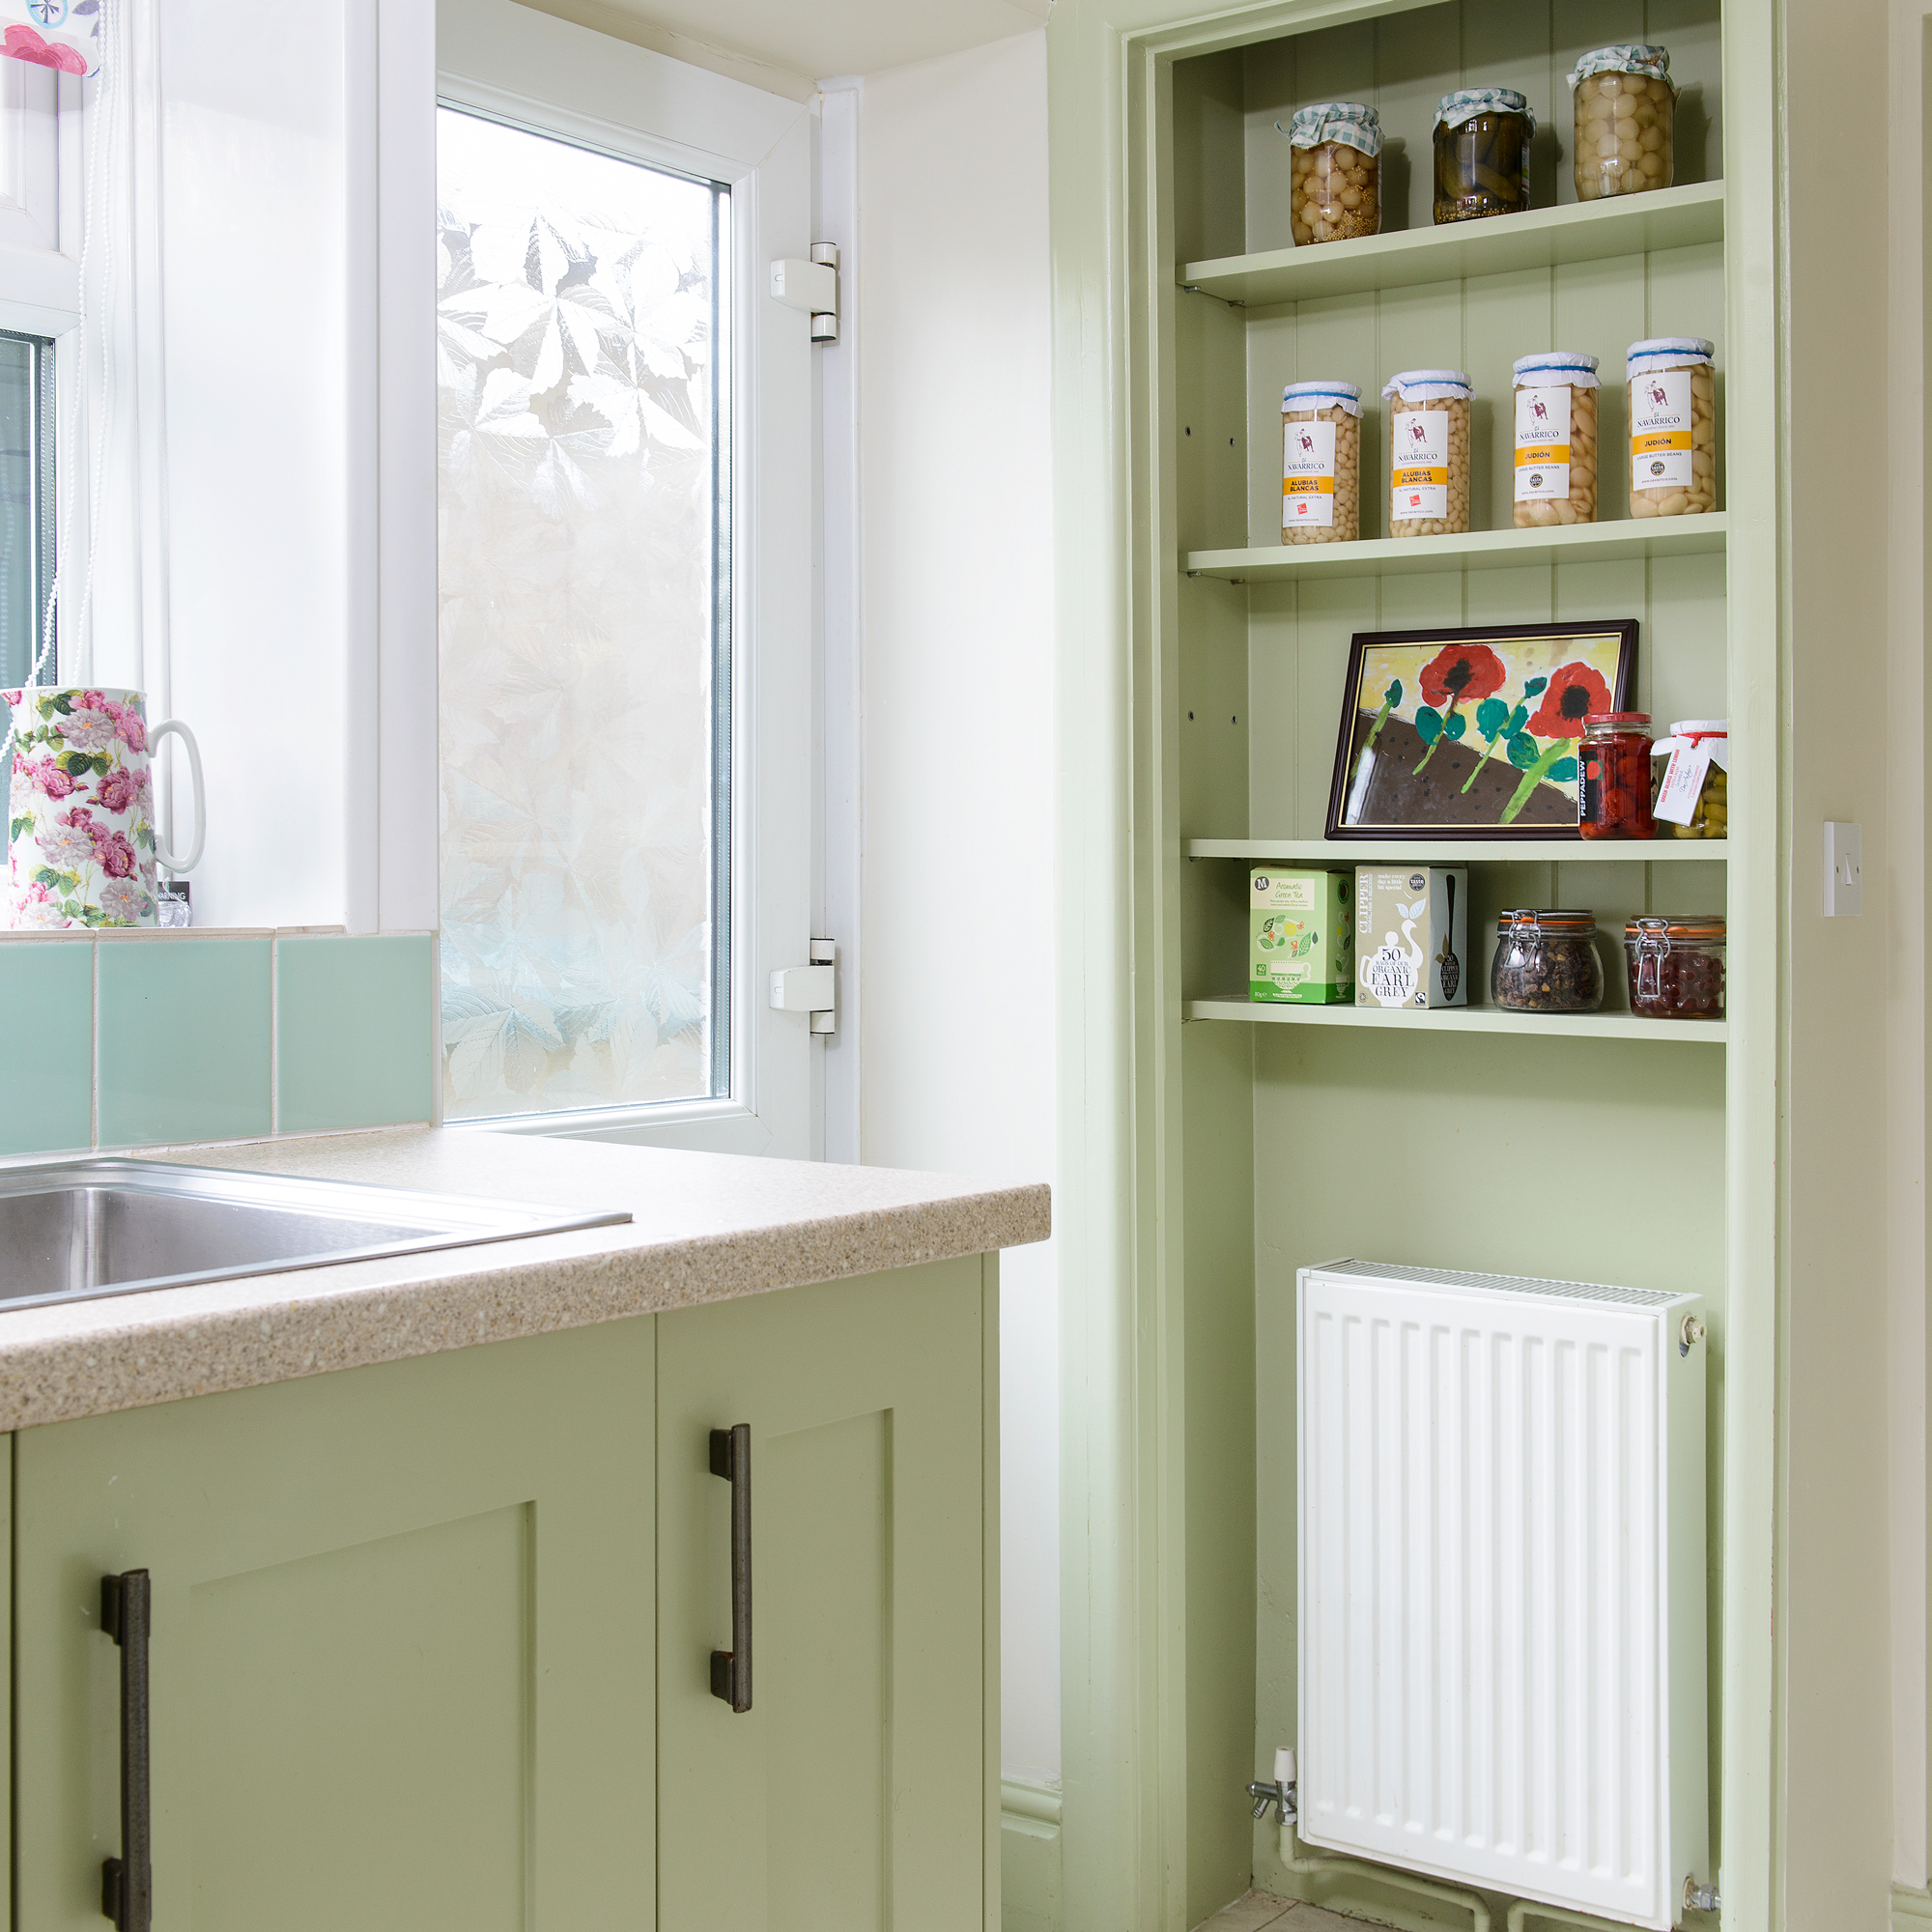
To get rid of any dirt still remaining in your radiator, you need to attach a hose pipe to the radiator valve inlet and turn the tap on full blast. The flow of clean water flushing through the radiator and out of the other inlet should bring all the sludge with it.
'Use your rubber hammer to tap the radiator and dislodge any remaining build-up of sludge,' recommends Jessica Steele. Repeat this process by attaching the hose to the valve inlet at the other end of the radiator to get as much sludge out as you can until the water runs clear.
8. Reconnect your radiator
Once clean, hang your radiator back on the wall, re-tighten the nuts and open both valves, remembering to turn the lockshield valve the same number of times as you did when removing the radiator. Open the bleed valve with your radiator key to allow any trapped air to escape from the air vent.
9. Check boiler pressure
Disconnecting your radiator can cause the boiler pressure to drop so you may need to top it back up.
'The boiler pressure should be between 1 and 1.5 bar. If the pressure has dropped below 1 you will need to re-pressurise the system using the external filling loop,' says Jessica Steele. Always refer to your boiler’s manufacturer’s handbook for advice on how to repressurise your boiler system.
10. Turn your heating system back on
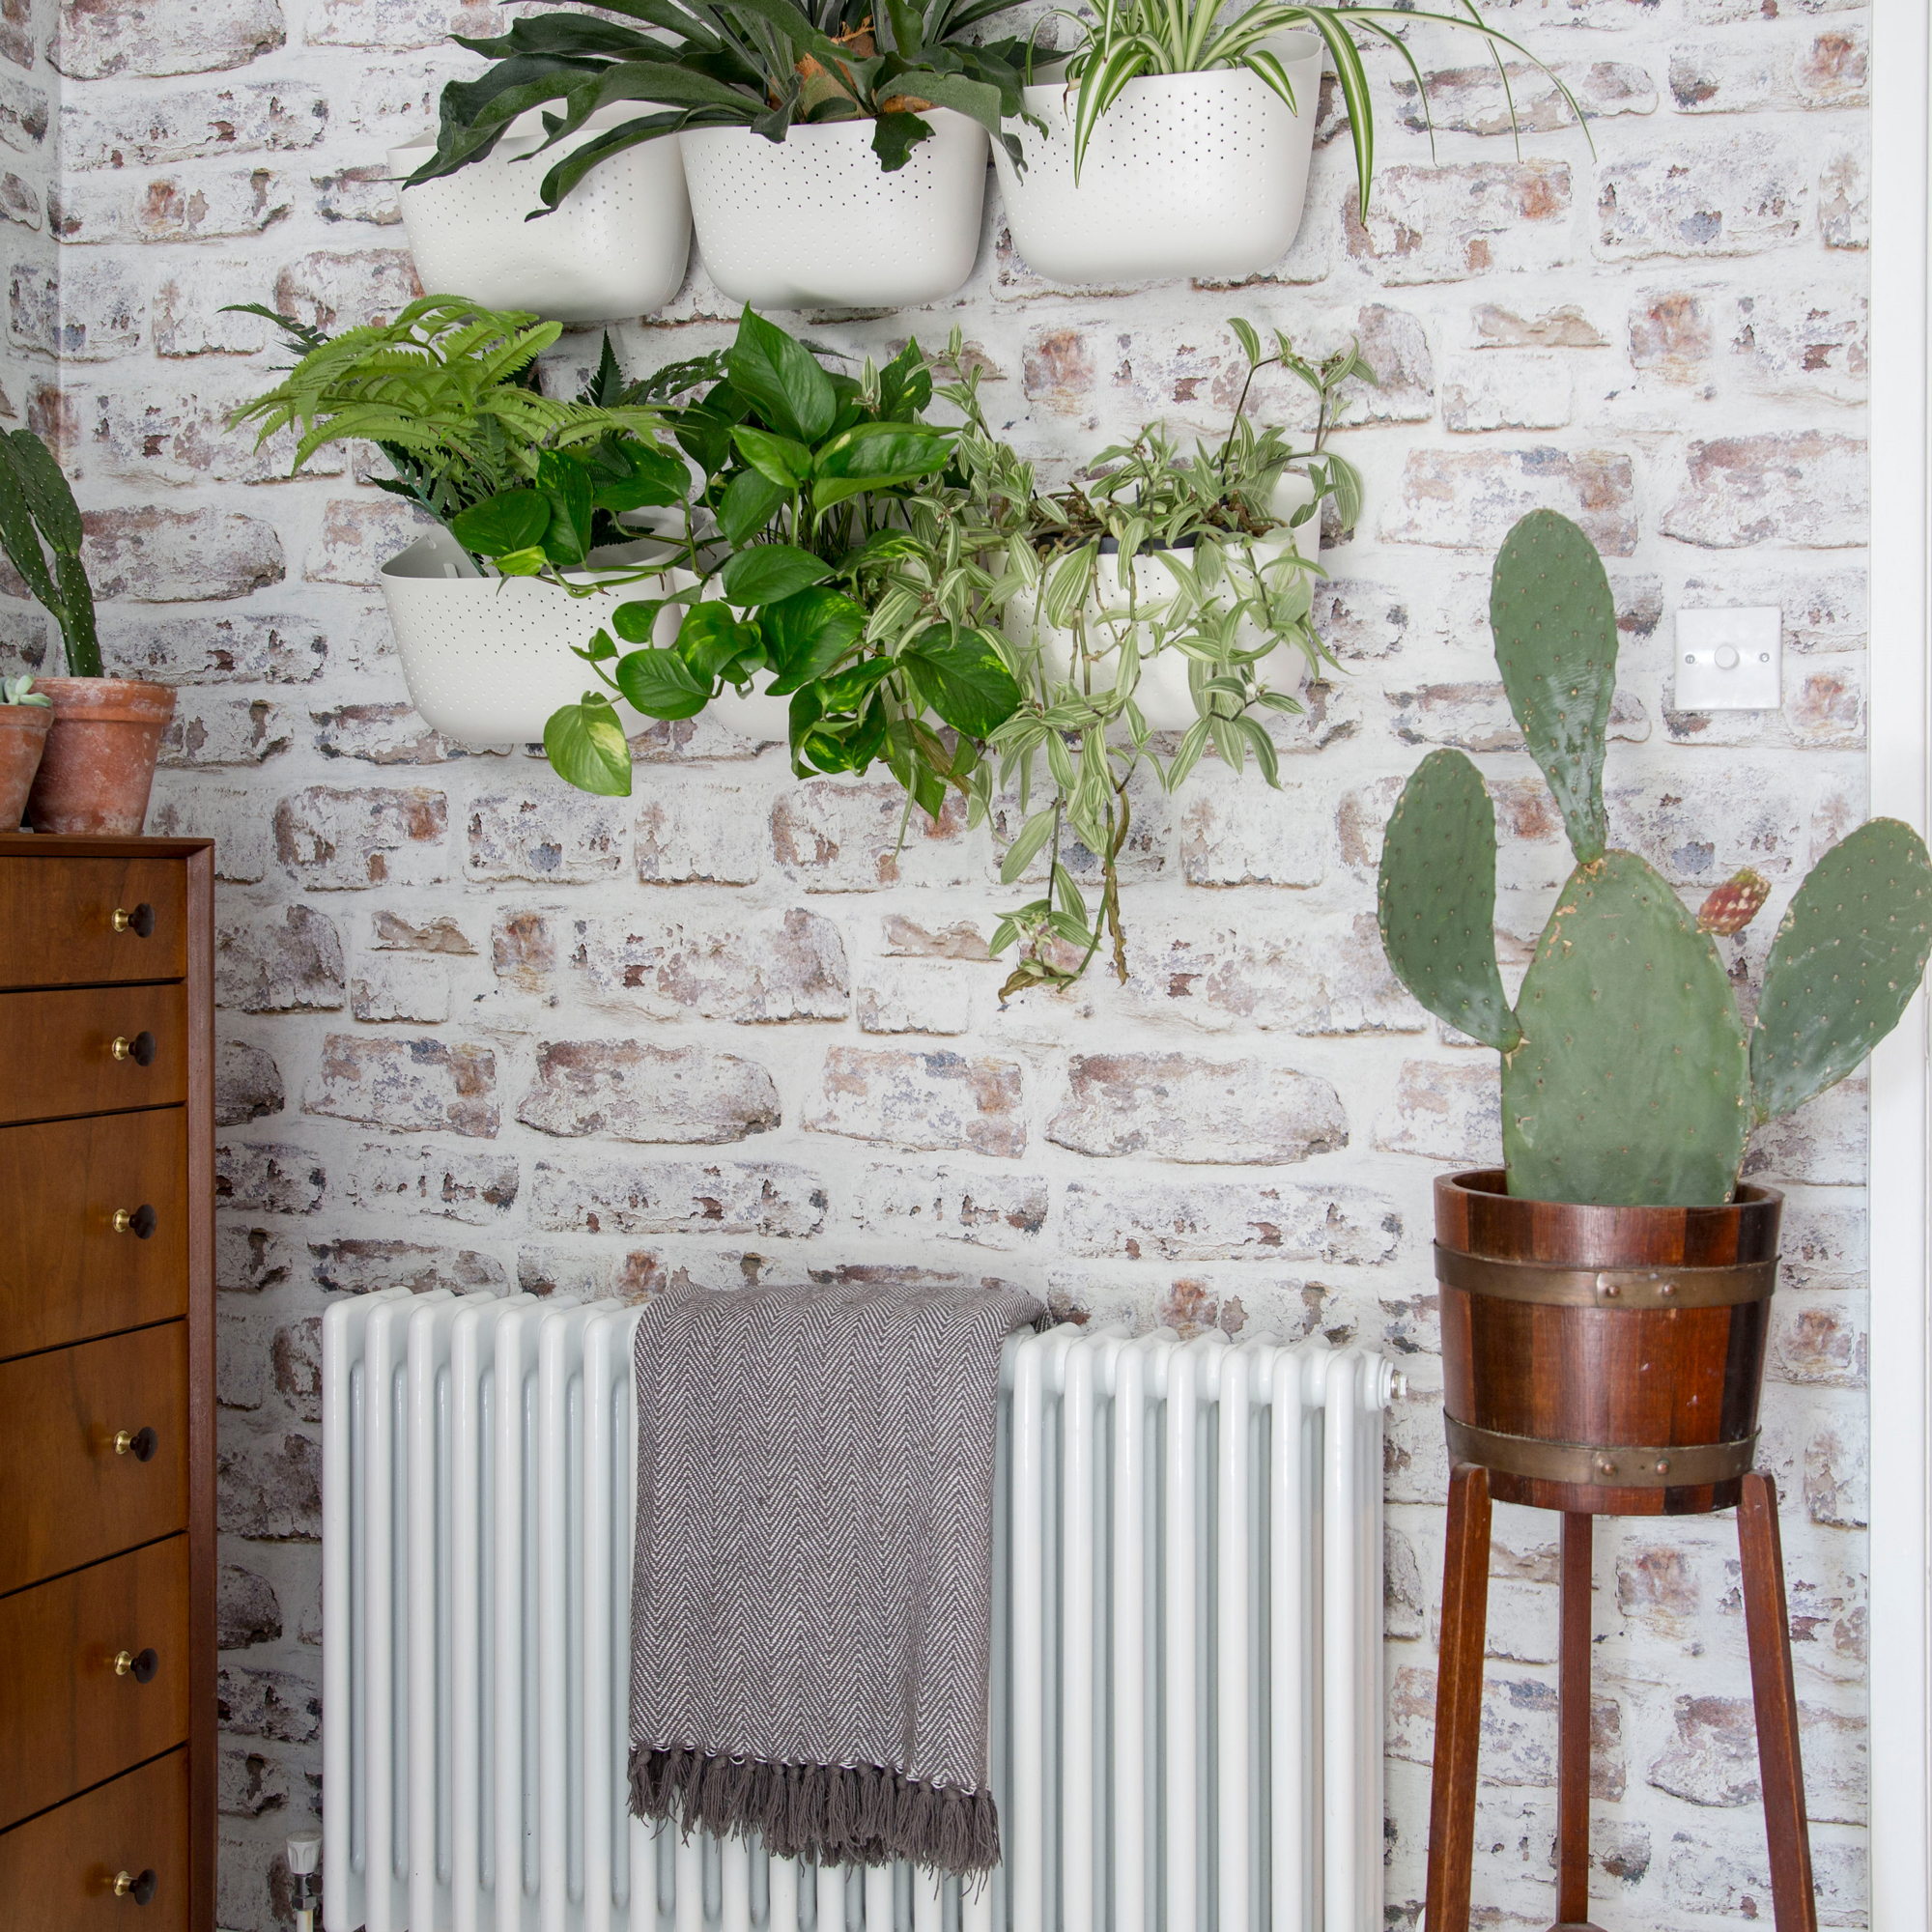
Once you’ve completed all the steps above, switch your heating system back on and check that everything is working properly.
FAQs
How much will it cost to hire a professional to flush the radiators?
Jessica Steele advises a full heating system flush will cost around £300 for the average home with six radiators. 'If you do choose to hire a professional plumber, they will likely give the system a chemical power flush to combat the blockage using specialist equipment,' she says.
How do you prevent sludge from building up in the system?
Matthew Jenkins advises adding more inhibitors to the heating system. 'It’s a chemical treatment that breaks down unwanted particles in the heating system. Be sure to keep an eye on the inhibitor levels and top it up whenever needed,' he says.
Can you flush radiators yourself?
Yes, you can! However, it’s important to note that you should always follow the instructions above as closely as possible while also taking care to keep yourself and your home safe. Flushing radiators can be a messy business and requires a lot of care and attention. So, make sure you protect the area around the radiator by placing towels or old sheets on the floor.
You should also remember to flush out the radiator until the water runs clear. This might take up more of your time than you hoped it would, but it’s important that you do a thorough job for your central heating runs as efficiently as possible.
If this all sounds a bit overwhelming, though, it might be best to call a professional. Brett Cullen, Head of Content and Brand at Plumbworld, says, ‘Flushing a radiator involves sending a powerful shot of water through your central heating system to dislodge any sludge, rust, or debris. However, this can be a difficult job, so we suggest contacting a registered gas-safe engineer to ensure it is done correctly and safely.’
How often should you flush your radiators?
Experts recommend that you should flush your radiators every 5 – 6 years to prevent excess sludge build-up. Of course, there’s no harm in flushing them more regularly than that to keep them in tip-top condition, but it’s not necessary.
It’s also a good idea to flush your radiators when you move into a new home, especially if you’re not sure when they were last flushed. It’s better to be safe than sorry when it comes to your central heating, and this will give you peace of mind that your radiators are running as efficiently as possible.

Sophie Vening is a freelance journalist and editor with more than 16 years’ experience writing about homes and properties. She’s worked for some of the UK’s leading interiors, self-build and property titles including, Grand Designs, Ideal Home, House Beautiful, Build It, The Metro Homes & Property and The Evening Standard Homes & Property.
She enjoys writing about complex issues in an easy-to-understand way.
- Lauren BradburyContent Editor (House Manual)