How to install a door knob – give your interior doors a fresh new look
Learning how to install a door knob is easier than you might think, especially if you follow our simple step-by-step guide
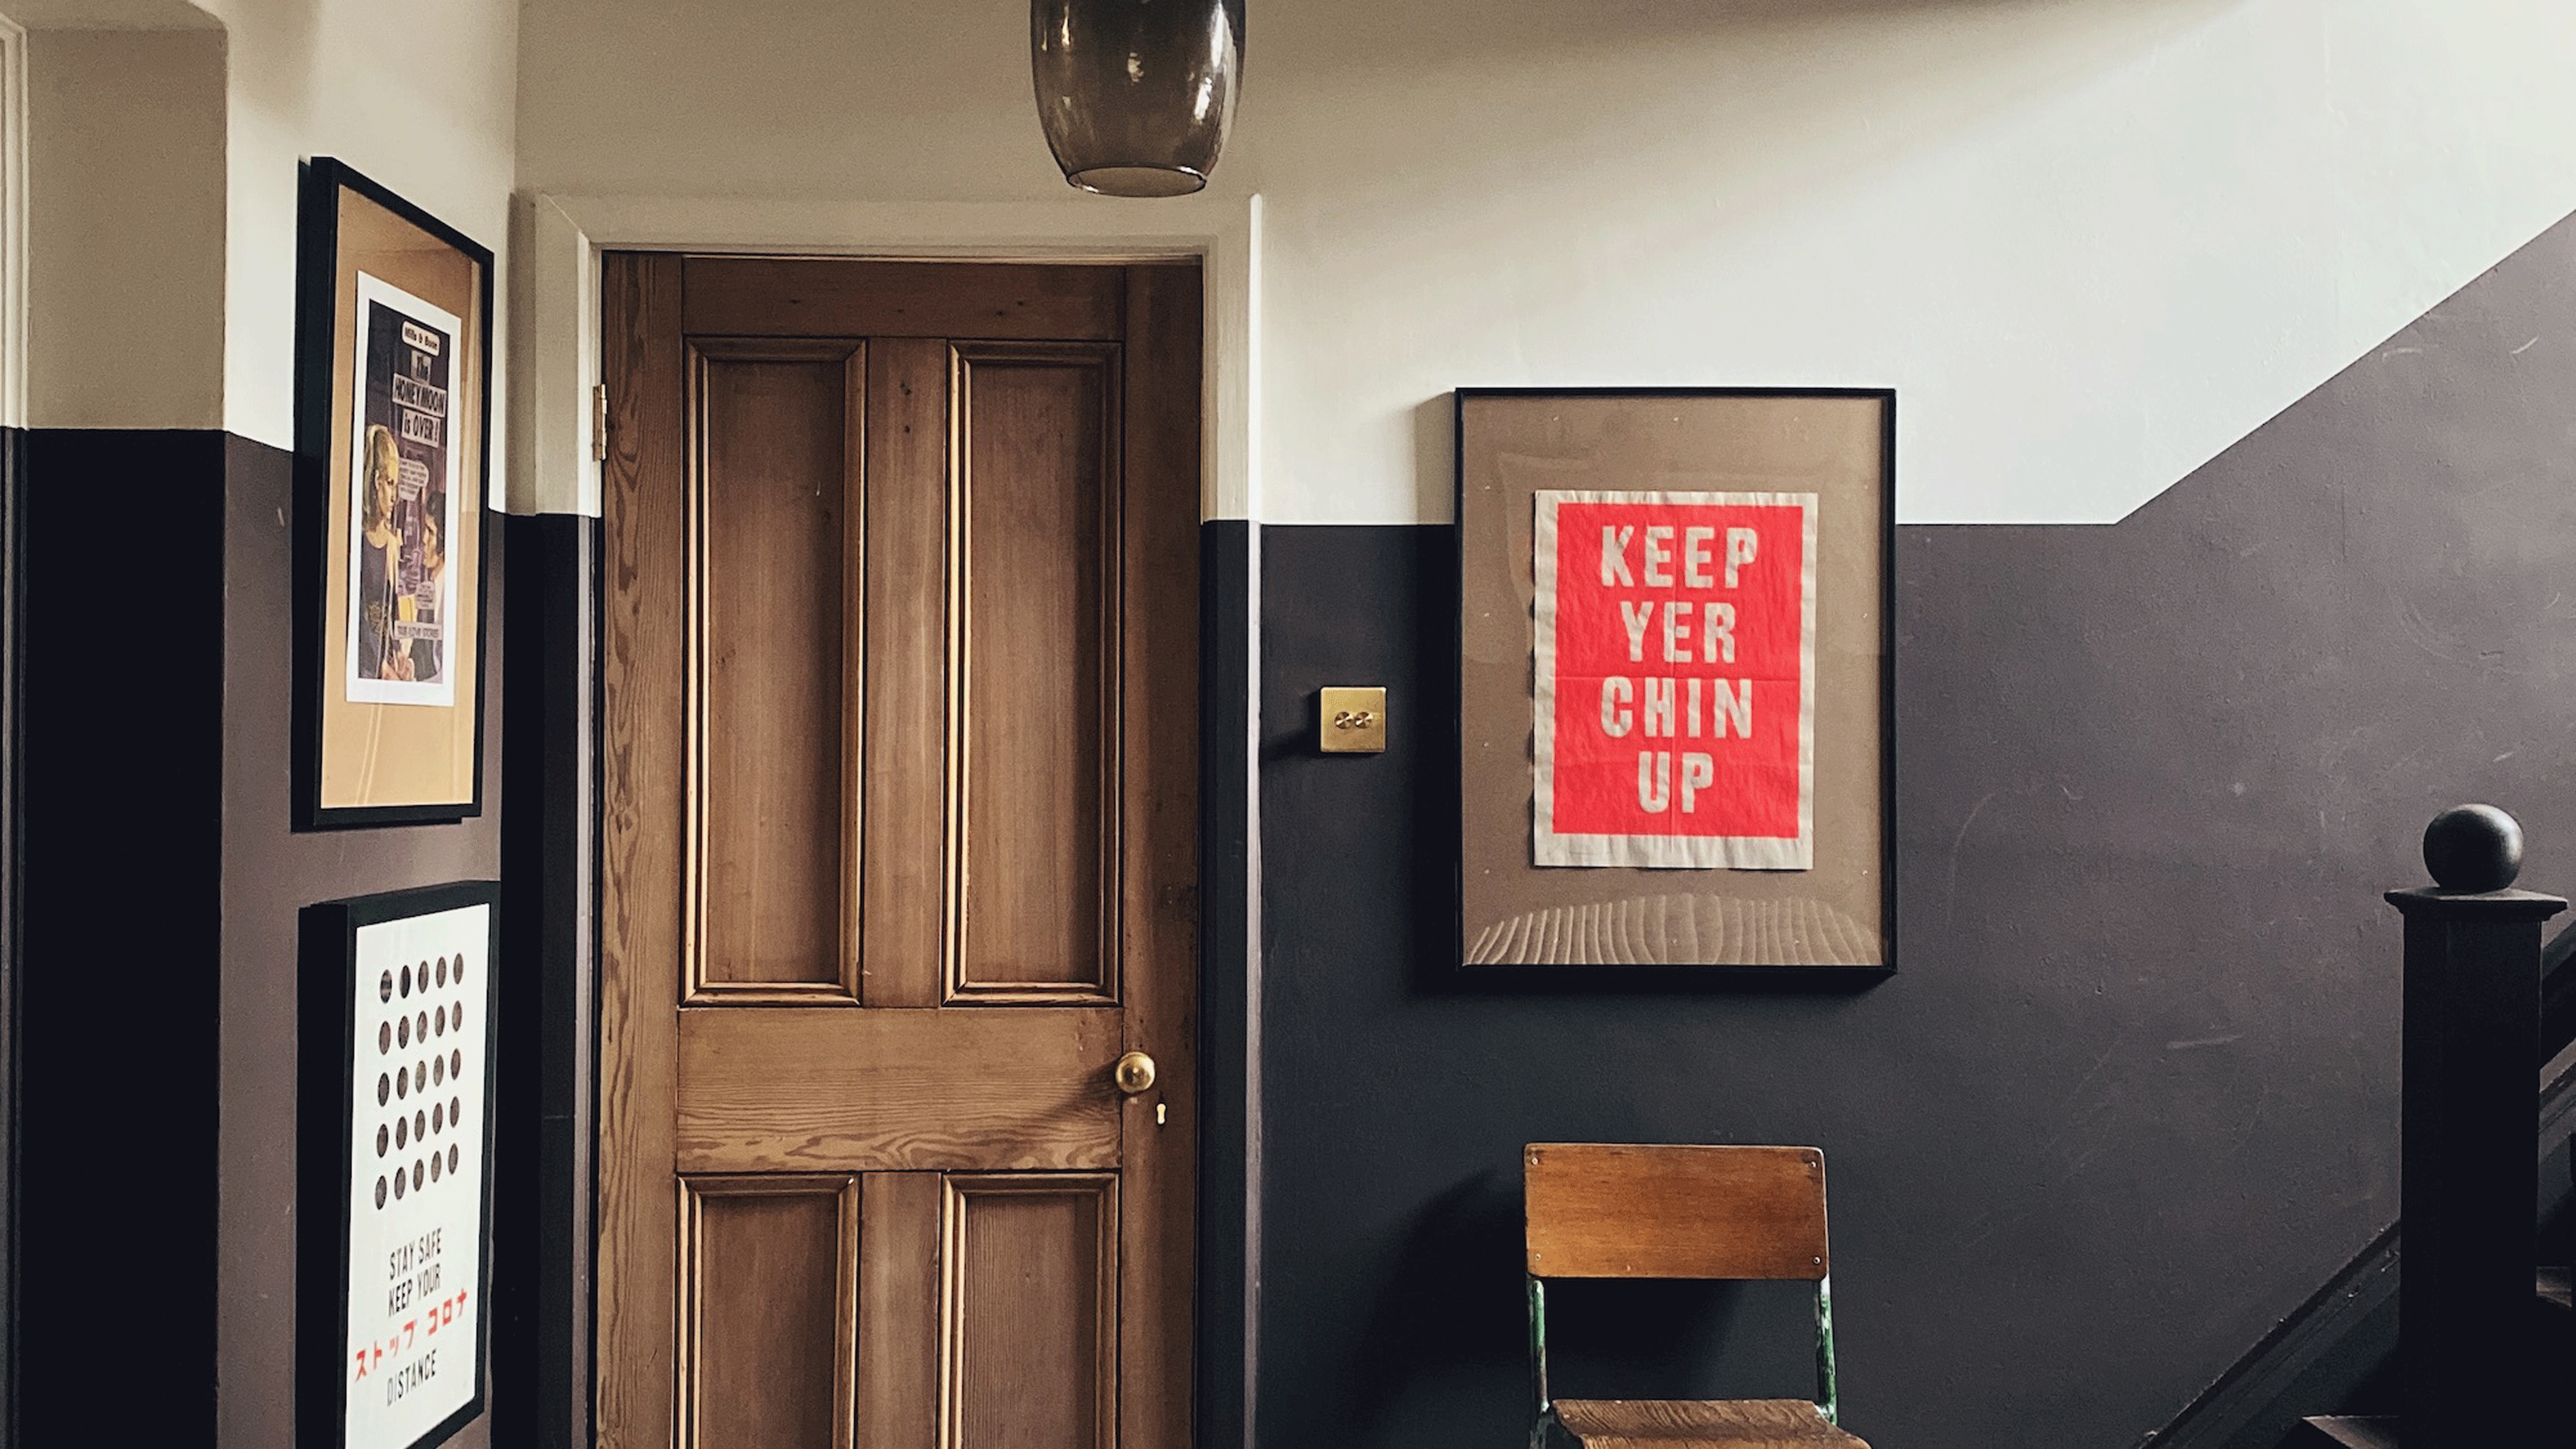

As any good interior designer will tell you, the touchpoints in your home can have a big impact on your living experience. Installing beautiful door knobs that feel solidly made and robust in the hand is a really effective way of upgrading your home.
Another great advantage of fitting smart new door knobs is it can prove a quick way to make an unremarkable door punch way above its weight, particularly when showcased as part of hallway ideas.
‘Modern door knob designs in eye-catching finishes can make inexpensive doors appear far more upmarket,’ says Xander Shreenan, interior designer Dowsing & Reynolds. ‘Consider it like using beautiful jewellery to elevate a plain black dress.’
With so many lovely new door knobs available, and in a far wider range of finishes than ever before, now is the perfect time to update your internal doors. If you’ve been thinking about how to install a door knob, we’ve got expert advice to guide you through this reasonably easy DIY task.
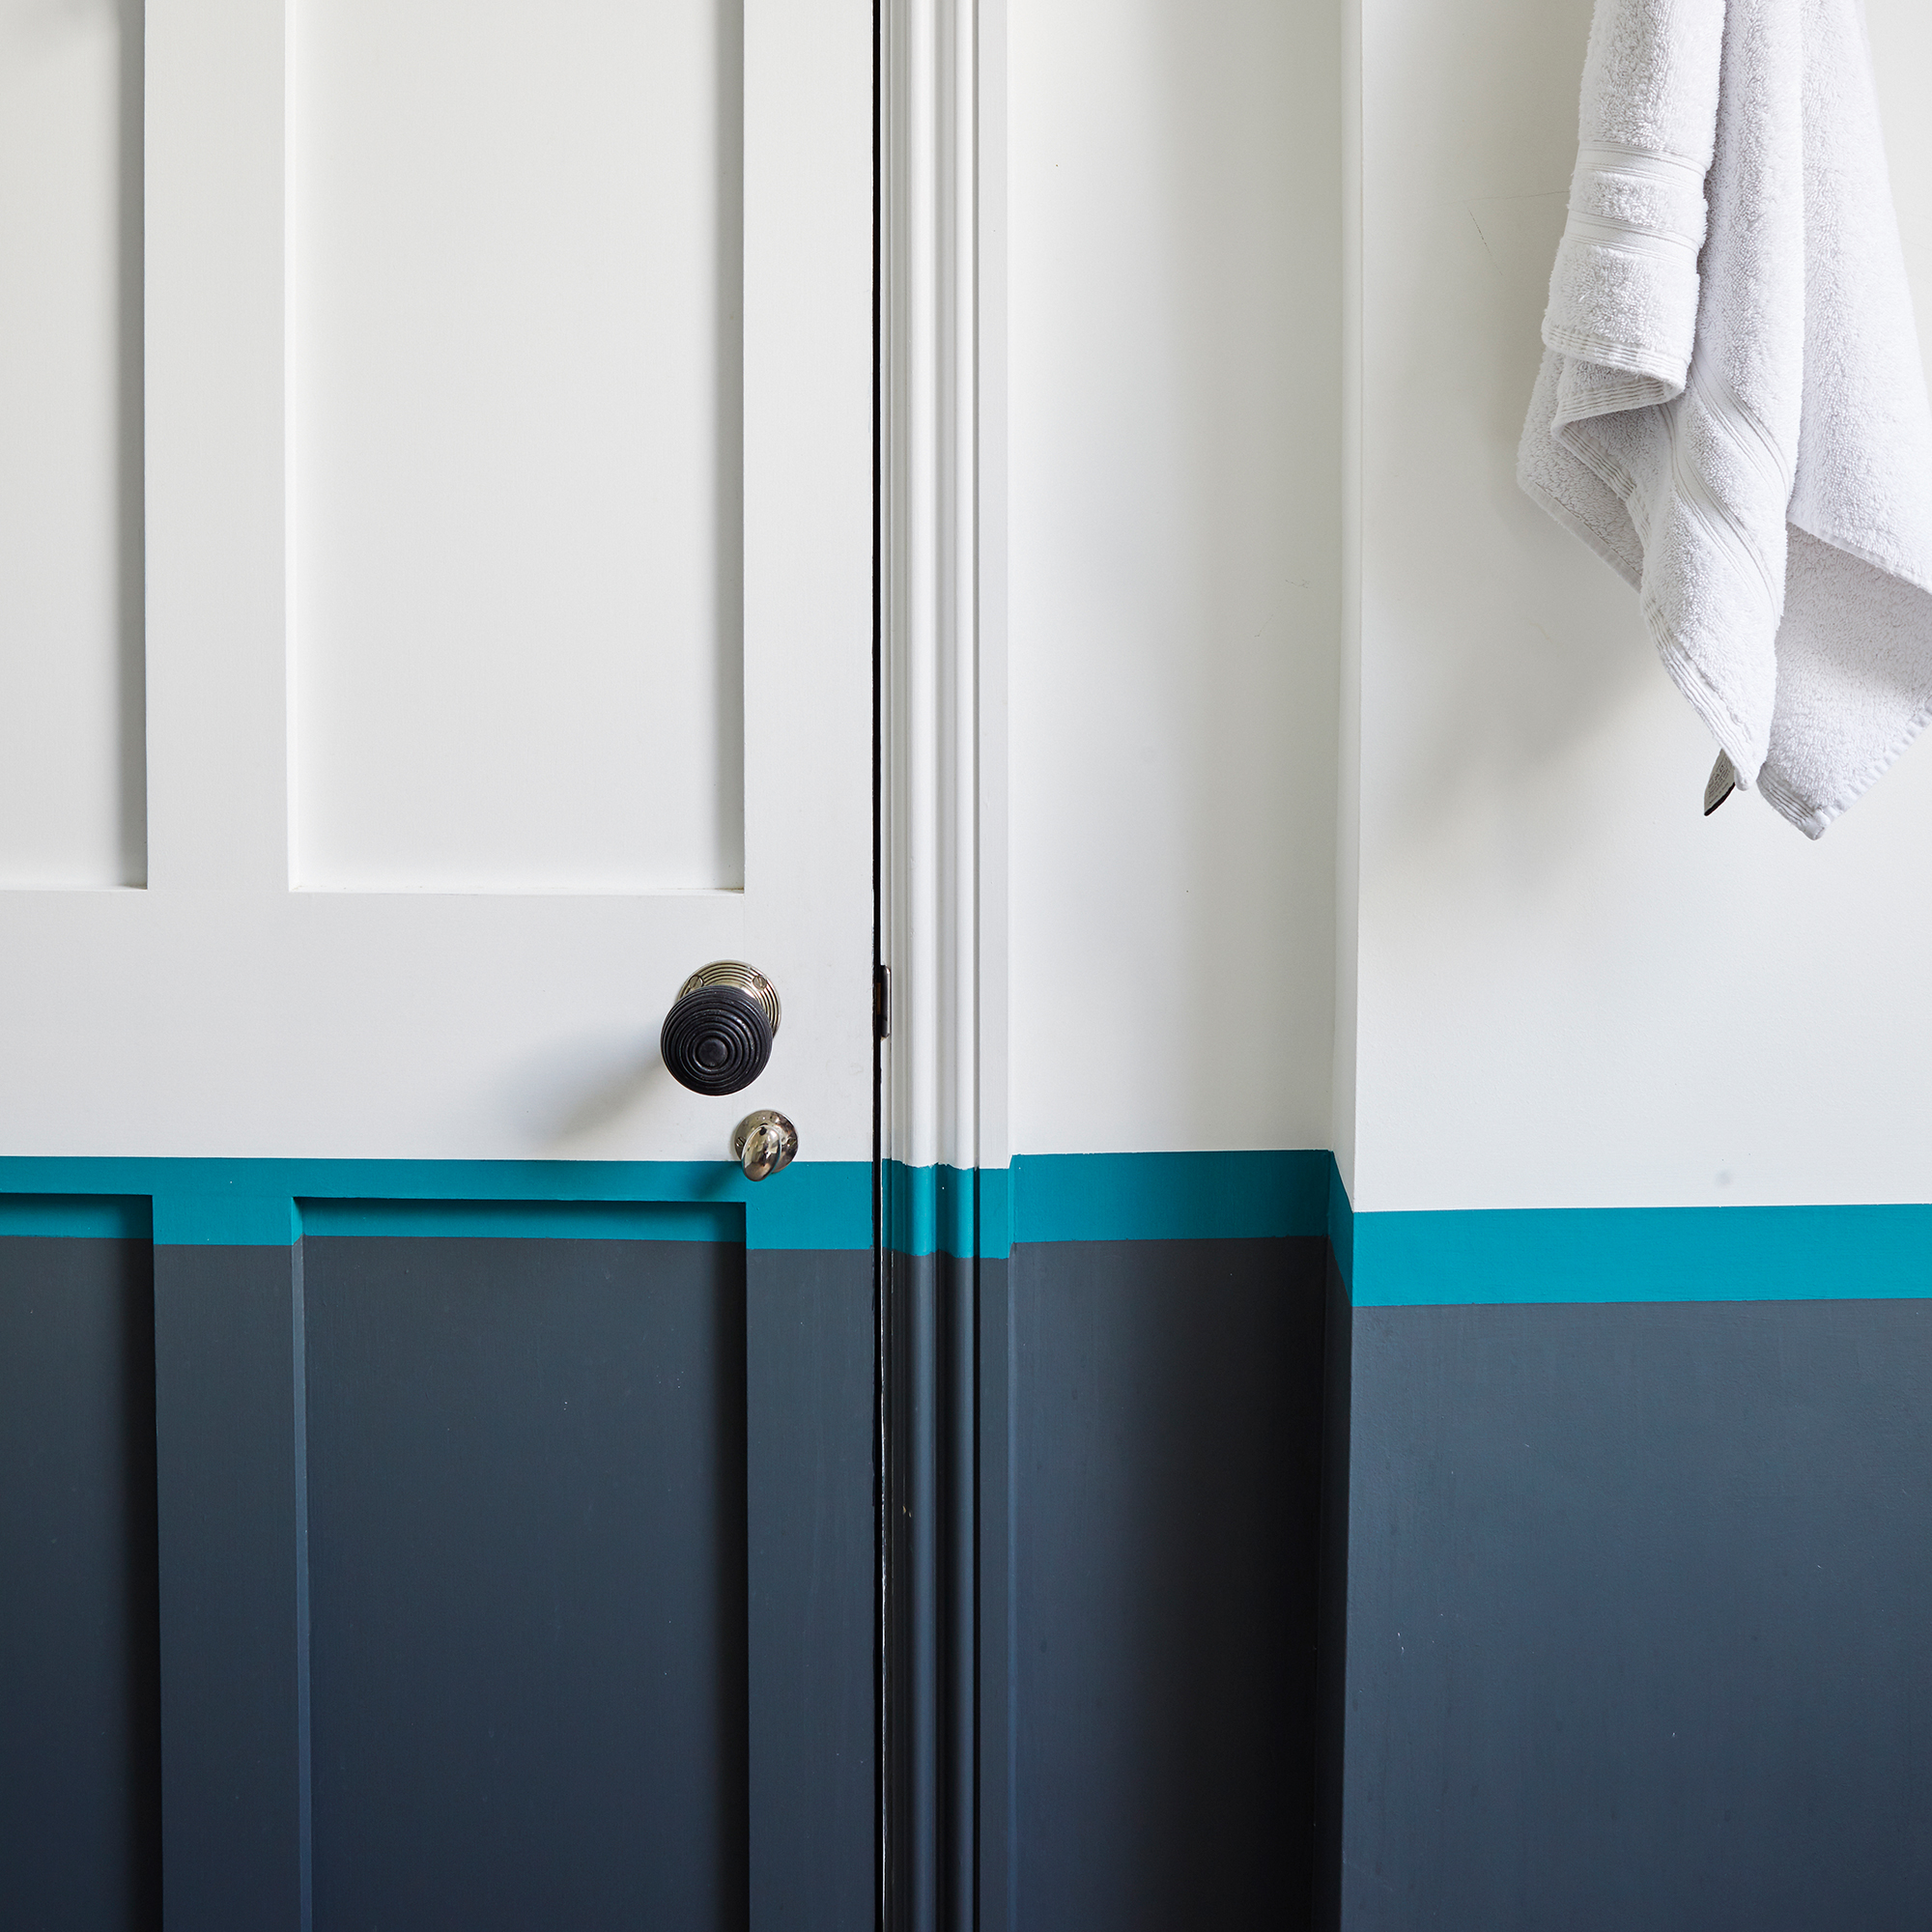
How to install a door knob
Installing a new door knob is a fairly straightforward task, and it shouldn’t take much longer than an hour to install a knob and latch on a new door without any pre-drilled holes or hardware.
The good news is that most door knobs and latches come in a few standard sizes, so it’s not too hard to find a design that will fit your interior door.
Once you have chosen your door knobs, you’ll need to gather a few home essential tools. These are similar to those you would need for how to repair a lock.
Tools you need
- Electric drill
- 20-25mm flat bit
- 10-15mm flat bit
- Screwdriver
- Sharp chisel
- Mallet
- Pencil
- Square
- Tape measure
- Allen key
- Hacksaw (optional)
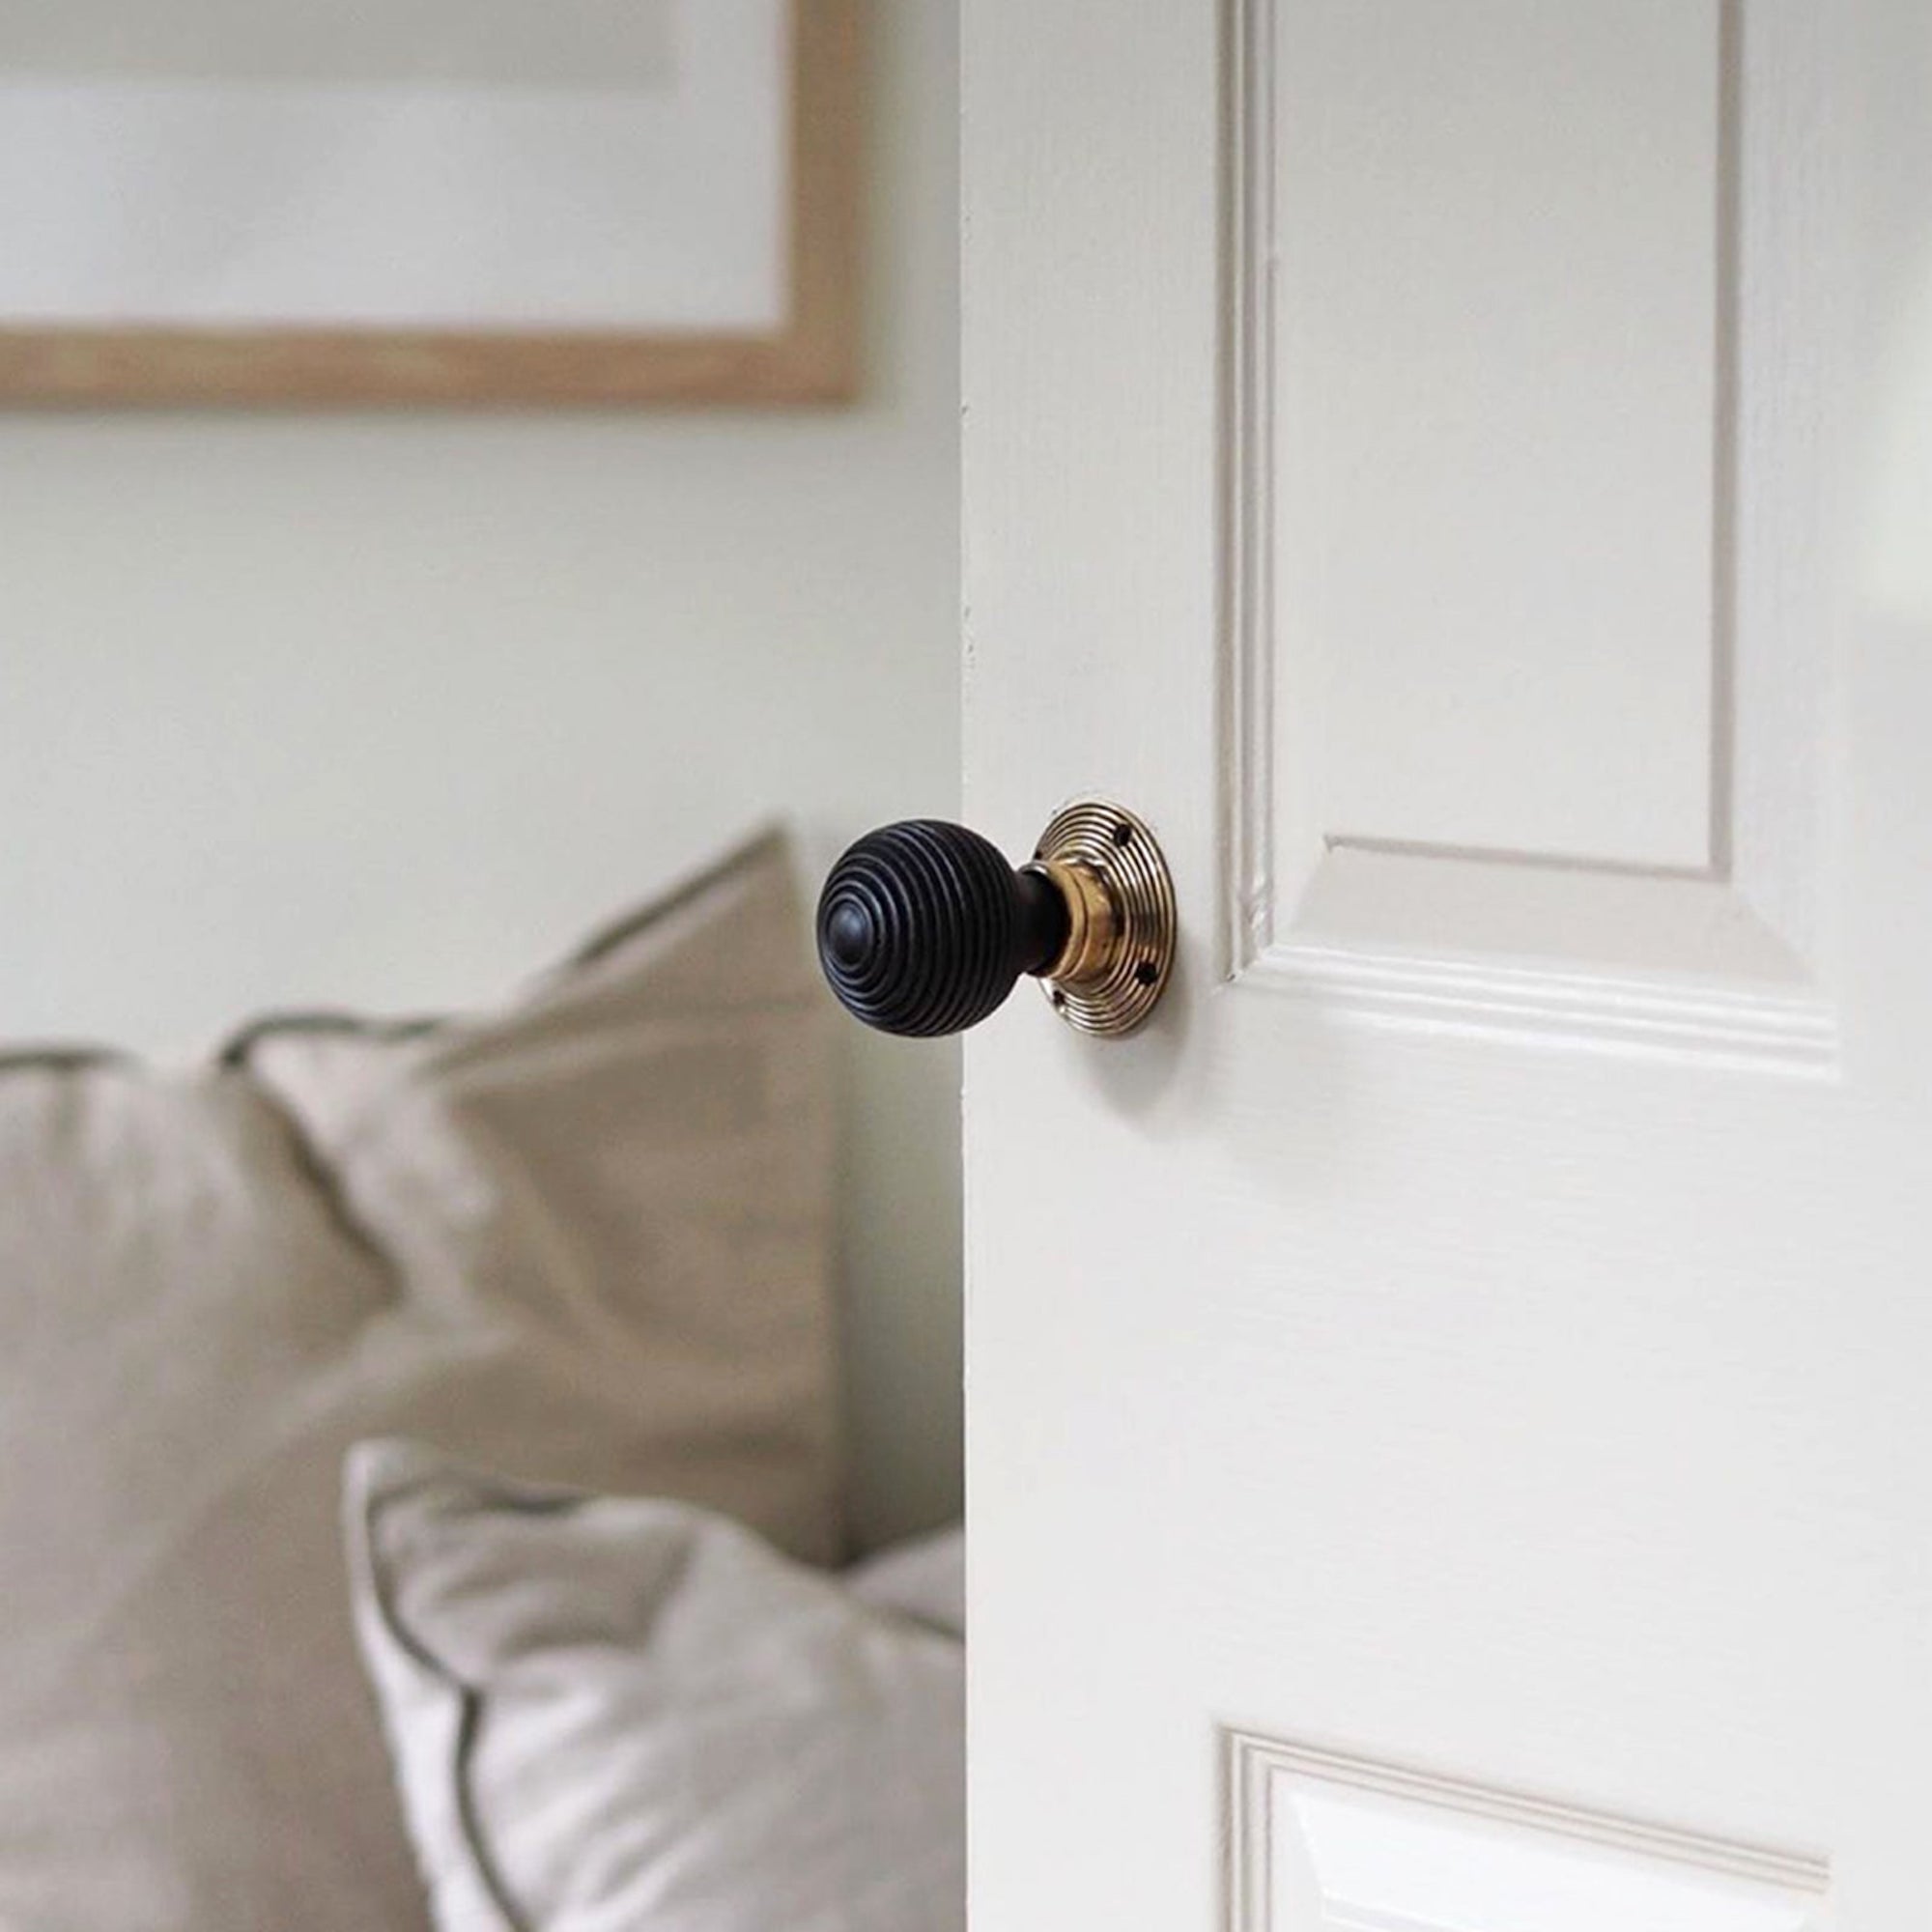
Key terms to know
Spindle: A.K.A mortice bar. The metal bar that connects two knobs through the door and operates the latch mechanism.
Latch: The mechanism that the knobs turn, which slots inside the door, between the two knobs.
Latch-tongue: the end part of the latch that moves in and out when you turn the knob and connects into the door jamb to close the door.
Backplate or rose: The plate that sits behind the door knob or lever. Some include a mounting plate behind to hide the screw fixings for a neater look.
Faceplate: A.K.A forend plate. A thin metal plate that fits on the edge of the door, framing the latch-tongue and helping it to glide in and out smoothly. The end of the door needs to be chiselled out so the faceplate sits flush.
Strikeplate: A thin metal plate that fits flush on the door jamb. It has a hole into which the latch-tongue slides, so that the door stays closed. This is important if you need to know how to fix a door jamb.
1. Measure up
Lay a dust sheet under the door you are working on to collect sawdust and wedge the door firmly open, so it won’t move around while you work. Establish the height of your door knobs by measuring from the bottom of the door, using a tape measure, on both sides. Mark lightly with a pencil.
'The most common height for a door handle is 1m from the floor – it’s best to stick to the same height across all internal doors for both convenience and aesthetics,' says Turrou Landesmann, Trading Manager at Door Superstore. 'Remember, in the UK, regulations say that door handles must be installed between 90cm and 105cm off the floor.'
Next, mark out how far in the knobs will sit on the door (measuring from the edge of the door to the centre of the spindle hole), which will be governed by the length of the latch. This information can be found in the latch specification.
'Door knobs usually come with a marking out template, demonstrating where holes need to be drilled. Use this to make small pencil marks and then drill small pilot holes, using a 2mm drill bit, as a marker when you’re happy,' adds Turrou.
Finally, mark out the end of the door, where the latch will slide in. Use a square to draw a horizontal line across the end of the door, at the same height as the marker for your spindle hole (e.g. around 1m high). Drill a small pilot hole in the centre of this horizontal line.
2. Drill a hole for the spindle
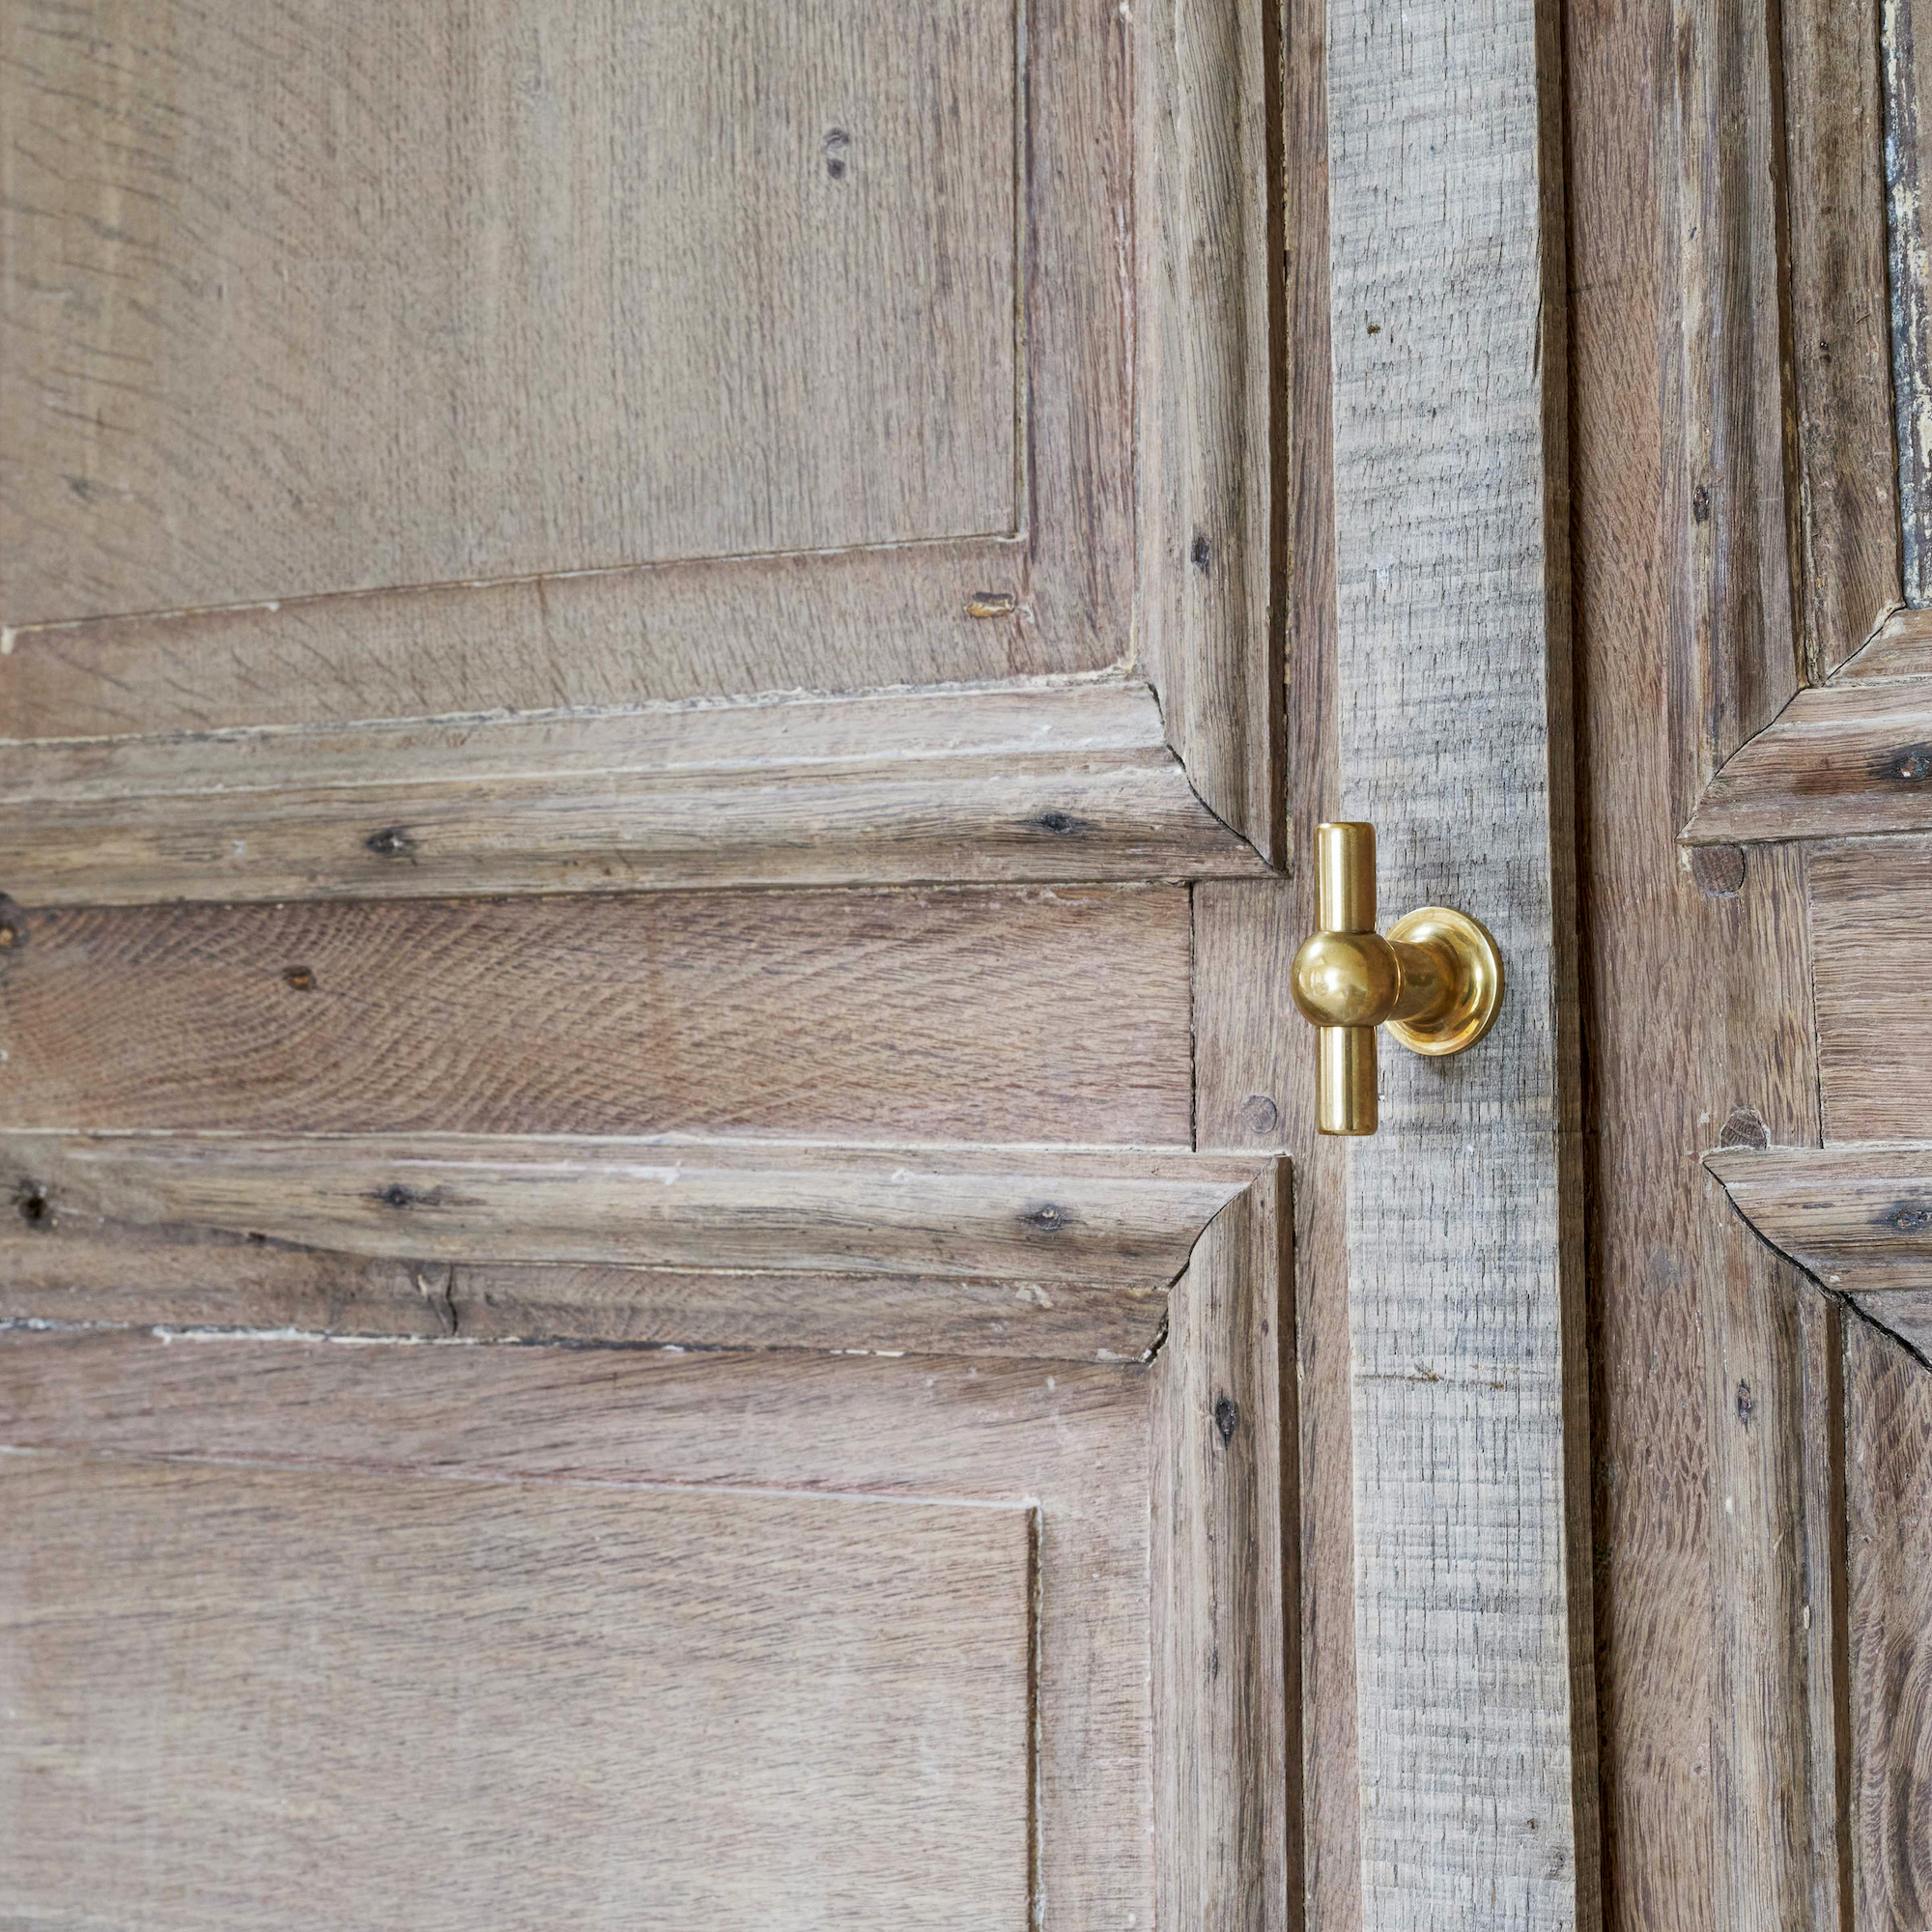
Using the pilot hole you marked for the spindle, drill through the door. The standard size for spindles is 8mm square, so a flat wood drill bit around 10mm is ideal, but do consult the door knob specification for specific measurements. Drill the hole from both sides to ensure it meets perfectly in the middle.
'Make sure the spindle hole is absolutely square,' says James Duffy, Product Designer, Corston Architectural. 'A wonky hole will cause the knobs and latch to be misaligned and in the worst cases, the knobs won’t return to their original position when turned. If you’re not confident you can buy guide jigs (available on Amazon) for your drill that will drill straight holes every time.'
3. Drill a hole for the latch
Using a 20-25mm drill bit (again, check the latch manufacturer’s specifications), drill into the end of the door for the latch. This is another hole that has to be absolutely square to avoid major alignment issues. Do use a jig to guide your drill if you’re concerned.
4. Chisel out the faceplate
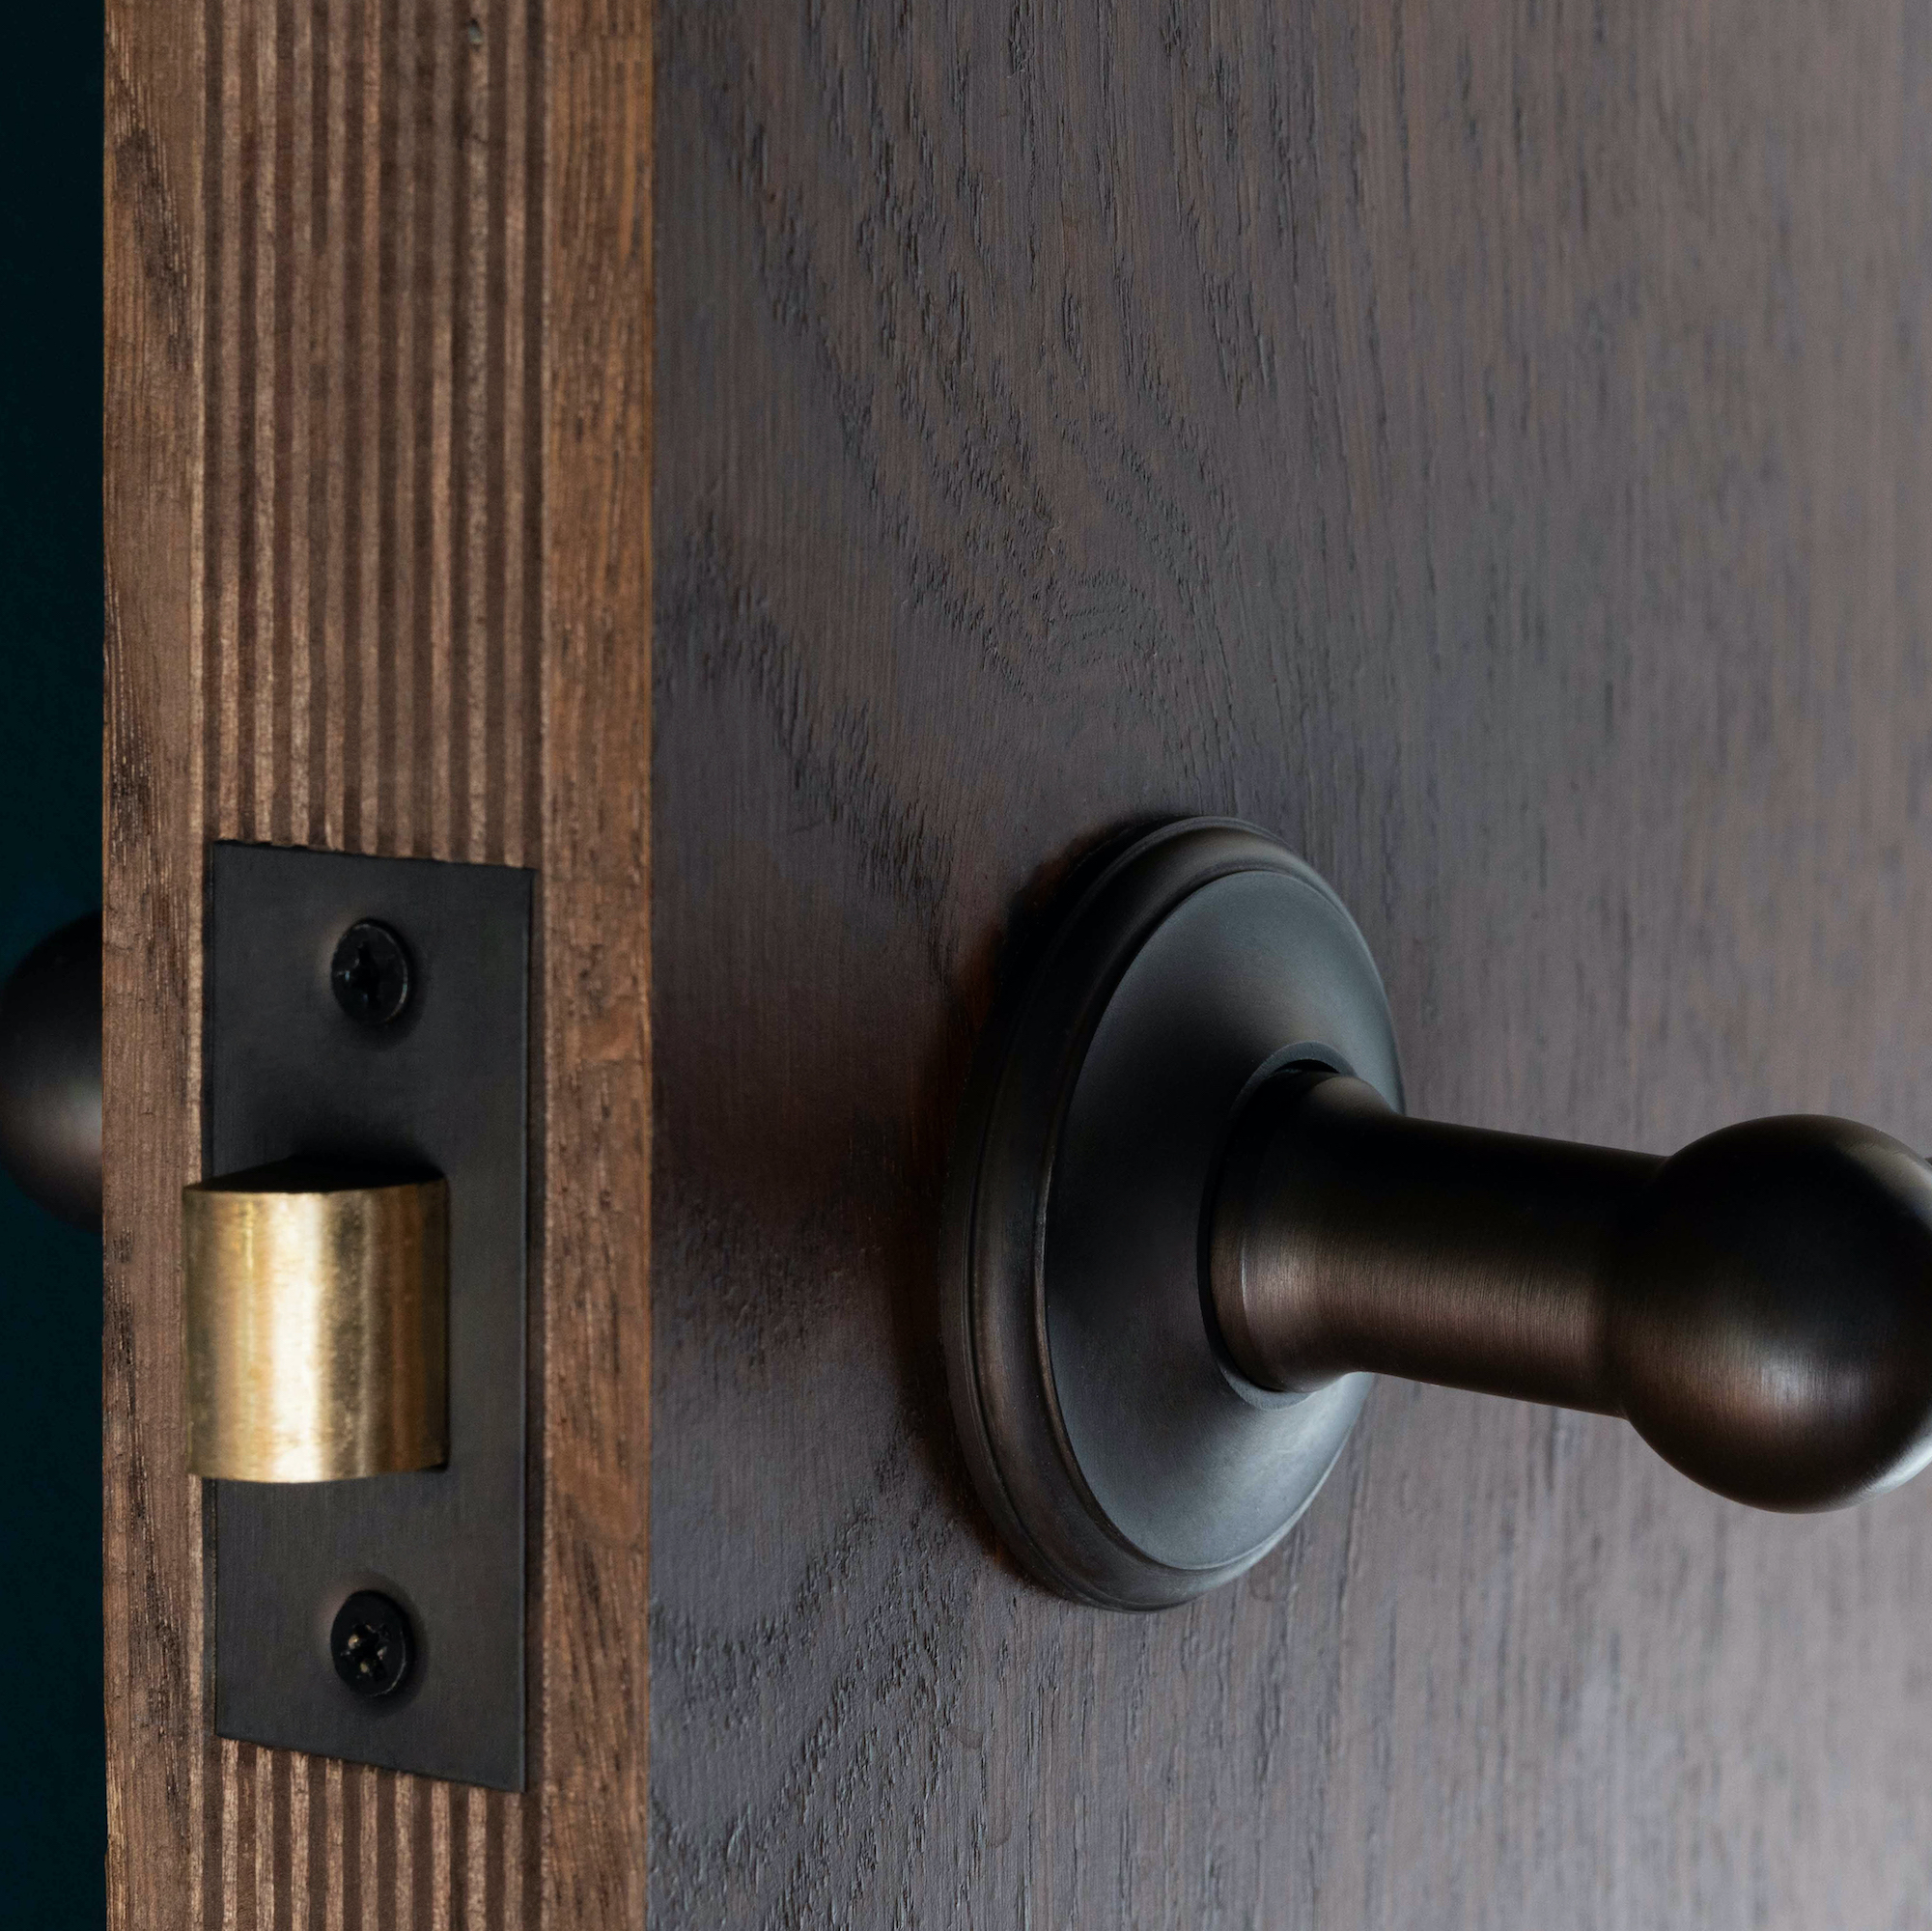
Push the latch cylinder into the hole you just drilled, and check it aligns with the spindle holes (remember it will go in a couple millimetres more once the faceplate is chiselled out).
Draw lightly around the faceplate and then take the latch out again. Using a sharp chisel and mallet, set the chisel at a 45° angle and carefully carve out a thin layer of wood to enable the faceplate to sit flush in the end of the door.
Set the faceplate into its newly chiselled home and screw it tightly into place.
5. Fit the knobs
Slide the spindle through the spindle hole and then place a knob on either end to assess the fit.
'It may be that the spindle is too long for the width of your door so the door knobs sit off from the door,' says James of Corston Architectural. 'To fix this, measure the gap from the door to the knob. Remove the spindle and simply cut the required length from the spindle with a hacksaw.'
Next, slide a backplate or rose over each end of the spindle and screw into the door. In the case of knobs with hidden fixings, you may need to screw on a mounting plate and then the backplate/rose clips or screws over.
Then pop the knobs onto the spindle, slide up to the rose/backplate and use an Allen key to secure the grub screw on each knob in place. The grub screw should be facing downwards to hide it.
'Make sure the knobs are not screwed on too tight or too loose. If they are too tight, they won’t return to their original position when turned. If too loose then the knob will rattle around and feel terrible,' adds James of Corston.
6. Chisel out the strikeplate
Using your latch position as a guide, find the centre point of your strikeplate. Use a 25mm spade bit to drill a hole for the latch to slide into, and then position the strikeplate over and draw around it to mark out where you need to chisel out. Make sure the leading edge of the strikeplate extends over the door jamb, in the direction the door will close.
Finally, chisel out a thin layer in the door jamb to enable the strikeplate to fit flush. Screw the strikeplate into place.
Which is best, door handle or door knob?
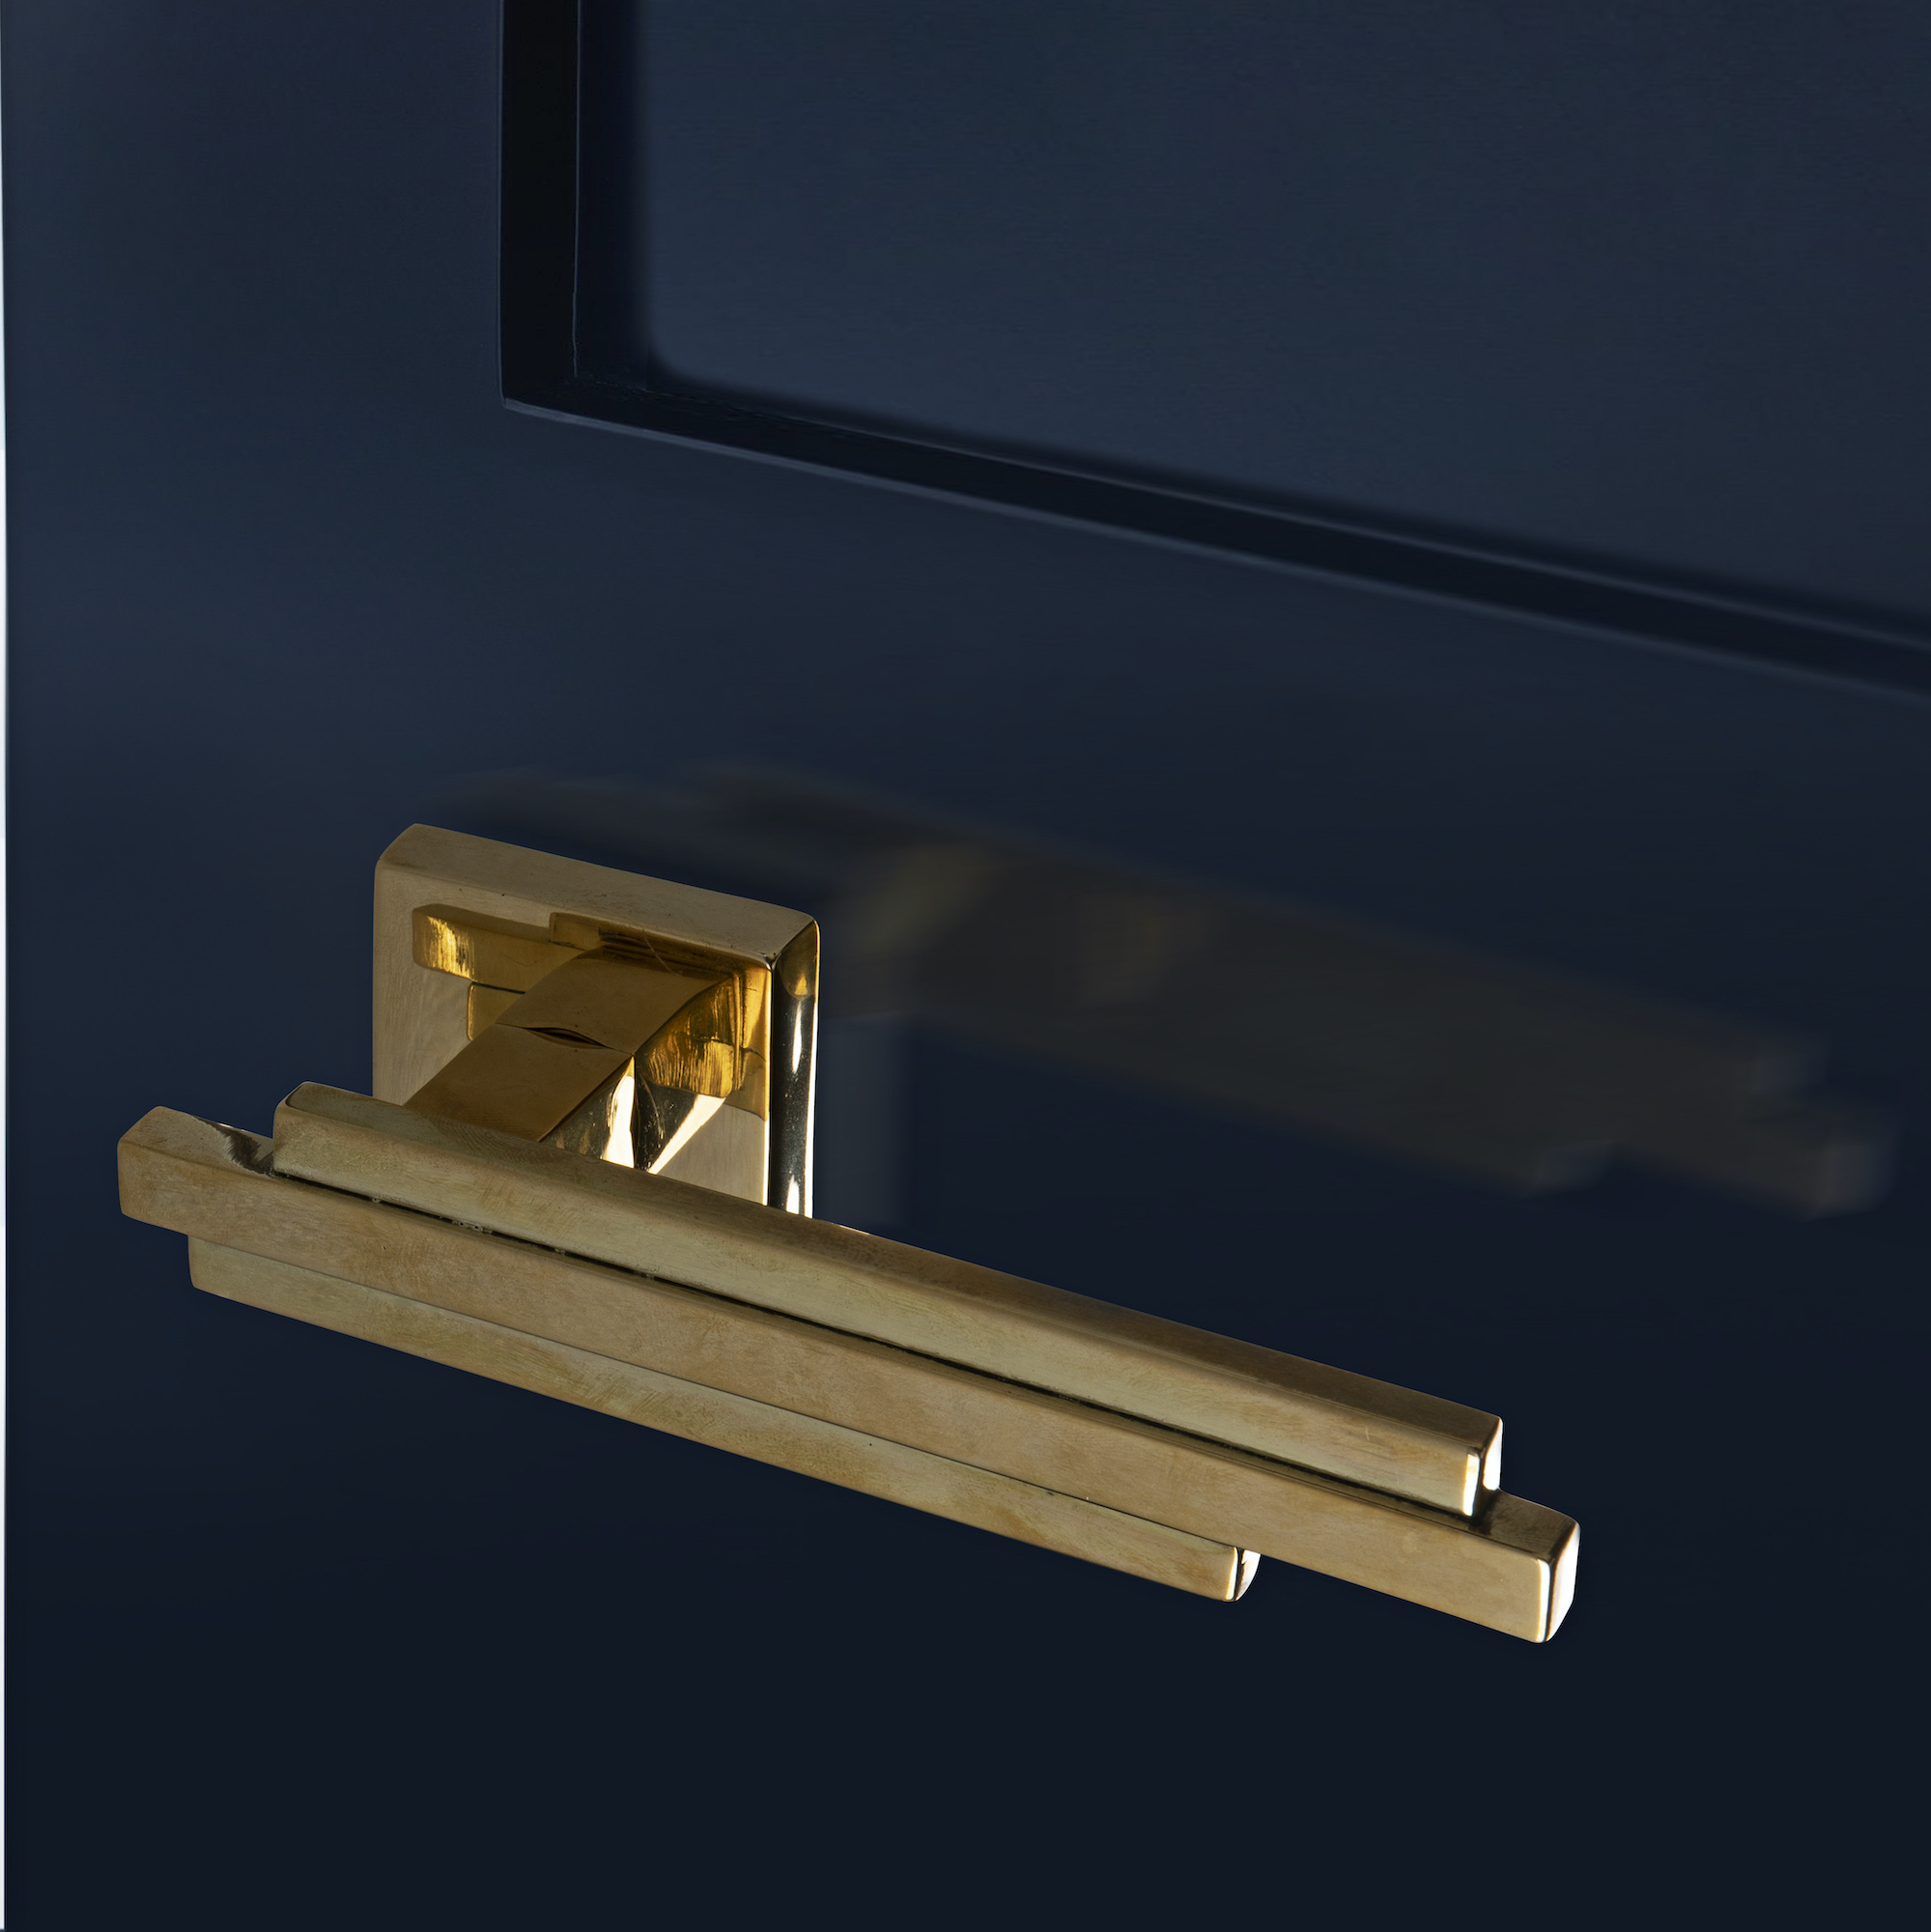
'There are two advantages to buying a lever-style door handle. Firstly, they are easier to grip, which may be important if you have issues with dexterity or wrist strength,' explains Xander Shreenan, interior designer Dowsing & Reynolds. 'Secondly, they can be a better option if your door is glazed or panelled and the lock stile (the vertical edge of the door that hosts the lock or latch) sits close to the door frame.'
A door knob often needs to be set back further from the edge of the door to avoid catching your knuckles on the door frames when you turn.
Door knobs can look more luxurious and are often associated with period properties. If there is enough space between the door knob and door frame to turn the knob without taking the skin off your knuckles, they are a great choice. If you are concerned about grip, go for an oval or T-shape style handle, or beehive, which is ribbed.
How do I replace an existing door knob?
If you’re replacing an existing knob, there a good chance you’ll be able to retain the existing latch, which will make the job a lot quicker and easier. Use an Allen key to unscrew the grub screw in the underside of the knob and slide it off the handle. Slide the knob off the spindle, then unscrew the rose (and mounting rose if applicable) and slide it off as well. Repeat on the opposite side.
Provided your new knob is a universal size and slides onto the spindle, you can then do the above steps in reverse. You may need to cut the spindle shorter with a hacksaw. Then sand and touch up any marks on the door, which will be particularly noticeable if there is a difference in rose diameter.
Can I replace a door knob myself?
Replacing a door knob should not prove too difficult for anyone who can handle a Phillips (crosshead) screwdriver. The easiest way to make the task run smoothly is to choose a replacement knob with similar dimensions to the existing design. Remove the knob and take it to your hardware store for advice if you’re unsure.
Installing a new door knob requires skill with a power drill, as well as mallet and chisel. 'When chiselling the strike plate, which protects the door’s lock mechanism, or drilling out the hole for the latch, turn to a professional if you’re not confident, as you may end up ruining your door if done incorrectly,' advises Turrou Landesmann, Trading Manager at Door Superstore.
What’s the difference between an interior and exterior door knob?
Door knobs designed for interior doors are generally lighter weight and a little smaller than an exterior door knob. You also don’t have to worry about weather-resistant finishes on an interior door knob.
Most interior door knobs do not offer any kind of security protection or locking mechanisms in their latches. If you want to lock an interior door, for example on a bathroom door, a separate thumb-turn lock is a popular solution. Many hardware manufacturers offer knobs and thumb-turn locks in matching designs/finishes for a smart, coordinated look.
Get the Ideal Home Newsletter
Sign up to our newsletter for style and decor inspiration, house makeovers, project advice and more.

Linda Clayton is a professionally trained journalist, and has specialised in product design, interiors and fitness for more than two decades. Linda has written for a wide range of publications, from the Daily Telegraph and Guardian to Homes & Gardens and Livingetc. She has been freelancing for Ideal Home Magazine since 2008, covering design trends, home makeovers, product reviews and much more.
-
 5 signs you’ve taken decluttering too far — and how you can pull yourself back, according to organisation experts
You might have to start resisting the urge to purge
By Lauren Bradbury
-
 What is the Party Wall Act 3m rule and is it something you should be worried about? This is what the experts say
Don't get caught off-guard by the Party Wall Act 3m rule — our expert guide is a must-read
By Natasha Brinsmead
-
 Shoppers can’t get enough of The Range’s lemon tree, but I’ve found an even cheaper bestseller at B&Q - it’s perfect for a Mediterranean look
Welcome the summer with this glorious fruit tree
By Kezia Reynolds