How to paint a banister - 5 steps to help you paint like a pro
Learn how to paint a banister to give it a fresh, new look with our step-by-step guide
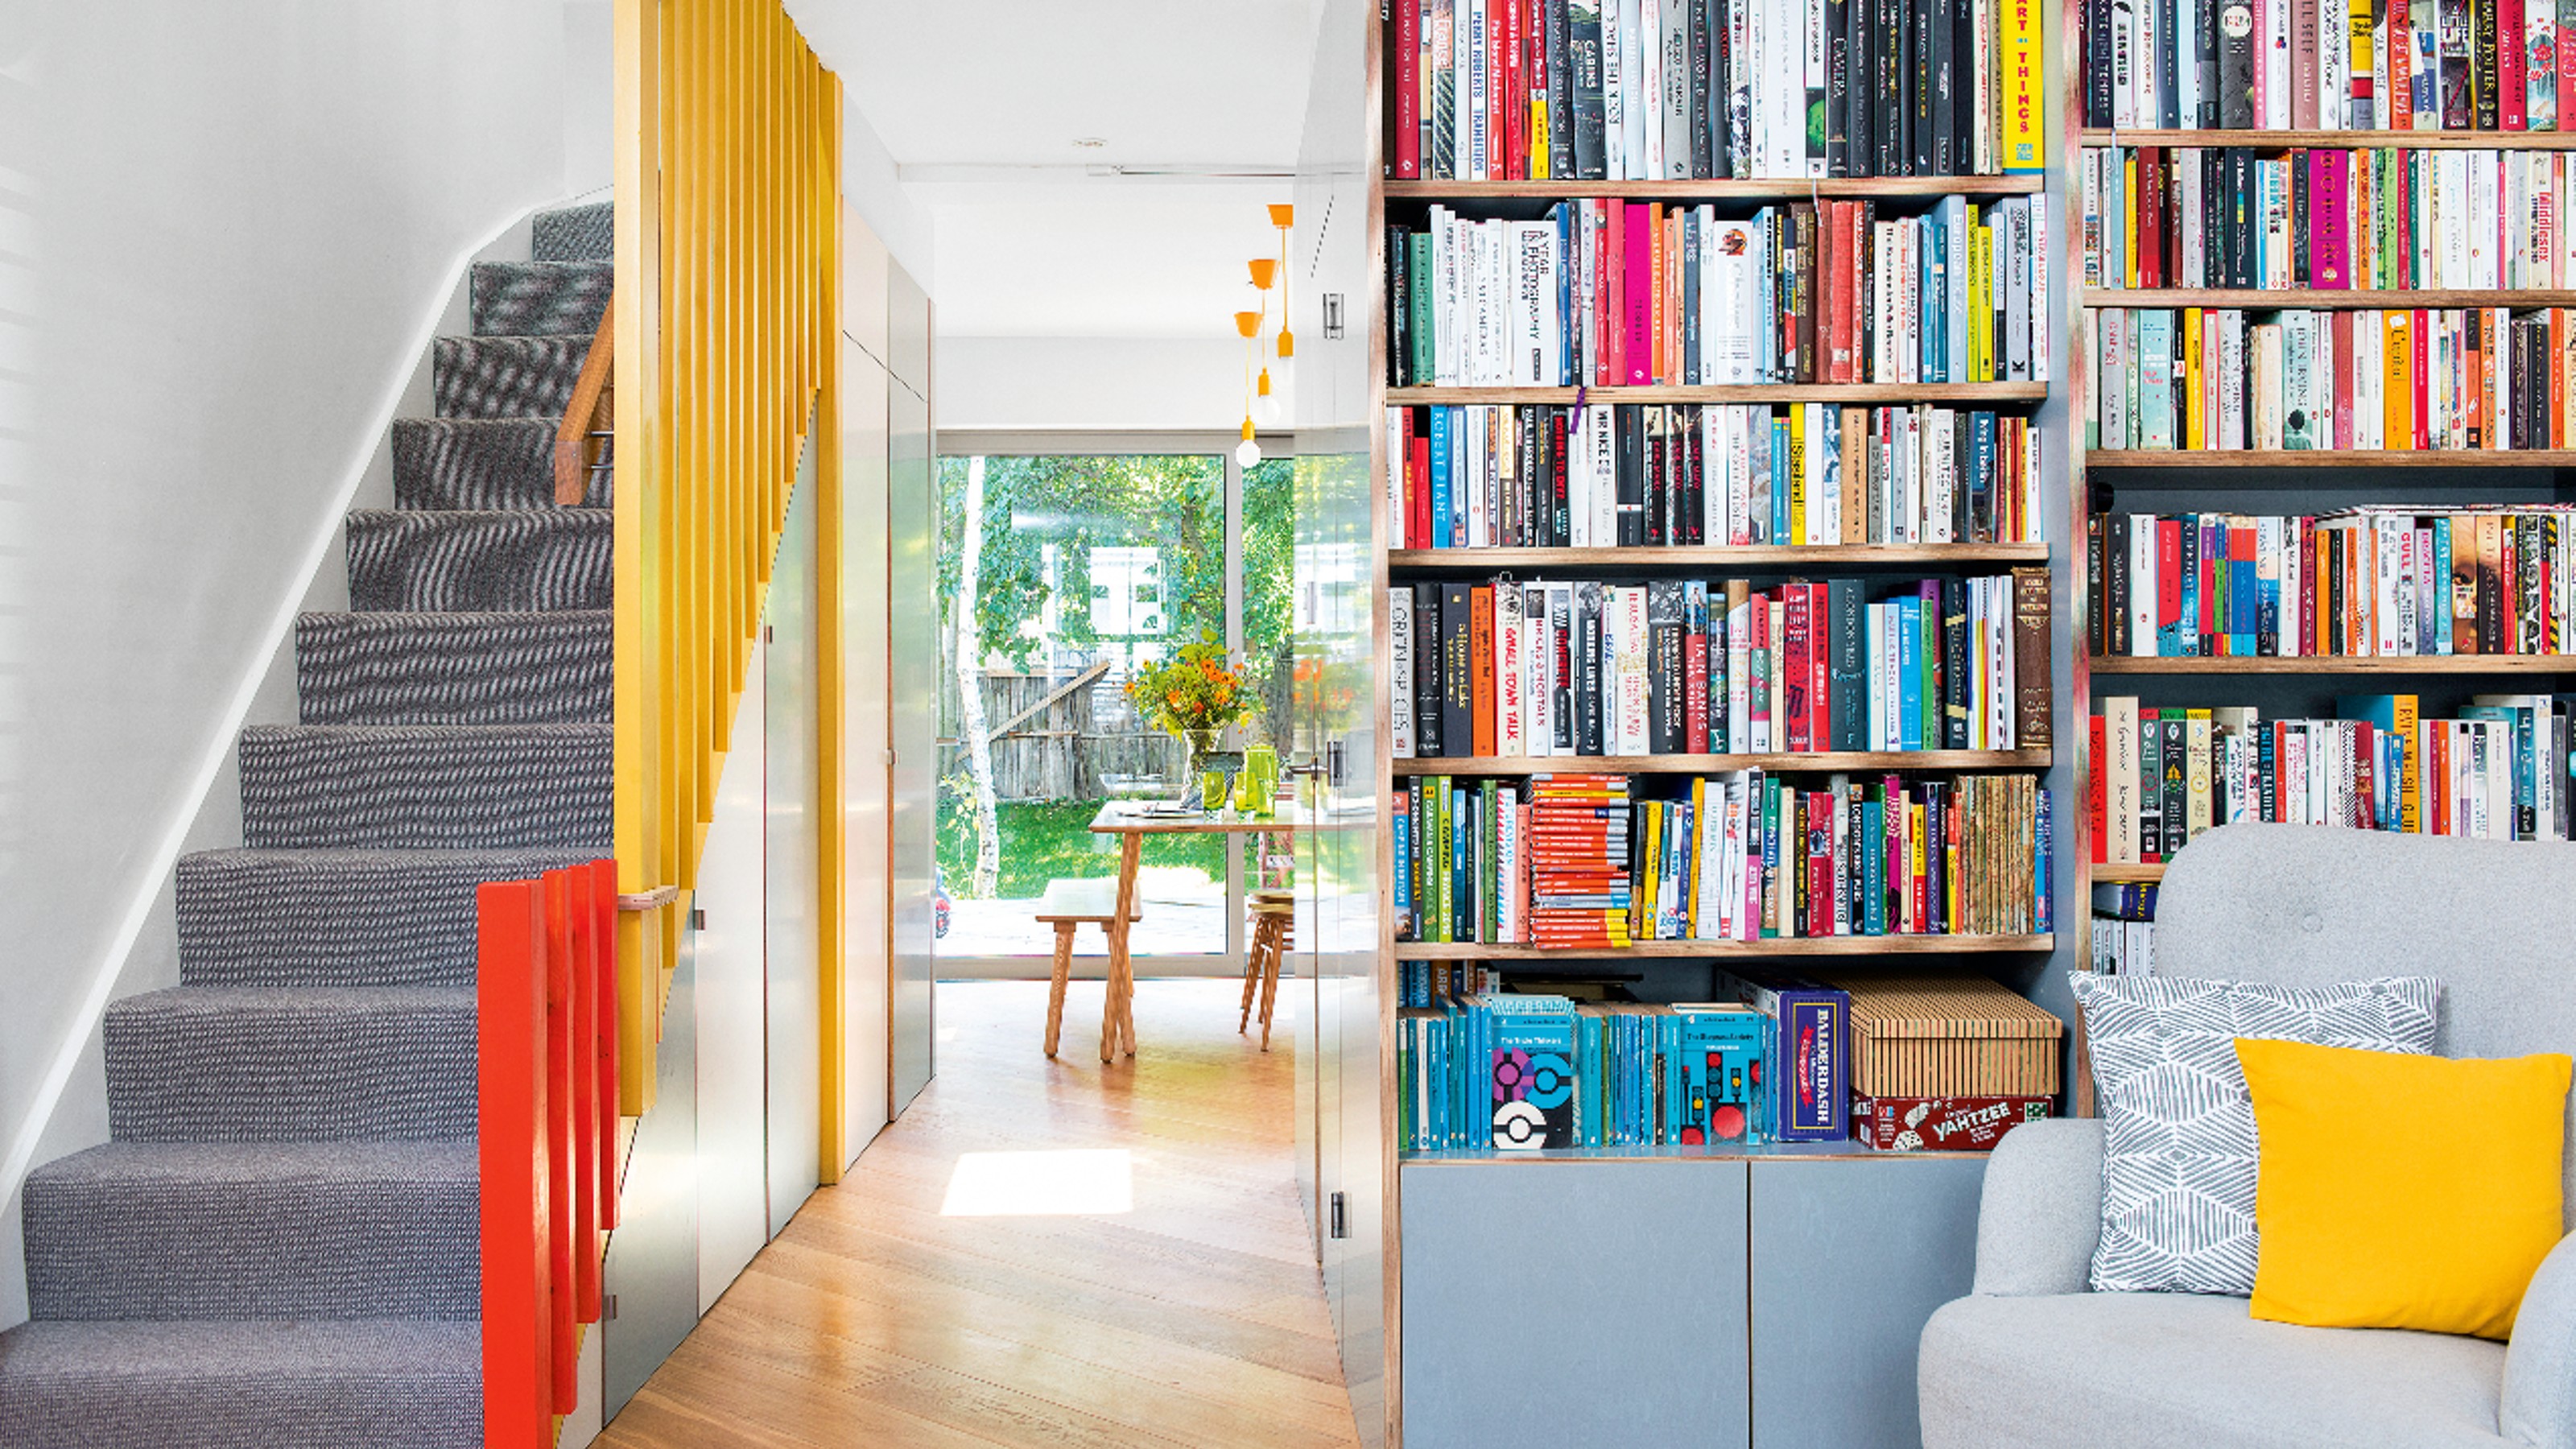

Although a banister may rarely be considered a prime concern when renovating a home, they are the finishing touch in most hallways. For this reason, it pays to take care to learn how to paint a banister properly to keep your home looking fresh.
If you're browsing through painted stair ideas for your next home project the idea of painting a banister yourself might fill you with some dread. Full of small nooks and curving sections banisters are a little trickier than simply learning how to paint a staircase. However, once you get the hang of it with our step-by-step guide you'll be a pro and able to save yourself some pounds (and added bonus).
How to paint a banister
'Banisters can be a beautiful addition to any room in your home, but the paint may peel off if they are not adequately prepared before painting', warns Matt Hagens, Carpenter, Founder, and CEO of Obsessed Woodworking.
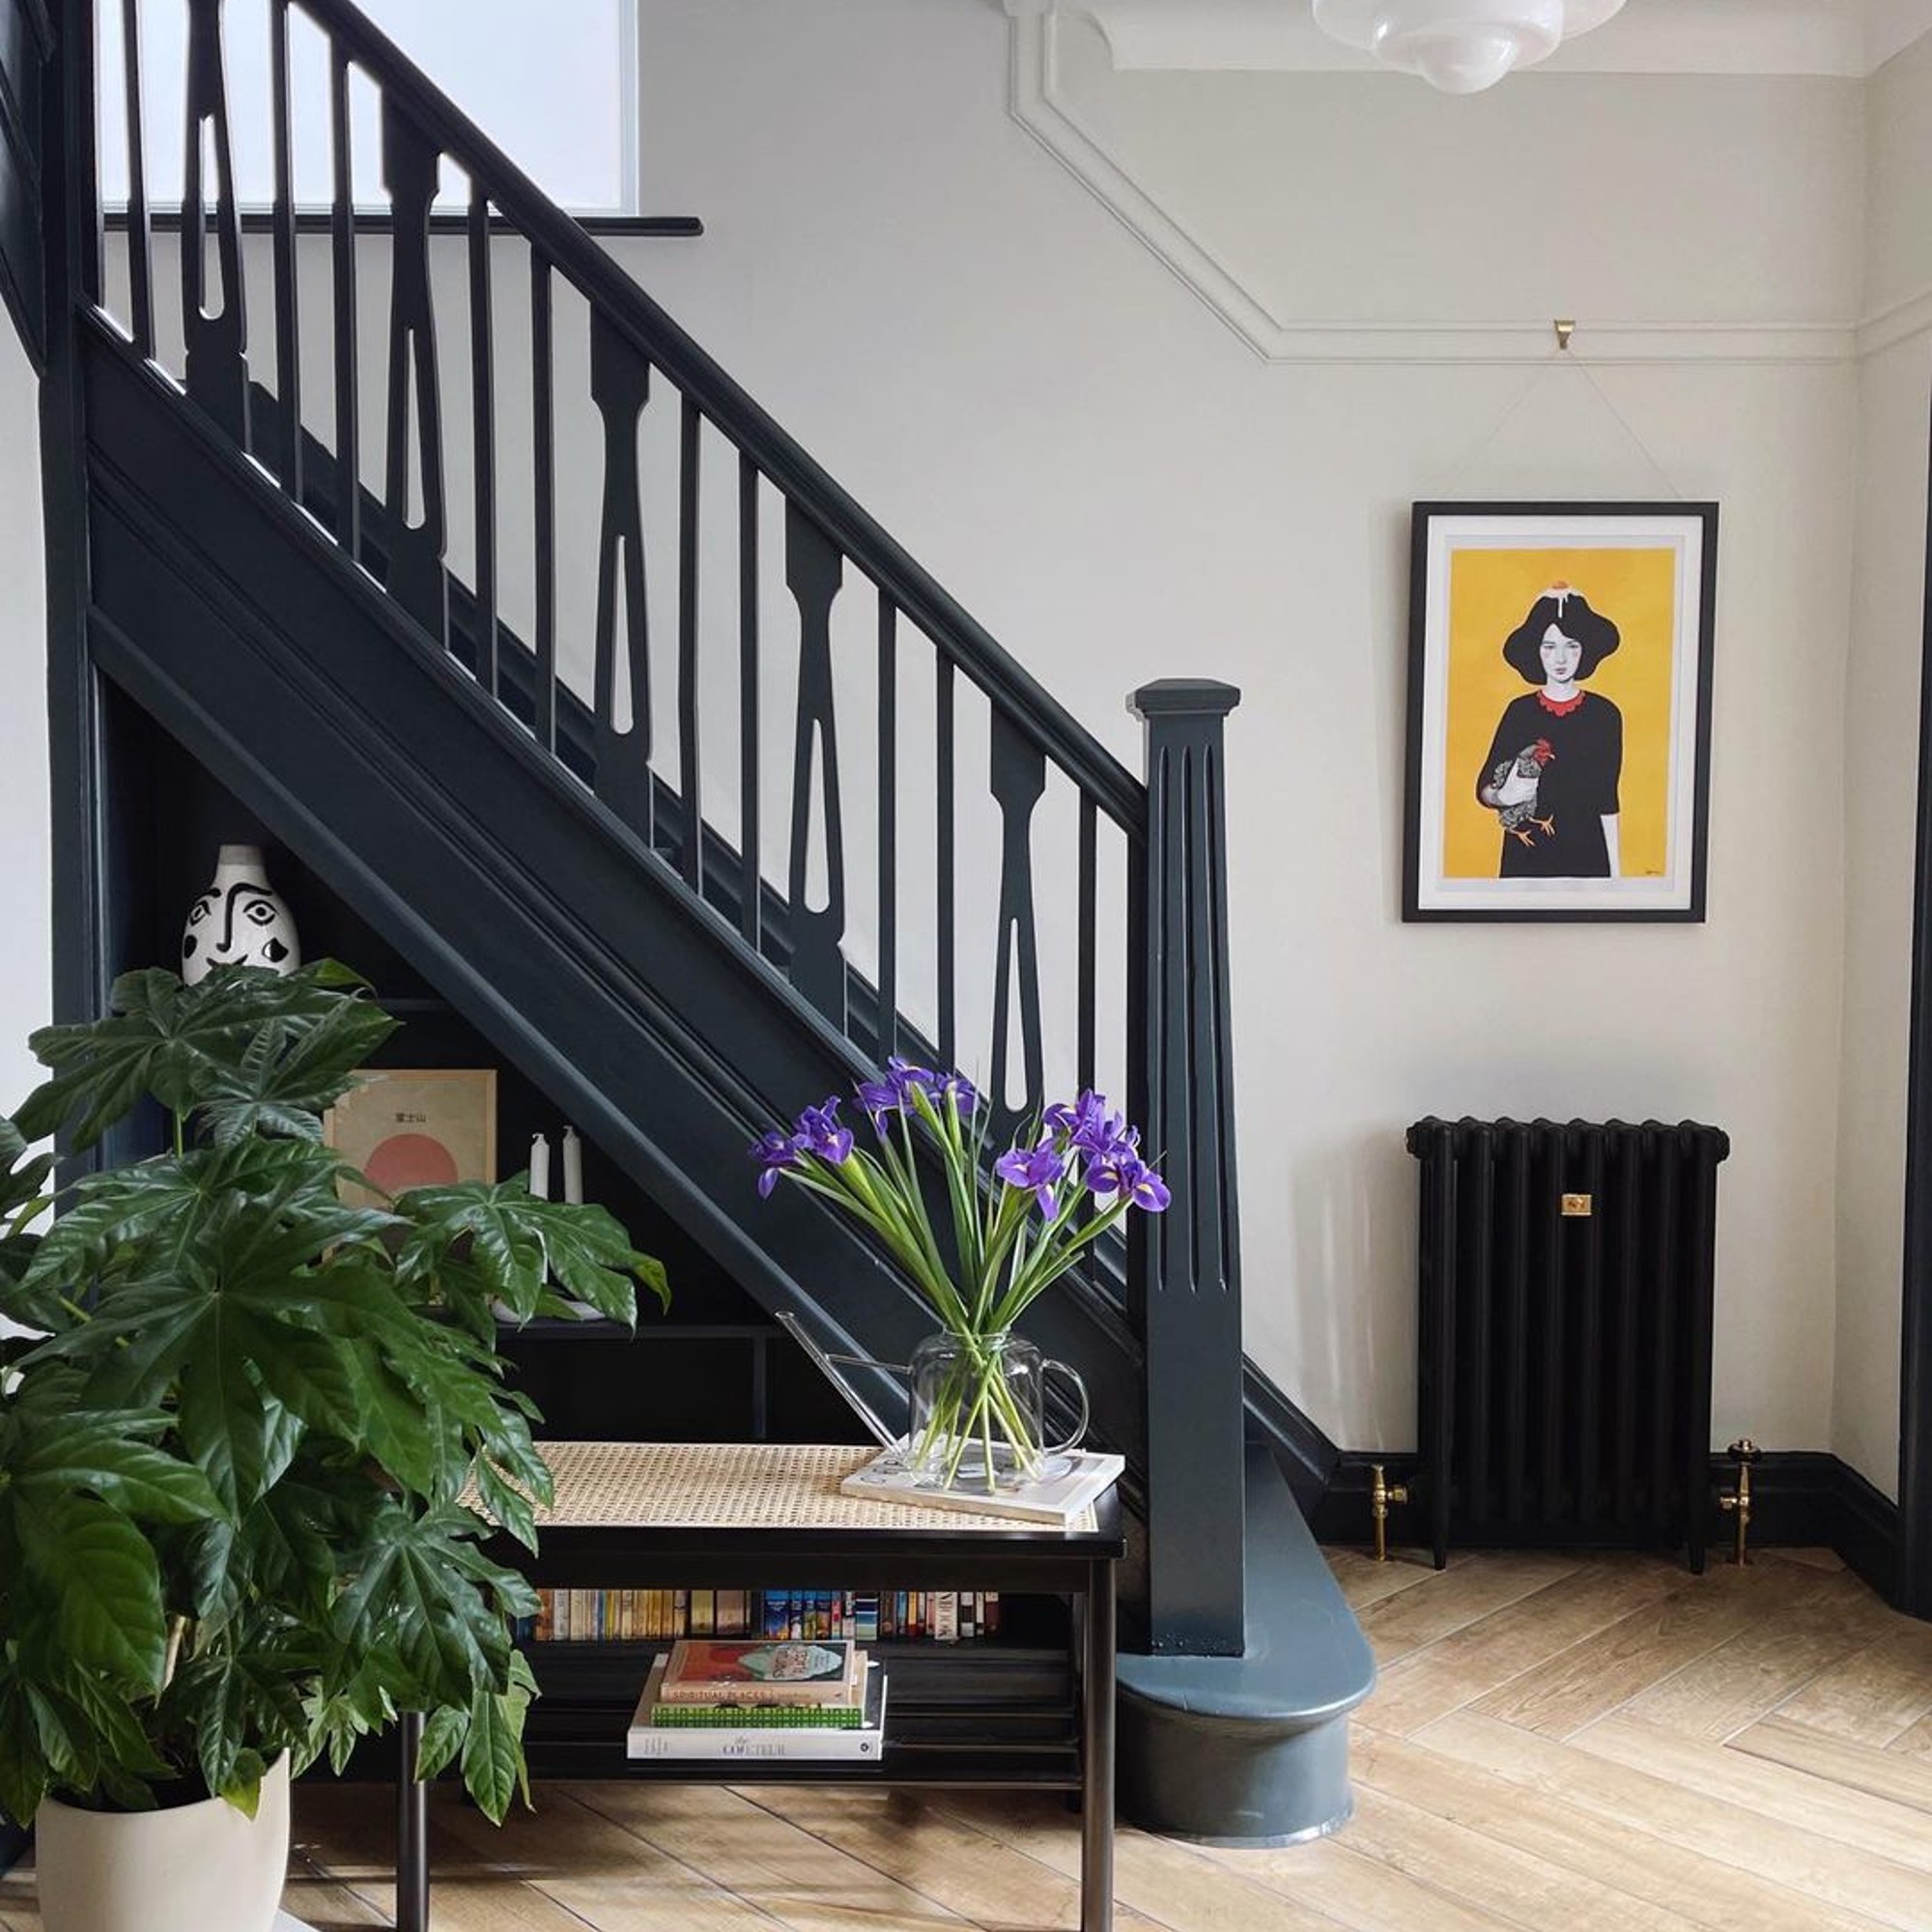
Just like every other DIY and decorating project, preparation is key. Although it may be tempting to go all in and just wing it, you may find yourself having to pay the consequences of a careless paint job later down the line.
In this step-by-step guide, we'll show you how you can paint a banister like a pro.
What you'll need
- Dust sheets, plastic sheeting, or newspaper
- Decorators tape or masking tape
- Sandpaper
- Sponge and sugar soap
- A damp cloth
- Microfibre cloth
- Rubber gloves
- Filler and filling knife
- Primer
- Your choice of paint
- Good quality paintbrushes
- Small radiator roller
- Paint tray
- Old clothes
Painting a banister - step-by-step
1. Protect the area
If you have already decorated your staircase or are planning to keep them the same, make sure you lay down newspaper or sheeting to protect your stairs as they are. Consider opting for decorators or masking tape around the more fiddly areas like the spindles. All of this prep will ensure you end up with clean lines at the end of your project.
To ease the job further, Marianne Shillingford, Creative Director at Dulux recommends investing in some self-adhesive carpet protectors for your stairs, making them much easier and safer to get up and down while you are decorating.
2. Clean the surface
Make sure you're wearing your rubber gloves for this one! Give the banister a good scrub using a clean sponge and sugar soap to remove any remaining dirt and grime that has accumulated over time. You can only imagine how many hands have touched it, especially given that a banister is one of the most high-traffic areas inside your home.
Once you've given the banister a good clean, be sure to wipe off the excess sugar soap with a damp, clean cloth.
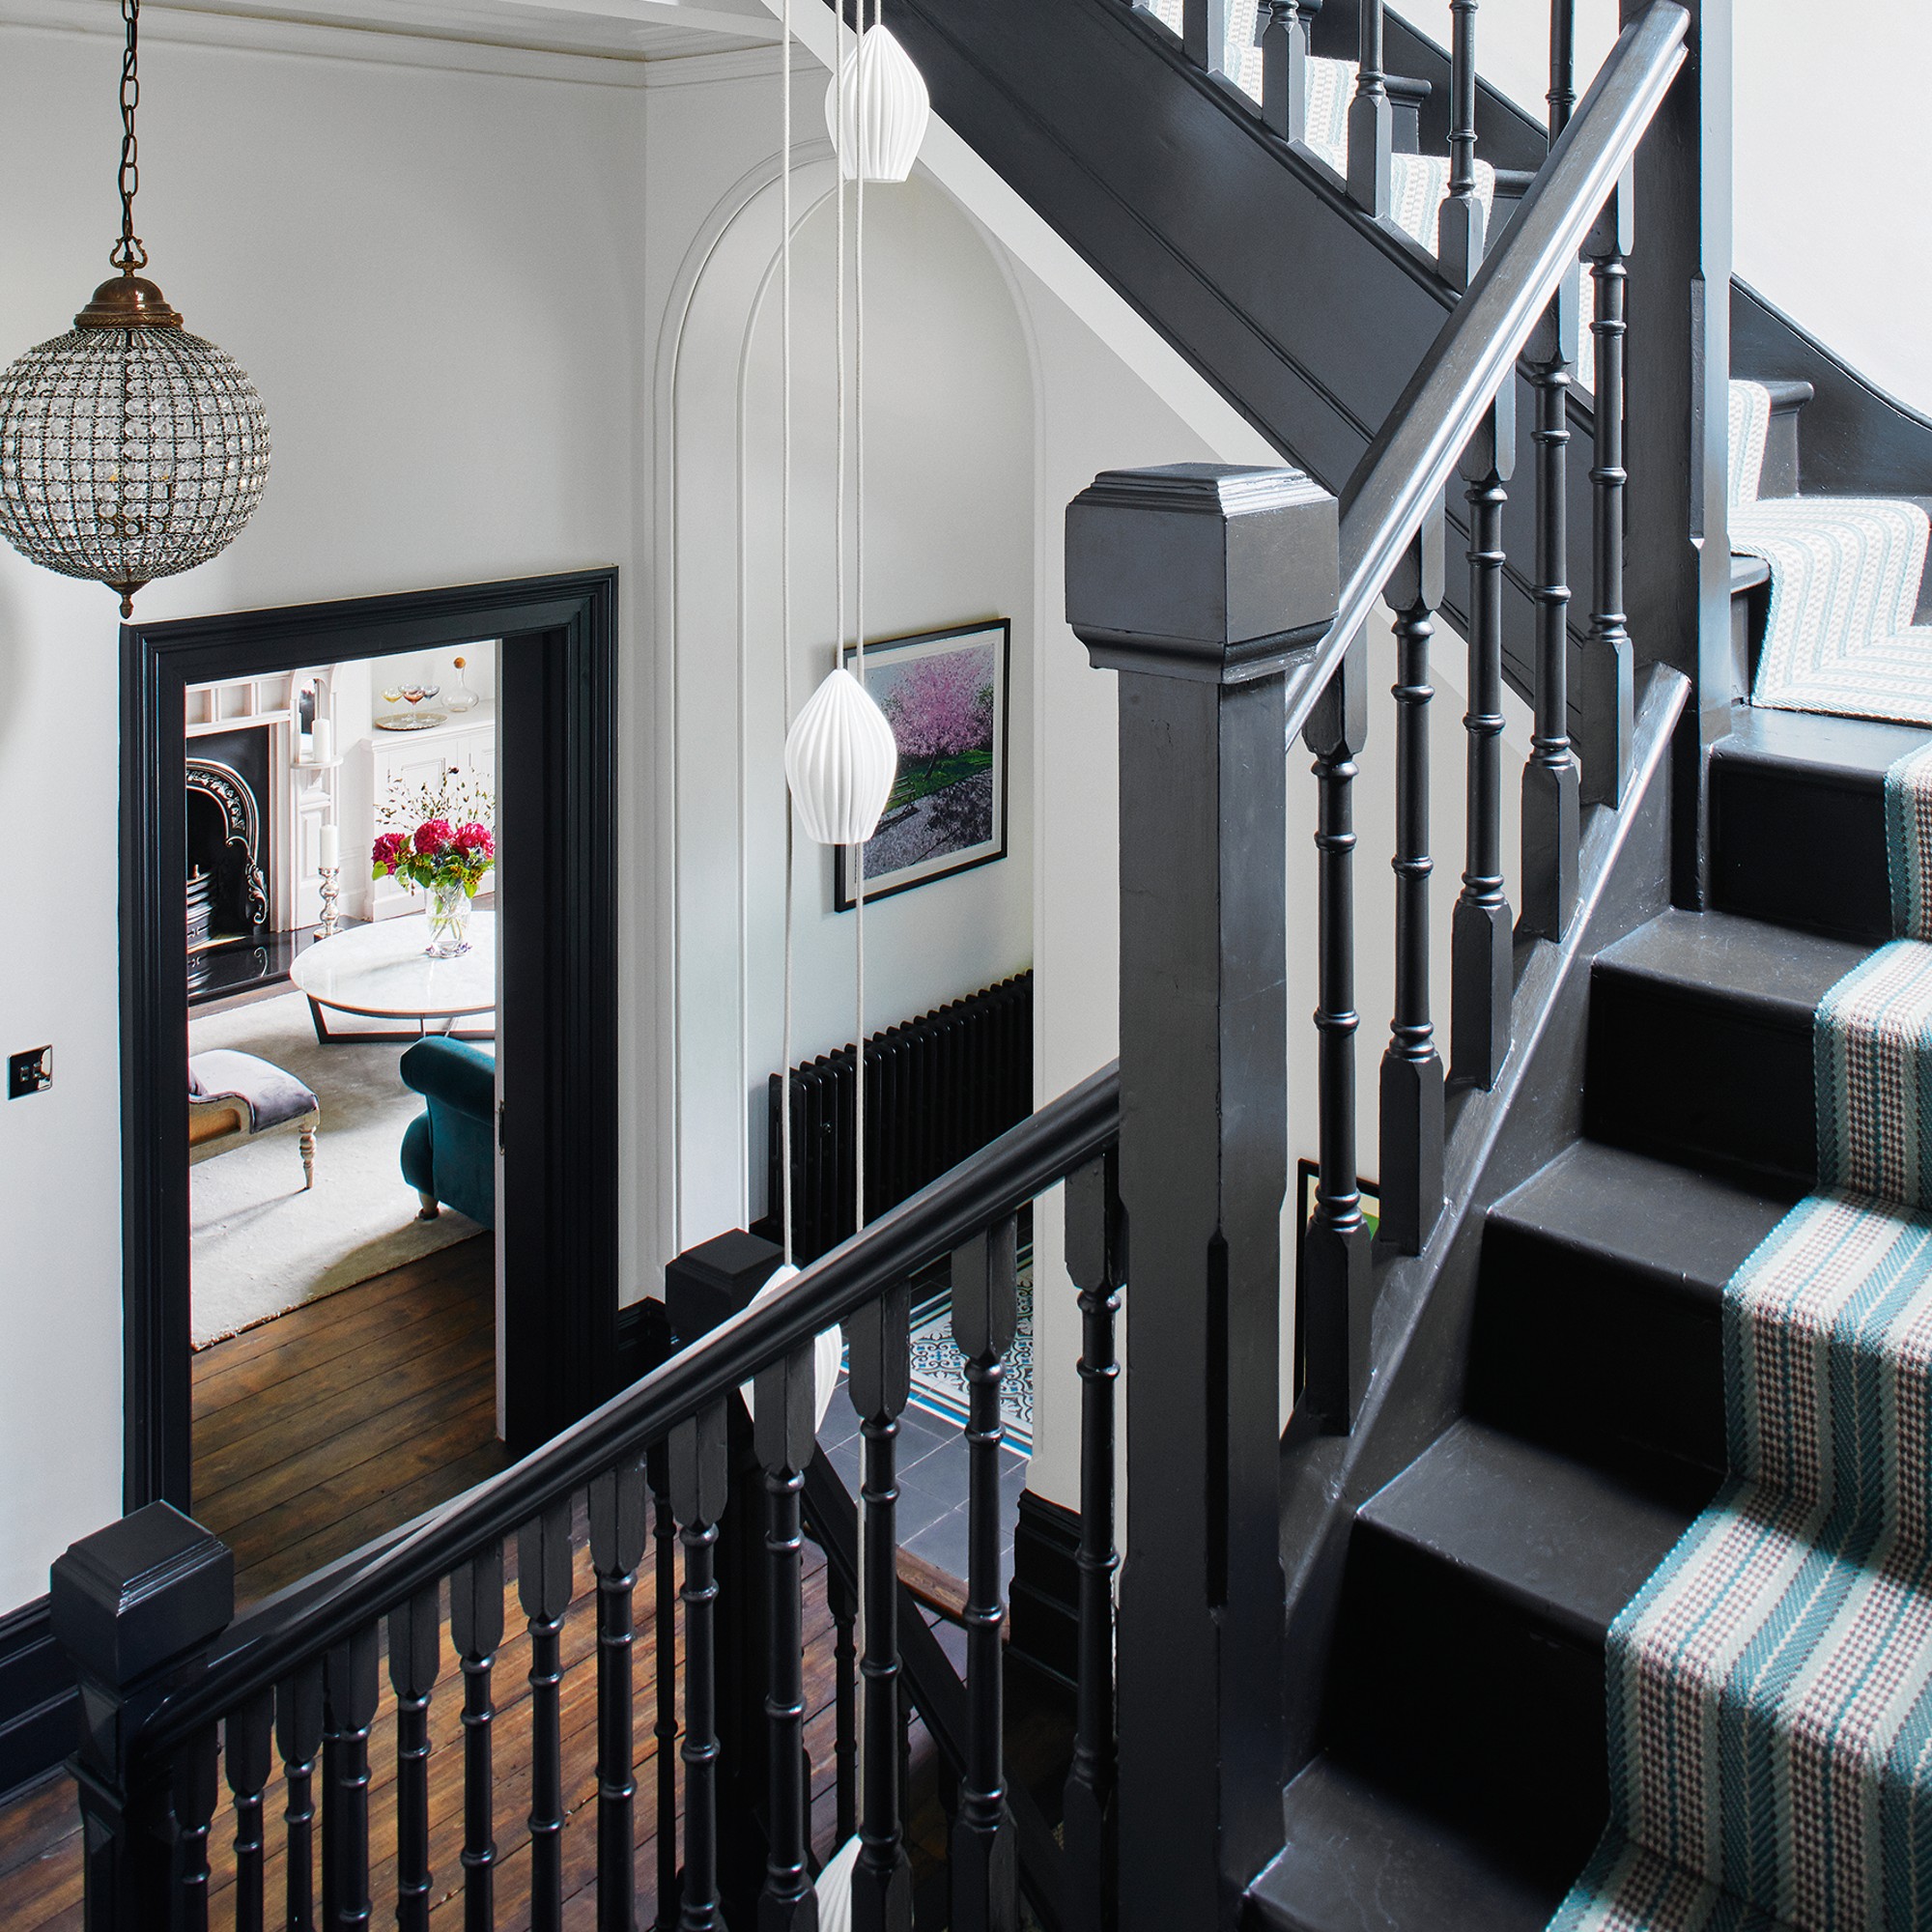
3. Fill and sand the banister
Once your banister is all clean and dry, do a quick inspection to make sure there aren't any cracks in the woodwork or protruding areas on the surface. Will Thompson at Valspar advises that 'if your banister is bare wood, it just needs light sanding to roughen up the surface. If peeling paint is visible, be sure to remove flaking sections before sanding.'
Take time to fill over any cracks and chips and once the filler has dried, sand it down until the area feels smooth and is free from any abrasions.
If you have intricately turned banister rails, Marianne Shillingford at Dulux recommends using flexible sanding pads to ease the job. Clean away any excess dust on the surface with a microfibre cloth and your best vacuum cleaner.
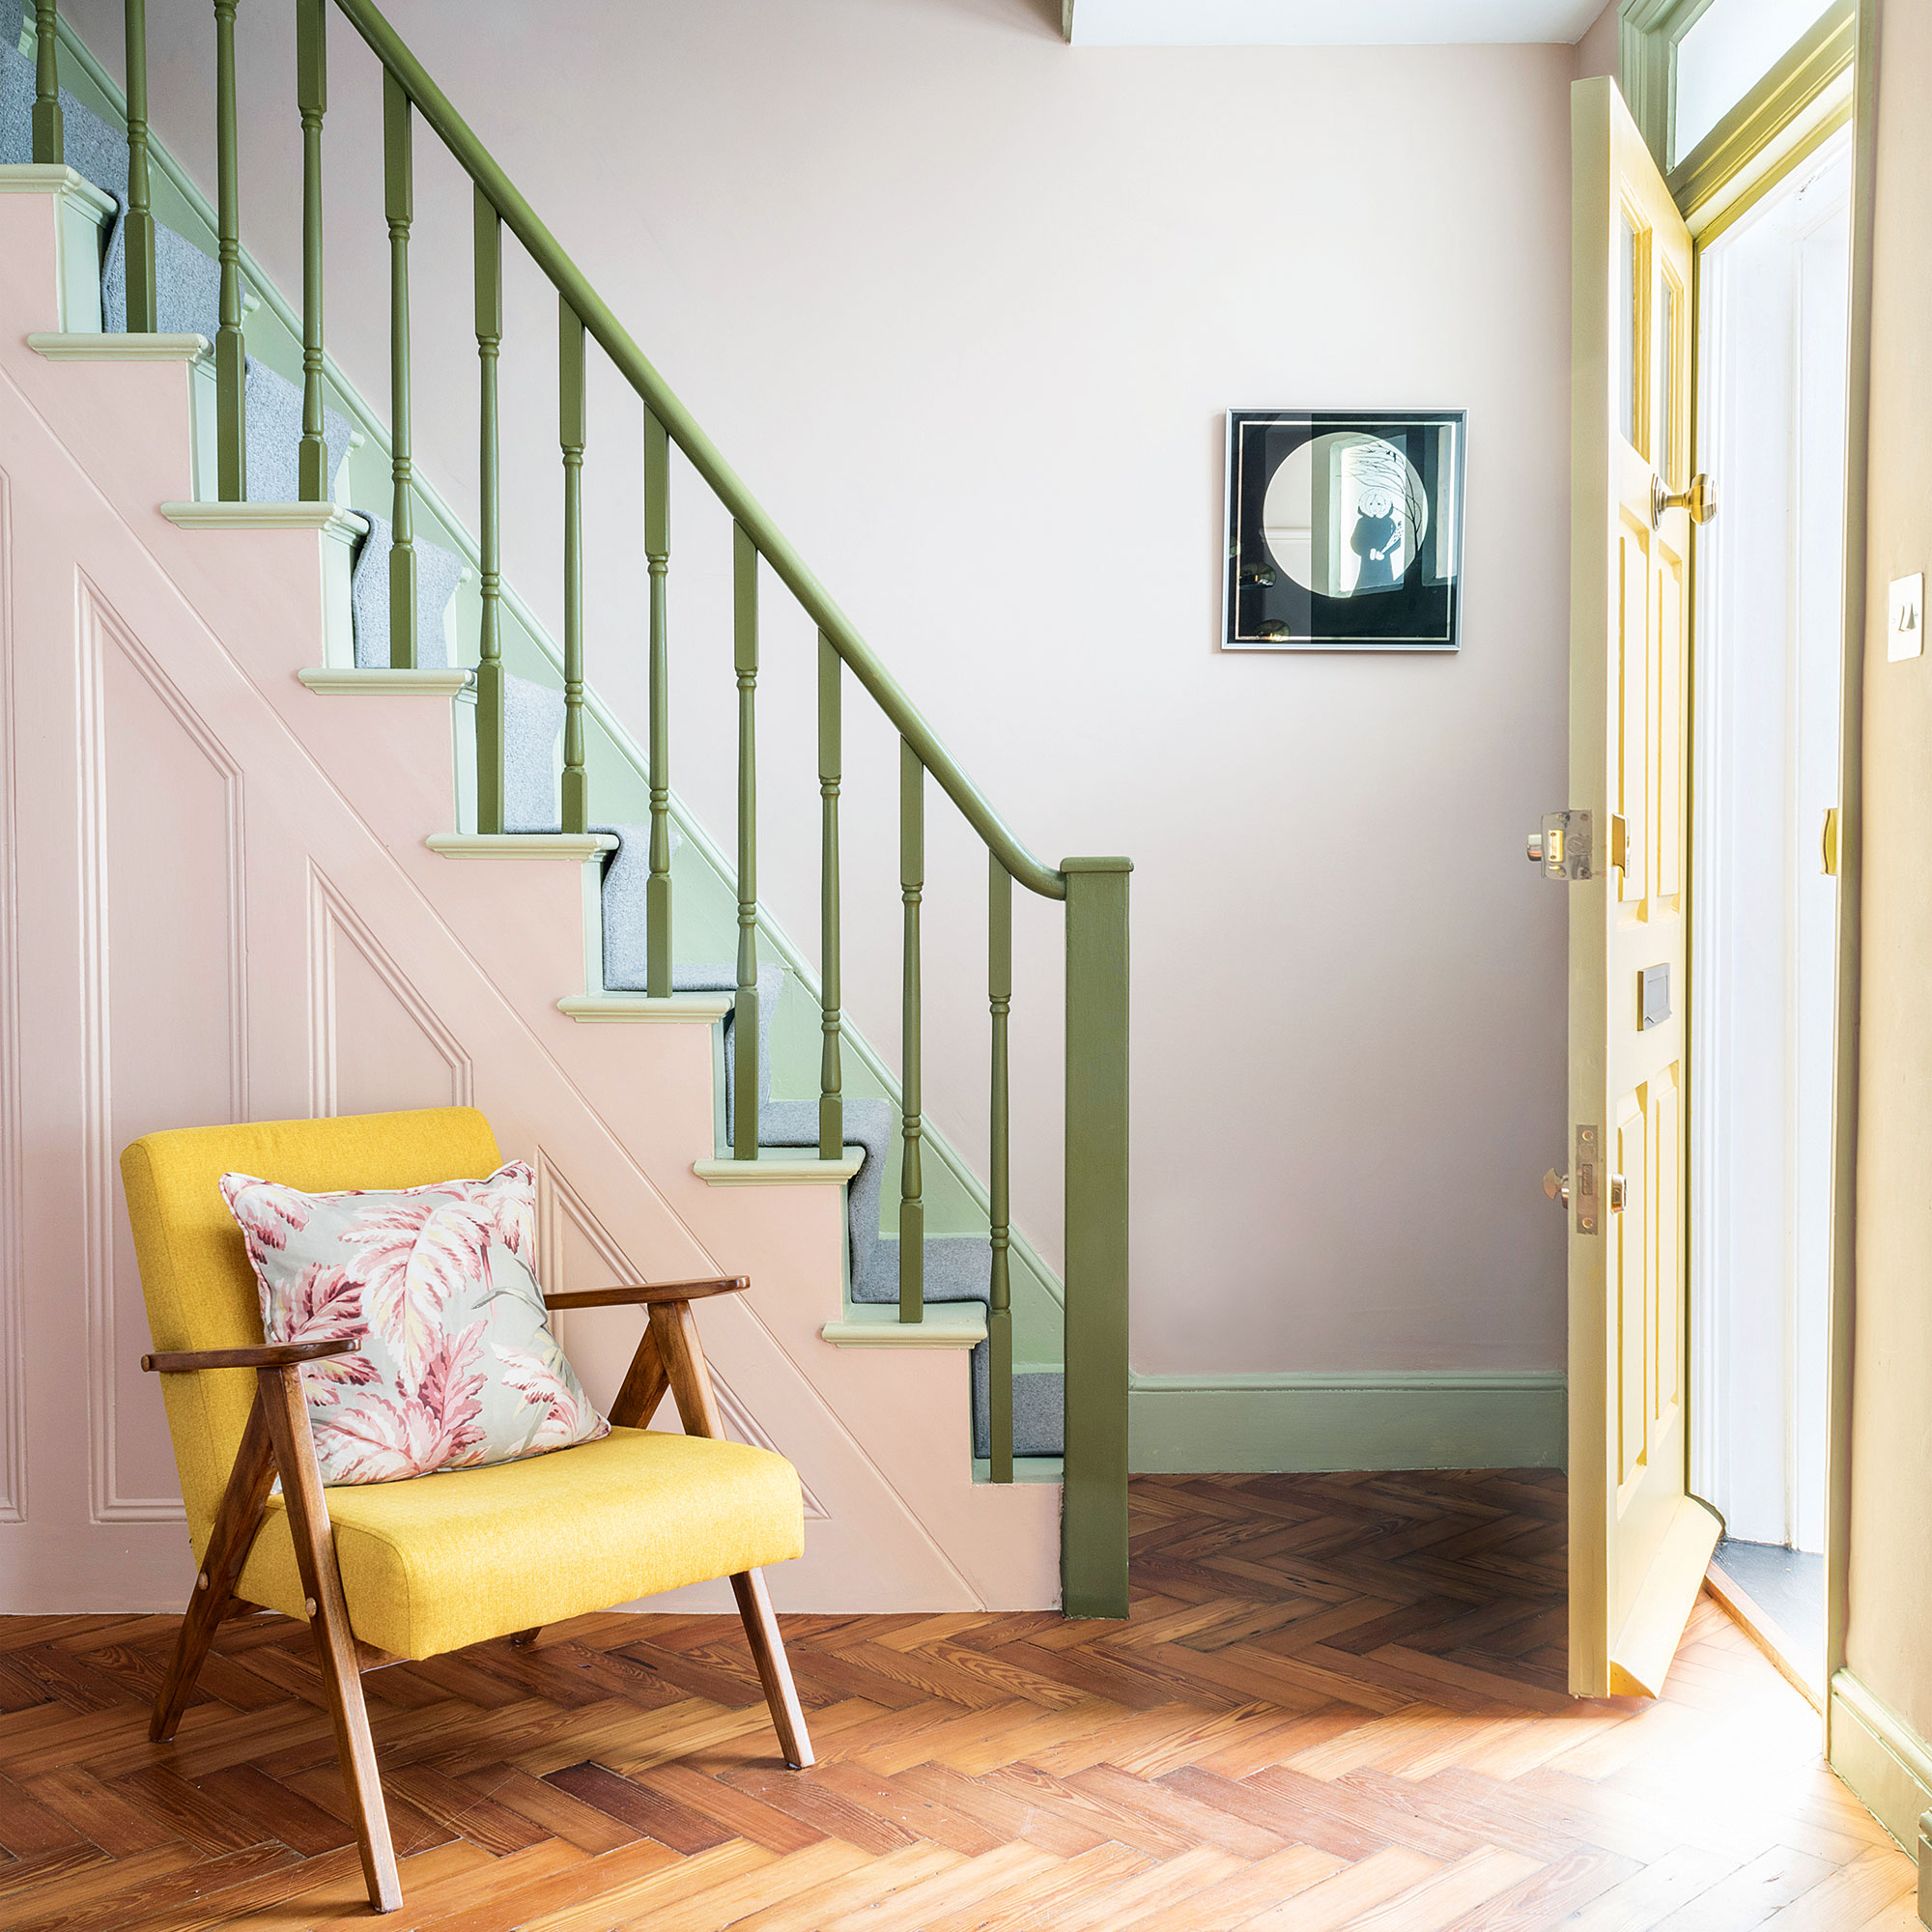
4. Prime the banister
Primer is only necessary if your choice of paint requires the use of it. If you plan to dramatically change the colour of your banister, Will Thompson at Valspar advises using a suitable tinted primer to ease the job.
If you want to go the extra mile in the priming step, Phil Robinson at Paint the Town Green recommends that you apply a primer that is stain-blocking. 'This not only ensures that the paint adheres well, but also that whatever oils or waxes that have been previously used on the timber won't bleed through the paint and discolour it', he explains.
When priming, be sure to paint in the direction of the woodwork's grain, working in long strokes, and using a finer brush for the more intricate detailing.
5. Paint the banister
The time has come - after all that prep, you can finally start painting! Pick up your paint of choice to complement your chosen hallway colour scheme, and your best paintbrushes and get started on your first coat.
Marianne Shillingford at Dulux recommends using a good quality 2-inch acrylic paintbrush and a small radiator roller to apply the paint. 'The roller will cover bigger areas evenly and quickly whilst the brush will get into all the fiddly bits', she says.
Let the first coat dry, lightly sand with fine surface sandpaper, and then apply a second. For most paint jobs, it's almost always recommended to apply at least two coats of pigment. However, if you're going from dark to light, you may find yourself needing to apply a third coat for good measure.
Once you've finished painting, remove the decorators or masking tape you stuck down to your walls and spindles whilst the paint is still damp to achieve that clean, professional finish. Waiting until the paint is completely dry to pull off the tape may result in hours of your hard work being lifted off in flaky chunks - something I'm sure nobody wants to see.
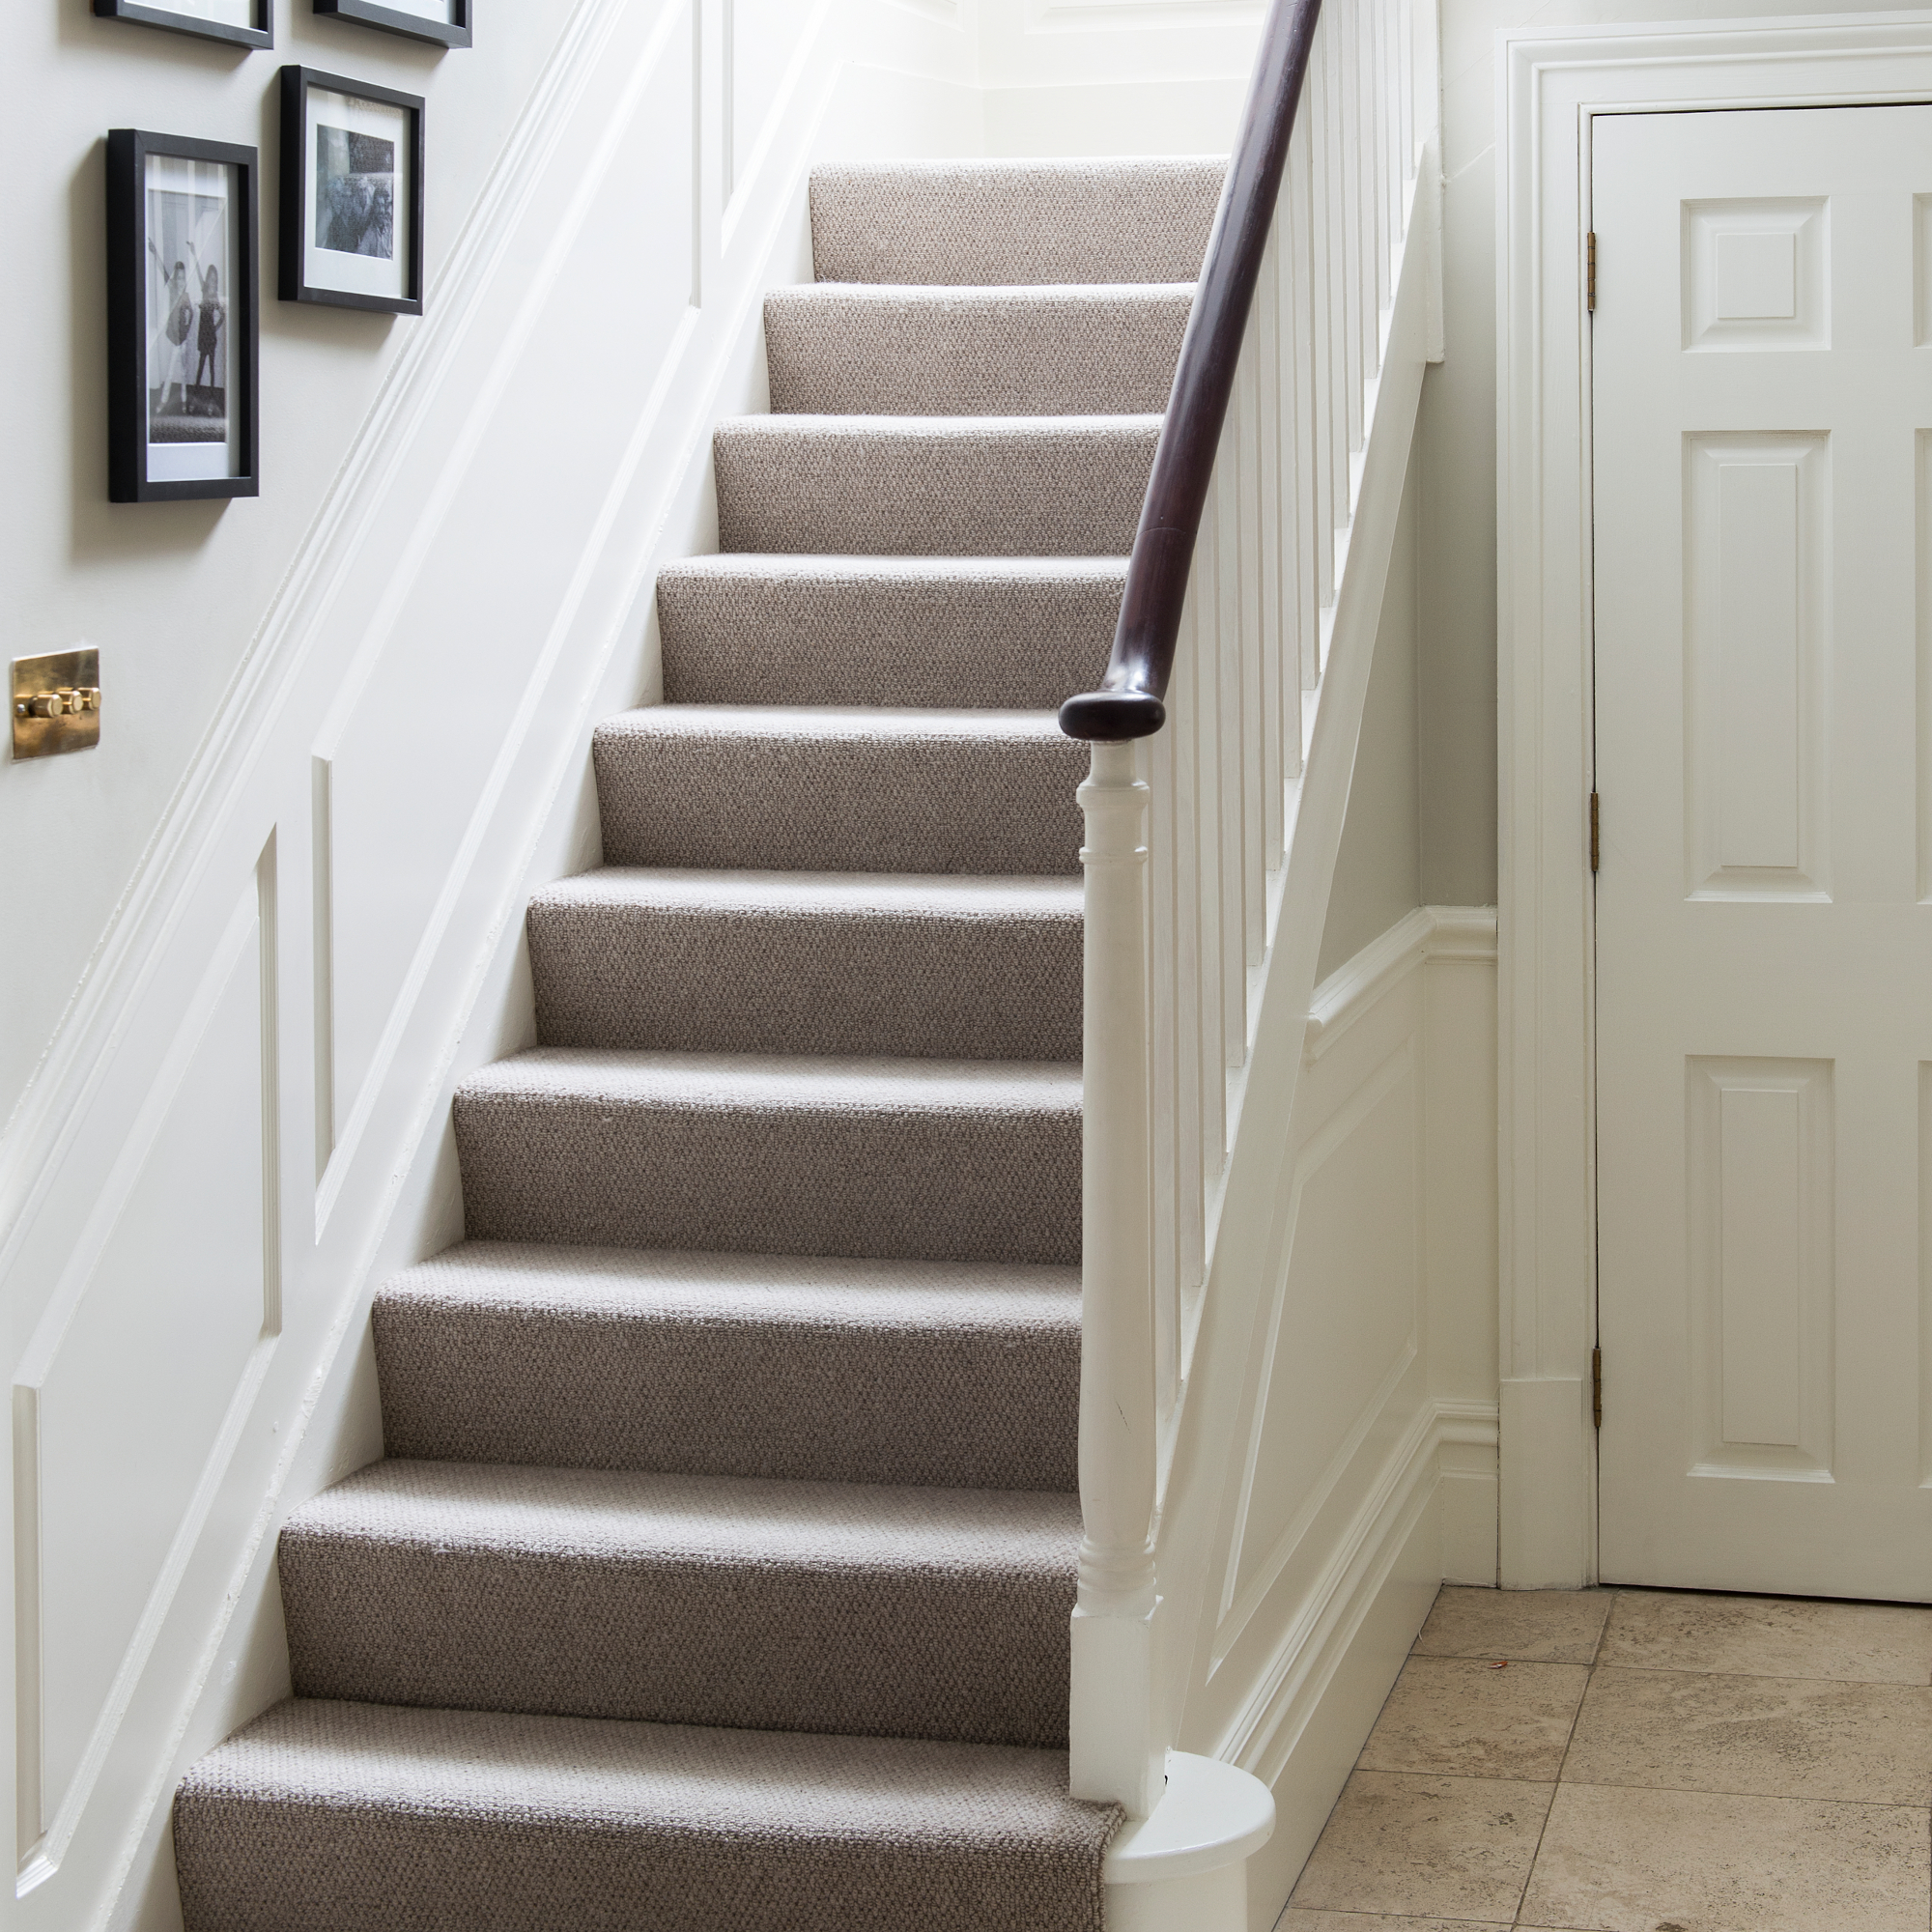
If you've perhaps waited a little too long before pulling off your tape or just find it a bit tricky in general, don't be alarmed as Michael Rolland, DIY expert and MD of The Paint Shed has a hack that could be a lifesaver for both new and seasoned DIYers.
'Grab your hair dryer and blow hot air onto the tape, doing so will reactivate the adhesive making it easier to remove!', he explains. 'Take your time lifting up the painter's tape, pull it back on itself, removing it at a 45-degree angle.'
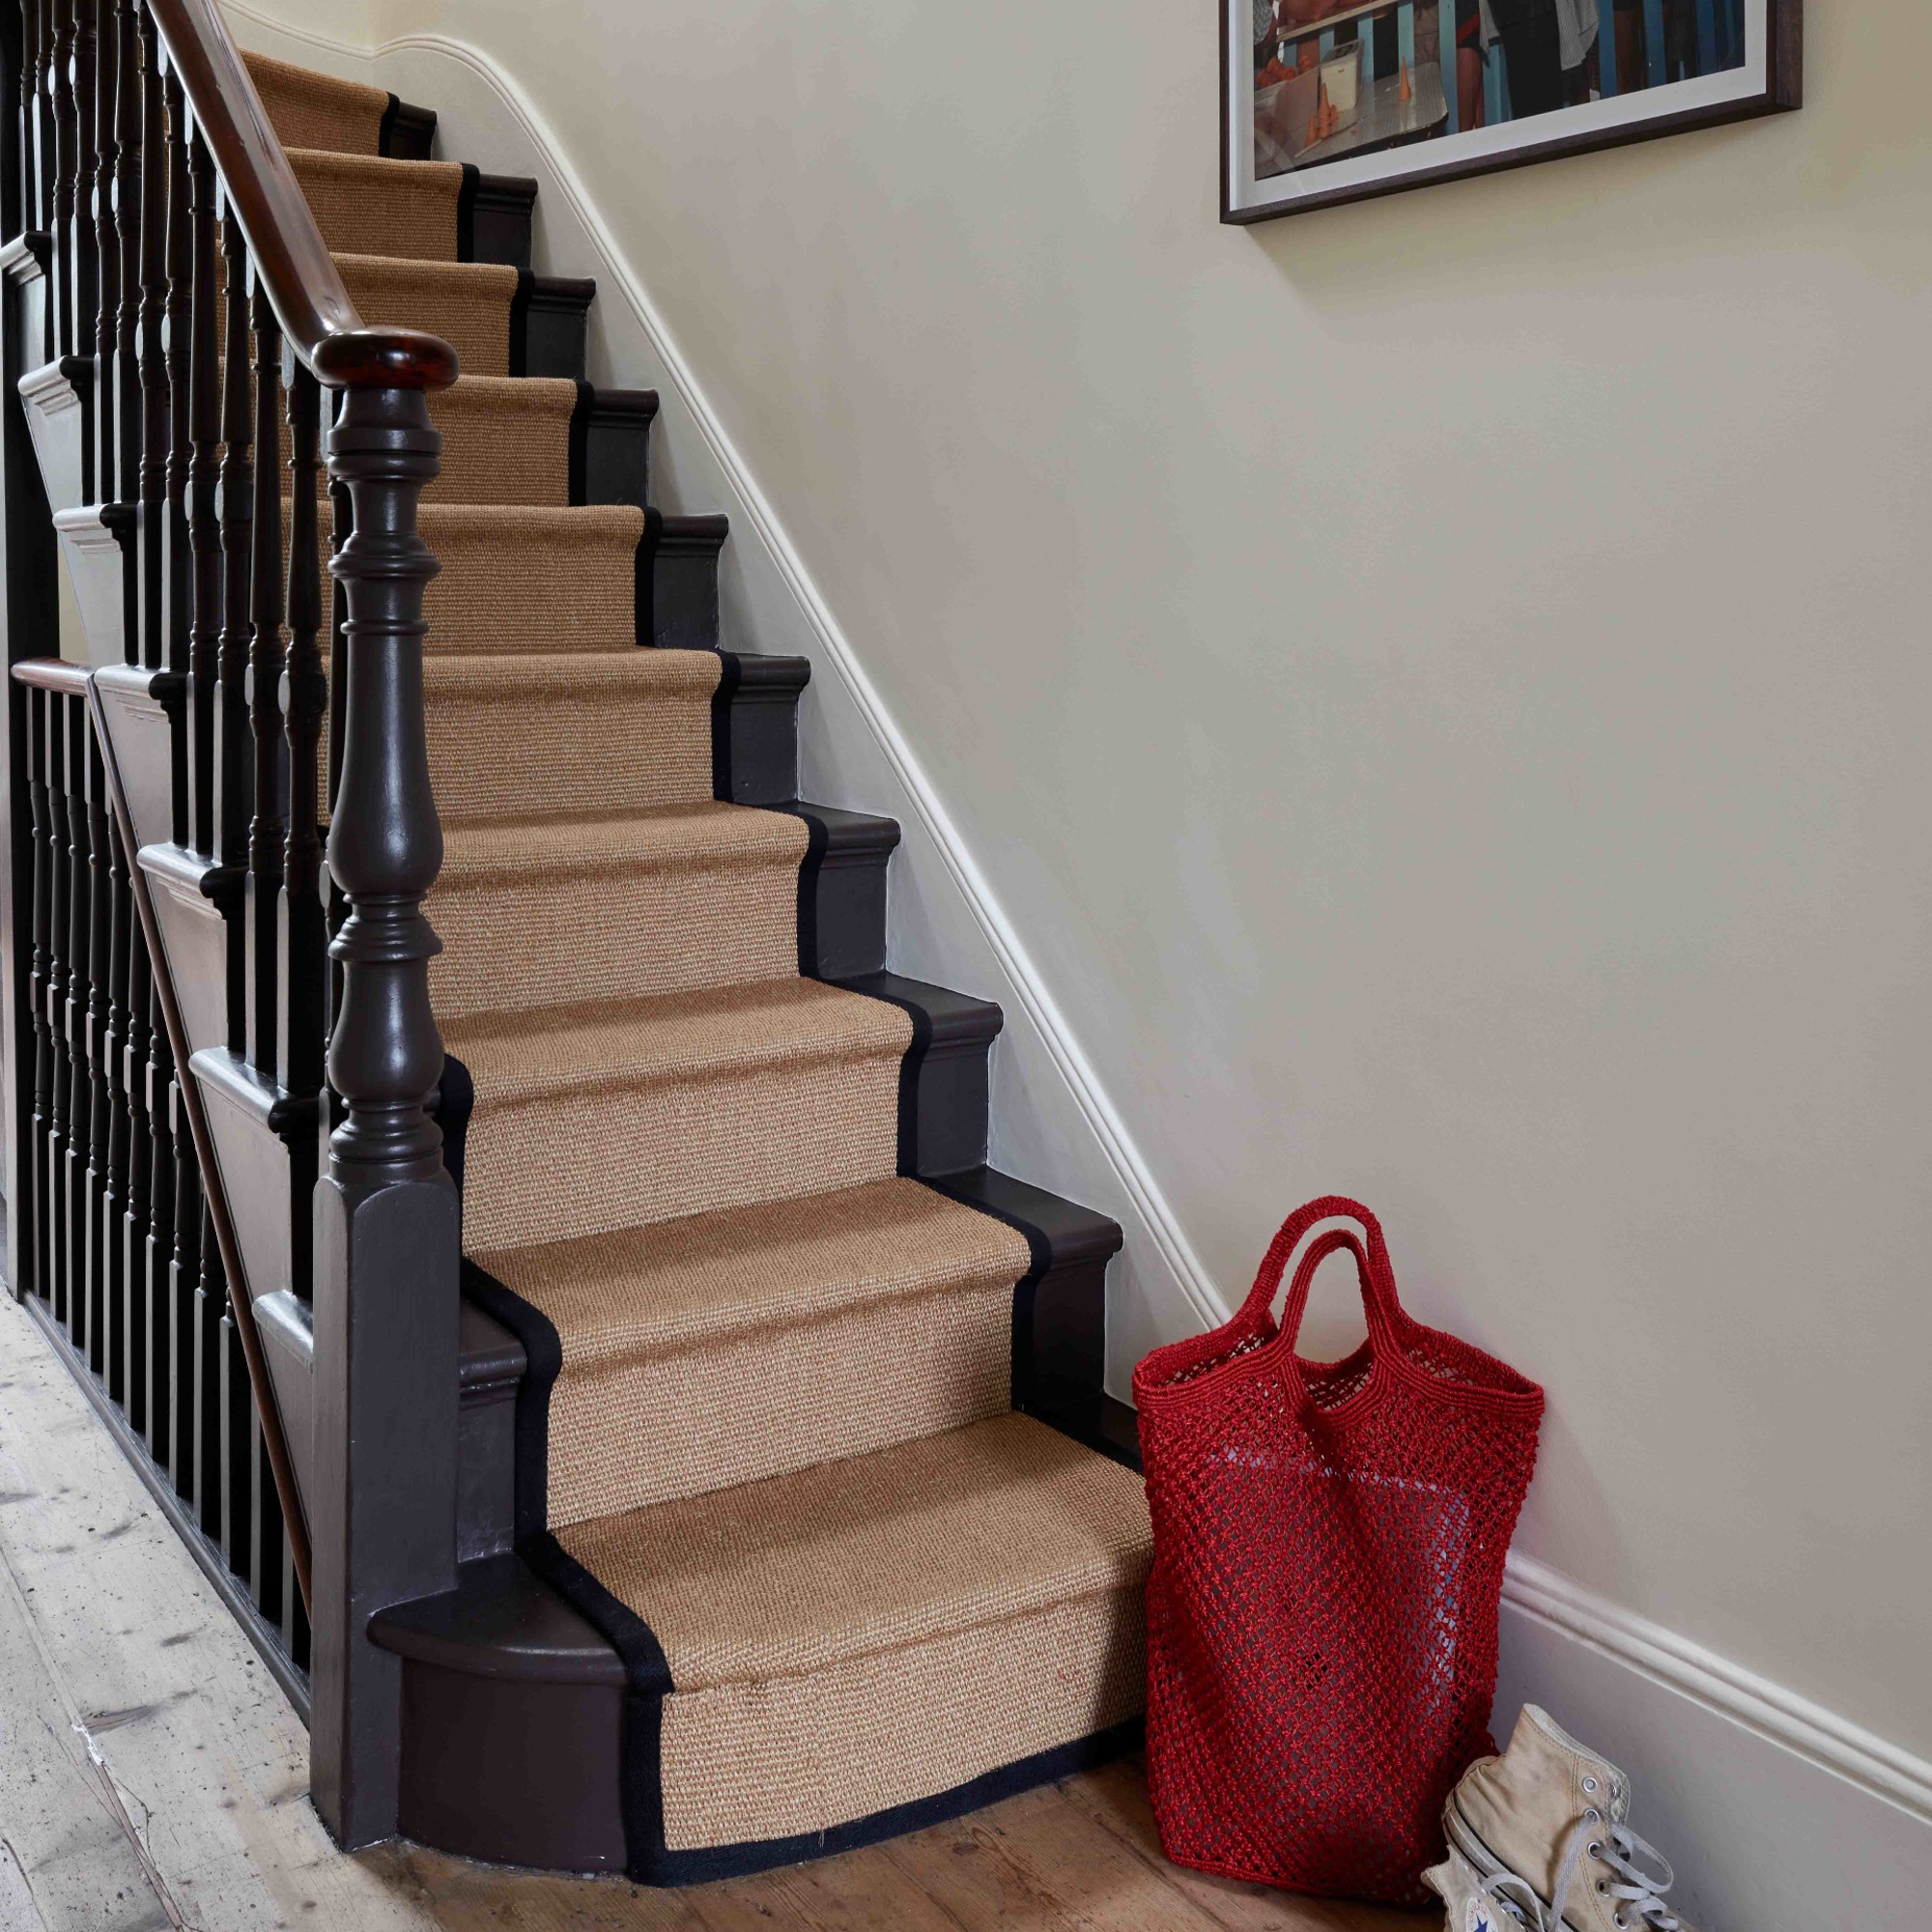
And just like that, you've got yourself a spanking new banister, achieved in just 5 easy steps - and who's to say you've got to stop there with renovating a staircase? Giving your banister a fresh look is simply one of many ways to get stuck in with testing out new staircase ideas.
What is the best way to paint a banister?
'Always start from the top and move down in decorating. So once you've prepped everything, apply paint to the handrail first, the rails second, and lastly the newel post', advises Marianne Shillingford at Dulux.
'If you use a brush, begin by priming the surface with an appropriate coat of primer, then use your chosen paint pigment in a light sanding layer before applying another coat of paint', says Matt Hagens at Obsessed Woodworking. Once dry, take the time to clean up any mistakes with water and white vinegar solution, followed by rubbing alcohol or acetone. Finally, if you wish, seal the finish with a clear coat.
On top of the practical painting tips, Marianne also highlights the importance of health and safety during any DIY project, reminding us to 'be careful on your banisters and use a ladder for bits you can't reach. Most accidents at home happen on the stairs and with a can of paint in your hand, it's definitely not an accident you want to happen', she forewarns.
How do you prepare a banister for painting?
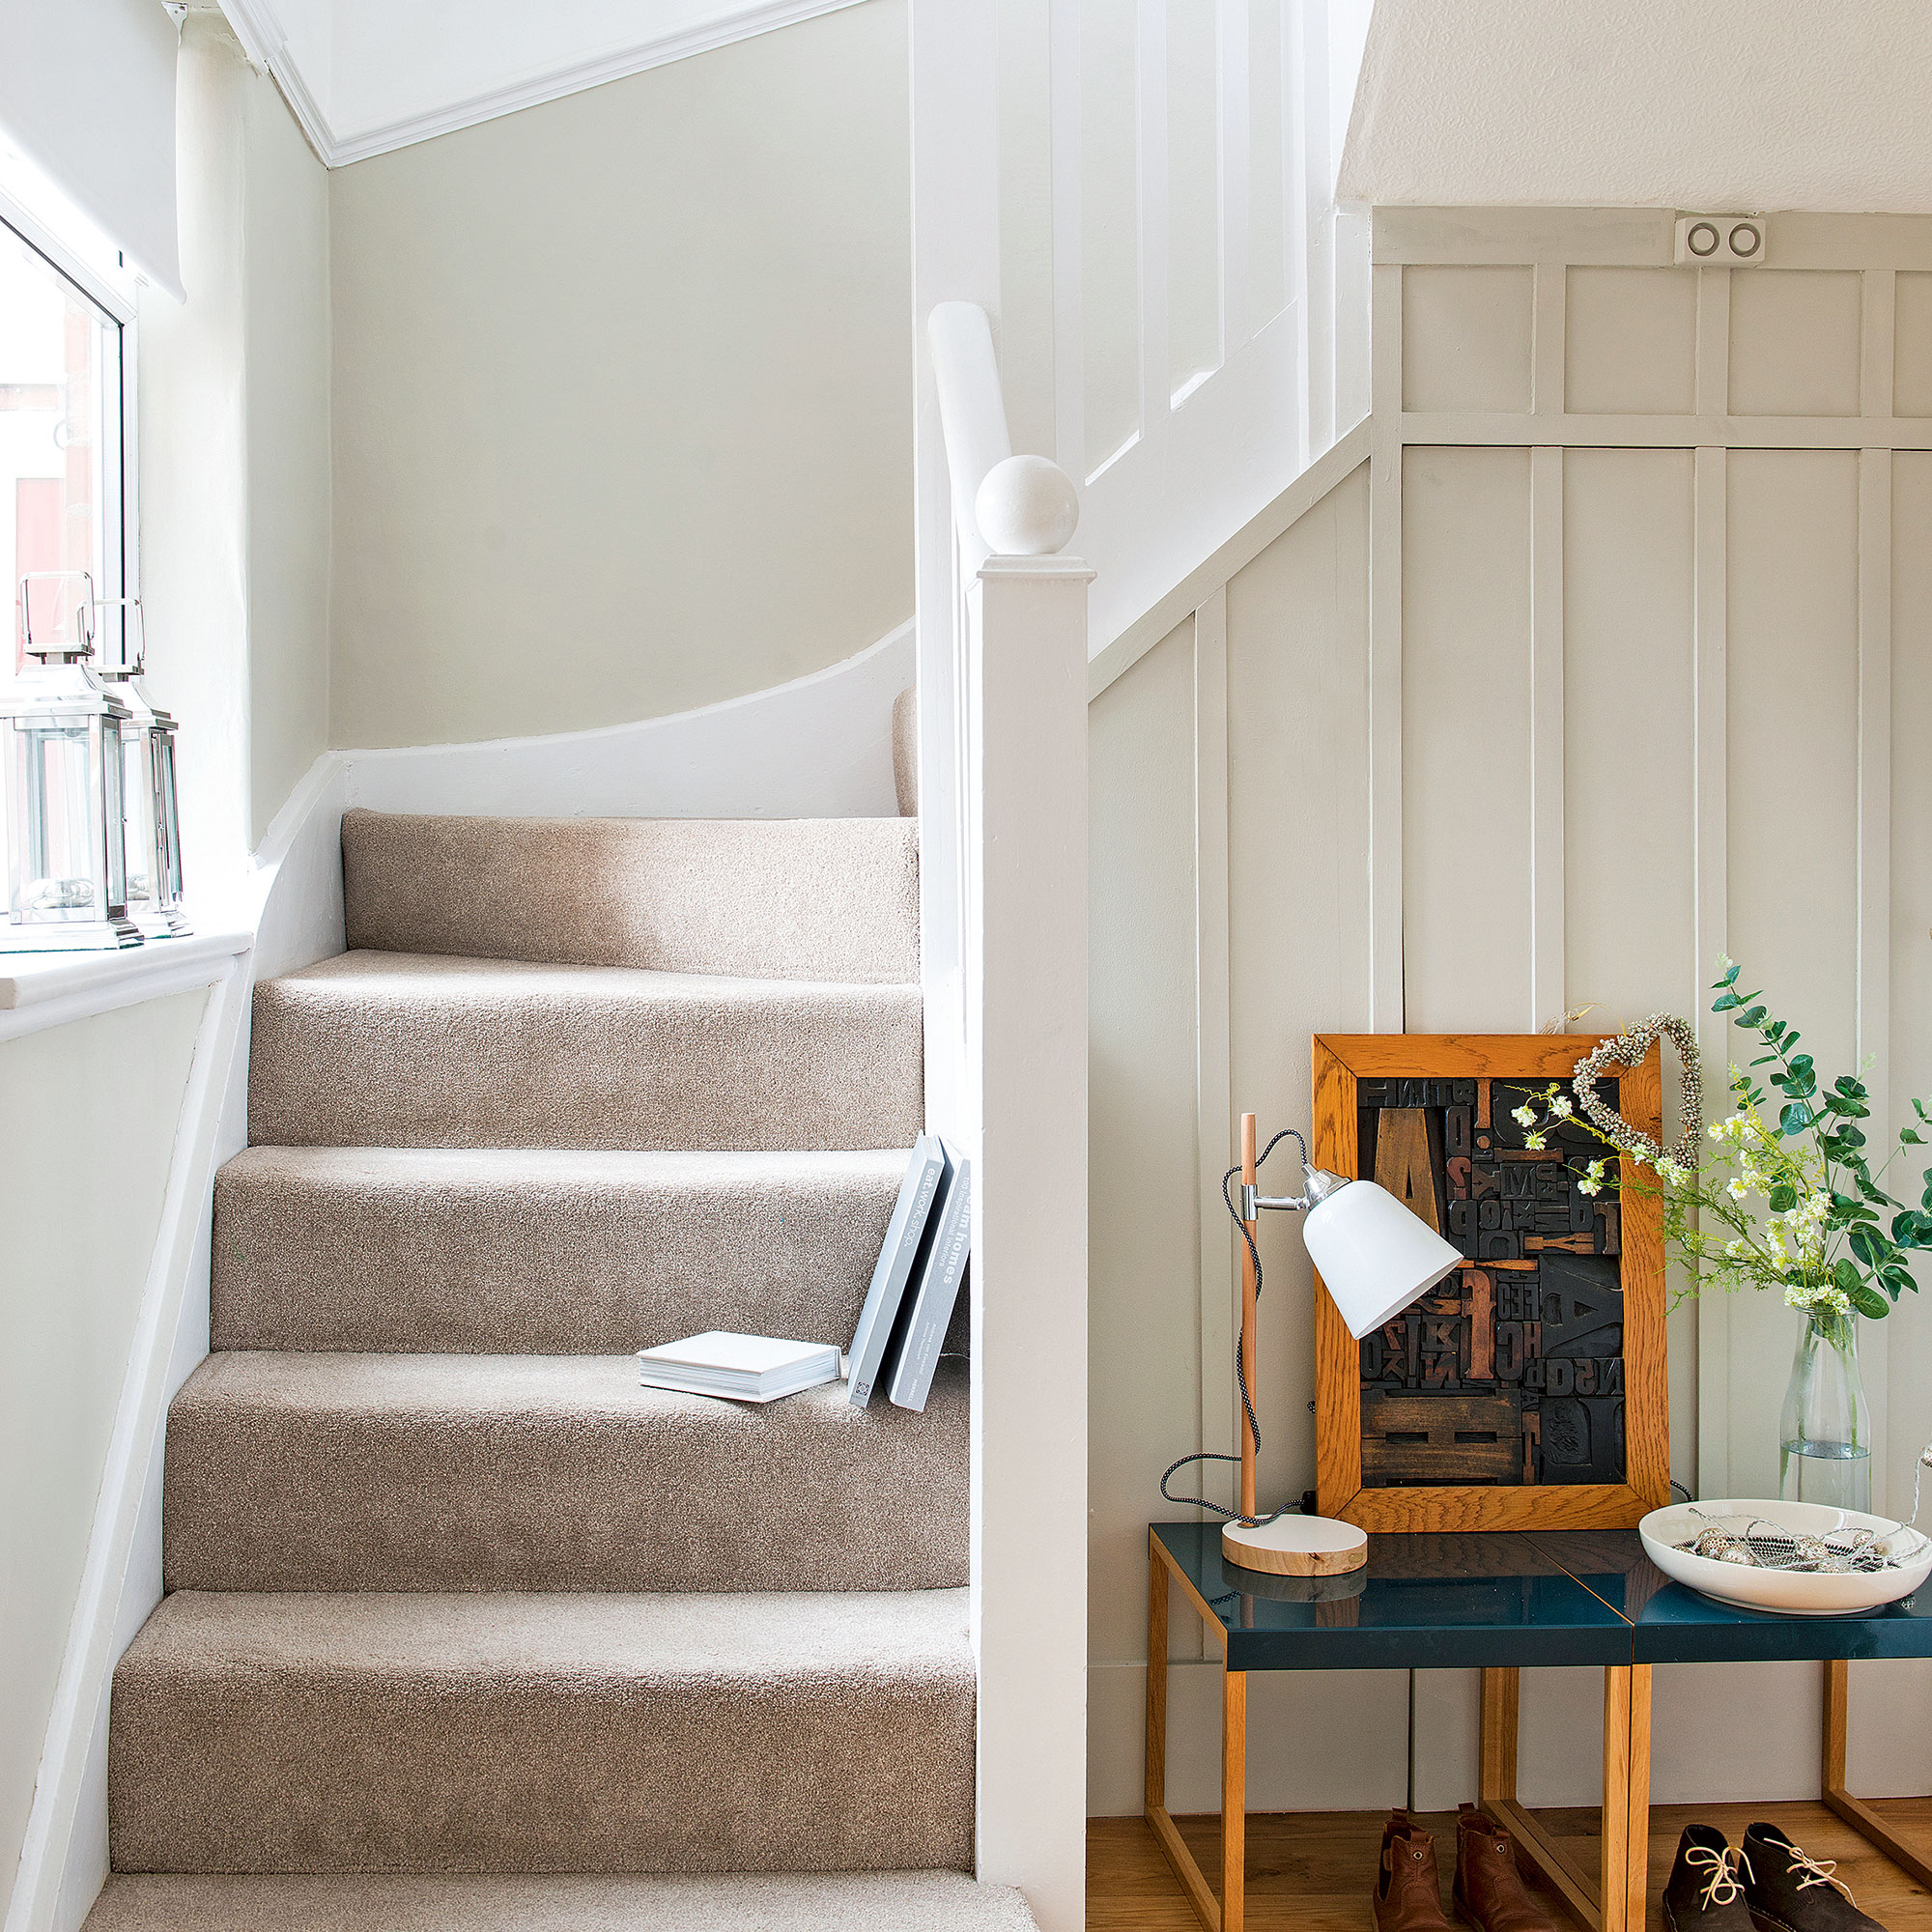
Ensuring adequate preparation of your banister before painting is the key to the longevity of your paint job. Aaron Markwell, Colour Curator at COAT advises DIYers to check that any old paintwork has been appropriately sanded to a smooth finish. 'When they're detailed, they often can get drips down them. If they've never been painted, they'll need priming first', he adds.
'The most common mistake people make when painting banisters is using an oil-based product that contains solvents - these solvents will degrade the wood surface and damage the finish', says Matt Hagens at Obsessed Woodworking.
He advises first, to clean the banister and rail with hot water and a detergent solution to prevent this from happening. Next, use a marine vanish or another sealant to protect wood against moisture and staining. Lastly, apply your chosen paint job following the manufacturer's instructions.
What kind of paint do you use on a banister?
When painting a banister, make sure you're using durable, high-quality paints designed for application on wood surfaces, especially with your banister being one of the most high-traffic areas inside your home. The last thing anyone wants is to spend hours decorating just to see the paint already peeling off and looking lacklustre within a short span of time.
Once you've selected your paint colour, note that wood paint often comes in three finishes: eggshell, satin, and gloss, and whichever finish you choose may change the look of your paint job slightly. Helen Shaw, UK Director at Benjamin Moore explains that satin or eggshell finishes are both hard-wearing but offer different levels of sheen. A gloss finish is also commonly used on wood, but should only be used on smooth surfaces. 'The higher the sheen, the more wear and tear your paint can take', she explains as a rule of thumb.
Will Thompson, Head of Product Marketing at Valspar goes on to remind us that 'when choosing the colour and finish for your banister, consider that wood absorbs light'.
Therefore, if you're painting a dark hallway or landing that doesn't get much natural light, opting for a lighter colour and reflective finish for your banister can help brighten the space.
Get the Ideal Home Newsletter
Sign up to our newsletter for style and decor inspiration, house makeovers, project advice and more.

Jullia was Ideal Home’s Junior Writer from 2022-2024 and the Ideal Home Certified Expert in Training on Vacuums having spent over 60 hours testing different models. She’s always loved all things homes and interiors, graduating with a bachelor’s degree in Architectural Studies from the University of Nottingham where her love for writing blossomed following her internship at ArchDaily. Now focused on home tech and cleaning, Jullia works on writing features and explainers to help people make the most of their home appliance investments, putting the newest launches through their paces. When she isn’t writing, she loves exploring the city, coffee shop hopping, and losing hours to a cosy game or book.
-
 5 signs you’ve taken decluttering too far — and how you can pull yourself back, according to organisation experts
You might have to start resisting the urge to purge
By Lauren Bradbury
-
 What is the Party Wall Act 3m rule and is it something you should be worried about? This is what the experts say
Don't get caught off-guard by the Party Wall Act 3m rule — our expert guide is a must-read
By Natasha Brinsmead
-
 Shoppers can’t get enough of The Range’s lemon tree, but I’ve found an even cheaper bestseller at B&Q - it’s perfect for a Mediterranean look
Welcome the summer with this glorious fruit tree
By Kezia Reynolds