How to paint a room – 11 steps to transform your space with paint
Learn how to paint a room to give your space a bold new look or simply freshen up walls and woodwork

You can get an average-sized room painted in a matter of days, but you’ll be looking at those walls for many years to come. So it pays to take a minute to learn how to paint a room properly.
To help on this DIY and decorating mission, we turned to a painting and a decorating professional from the BBC's Interior Design Masters as well as experts at Dulux and Crown. We grilled them for their top paint ideas, tips and tricks so you’ll be equipped with all the tools you need for a seamless finish.
How to paint a room
As with most DIY and decorating projects, it's all about preparation. In fact, around a third of the time that it takes to paint a room is spent on cleaning and prepping, says Marianne Shillingford, Creative Director at Dulux.
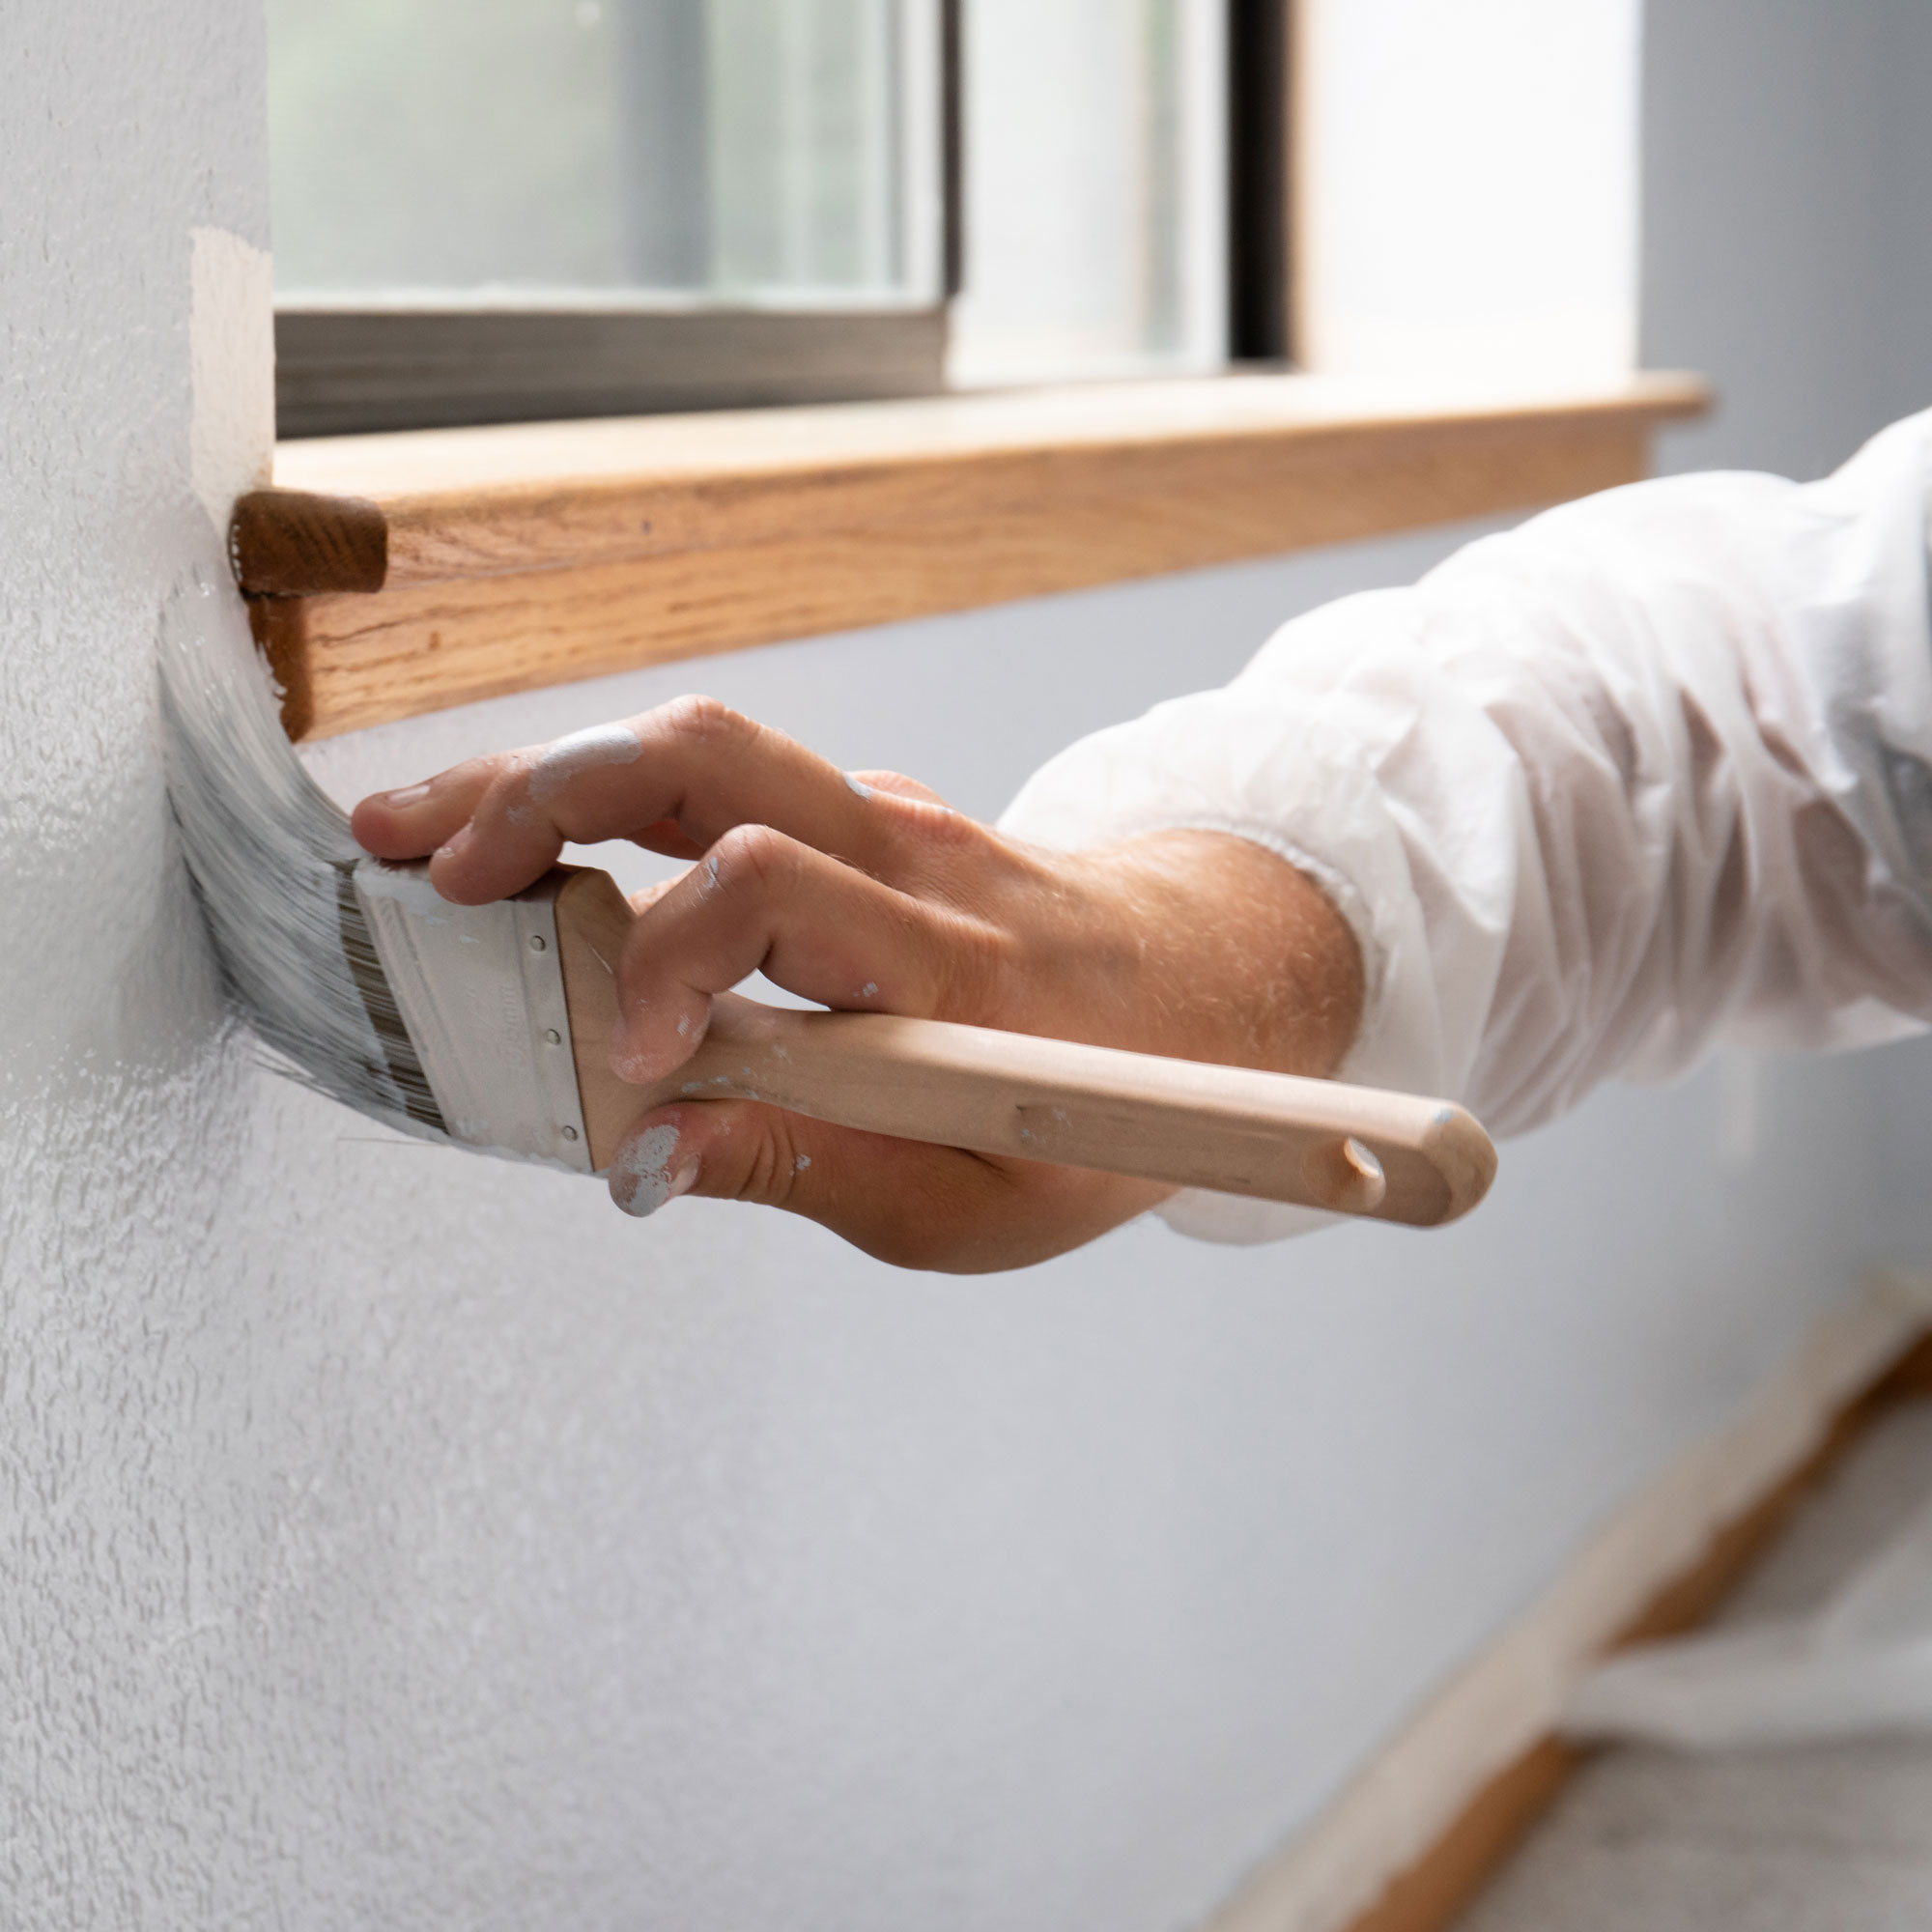
Don’t be tempted to rush the prep stage as marks and dirt can rear their ugly heads later on. 'Preparation is key – the painting is the quickest part of the job!' agrees TV painter and decorator Jo Pollock from Ladies Who Paint. 'Make sure all surfaces have been fully prepped using the appropriate sanding paper to key all surfaces and the carpets and flooring are fully protected.'
You will need
- Sugar soap
- Sponge
- Plastic sheeting
- Sand paper
- Frog tape
- Filling knife
- Pollyfilla
- Paint tray
- Foil
- Paint brush
- Paint roller and extension
- Ladder
- Paint
- Old clothes
Painting a room – step-by-step
1. Clear the decks
Clear the room as much as humanly possible and cover the floor and furniture in plastic sheeting. If you can, remove all the furniture, curtains, rugs, and other decorative pieces so nothing is at risk of getting splattered.
Otherwise, move everything into the middle of the room and make sure it's all covered. You want to be able to access the areas you’re painting really easily.
2. Clean the walls and woodwork
Then, get rid of any dust and cobwebs, and give the walls and woodwork a good clean with sugar soap, available at Wilko, before wiping it off with fresh water. Take extra care if you are painting a kitchen or bathroom, as there may be grease and mould to remove.
Sign up to our newsletter for style inspiration, real homes, project and garden advice and shopping know-how
3. Fill and sand the woodwork and walls
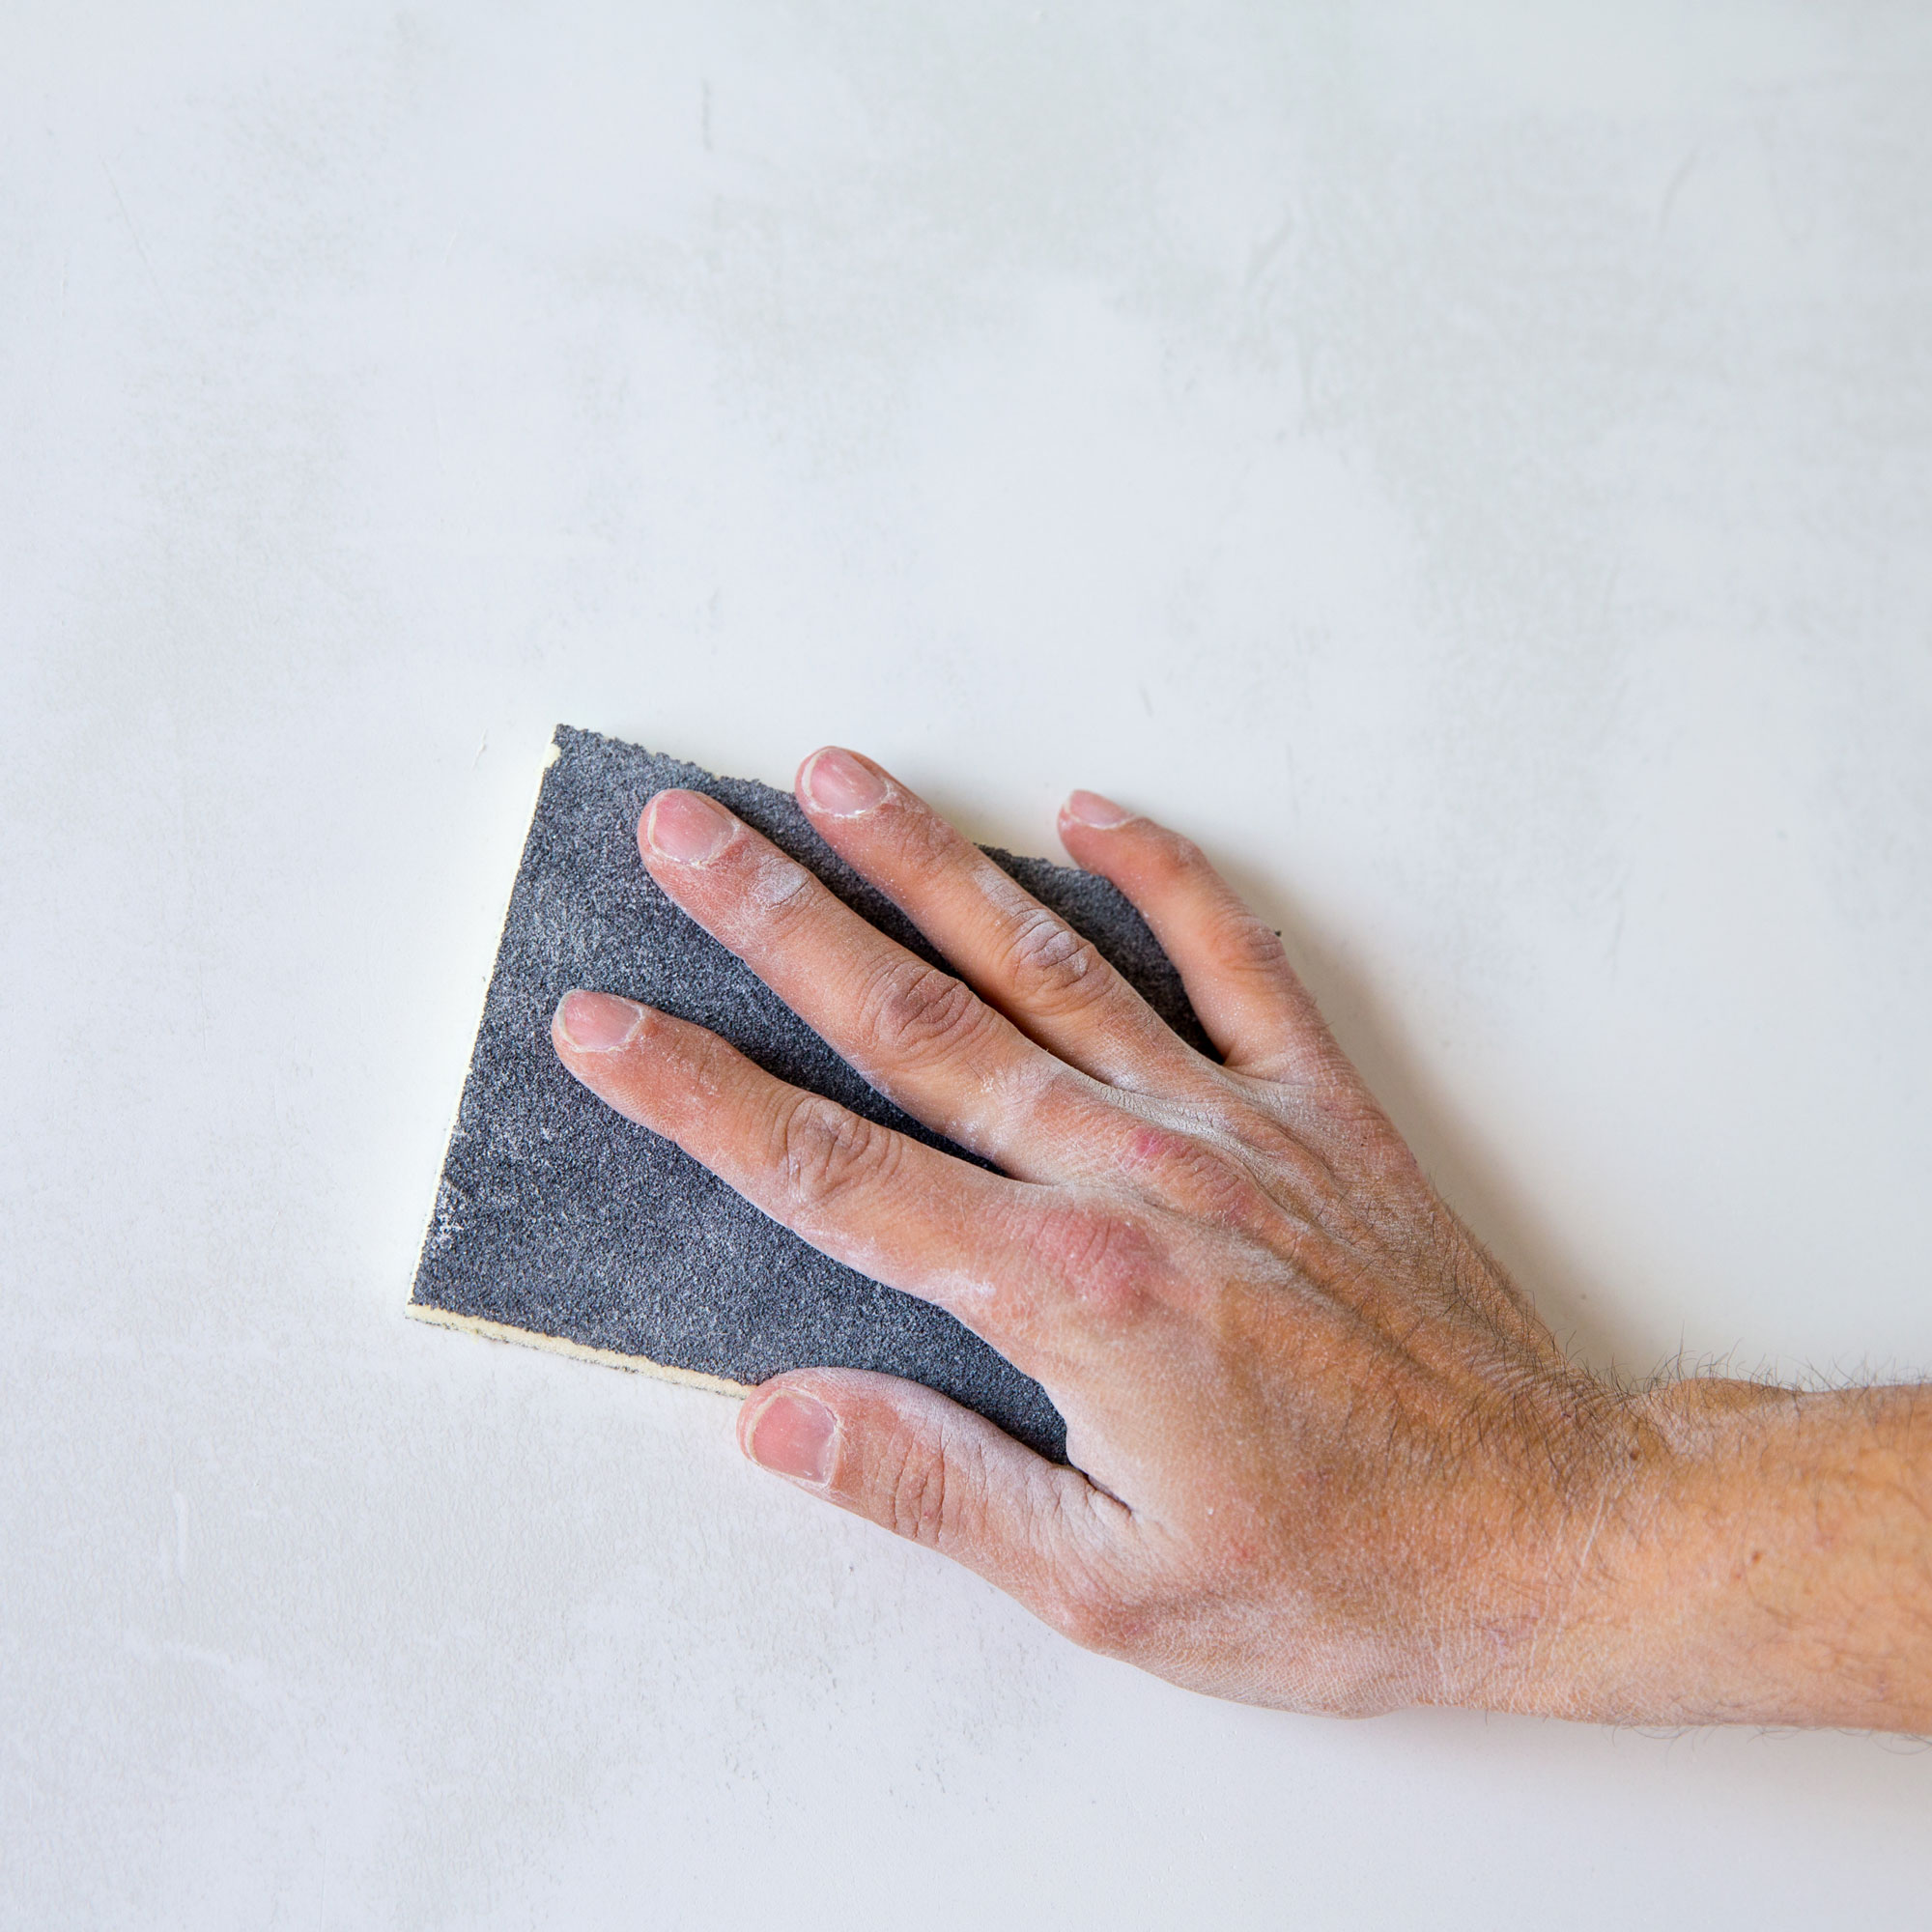
Prepping the woodwork and walls is a laborious but necessary step. Fill over and sand any holes and cracks in the woodwork, and use your best vacuum cleaner to clean up the dust.
‘Use the right fillers for the woodwork and walls and ask at the DIY shop for recommendations if you are unsure,’ advises Marianne Shillingford from Dulux. Style At Home Deputy Editor Steph Durrant strongly recommends Finishing Skim, £14.24 at Amazon for smaller marks. It goes on the same way as filler but is less viscous, smoothing into fine cracks easily.
'Finishing Skim is your best friend when it comes to wonky walls,' she says. 'Filler is great for filling in deeper holes, for instance, where screws or nails have been. But if you have shallower imperfections like knocks, dips and scratches, Finishing Skim is the one,' Steph explains.
4. Tape off areas you aren’t painting
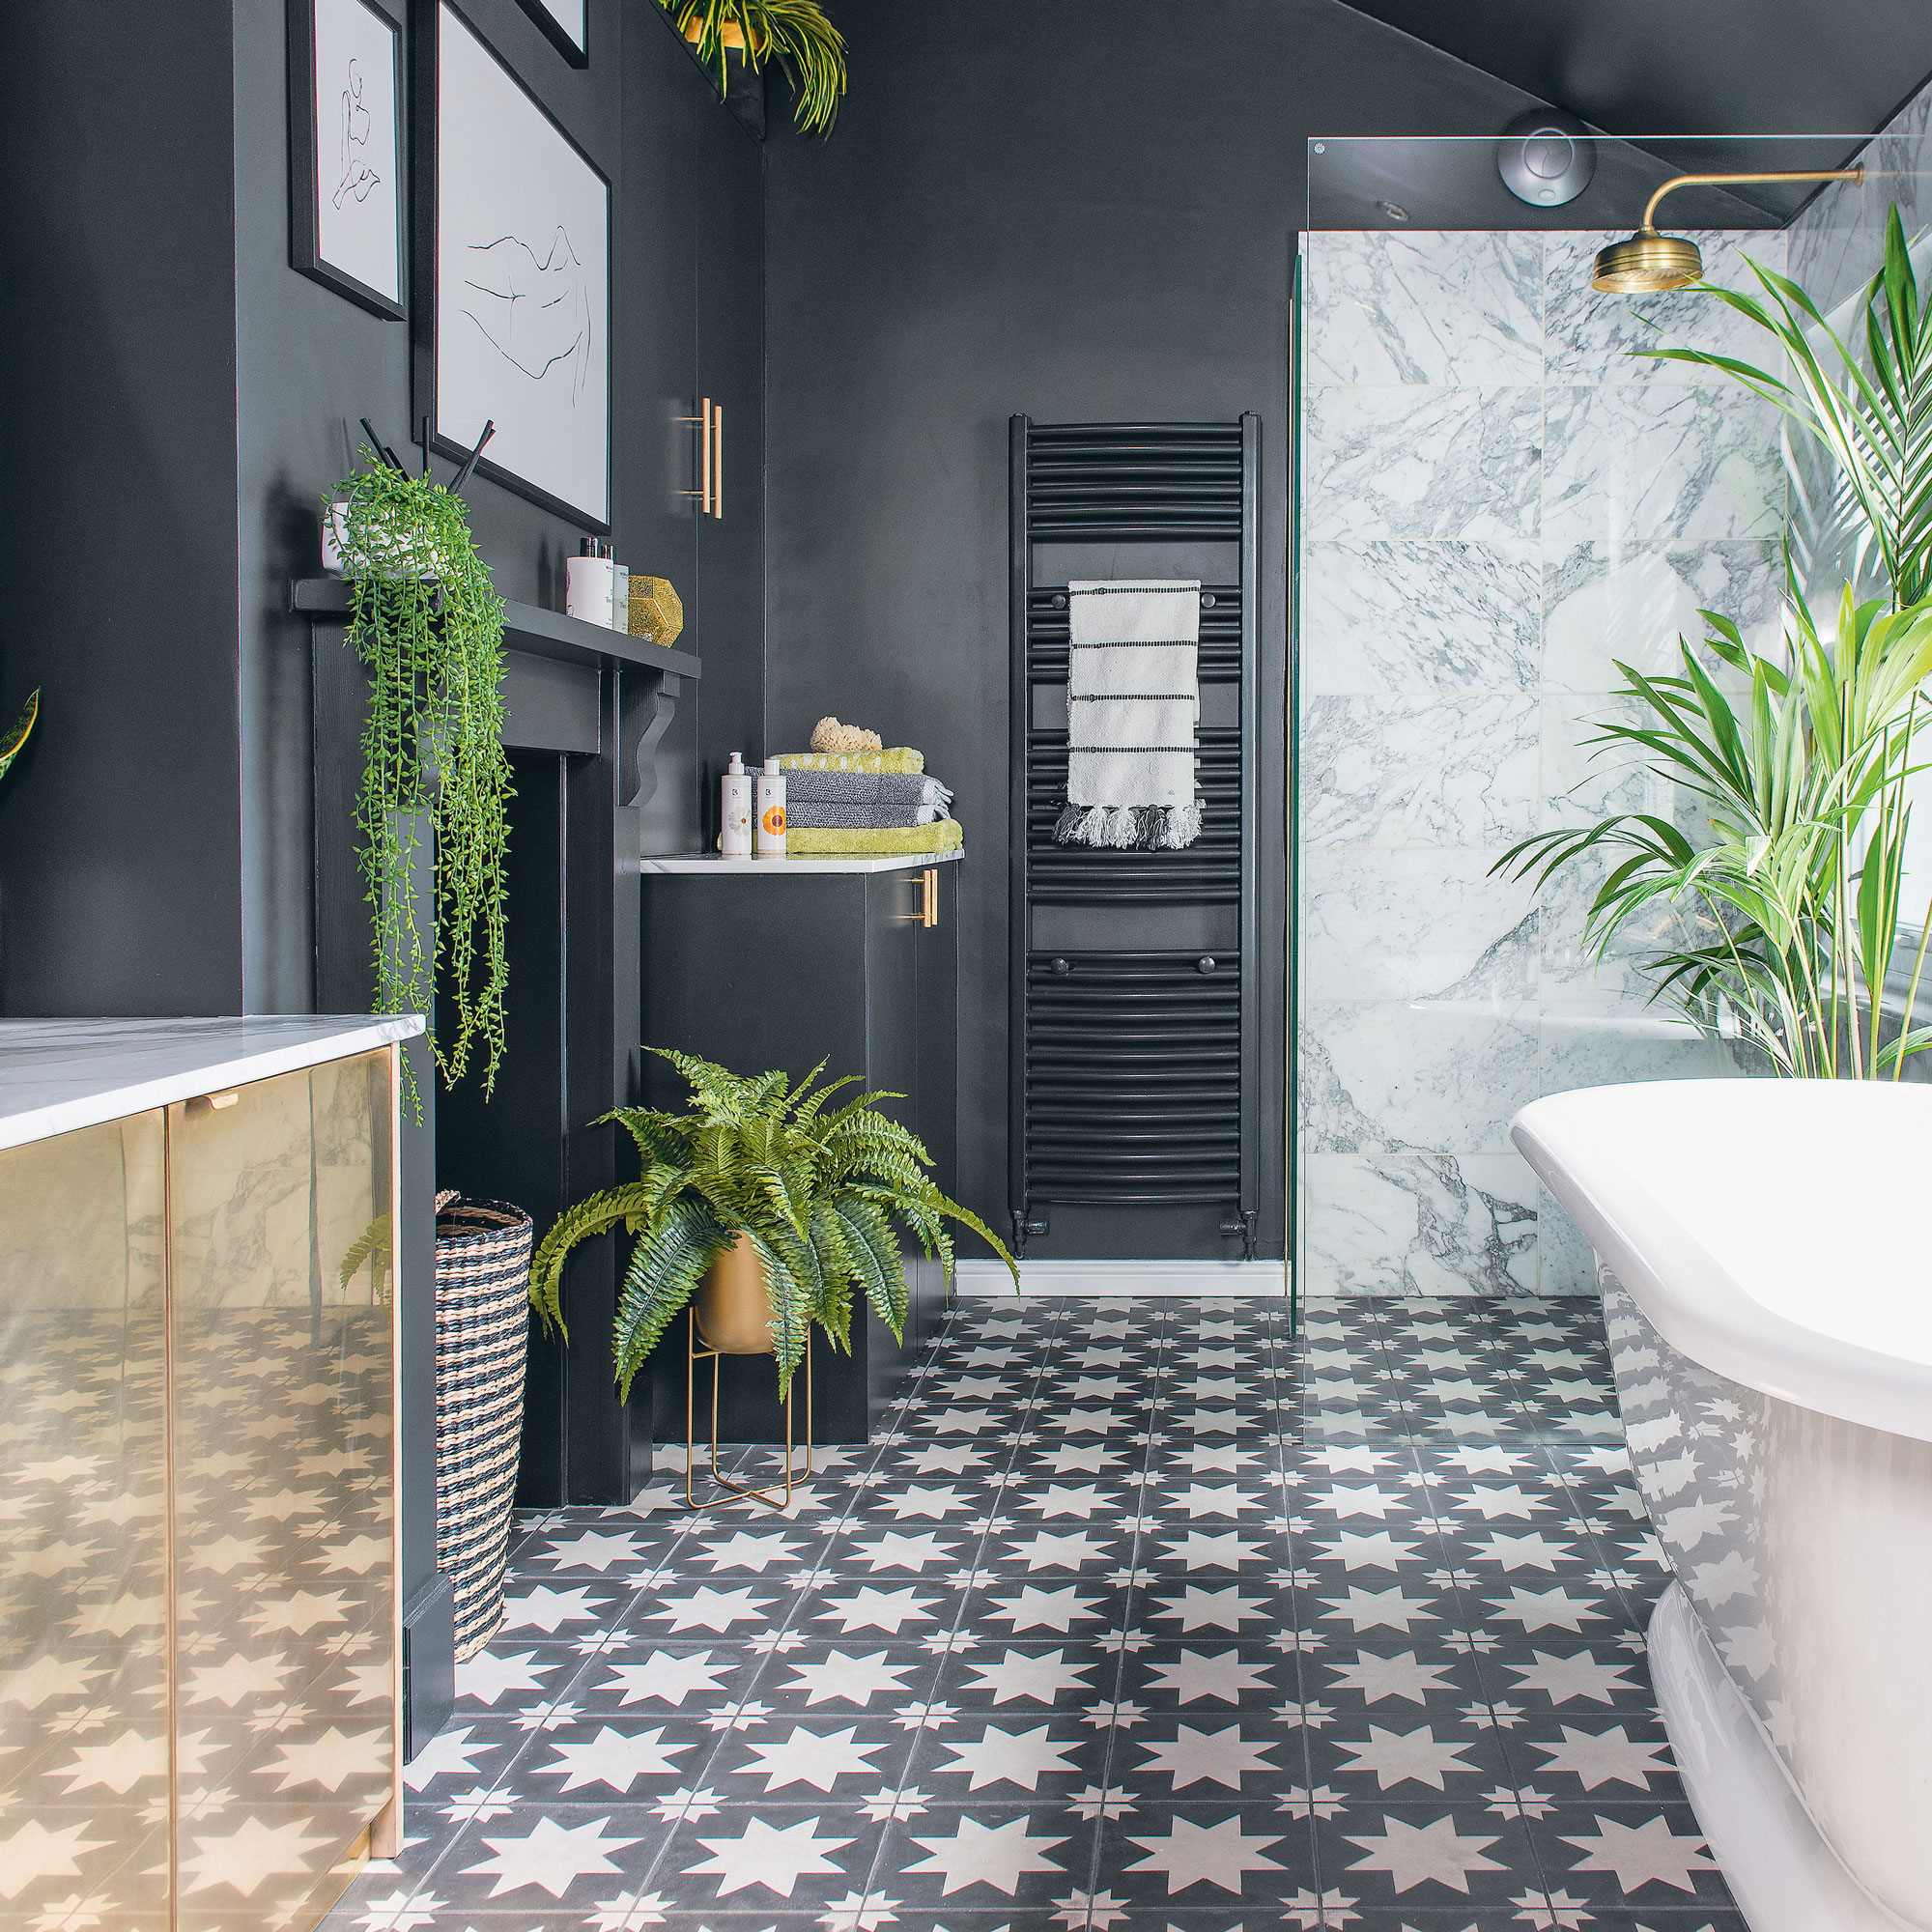
Use high-quality decorator’s tape, like Frog Tape, at Amazon, to mask off areas you don’t want to paint, such as light switches, plug sockets, door frames, or the floor if you’re painting your skirting boards.
It's tedious to start with, but will save time in the long run and ensures you get a crisp line. Press the tape down firmly to prevent any paint from bleeding through.
5. Paint the ceiling
‘Always start from the ceiling and work down,’ says Marianne Shillingford. Use a good acrylic 2-inch brush to paint around the edge of the ceiling and any light fittings, then apply the first coat to the ceiling with a roller. Line your paint tray with foil so you don't have to spend time cleaning it out when you're done.
Marianne’s top tip on how to paint a ceiling: You do not have to do any intricate cutting in between the walls and ceiling colours at this point, so your ceiling colour can extend onto the walls a bit. Use a roller extension pole to make filling in the ceiling colour much quicker and easier too.
6. Paint the woodwork with an undercoat
While the ceiling dries, paint your woodwork with a fast-drying undercoat paint, again using a 2-inch brush.
7. Give the ceiling a second coat
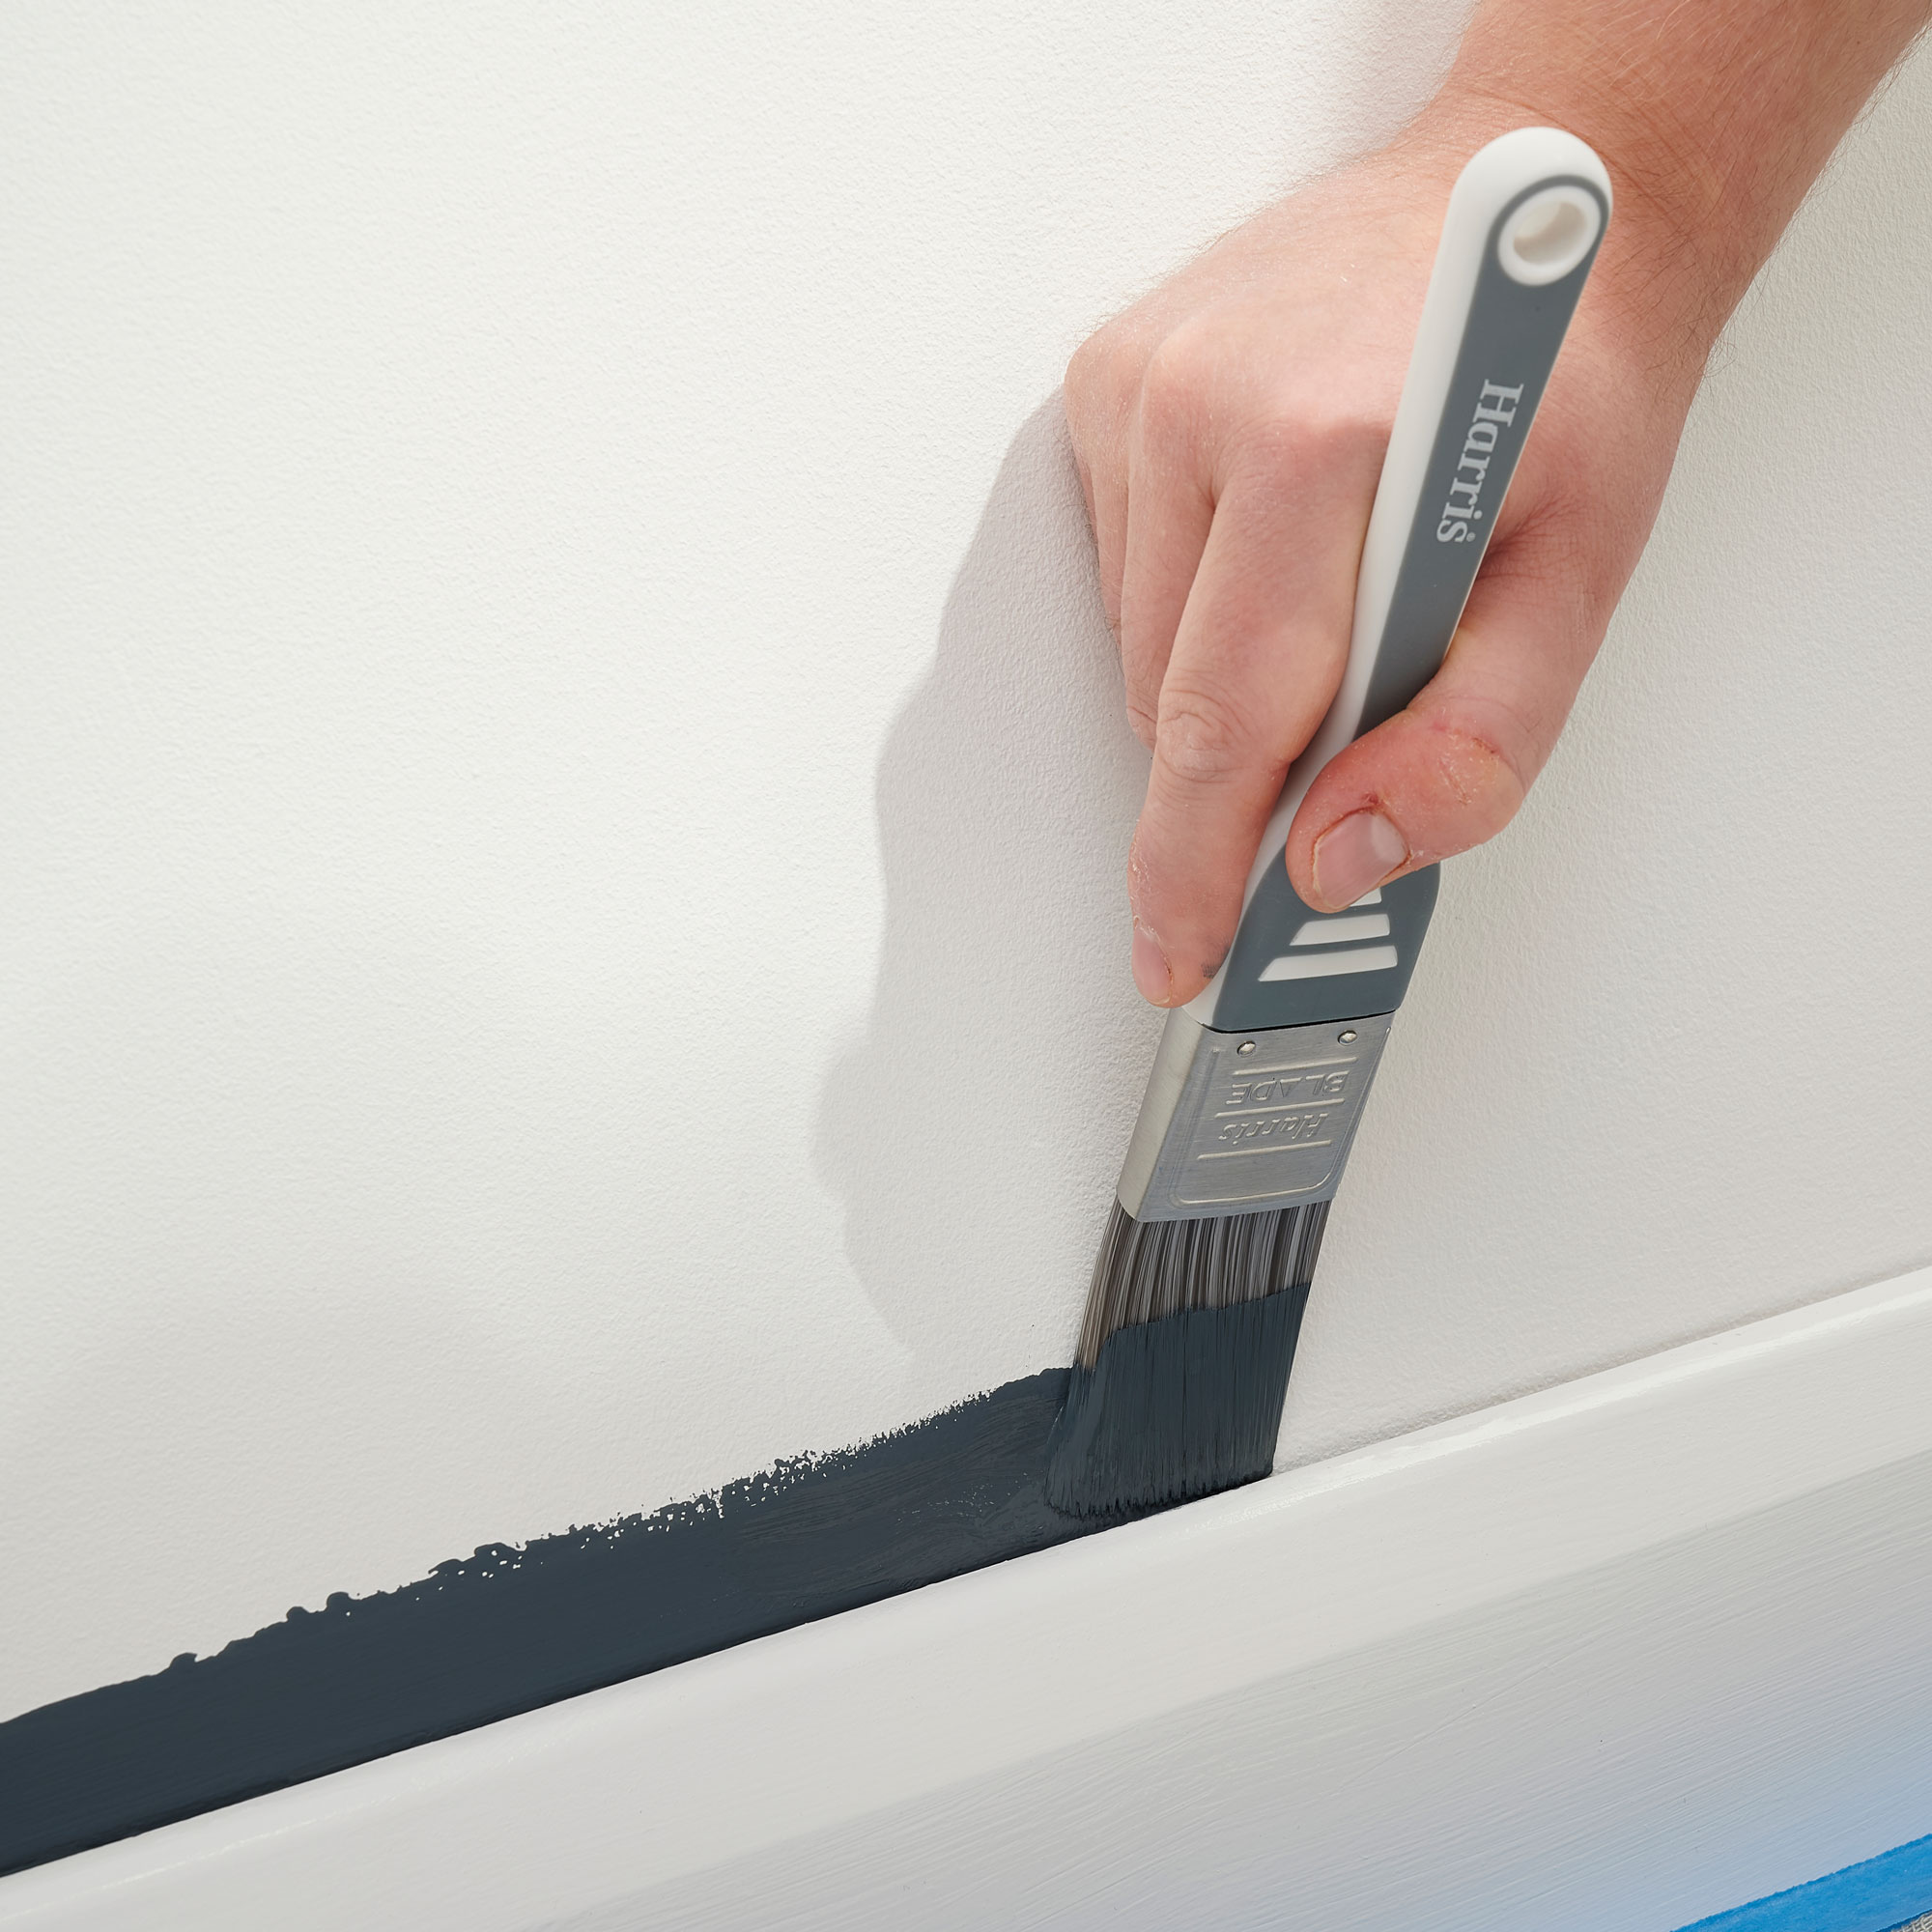
Paint a second coat on the ceiling once the first has dried. Justyna Korczynska, senior designer at Crown Paints says it's worth dampening your roller before using it to help it pick up the paint.
To avoid roller marks, paint a W shape and then an M shape over the top. These diagonal strokes will prevent visible roller lines. Leave this to dry and use a cutting in brush or decorator’s tape to get a sharp line between the ceiling and wall colours.
8. Paint the walls
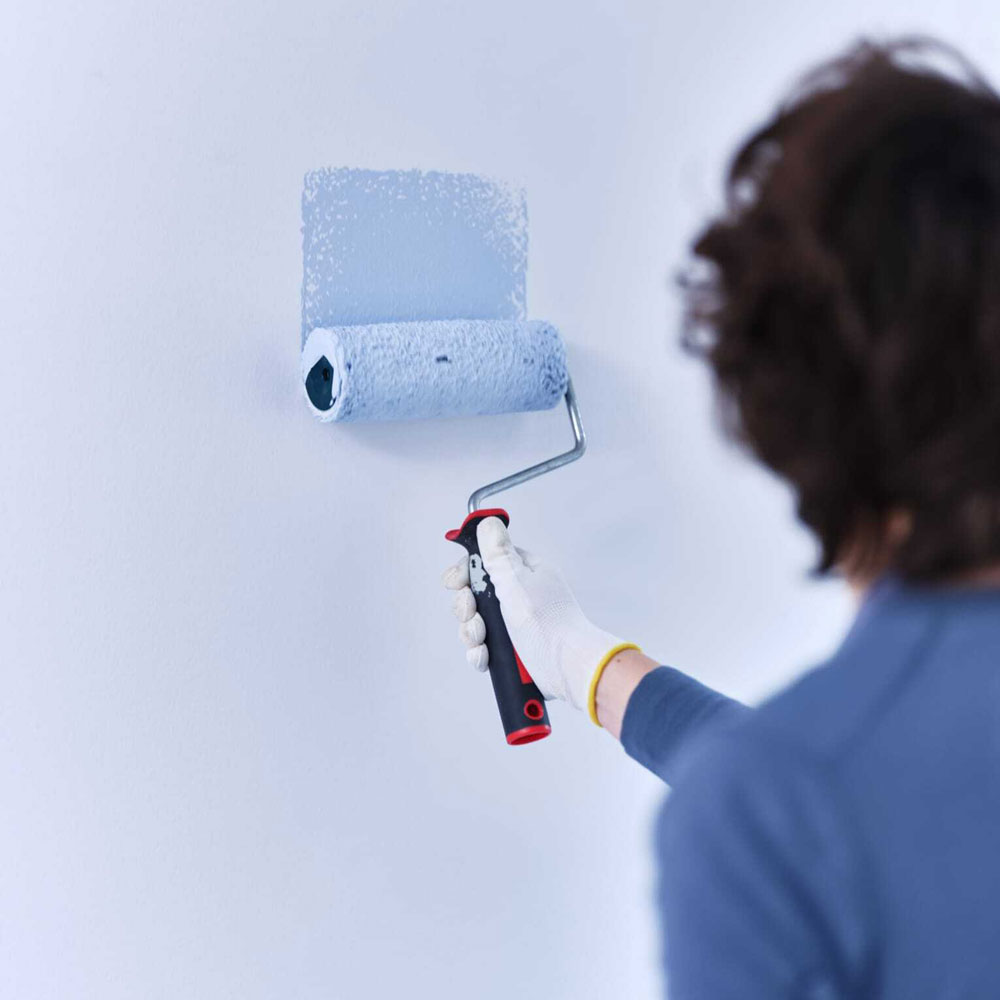
Finally, it's time to paint the walls! We weren't lying when we said it was all about preparation. Start by cutting in around the edges and corners of the walls with your 2-inch brush. Read up on how to cut in if you're not totally sure how to do this important step.
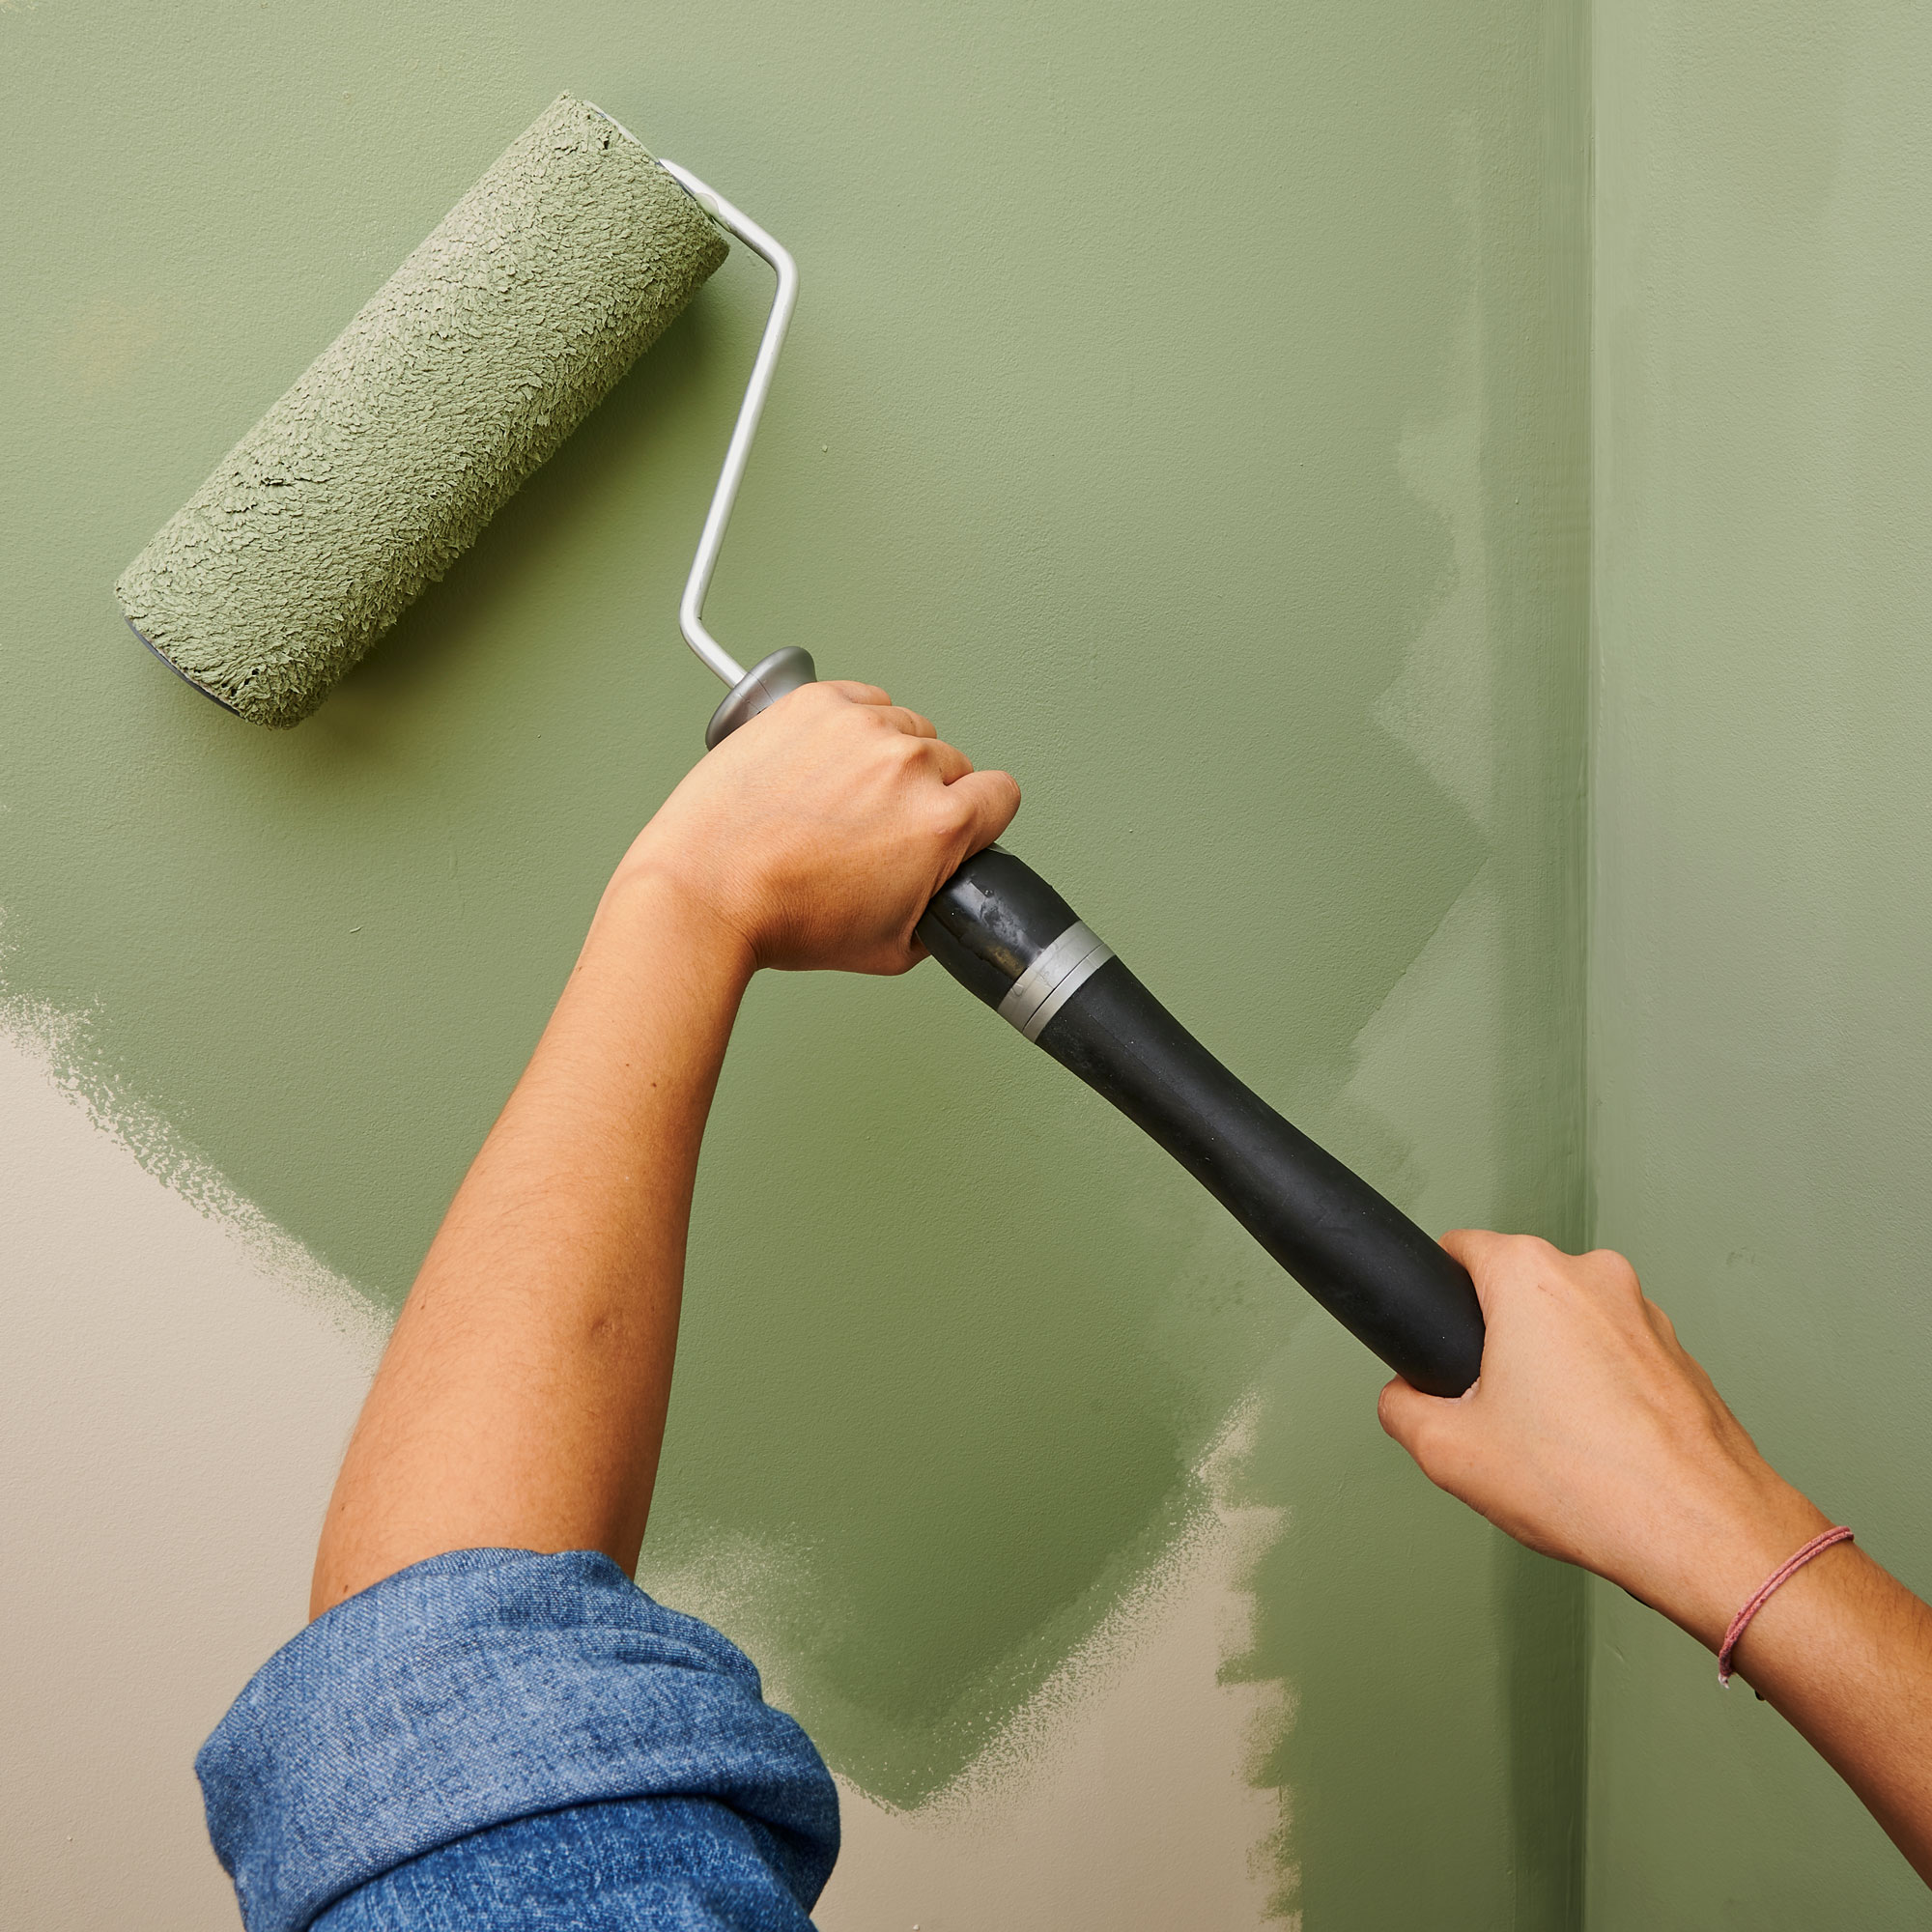
Next, paint the rest of the surface with your roller. As with painting the ceiling, an extension pole will make life a lot easier when painting a wall, helping you reach areas that are higher up. When the first coat has dried, apply a second.
9. Paint the woodwork
Now it's time to give the woodwork a topcoat. Marianne Shillingford recommends using a quick-drying, water-based topcoat and a combination of paintbrush and glossing roller to apply paint to the woodwork quickly and evenly.
Look out for quick-drying, water-based paints for walls and woodwork as they are better for the environment, better for you, and will also help speed the paint job along.
10. Remove masking tape
Remove masking tape before the paint has totally dried to get a nice clean finish. And now stand back and admire your pro paint job! Tidy up, clean your paintbrushes, bring your furniture back in et voilà.
Painting over strong colours? Research the best ways to take walls from dark to light with our guide. For anyone with lots of rooms to paint, Steph from Style at Home recommends investing in an electric sander.
'They make light work of sanding walls compared to sheets of sandpaper. Just remember to cover everything with plastic sheets as the dust gets everywhere,' she says. 'And wear a face mask and goggles!'
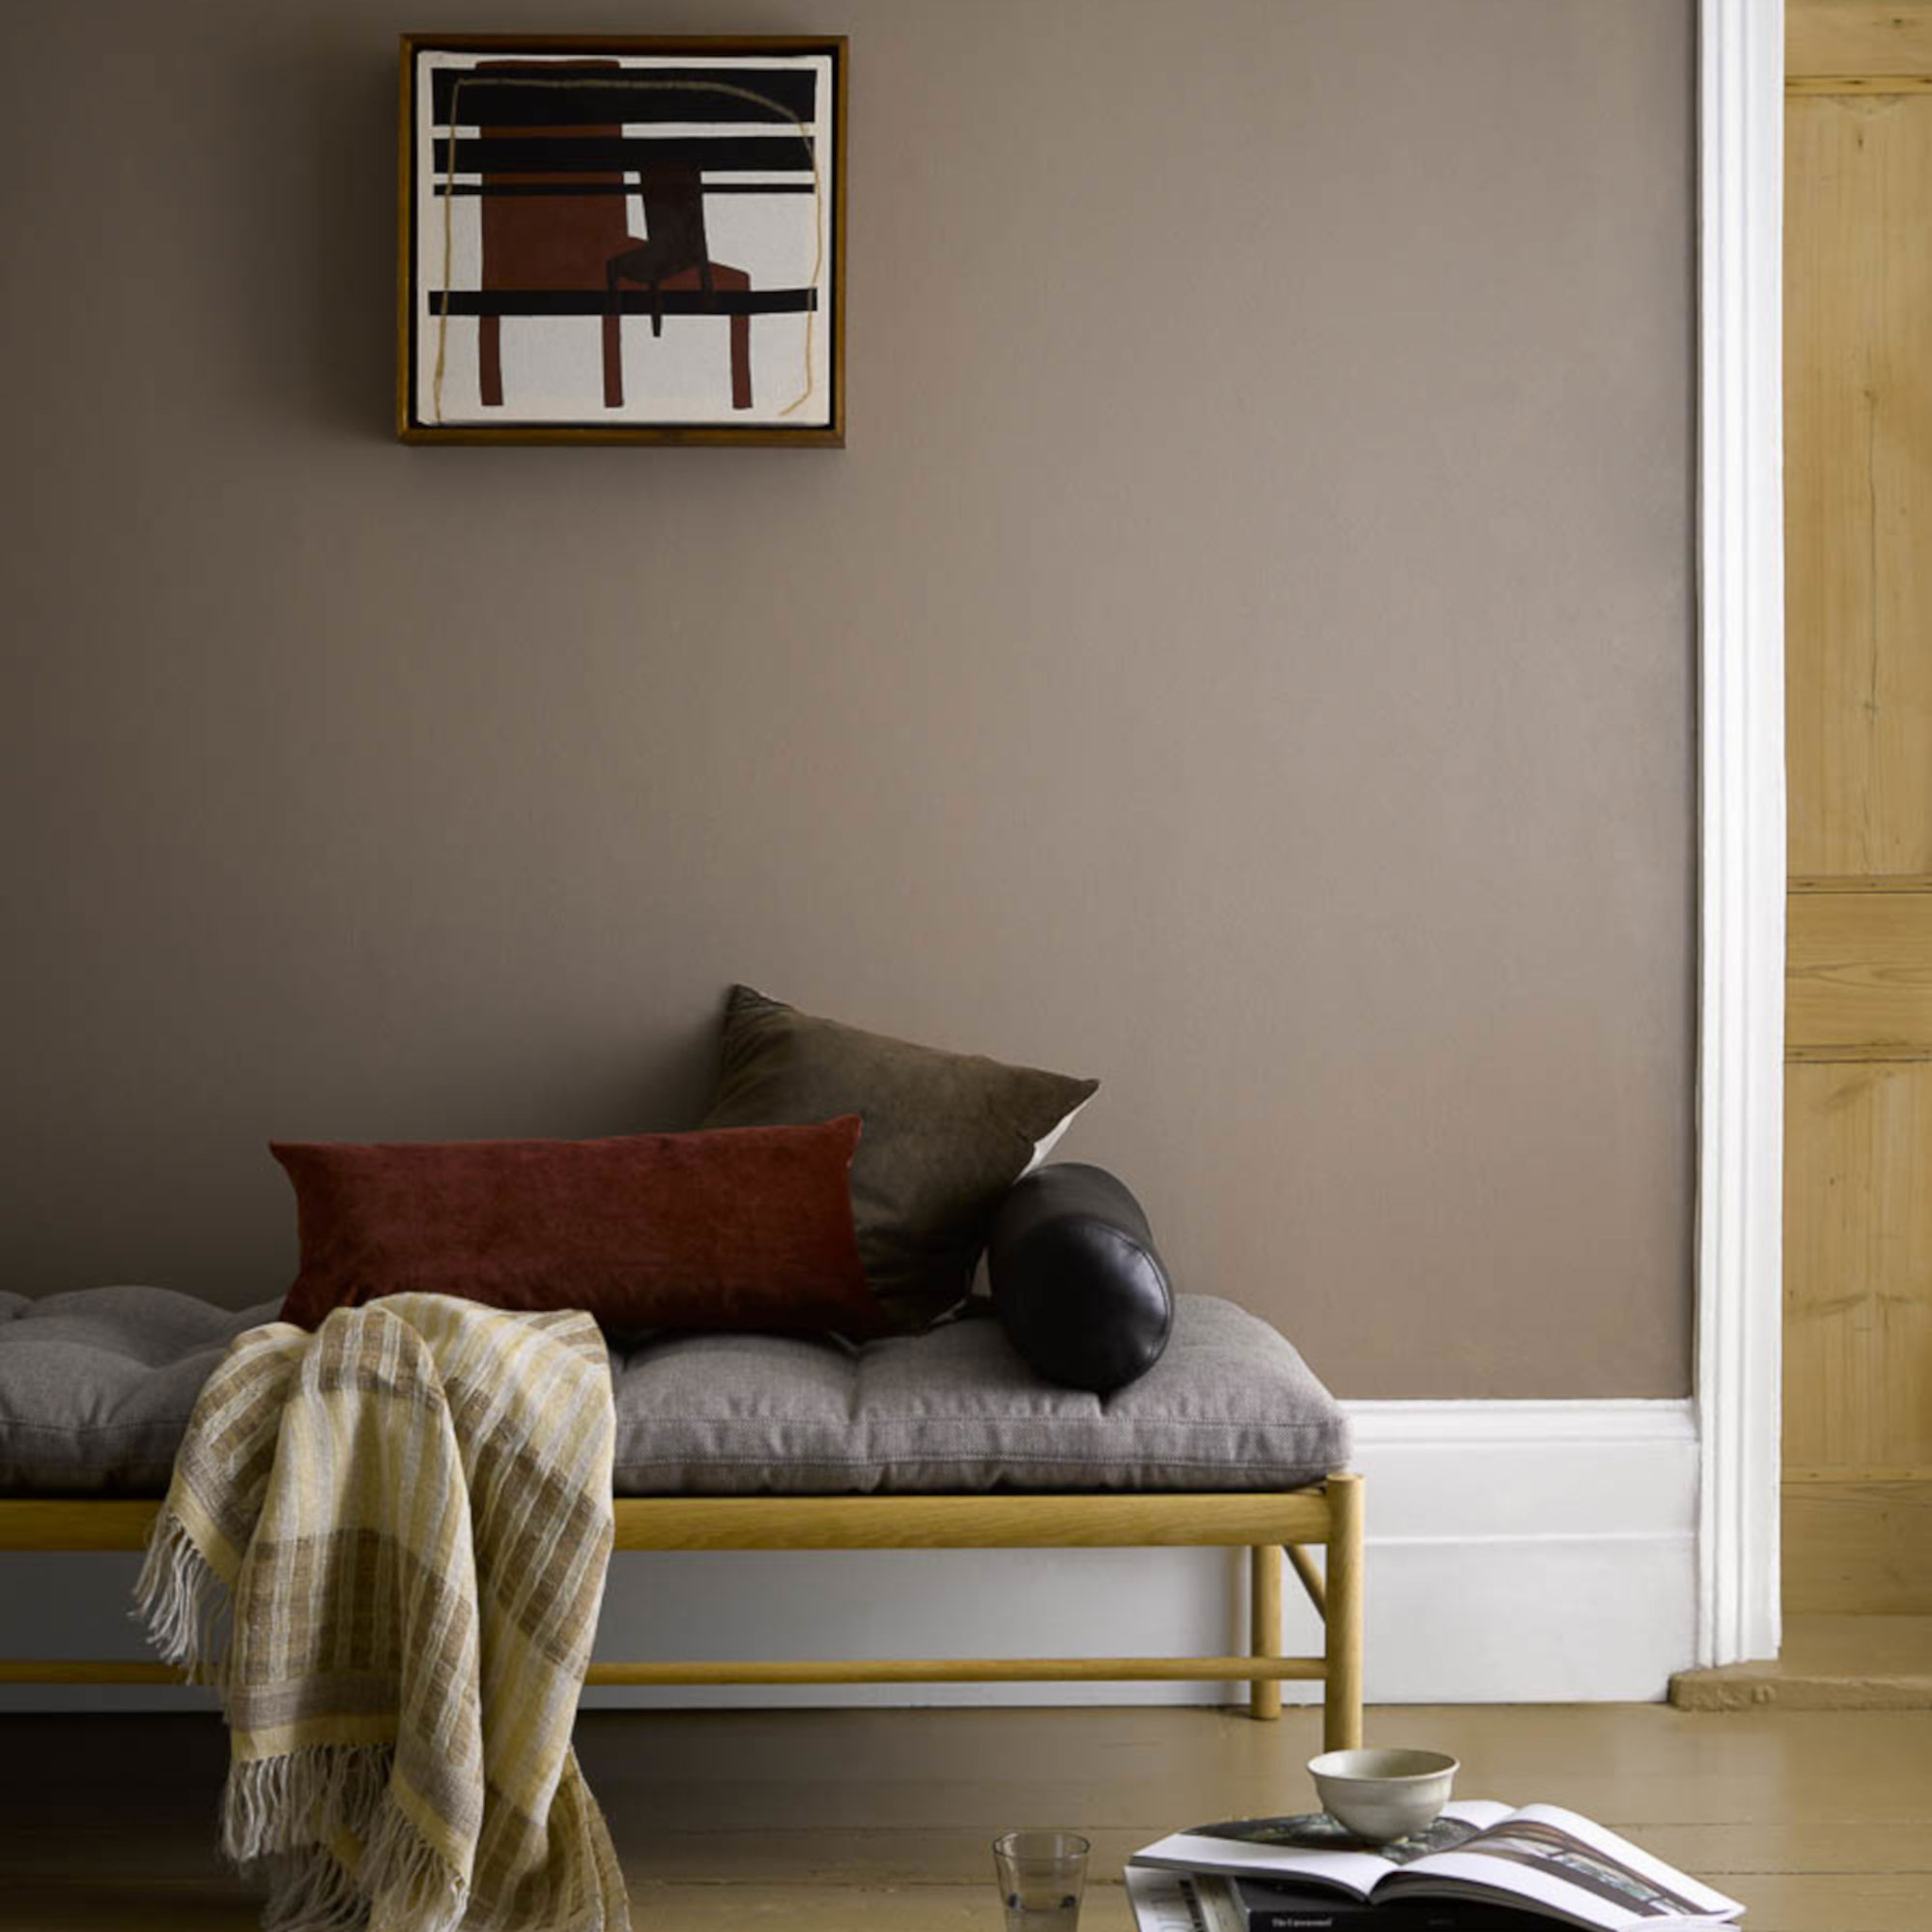
Whether you're working on new bedroom paint ideas or freshening up the hallway, consider if you want to paint the skirting boards, doors, and frames a different colour to make a statement. Or follow Kelly Hoppen's advice and paint the skirting boards the same colour as the walls.
What is the correct order to paint a room?
It's best to start at the top and work down, says Justyna at Crown Paints. So you would normally start on the ceilings, walls, (irrespective of colour) trim i.e. doors, architrave and windows. Always leave the skirting to last as this is where dust and bits settle that can contaminate the paint.

How do you paint a room in one day?
With some difficulty! Jo Pollock from Ladies Who Paint says you can paint ceilings and walls in a day but the woodwork would need an undercoat and topcoats and drying times in between.
If you are painting every element in an average-sized room, it should take between 3 and 4 days from start to finish. Usually, it takes just a few hours for emulsion paint on ceilings and walls to dry, but always check the recommended drying time and re-coat details on the tin as they can vary.
If you try to apply coats too soon, you risk cracking and flaking in the future. Make sure the room is well ventilated to make it more comfortable for you while decorating. Keeping windows open (unless it's raining) will also limit time spent watching paint dry.
Should you use a primer or a mist coat?
‘You need to use a primer on bare woodwork or metal and a mist coat is emulsion thinned down with water to the consistency of single cream,’ says Marianne. ‘You use it to soak into and seal newly plastered walls so subsequent paint layers flow nicely and don’t flake off.’
A mist coat is really important for new plaster as it helps the paint soak into the surface rather than just sit on top where in time it might crack and flake off. ‘You generally only need one mist coat and after it's dry you are good to go with well-stirred paint that hasn’t been thinned,’ says Marianne.
If you are using a primer, experts at Homebaserecommend tinting you primer paint with your final colour to save an extra coat of paint.
How much does it cost to paint a room?
The cost of painting a room depends on how big it is, whether you're going for designer paint or colour matching, and how many coats you need. As a rough guide, a small room measuring 2m x 2m will need 2.5 litres of paint. Work out how much paint you'll need based on what it says on the tin.

Millie Hurst was Senior Content Editor at Ideal Home from 2020-2022, and is now Section Editor at Homes & Gardens. Before stepping into the world of interiors, she worked as a Senior SEO Editor for News UK in both London and New York. You can usually find her looking up trending terms and finding real-life budget makeovers our readers love. Millie came up with the website's daily dupes article which gives readers ways to curate a stylish home for less.